We're making it easier to get around Constant Contact with a brand new left navigation. Not all accounts have that change yet, so if your navigation looks different from our articles, that's why–but everything from the top can now be found on the left!

Email and Digital Marketing
How can we help you?
Search our help articles, video tutorials, and quickstart guides

You've got this. You've got us. Search our Knowledge Base to quickly find answers to your questions.

Create an email

Article: 000005851
Updated: April 28, 2025

Select an email template and customize it with your branding and content

Light Bulb IconDesign tip: Before you get started, give our BrandKit a try! You can scan your website for your logo, brand colors, and other images to generate a theme that is applied to a collection of templates just for you.


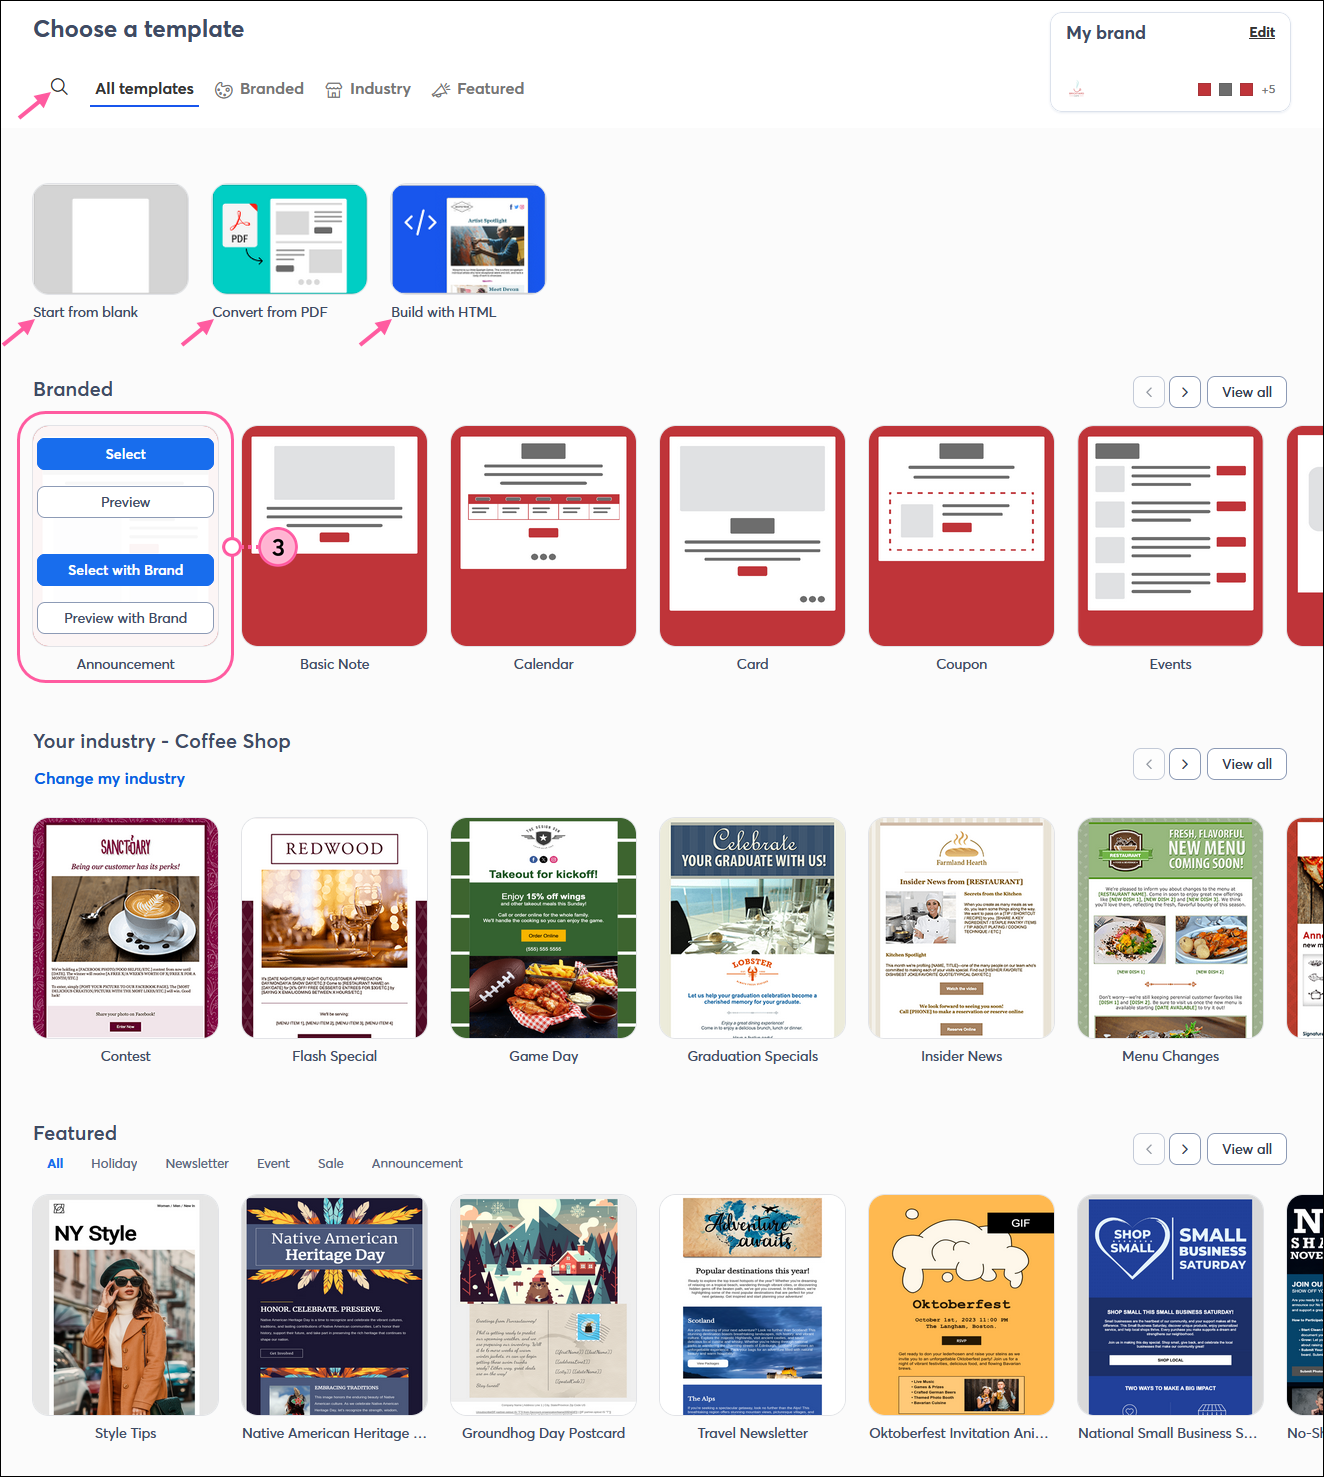
Ready to create a new email? It's as easy as choosing an email template and customizing it with your content and branding! We have hundreds of mobile-responsive templates to choose from that are designed to look great on smartphones and tablets, as well as traditional desktop and laptop computers.


Megaphone IconNot sure where to start with marketing? Check out our free Getting Started webinar series!


Create a new email and select a template


  1. Click Marketing channels > Email.
  2. Click the + Create an email button.

    Marketing channels menu expanded with Email option selected, Email dashboard with + Create an email button 
     
  3. You have lots of template options to choose from—you can click and drag the templates in each row to the left to see more, or swipe left if you're using a touchscreen. You can also start from scratch, use your own HTML code, or create an email from the first page of a PDF
    Tip: Click the magnifying glass icon to expand the Search field and search by keyword. For example, search for things like "restaurant," "non-profit," or "invitation" and see if the results are a good place to start!
  • To select a template, place your cursor over the template, or tap the thumbnail if you're using a touchscreen, and click Select.
  • Click the Preview button to see the full template or how it renders on a mobile device.
    Note: Branded templates give you the option to preview and select the template with or without the branding applied.

    Choose a template with All templates tab selected, Branded template thumbnail with Select and Preview options, and Search field, Start from blank option, Convert from PDF option, and Build with HTML option
     
  1. Click on the name of the email in the upper left-hand corner of the editor to change the name of your email.
  2. Enter a unique name in the Campaign Name field that you’ll easily recognize in your account later. Your contacts don't ever see this name.
  3. Click the Save button to return to the email editor.

    Email editor with Campaign name feild, Rename overlay with Campaign Name field and Save button
  1. Click on the email header to edit your email settings.
  2. Customize your subject line, preheader, and "from name," and select your "from" email address and "reply-to" email address, then click the Save button to return to the email editor.

    Email editor with Email Settings overlay with Subject field with emoji and Personalize options, Preheadr field, From Name field, From address drop-down menu, Reply to address drop-down menu, and Save button


Use the Build tab to customize your email

Light Bulb IconDesign tip: Sending shorter emails with a clear call to action to a targeted audience can improve overall email engagement. Our AI content generator can help you, too!


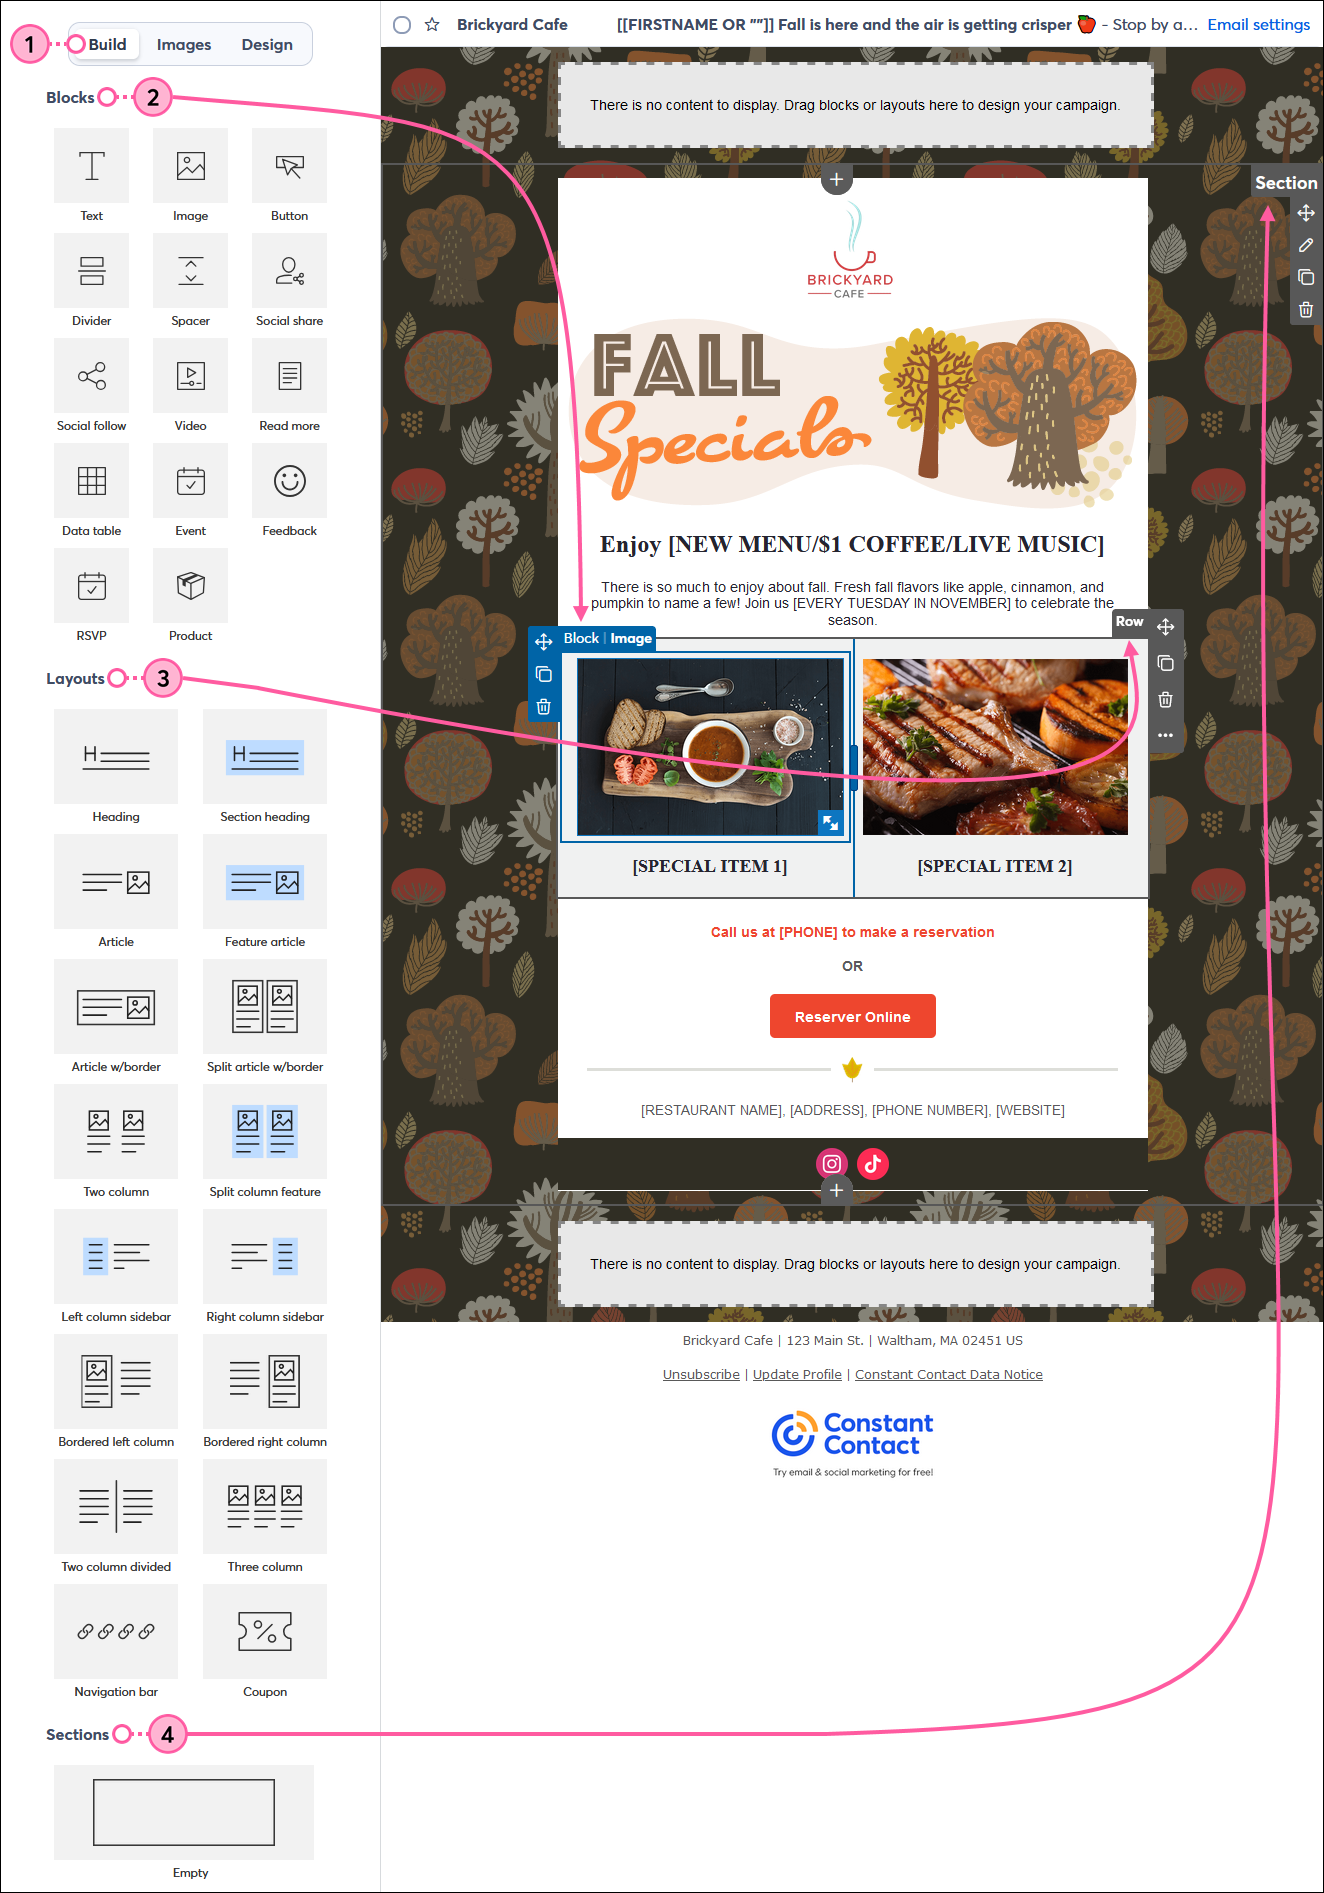
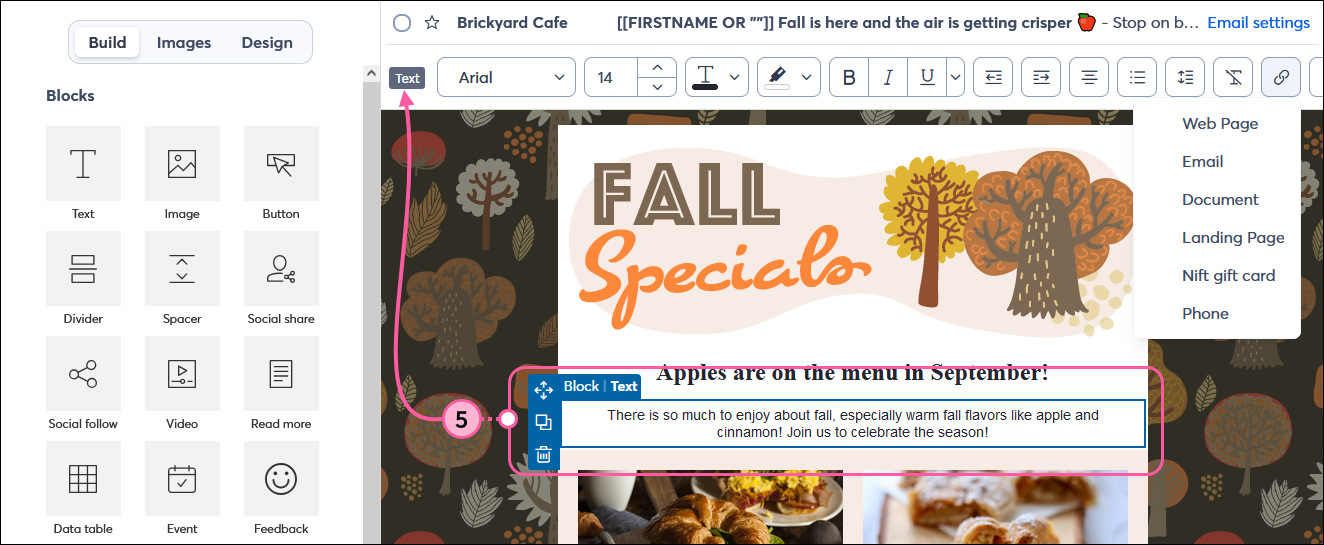
The Build tab is where you'll find all the blocks, layouts, and sections you can use to customize the look of your template. Blocks and layouts can be used on their own or you can group them together within sections. You can also move individual blocks anywhere in your template (in and out of layouts and sections), while layouts and sections can be moved above and below other blocks, layouts, or sections.

  1. Click the Build tab. 
  2. Use the Blocks section to add individual elements to your email.
  1. Use the Layouts section to add pre-built configurations of blocks into your email. Layouts with a highlight color indicate that a background color is applied to certain areas of the layout for more versatile designs.
  1. Use Sections to create a container that groups blocks and layouts together into a single unit.
  1. Click anywhere on a block to open the block toolbar to change the alignment, add links, or make other customizations unique to the block. The block toolbar opens at the very top of the editor.


Add and edit images through the Images tab

Light Bulb IconDesign tip: Want to make your pictures pop out of your email? Check out these tips for giving your images visual impact.


The Images tab is where you can find all the images in your Library, access editing tools to crop images or add filters, access your Canva account, find free stock images or purchase stock images through Shutterstock, and import images from Facebook.

  1. Click the Images tab. From here you can:
  1. Place your cursor in the lower right-hand corner of any image in your layout to expose the resize tool
  2. Click on any image to expand the Image toolbar and:


Make your branding consistent using the Design tab

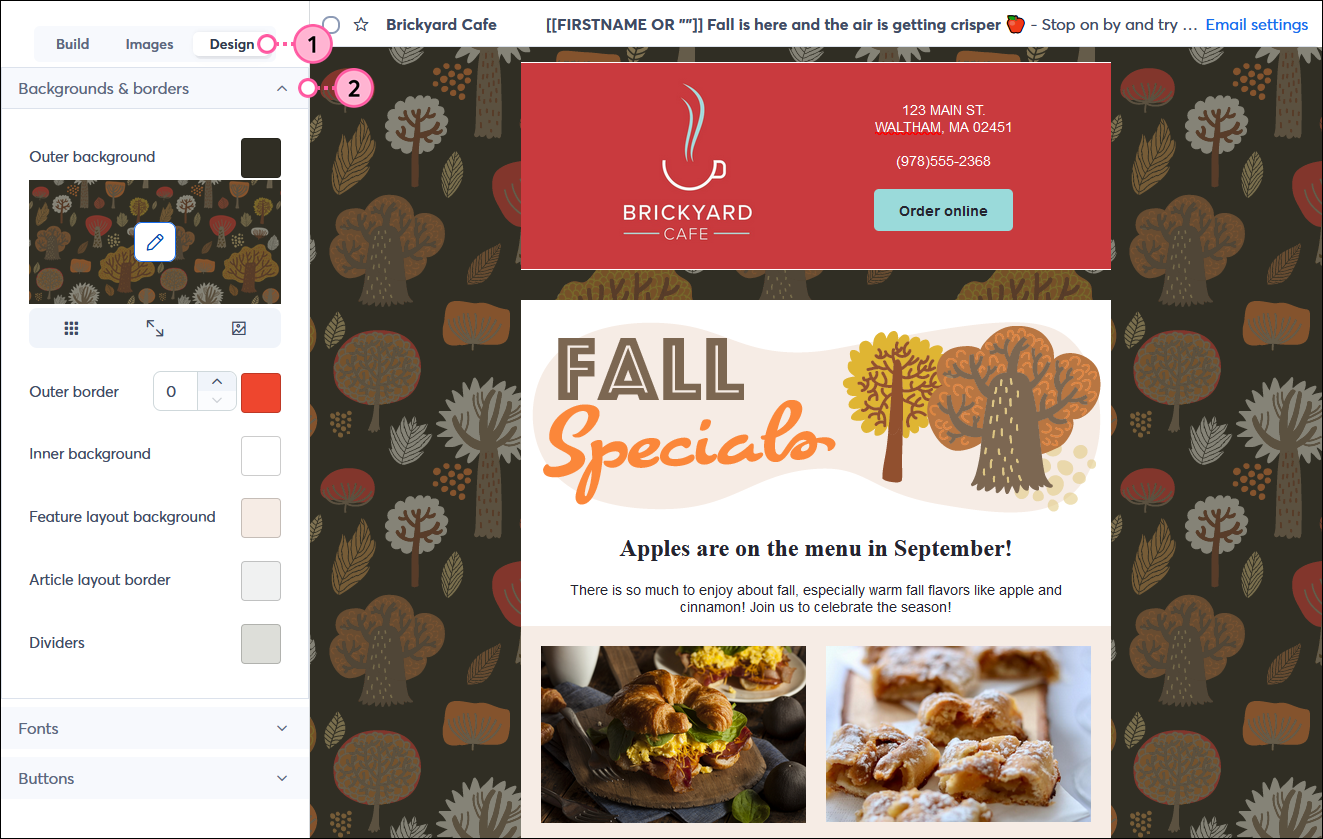
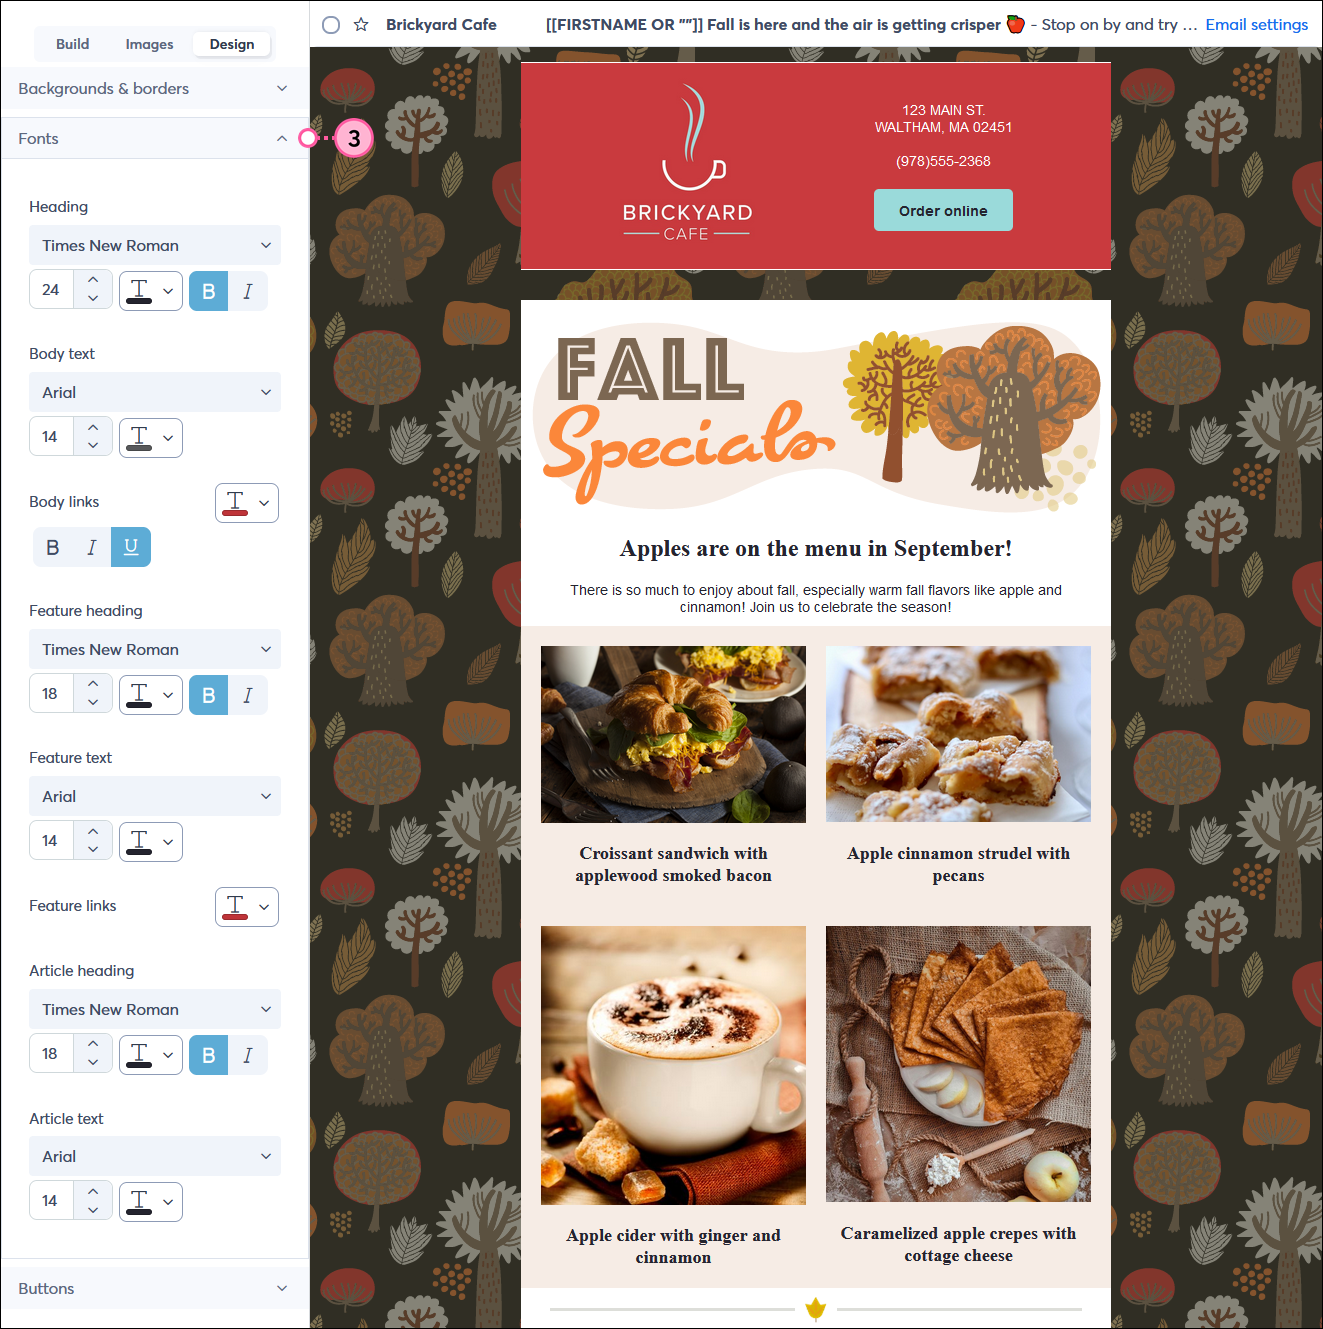
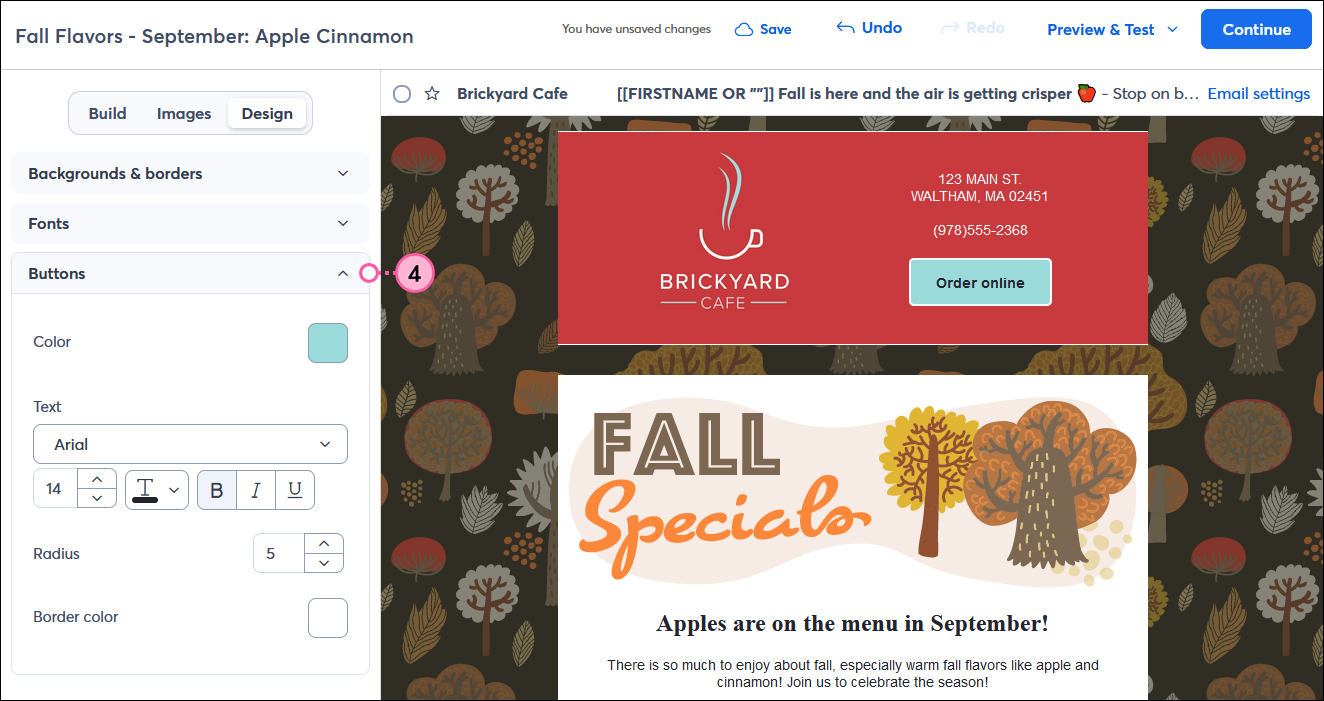
The Design tab is where you can apply branding colors, font styles, link colors, and button styles across your entire template so that everything is uniform. Placing your cursor over a font or color option lets you preview what it will look like through the entire template before you click to select it.

Light Bulb IconDesign tip: If you style text, choose a button color, or select the background color for an individual block, that block gets ignored when you apply global styles through the Design tab. We recommend making selections from the Design tab first and then fine-tuning individual blocks afterwards to save time from having to manually adjust multiple blocks.


  1. Click the Design tab.
  2. Click Backgrounds & Borders to expand the menu to:
  1. Click Fonts to expand the menu to apply styles to all the text in your template:
  • Choose the font, font size, and font colors
  • Choose link colors and emphasis styles (bold, underline, italic)

    Email editor with Design tab selected and Fonts menu expanded

  1. Click Buttons to expand the menu to apply styles to all the buttons in your template:
  • Select a button color.
  • Select the font, font size, and color for the button text.
  • Choose a radius to give your buttons a rounded or square look.
  • Select a border color.
    Note: If you apply a border color and it isn't visible in your template, make sure the border is enabled for each button in your template.

    Email editor with Design tab selected and Buttons menu expanded


Get ready to send your email

Support IconJoin the conversation: First time designing an email? Our Community can help! Just submit your email to the "Template Feedback" forum for some honest feedback before you send it out to your contacts.


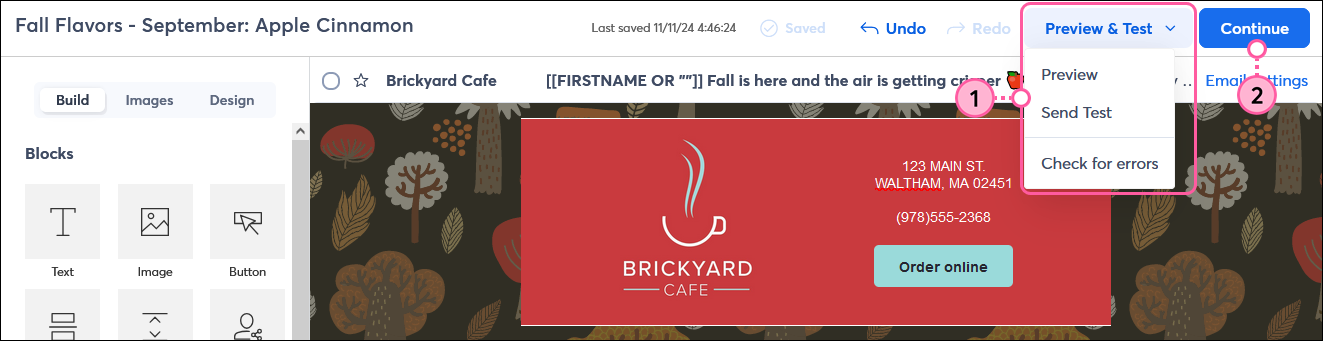
Now that your email content is complete, we recommend taking a little time before you send to make sure your content is error-free and has a lower chance of ending up in the spam folder:

  1. Click Preview & Test to expand the drop-down menu and select:
  1. Once you're ready to schedule your email to send to your contacts, click the Continue button.

    Email editor with Preview and Test drop-down menu expanded and Continue button


Want to learn more about creating an email? Watch our webinar:


Learn more about marketing and Constant Contact through our free live webinars.


Questions?

Ask the Community

Did this article answer your question?


Constant Contact Logo

Copyright © 2025 · All Rights Reserved · Constant Contact · Privacy Center