We're making it easier to get around Constant Contact with a brand new left navigation. Not all accounts have that change yet, so if your navigation looks different from our articles, that's why–but everything from the top can now be found on the left!

Email and Digital Marketing
How can we help you?
Search our help articles, video tutorials, and quickstart guides

You've got this. You've got us. Search our Knowledge Base to quickly find answers to your questions.

Group blocks together in an email or landing page

Article: 000045164
Updated: March 12, 2025

Connect a group of blocks together in a row to make it easy to copy or move them around your email template as a unit

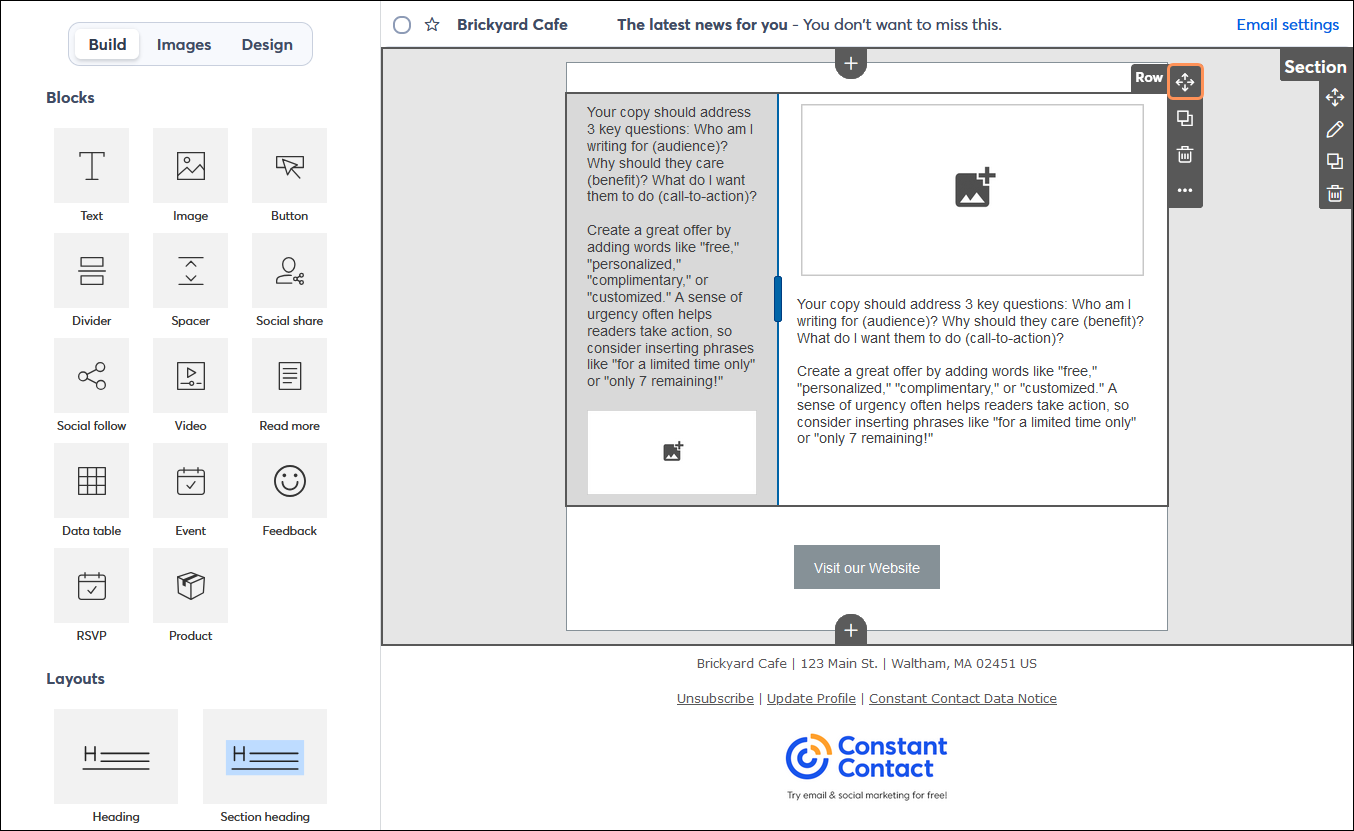
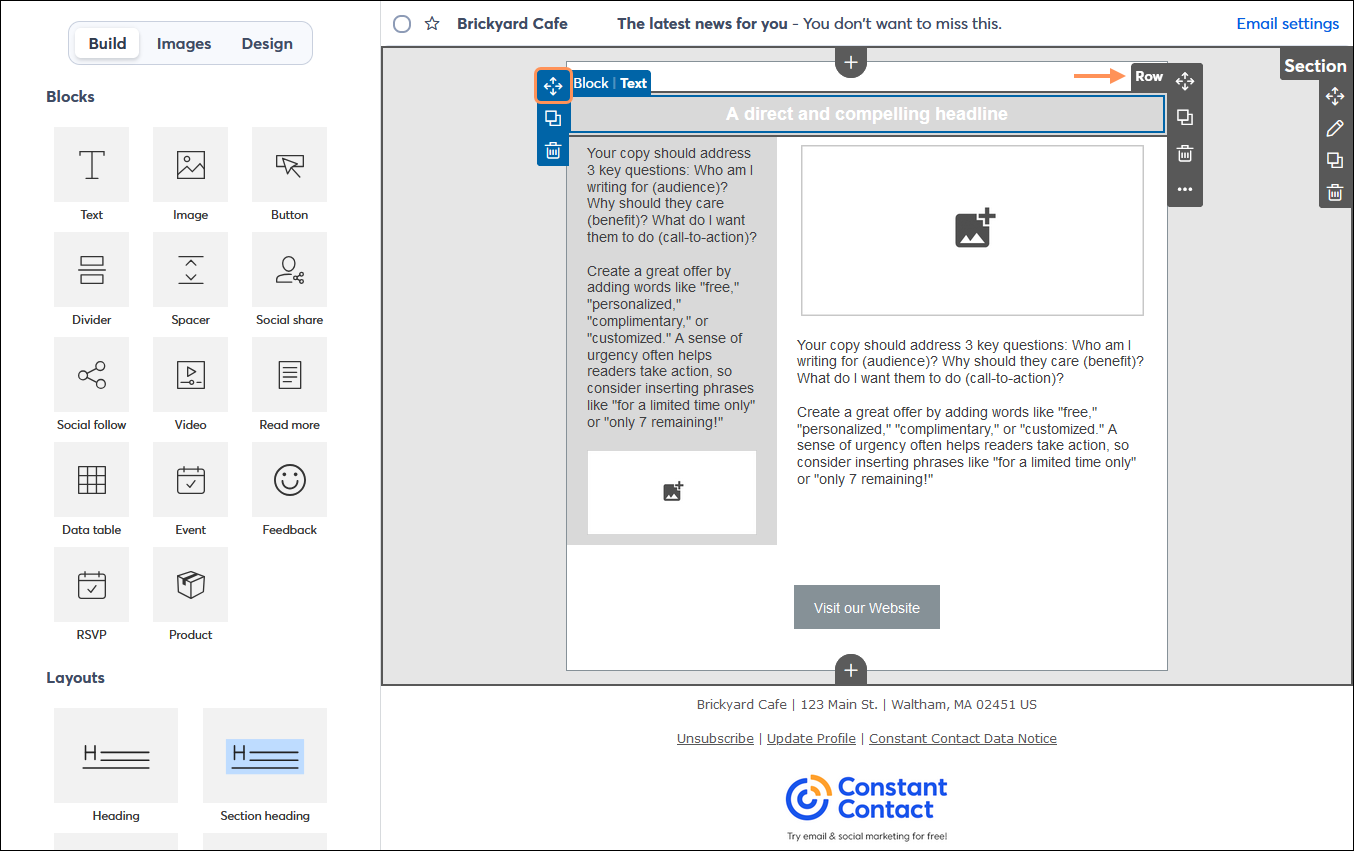
The blocks available in the email and landing page editors are the essential building tools for your layout! Blocks can sit by themselves and span the entire width of your template, or you can group blocks together into layouts/rows. When blocks are grouped together, it makes it easier to copy or move them as a single unit.


Light Bulb IconDesign tip: Your email or landing page template uses blocks, layouts, and sections to help you organize your content. Each block, row, or section can be moved or copied to save you time too—just click the Copy icon in the block, row, or section menu!


Connecting individual blocks together to create a row or layout

When adding a block to your template, the guidelines can help you position the block above, below, to the left, or to the right of another block. If your template has multiple sections, the blocks are added the same way in each section.

Side-by-side or columns

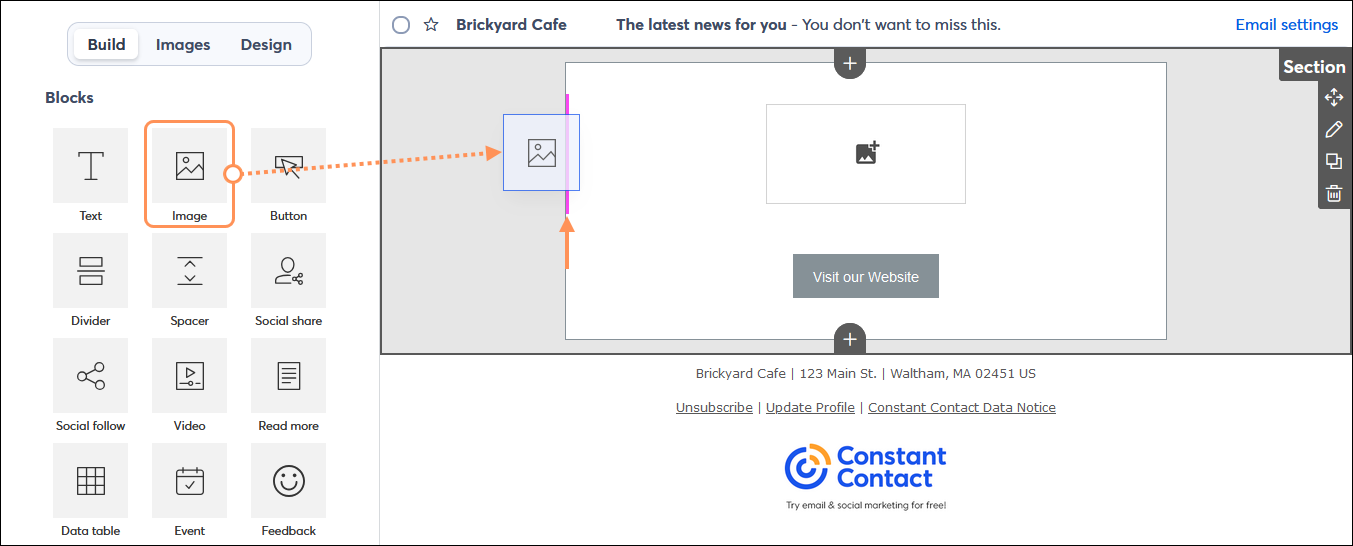
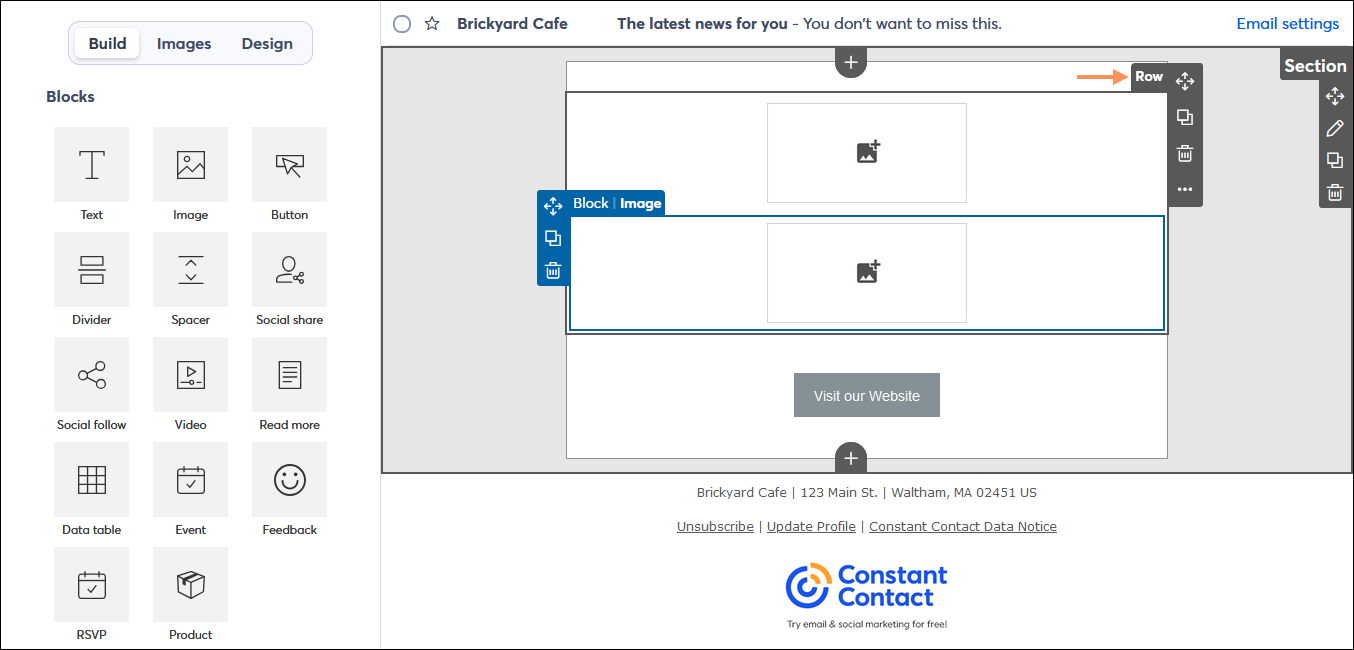
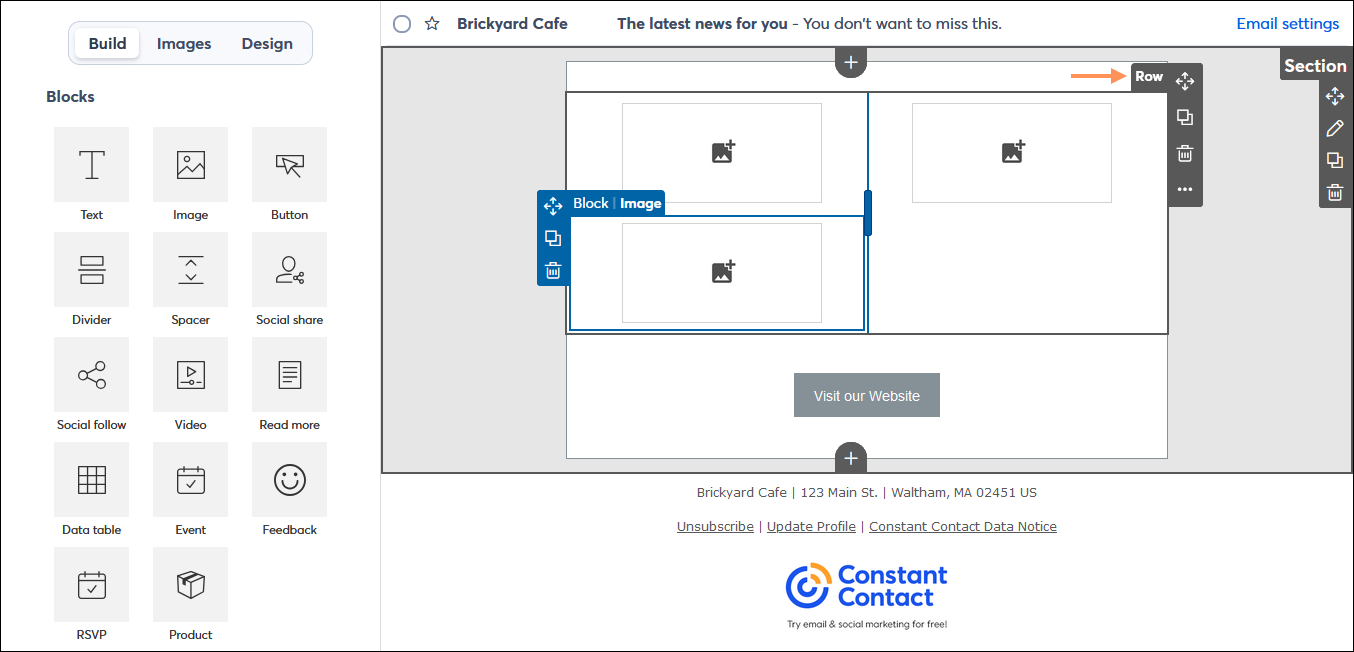
When the guideline appears on the left-hand or right-hand side of a block, the blocks sit next to each other as columns, creating their own row.

  • Guideline on the side of a block:

    Build tab with Image block dragged into the template with the guideline to the left-hand side of an existing image block
     
  • Resulting side-by-side blocks that share a Row menu:

    Two image blocks sitting side-by-side in a row


Light Bulb IconDid you know? You can create up to three columns across the width of your template.


Top and bottom

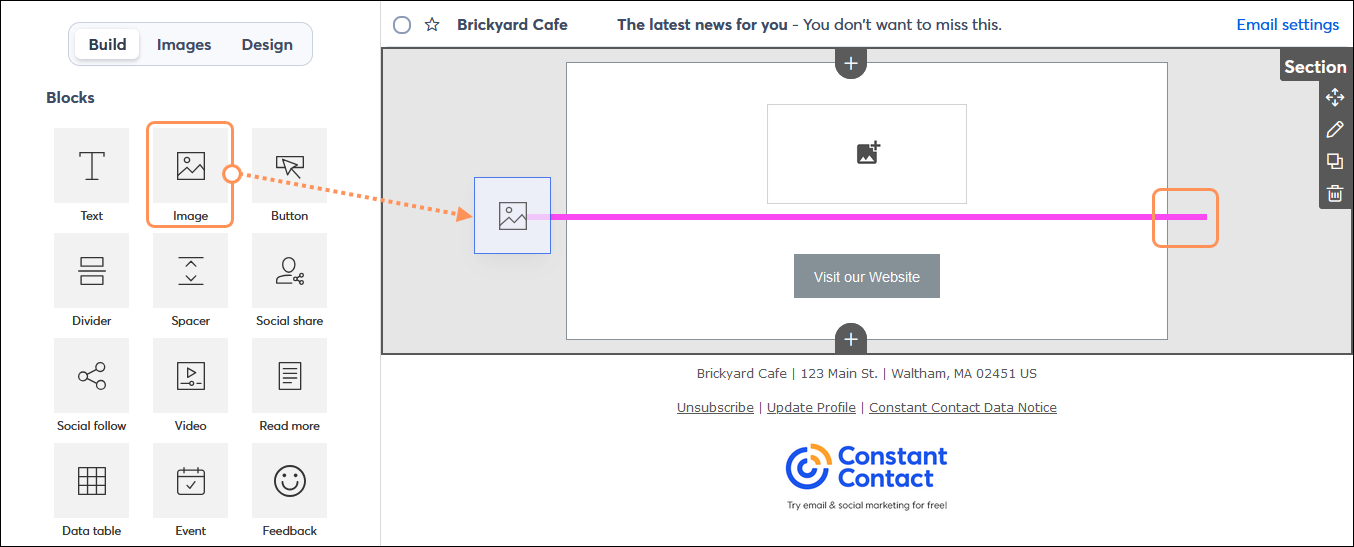
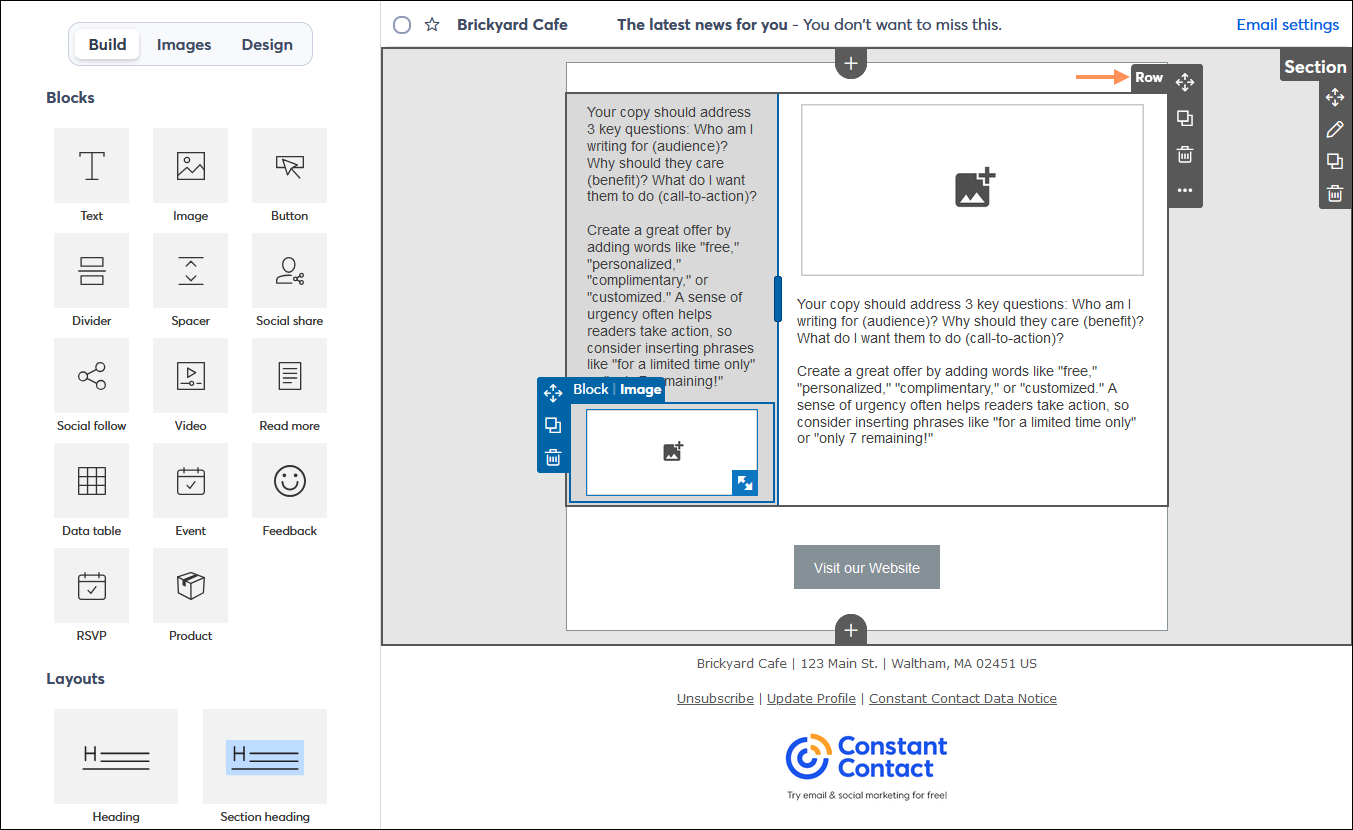
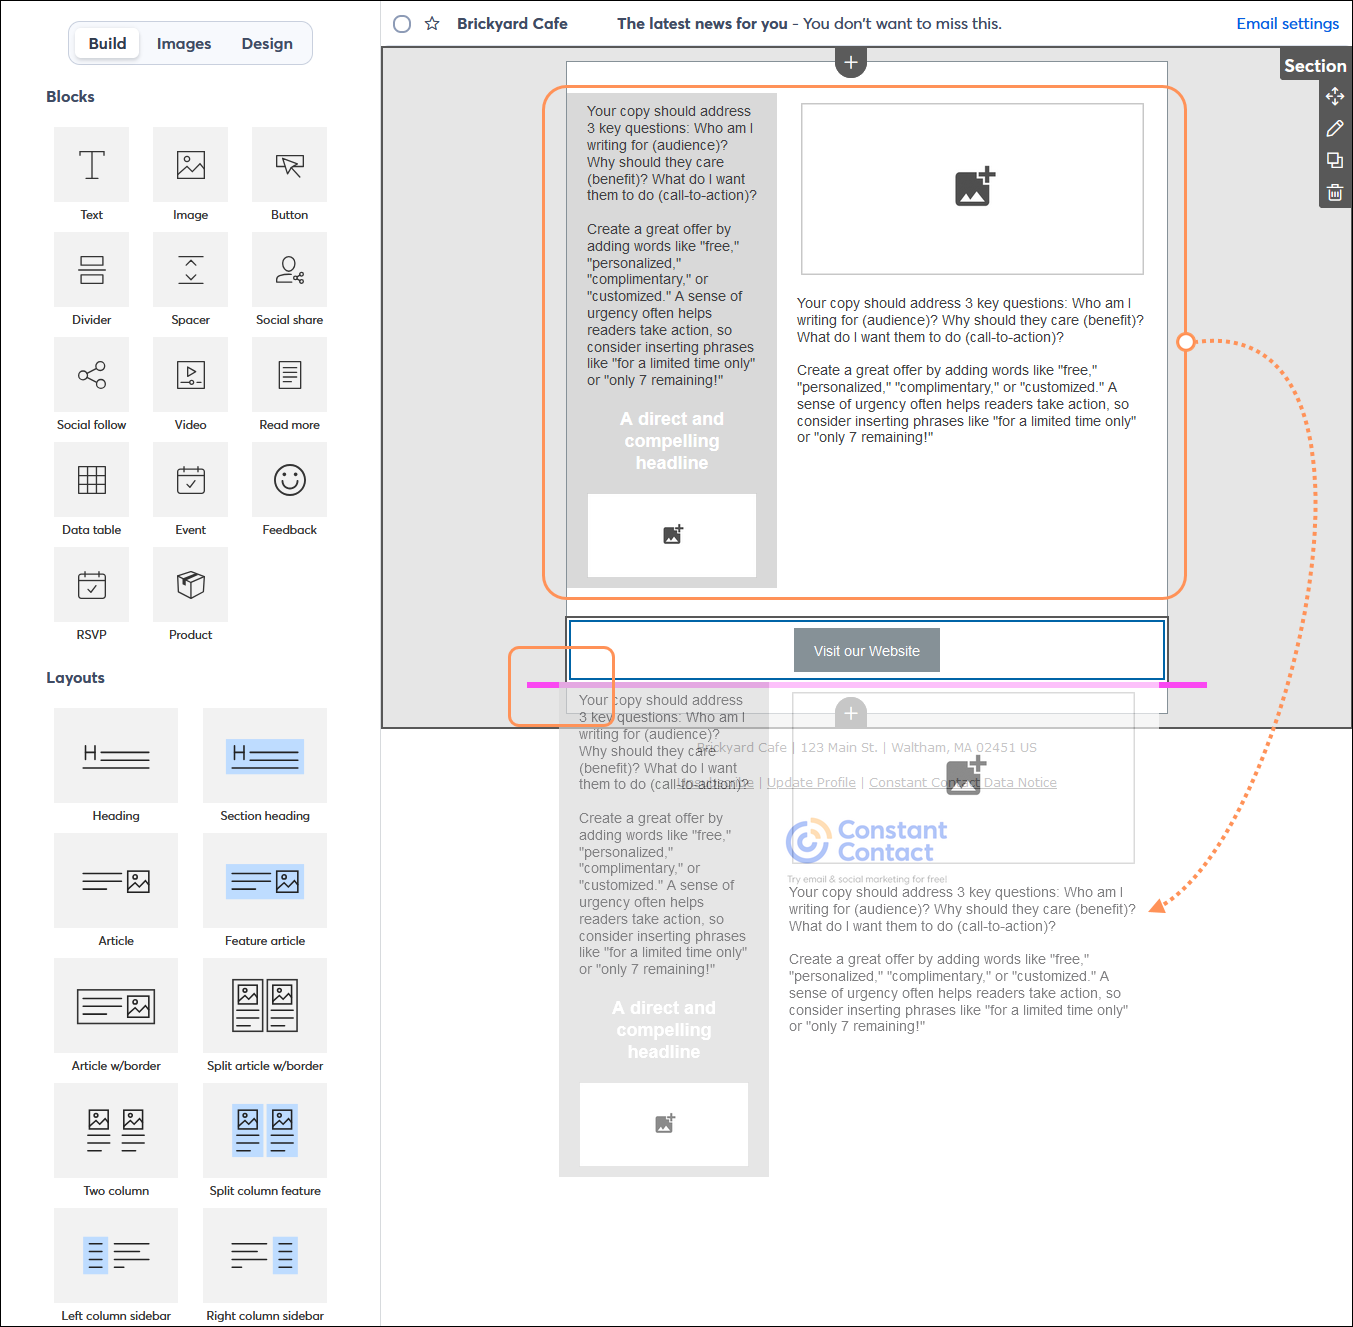
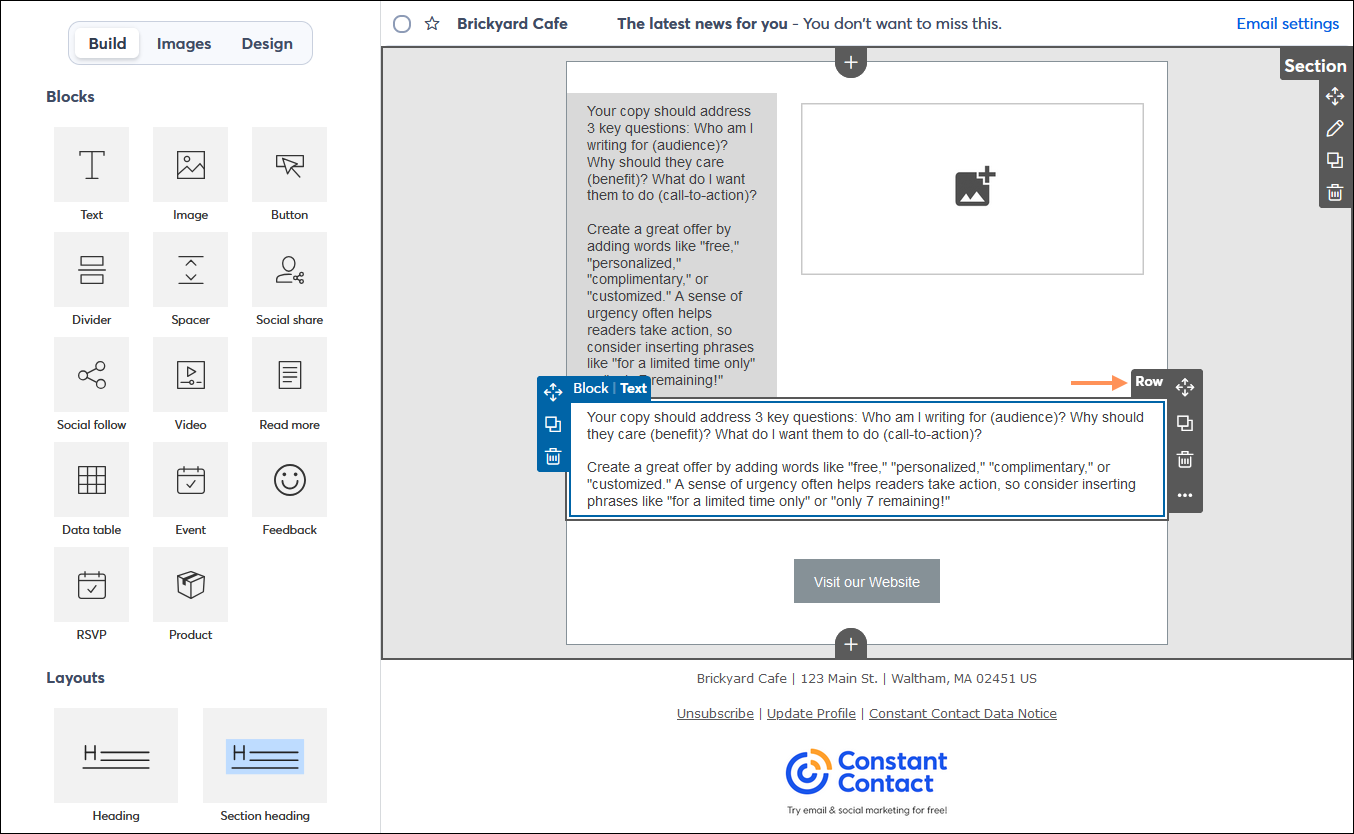
Any block can sit above or below another block, even within a column. The guideline helps you determine if you're about to add a block to a row—if the guideline extends beyond the width of the block above or below it into the outer background, the block creates its own row when you drop it in.

  • Guideline below a single block that extends beyond the inner background:

    Build tab with Image block dragged into the template below another block with the guideline extending across the template into the outer background
     
  • Resulting stacked blocks both in their own rows, where each block has its own Row menu:

    Image block sitting below another image block, both in their own rows
     
  • Guideline below a single block that spans the width of the block:

    Build tab with Image block dragged into the template below another block with the guideline spanning the width of the image block above it
     
  • Resulting stacked blocks in a row that share a Row menu:

    Image block sitting below another image block, both within the same row
     
  • Guideline below a block that is already within a column:

    Build tab with Image block dragged into the template below another block within a column, with the guideline only spanning the width of the block
     
  • Resulting columns with stacked content that share a Row menu:

    Image block sitting below another image block in a column, next to the other column, all within the same row


Adding individual blocks into a pre-built layout

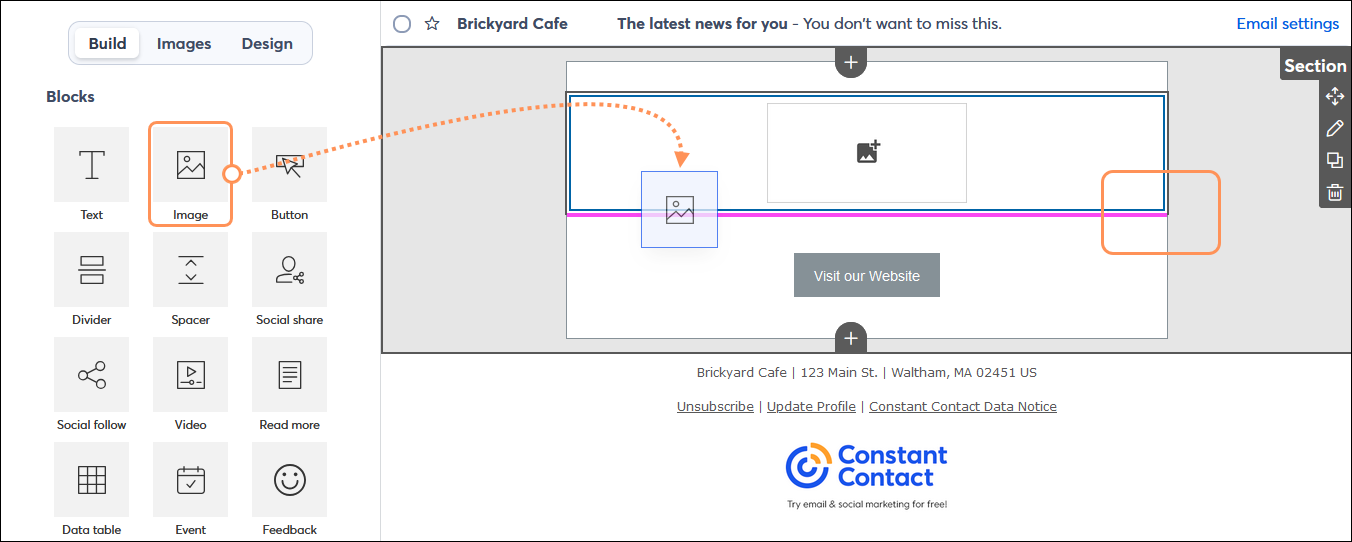
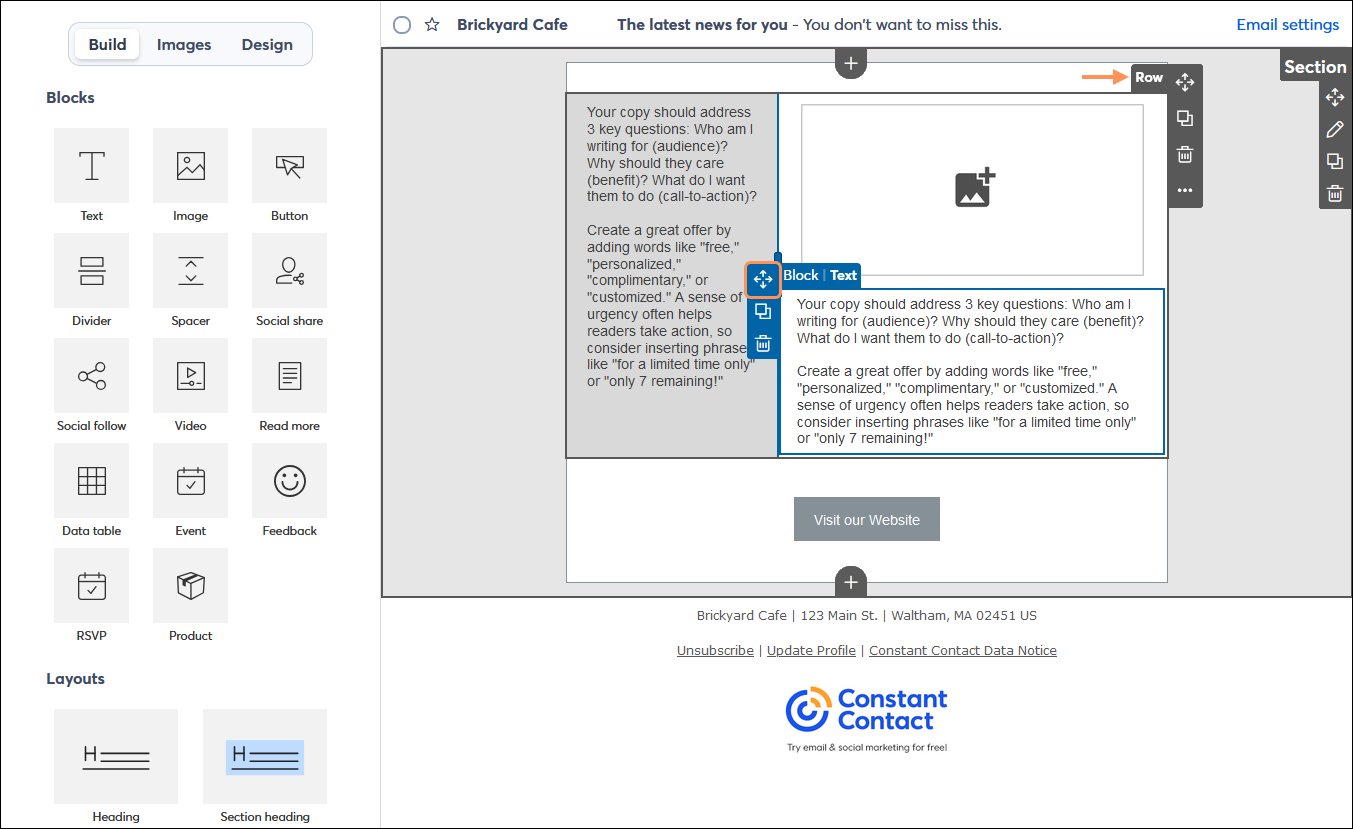
Blocks can be moved in and around a layout or row. The guideline helps you find the location within a layout where a block can be added, either above or below another individual block.

  • Left column sidebar layout with possible locations for a block:

    Build tab with Image block dragged into a Left-column-sidebar-layout showing the guideline for multiple locations to place the block, above and below the individual blocks within the layout
     
  • Resulting layout with a new image block added to the left-hand column, and the layout has its own Row menu:

    Left column sidebar layout with additional image block below the text in the left-hand column, and the layout has its own row
     

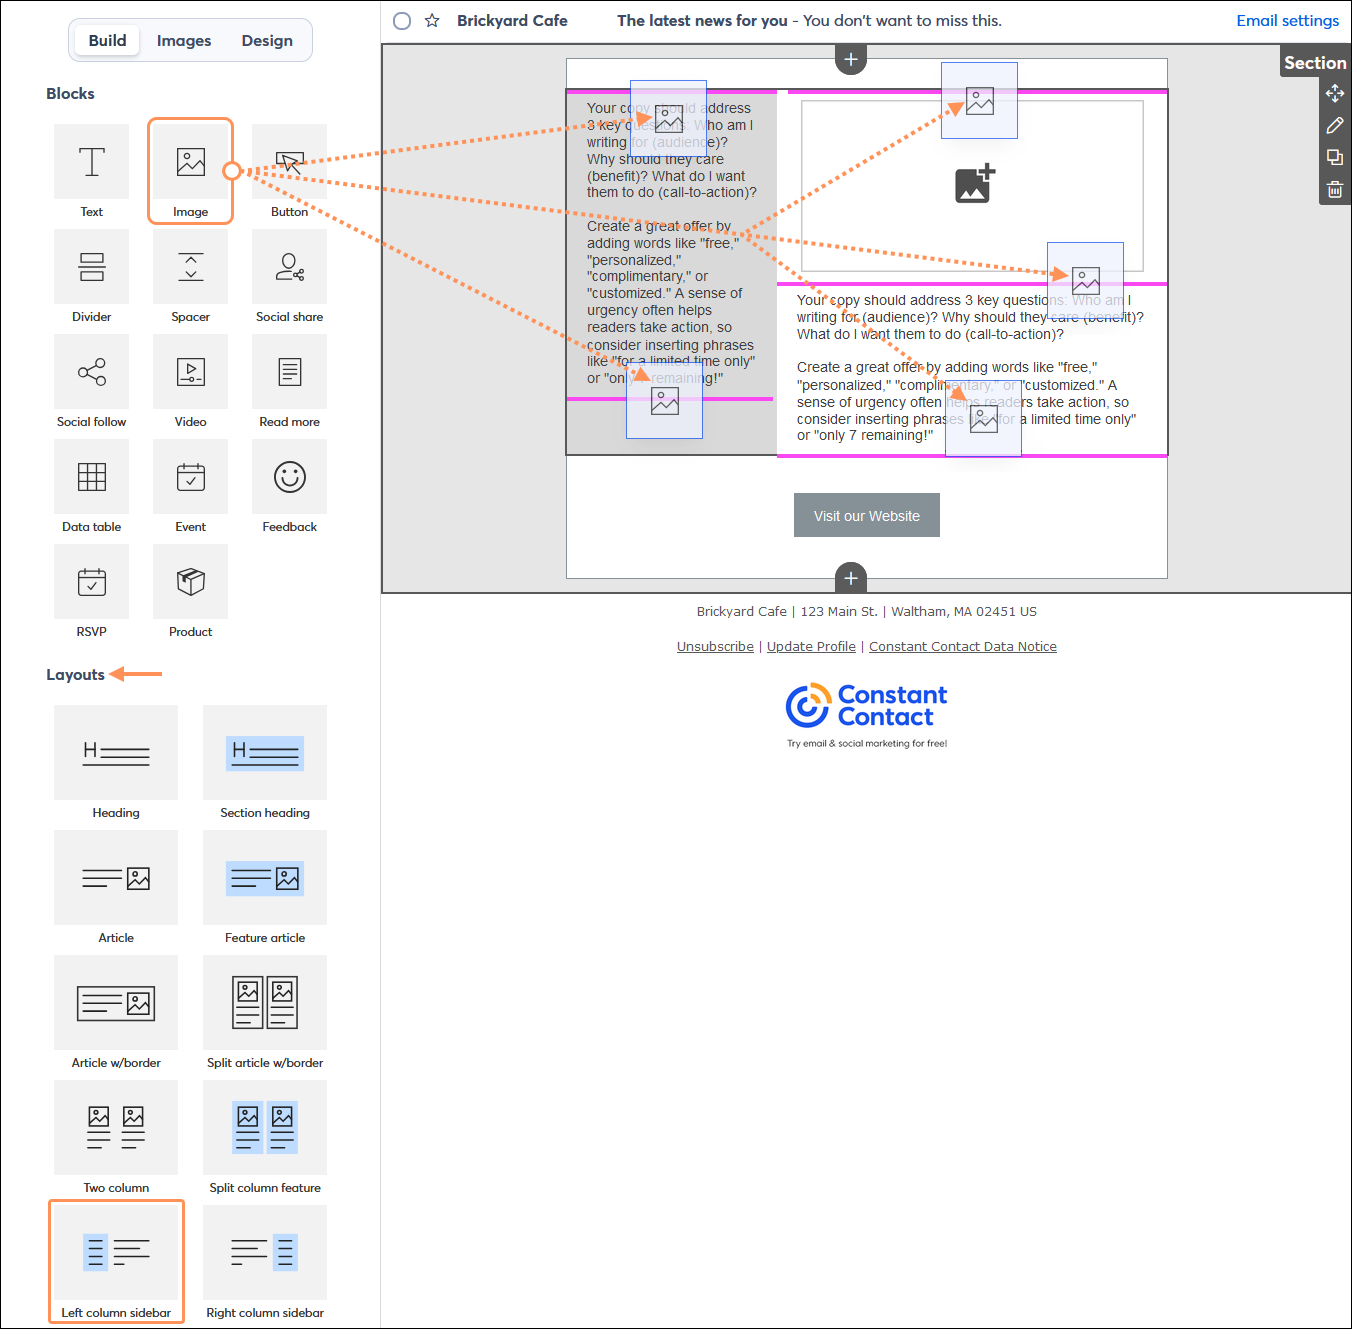
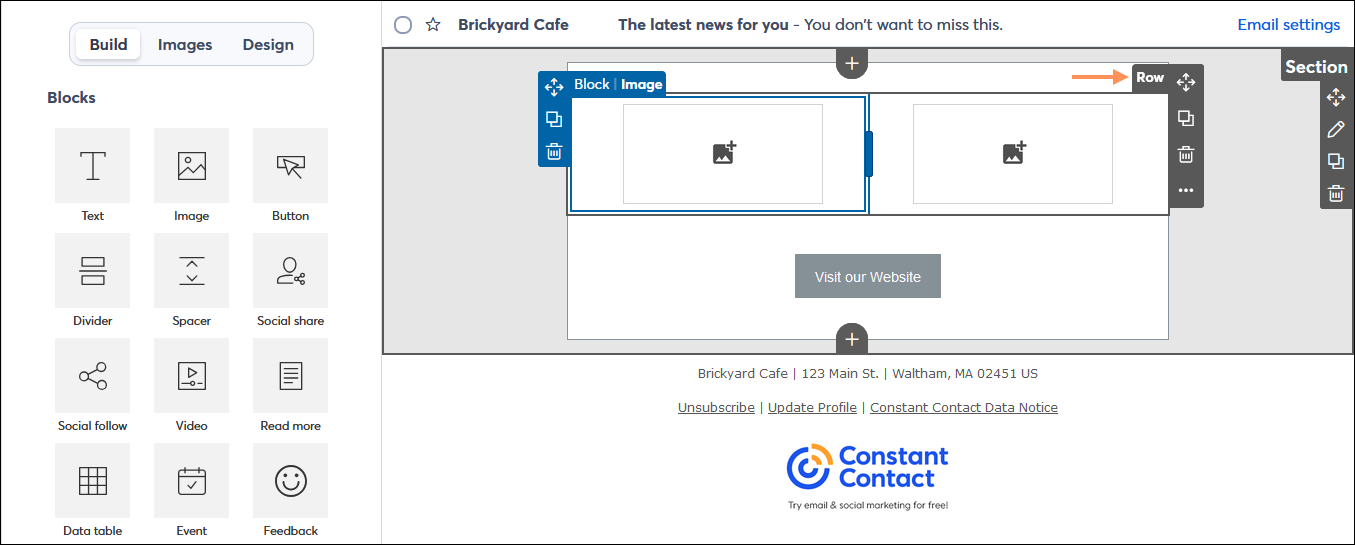
Pre-built layouts with two columns can't be converted into a three-column layout by adding a block to the left or right-hand side of the layout. You can create a three-column layout using the pre-built three-column layout or by placing three individual blocks next to each other.

Light Bulb IconDid you know? Image blocks have an additional placement option so that you can wrap text around them (not shown in image above).


Moving a row or layout

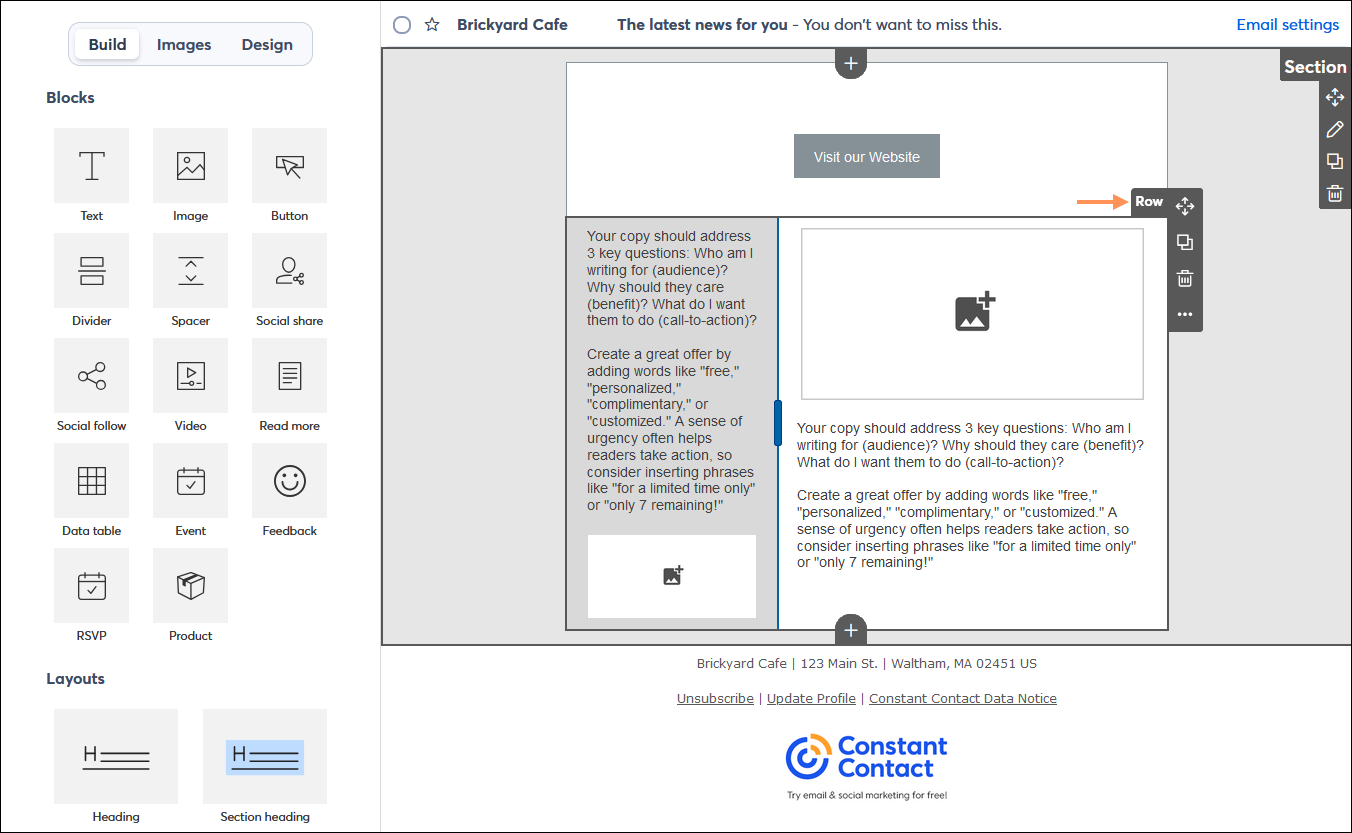
Once you have connected blocks together in a row or added a pre-built layout to your template, the blocks can be moved as a unit using the drag handle (directional arrows) in the Row menu. Rows can only be moved above or below other rows and can also be moved above or below a row in a new section.

  • Layout in its own row with Row menu and drag handle:

    Layout in its own row with the Row menu expanded and the directional arrows for dragging the layout higher or lower in the template 
     
  • Row being moved below another row with guideline extending into the outer background:

    Layout in its own row being dragged to the bottom of the template with the guideline visible and extended into the outer background  
     
  • Resulting row resting at the bottom of the template beneath the other row.

    Layout in its own row that has been moved to the bottom of the template beneath another row 


Light Bulb IconDid you know? The Design tab lets you set the global colors and fonts for your entire template, but each row has an option for changing the background color to make it stand out too!


Heading layouts

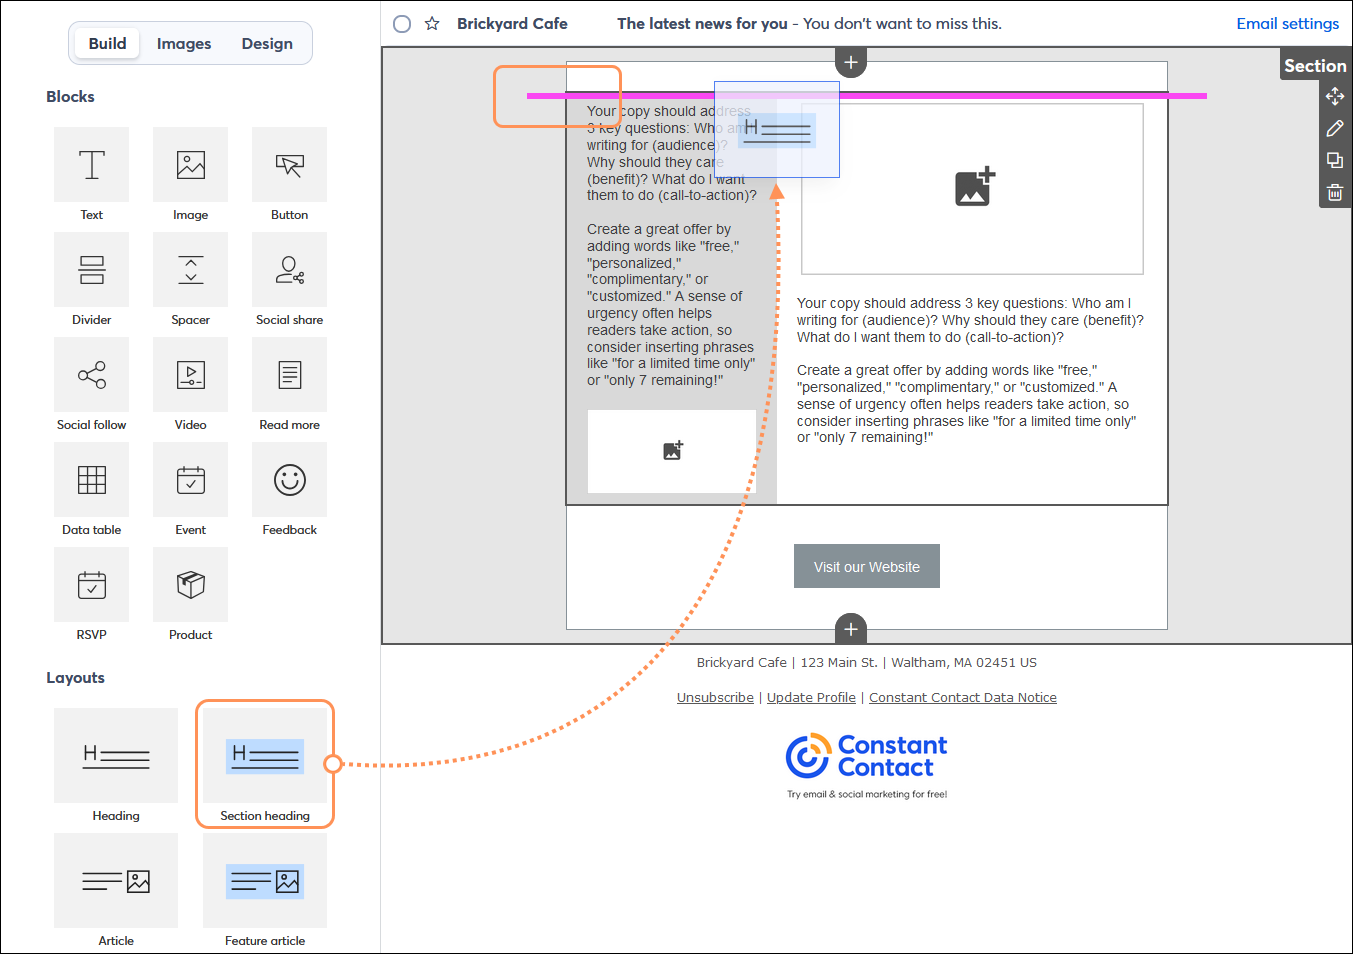
The only exception to this rule is for a Heading or Section heading layout. These layouts follow the rules for adding a prebuilt layout into a template, where they must be placed above or below another row. However, once they are added to the template, you can use the drag handle (directional arrow) in the Block menu to move them within a layout. If you use the drag handle in the Row menu, the heading must be moved above or below another row.

  • Guideline below a single block that extends beyond the inner background:

    Build tab with Layouts section and Section heading layout being dragged into the template in its own row 
     
  • Resulting Heading layout in its own row, with its own Block menu and drag handle and Row menu with drag handle (directional arrows):

    Headline layout as its own row with Row menu and Text block menu visible with directional optional for dragging 
     
  • Heading block moved into the pre-built layout using the Block drag handle (directional arrows), and the Heading block is now a part of the same row as the pre-built layout:

    Layout with its Row menu expanded and Headline layout as a Text block within the layout with its Block menu visible 


Moving an individual block out of a layout

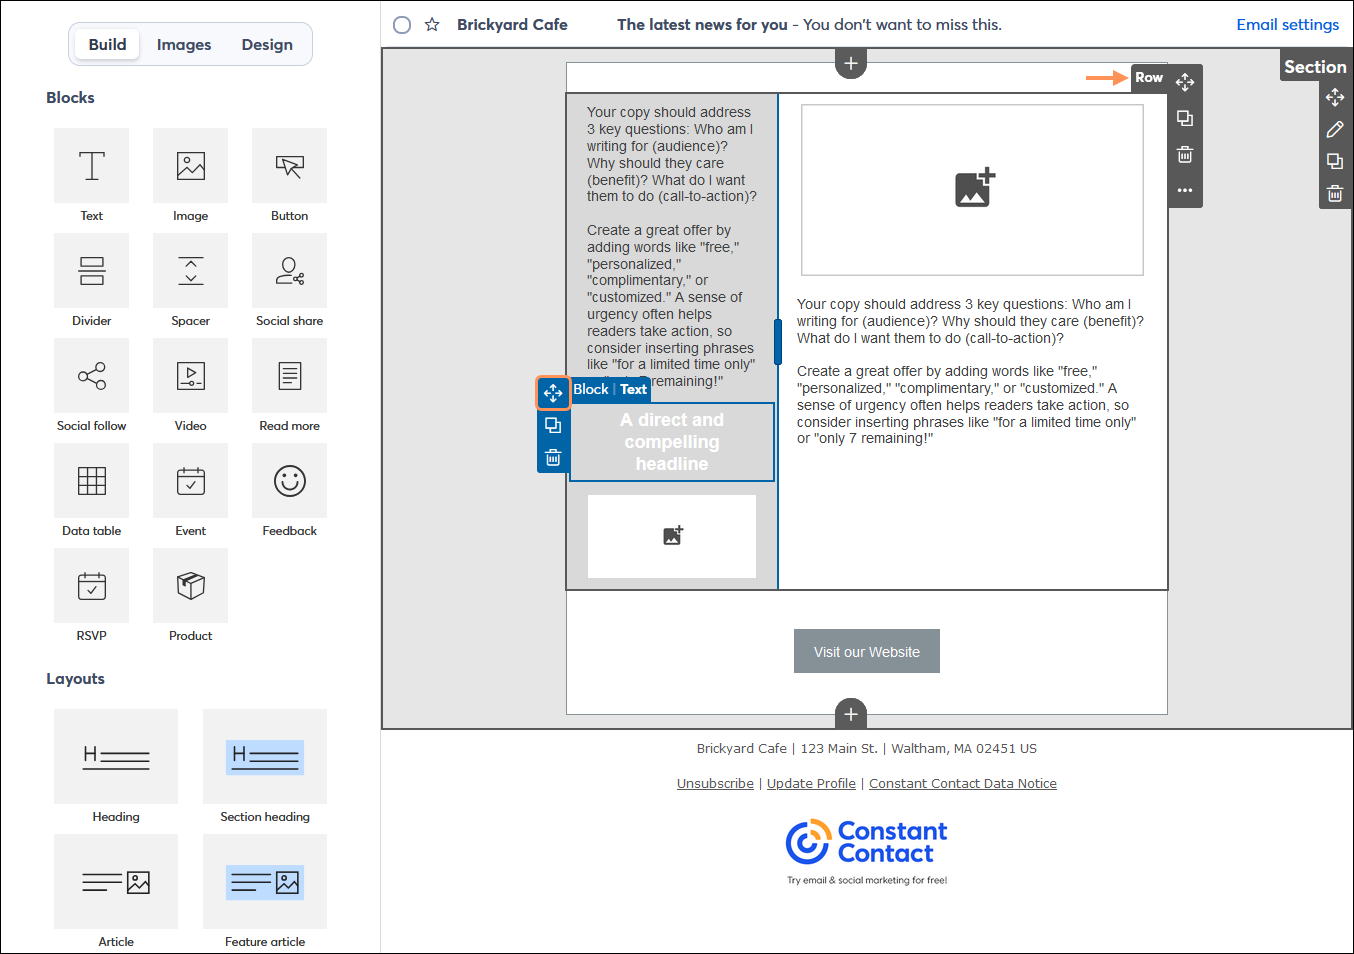
Once a block is part of a layout, it isn't permanent. Each individual block can be moved to create its own row, or it can be moved into a different group of blocks or layout.

  • Row with an individual block highlighted showing the Block menu and drag handle (directional arrows):

    Layout with its Row menu visible and Text block within the layout with its Block menu visible 
     
  • Resulting block after being moved below the layout into its own row:

    Text block moved out of a layout and into its own row below the layout with both the Block and Row menus visible 


Questions?

Ask the Community

Did this article answer your question?


Constant Contact Logo

Copyright © 2025 · All Rights Reserved · Constant Contact · Privacy Center