Using a consistent font and color scheme throughout your email makes it look polished and professional. It's also less likely to trigger spam filters! Starting from the Styles tab is the quickest way to apply text styles to the entire email template, but you can also update the text in individual blocks with different styles for contrast or emphasis.
| Note: To ensure your email displays consistently across email clients, there is currently no way to add your own font. If you want to use a font that’s not available in the editor and you’re comfortable using HTML, you can use our custom code editor to create your email instead. |
| Tip: To avoid spam filters, it's best to stick to two fonts or fewer throughout your email. It's fine to use various sizes of a single font. |
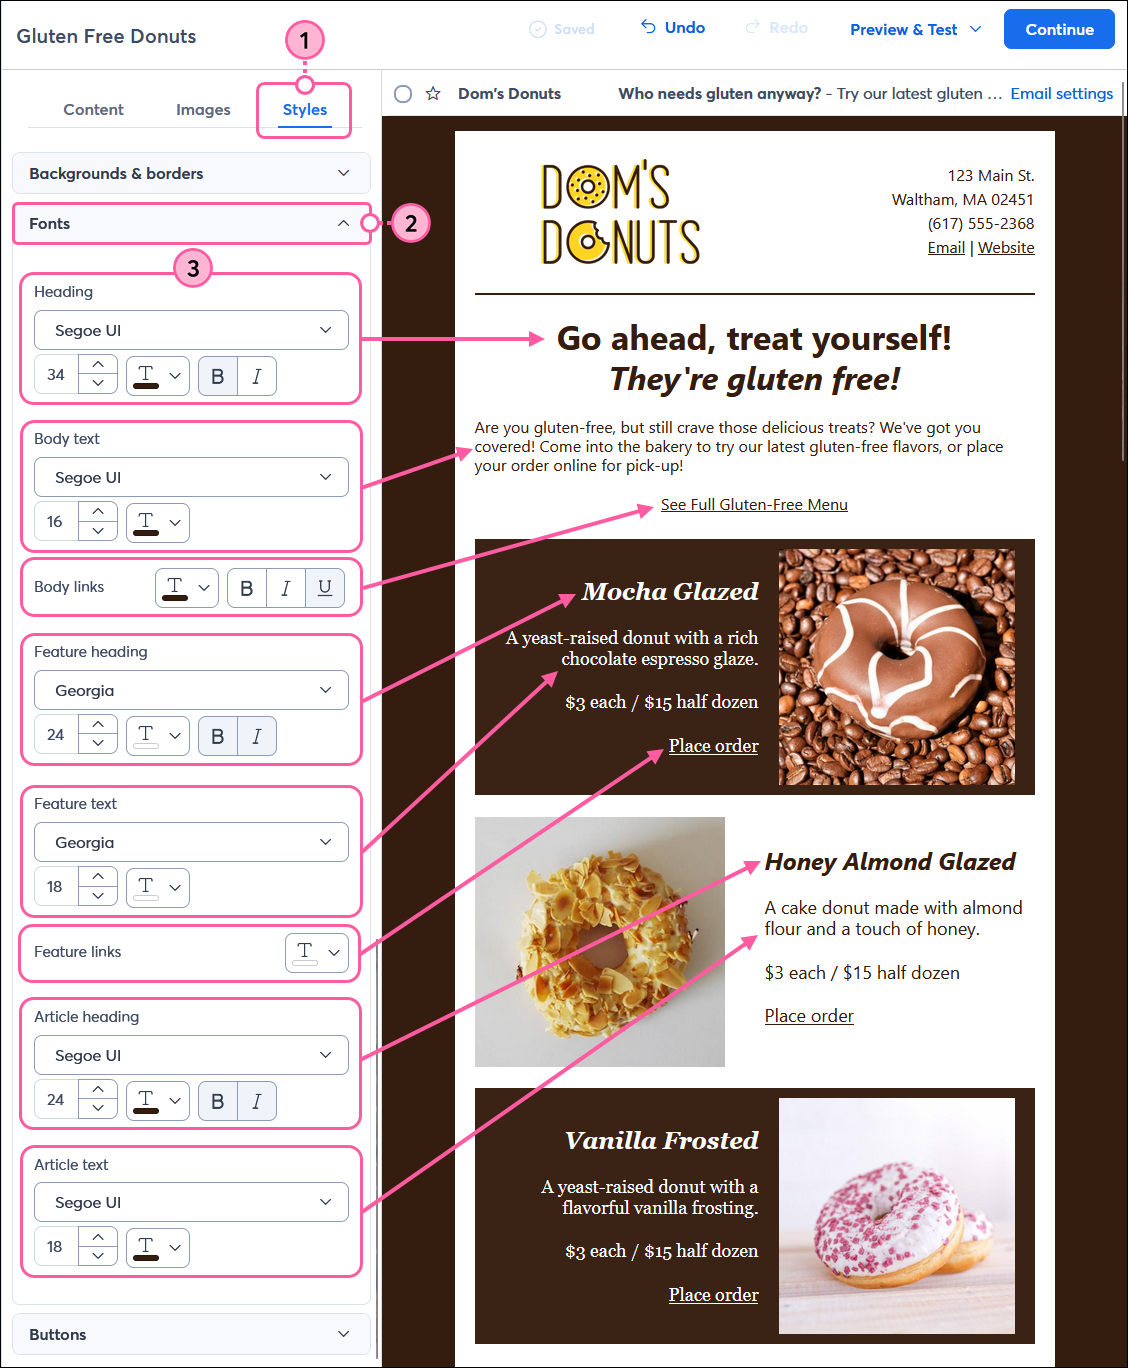
The Styles tab lets you choose the font, text color, and text size for your entire email, and add emphasis to the text and text links in your template.
| Note: Text styles are applied to the entire template, except where you've previously used the block-level text toolbar to style a specific block of text. If you notice that the text doesn't change when you adjust the styles from the Styles tab, you'll need to edit it using the block-level text toolbar, or you can clear the formatting to reapply the template-wide styles. |
While editing your email:
| Note: The text size is in pixels, rather than points, so it may appear smaller than you're used to. For example, 16px = 12pt. |
| Did you know? Buttons have their own template-wide style options on the Styles tab, and they can also be customized using the block-level toolbar. |
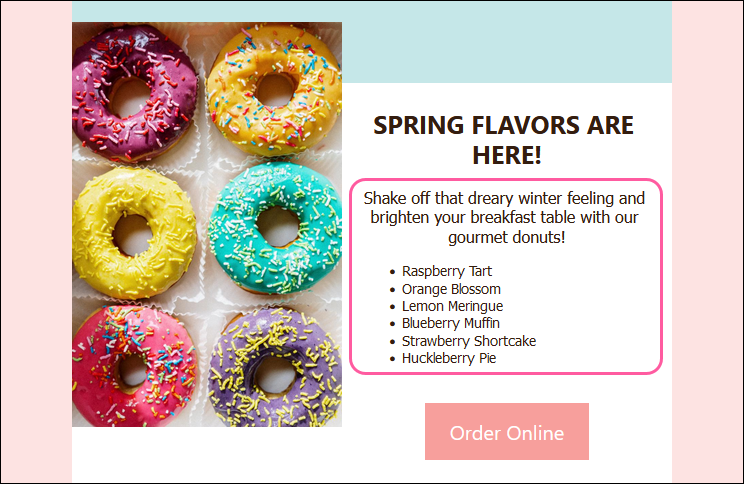
If you want to format text within a specific block without altering the rest of your email, the block-level text toolbar lets you fine-tune your text styles and gives you more styling options than those available at the template level.
| Note: If you format text using the block-level toolbar, the formatting won't be affected if you apply styles later from the Styles tab. If you want to use the styles from the Styles tab, you can clear the text's formatting. |
|
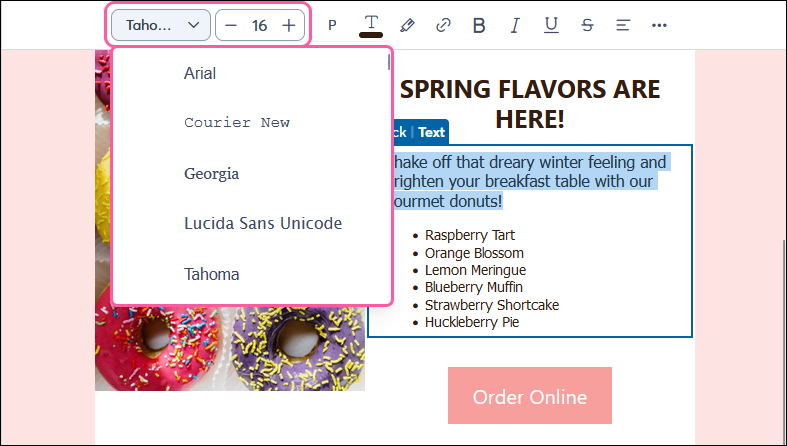
Font - For best results, choose an email-safe font; they display the most consistently across different computer and mobile device types.
|  |
|
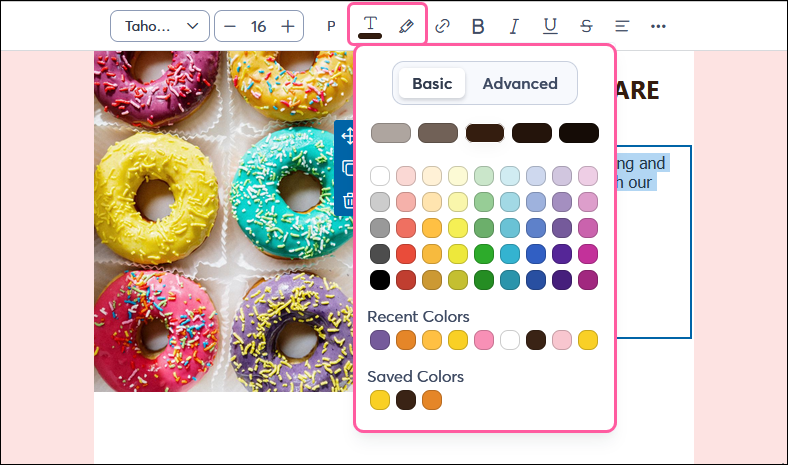
Text color - Change the text color. Select a color from the palette or click Advanced to enter a specific hex value.
|  |
| Text emphasis - Choice of bold, italic, or underline, with additional | 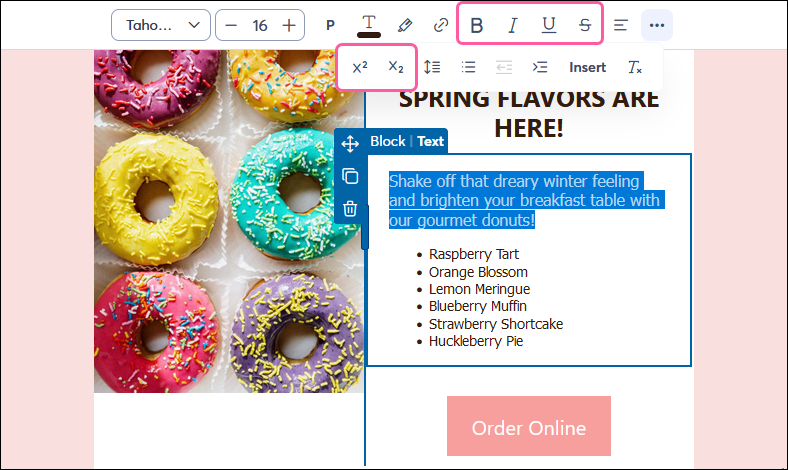 |
| Headlines - Apply a headline or paragraph style to the text. These options correspond to the Heading styles under the Styles tab. | 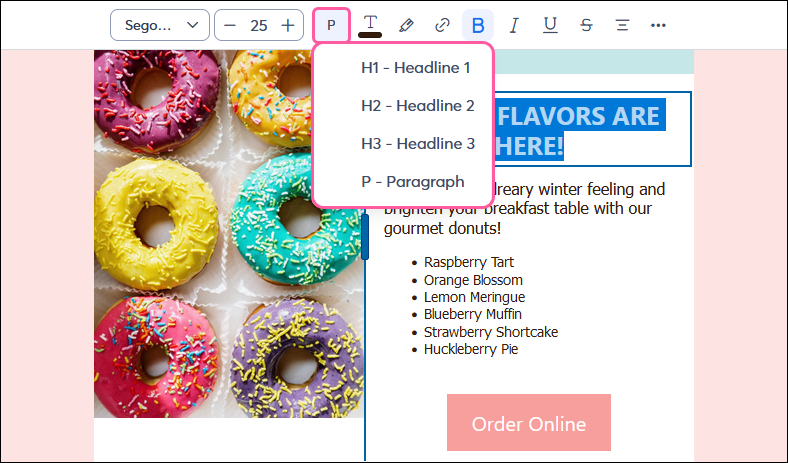 |
| Text alignment - Choice of left, right, center, or justified. | 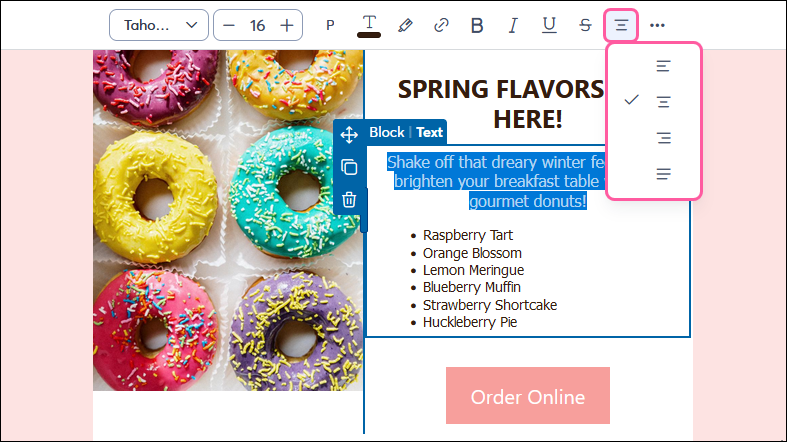 |
| Line spacing - Change the spacing between your lines of text within the entire block. Choice of single, 1.2, 1.5, or double line spacing. | 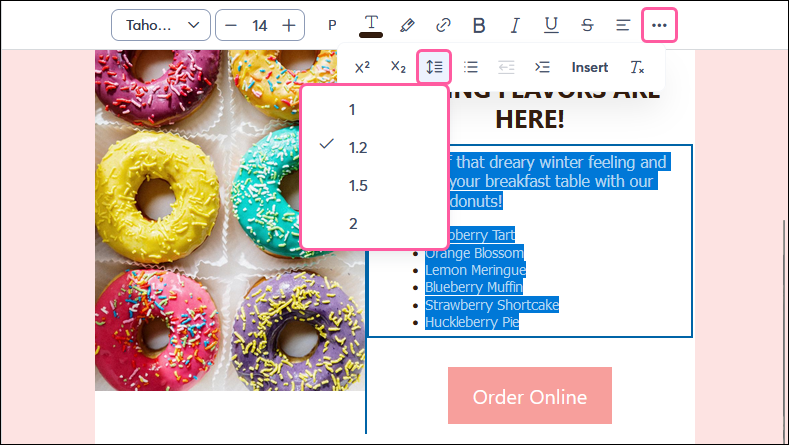 |
| List style - Choice of bullets or numbers. To indent a bullet, place your cursor at the start of the bulleted text and press the Tab key on your keyboard. Press Shift + Tab to outdent the bullet. | 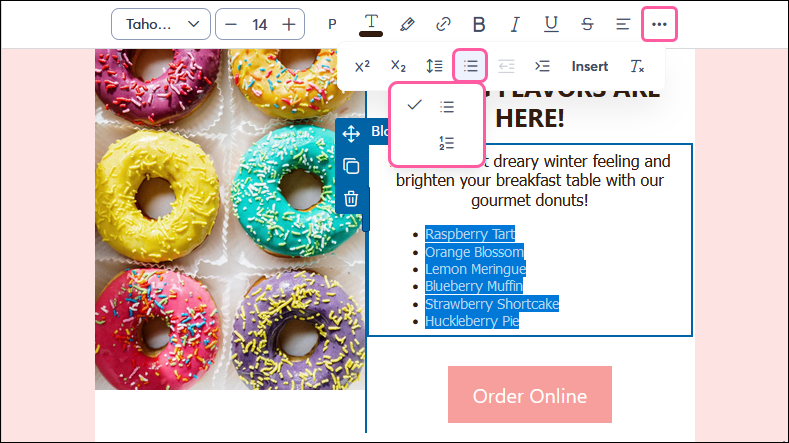 |
| Indent - Increase or decrease the indentation of your text. | 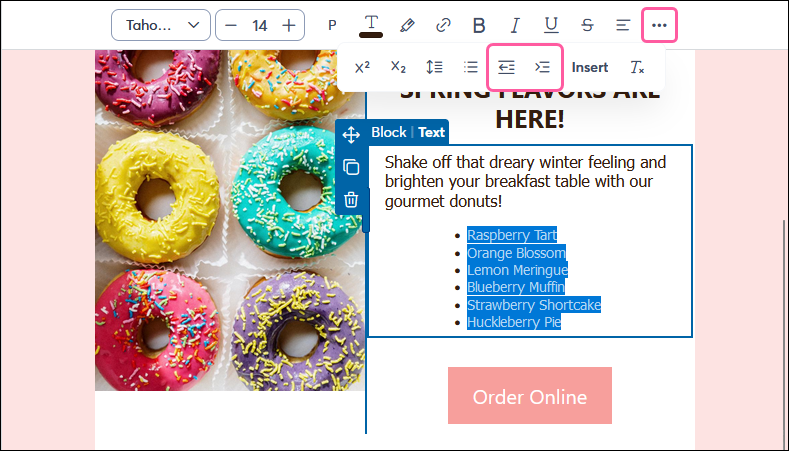 |
|
Clear formatting - Remove any formatting from the text and reapply the styles set on the Styles tab.
Did you know? Pasting text from another source can sometimes bring in hidden code that can cause formatting issues. |  |
The text toolbar also offers Link and Insert options, so you can add things like text links, greeting tags, or contact details to further customize your email.
To change the text copy in a block, just highlight the text you want to remove and start typing your new text. The block gets smaller when you delete the content and expands as you type.
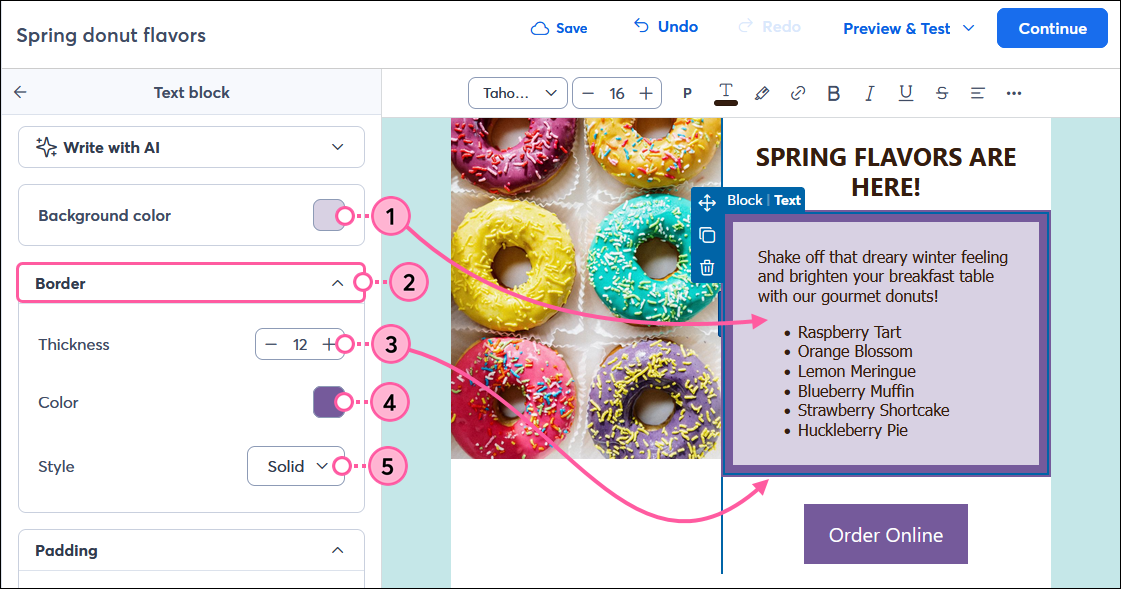
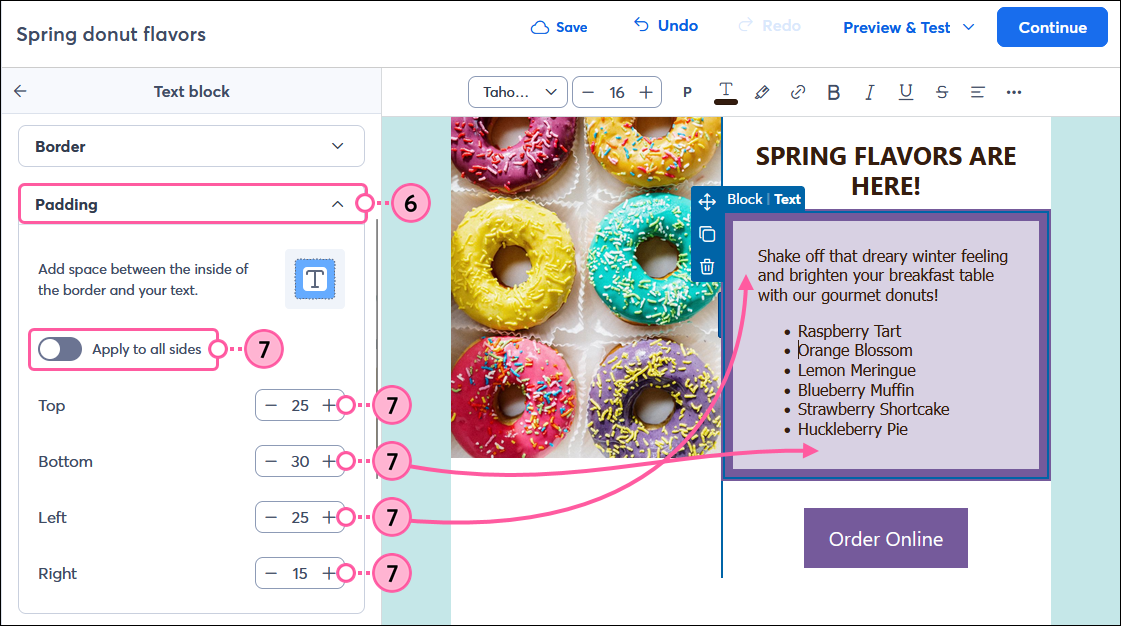
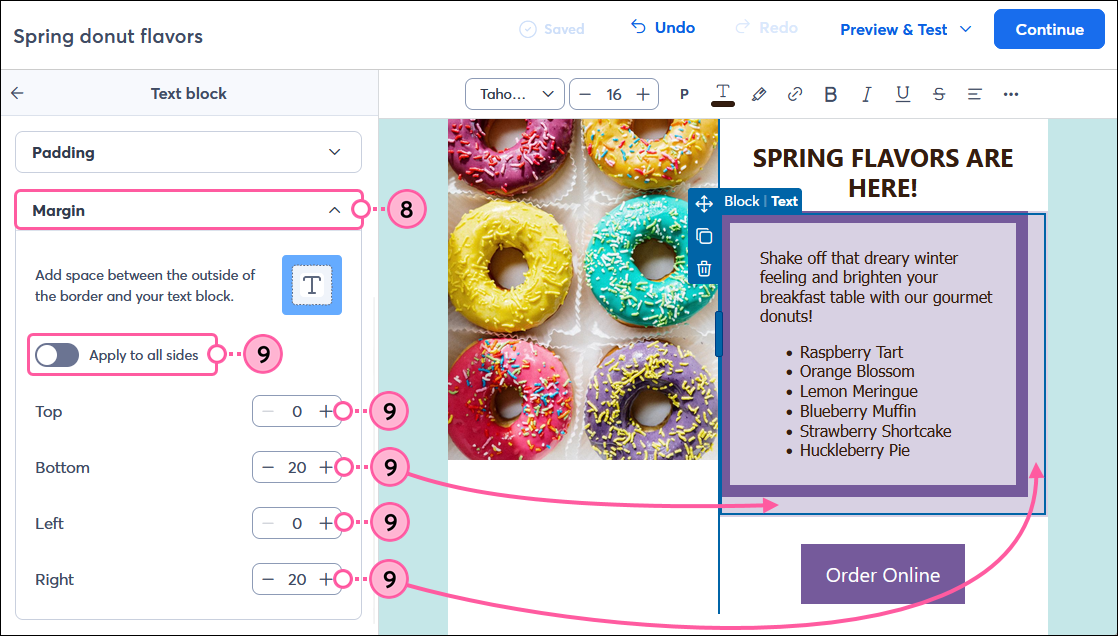
You can customize the look of your Text block further by adding a background color and border, and adjusting the padding and margins around your text!
After clicking on the Text block:
Copyright © 2026 · All Rights Reserved · Constant Contact · Privacy Center