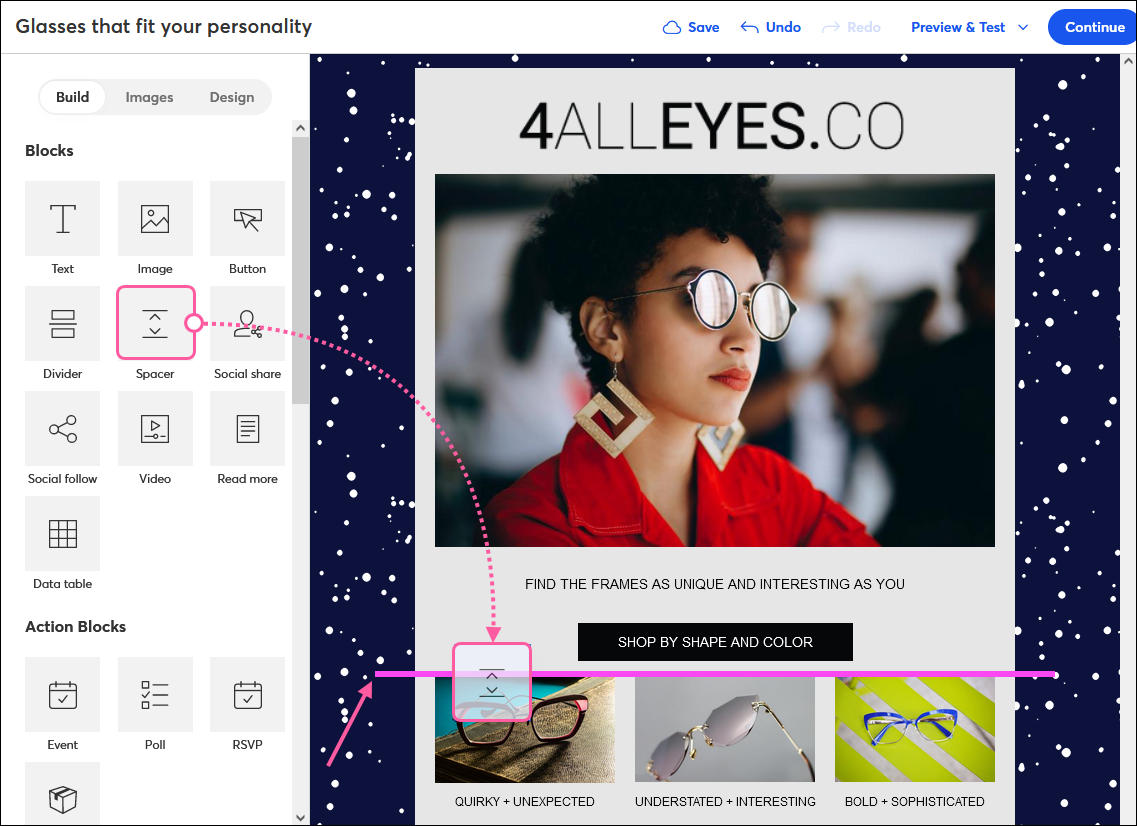
A little extra space between text, images, or buttons gives the eye a break and makes it easier to read your email. Spacers don't just have to go above or below your content, though! You can use them to push content to one side and create a two-column layout, and also center content from top-to-bottom in a column so that it lines up a little better.
| Design tip: Spacers can help adjust the image padding above or below an image in your email. |
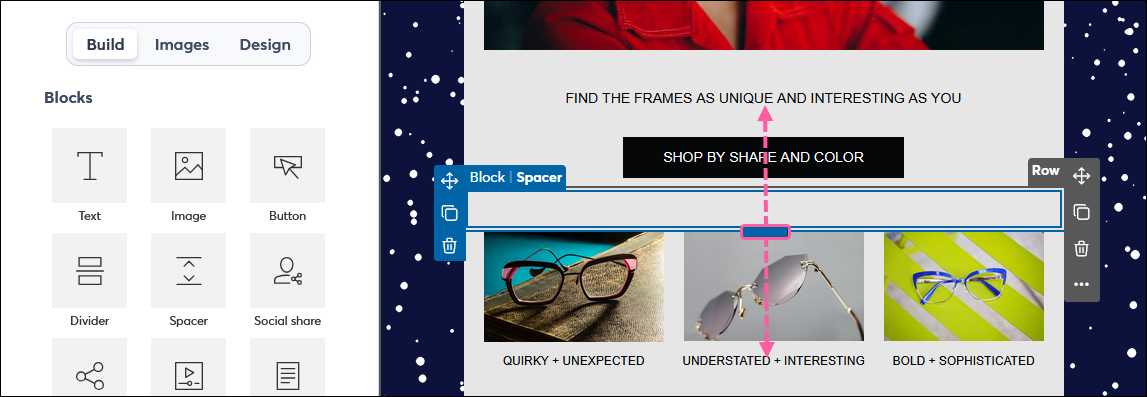
Spacers can stretch across the entire template or can be added to columns.
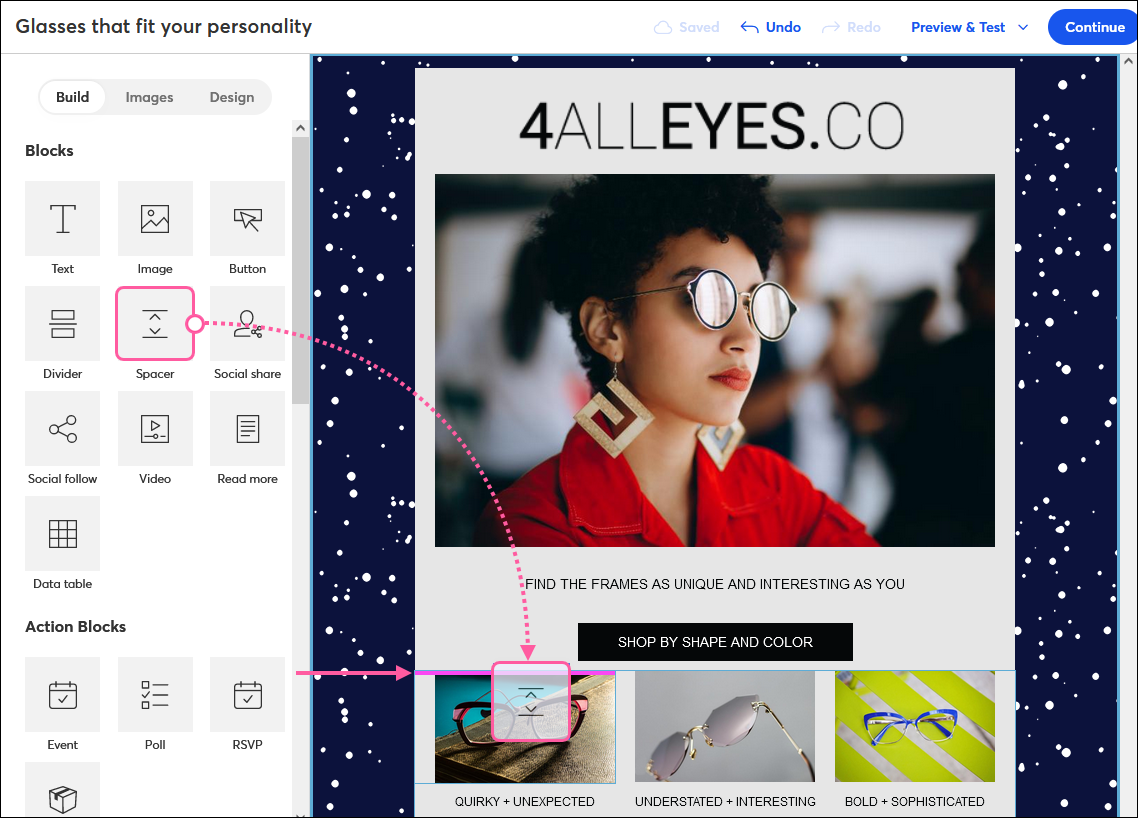
Once a spacer is in your template, you can drag it to a different location, copy it, or delete it using the menu on the right-hand side of the spacer.
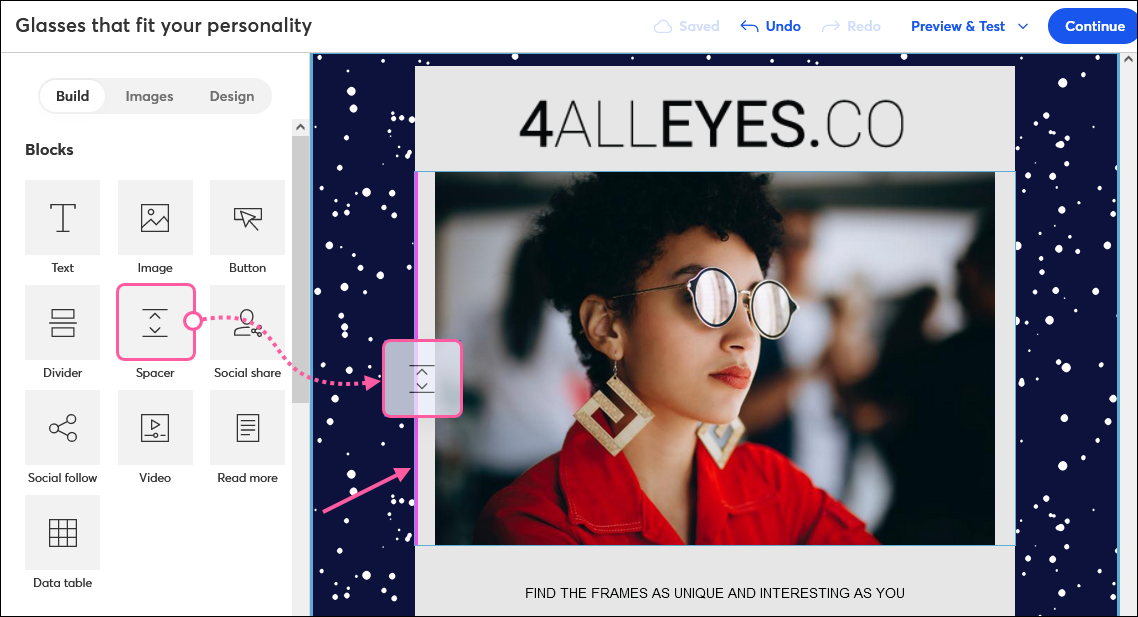
Once another type of block, like an image, text block, or divider, has been added to your template, you can place a spacer next to it to create columns. You can add a single spacer for a dual-column layout or add another for a three-column layout.
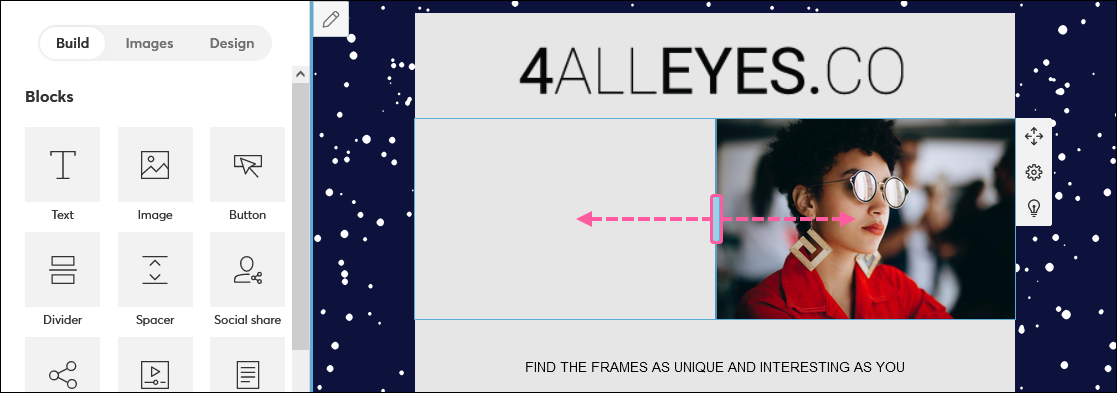
There are two ways to resize a spacer:

The spacer defaults to the inner background color of your template or the background color of the layout you add it to. Changing the background color of the template or layout will change the color of the spacer. However, if you want the spacer to stand out, you can change its color independently.
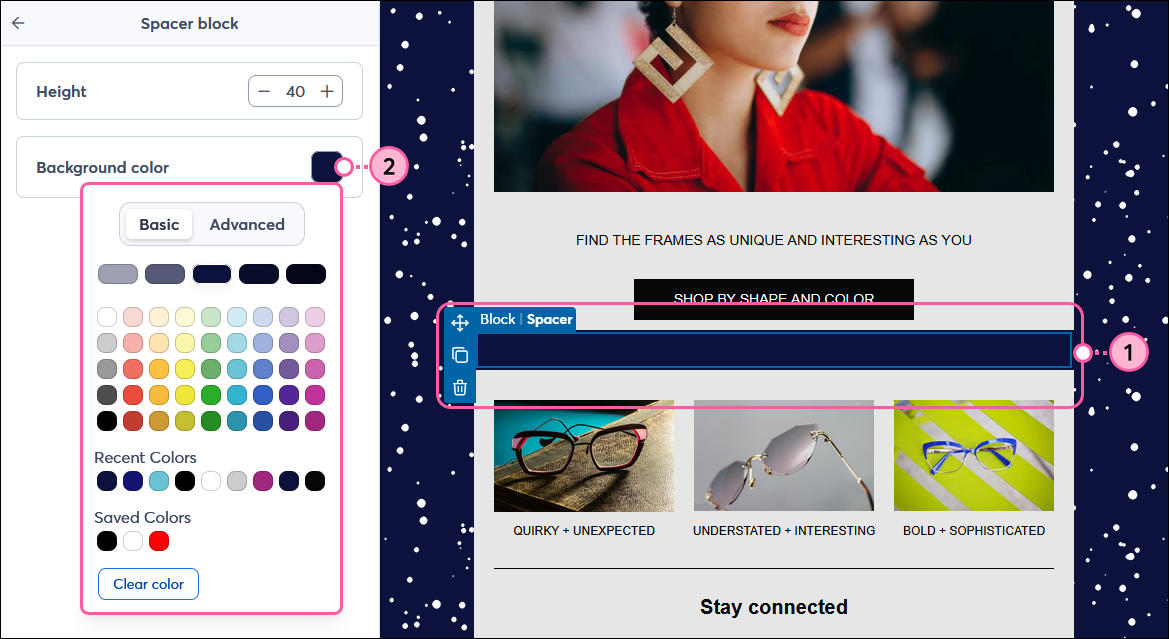
| Did you know? Once the spacer color is changed, the color won't change if you select a new color for the template background or layout. Deleting the spacer and adding a new one resets the color to match the background, if needed. |
When you're adding multiple spacers to your template layout and want them to be the same height and color, you can create one spacer the way you want it and then copy it. This maintains the same pixel height and color, so you don't need to adjust each spacer.

The new spacer appears right below the original spacer and can be dragged elsewhere in your template.
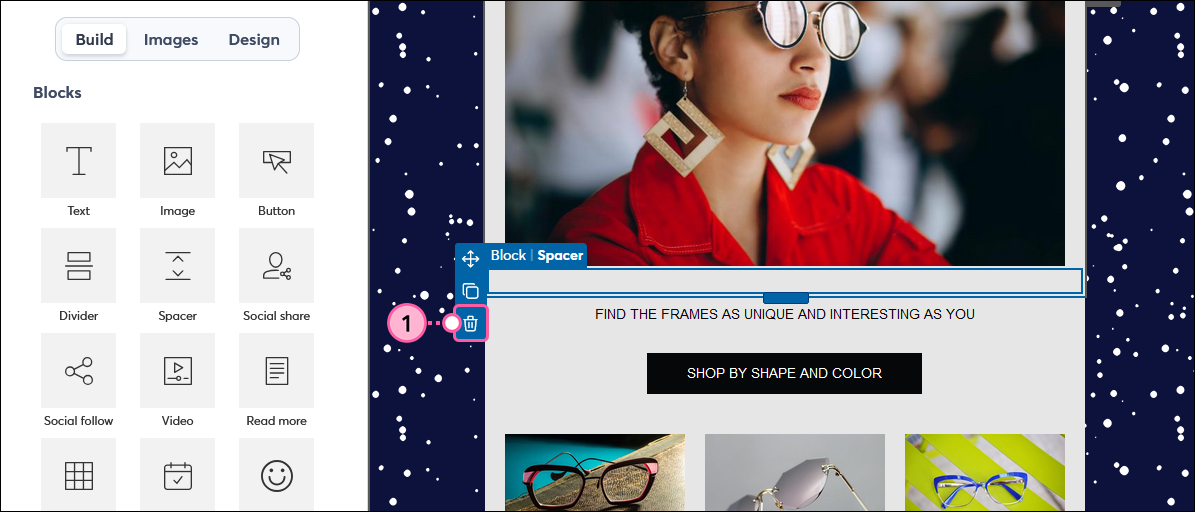
If you need to delete a spacer:
Copyright © 2026 · All Rights Reserved · Constant Contact · Privacy Center