| Administrators | ✓ | |
| Company Managers | ✓ | |
| Marketing Managers | ✓ | |
| Sales Managers | ✓ | |
| Salespersons | ✓ | |
| Jr. Salespersons | ✓ |
| Tip: Are you looking for information about Constant Contact’s Email and Digital Marketing product? This article is for Constant Contact’s Lead Gen & CRM product. Head on over to the Email and Digital Marketing articles by clicking here. Not sure what the difference is? Read this! |
Different features in Lead Gen & CRM deal with different types of data. Sometimes, this data can become too much to manage on its own and can benefit from being grouped together with like data. Lead Gen & CRM promotes using tags as a means of grouping data.
Essentially, tags are a way to group different pieces of data together under a similar label. Tags can be used to group similar accounts, leads, emails, lists, campaigns, and user groups. Data with the same tag will appear together when searched. Additionally, data can be assigned multiple tags, which can make organization that much easier.
Even when used as a grouping tool, tags can be used in different ways. Consider how tags can be used to:
The Tag Manager is directly attached to several of Lead Gen & CRM's core components. All of the Tag Manager's features will be available regardless of how and where it is accessed.
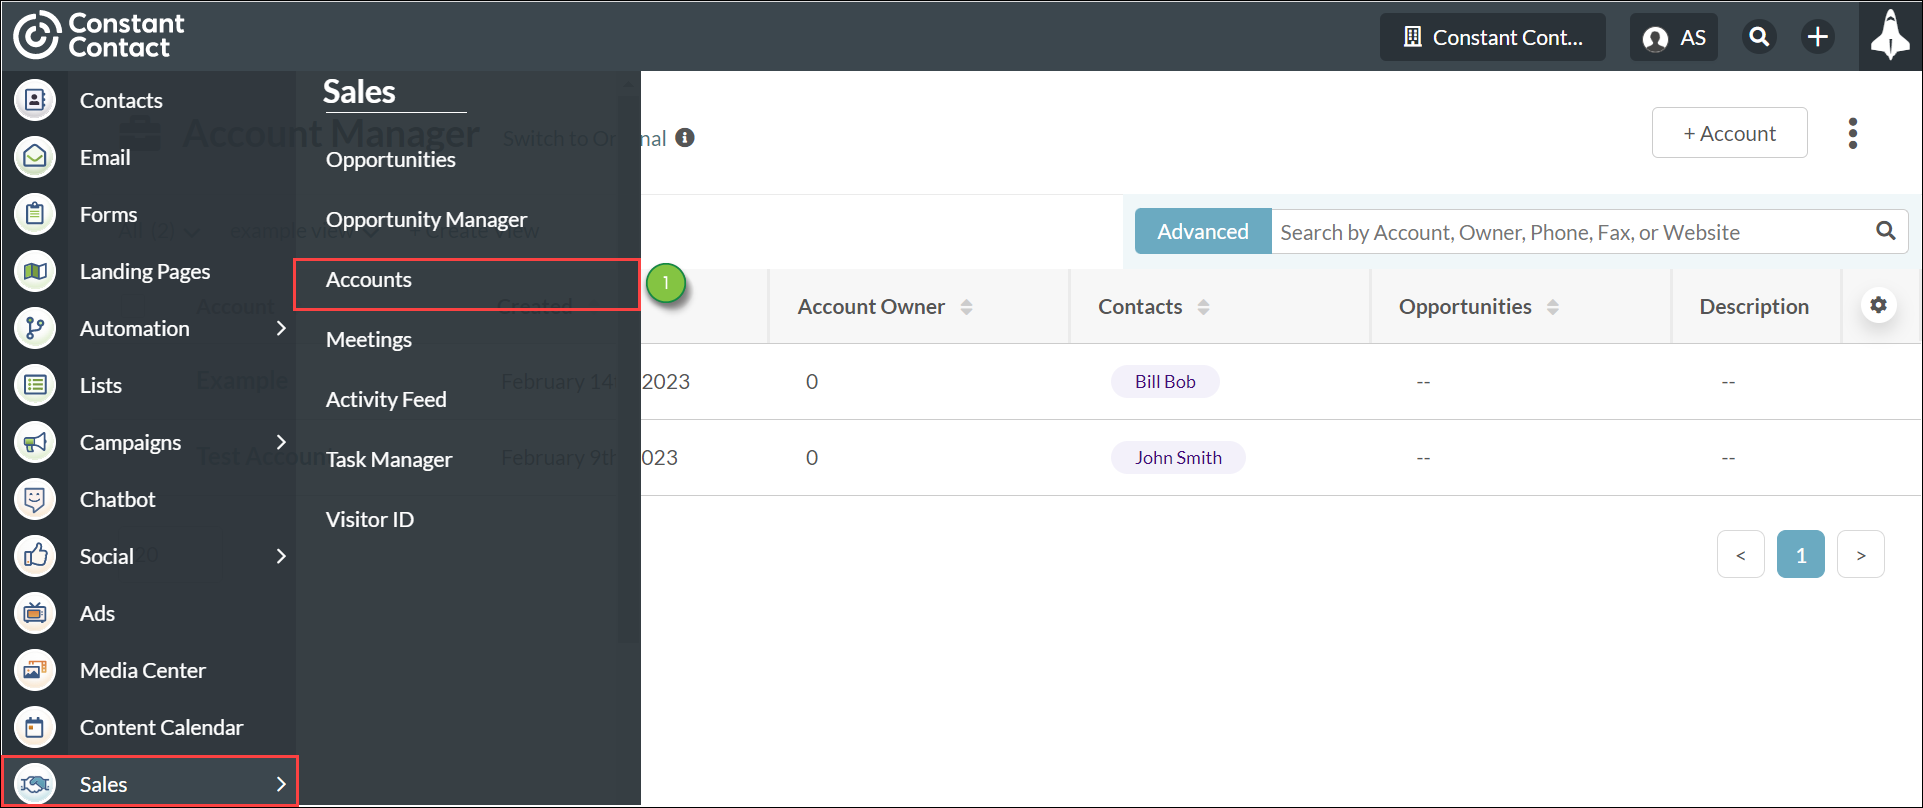
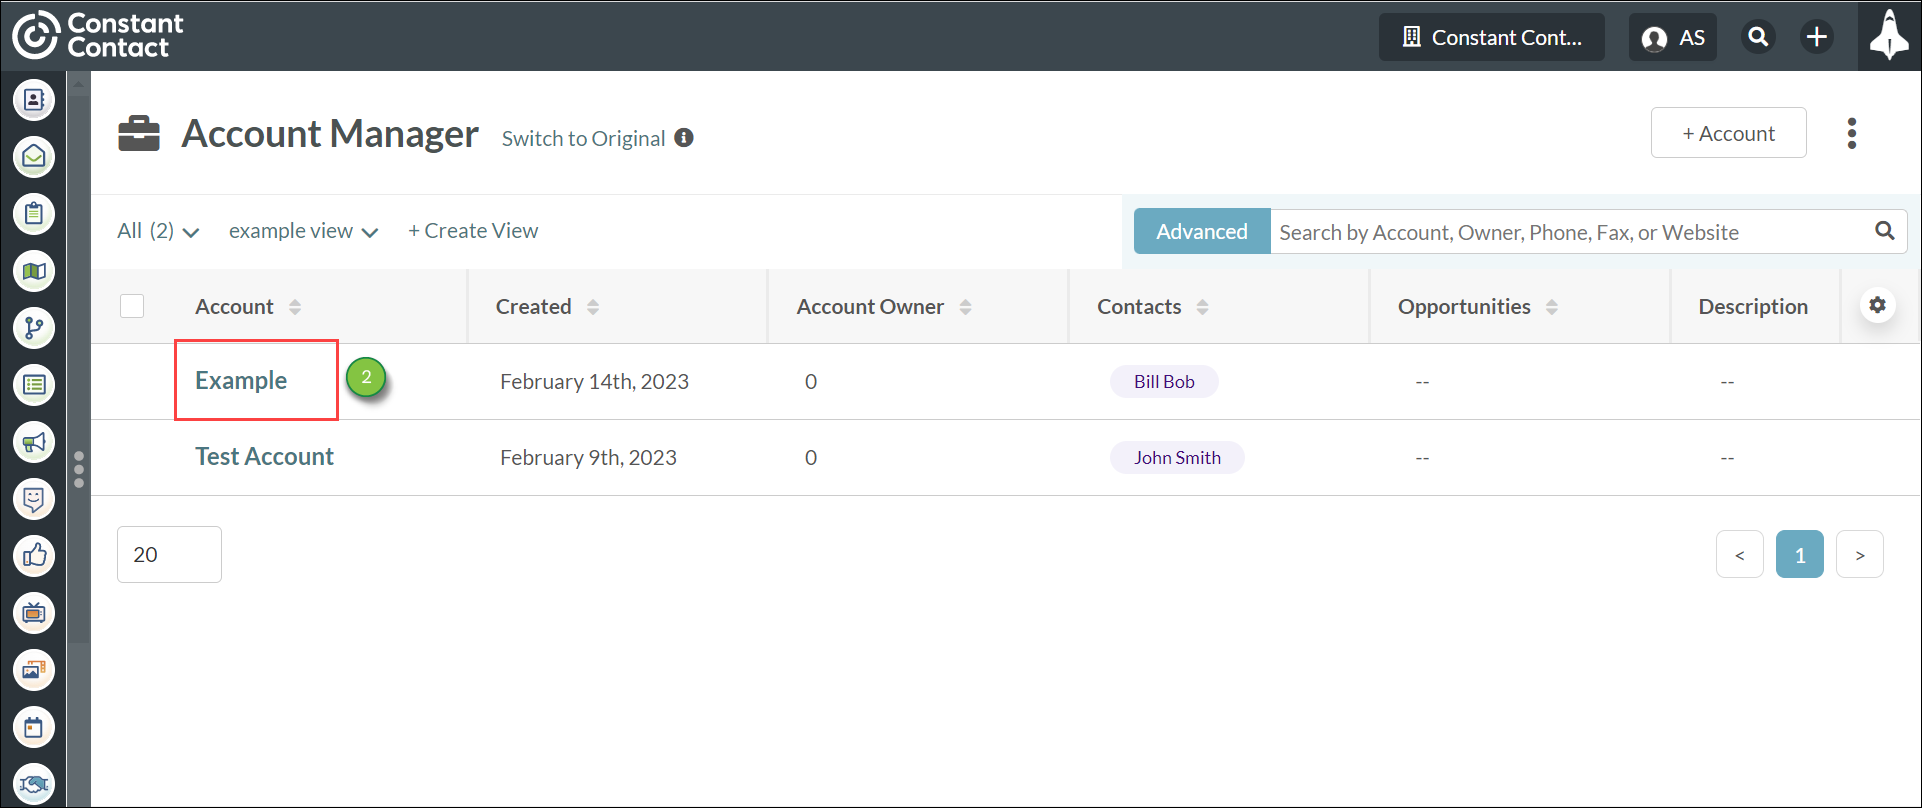
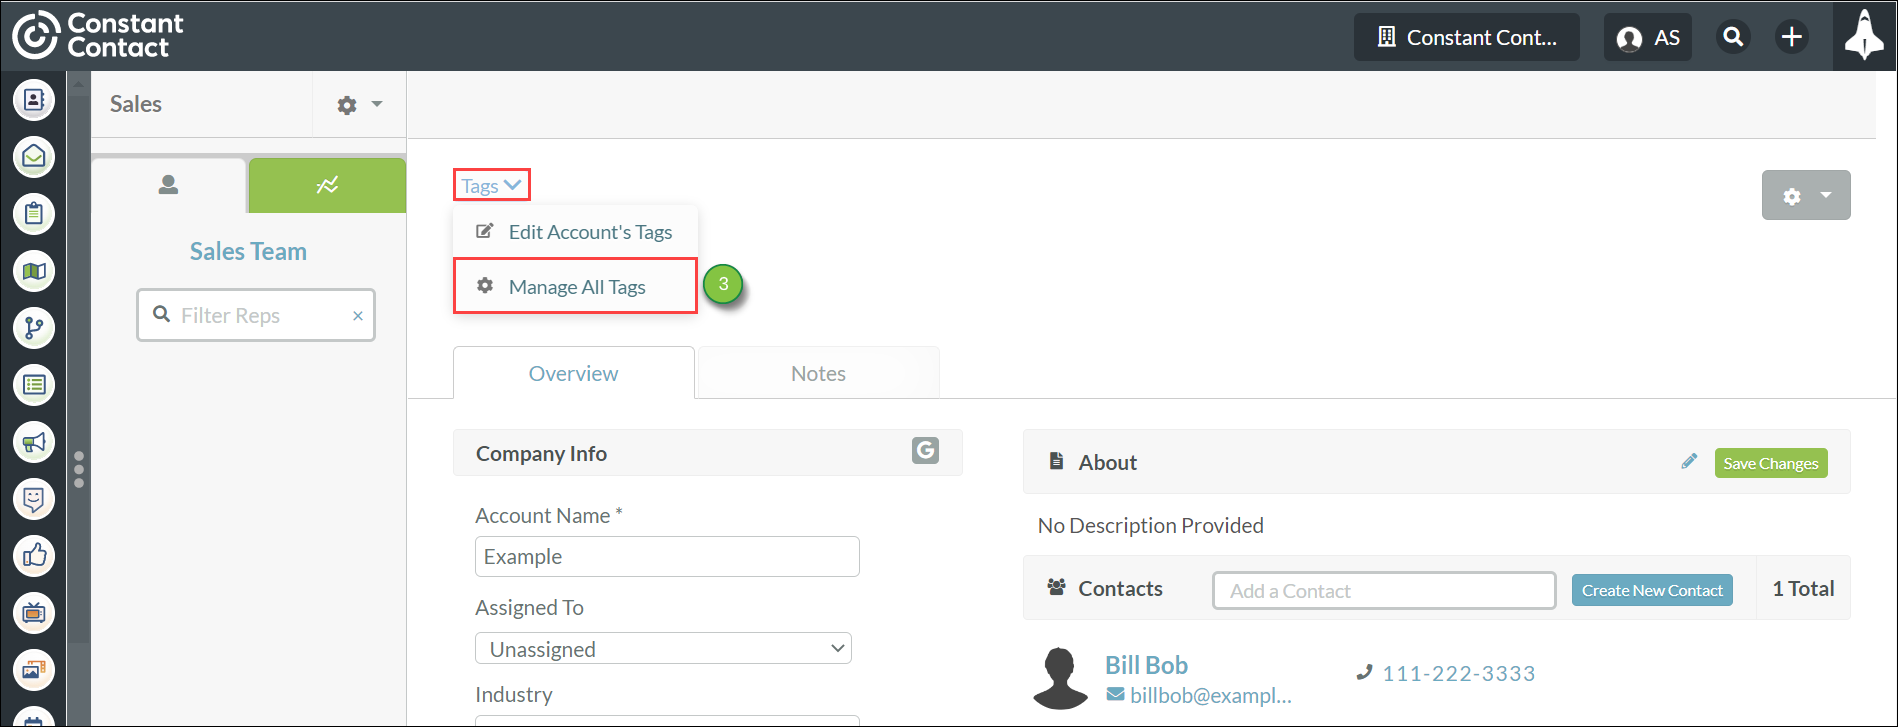
To access the Tag Manager in an account, do the following:
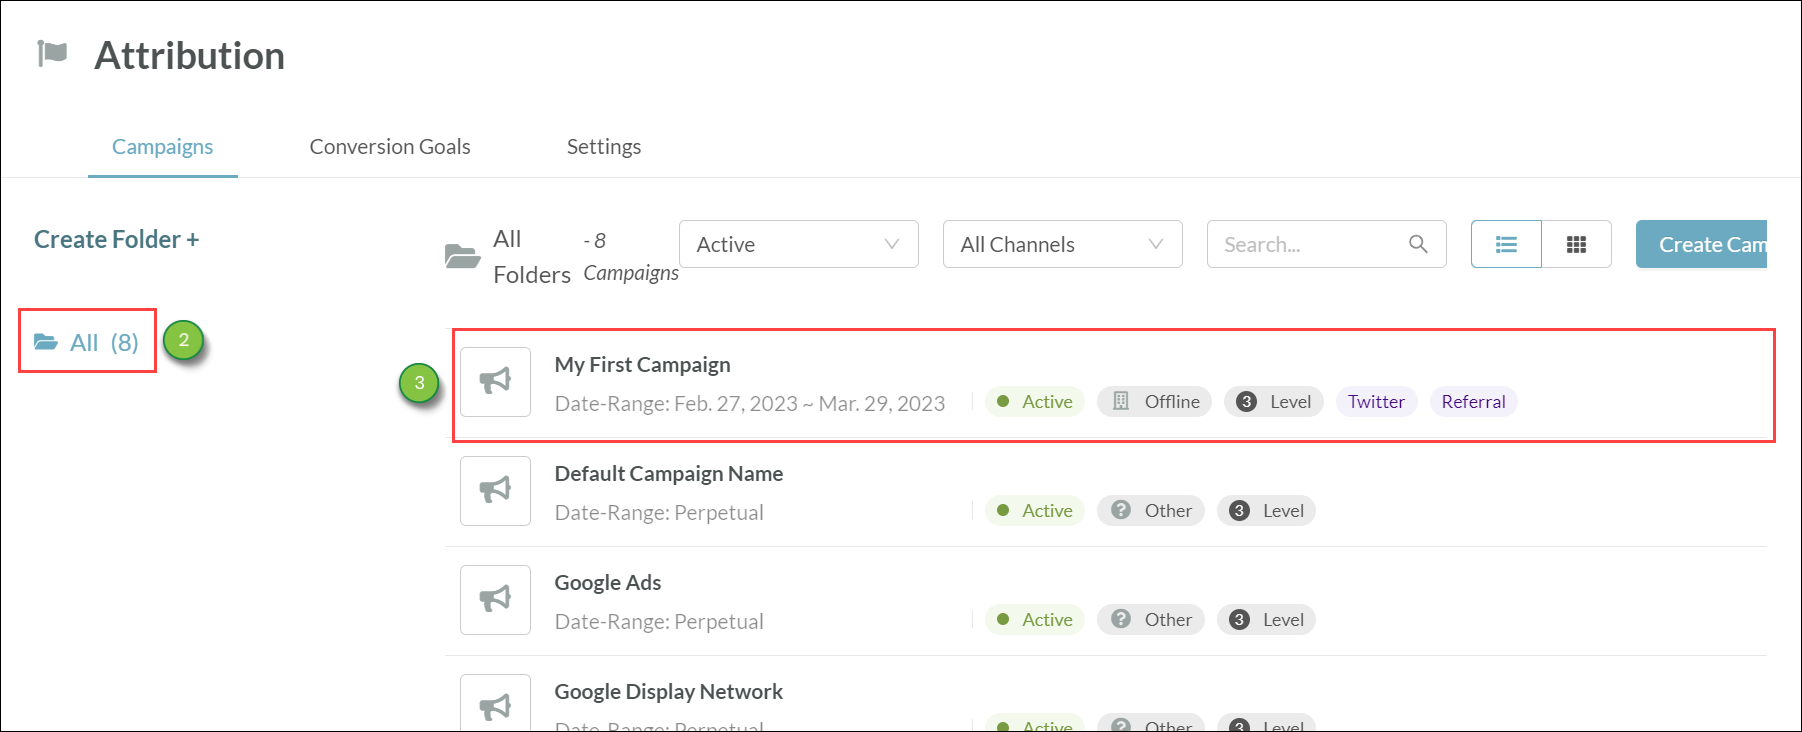
To access the Tag Manager in a campaign, do the following:
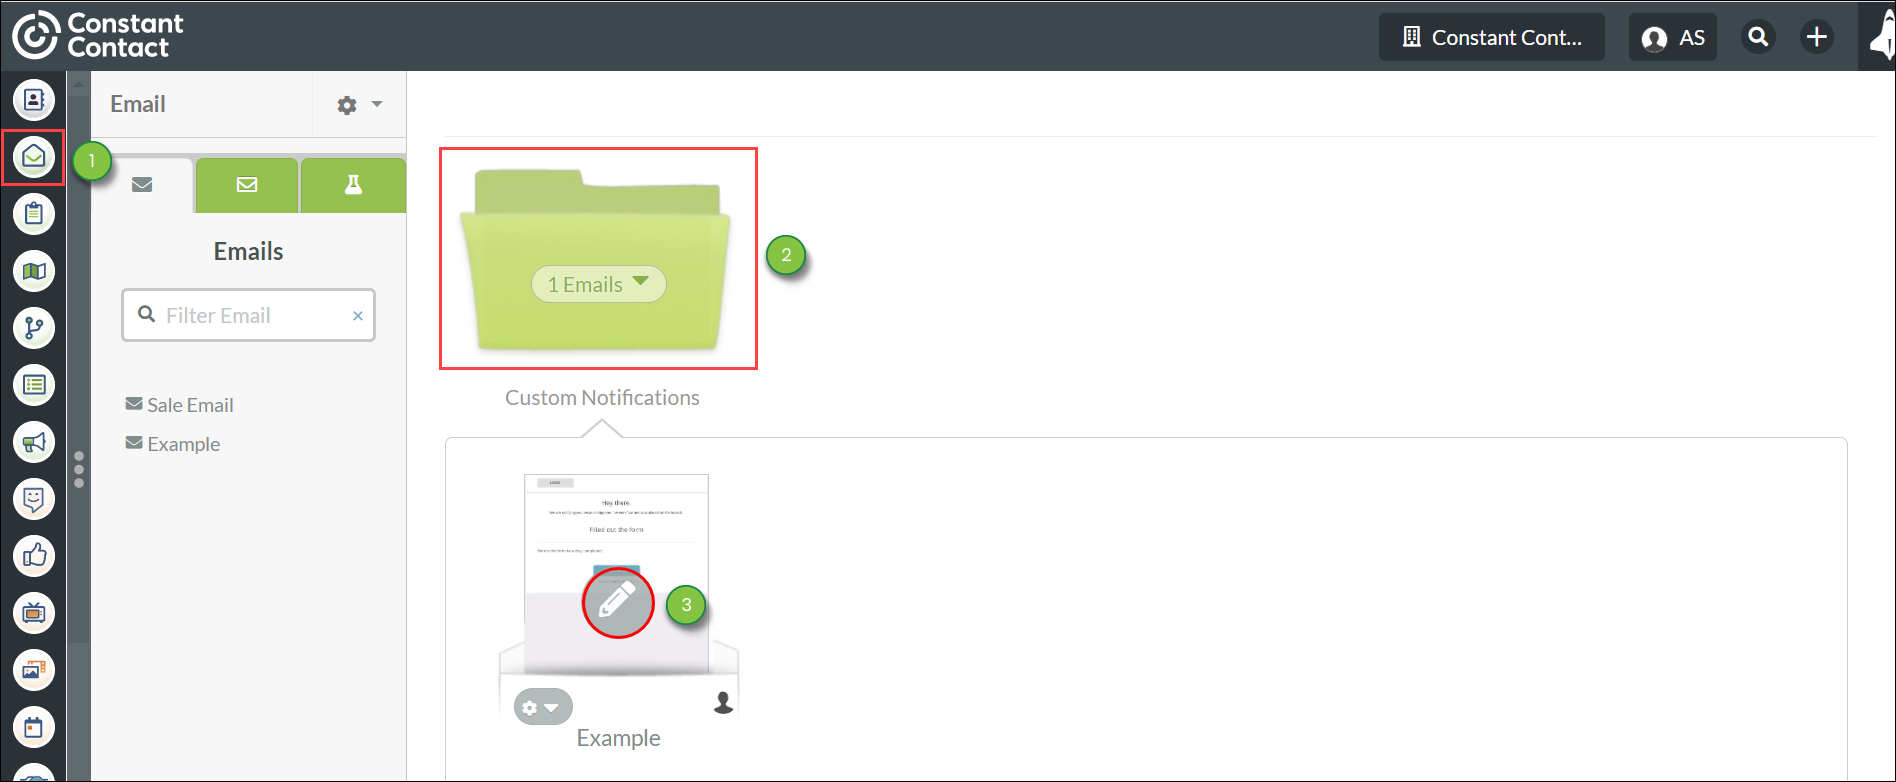
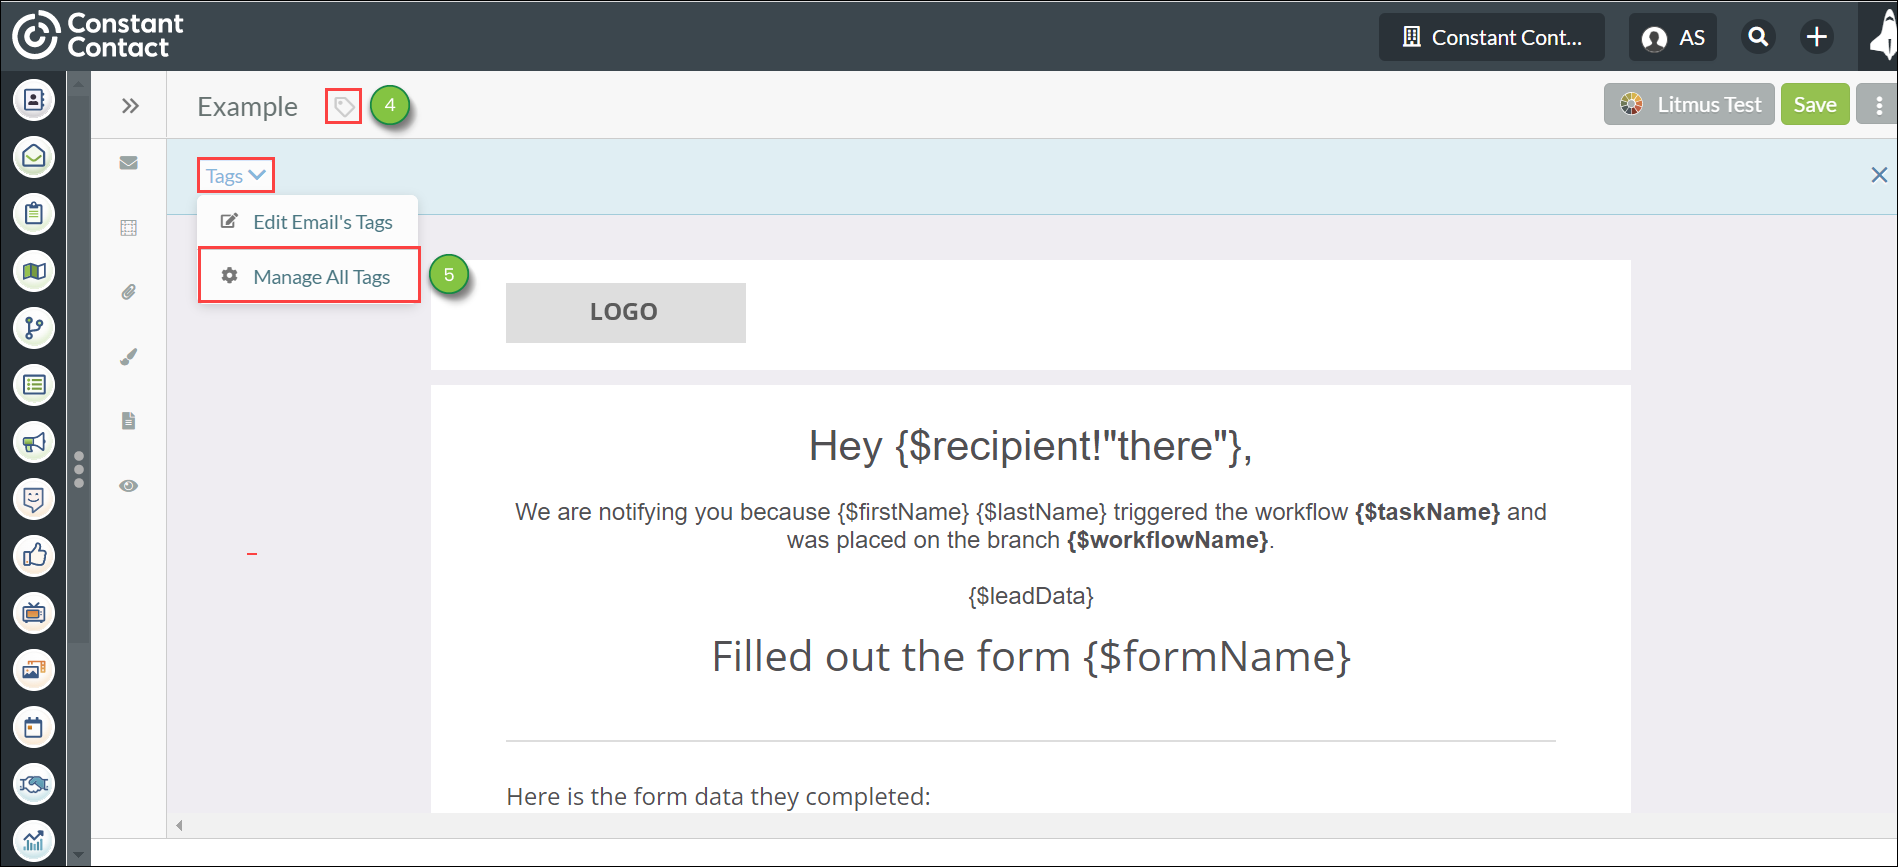
To access the Tag Manager in an email, do the following:
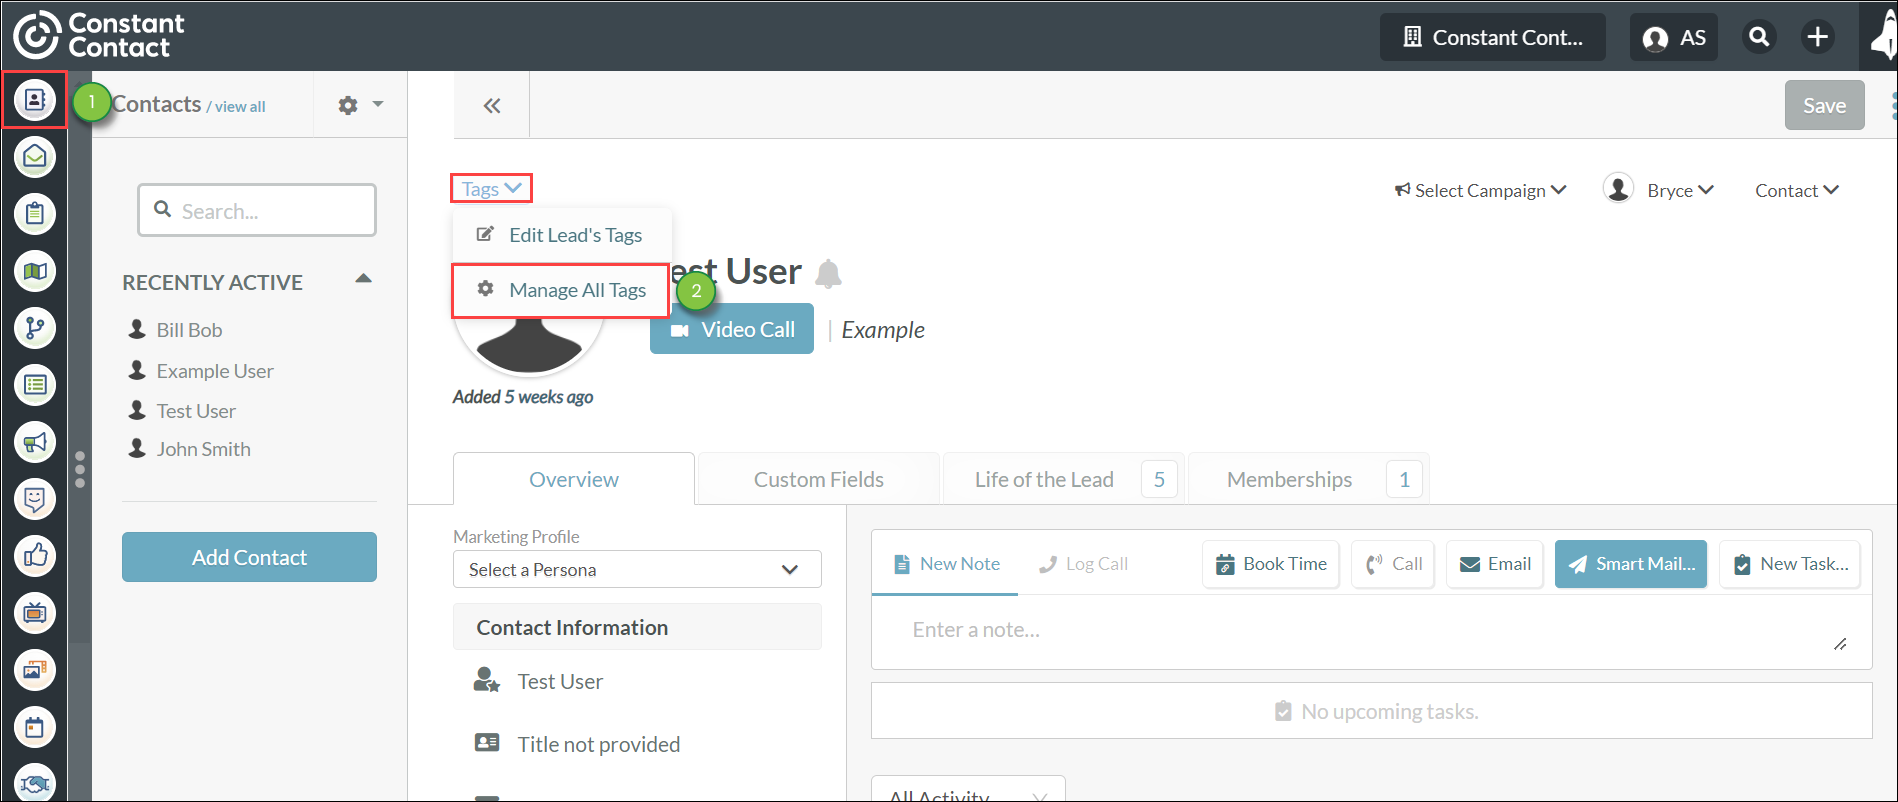
To access the Tag Manager in a lead's record, do the following:
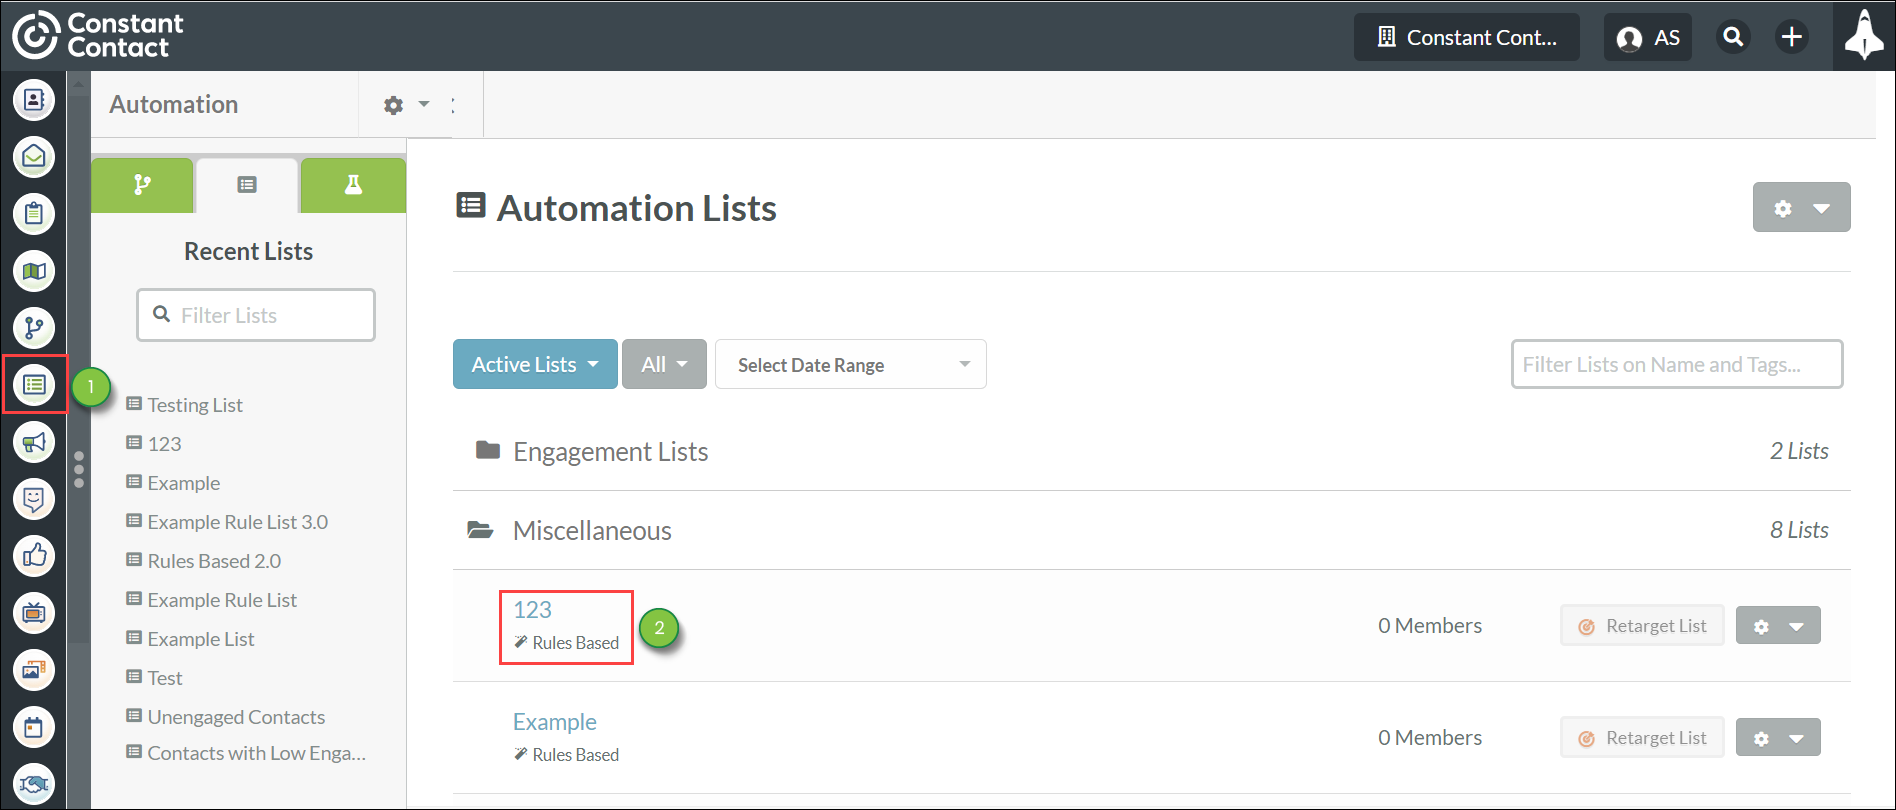
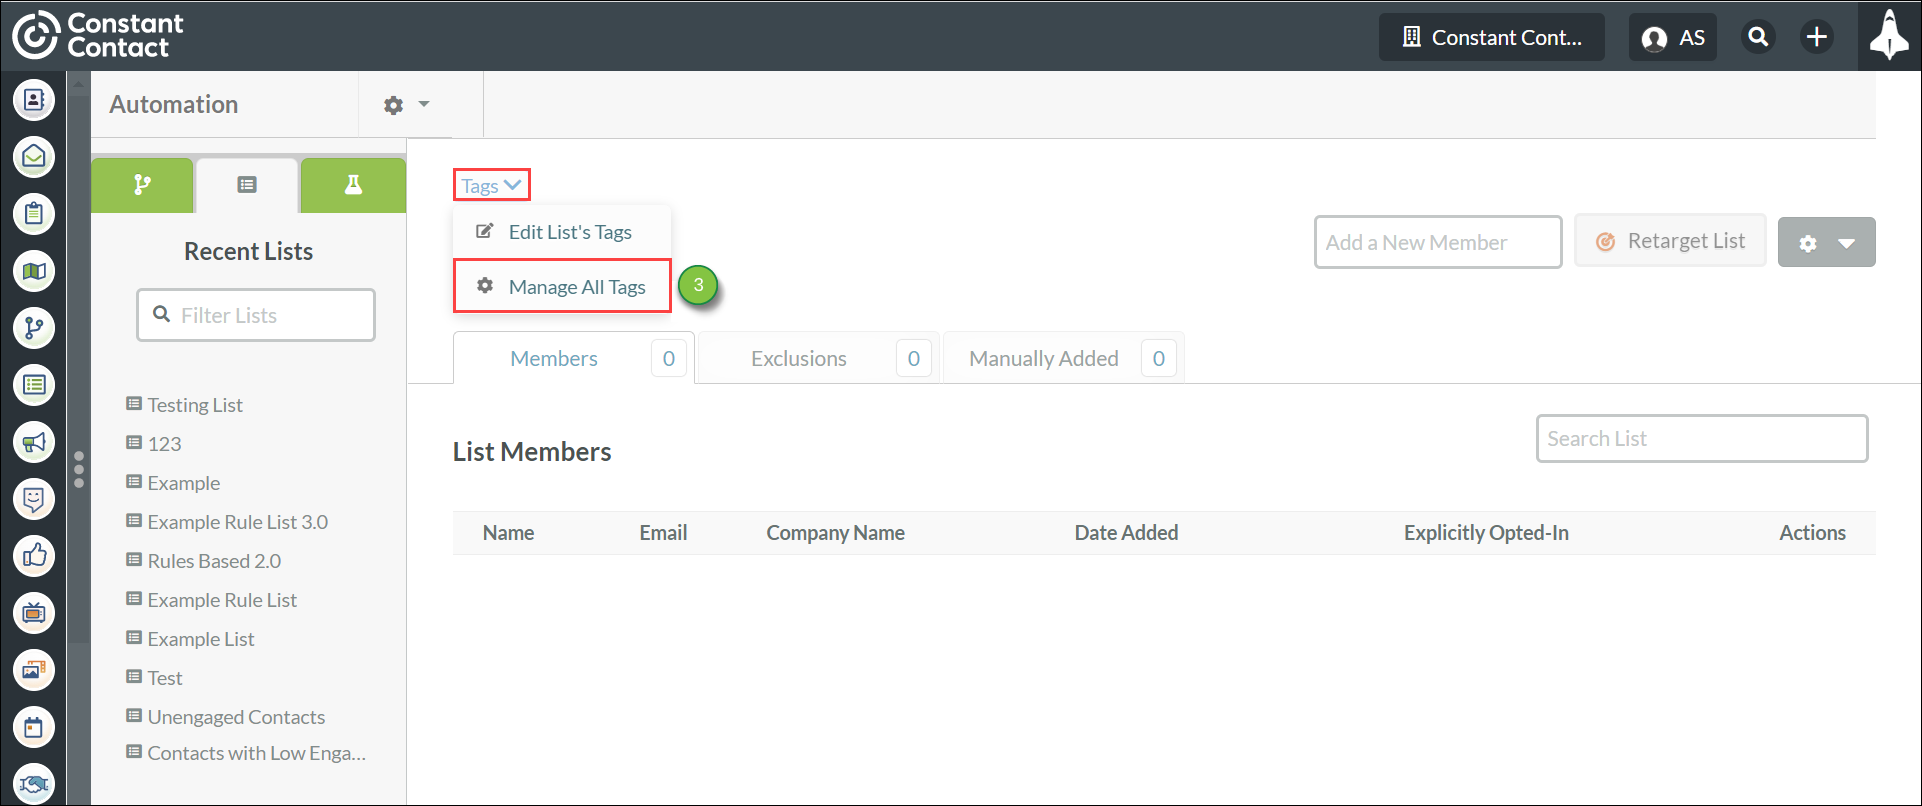
To access the Tag Manager in a list, do the following:
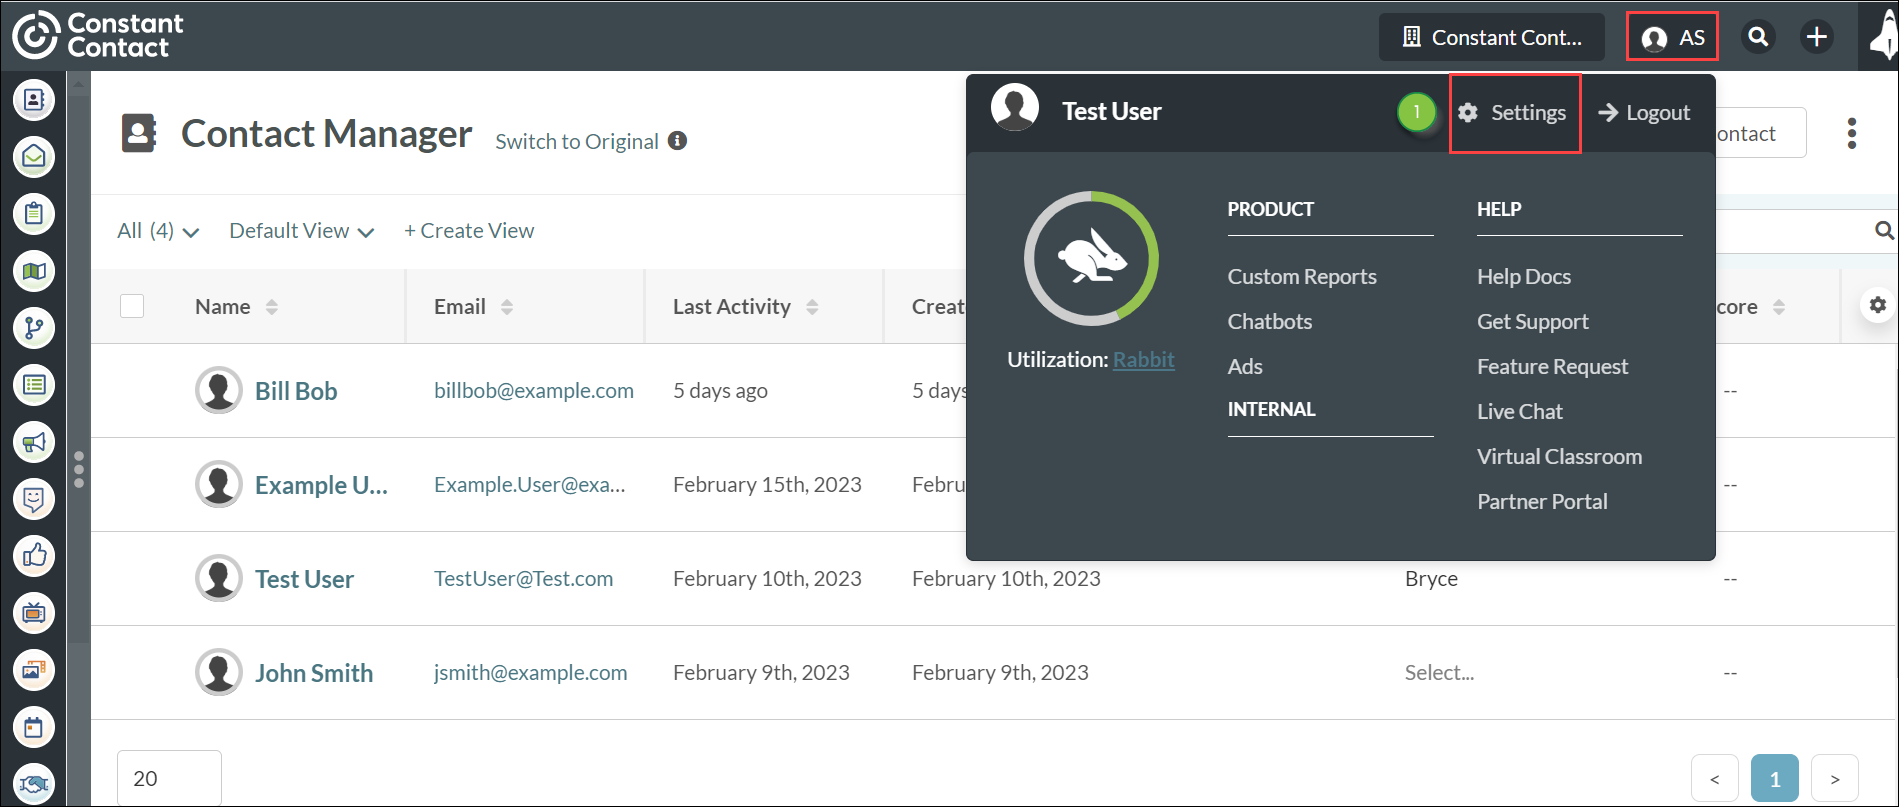
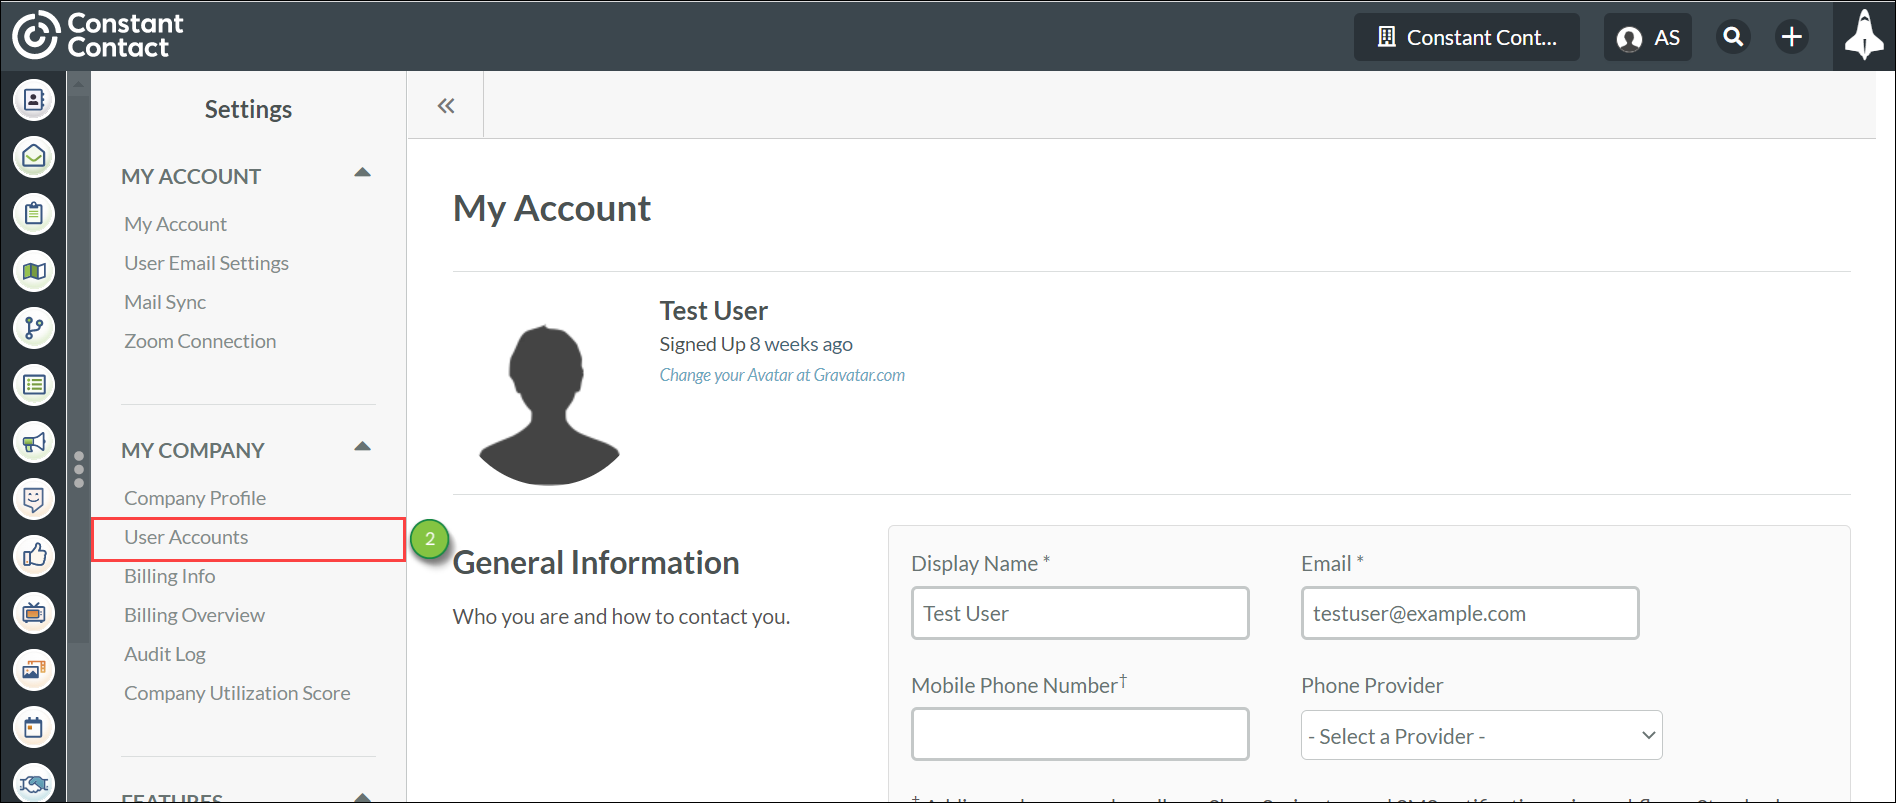
To access the Tag Manager in a user account, do the following:

You can create tags to group leads and content in ways that make sense to you.
To create tags, do the following:
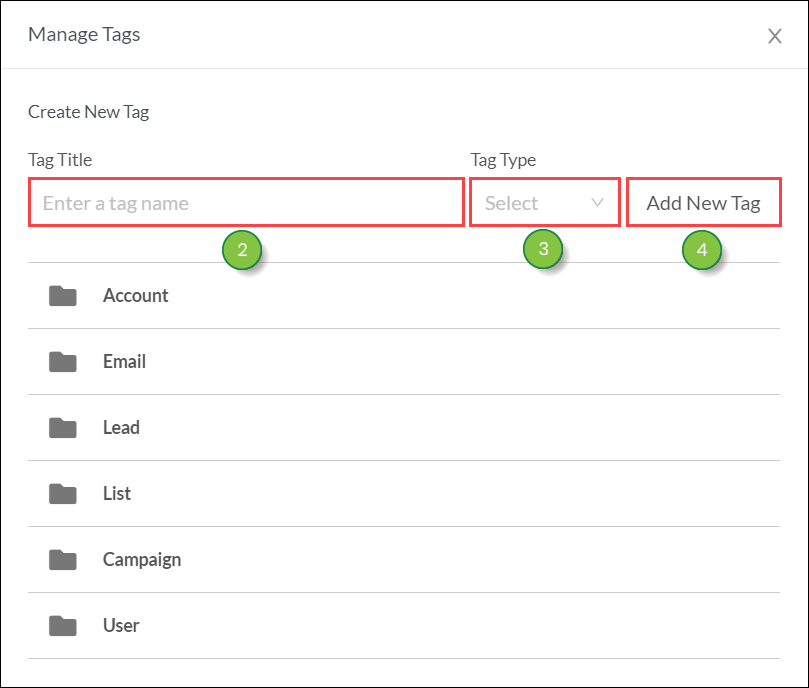
Your created tag will be placed in the folder that matches the Tag Type you set.
Created tags can be set and used with one of Lead Gen & CRM's features.
Created tags will be placed in the feature's respective folder.
The available tag folders are as follows:

These are system folders. Tag folders cannot be modified. Tag folders cannot be deleted. New tag folders cannot be created.
You can now include Contact Tags when importing contacts from another CRM system during the import process. Add a “Contact Tags” column to your .CSV file to map these tags to the 'Contact Tags' field in Lead Gen & CRM.
Multiple tags can be separated by a comma in the same cell. A new tag will be created if the tag does not already exist in your Lead Gen & CRM instance.
Tags are case sensitive. Read Import Tool Overview for more information on the import process. These tags can also be exported when downloading your contacts from the Lead Gen & CRM instance. Read Accessing the Export Manager to learn more about the export process.
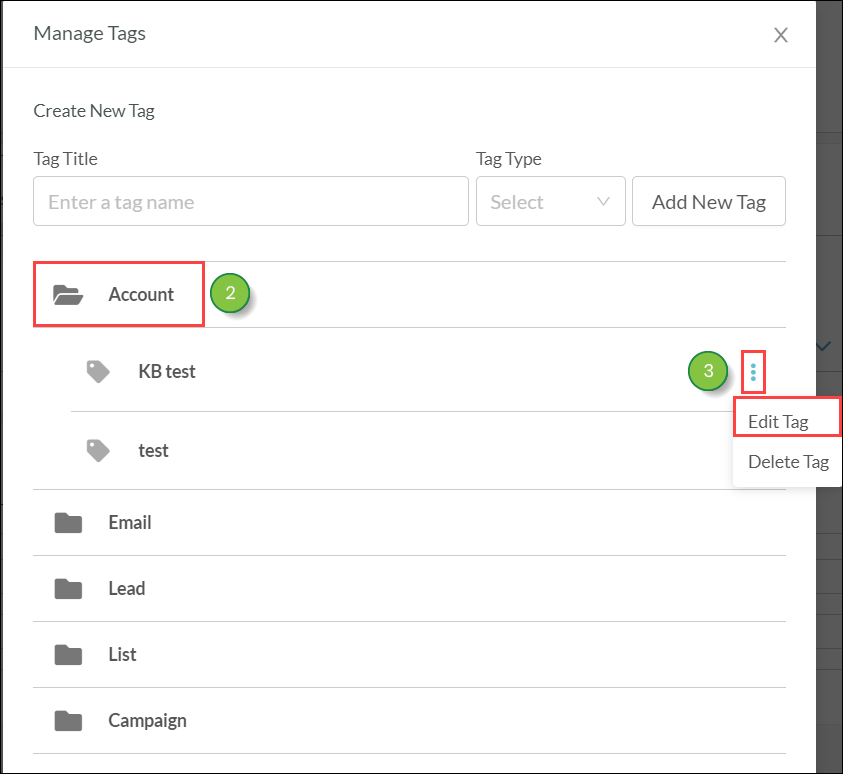
You can edit created tags at any time. To edit created tags, do the following:
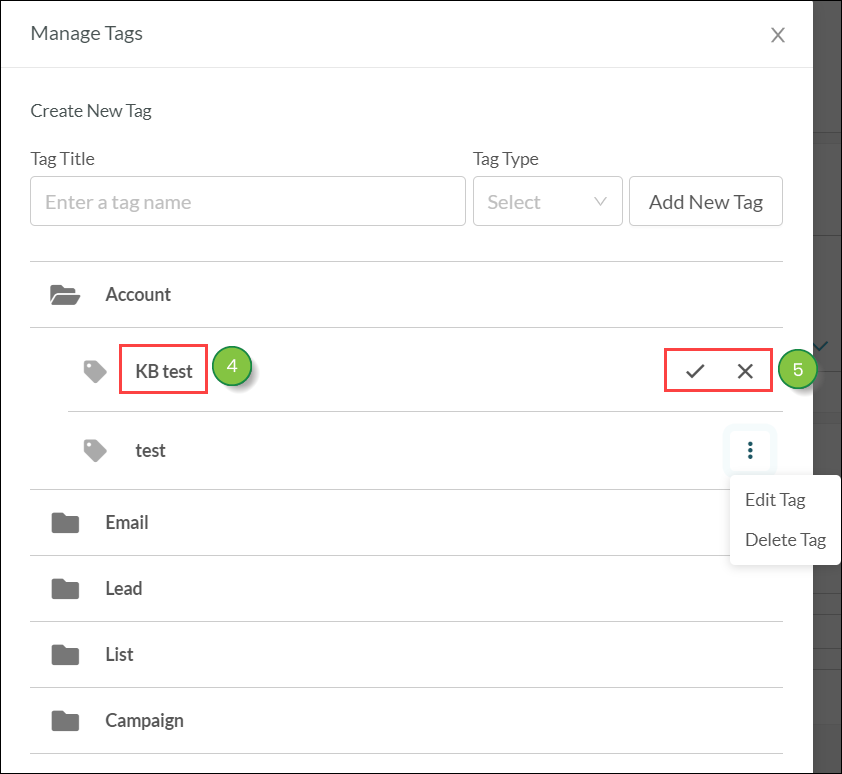
Note: You cannot move created tags. You will need to delete the tag and then create a new tag in the desired folder.
If you no longer need a created tag, you can delete it. Be aware that deleted tags cannot be restored.
To delete a tag, do the following:
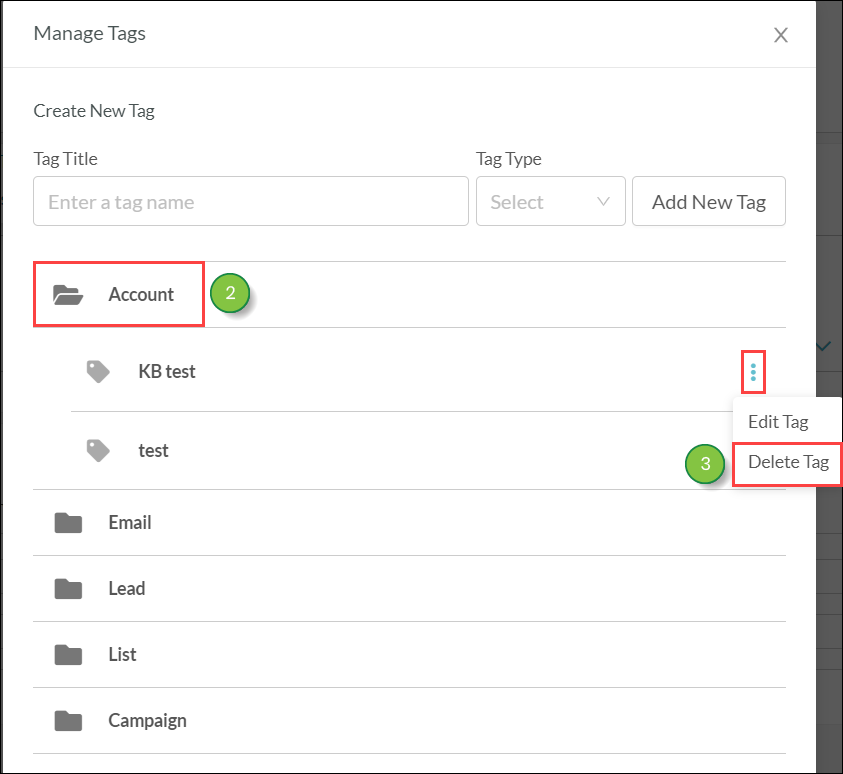
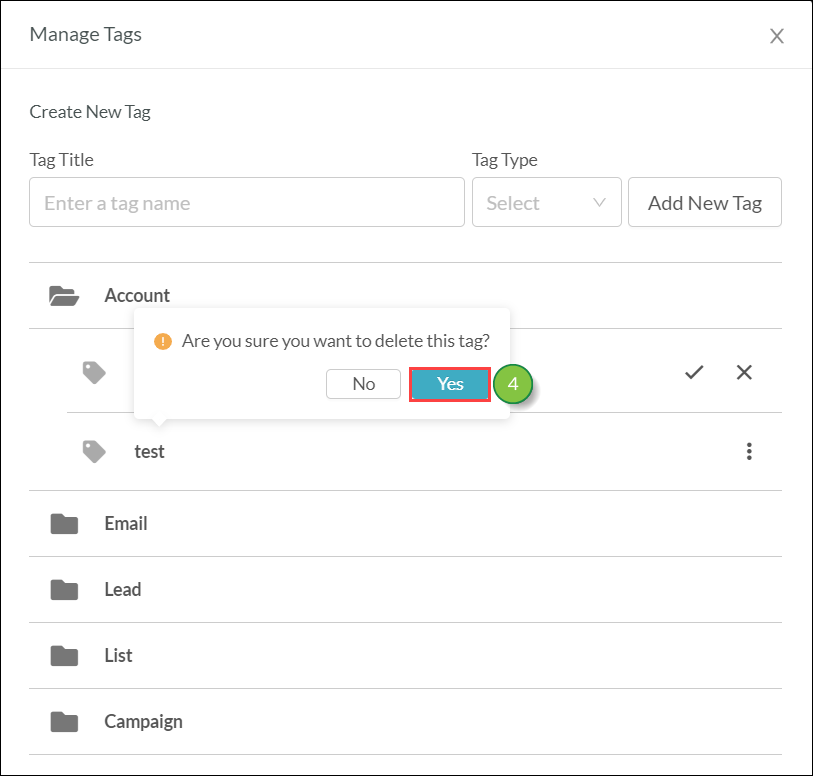
Note: You do not need to remove the tag from content before deleting it. Deleting the tag will remove the association with whatever object it was set to.
Tags can used in the various features of Lead Gen & CRM. However, their usage can vary. For information on using tags with Lead Gen & CRM features, refer to the following:
Copyright © 2026 · All Rights Reserved · Constant Contact · Privacy Center