The Account Manager is where you can create, edit, and maintain accounts.
This article will provide information on how to use the Account Manager's many features.
| Administrators | ✓ | |
| Company Managers | ✓ | |
| Marketing Managers | ✓ | |
| Sales Managers | ✓ | |
| Salespersons | ✓ | |
| Jr. Salespersons | ✓ |
| Tip: Are you looking for information about Constant Contact’s Email and Digital Marketing product? This article is for Constant Contact’s Lead Gen & CRM product. Head on over to the Email and Digital Marketing articles by clicking here. Not sure what the difference is? Read this article. |
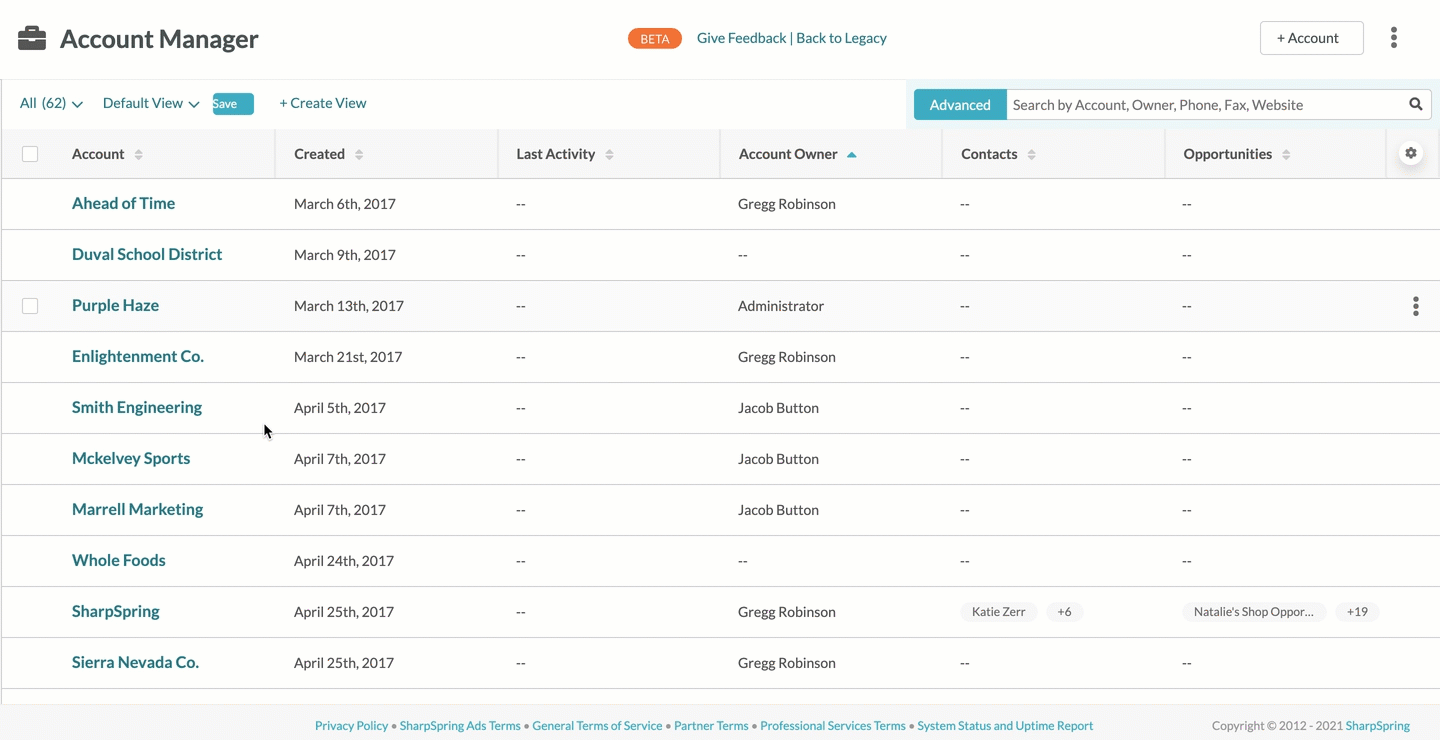
Accounts contain similar contacts and opportunities. You can create accounts at any time. In Lead Gen & CRM, accounts are all housed within the Account Manager. The Account Manager can be accessed at any time from anywhere in the application.
To create an account, do the following:
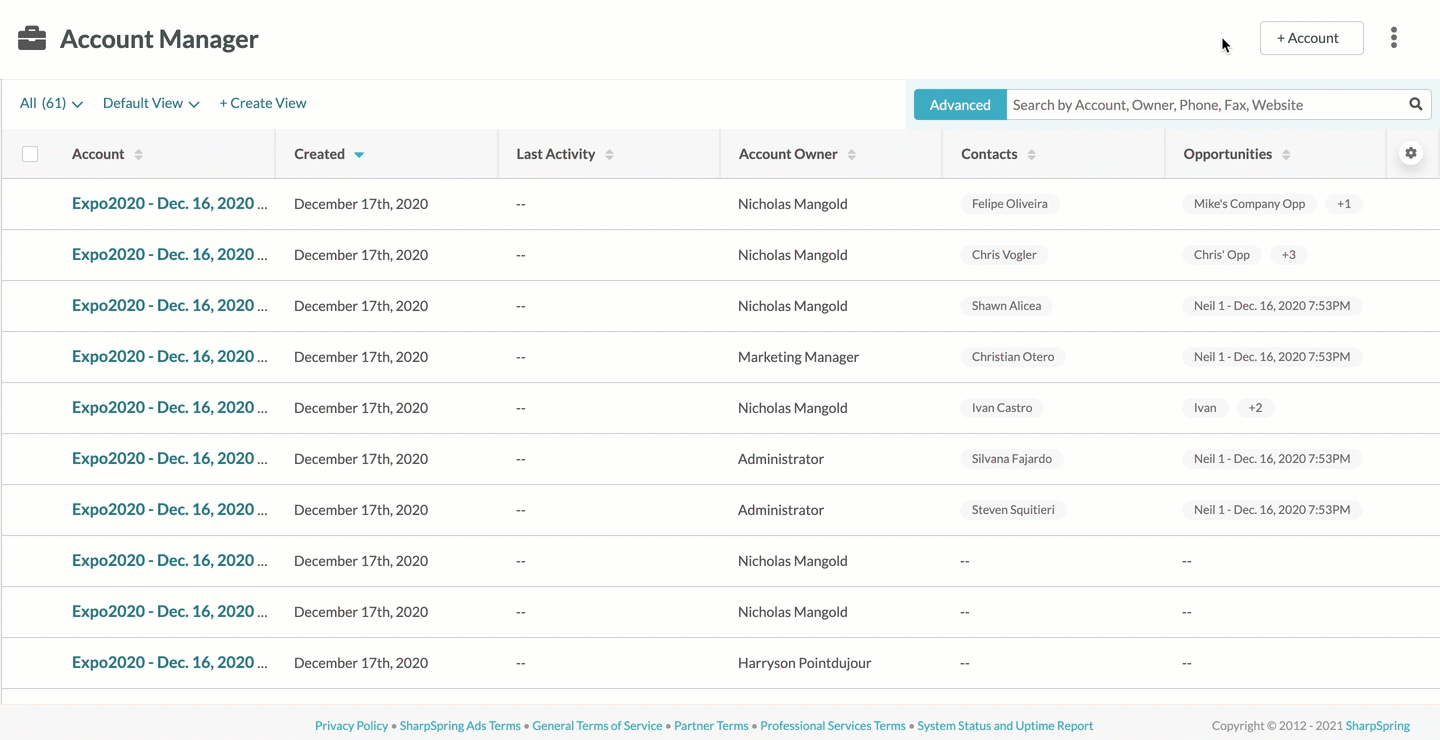
Once an account has been created, it can be accessed at any time. You can access created accounts by clicking on their names in the Account Manager.
Refer to the following help articles for information on adding important contact data to accounts:
You can edit previously created accounts as necessary. To edit accounts, do the following:
Refer to the following help articles for information on adding important contact data to accounts:
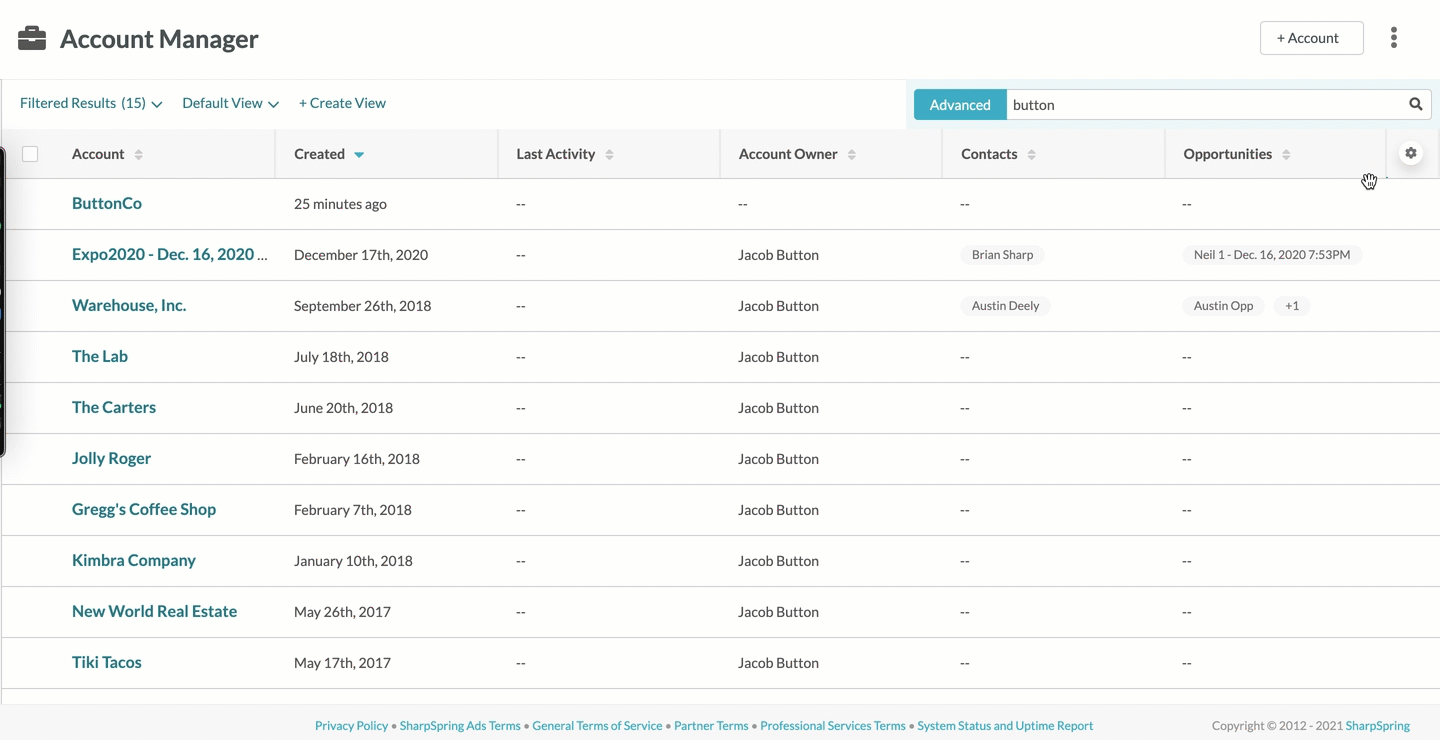
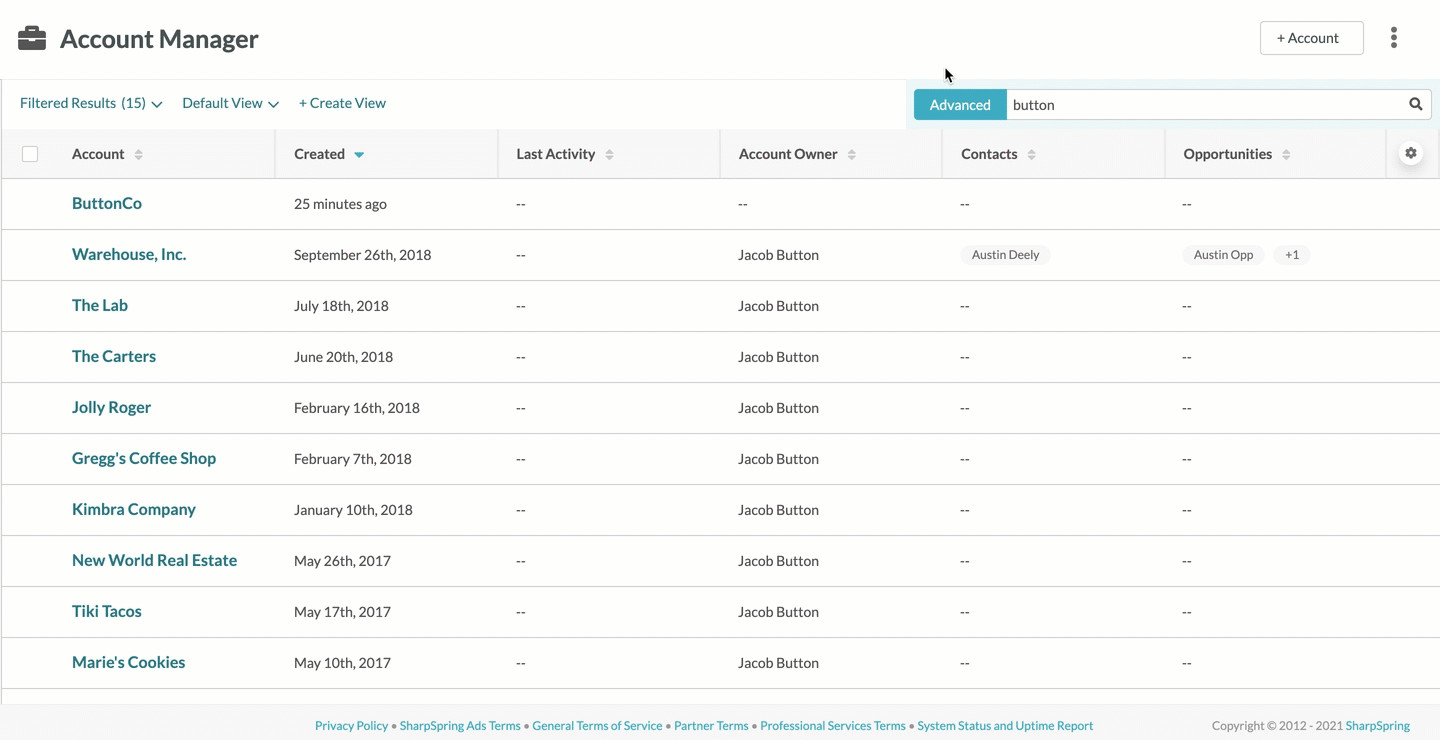
The Account Manager allows you to search for accounts by entering search terms in the search bar. Broader terms will yield more results. Specific terms will yield fewer results.
To search for accounts in the Account Manager's search bar, do the following:
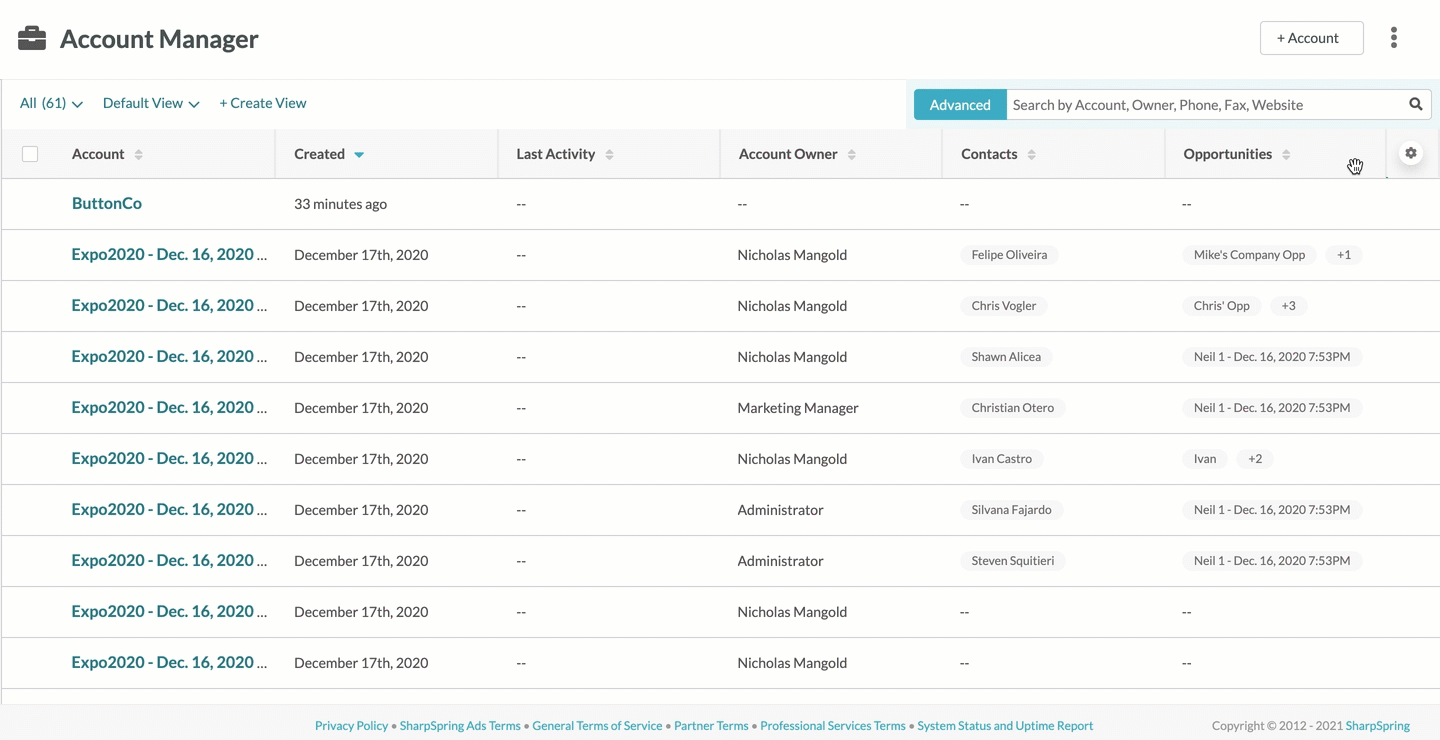
There may be times when using the search bar does not provide you with the results you are looking for. You may want to use the Advanced Search function instead.
The Advanced Search function provides a more complete filtering of search results. Advanced Search is a more direct search tool that allows you to modify your search terms for a more focused result.
Advanced Search has search fields for many different parameters and even allows for custom search fields based on the various fields attributed to your accounts, contacts, and opportunities.
Refer to Using Advanced Search in the Account Manager for more information. 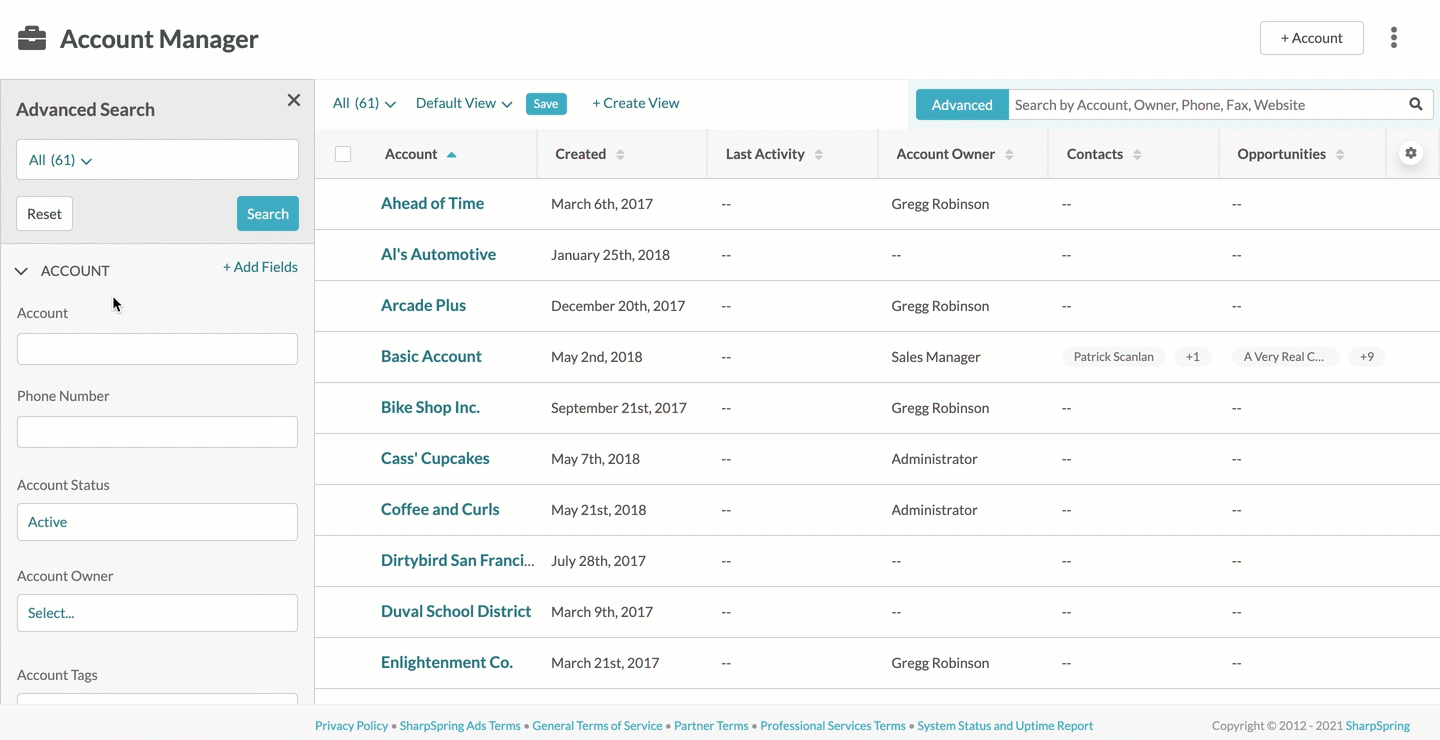
There may come a time when you no longer need an account to be active. You can archive the account, which will deactivate it and preserve its information for future reference. This means that accounts cannot be deleted.
To archive an account, do the following:
Archiving an account removes them from the Active Accounts list and places them in the Archived Accounts list in the Account Manager.
Note: Accounts can be edited when they are archived.
Archived accounts can be restored as necessary to resume activity. To restore an archived account, do the following:
Duplicate records sometimes happen. It is important to rectify them quickly, though, and not lose any information in the process. Lead Gen & CRM allows you to merge records and choose the fields you need to preserve.
To merge accounts, do the following:
Be aware that certain Life of the Lead events can be merged when merging contact records. Refer to Life of the Lead Icons and Overview for a comprehensive list of which events are mergeable.
Note: When selecting fields to merge between the main and secondary accounts, the fields that are not kept will be discarded.
You can export accounts as necessary. To export and download account information, do the following:
Be aware that exported .CSV files will download automatically to where your computer saves files downloaded from the Internet.
Copyright © 2026 · All Rights Reserved · Constant Contact · Privacy Center