This article explains how to send an email to a list immediately or schedule it for a later time.
| Administrators | ✓ | |
| Company Managers | ✓ | |
| Marketing Managers | ✓ | |
| Sales Managers | ||
| Salespersons | ||
| Jr. Salespersons |
| Tip: Are you looking for information about Constant Contact’s Email and Digital Marketing product? This article is for Constant Contact’s Lead Gen & CRM product. Head on over to the Email and Digital Marketing articles by clicking here. Not sure what the difference is? Read this article. |
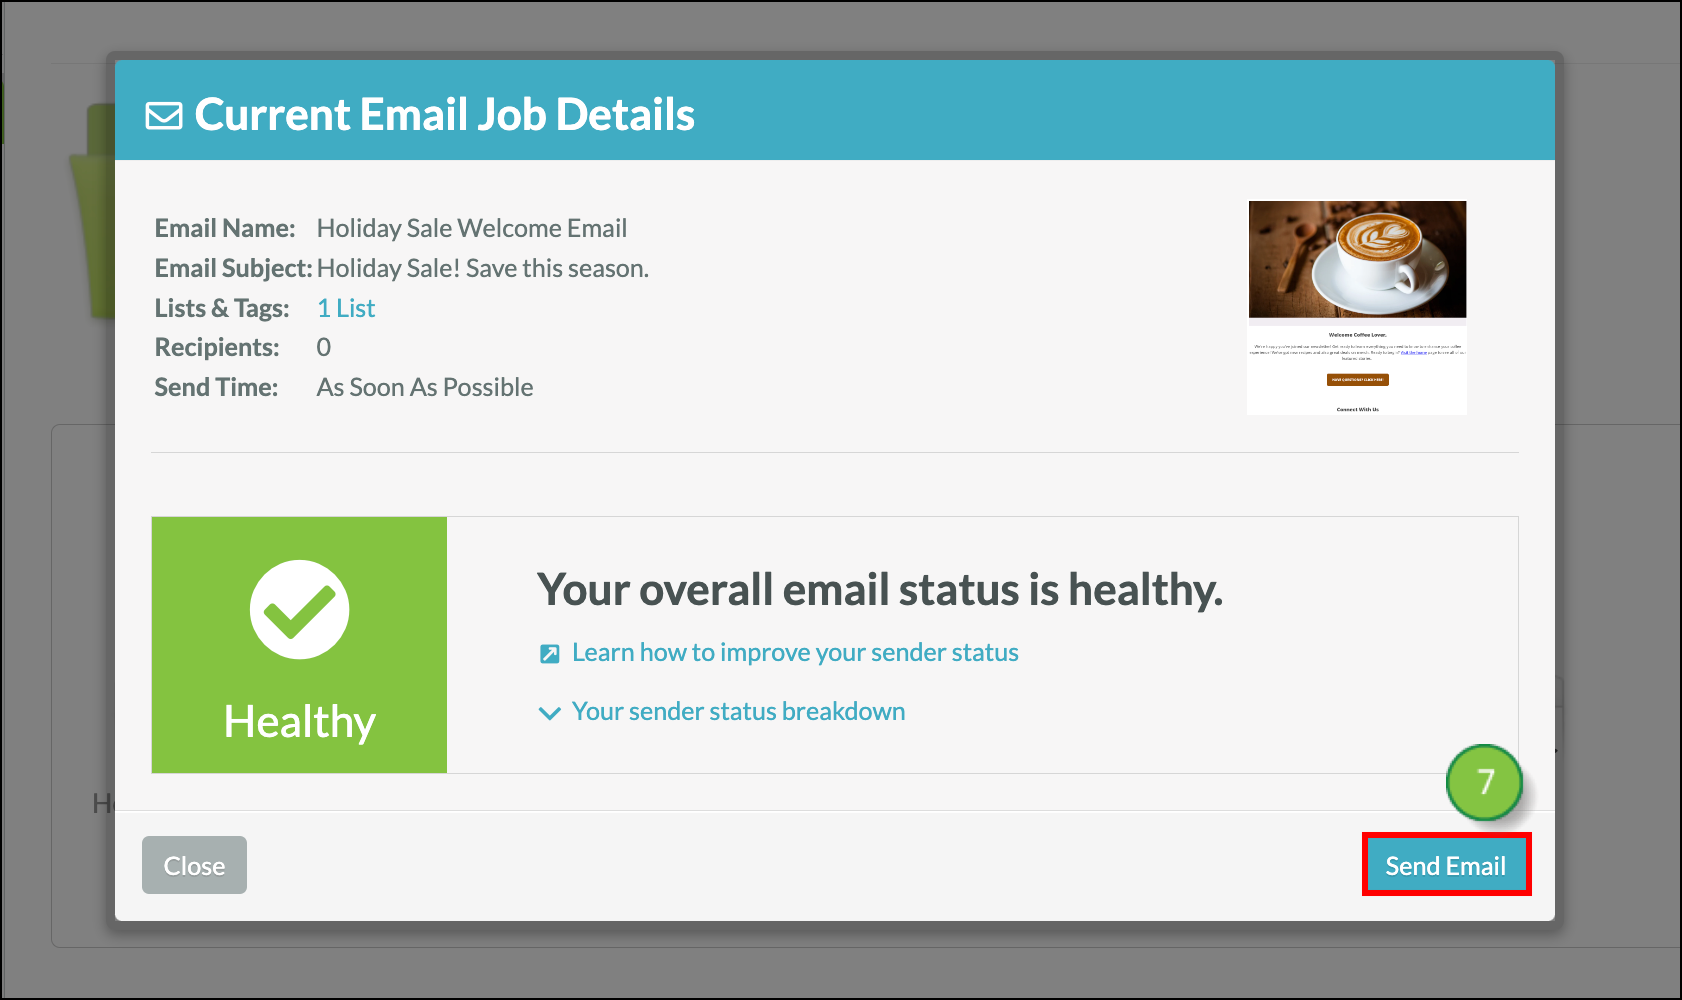
Scheduling an email is where you set a particular date and time to send an email to contacts or lists. Emails can be sent immediately or at a later date and time.
This is useful, as it allows you to determine when certain emails go out. For example, you may have emails that you want to send for a specific holiday. With email scheduling, you can create an email well in advance, set it to send just before that holiday, and have it be queued to send automatically.
More than that, after scheduling an email, you may need to make changes to the email. In Lead Gen & CRM, you have the option to modify or remove scheduled events before they are sent. This allows you to make changes and reschedule the emails at a later time.
There are two different tabs that populate when sending events are scheduled: Lists and Contacts. The Lists tab is populated with individual sending events when the sending events are scheduled via emails or lists. The Contacts tab is populated with individual sending events when the sending events are scheduled via action groups that send emails.
After creating a list, you can schedule created emails to that list.
To send to a list when scheduling emails, start from the Lists page in the left toolbar.
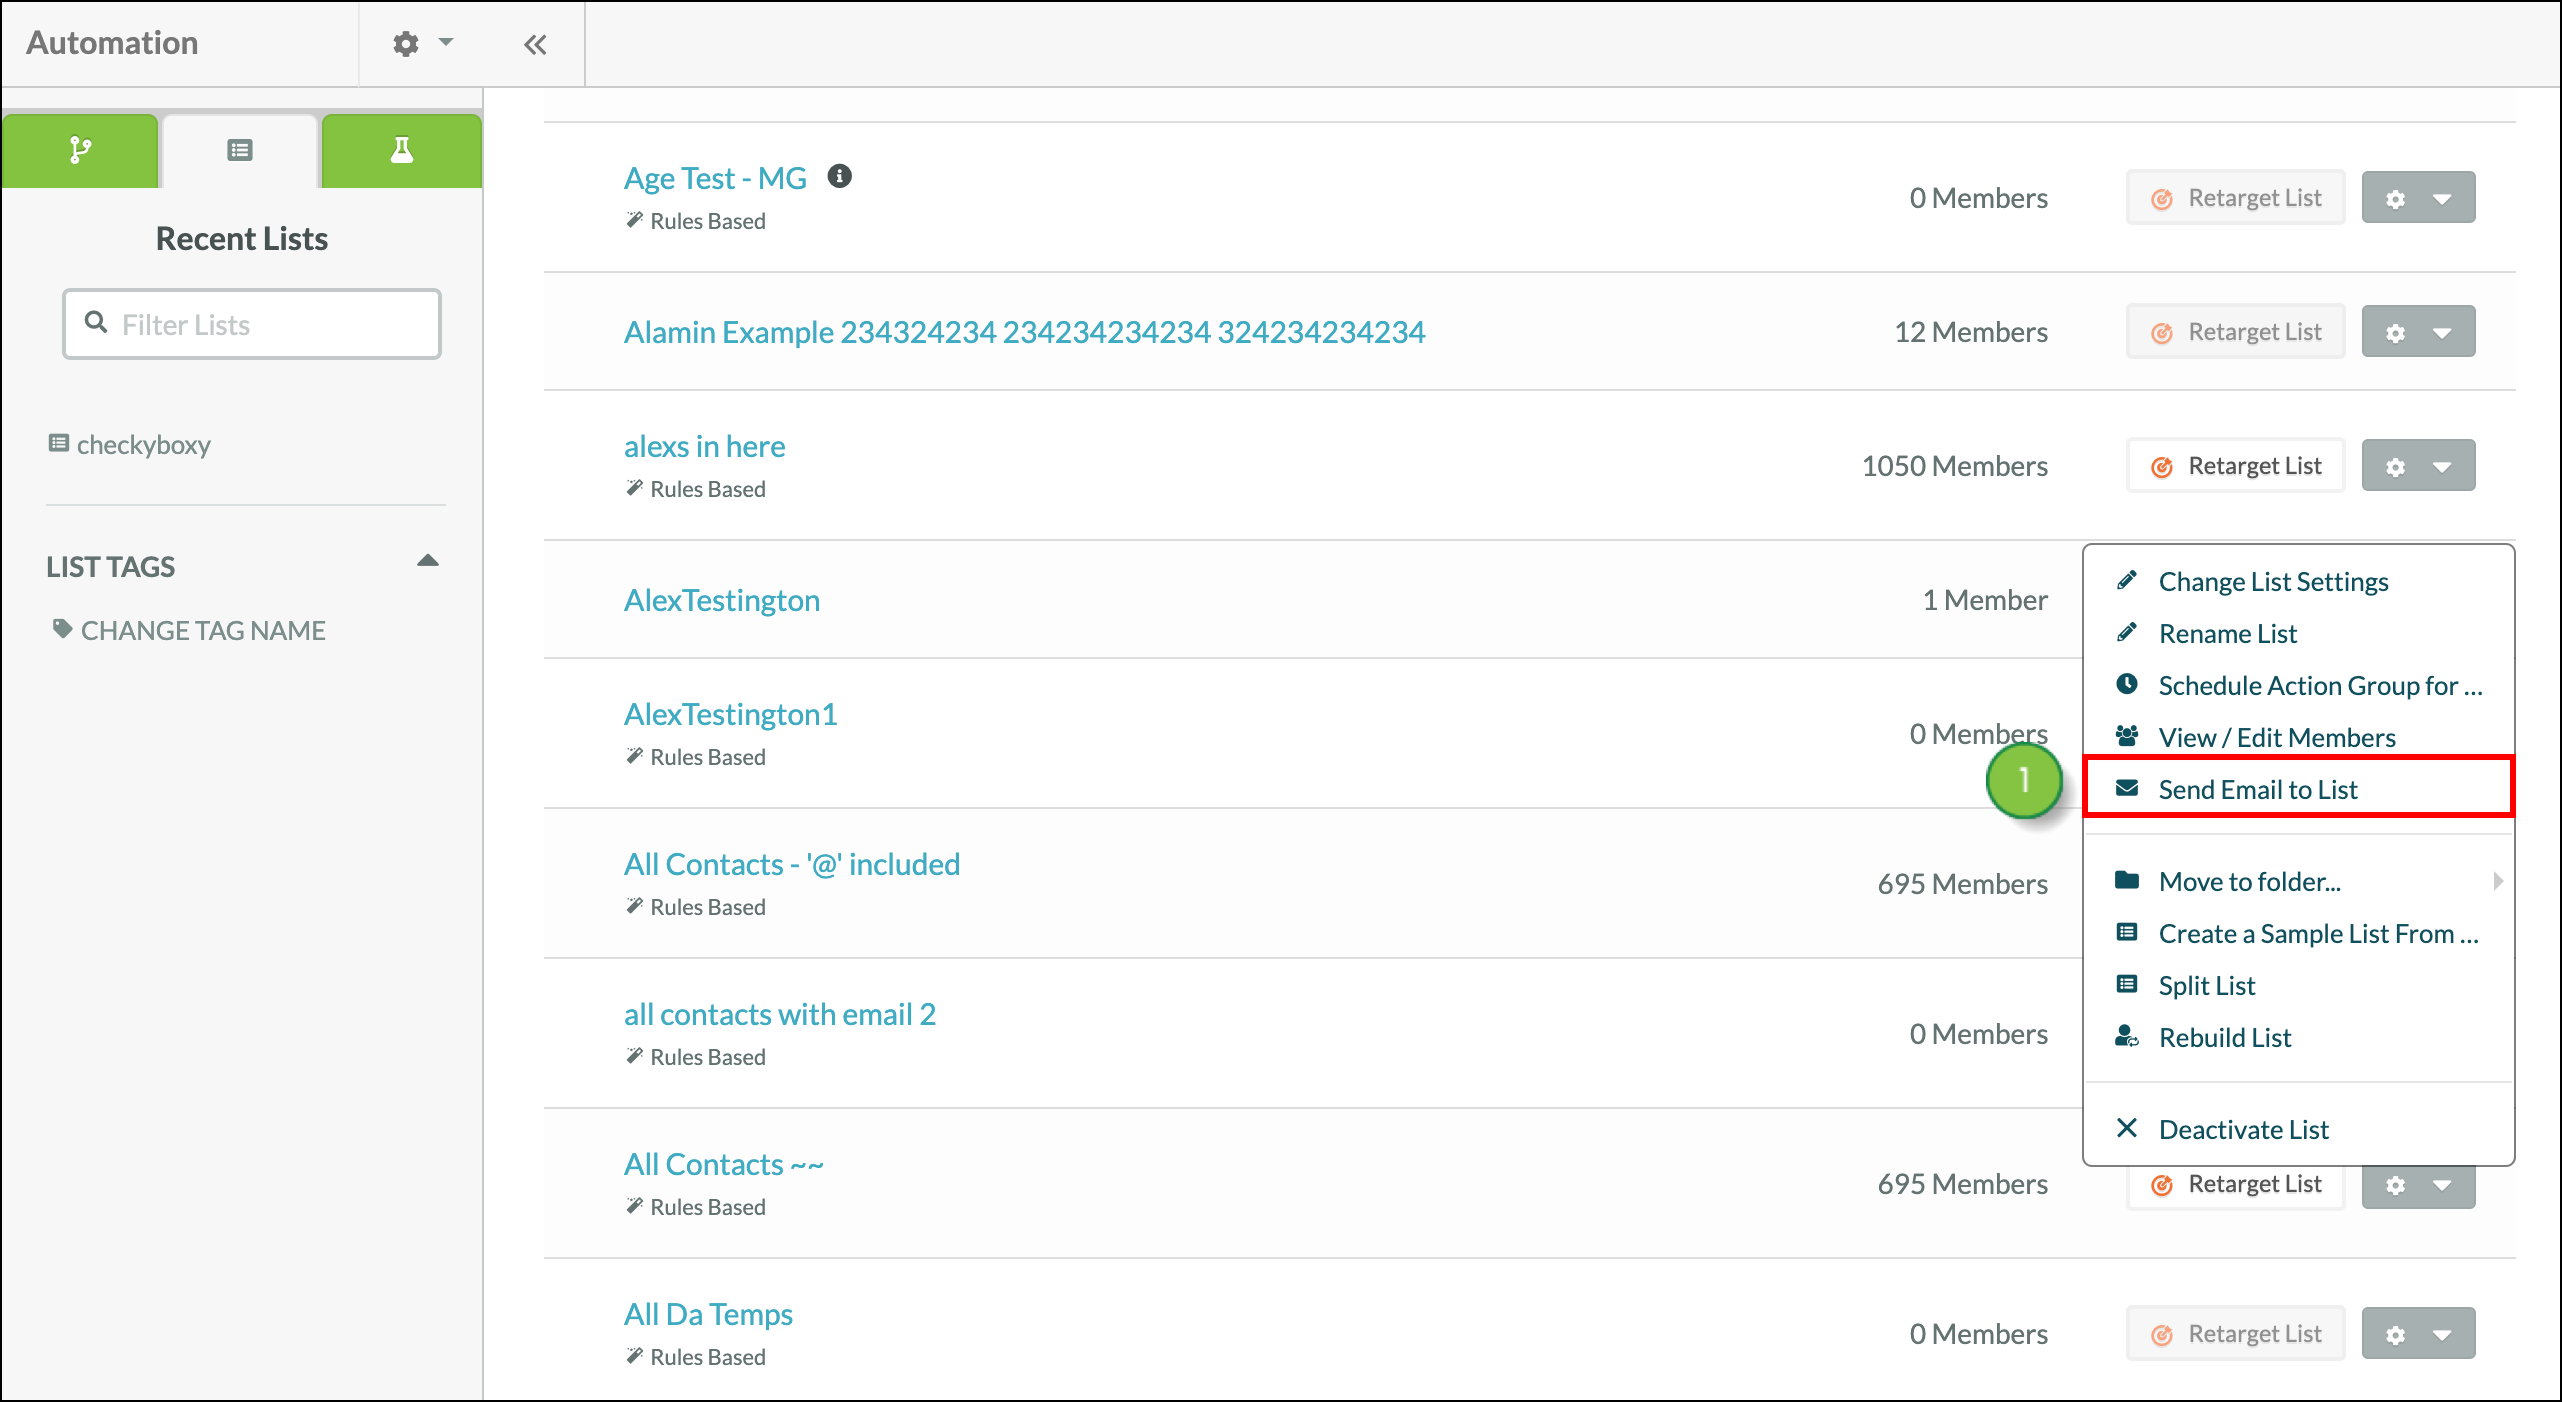

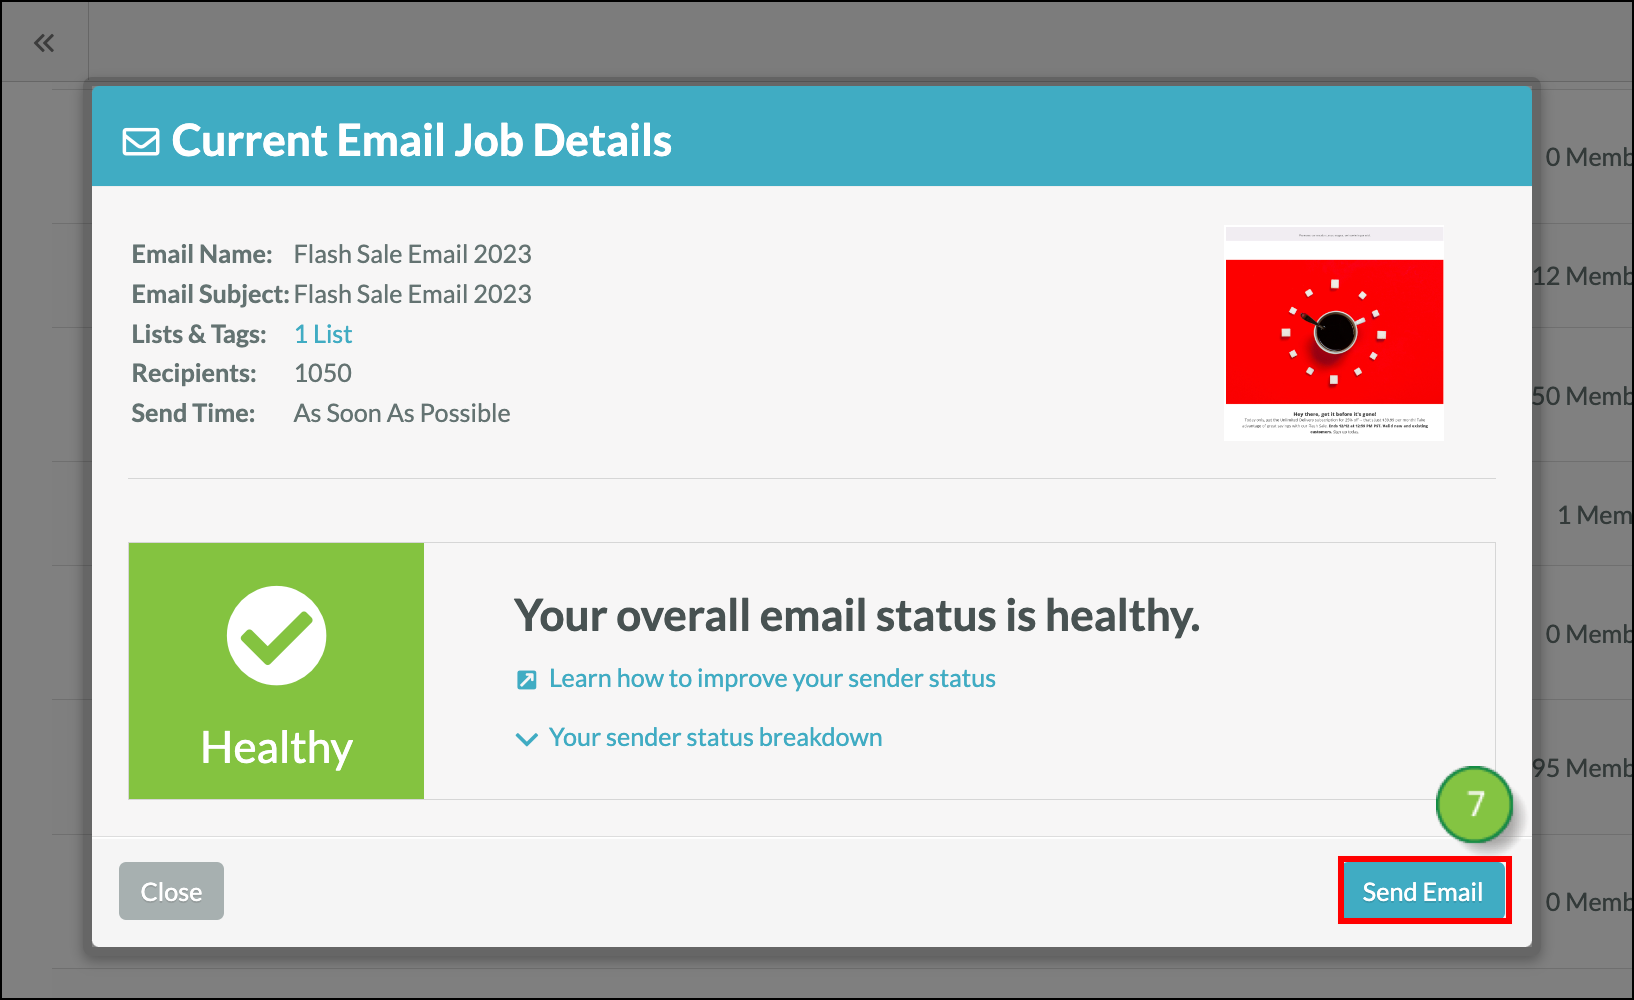
Events scheduled in this manner will appear in the Lists tab of the Scheduled Automation Events page.
You can send to lists directly from the list of available emails.
To send to a list when scheduling an email, start from the Email page in the left toolbar.
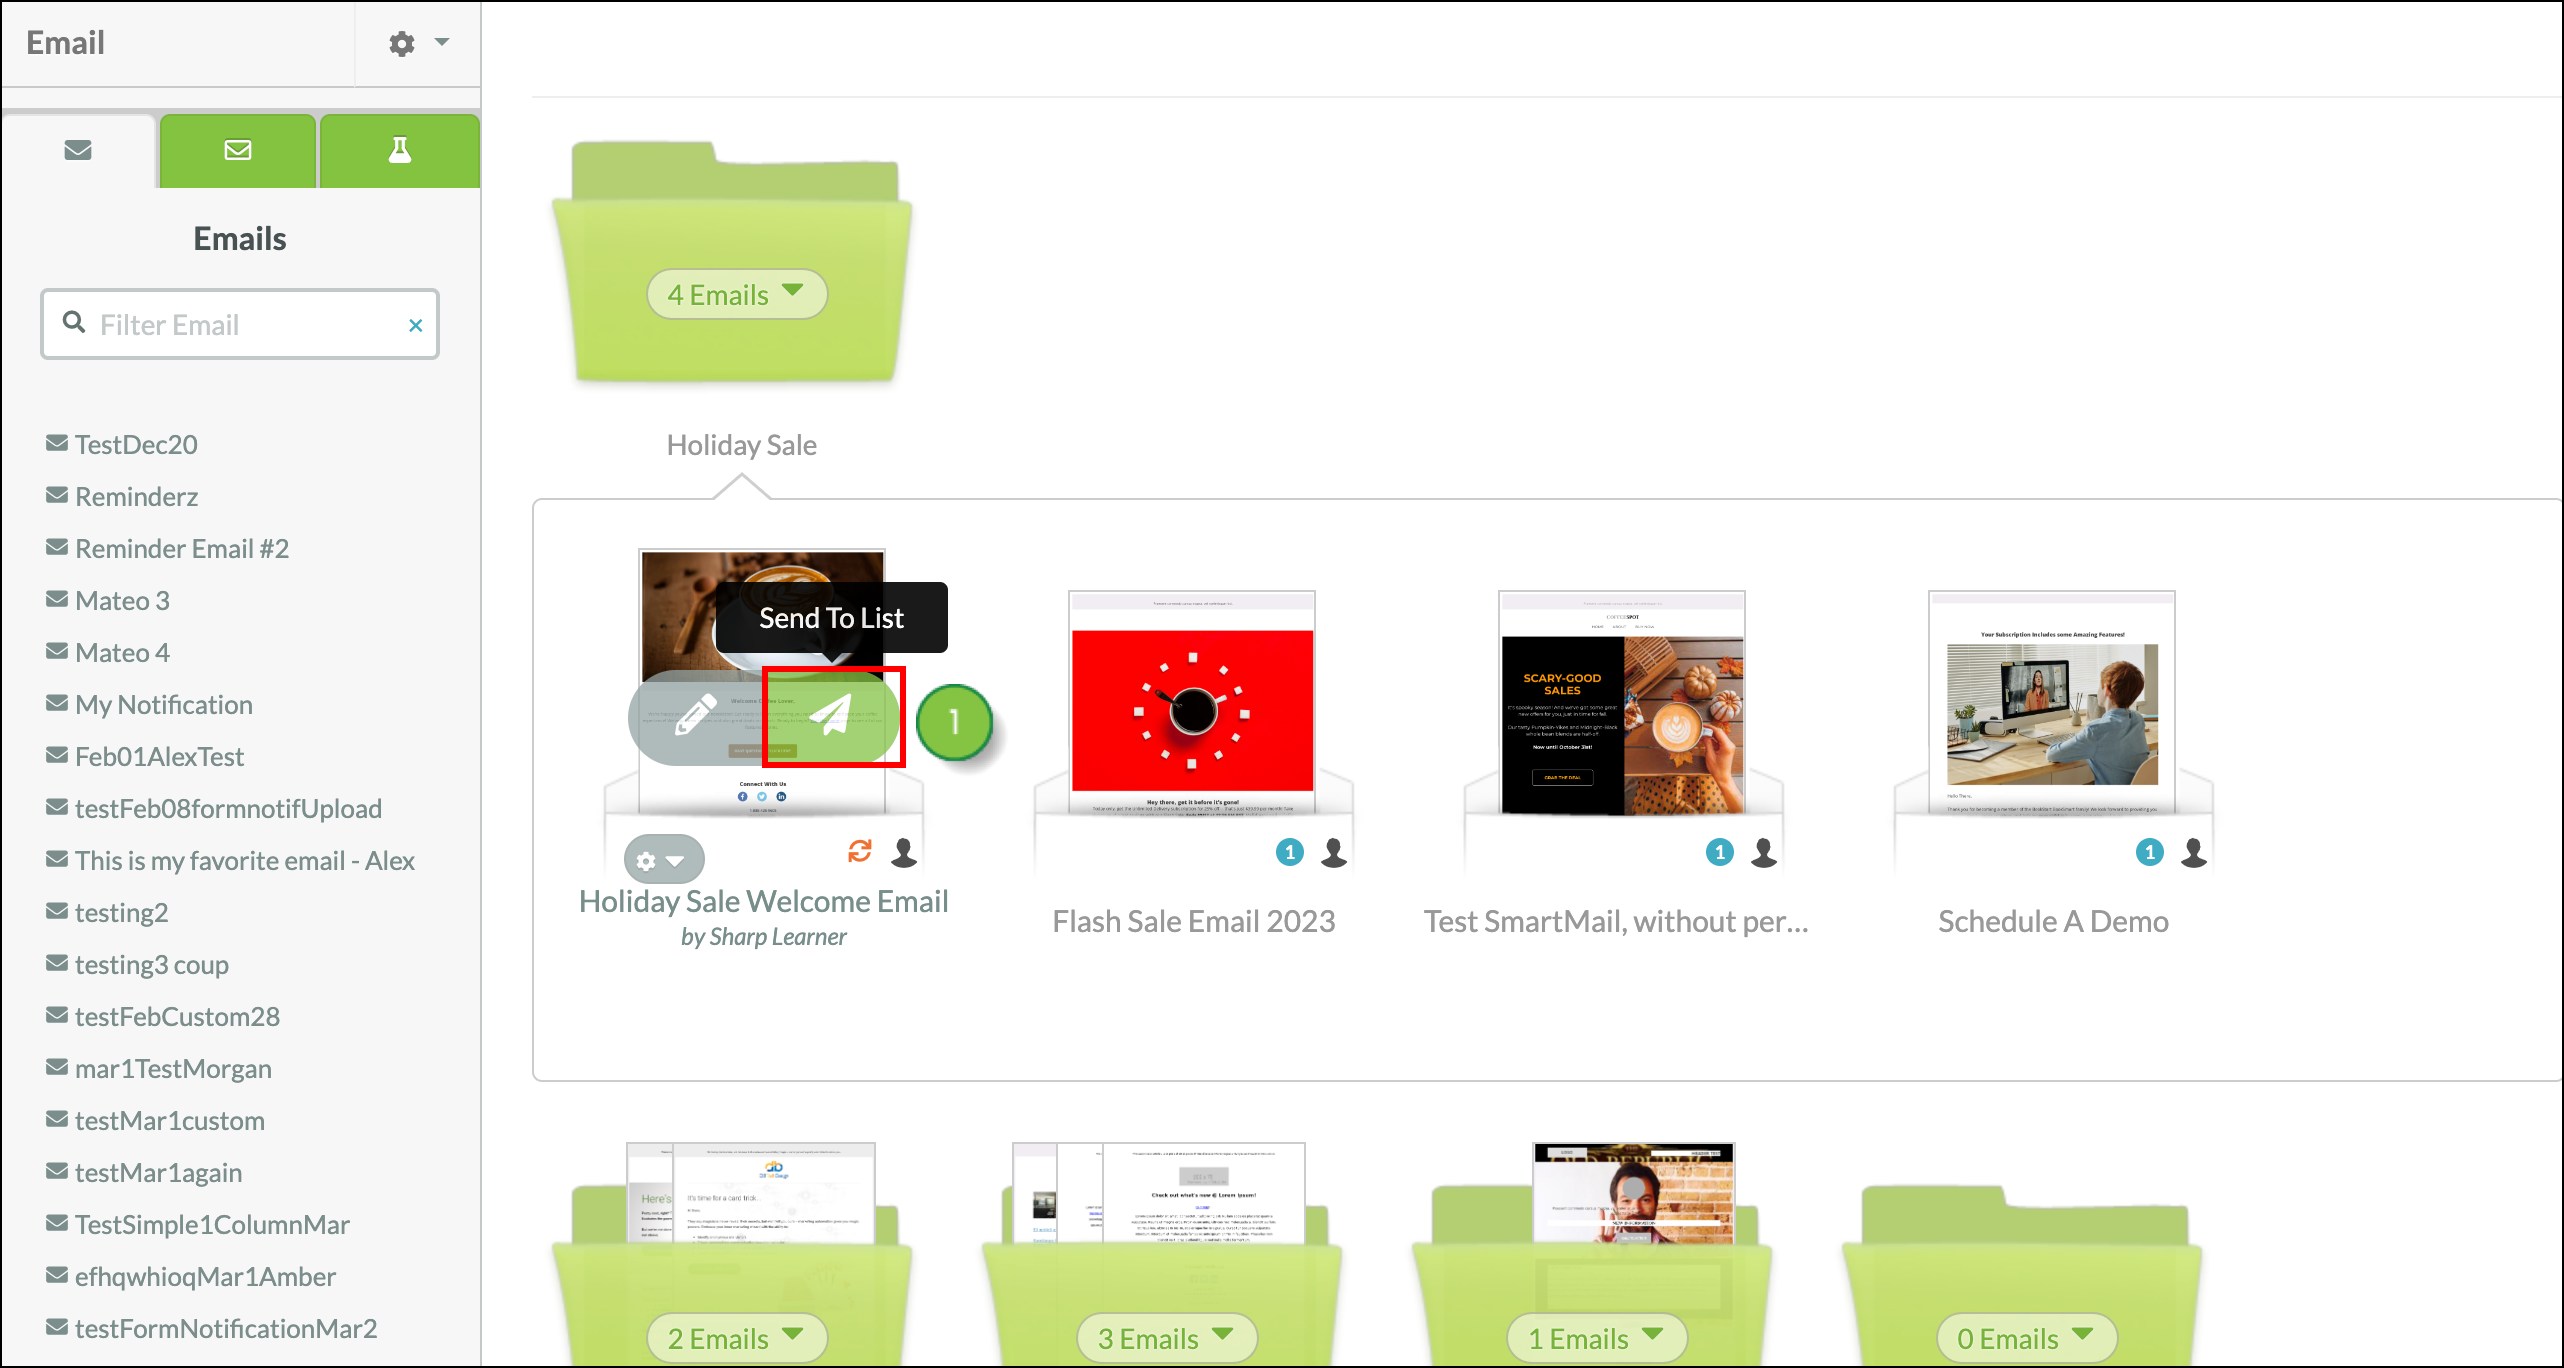
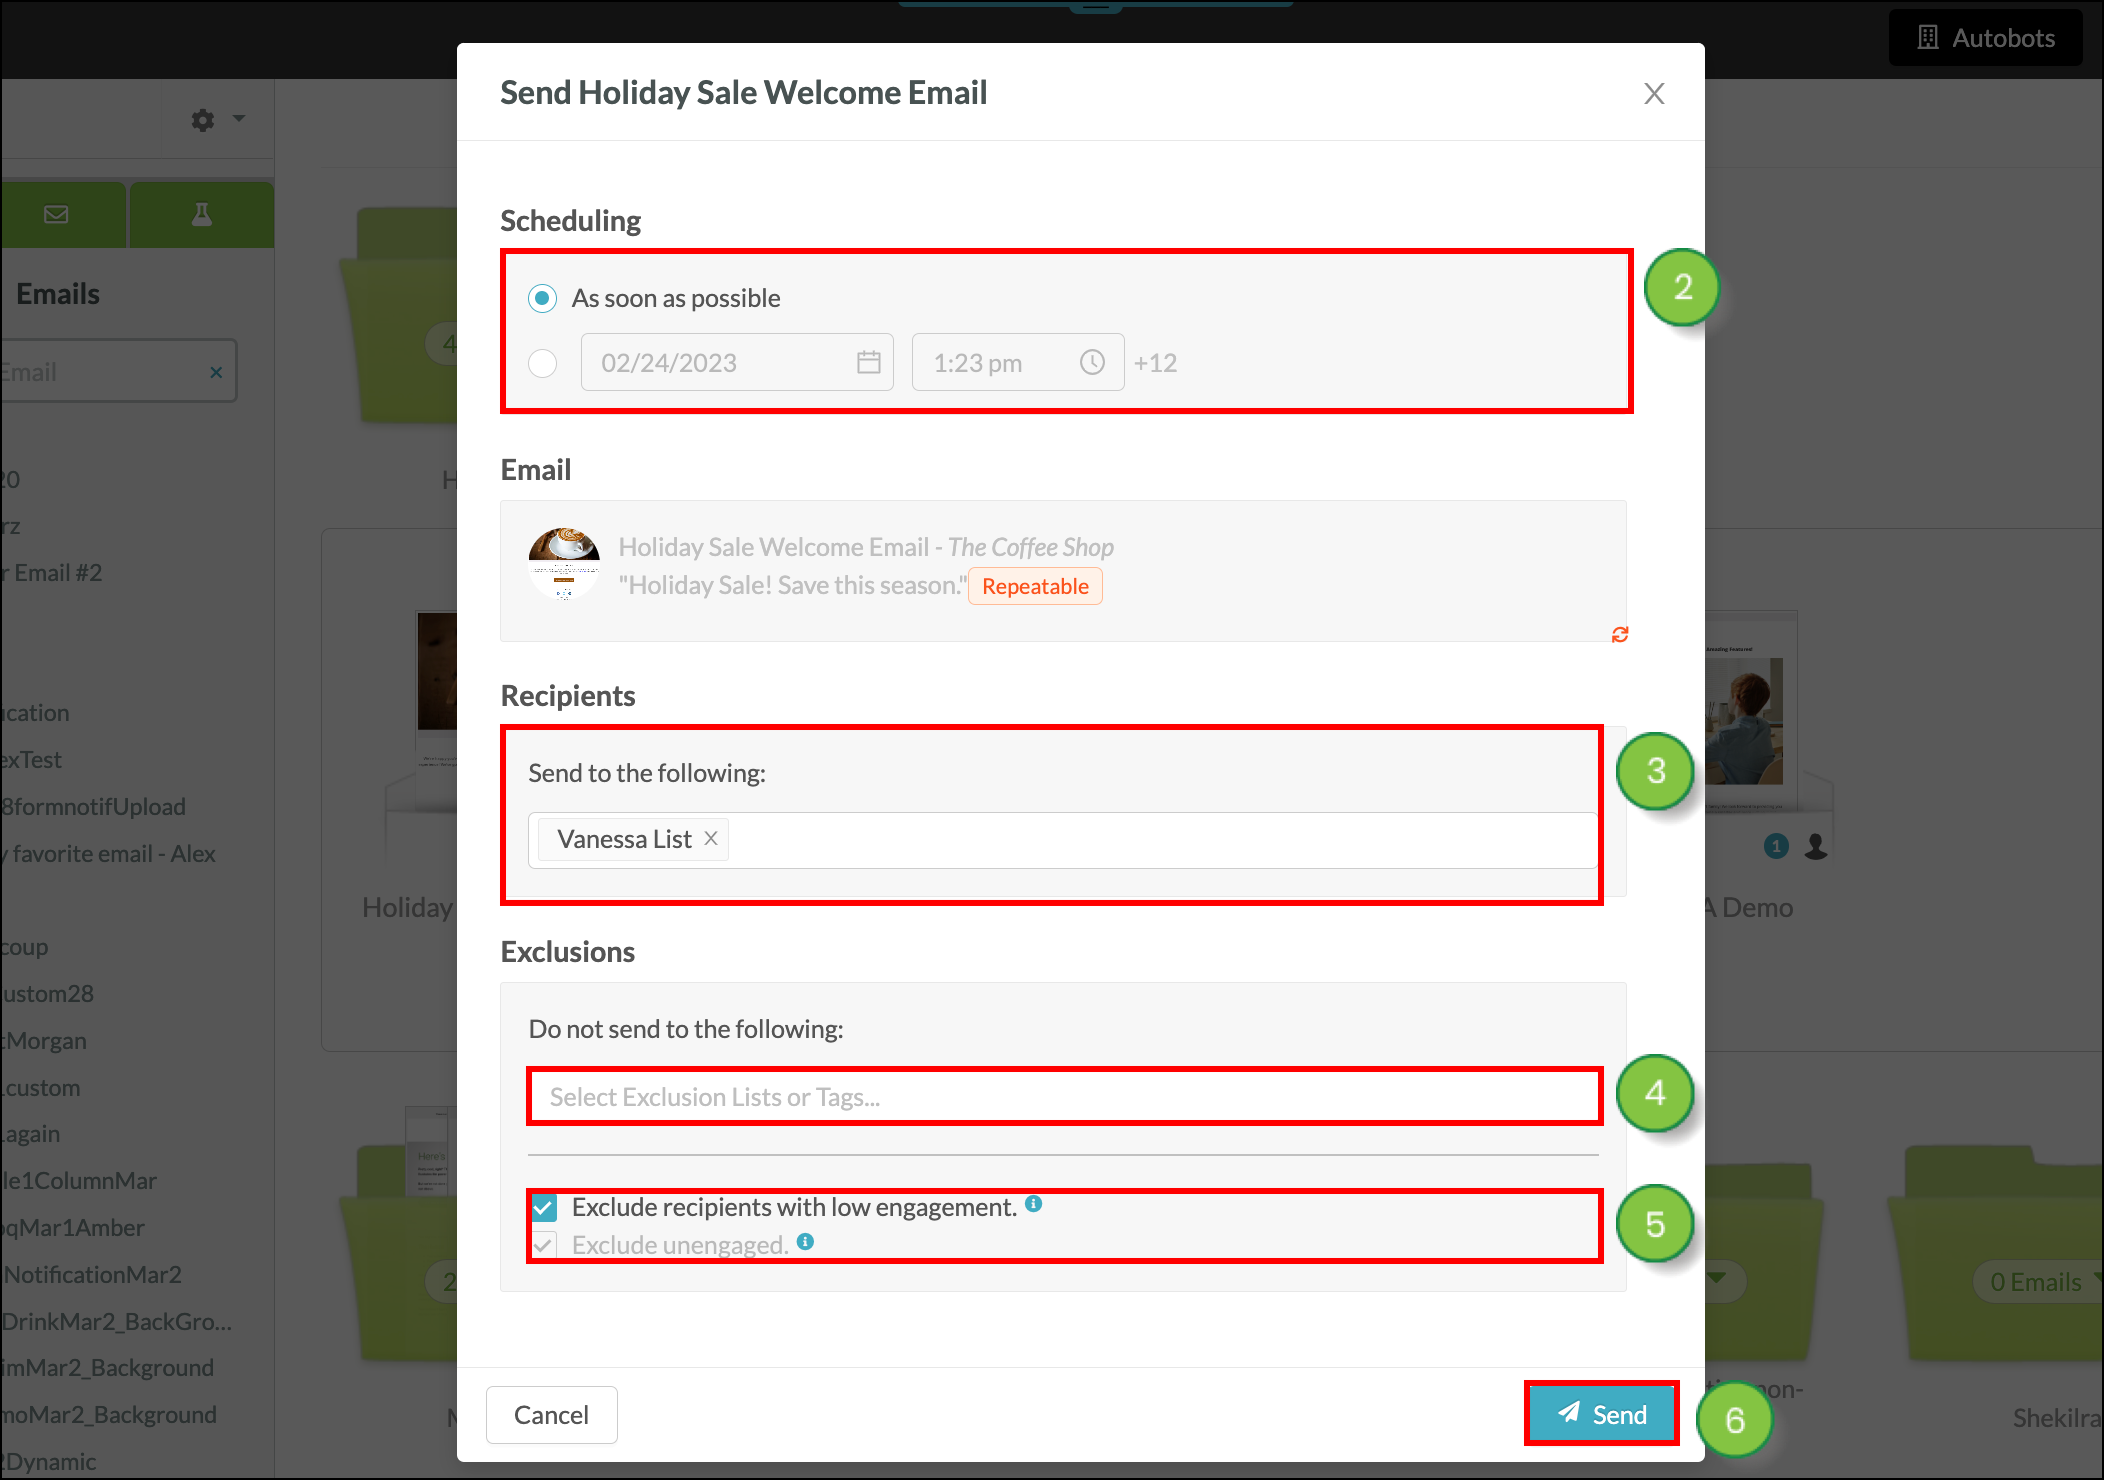
Events scheduled in this manner will appear in the Lists tab of the Scheduled Automation Events page.
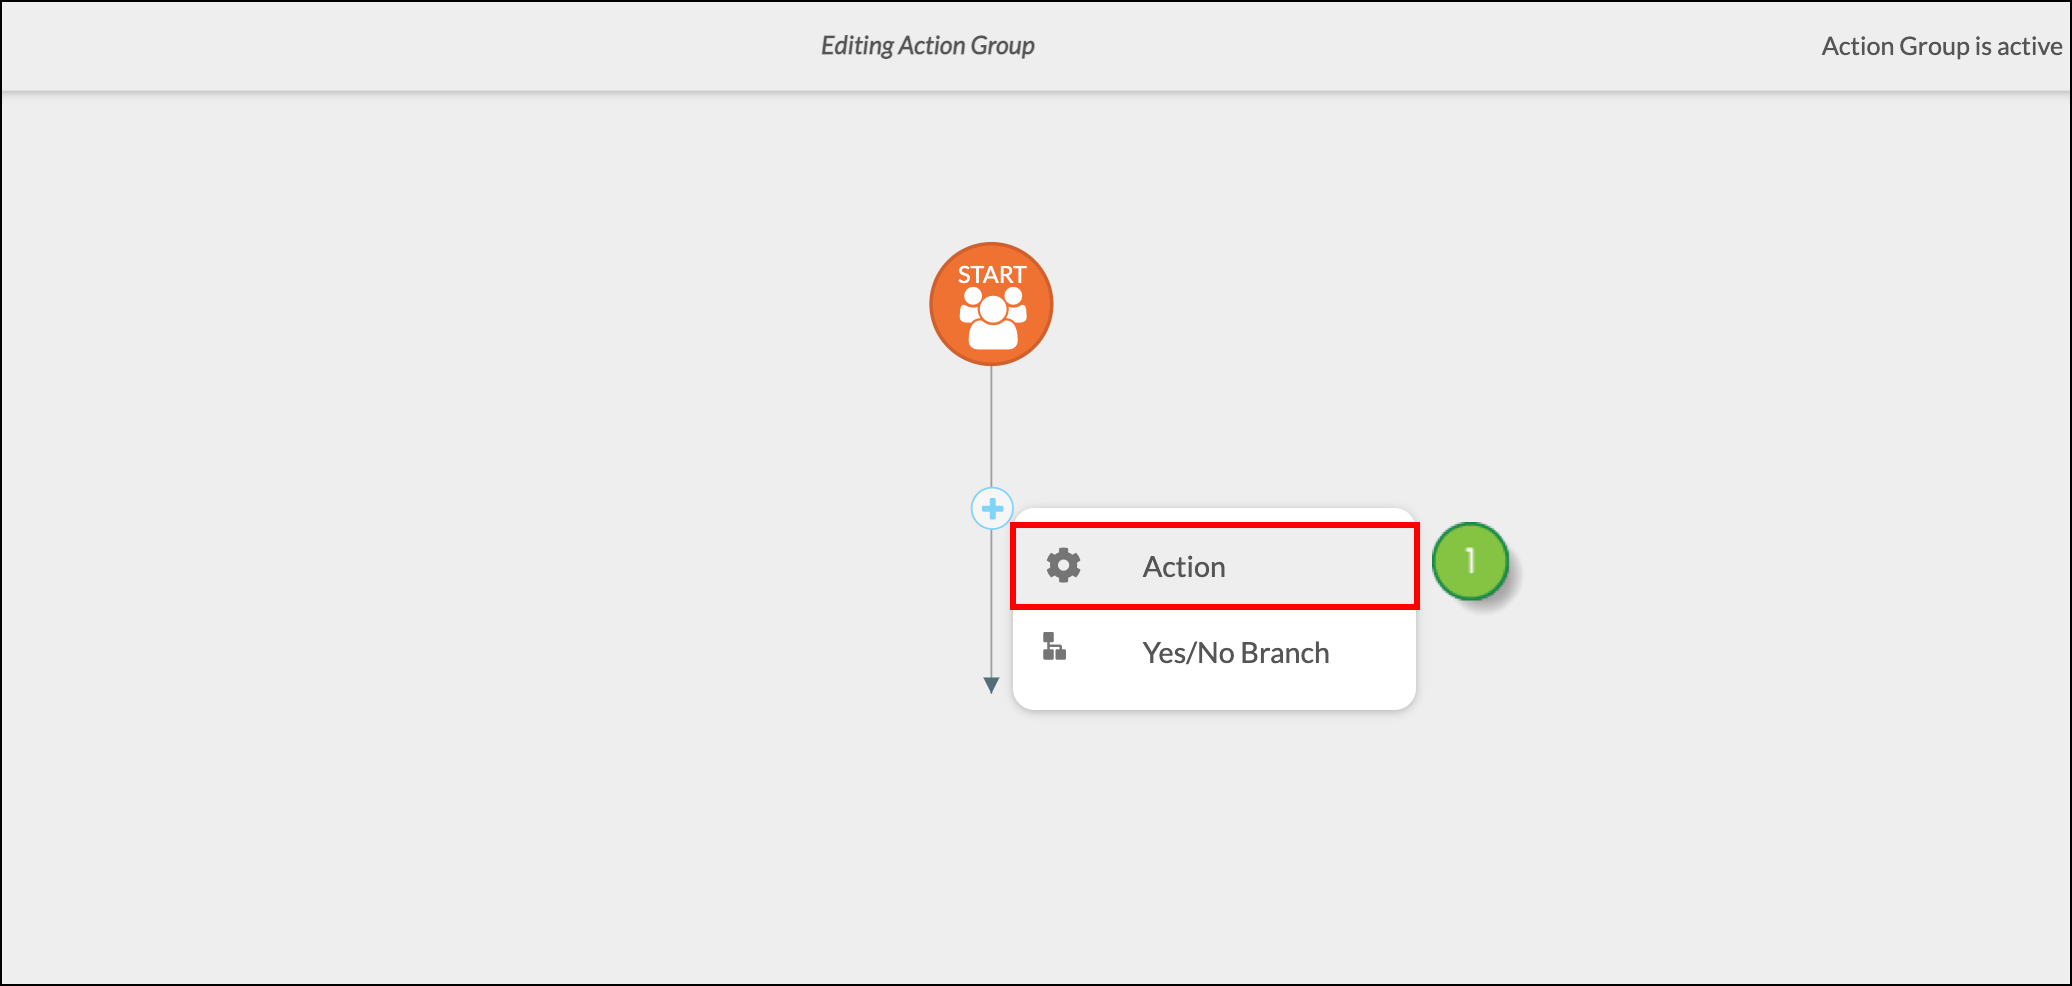
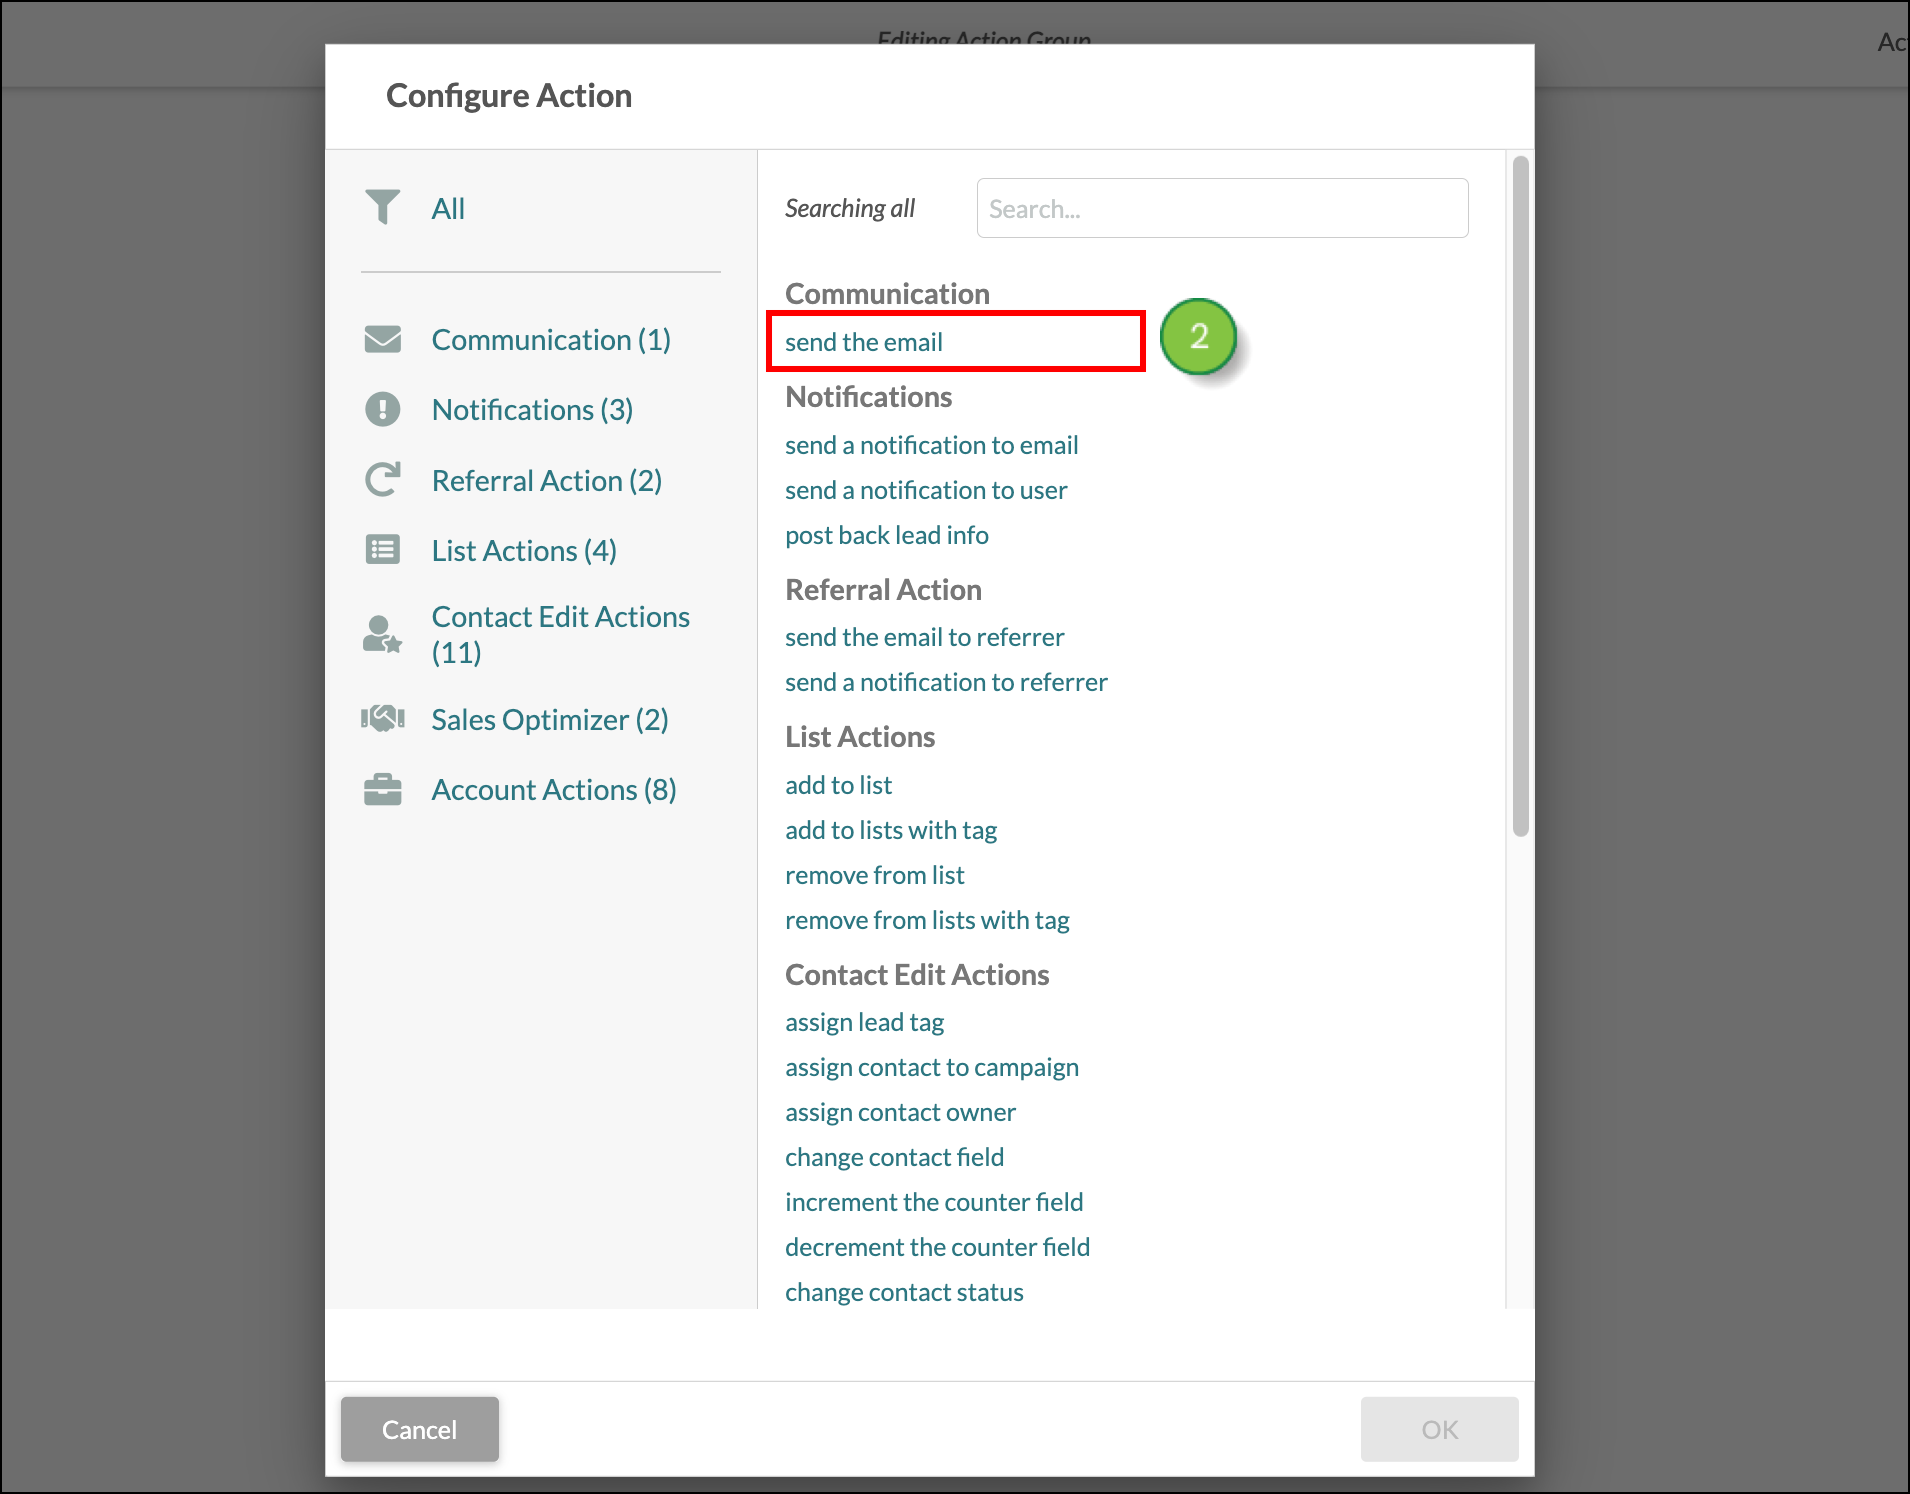
Scheduling email send events from automation requires the use of an action group that sends an email.
To create an action group that sends an email, create or edit an action group from Automation > Action Groups in the left toolbar.

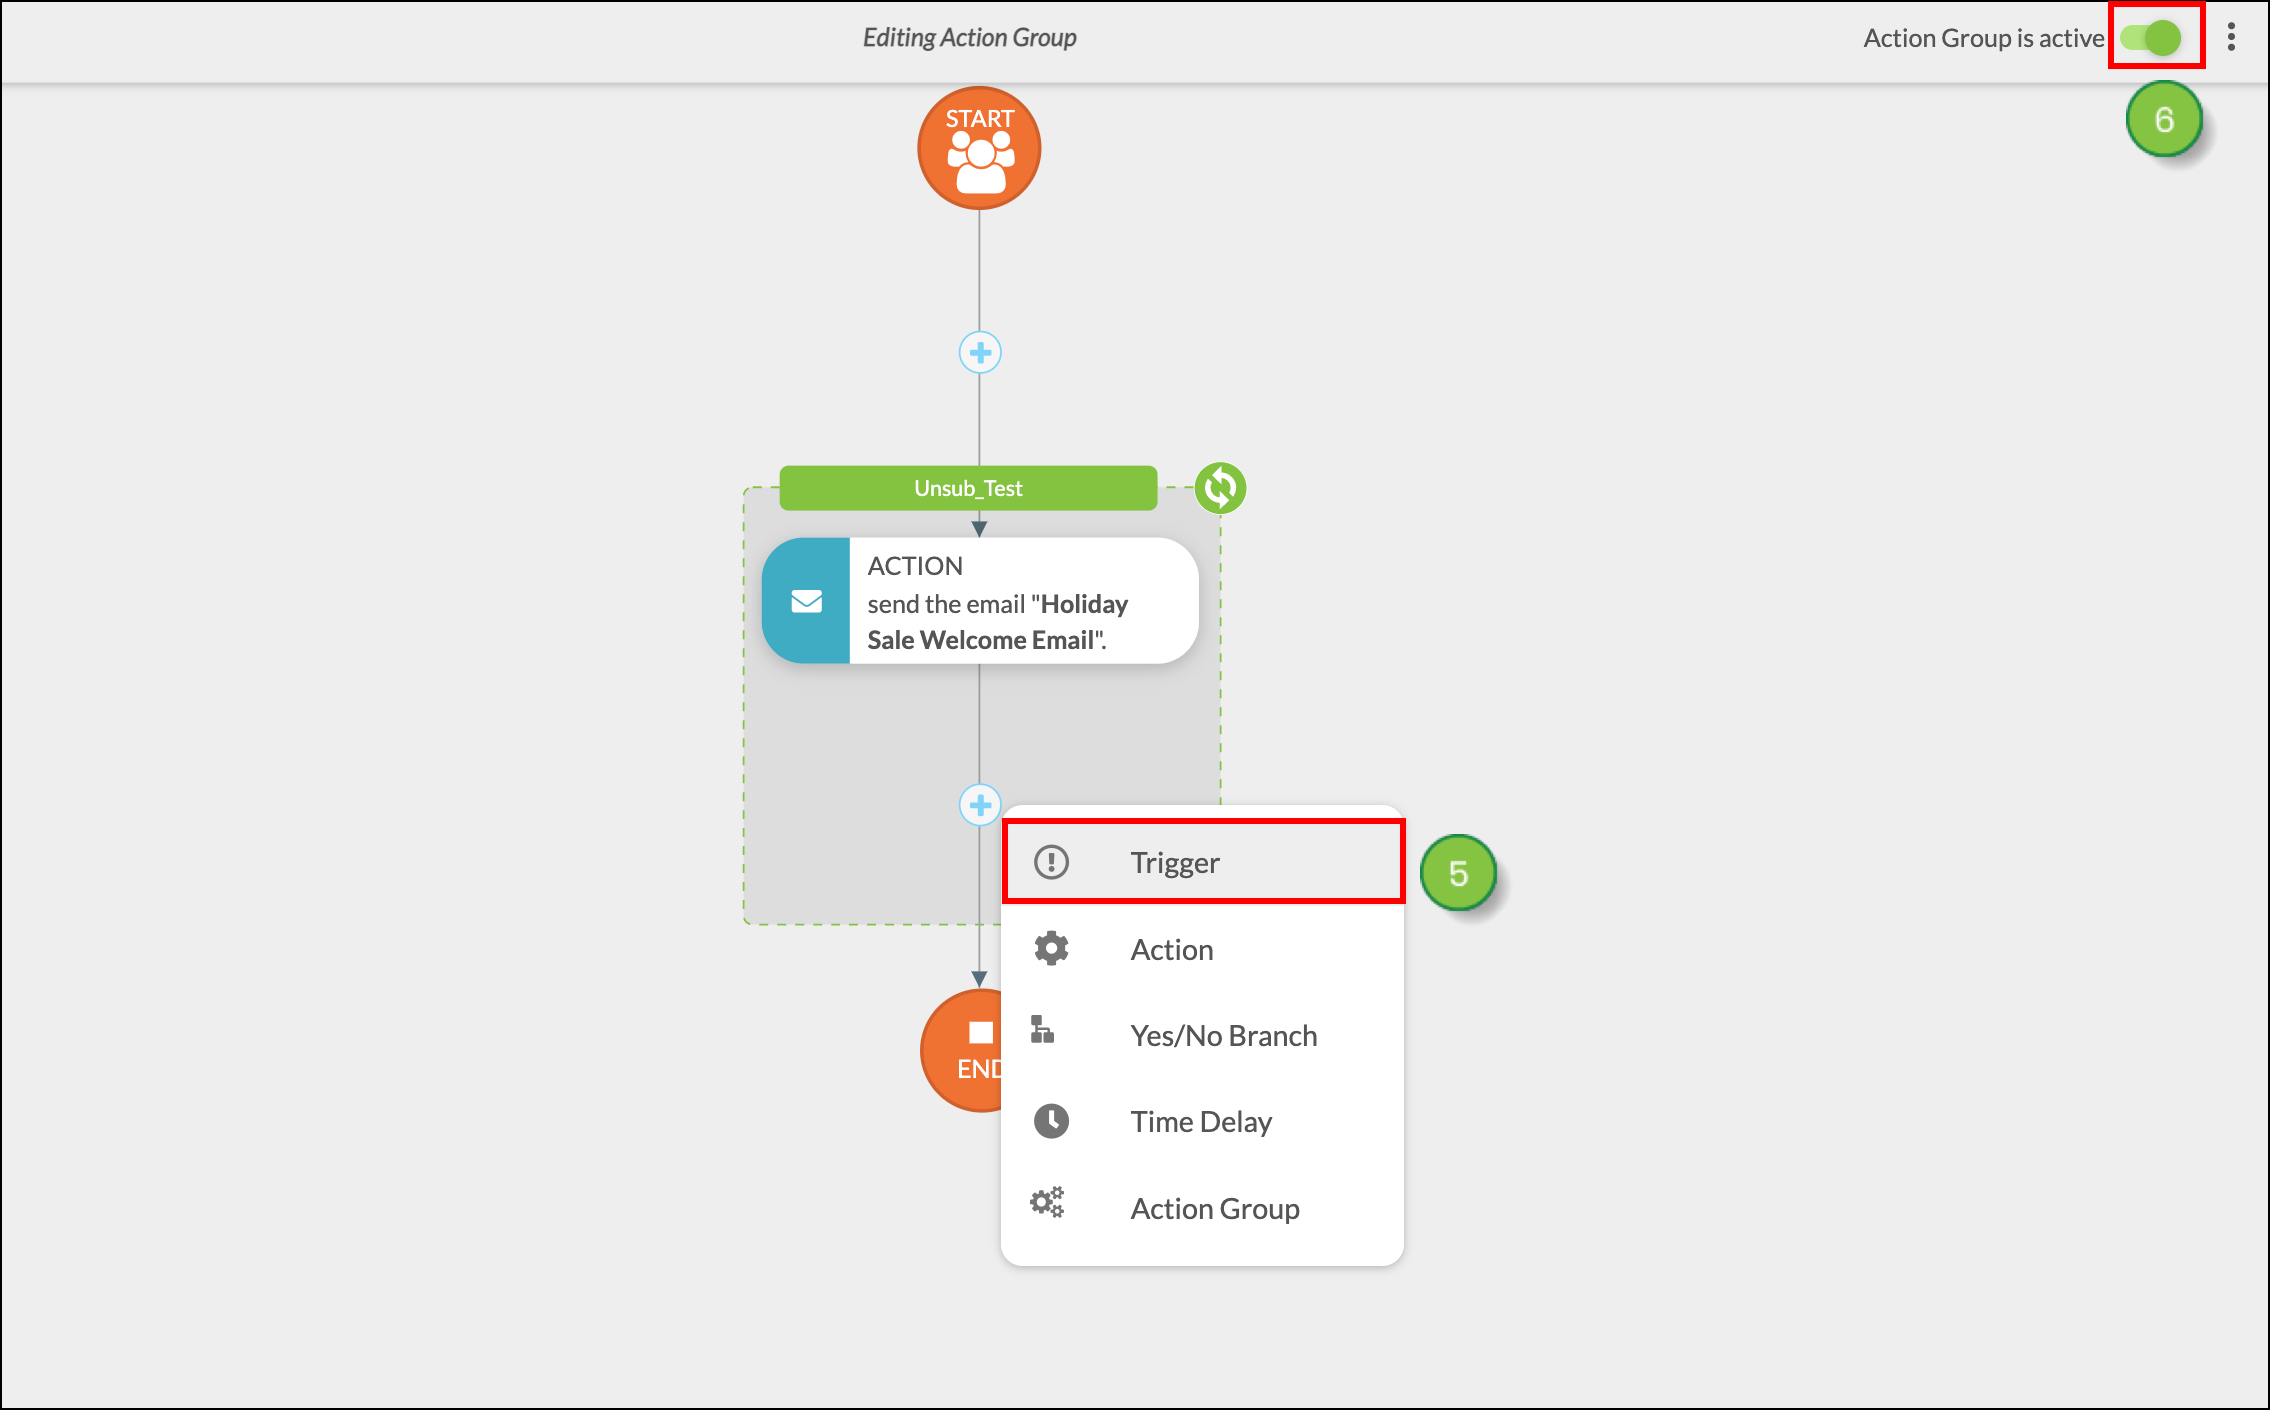
Once the email send action group has been created, you can schedule sending events with it.
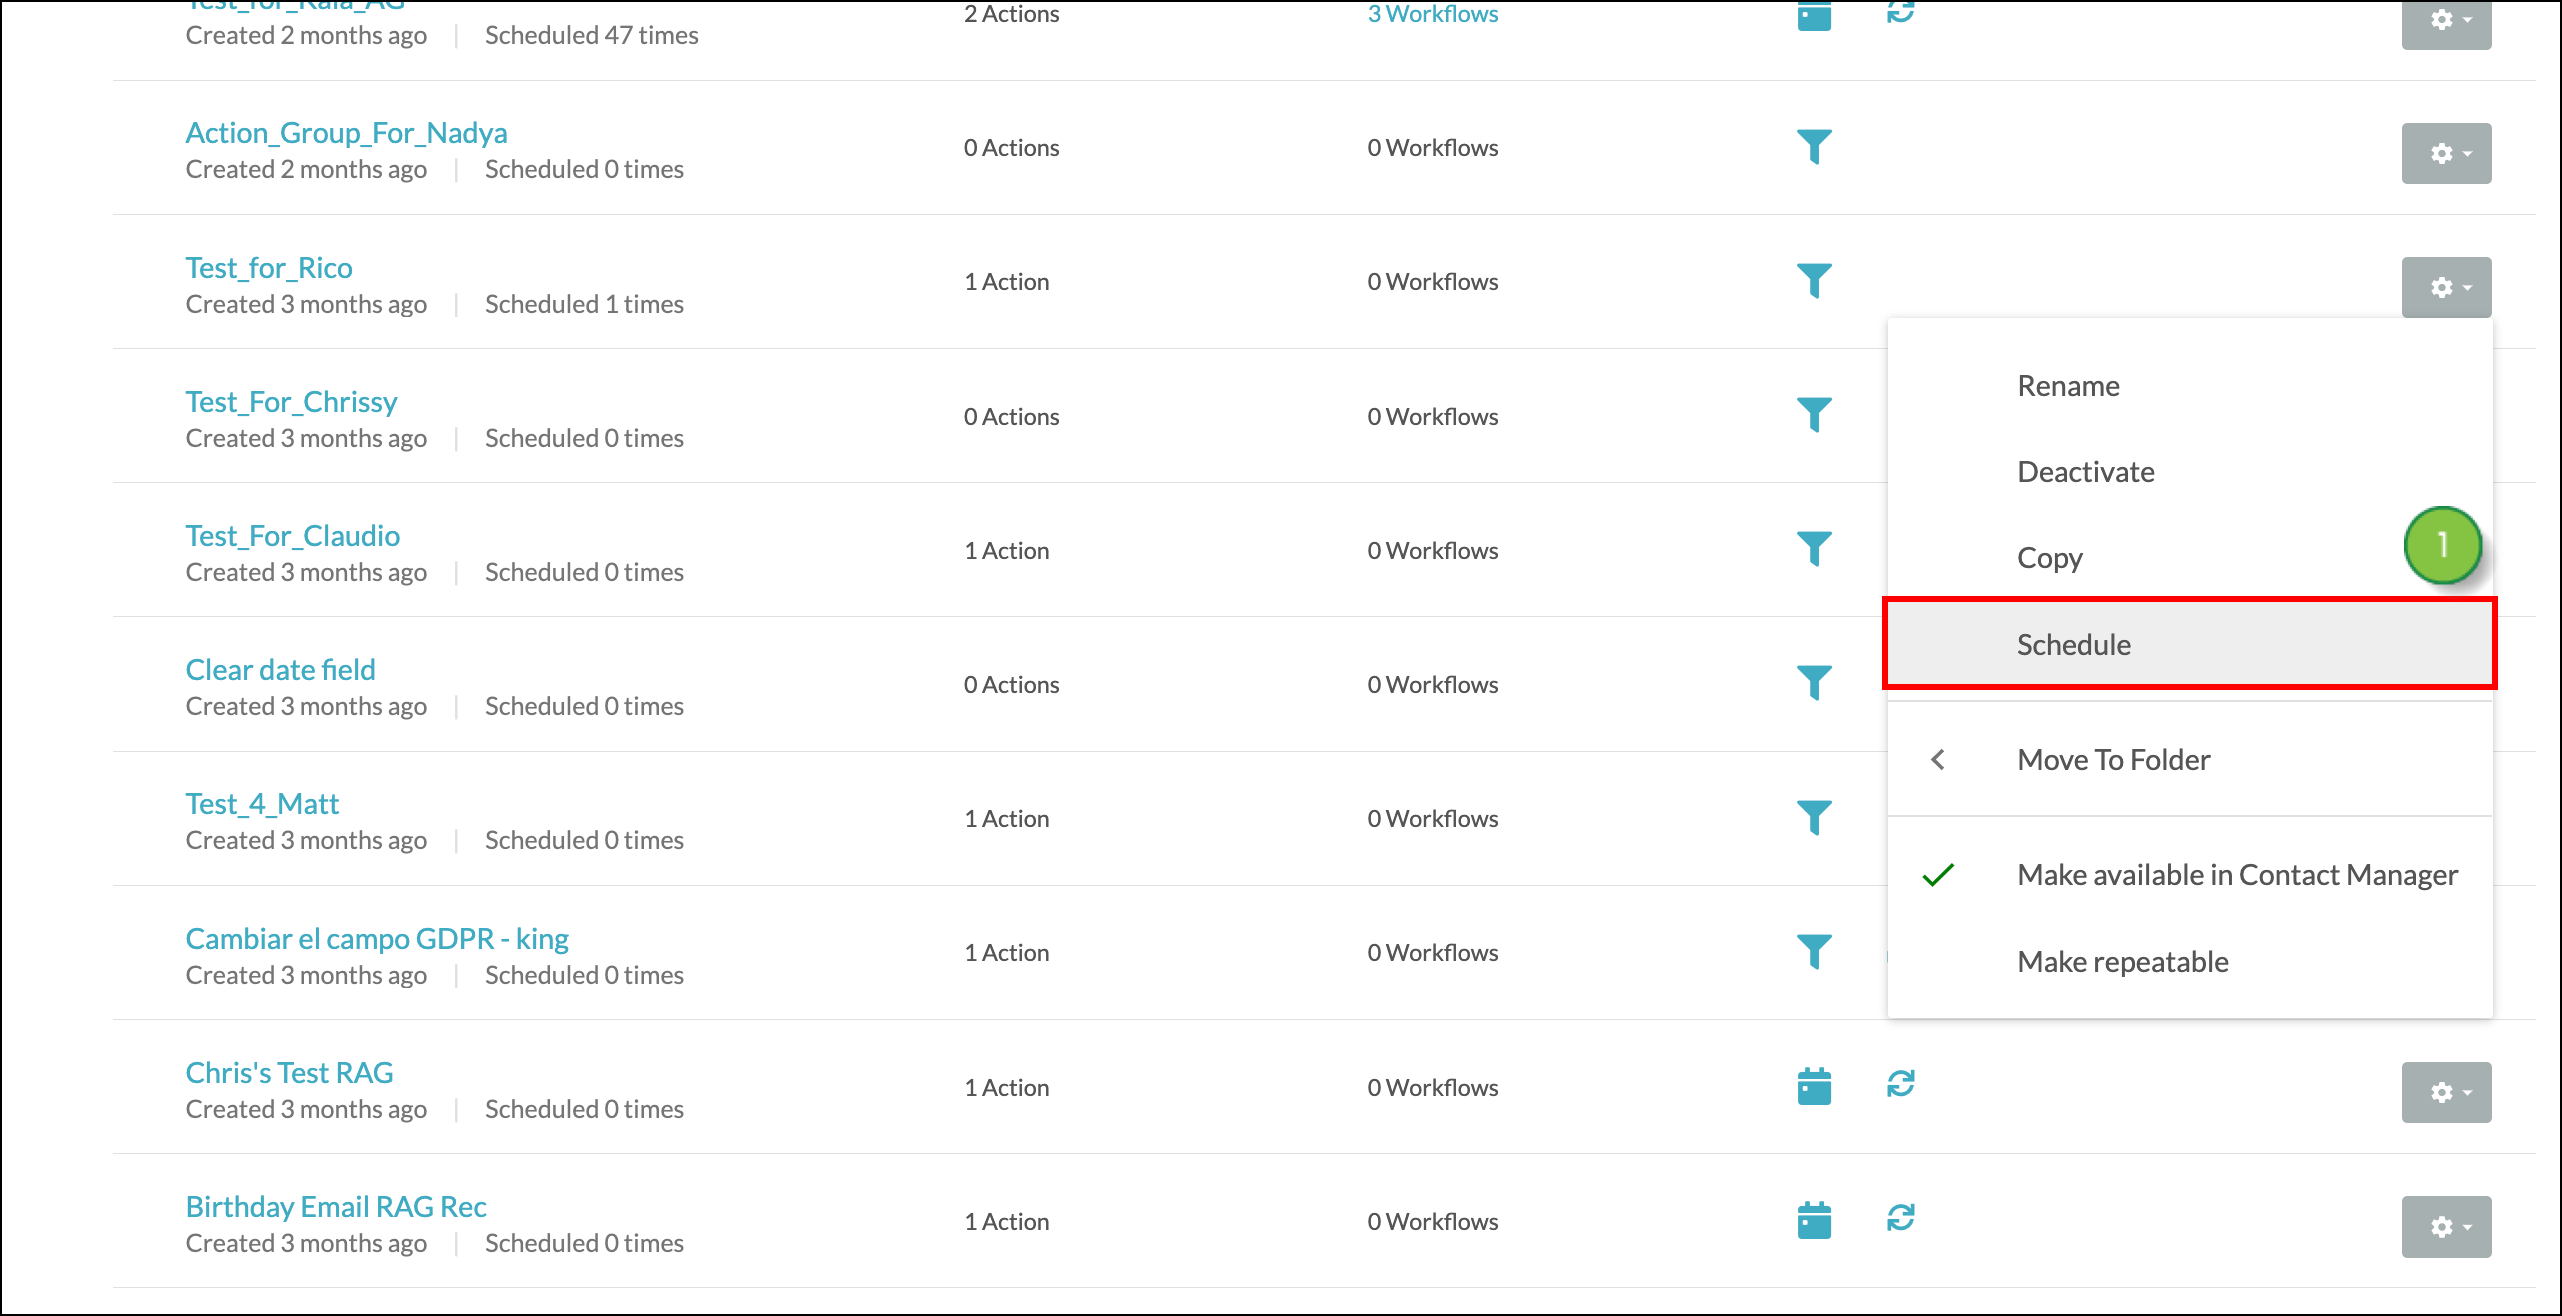
To schedule an action group, start from Automation > Action Groups in the left toolbar.
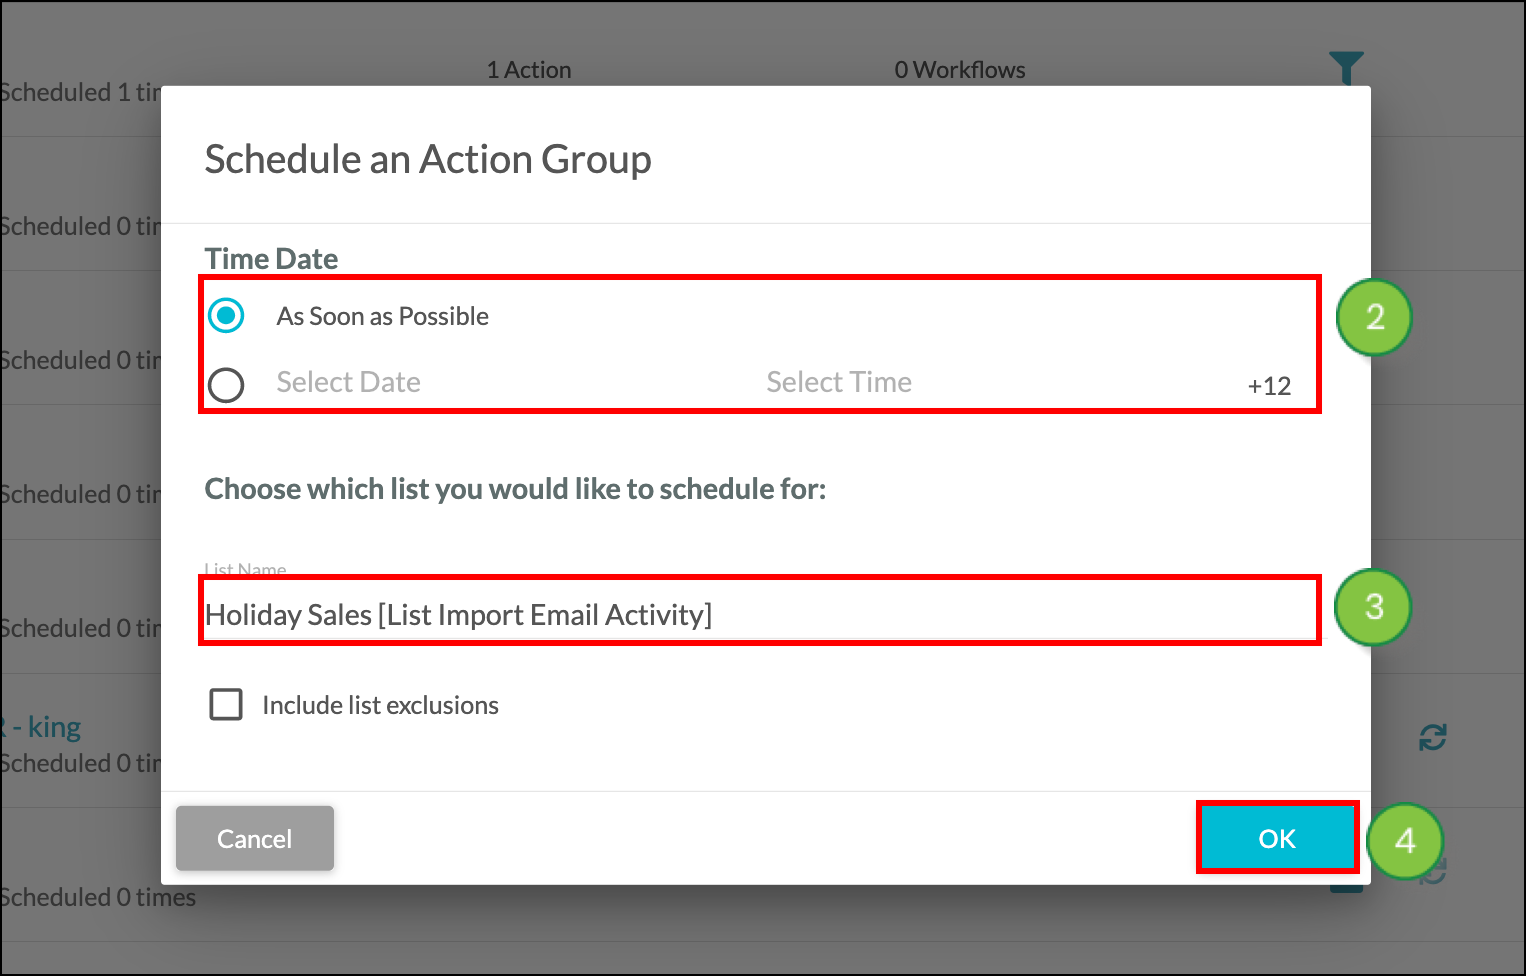
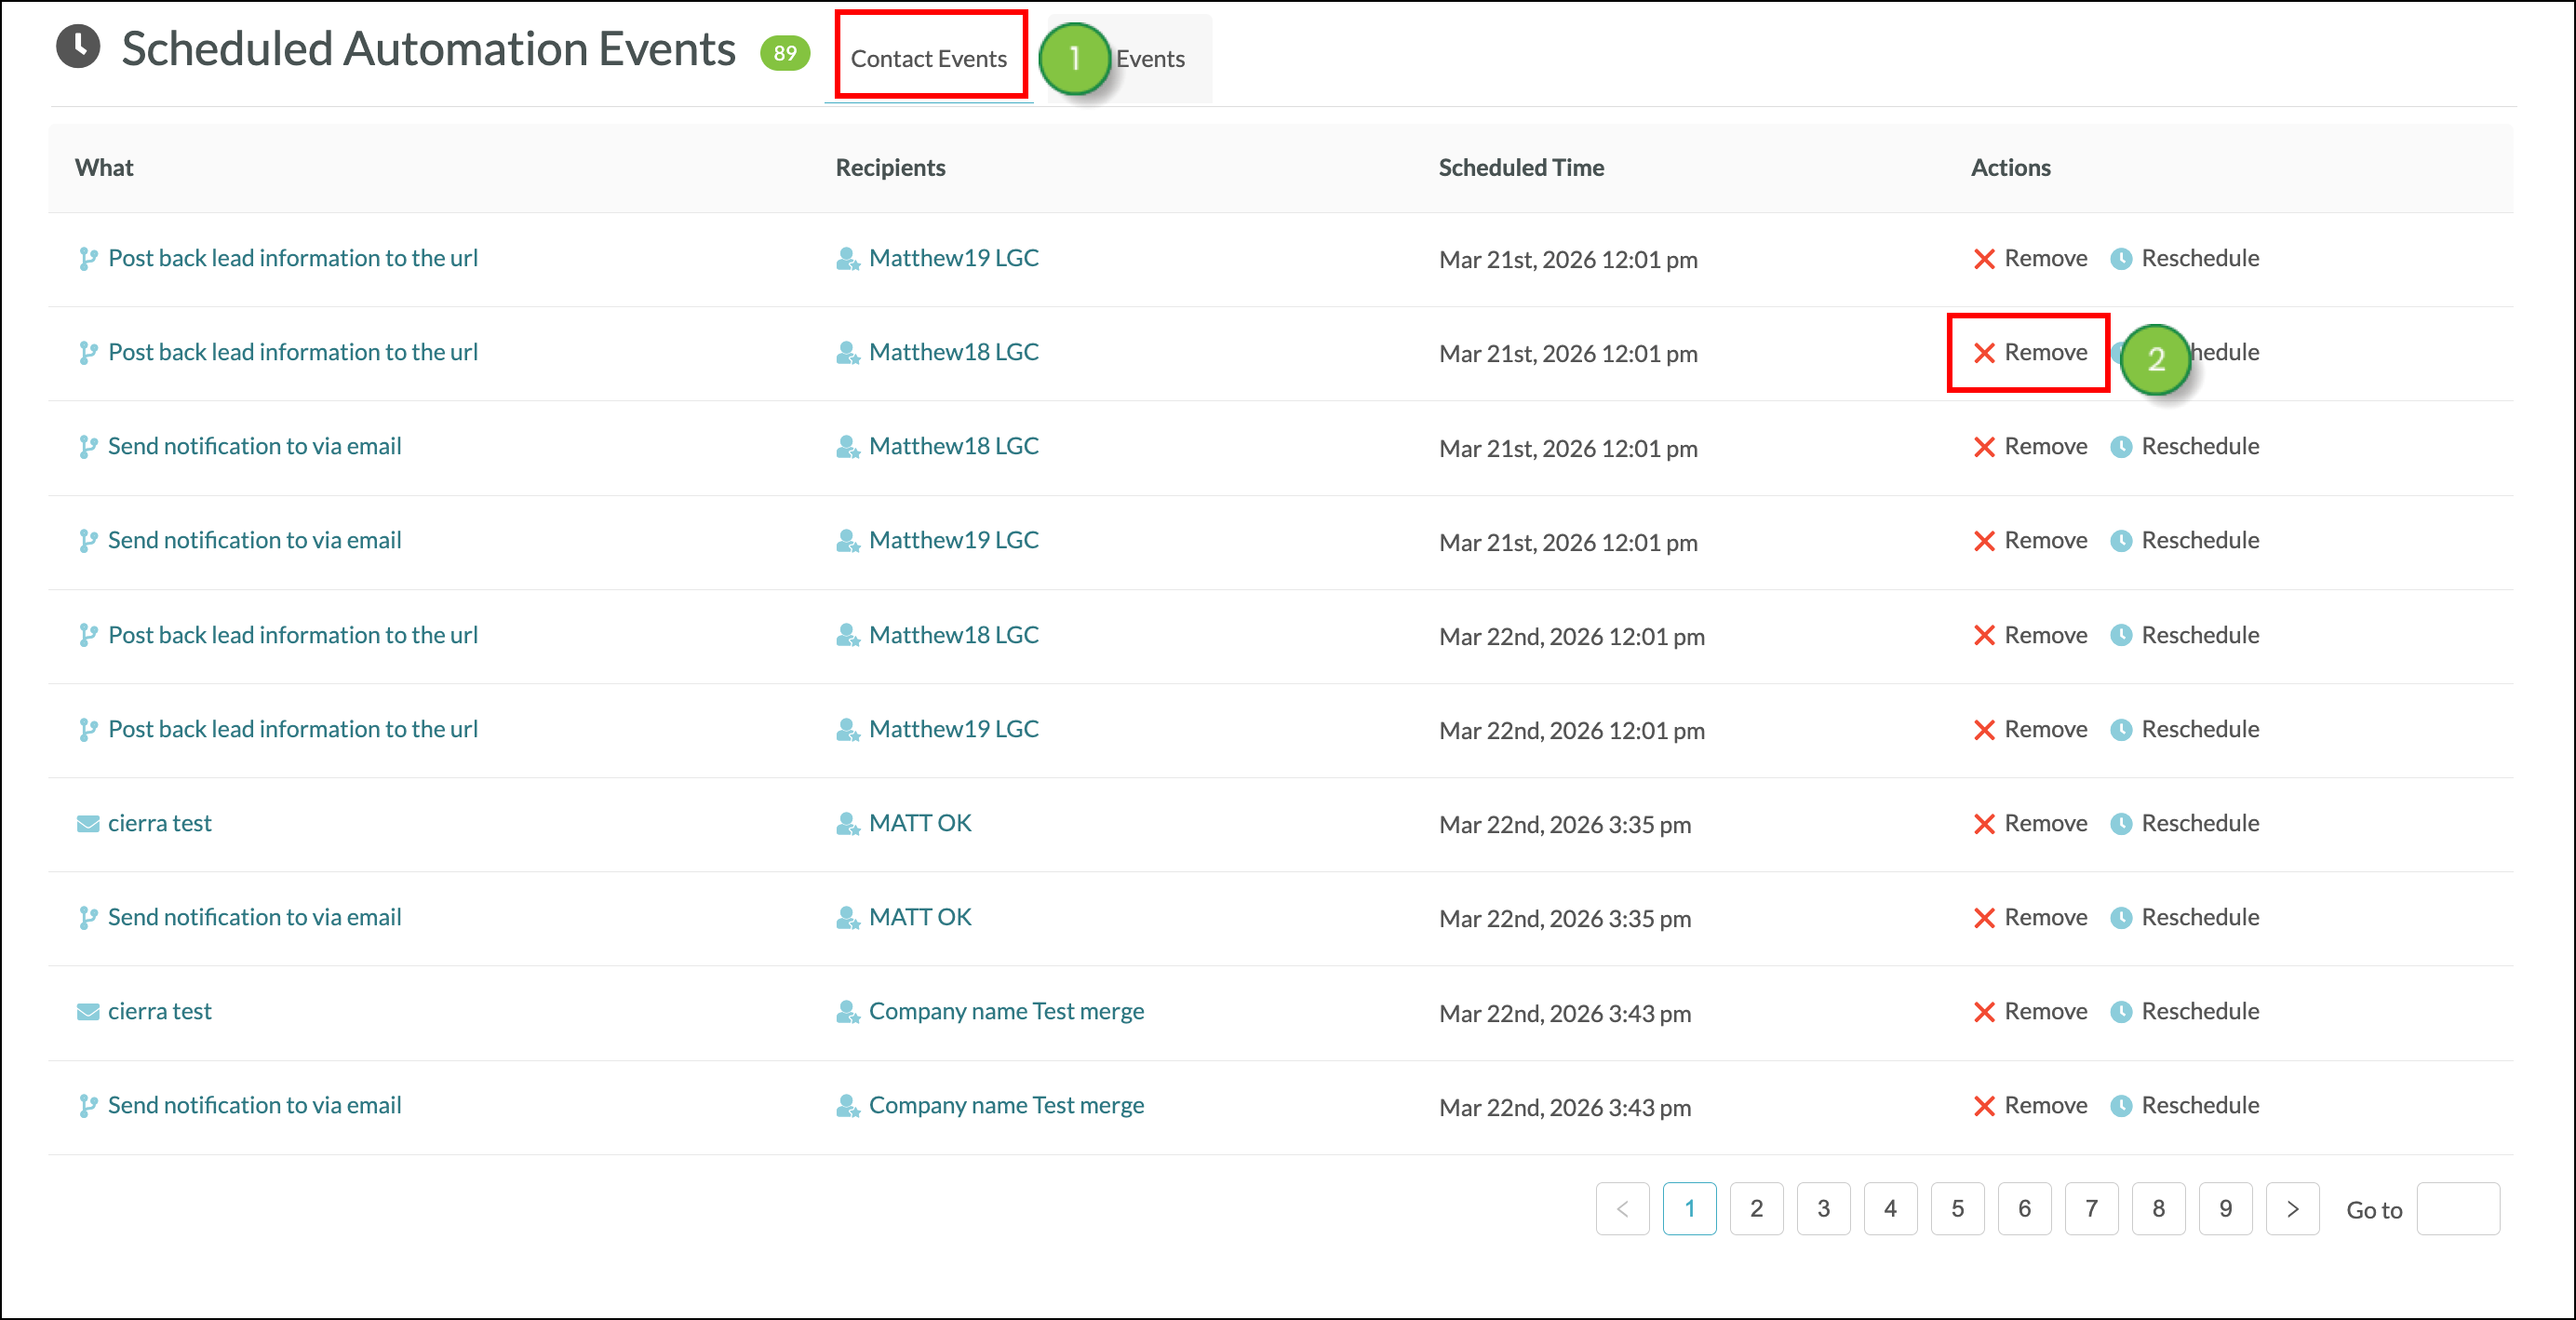
Events scheduled in this manner will appear in the Contacts tab of the Scheduled Automation Events page.
You can—and should—verify that emails were scheduled correctly.
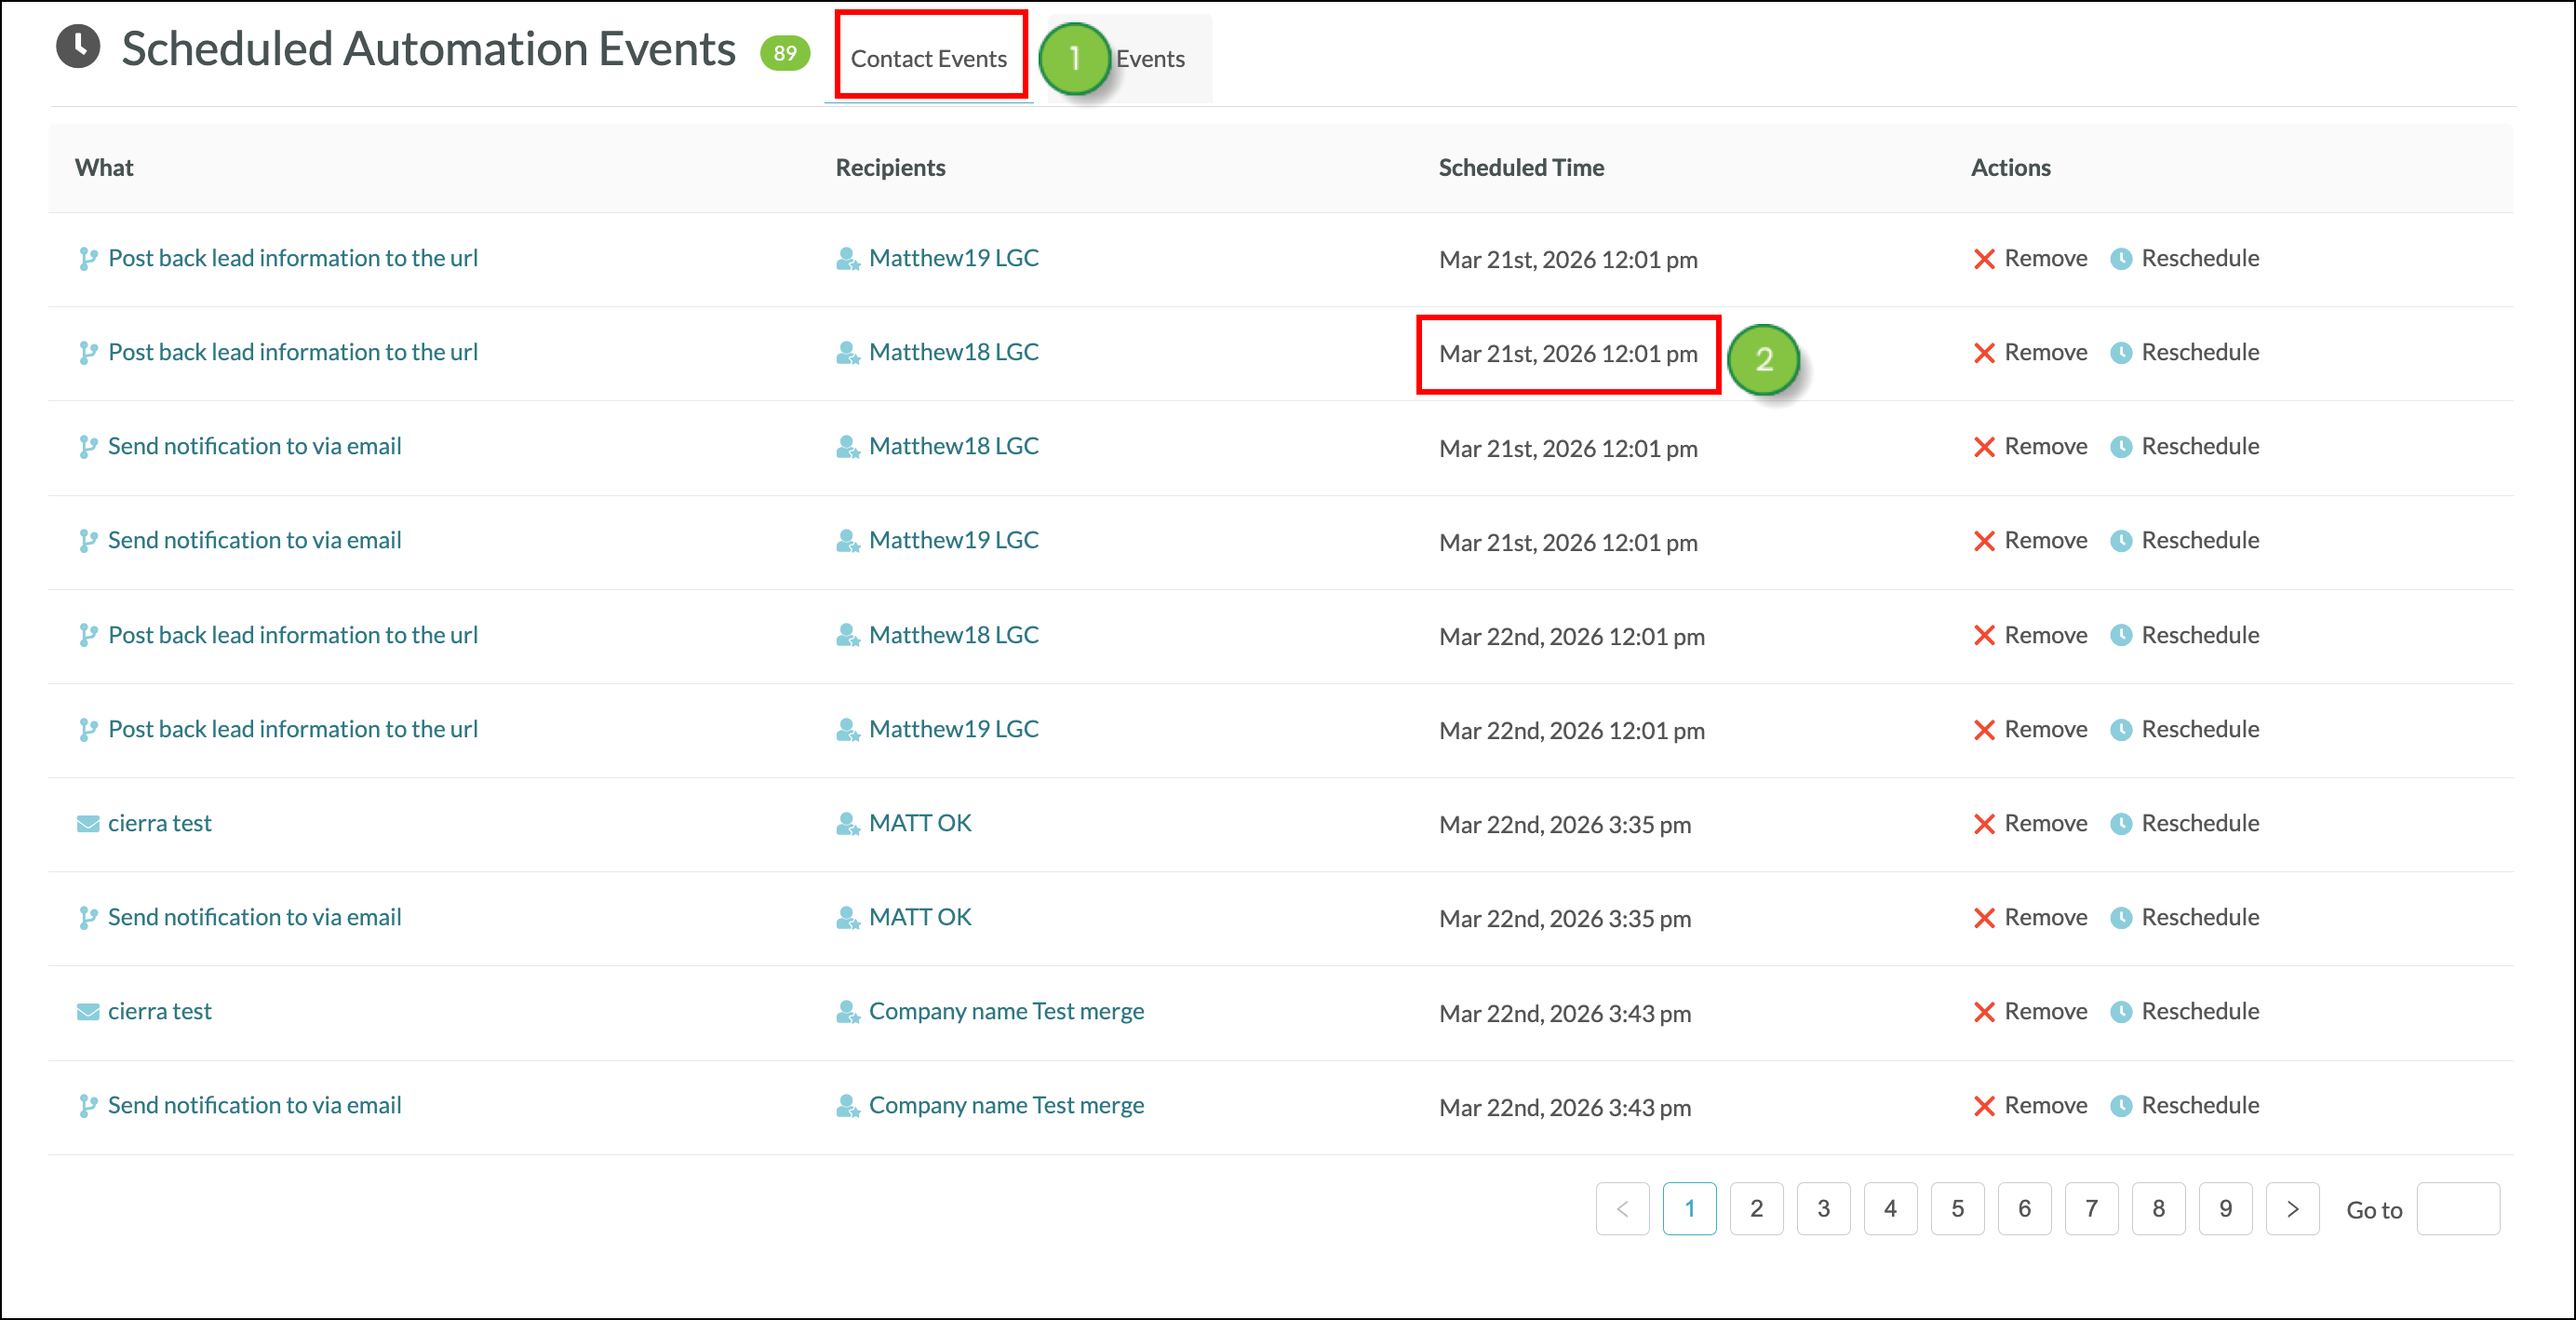
To verify email scheduling, start from Automation > Scheduled Events in the left toolbar.
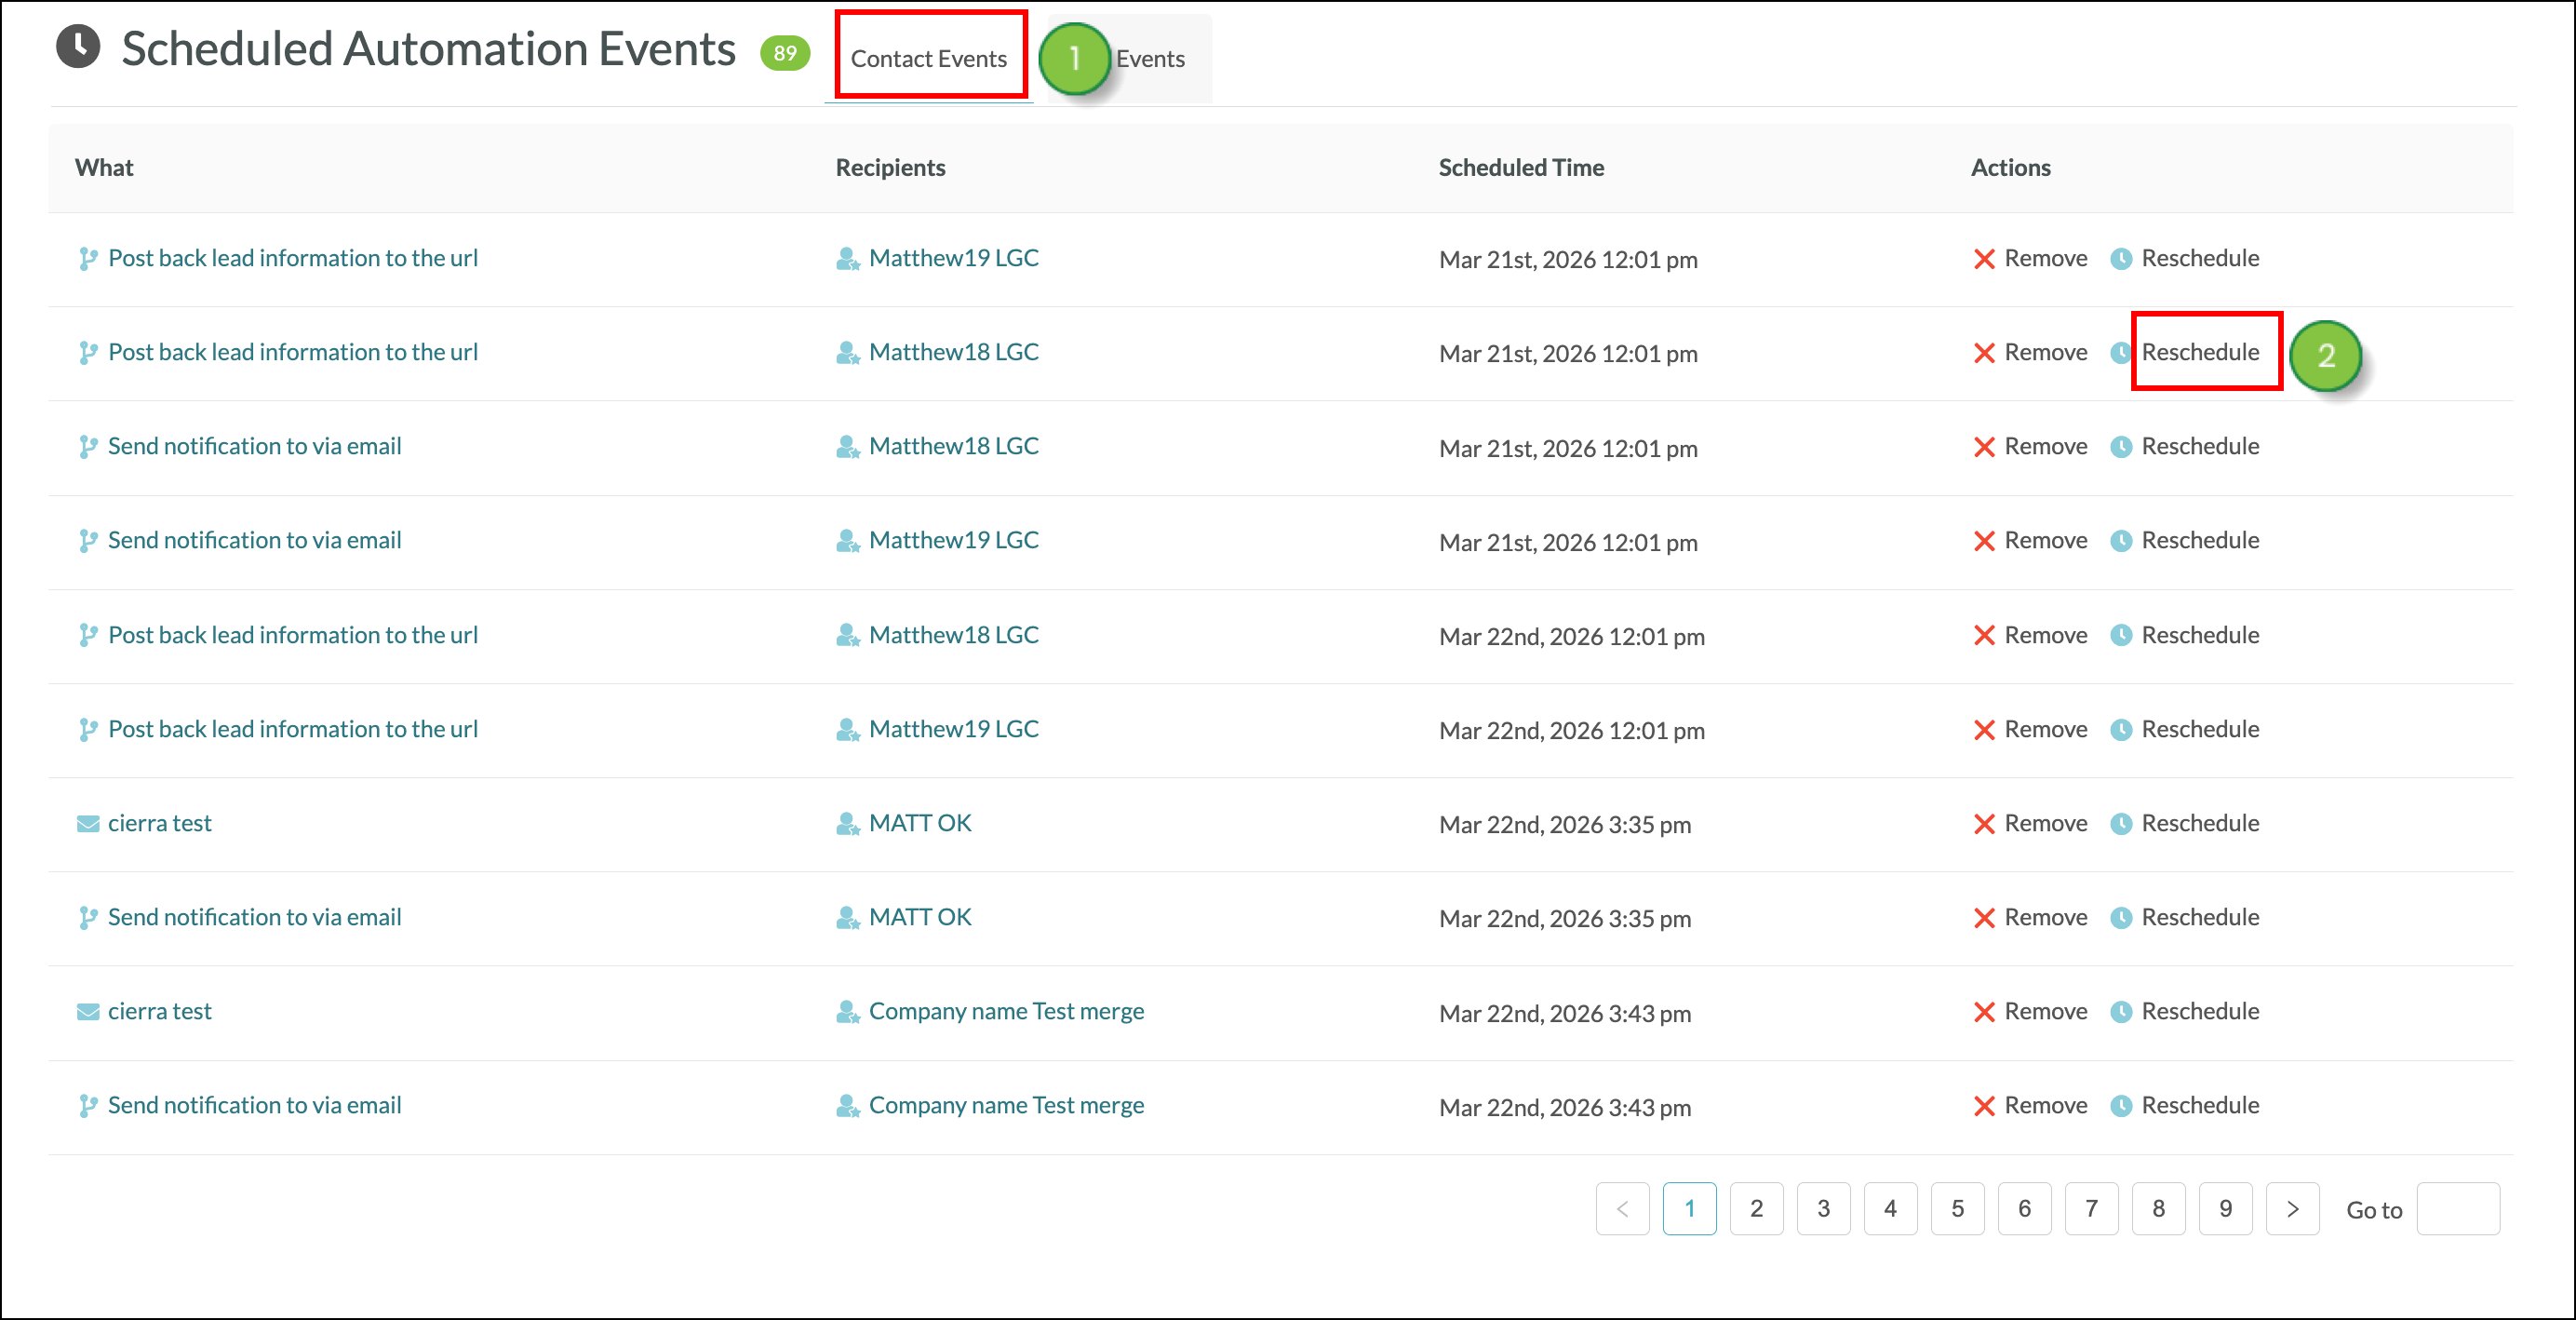
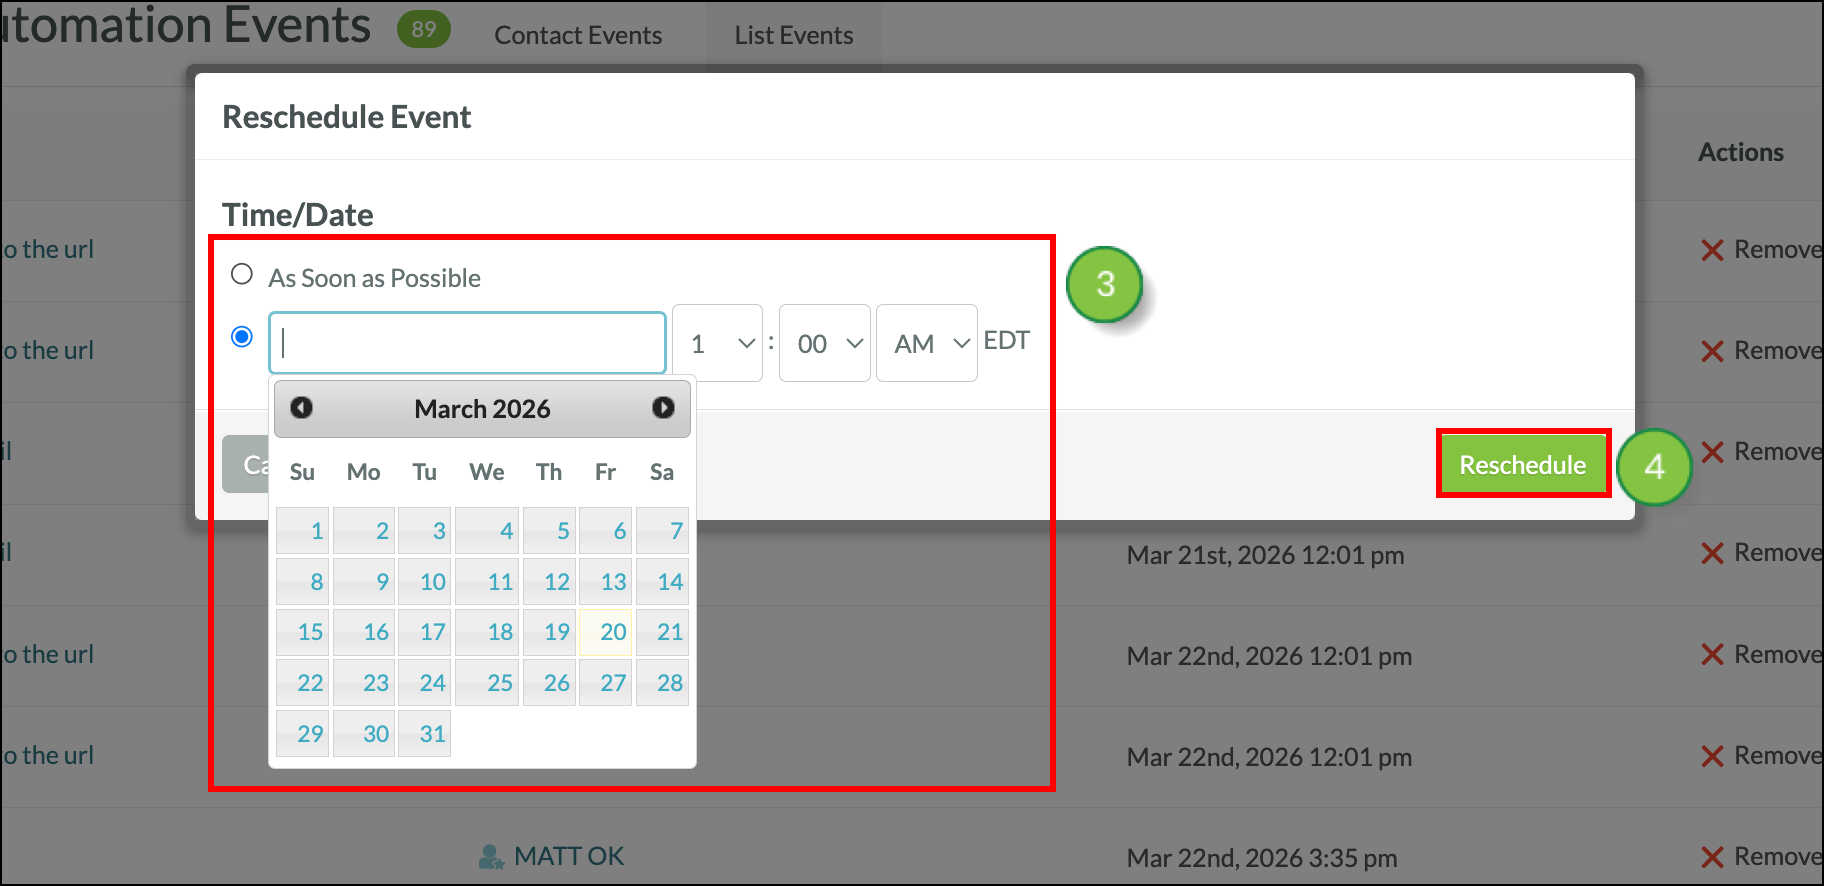
You can only directly reschedule events that were scheduled via action groups that send emails. To reschedule scheduled email send action group events, start from Automation > Scheduled Events in the left toolbar.
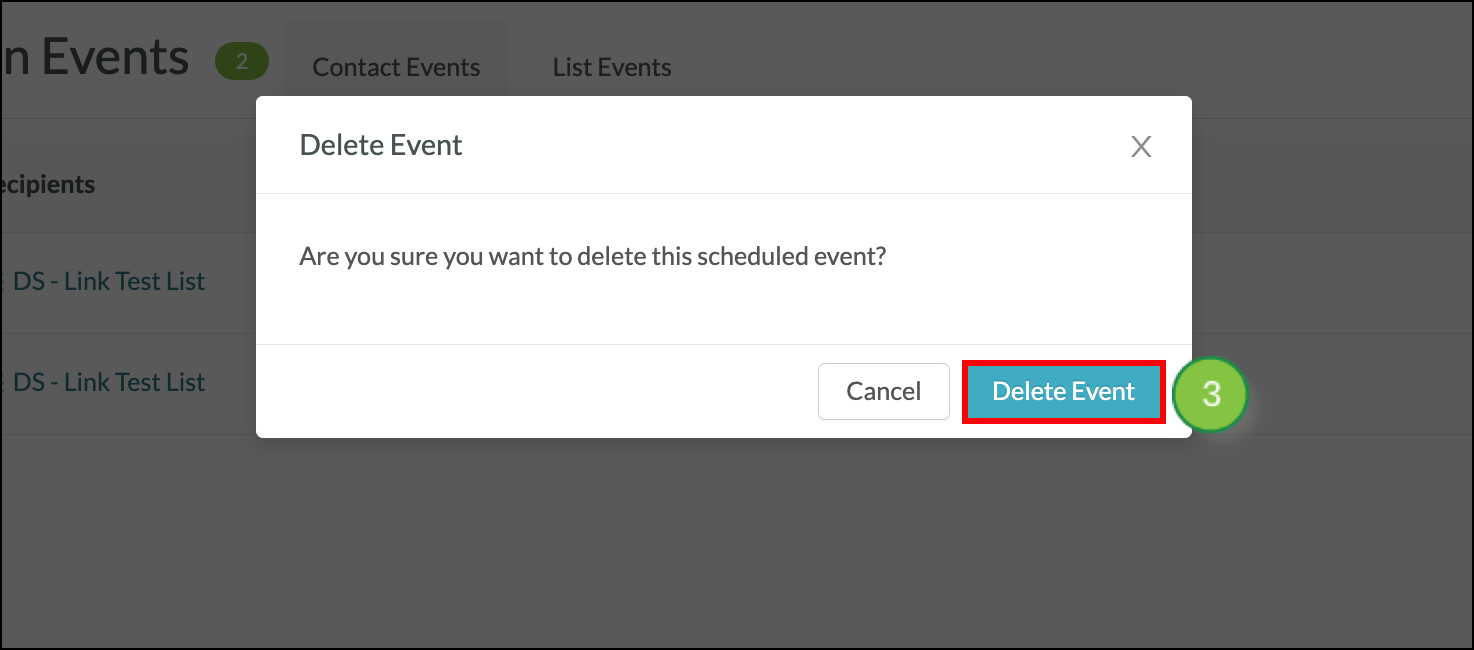
You can remove email send events that have been scheduled via an action group. To remove send events, start from Automation > Scheduled Events in the left toolbar.
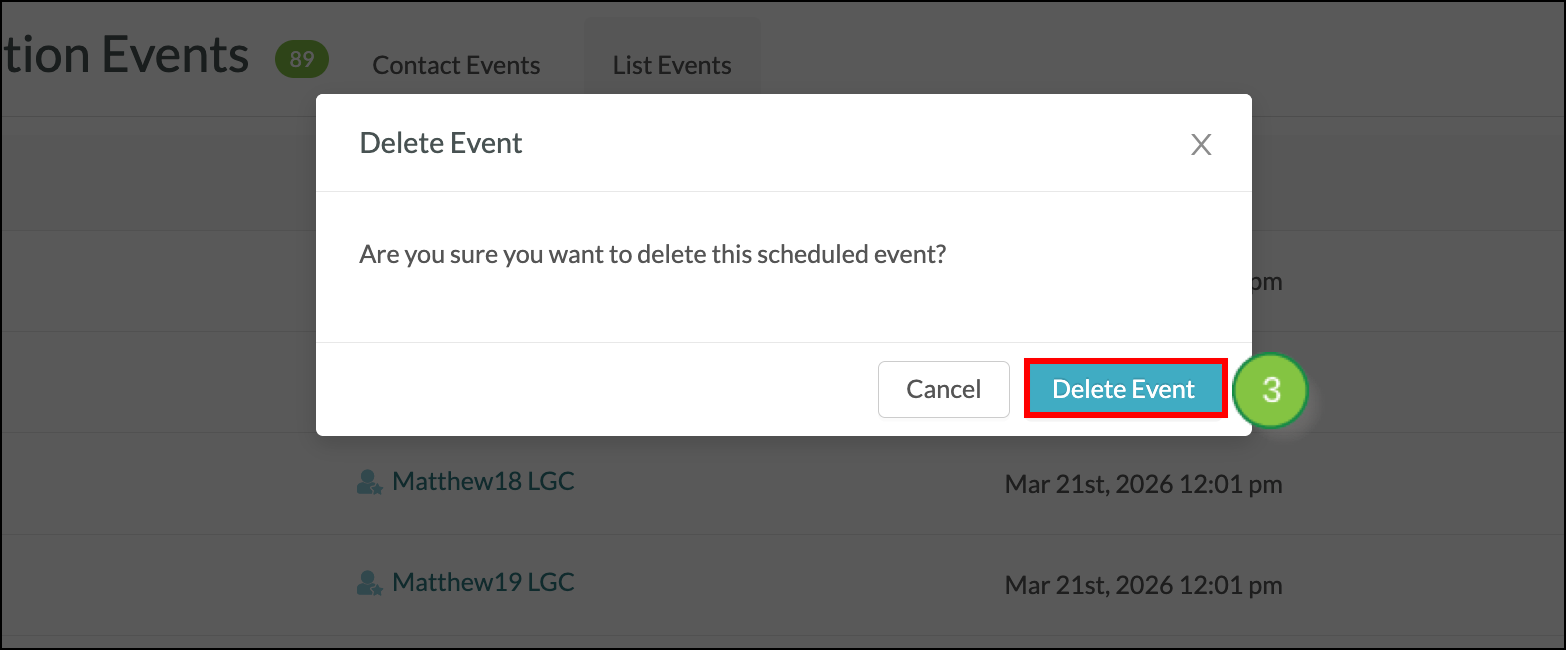
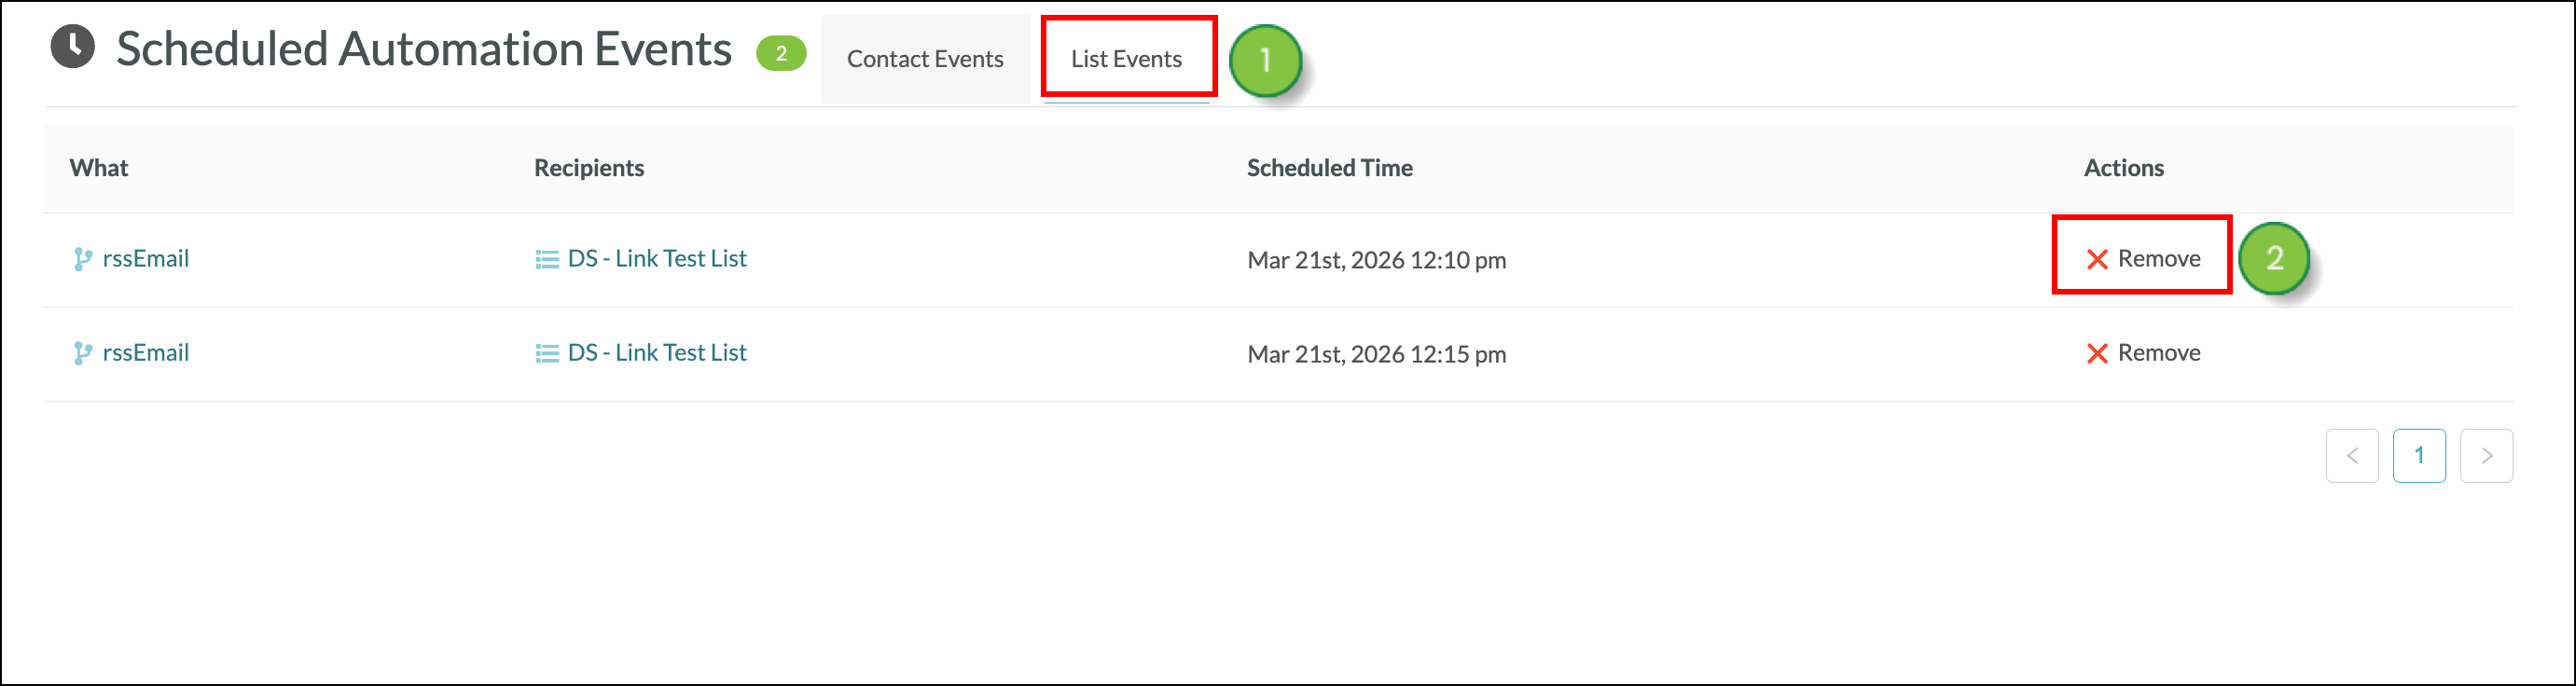
Currently, you can only remove email send events that were scheduled by lists or emails in the Lists tab. To remove an event that was either scheduled by a list or scheduled by an email, start from Automation > Scheduled Events in the left toolbar.
Copyright © 2026 · All Rights Reserved · Constant Contact · Privacy Center