Automations in Lead Gen & CRM are composed of workflows and action groups, which in turn consist of various actions or events. This article will provide an overview of action groups.
| Administrators | ✓ | |
| Company Managers | ✓ | |
| Marketing Managers | ✓ | |
| Sales Managers | ||
| Salespersons | ||
| Jr. Salespersons |
The Visual Editor shows how action groups are configured and the logic that defines the group as a whole. This is done through a workflow. Every trigger, action, filter, and the like are on full display in how they interact with one another.
As such, the Visual Editor allows you to create action groups in a point-and-click fashion in real-time.
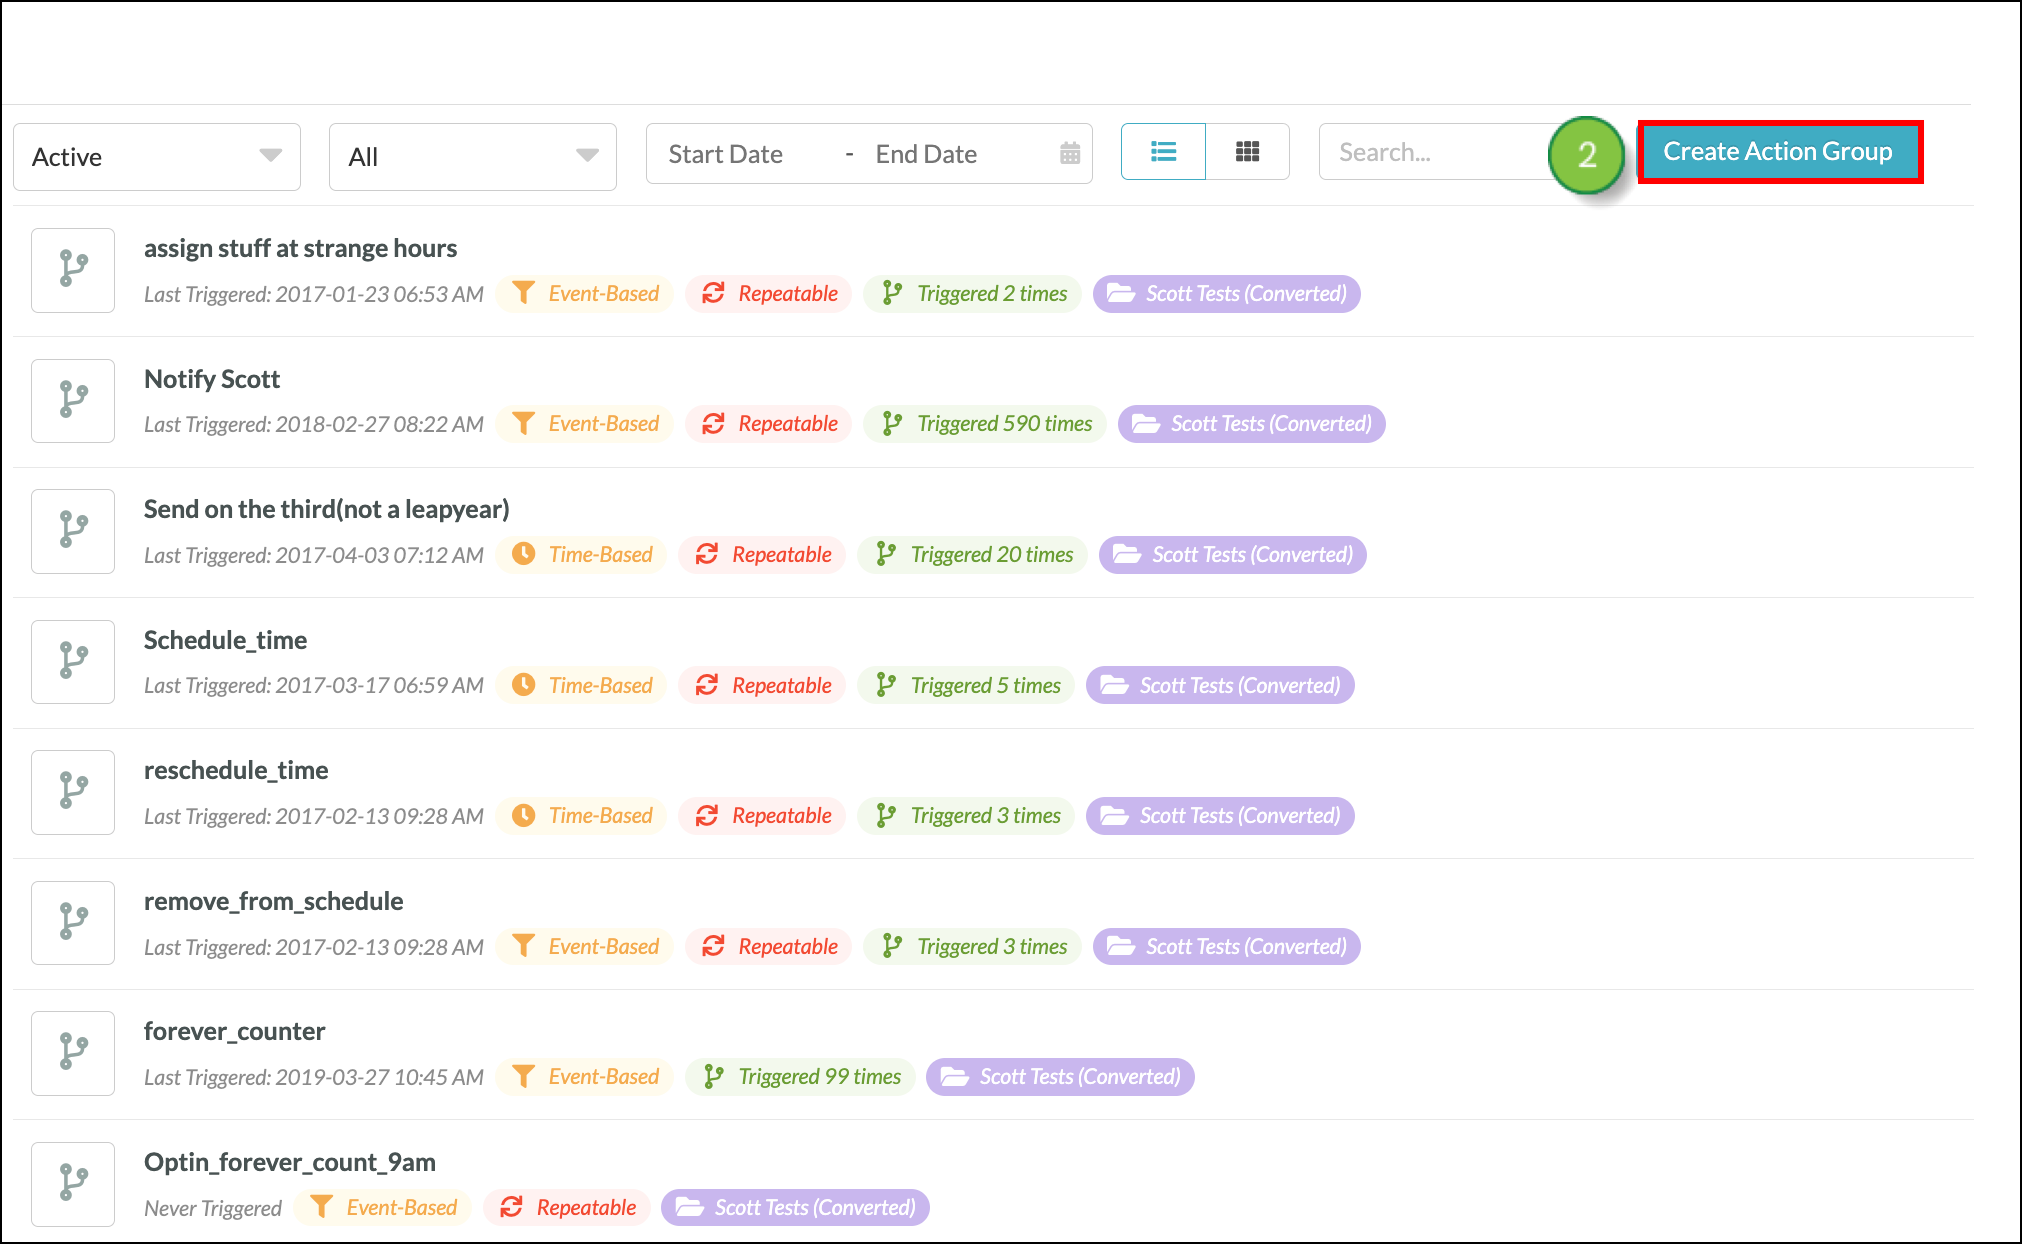
Lead Gen & CRM allows you to create standalone, reusable visual action groups. With reusable visual action groups, you do not have to continuously recreate common action groups. To create an Action Group:
When creating action groups and setting actions, consider the following:
When setting actions, the following options are available when creating action group branches:
| Option | Description | |
| Actions |
The available actions. | |
| Triggers |
Starts a branch from the initial action group. | |
| Filters |
Criteria that must be fulfilled before moving on to actions. | |
| Time Delay |
Sets a time delay for actions. | |
| Action Groups |
Multiple actions previously constructed together as a group. | |
| Yes/No Branching filters |
Evaluates if specified criteria are met or not, then filters down to their own Yes and No action groups. |
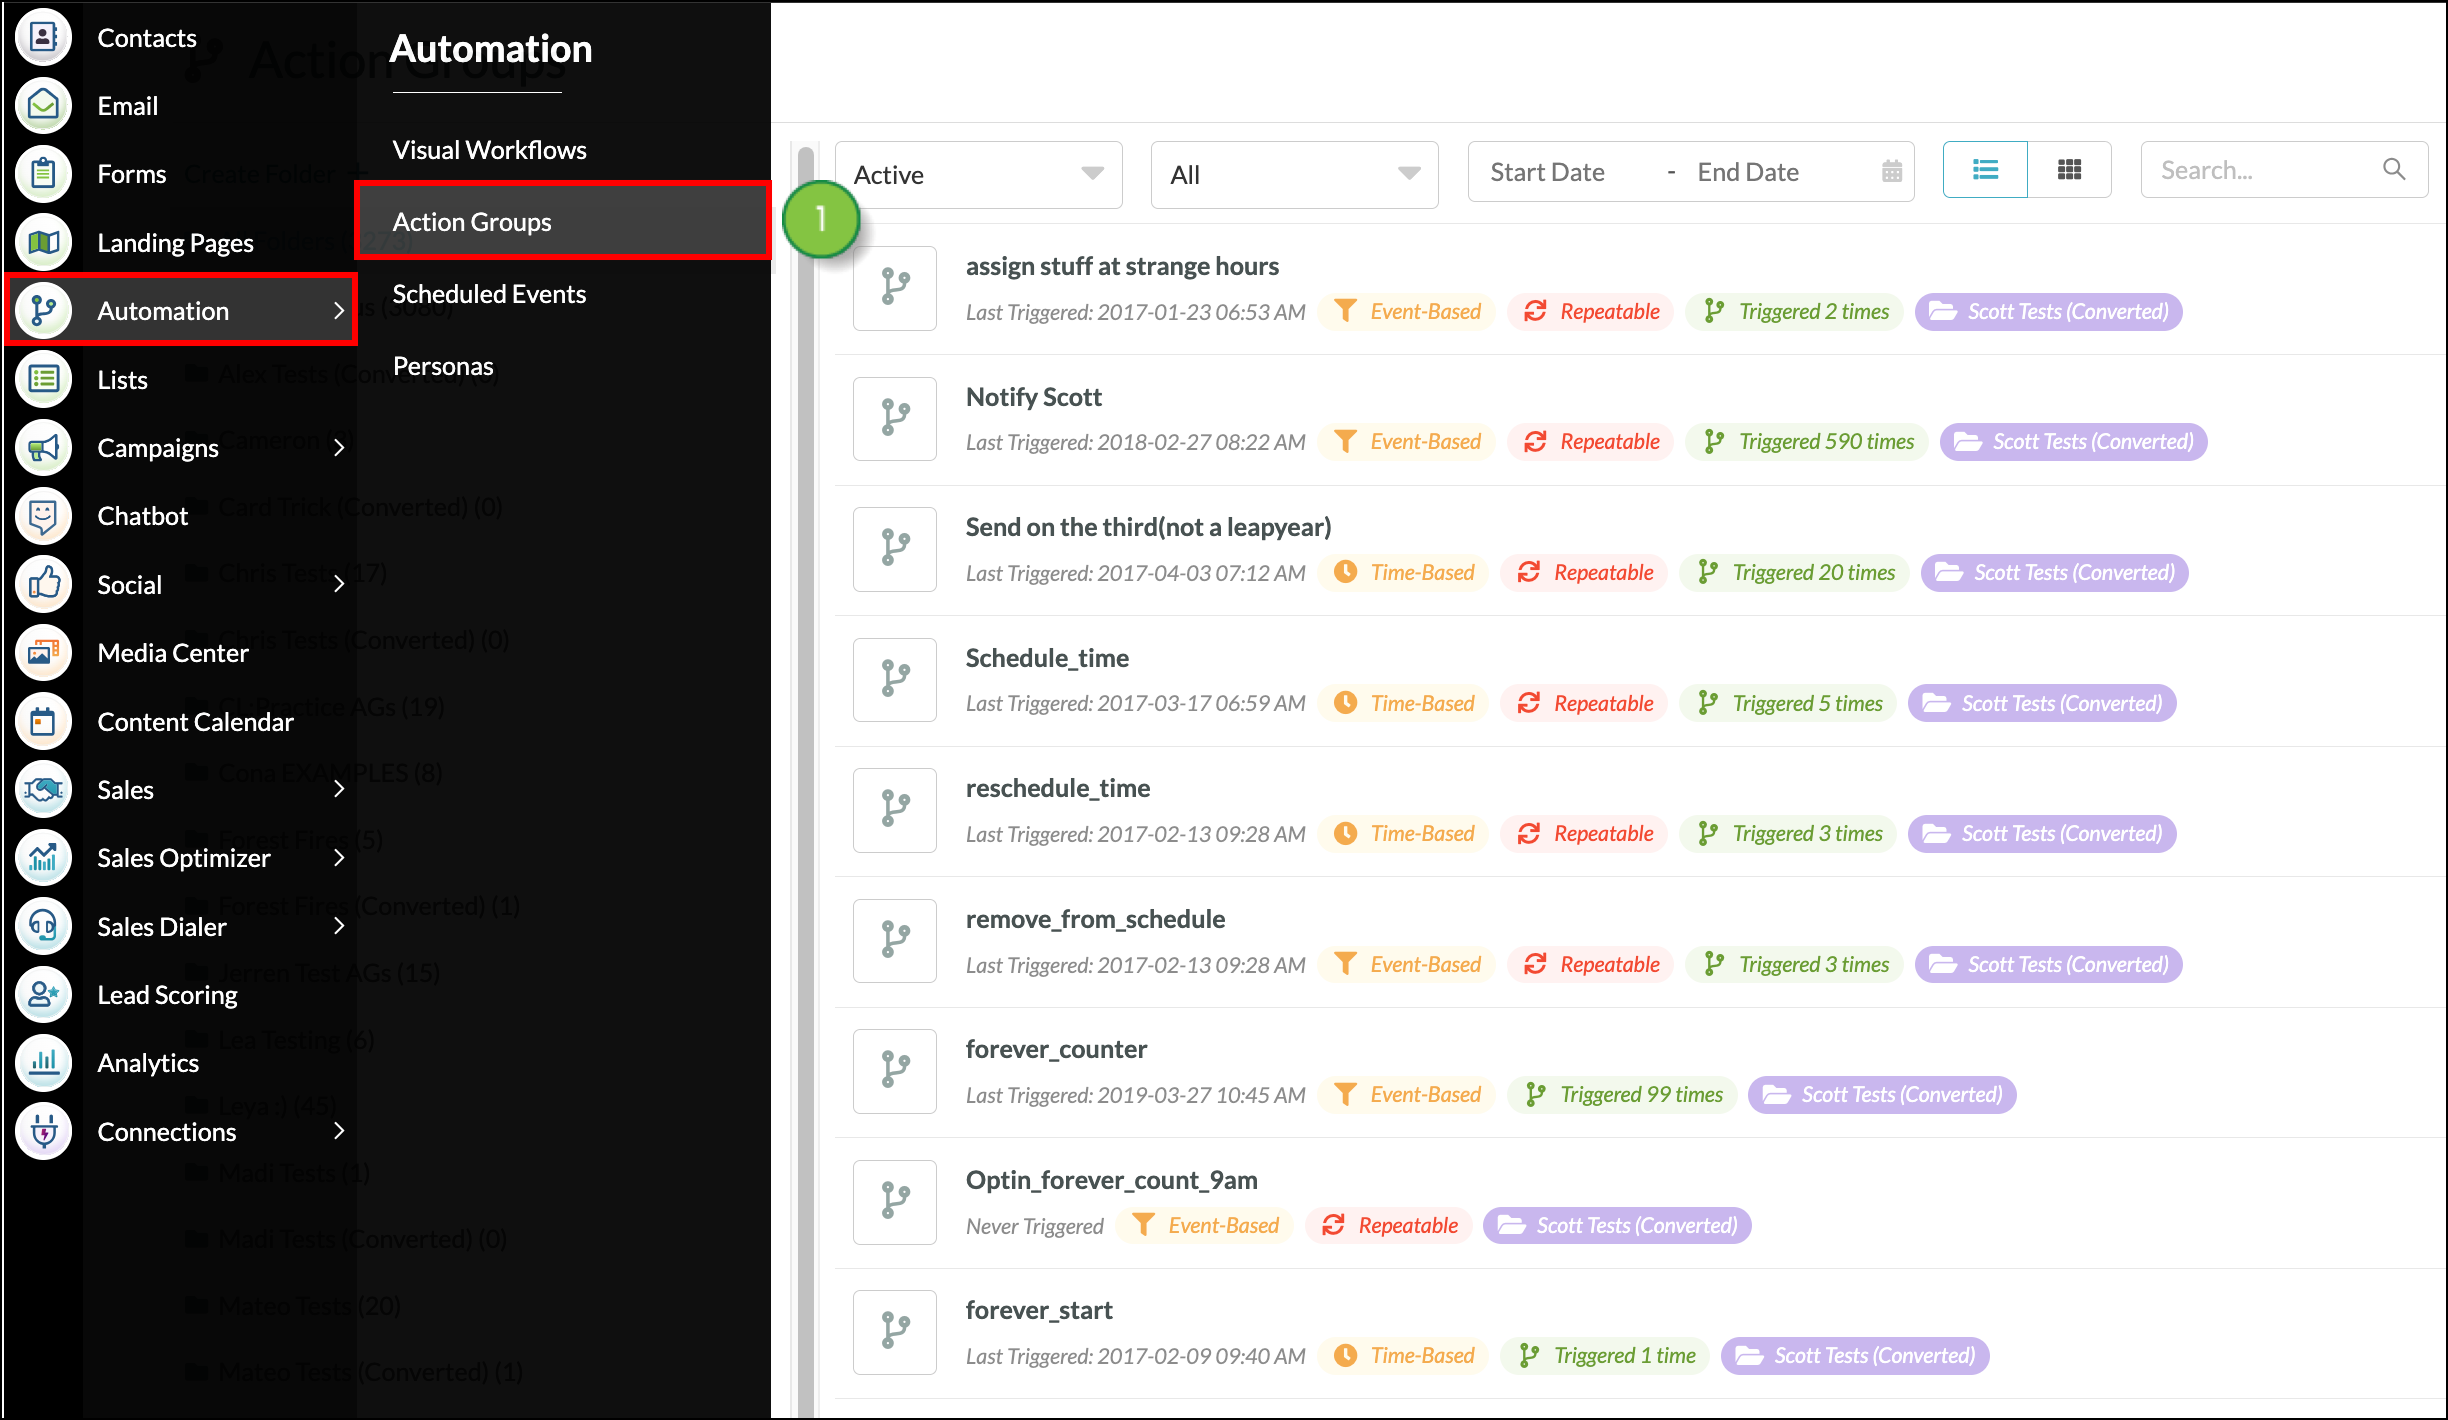
Once created, you can view action groups in the Action Groups menu. Click Automation > Action Groups in the left toolbar to access the Action Groups menu and navigate its features.
Use the dropdown menus to filter through your action groups.
Active and Inactive: Filter between active and inactive action groups. When created, action groups are active by default.
Action Group type: Filter between all action groups, event-based action groups, time-based action groups, and recurring action groups.
Start Date - End Date: Use the date fields to filter by the date an action group was created.
List View vs Card View: Toggle between list view, where all action groups are in a row format, and card view, where action groups are displayed in blocks.
Search: Use the search field to filter through action groups by keywords that are in the action group's title.
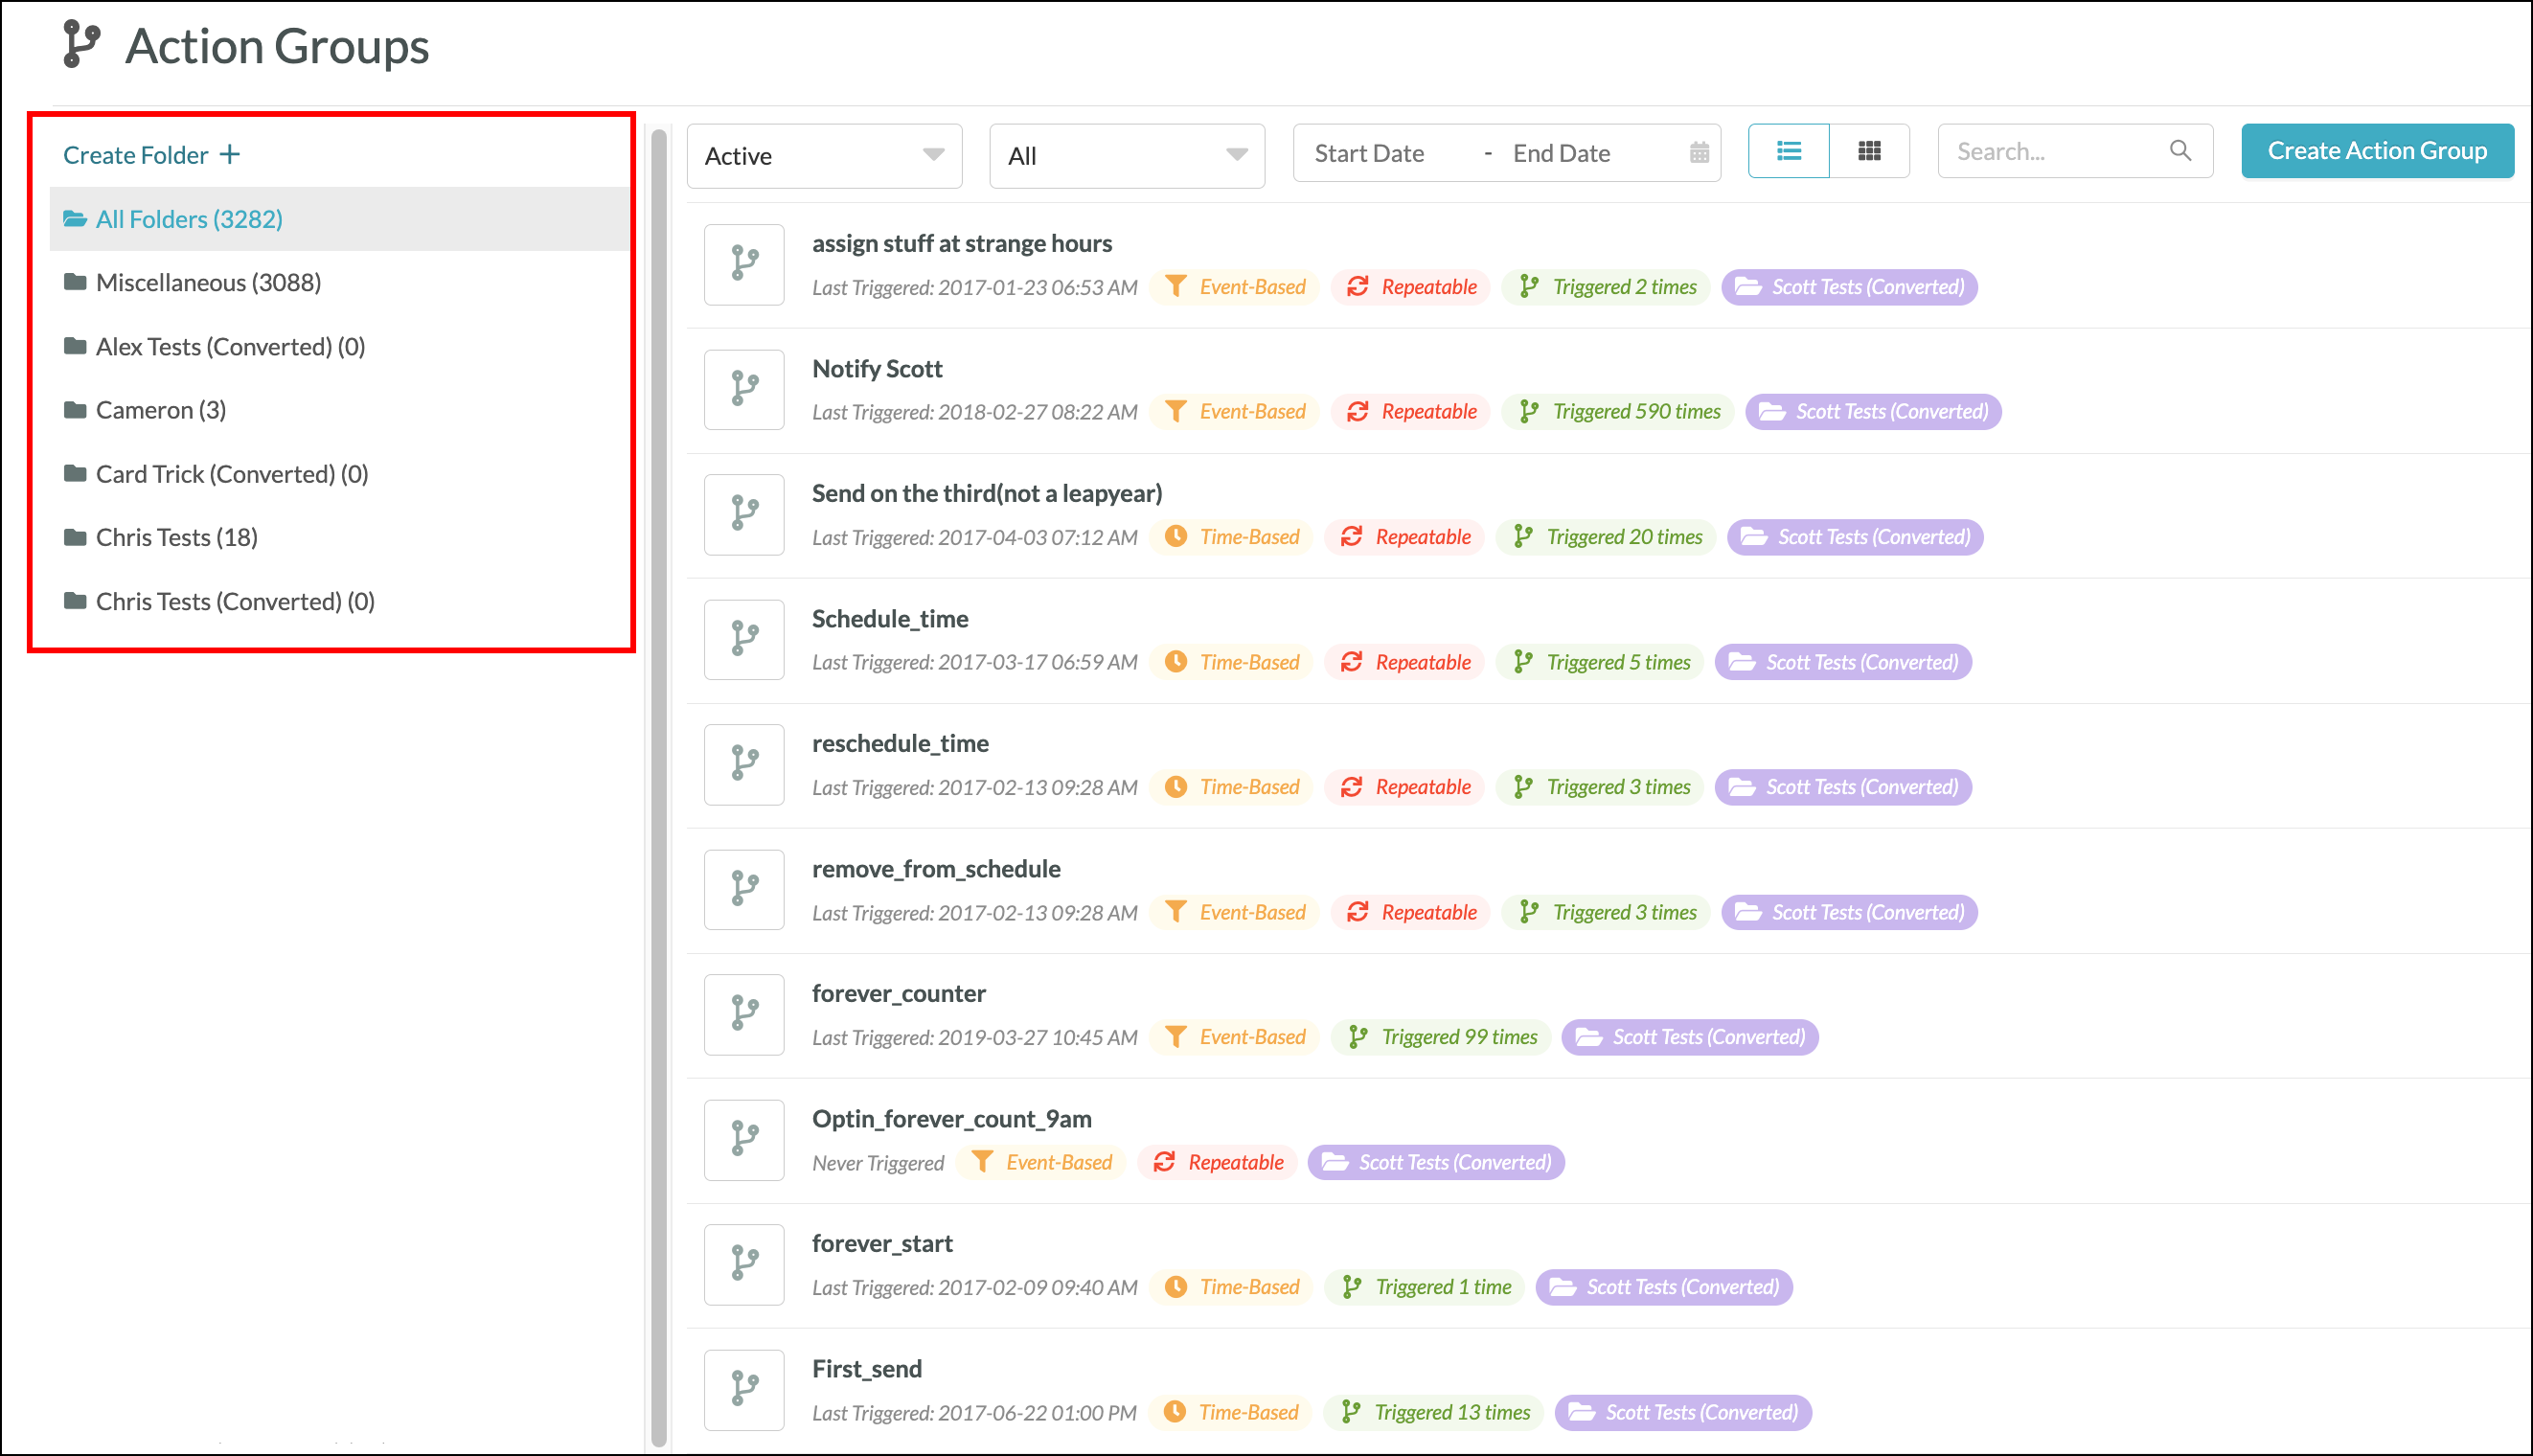
Folders house action groups and help to keep action groups organized as your account grows. Folders are displayed on the left side of the action group page. When creating an action group, you can select the folder where the group should be placed. The default selected group is the Miscellaneous folder.
Folders include a number indicating the number of action groups contained within that folder. When a folder is selected, and you use the dropdown filters, your search results will only be from that folder.
The action group will display the following information upon first glance:

The ![]() Settings menu allows you to configure an action group. The available options are as follows:
Settings menu allows you to configure an action group. The available options are as follows:
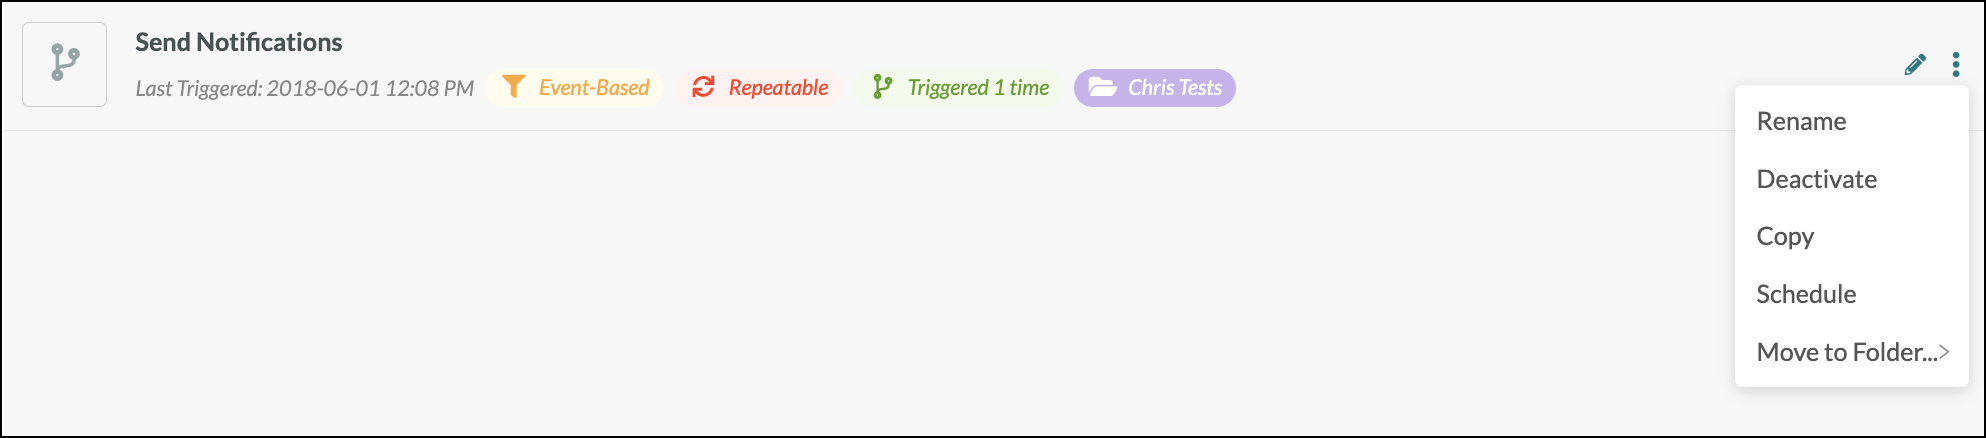
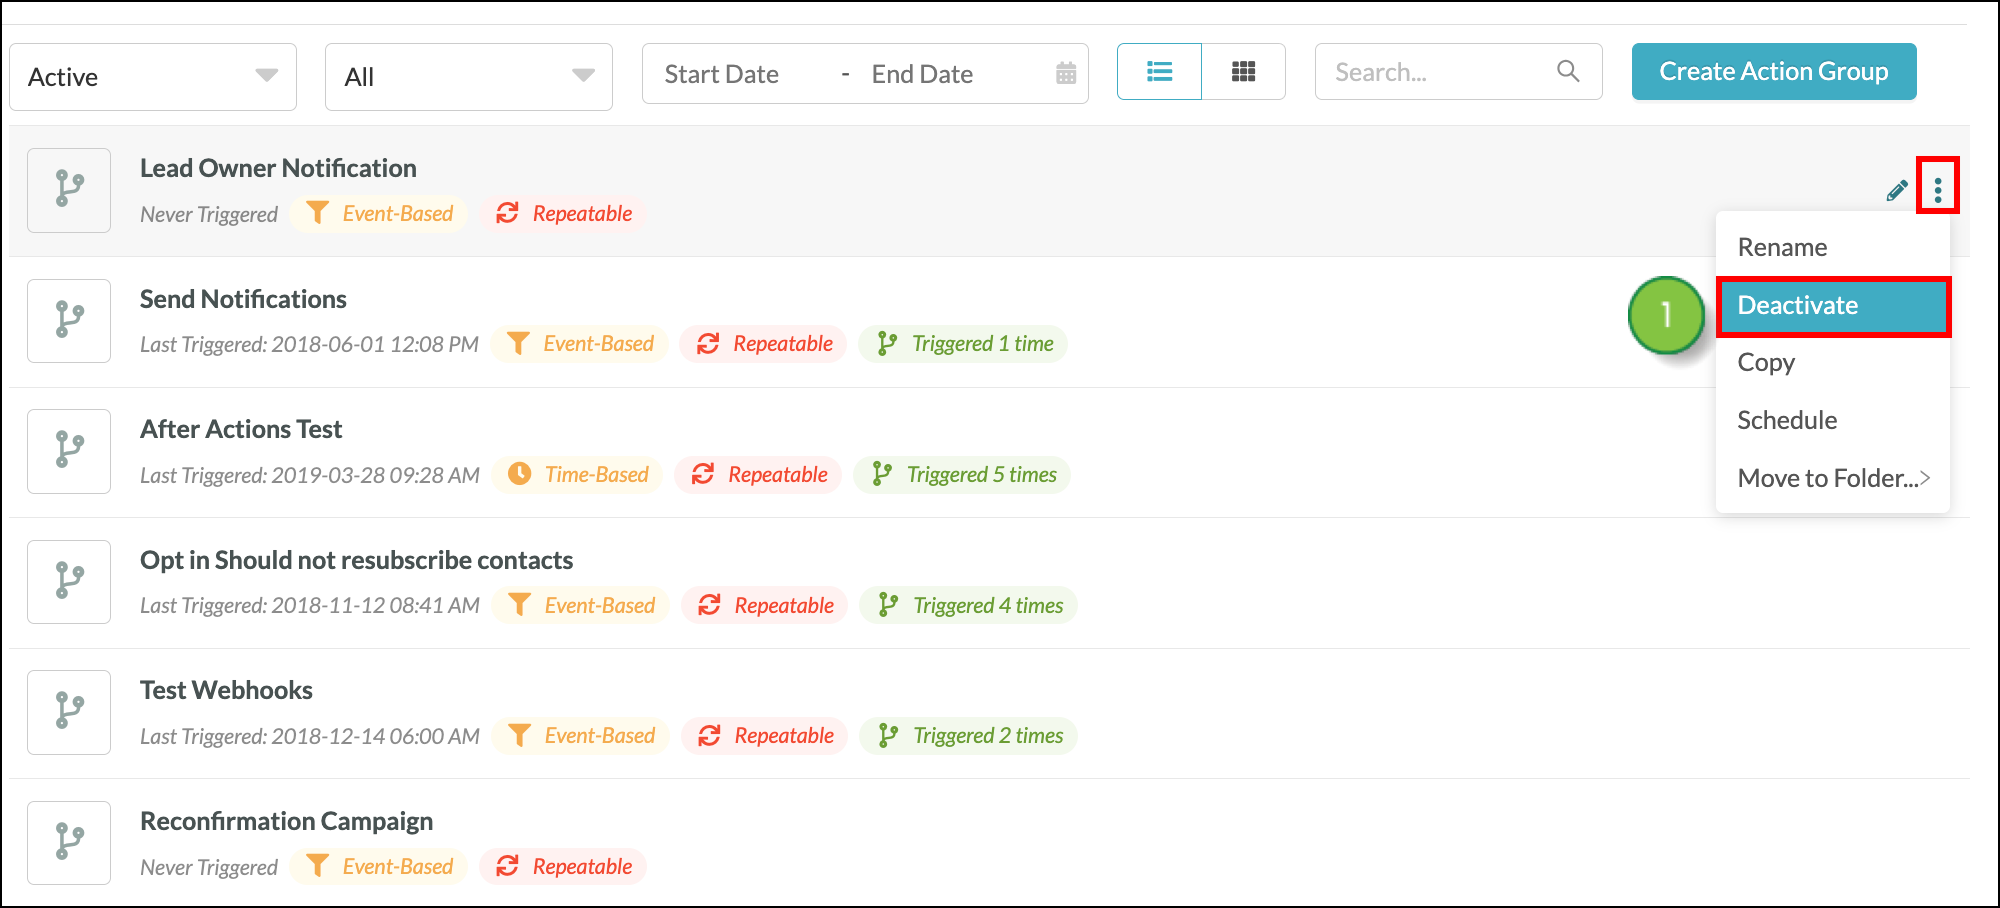
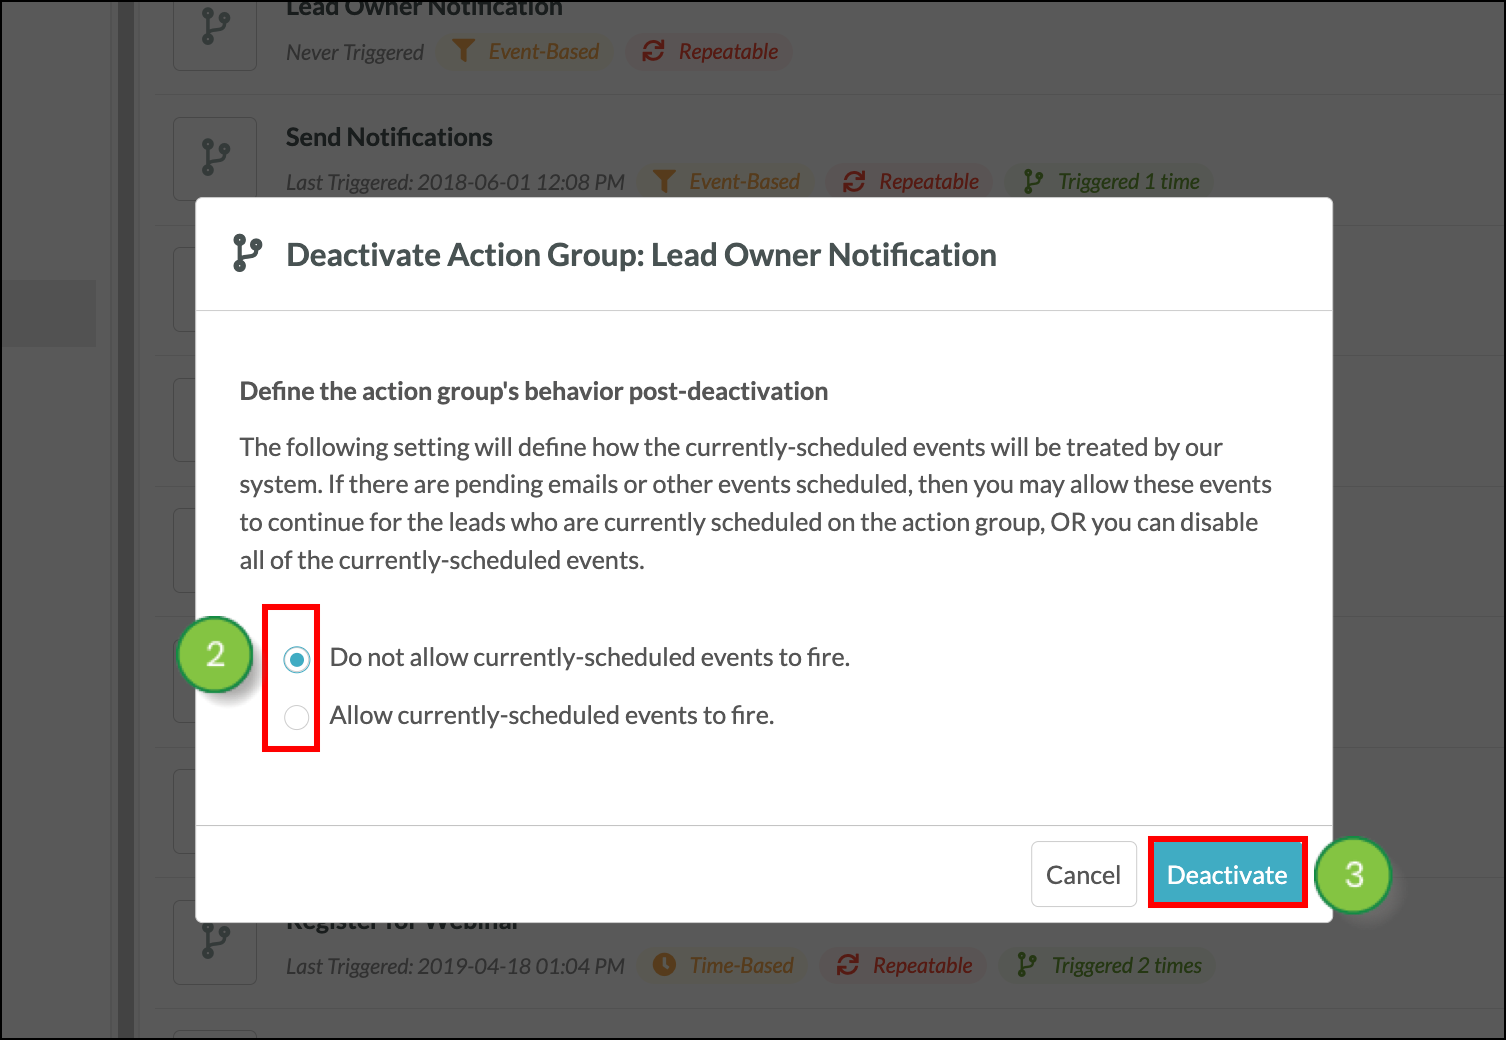
You cannot delete action groups. You can, however, deactivate and activate them at any time. Deactivated action groups will not fire. To deactivate or activate an active action group, do the following:
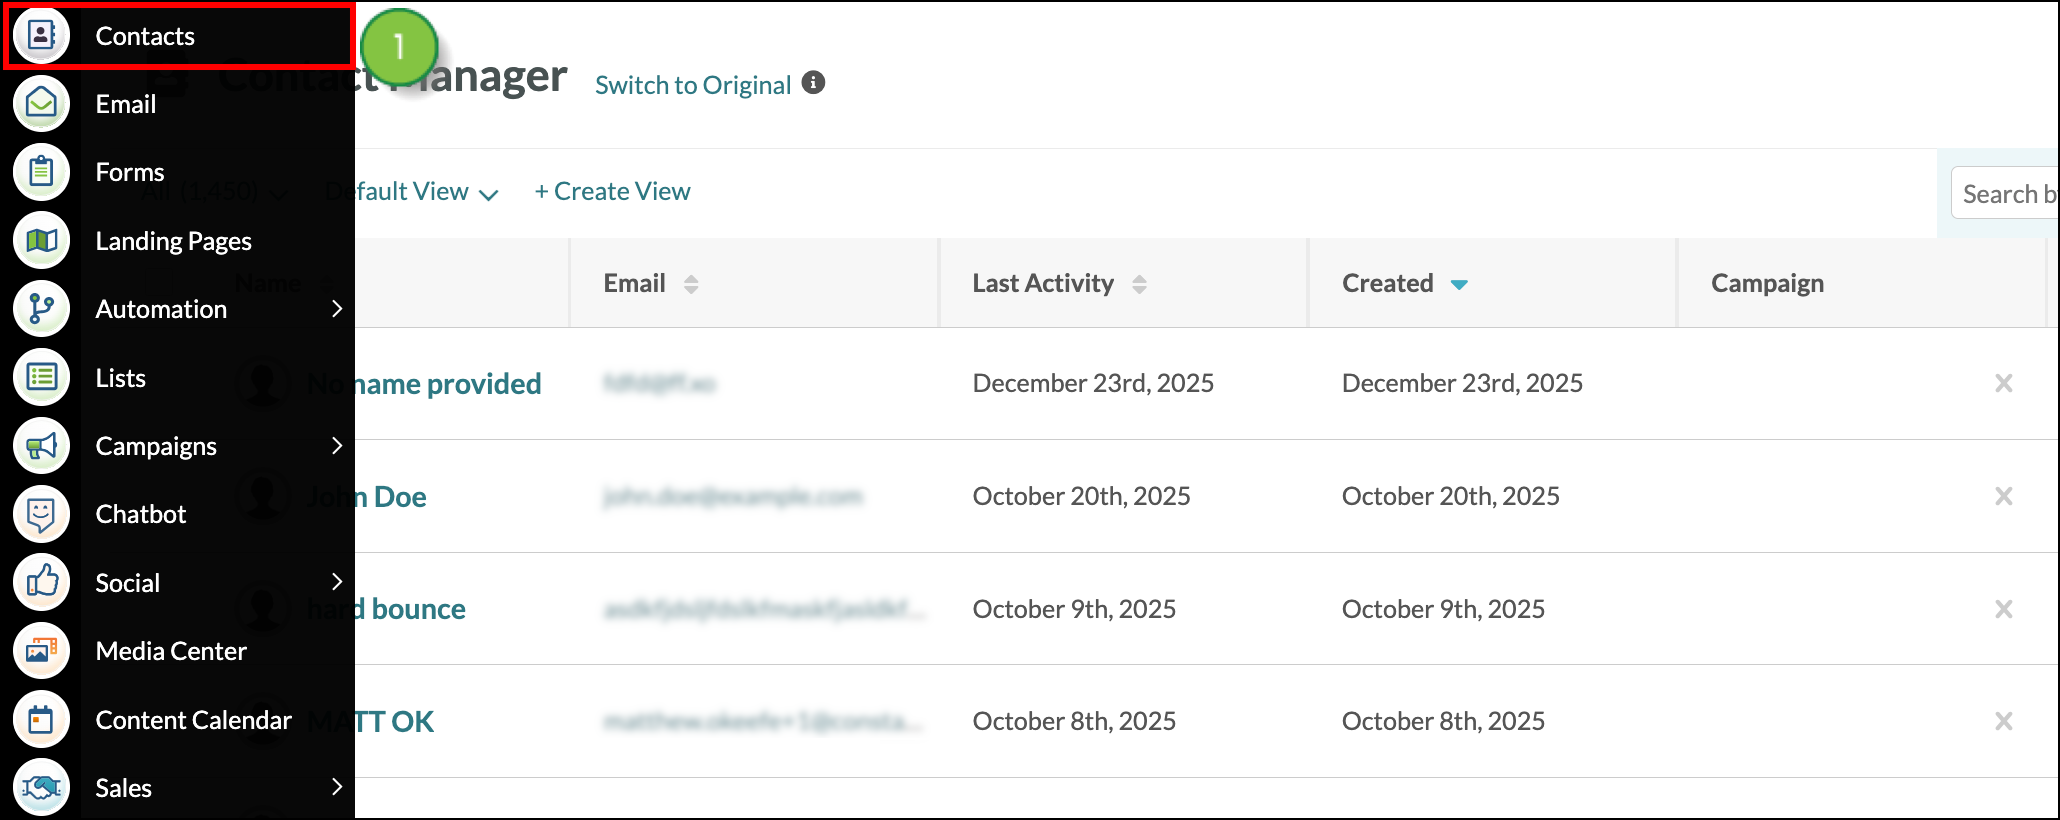
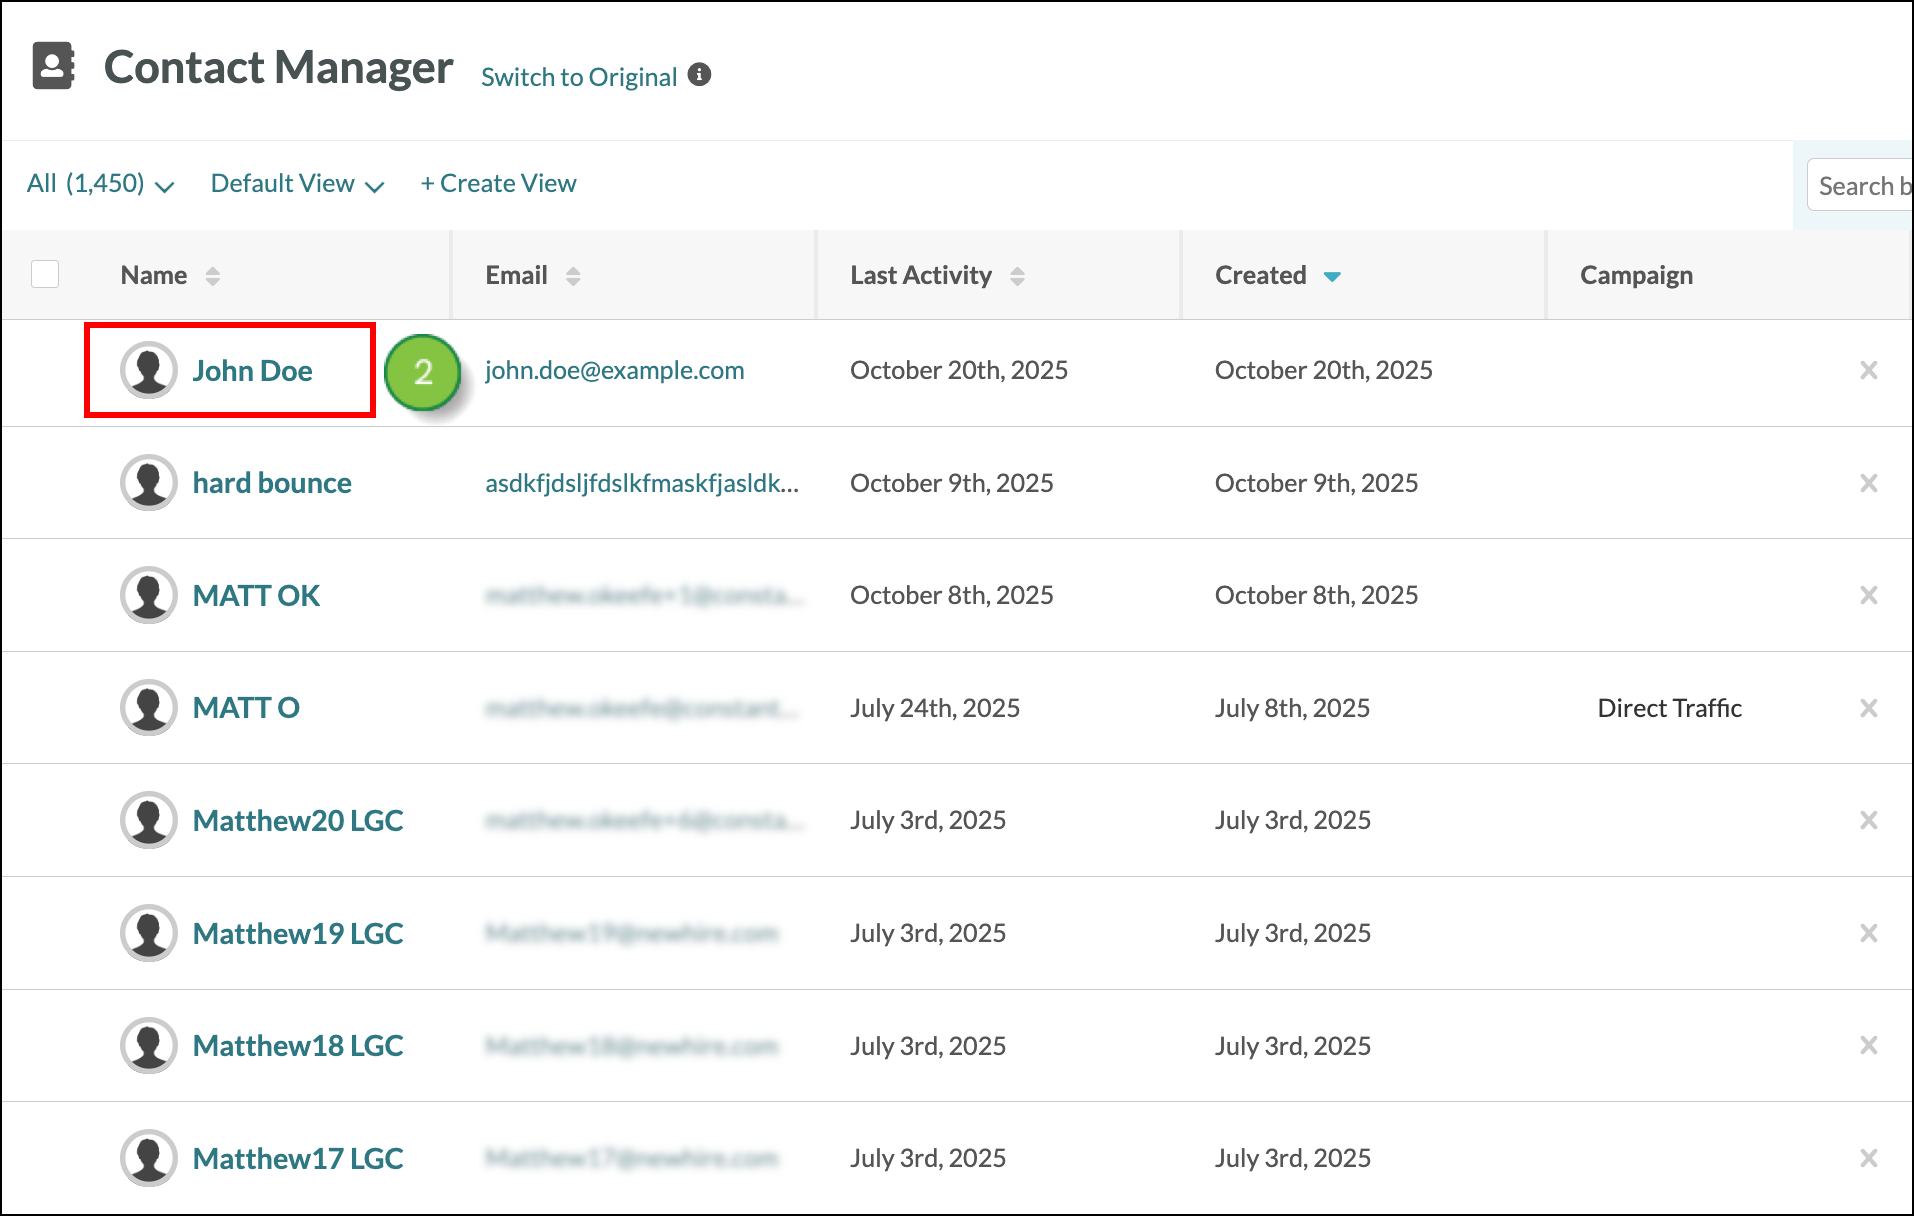
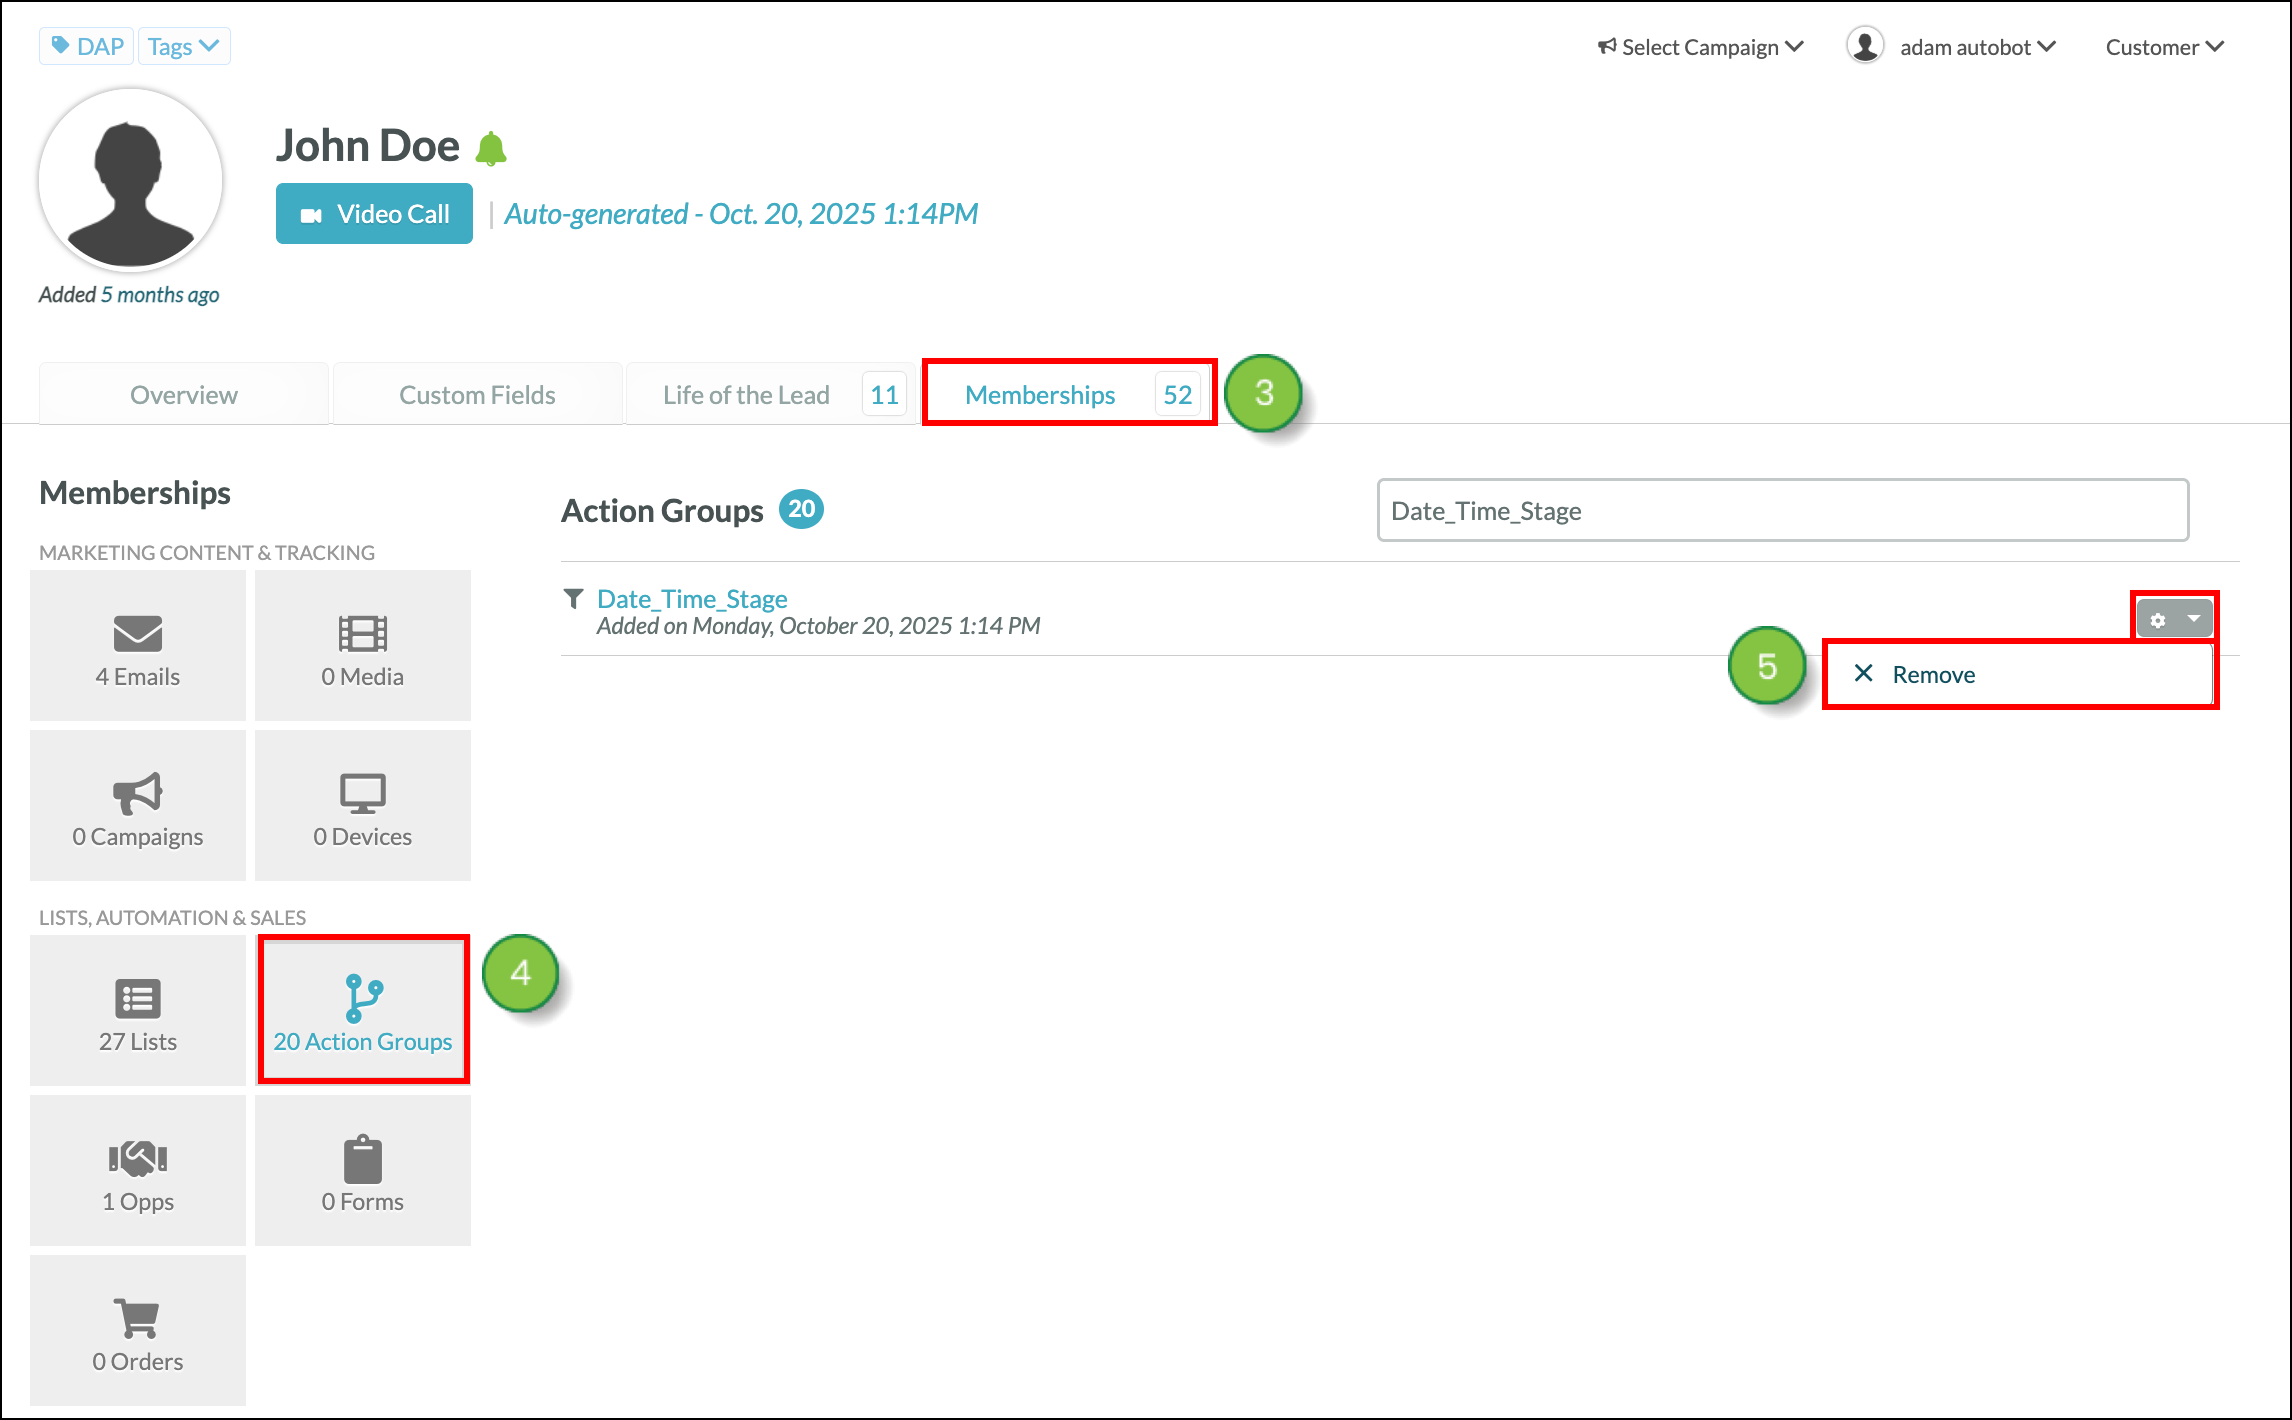
To prevent scheduled actions from a group from being applied to a contact, the contact must be removed from the group. To remove contacts from action groups, do the following:
Q: What is the Make this action group available in the Contact Manager option?
A: This option allows you to add contacts to this action group directly from their contact profile.
Q: What is the Make this action group repeatable option?
A: This option allows for the lead to go through this action group more than once.
Q: What happens to leads who enter automation before actions are added or removed?
A: When a lead enters an action group and you add or delete actions from that action group, the changes will not reflect upon that lead. This is because when a lead enters the action group, the events present at that time will write to the lead's individual contact record. Additional actions or edits will not occur for those leads.
Copyright © 2026 · All Rights Reserved · Constant Contact · Privacy Center
