| Design tip: Before you get started, give our BrandKit a try! You can scan your website to import your logo and brand colors and create a theme that's applied to a collection of templates for you. |
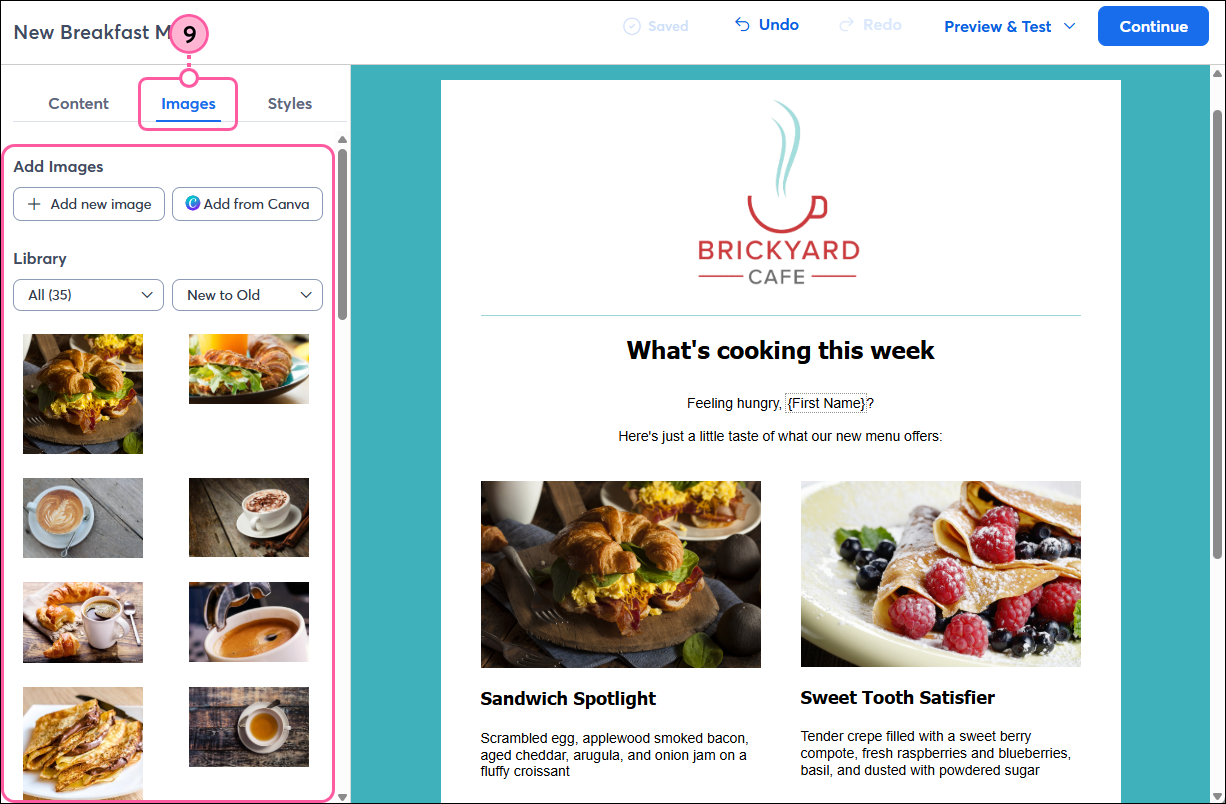
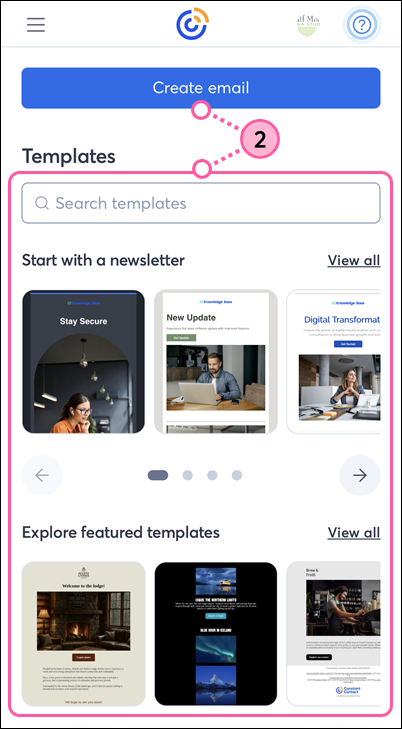
Ready to create a new email? It's as easy as choosing an email template and customizing it with your content and branding! We have hundreds of mobile-responsive templates to choose from, designed to look great on any device.
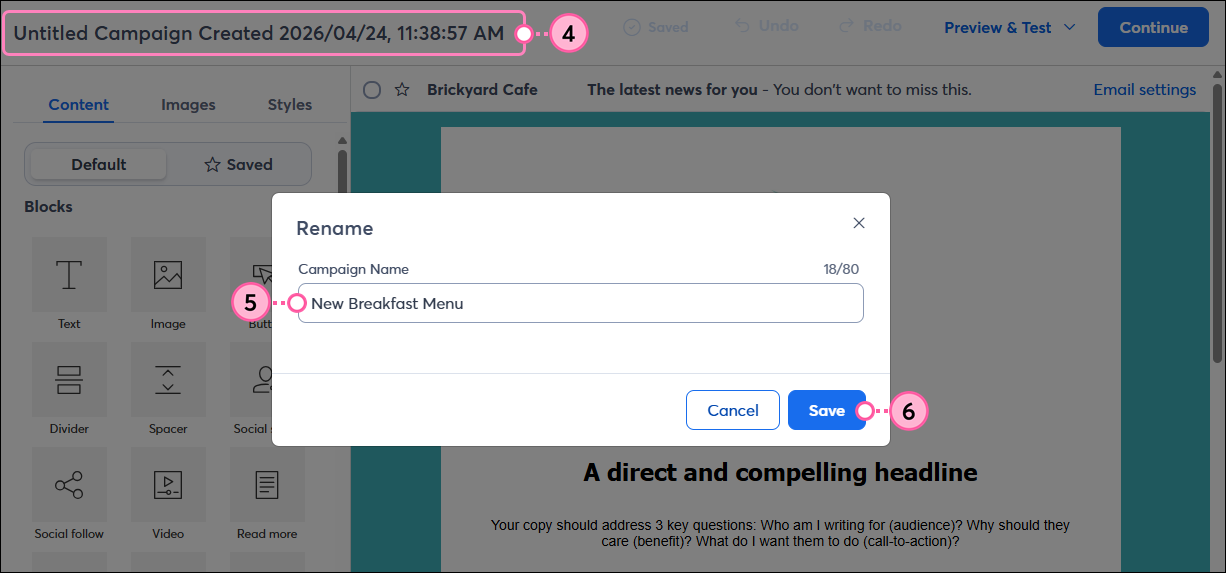
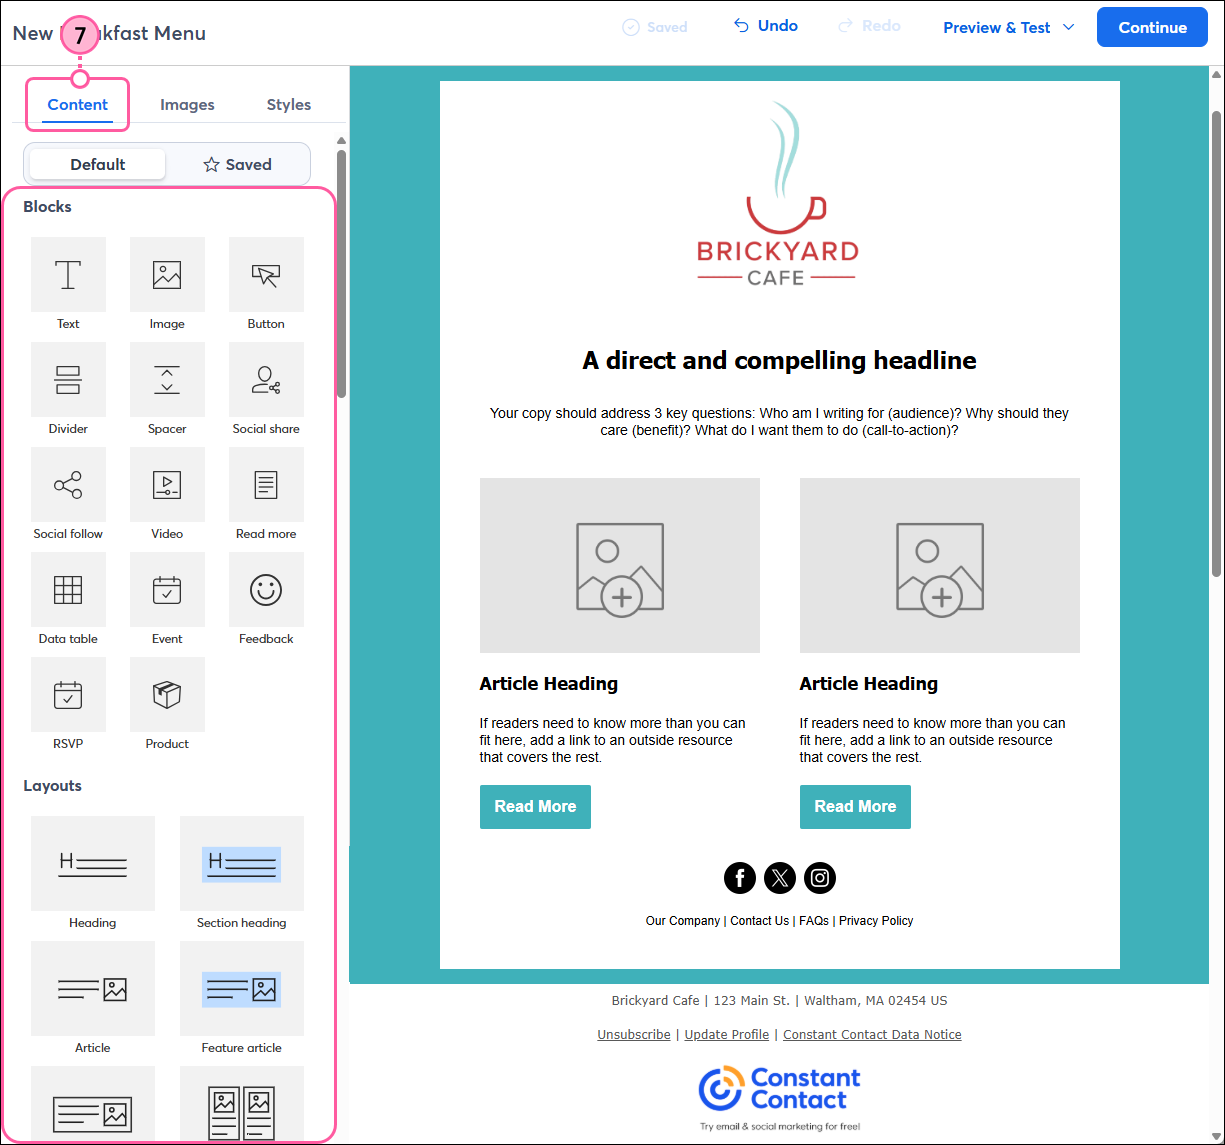
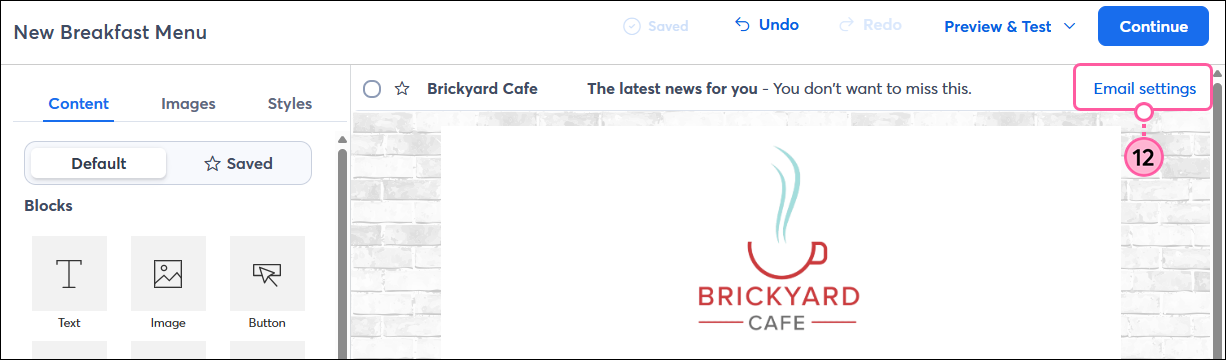
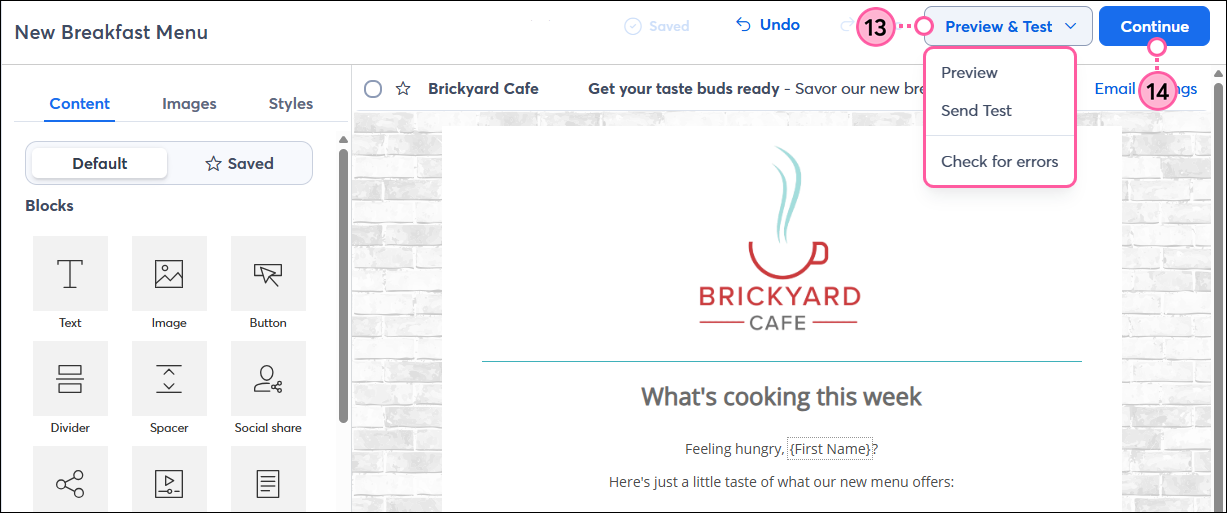
Desktop instructions:
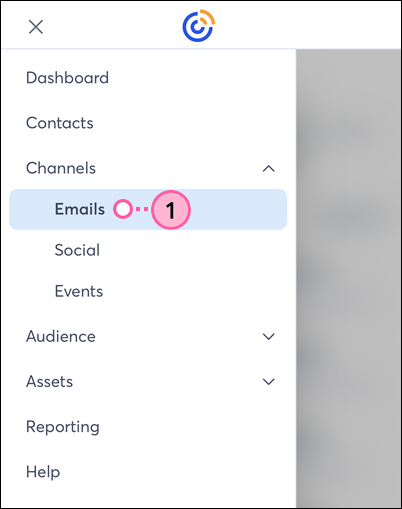
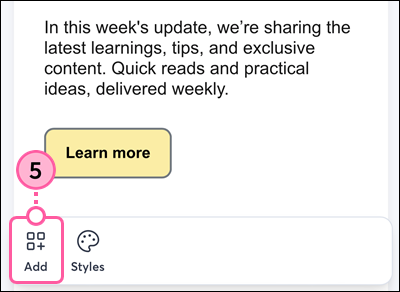
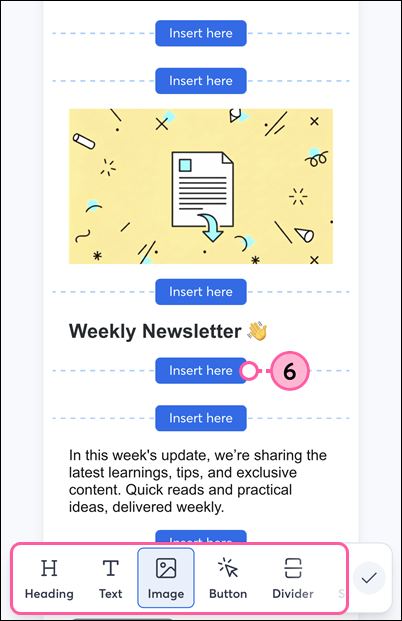
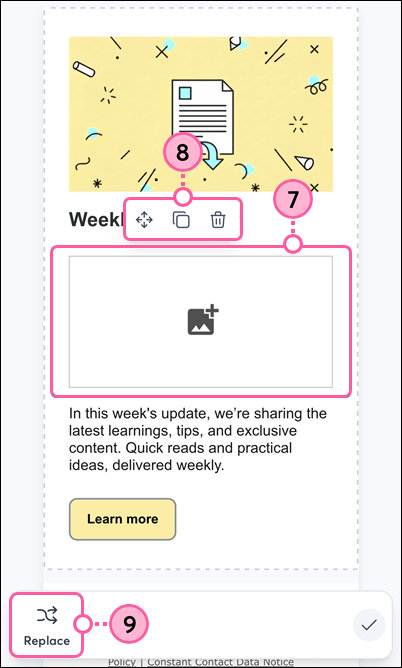
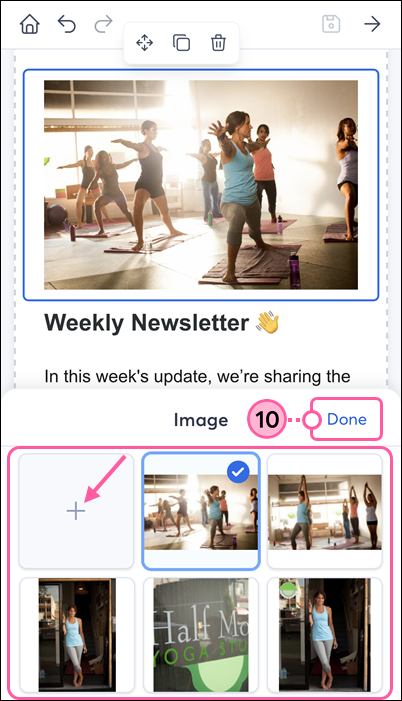
Mobile web instructions:
| Not sure where to start with marketing? Check out our free Getting Started webinar series! |

| Design tip: Sending shorter emails with a clear call to action to a targeted audience can improve overall email engagement. Our AI content generator can help you, too! |
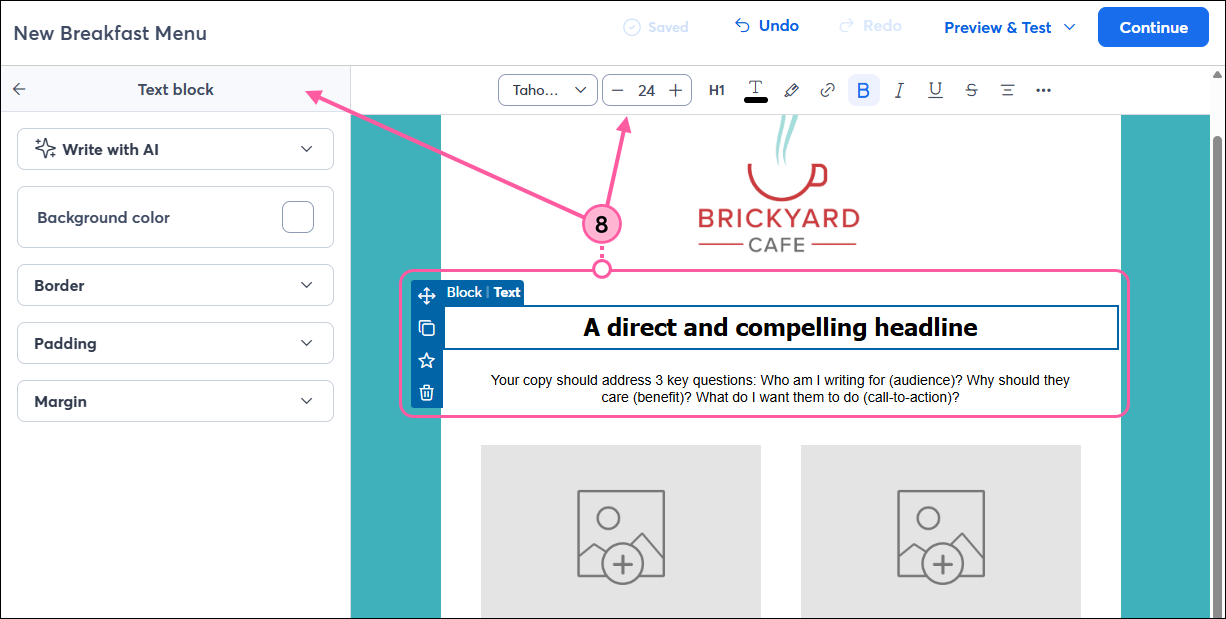
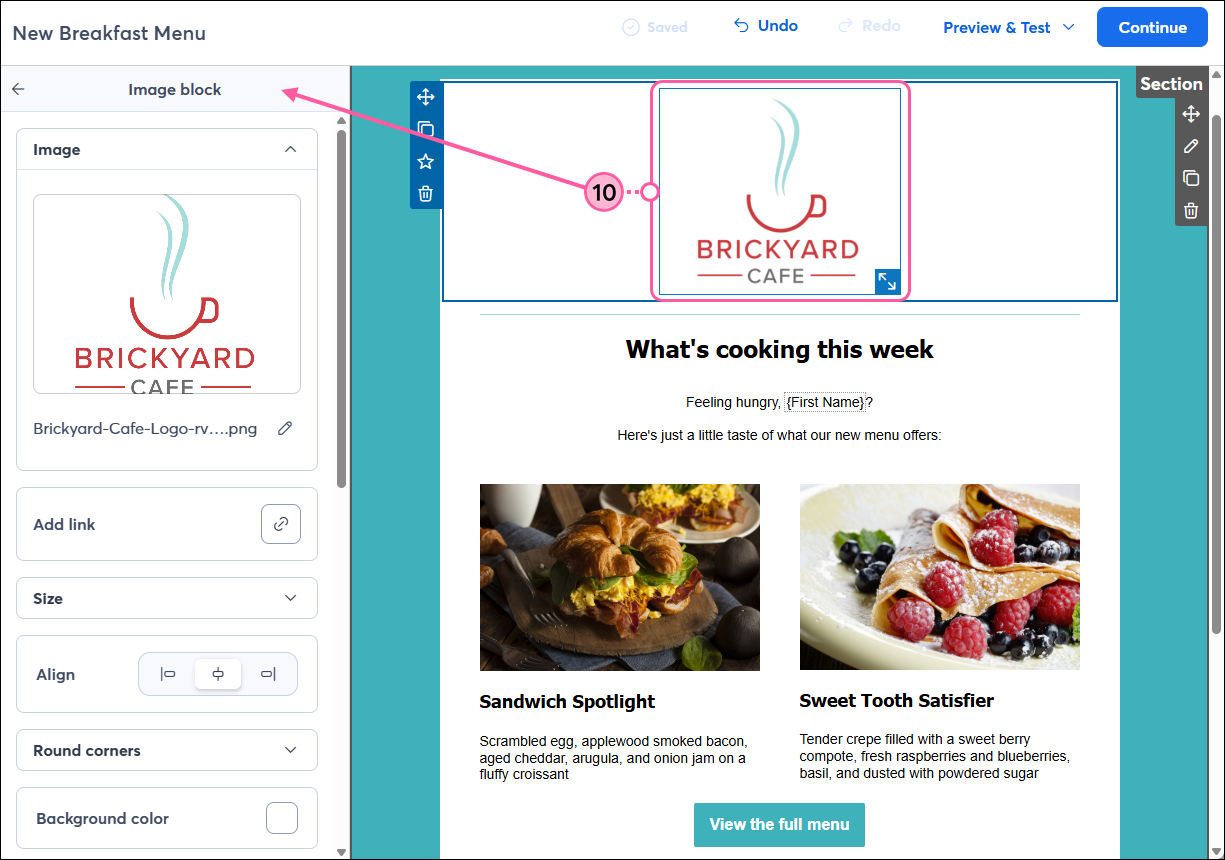
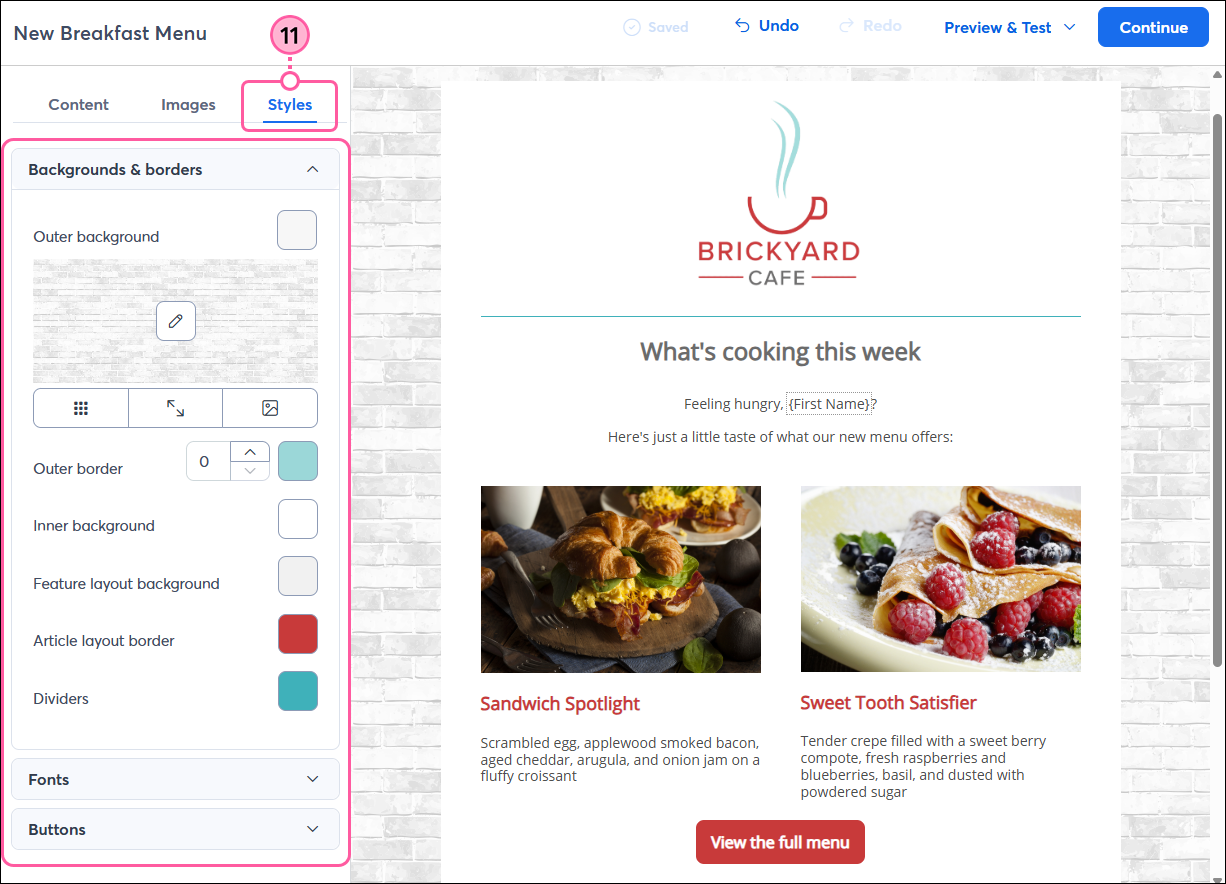
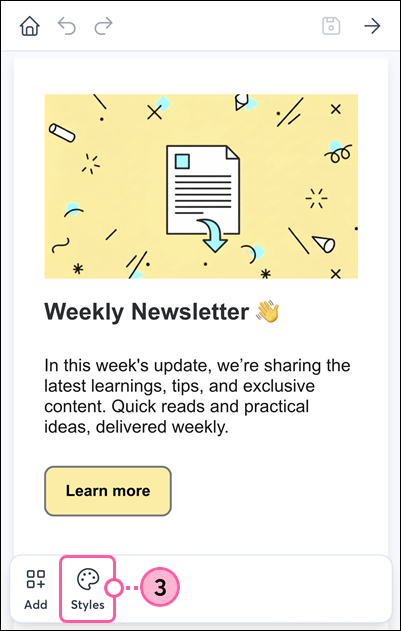
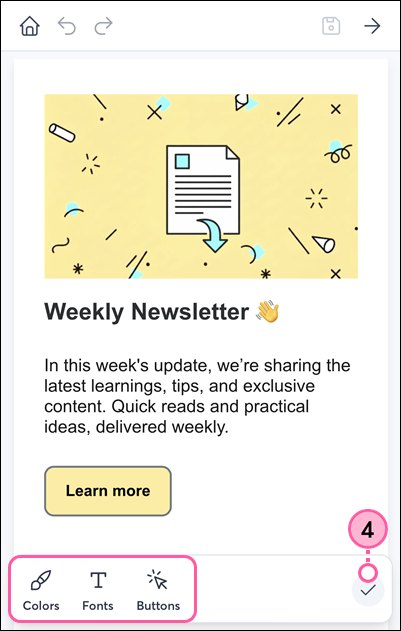
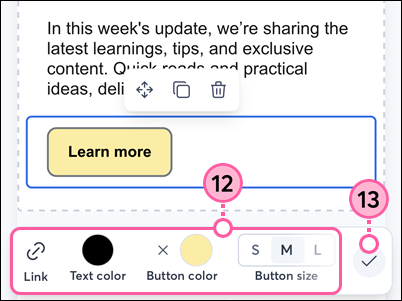
| Design tip: If you make color or style changes to an individual block, any changes you make through the Styles tab will no longer apply to that block. To save time and avoid making adjustments to multiple blocks, we recommend making selections from the Styles tab first, then fine-tuning individual blocks afterward. |
| Join the conversation: First time designing an email? Our Community can help! Just submit your email to the "Campaign Feedback" forum for some honest feedback before you send it out to your contacts. |
If you’re using Constant Contact on your mobile device's web browser (versus your desktop computer or Constant Contact's mobile app), it’s easy to create, edit, and schedule an email:

If you want to customize your email design even further, you can edit it on a desktop.
| Tip: If mobile is your preferred way to work, install the Constant Contact mobile app to easily create emails, share social posts, and manage your contacts all on the go! |
Learn more about marketing and Constant Contact through our free live webinars.
Copyright © 2026 · All Rights Reserved · Constant Contact · Privacy Center