Email and Digital Marketing
How can we help you?
Search our help articles, video tutorials, and quickstart guides

You've got this. You've got us. Search our Knowledge Base to quickly find answers to your questions.

Insert a divider in your email

Article: 000006235
Updated: October 24, 2025

Use a divider to visually separate your email content and style it to match your branding

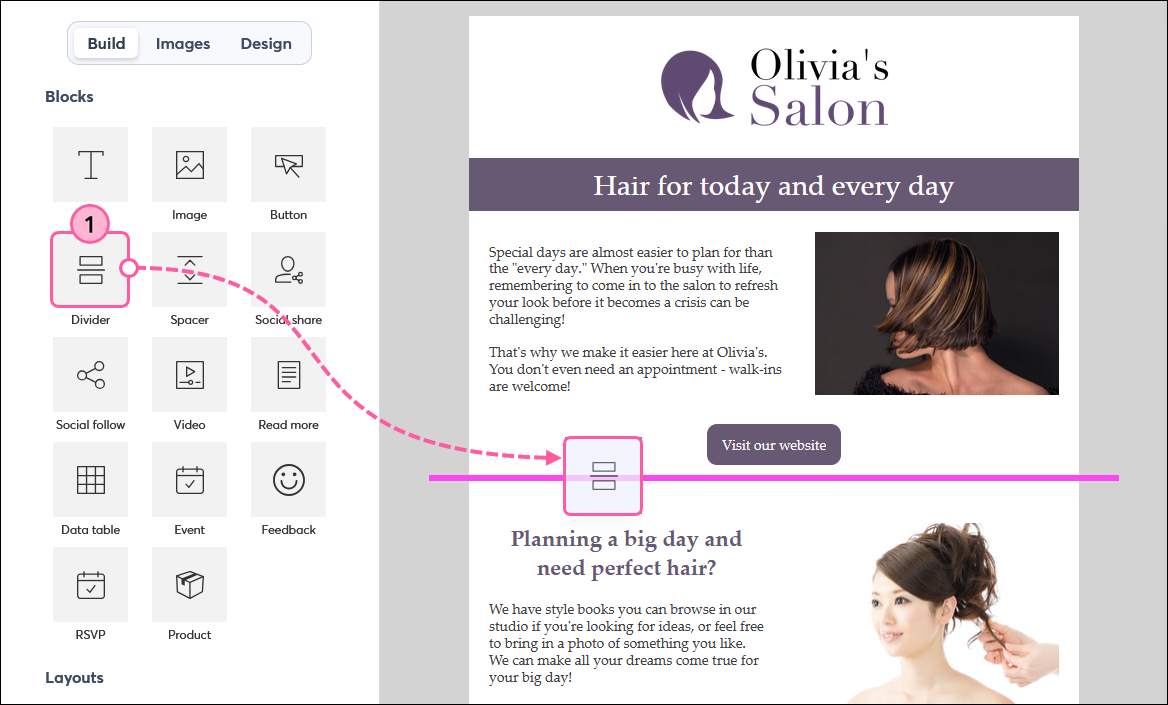
Dividers help organize and add visual interest to the content in your email in a subtle way. A single divider can be used to separate a section of content from the rest, or multiple dividers can be used with other design elements, such as images and text, to create repetitive groupings of related content. Our templates have two types of dividers available:


Light Bulb IconDesign tip: Looking for a way to separate content without taking up extra space on mobile devices? Try using a spacer to create extra white space instead of using a divider. There are also pre-built Layout blocks with subtle borders around the entire block that won't compete with your design.


Horizontal divider

  1. Drag and drop a Divider block into your template, using the guidelines to find the right spot. Dividers can be used in columns or can stretch across the entire template.

    Drag and drop divider line
     
  2. Click anywhere on the divider to open the editing panel on the left.

    Divider block selected
     
  3. Adjust the thickness of the divider. The larger the number, the thicker the divider line.
  4. Click the color swatch to select a color for your divider.  If you want to use the same color for all the dividers in your email, change the "Dividers" color on the Design tab instead.
  5. Use the Style drop-down to select if you want a solid, dashed, or dotted divider.
  6. Adjust the width of your divider. The larger the number, the more the divider line spans the template width.

    Divider block panel with thickness, color, style, and width options
     
  7. Change the background color of the block behind the divider.
  8. Adjust the padding to add space around your divider. Click the toggle to apply the same amount of padding around all sides of the divider, or adjust the padding to the top, bottom, left, and right of the divider. Removing the left or right padding will allow your divider to extend to the edge of the template if you have the width set to 100%.

    Divider block panel with background color and padding options
      

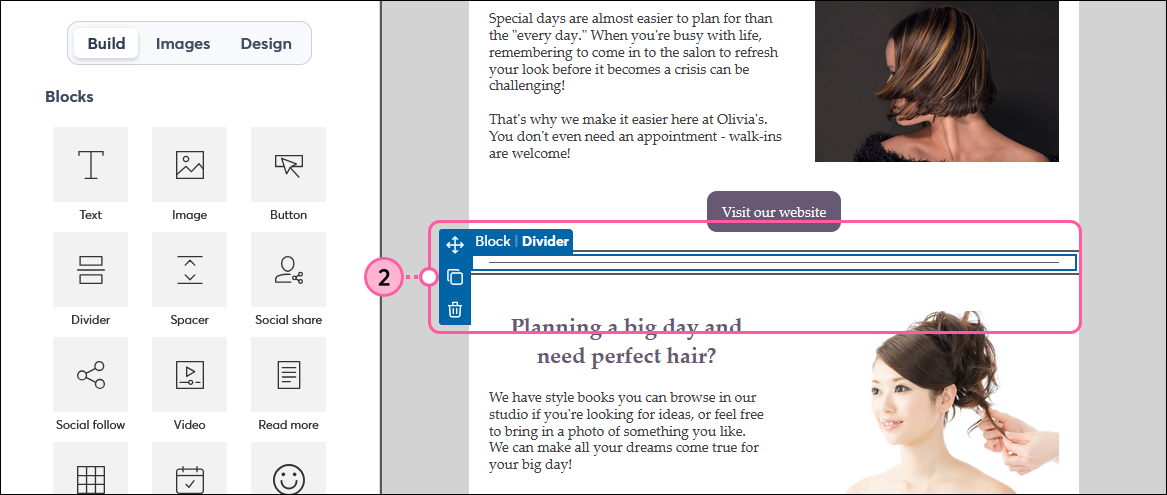
Simply click outside the Divider block to finish updating the rest of your email content.


Some templates have dividers with extra embellishments. The color can be changed through the Dividers option on the Design tab, but additional styles can't be applied to these types of dividers. If needed, you can always replace them with a standard divider.


Light Bulb IconDesign tip: Insert a small thumbnail image in the center of a Three Column block and add dividers on both sides to create extra visual appeal.


Three-Column Block with Dividers and Image


Vertical divider

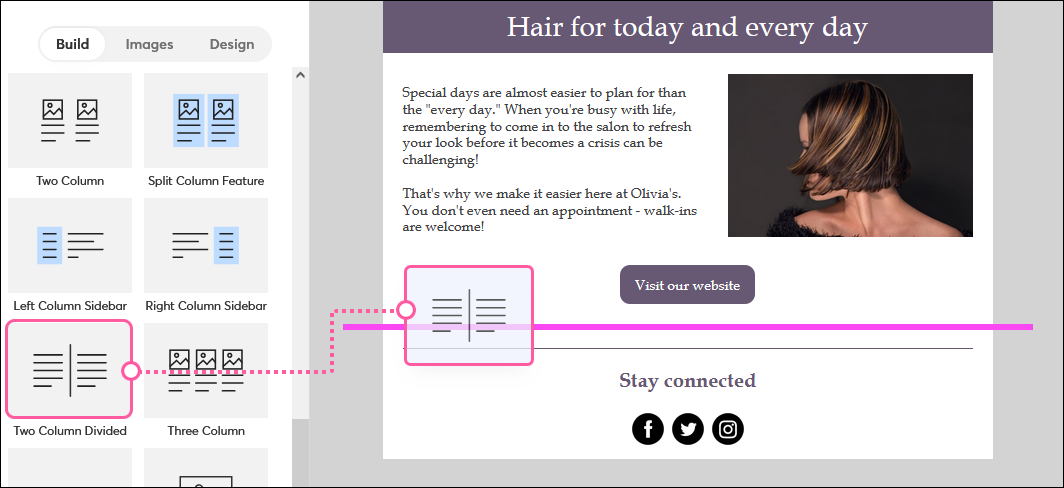
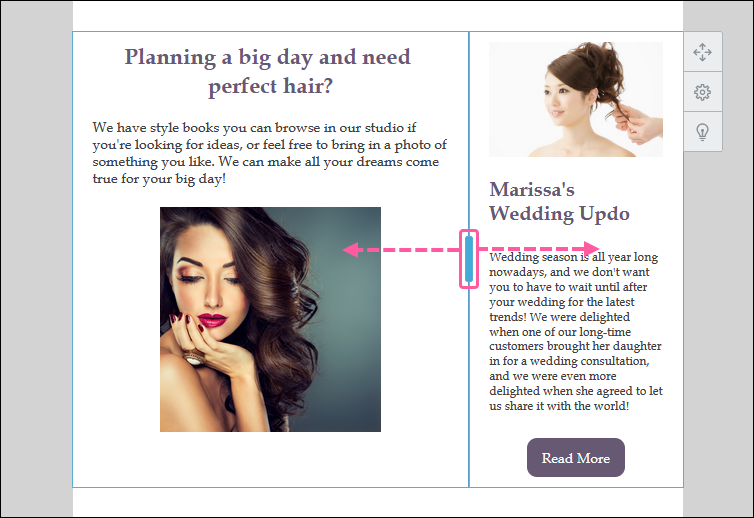
Vertical dividers can be added to your template using a pre-built Layout block. The color of the vertical divider is determined by the Dividers color on the Design tab.

  1. From the Layouts section of the Build tab, drag the Two Column Divided block into your email. Use the guidelines to find the right spot.

    Drag-and-drop vertical divider block into template
     
  2. Place your cursor over the block and use the drag handle to change the width of the columns.

    Vertical Divider Drag Handle
     

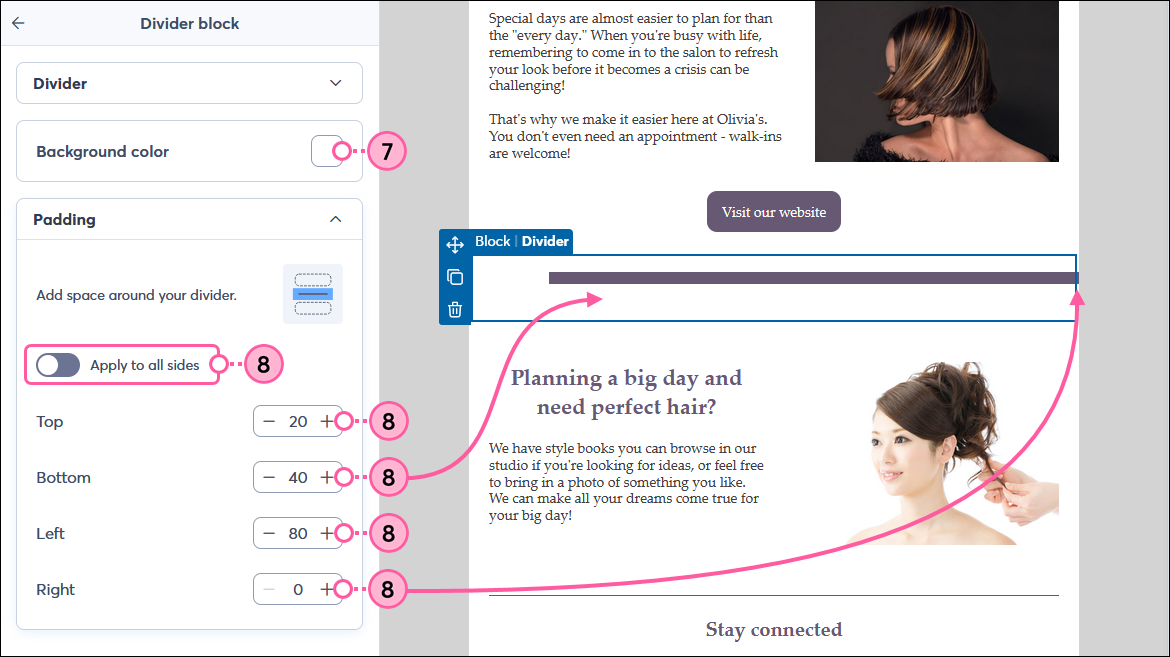
Like any other block, you can change the background color to add even more visual interest to your email design!


Questions?

Ask the Community

Did this article answer your question?


Constant Contact Logo

Copyright © 2026 · All Rights Reserved · Constant Contact · Privacy Center