Email and Digital Marketing
How can we help you?
Search our help articles, video tutorials, and quickstart guides

You've got this. You've got us. Search our Knowledge Base to quickly find answers to your questions.

Edit an image in your email

Article: 000017770
Updated: January 23, 2026

Make edits to an image in your email using Canva or our editing tools, and further customize the design of the Image block


After adding an image to your email, you can modify it using our editing tools or Canva, without leaving your email draft! You can further customize the Image block design to fine-tune the look of your email.


Light Bulb IconDesign tip: Want to get even more out of your email design? Check out our best practices for making your pictures pop!

Use our image editor

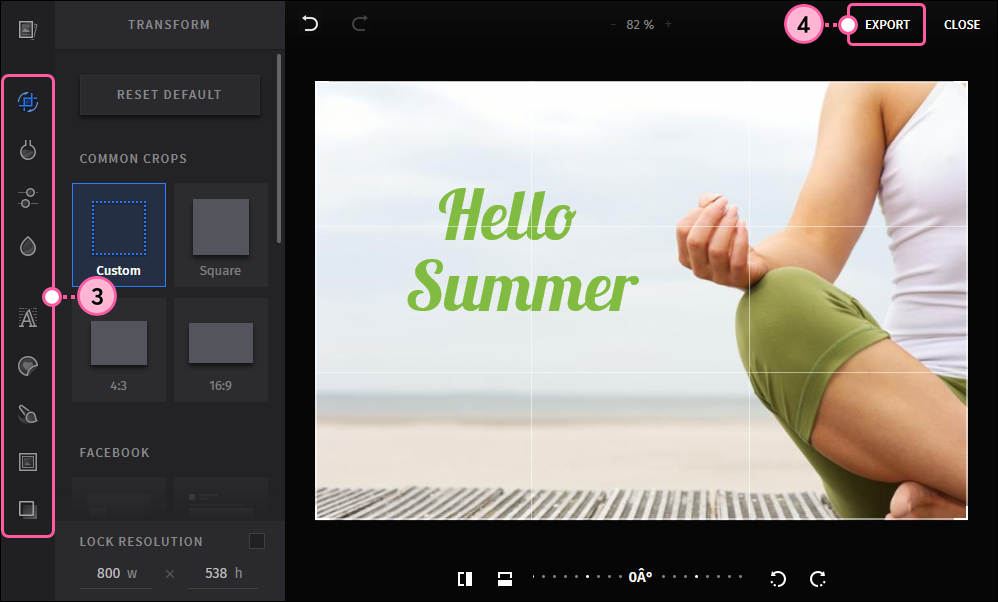
Our image editor lets you make tons of enhancements to your image, including cropping, rotating, adding filters, frames, text, and more!

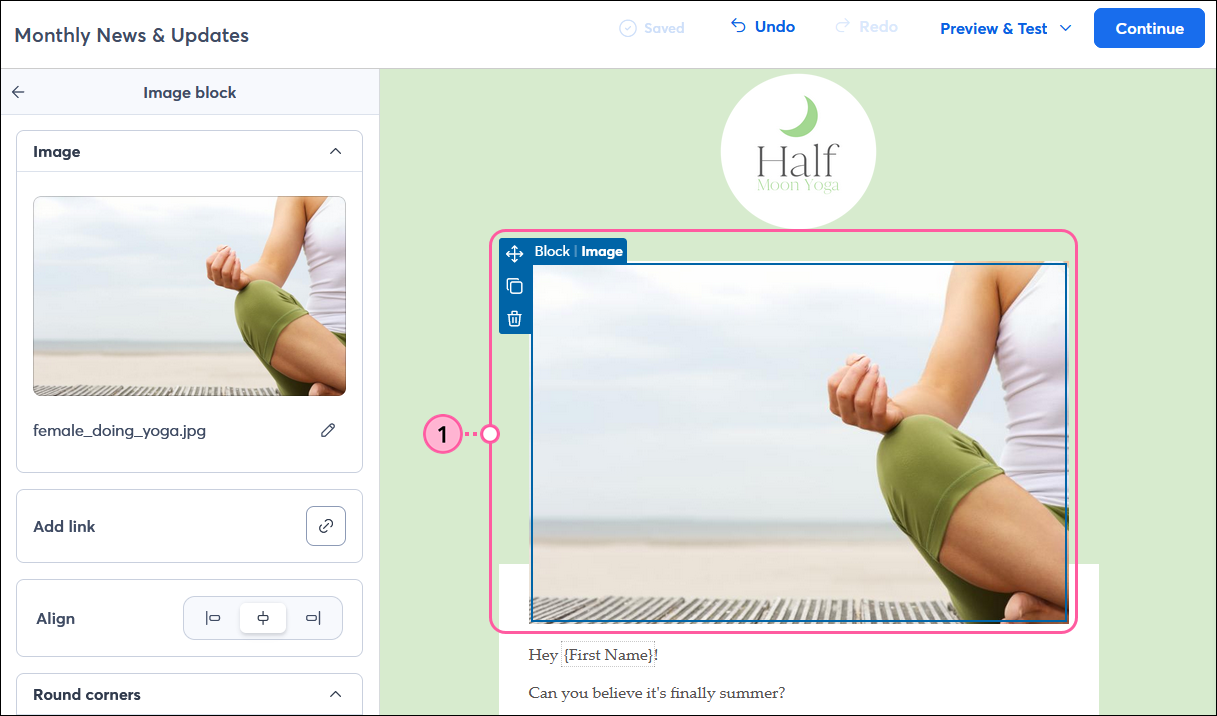
You can access our image editing tools while working on your email:

  1. Click on the image.
  2. From the panel on the left, click the pencil icon and select Image Editor from the drop-down.

    Image selected, Image block panel with pencil icon and Image Editor option in drop-down
     
  3. Click on the icons along the left-hand side to open the editing tools and enhance your image:
  • Transform - Tools for cropping, rotating, or flipping an image.
  • Filters - Choose from a list to change an image's color or tone.
  • Adjust - Tools for adjusting the brightness, saturation, contrast, and more.
  • Focus - Select an area of the image to focus on and blur the rest.
  • Text - Tools for adding custom text across an image. Choose the font style, color, and spacing.
  • Stickers - Choose from a variety of shapes and emoticons to embellish your image.
  • Brush - Add freehand text or drawing to an image. Choose color, brush width, and line hardness.
  • Frames - Add a decorative border around an image. Choose style, width, and opacity.
  • Overlays - Select from a list of subtle image textures to layer on top of an image, like a double exposure, and adjust the subtlety of the effect.
  1. When you've finished your edits, click Export.

    Image Editor Options Menu and Export Button
     
  2. Click Insert to add the updated image to your email.

    Insert Button


Edit an image with Canva

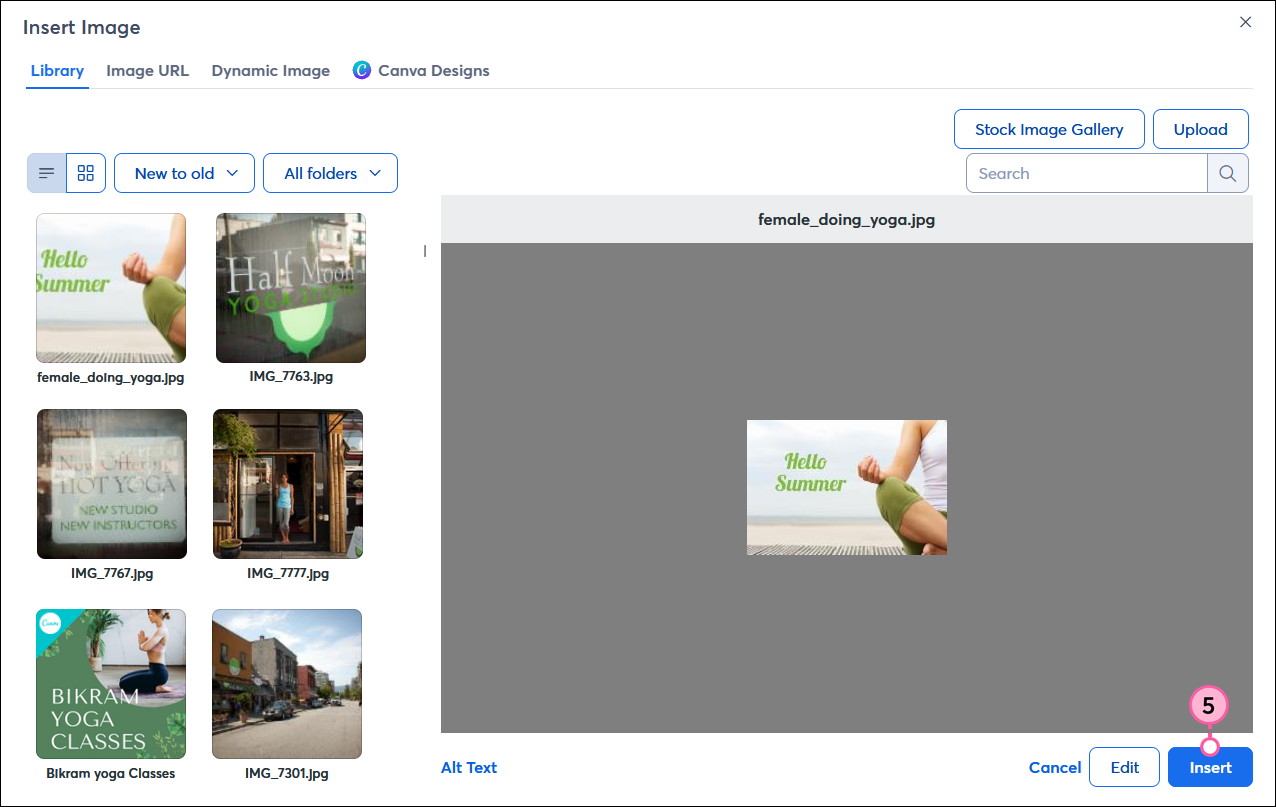
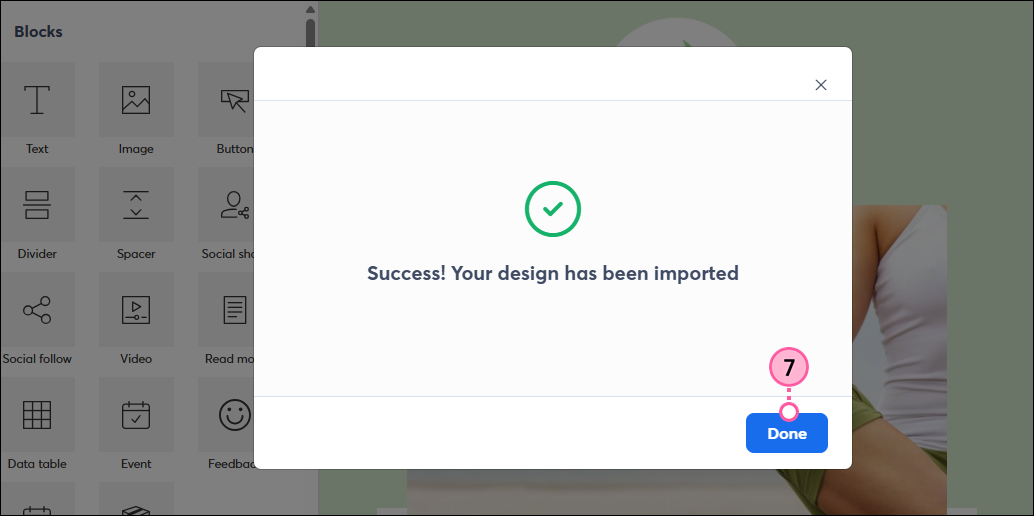
You can seamlessly edit any image with Canva, whether it was created in Canva or not! It’ll be automatically saved to your Constant Contact Library and can be inserted directly into your email.


Light bulb iconDid you know? Canva offers a free plan for everyone, and non-profits can enjoy the Pro plan at no cost!


  1. Click on the image.
  2. From the panel on the left, click the pencil icon and select Edit with Canva from the drop-down. If you're not already connected to Canva, follow the prompts to do that now.
    Note: The option to edit with Canva isn't available for stock images or GIFs.

    Image selected, Image block panel with pencil icon and Edit with Canva option in drop-down
     
  3. Make your changes and then click Return to Constant Contact in the upper-right when you’re finished.
  4. Click Return to Constant Contact from the drop-down to import your design into your Constant Contact Library.

    Canva editor with design edited, Return to Constant Contact drop-down, and Return to Constant Contact button
     
  5. From the drop-down, select the file type you want your design to be imported as—PNG, JPG, or PDF. 
    Note: If you import your design as a PDF, it won’t be available to insert into your campaign from the Images tab, but it will be saved in your Constant Contact Library and available to link to in your email.
  6. Click Import.

    Select Import Format pop-up with File type drop-down and Import button
     
  7. Click Done.

    Edited design imported success message and Done button
     
  8. You’ll see your edited image at the top of the Images tab. Click and drag it into your campaign to insert it.

    Email editor, Images tab, and image edited with Canva to insert


Customize the design of the Image block

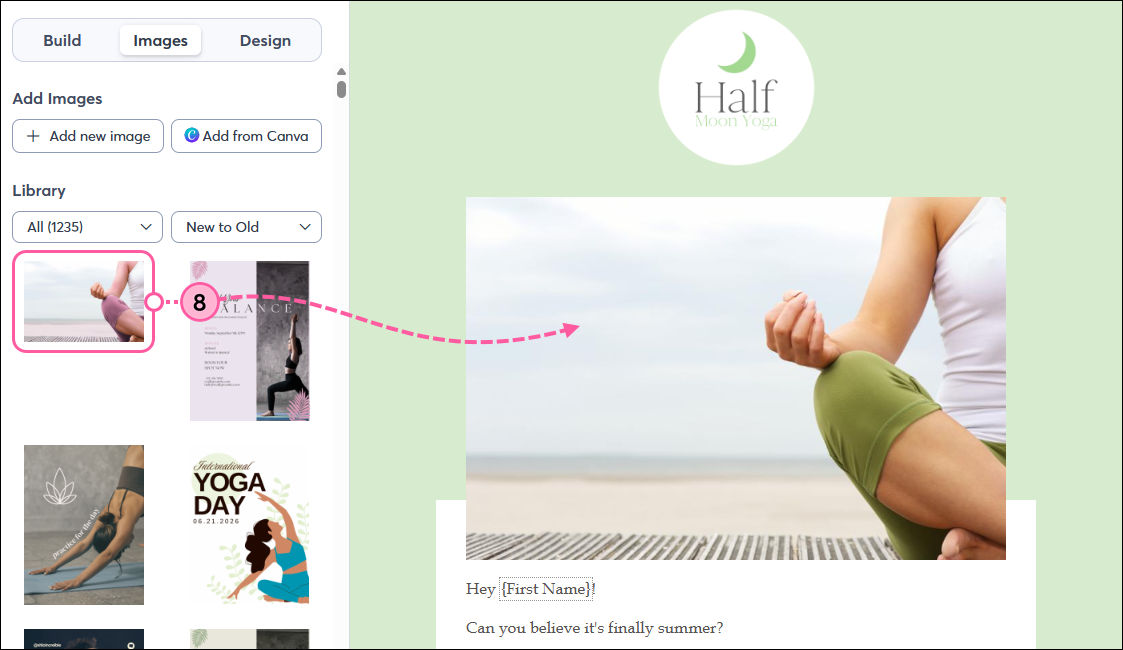
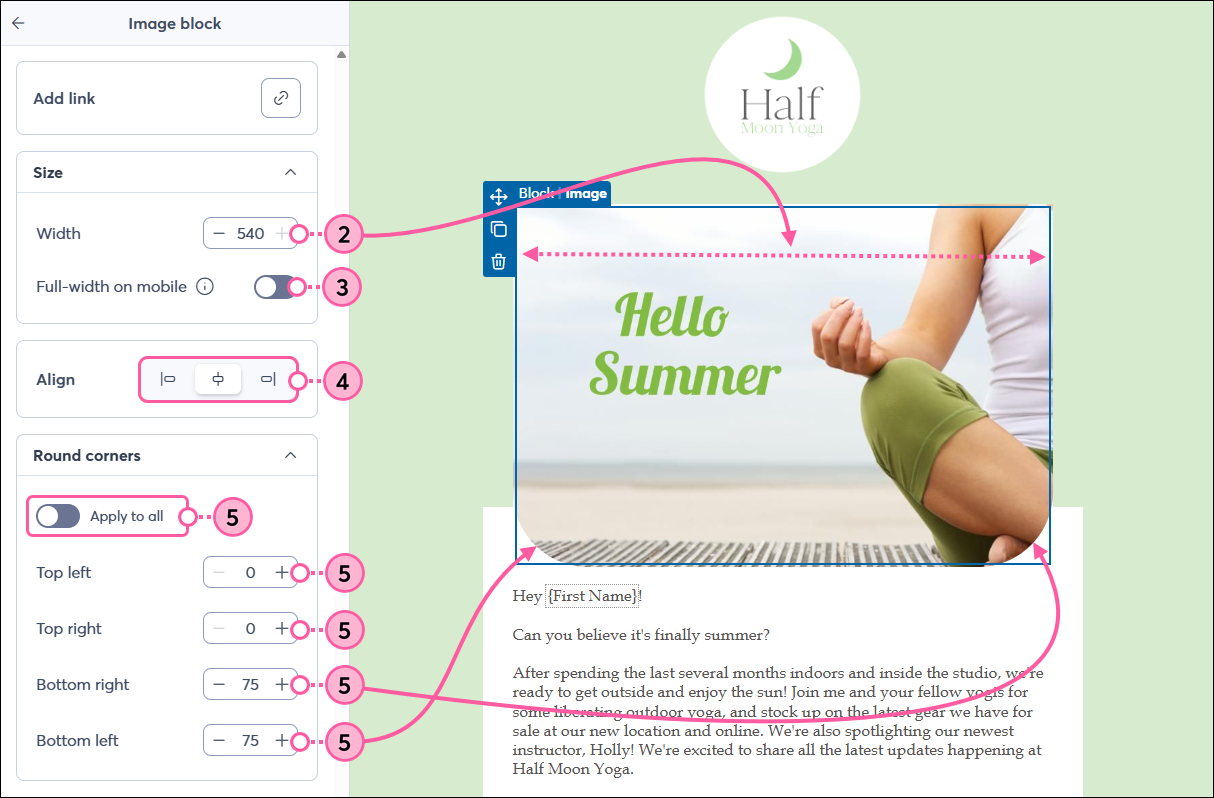
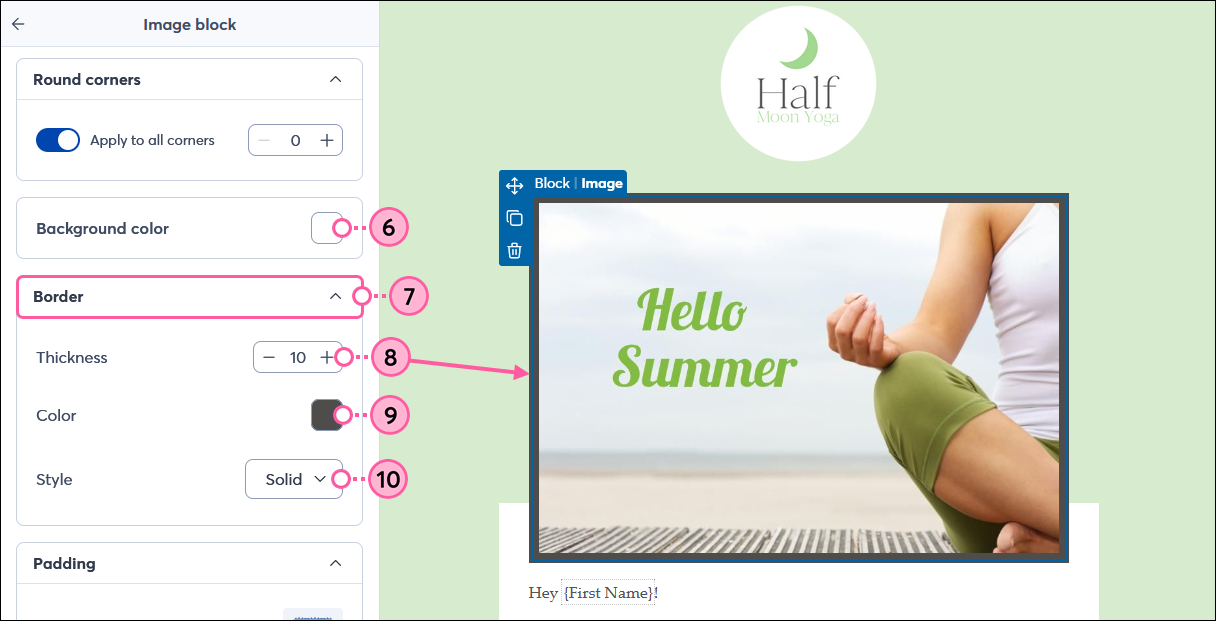
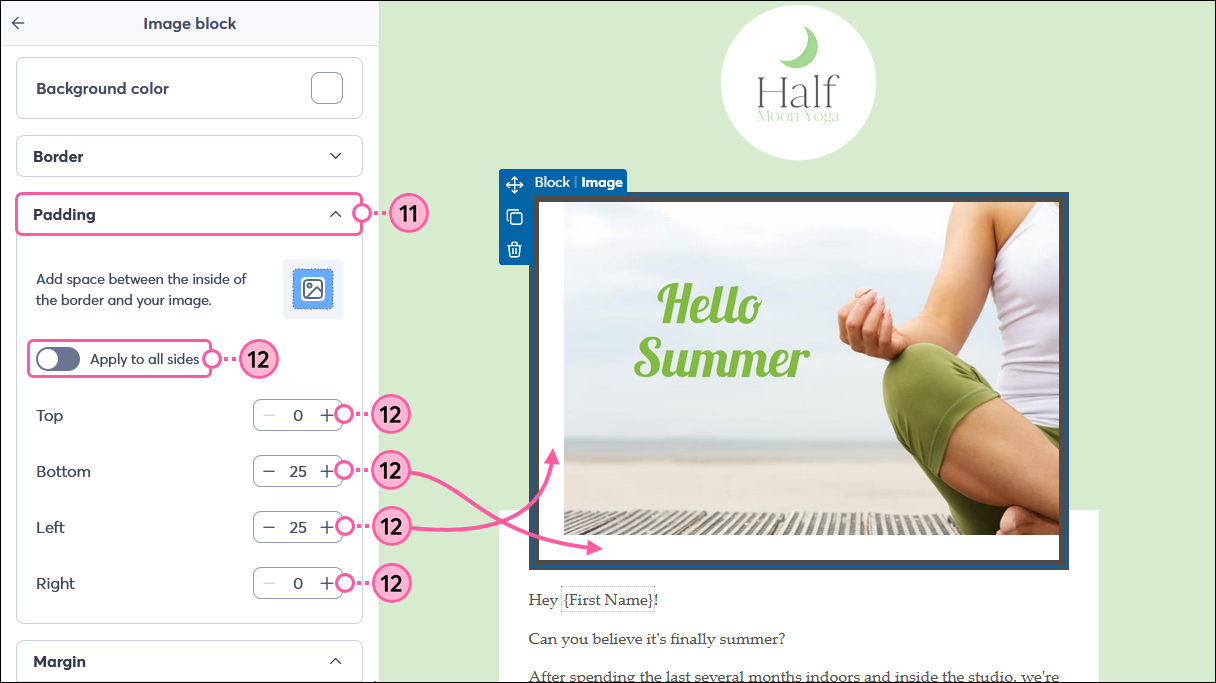
You can also further customize the look of your image using the options in the left-hand panel, including rounding the corners, adding a border, and more.


  1. Click on the image to open the left-hand panel.

    Email editor with image selected and Image block panel open
     
  2. Adjust the width of the image if you want to make it smaller or larger. The height will change proportionally. 
  3. Click the toggle if you want the image to span the full width of the screen when your email is viewed on a mobile device.
  4. Align the image to the left, center, or right side of the email.
  5. Round the corners of your image to change its shape. Apply the same roundness to all corners, or click the toggle to adjust each corner's roundness. The higher the number, the more rounded the corners become.

    Image block panel with Align and Round Corners options
     
  6. Click the Background color swatch to choose a background color for the Image block.
  7. If needed, click to expand the Border section.
  8. Adjust the thickness to add a border around your image.
  9. Click the color swatch to select a border color.
  10. Use the Style drop-down to select a solid, dashed, or dotted border.

    Image block panel with Background Color and Border options
     
  11. If needed, click to expand the Padding section.
  12. Click the toggle to apply the same amount of padding inside all sides of the image border, and choose the amount of padding you want, or adjust the padding inside the top, bottom, left, and right of the border.

    Image block panel with Align and Round Corners options
     
  13. If needed, click to expand the Margin section.
  14. Click the toggle to apply the same margins to all sides of your image and choose the amount of space you want, or adjust the margins for the top, bottom, left, and right.

    Image block panel with Margin options


Questions?

Ask the Community

Did this article answer your question?


Constant Contact Logo

Copyright © 2026 · All Rights Reserved · Constant Contact · Privacy Center