Email and Digital Marketing
How can we help you?
Search our help articles, video tutorials, and quickstart guides

You've got this. You've got us. Search our Knowledge Base to quickly find answers to your questions.

Flip or rotate an image in your email

Article: 000029339
Updated: October 17, 2025

Rotate an image or flip it to create a mirror image

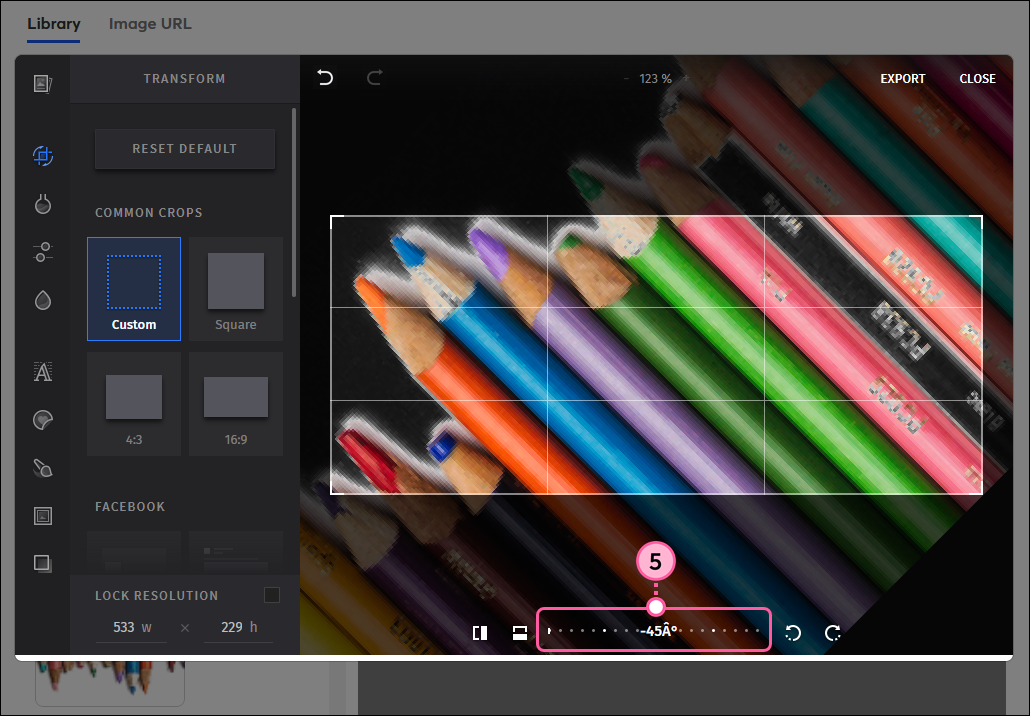
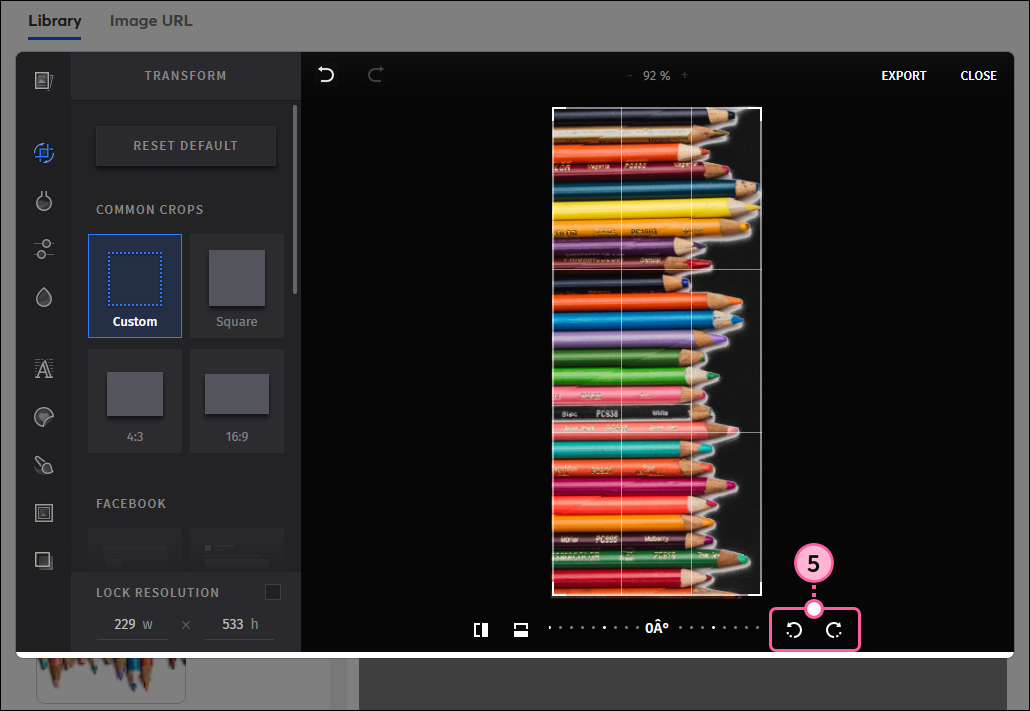
If an image was uploaded in the wrong direction or appears slightly crooked, rotating it can correct its orientation so it faces the correct way or is straightened out. Flipping an image creates a mirrored version that can alter the balance of your template or can be used to sandwich content between the mirrored images, creating a channel of white space. 

  1. If it isn't already, insert the image you want to flip or rotate into your template. Use the guideline to help you find the right spot.

    Email editor Images tab, drag-and-drop image into image placeholder in template
     
  2. Click on the image block to open the left-hand panel and then click on the image to edit it.

    Email editor with image block panel and image selected
     
  3. Click Edit.

    Insert Image overlay with Library tab selected, unflipped image in Preview pane, and Edit button
     
  4. In the image editor, click Transform.

    Insert Image overlay with image editor options menu expanded and Transform option selected
     
  5. In any combination, use the tools at the bottom of the editor to:
  • Flip the image - Flipping an image turns the image over on its axis to create a mirror image of the original. You can flip vertically or horizontally by clicking on the rectangles.
    Example:  In the image below, the image is flipped vertically. The pencil tips still point up, but the black pencil is now on the right-hand side. If the image is flipped horizontally instead, the tips of the pencils would point down, and the black pencil would stay on the left-hand side (see step 6 image). 

    Image editor with Transform option selected, image flipped vertically with flipping controls
     
  • Tilt the image - Tilting an image lets you adjust the horizon line in your image by up to 45 degrees in either direction. If the camera was tilted when the picture was taken, you can correct the image to make the horizon line appear straight, or you can exaggerate the horizon line to give your image a slope. Your image is enlarged to fill the frame as you rotate.
    Example: The image below already had a straight horizon, but by rotating the image a few degrees, the pencils appear to lie diagonally across the image. The black pencil isn't visible in the image because it's cropped out to fill the frame.

    Image editor with Transform option selected, image rotated 45 degrees with rotation dial
     
  • Rotate the image - Rotating an image keeps the same side facing you while it moves around a central axis (like hands move around a clock). You can rotate in 90-degree increments by clicking on the arrows.
    Example: In the image below, rotating the image clockwise points the pencil tips to the right-hand side with the black pencil on top. If rotated in the same direction one more time, the pencil tips would point down with the black pencil on the right-hand side.

    Image editor with Transform option selected, image rotated 90 degrees with rotation controls
     
  1. When your image is just right, click Export.

    Image editor with image flipped horizontally, and Export option
     
  2. Click Insert.

    Insert Image overlay with Library tab selected, flipped image in Preview pane, and Insert button
     

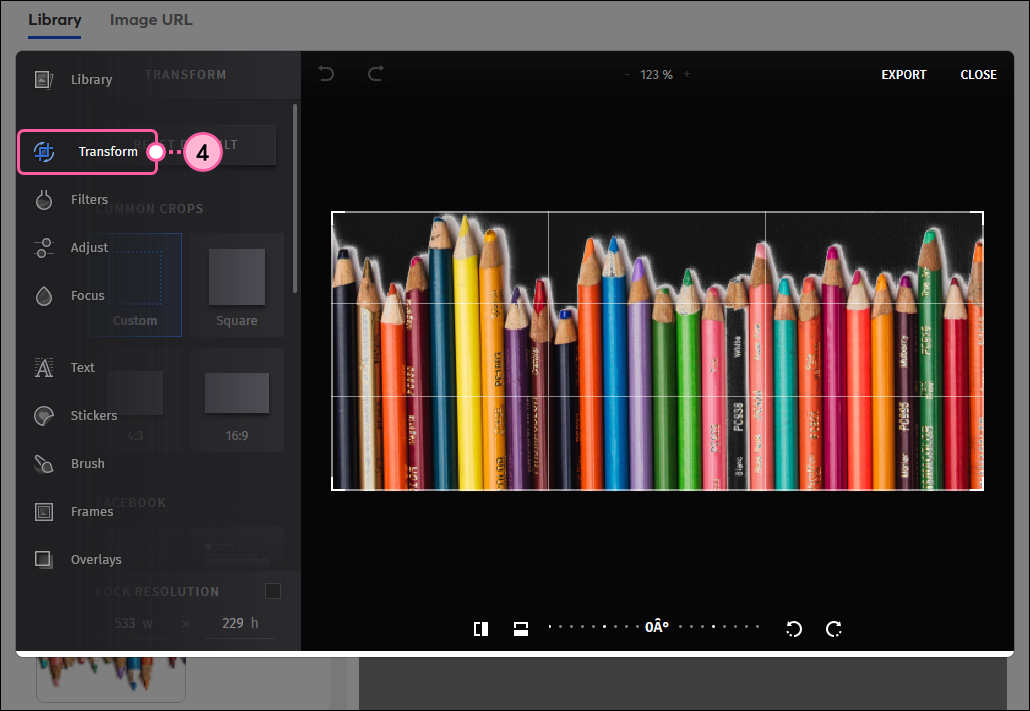
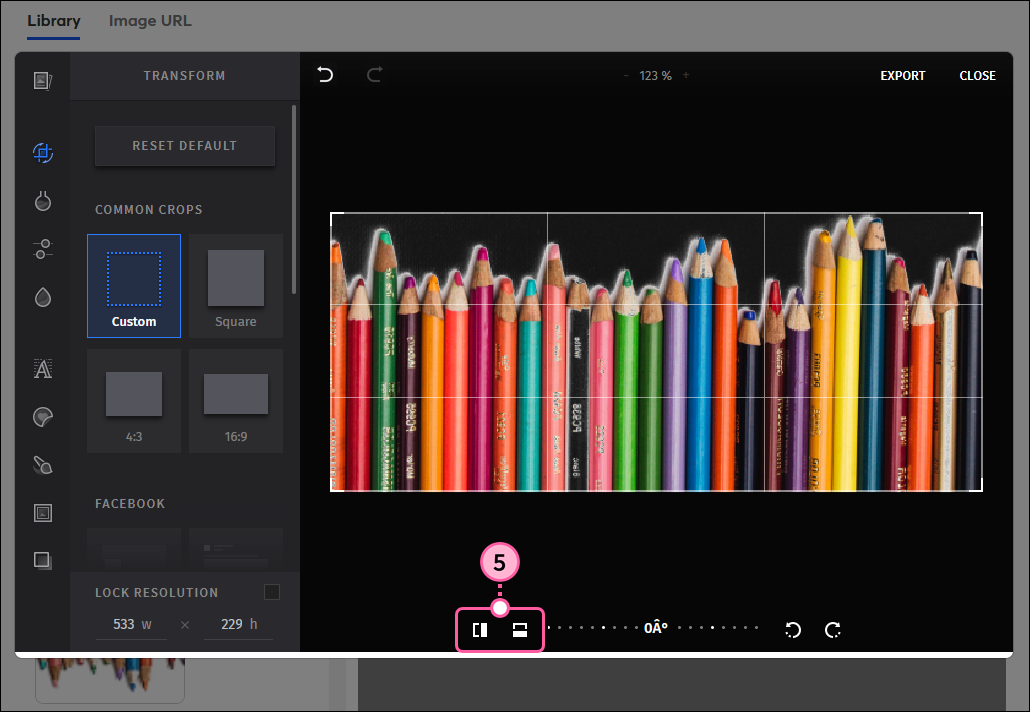
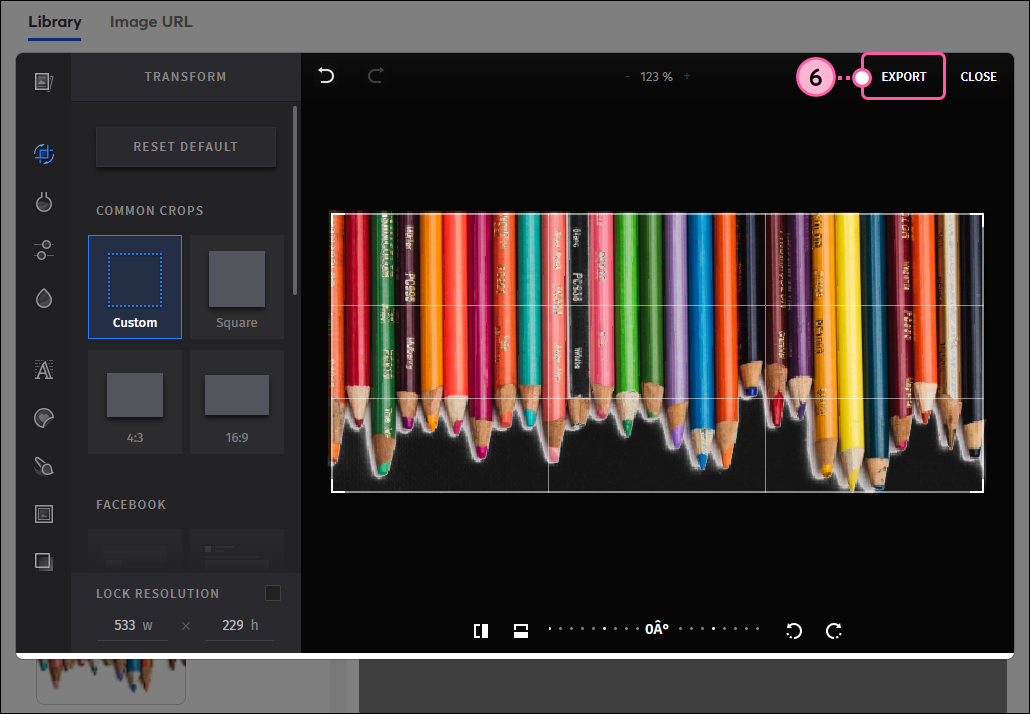
To further customize your image, try resizing the image or adjusting the image padding until you achieve the right balance in your template. The image editor also offers several tools to help you create the perfect email design!


Light Bulb IconDesign tip: Want to get even more out of your email design? Check out our best practices for making your pictures pop!


Questions?

Ask the Community

Did this article answer your question?


Constant Contact Logo

Copyright © 2026 · All Rights Reserved · Constant Contact · Privacy Center