This article will detail the available Content Editor toolbar menu options and features. If you're using the new email editor, read Overview of the New Email Editor instead.
| Administrators | ✓ | |
| Company Managers | ✓ | |
| Marketing Managers | ✓ | |
| Sales Managers | ||
| Salespersons | ||
| Jr. Salespersons |
| Tip: Are you looking for information about Constant Contact’s Email and Digital Marketing product? This article is for Constant Contact’s Lead Gen & CRM product. Head on over to the Email and Digital Marketing articles by clicking here. Not sure what the difference is? Read this article. |
To create an email in Lead Gen & CRM, you must first start with a template. Though using either a created template or an existing template is up to you, emails can only be created by using a template.
Refer to the following articles for more information on the email creation process:
When pasting text from external sources, such as other websites or programs, there may be times when that text does not work correctly in the Email Content Editor. Pasted text may contain certain styling or formatting information that can cause unforeseen issues with the Email Content Editor.
Before pasting text in the Email Content Editor, first paste it into a plain text editor. This will strip the pasted text of any excess information and present it in a what-you-see-is-what-you-get manner. Once the text has been pasted as plain text, you can then copy and paste that plain text into the Email Content Editor.
To open the Content Editor in an email, create or edit an email in the left toolbar.
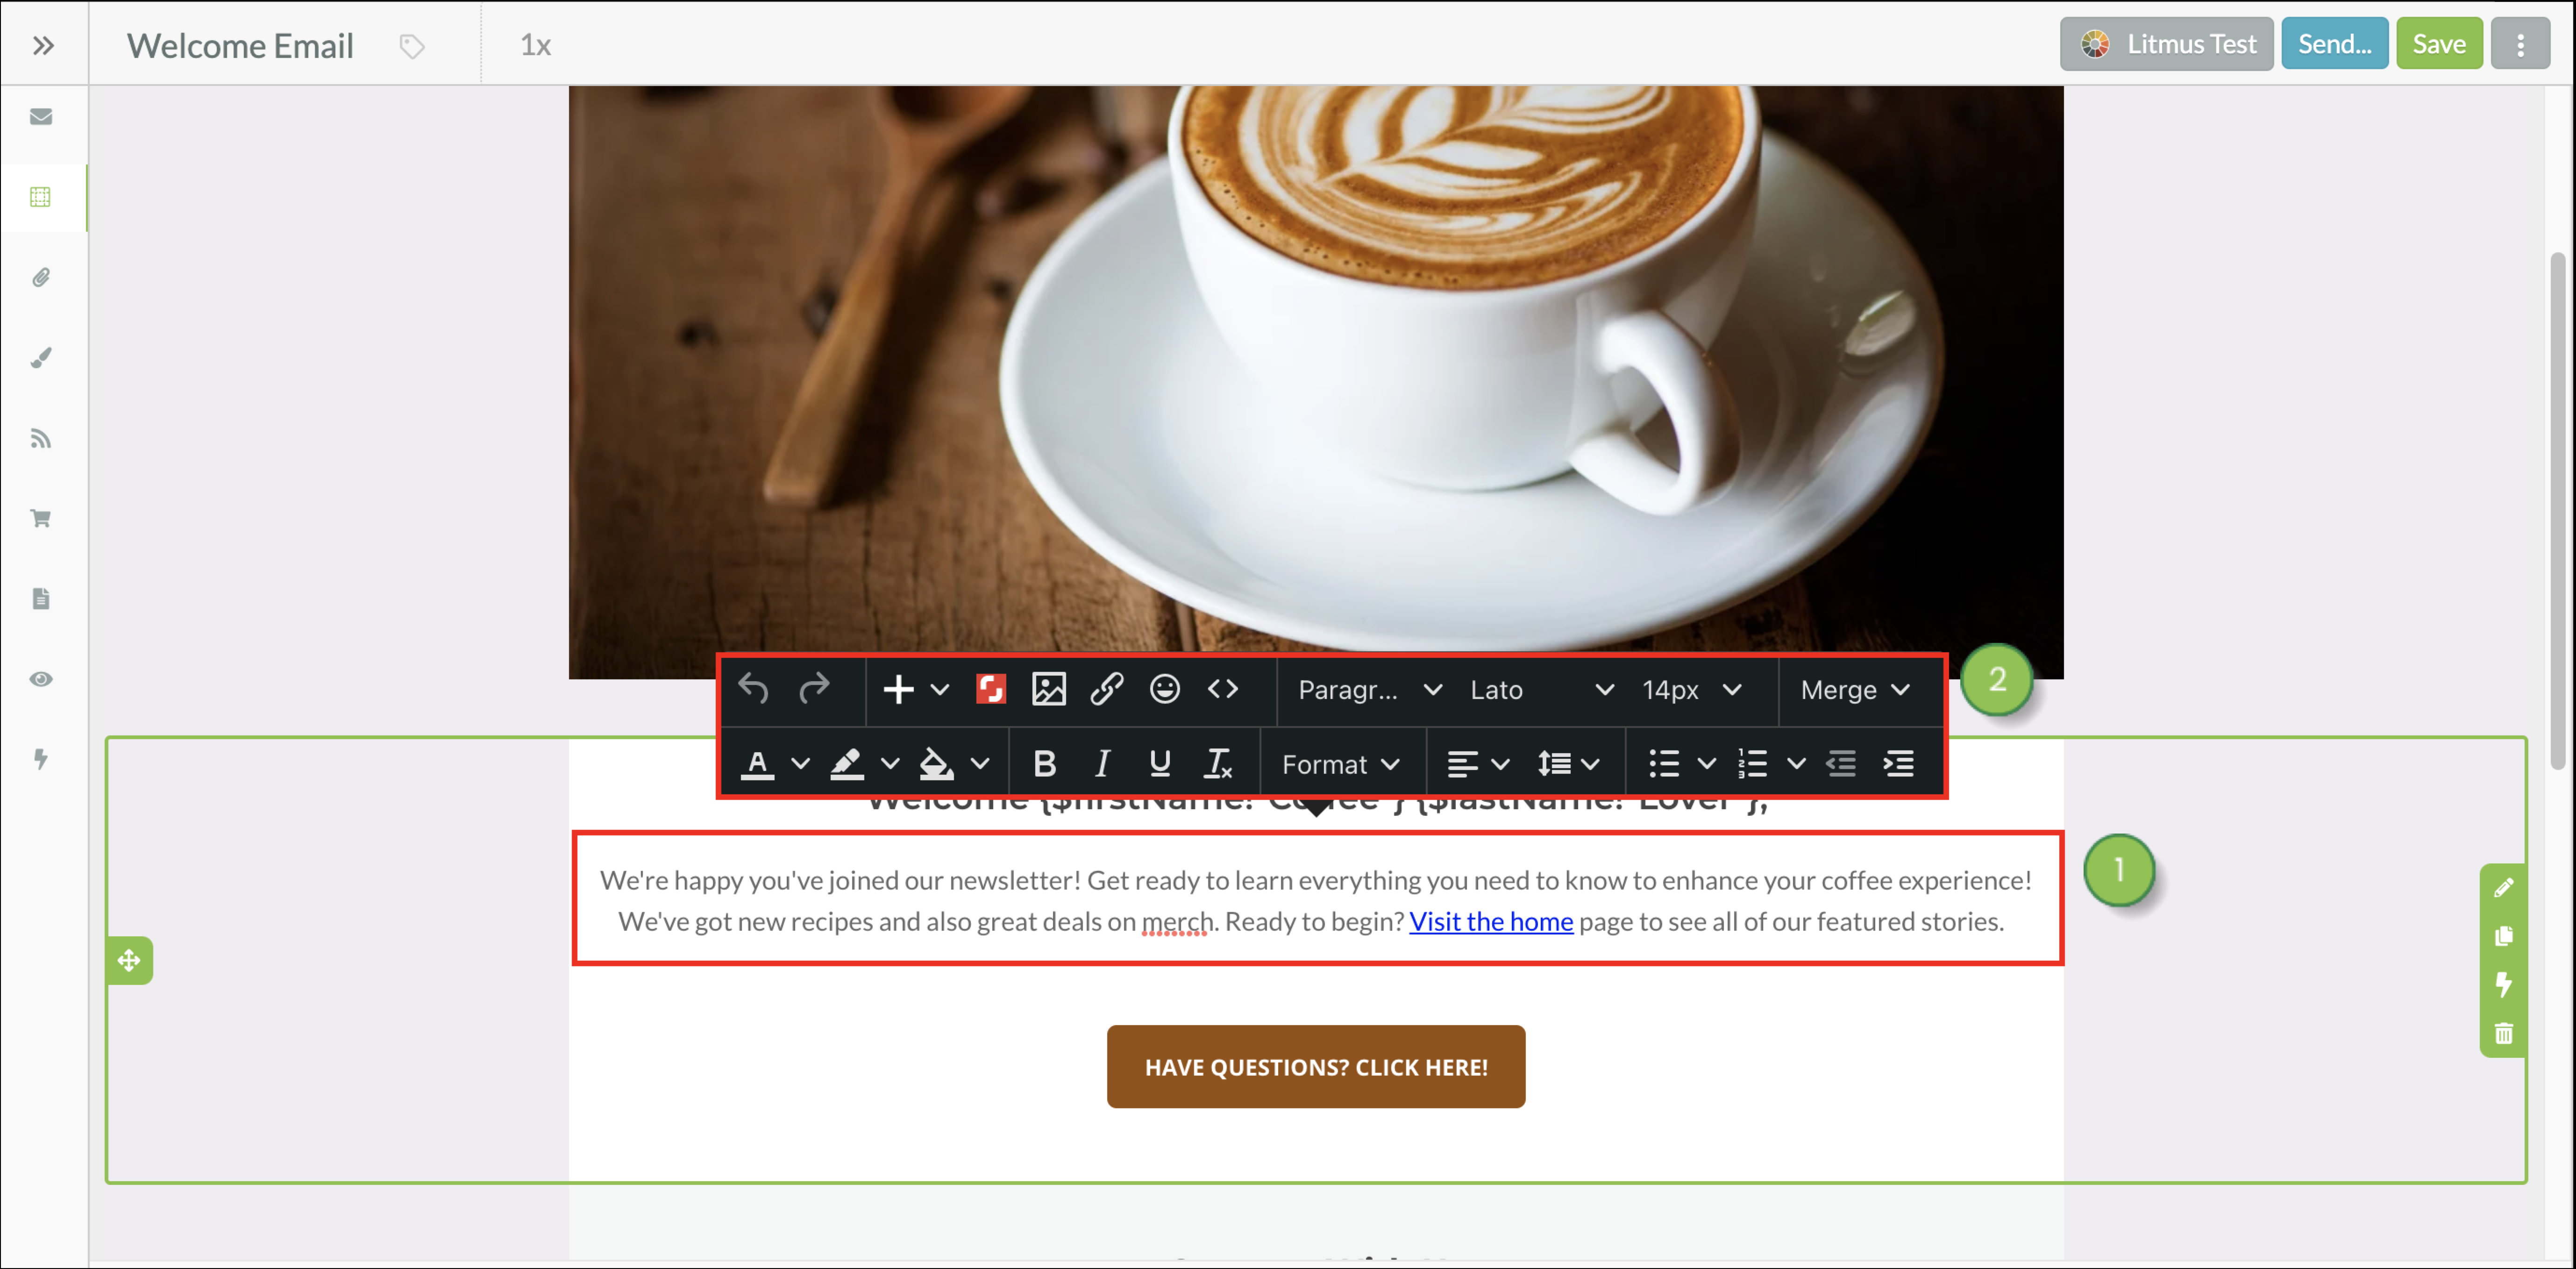
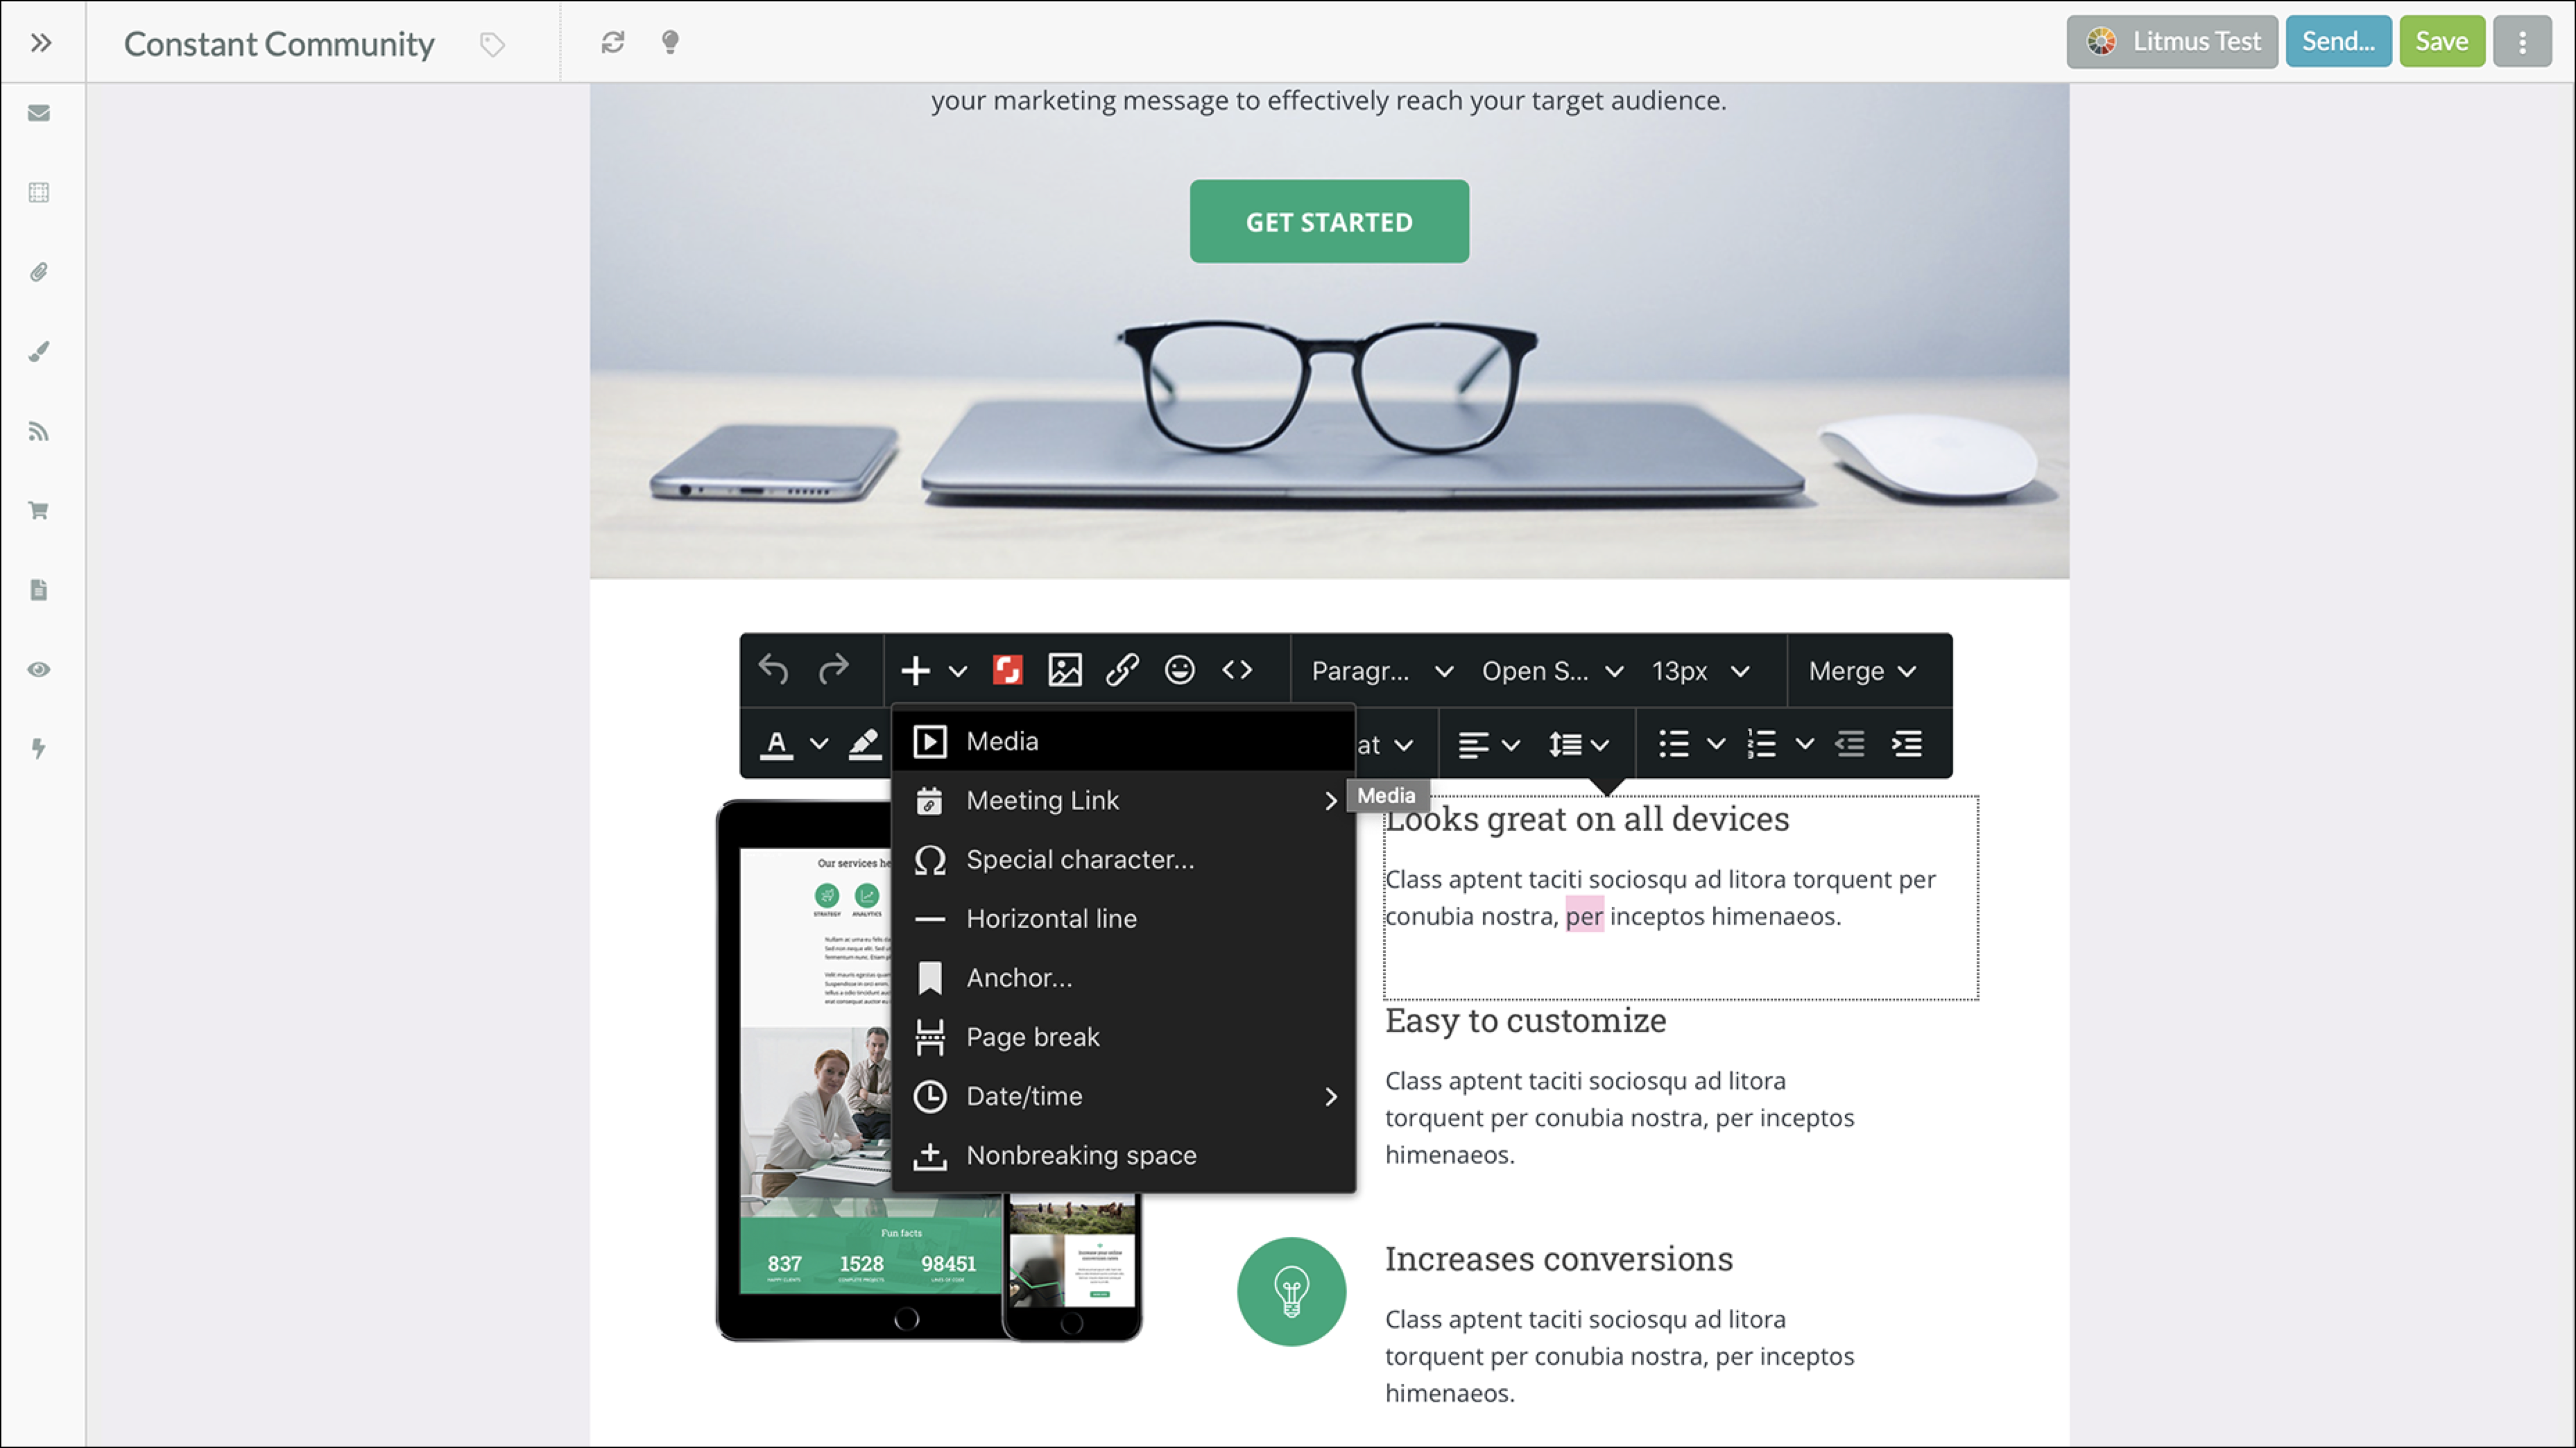
The + Insert menu allows you to insert different features, information, and objects into an email. This menu is located at the top of the designer window. Inserting design elements allows for a great deal of customization.
The available + Insert menu options are as follows.
| Available Settings | Description | |||
| Media |
Media Center trackable links. When inserting media files, you can set the file to display a preview image or display a link for popular social media platforms. | |||
| Meeting Link |
Adds a clickable link to book a meeting. | |||
| Special Character |
Adds a special ASCII character to the email. These characters include Greek letters, mathematical symbols, and certain shapes. | |||
| Horizontal Line |
Adds a horizontal line. The line serves as a de facto line break and is best used as a visual divider between text. | |||
| Anchor |
Adds a page anchor to the email. Anchors link to other parts of the email. When clicked, anchors allow viewers to quickly navigate an email. | |||
| Page Break |
Inserts a page break at the location. Page breaks force content onto a new printable page area. | |||
| Date/Time |
Inserts the date and time at the location. Dates are listed in month/day/year and year/day/month format. | |||
| Nonbreaking Space |
Adds a nonbreaking space between characters. When inserted between two words, nonbreaking spaces force the words to remain together. The linked words will appear together at the start of a line. |
Available images from the vast Shutterstock library. When inserting Shutterstock images, be aware of pricing.
Popular image formats are .JPG, .GIF, .PNG, and .TIF. When inserting image files, you can modify the description that appears when hovering over the image, the image's dimensions, spacing around the image, and the image's borders.
Adds a clickable link to text, images, or media.
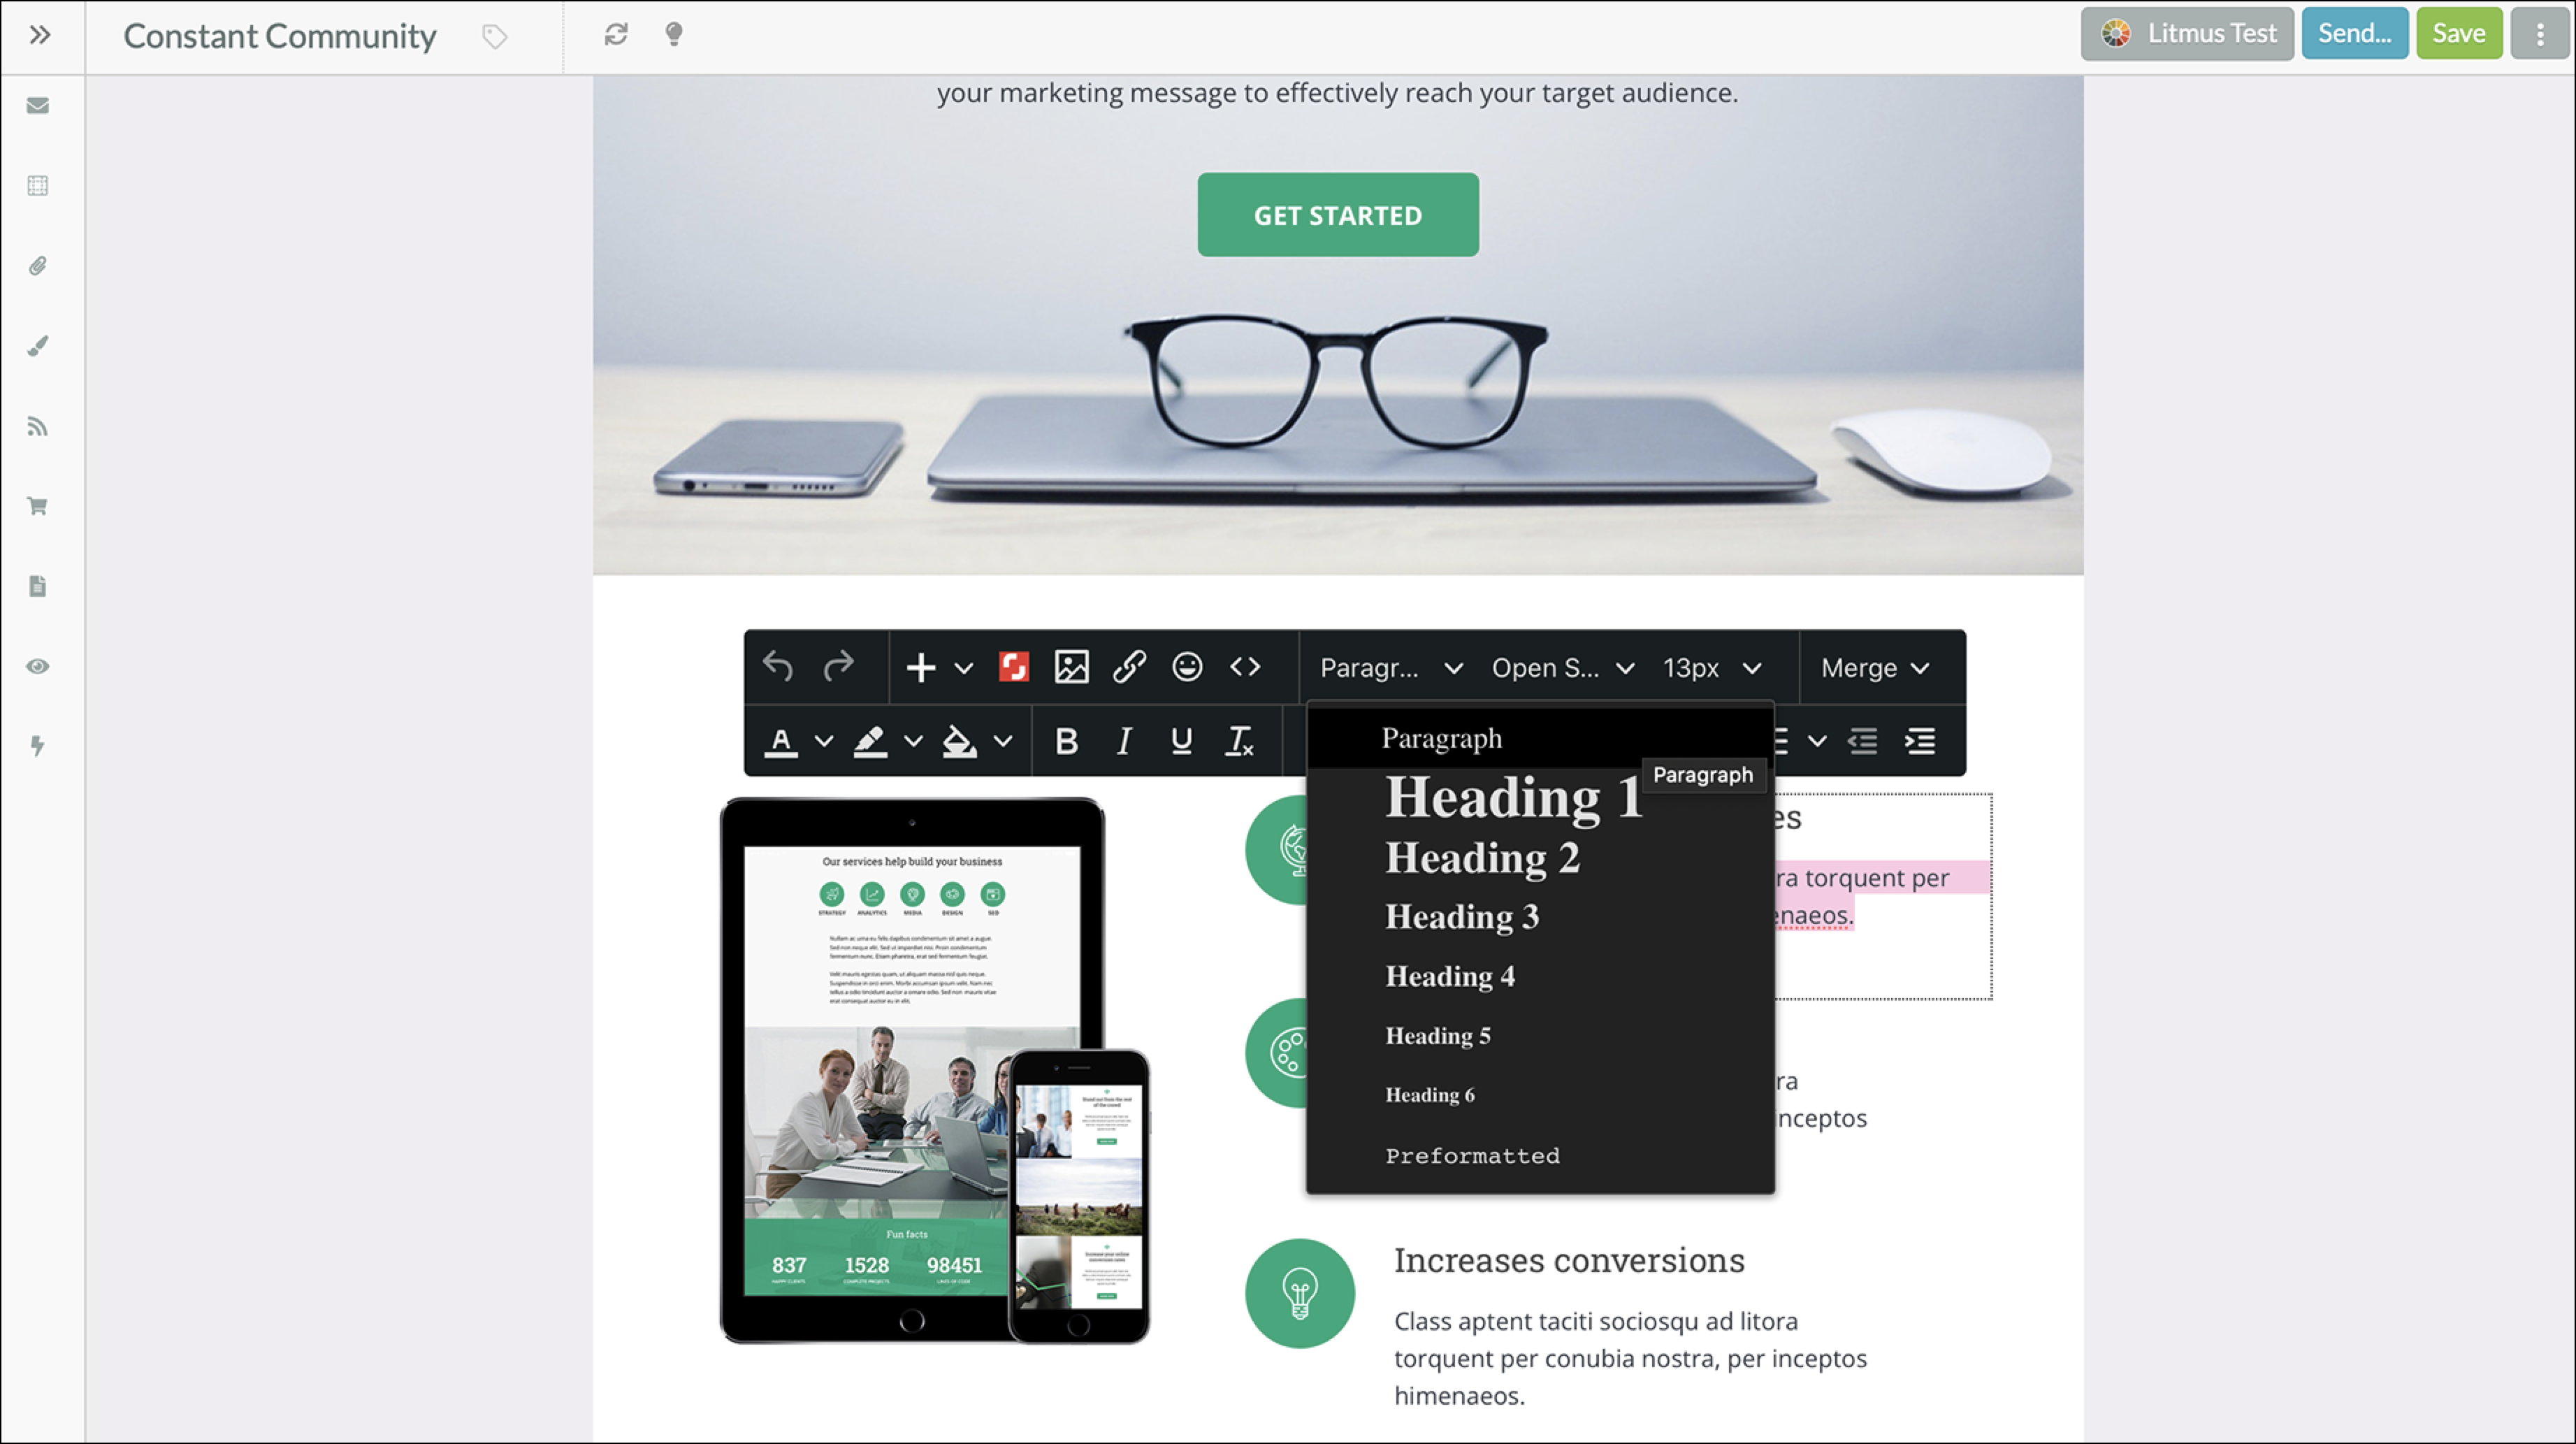
The Paragraph menu provides a way to format text.
The available formats transform text into a specific-sized font with appropriate leading and kerning.
The Font menu offers a selection of fonts to use in the email.
The available fonts are the most common fonts available across the majority of browsers and computers.

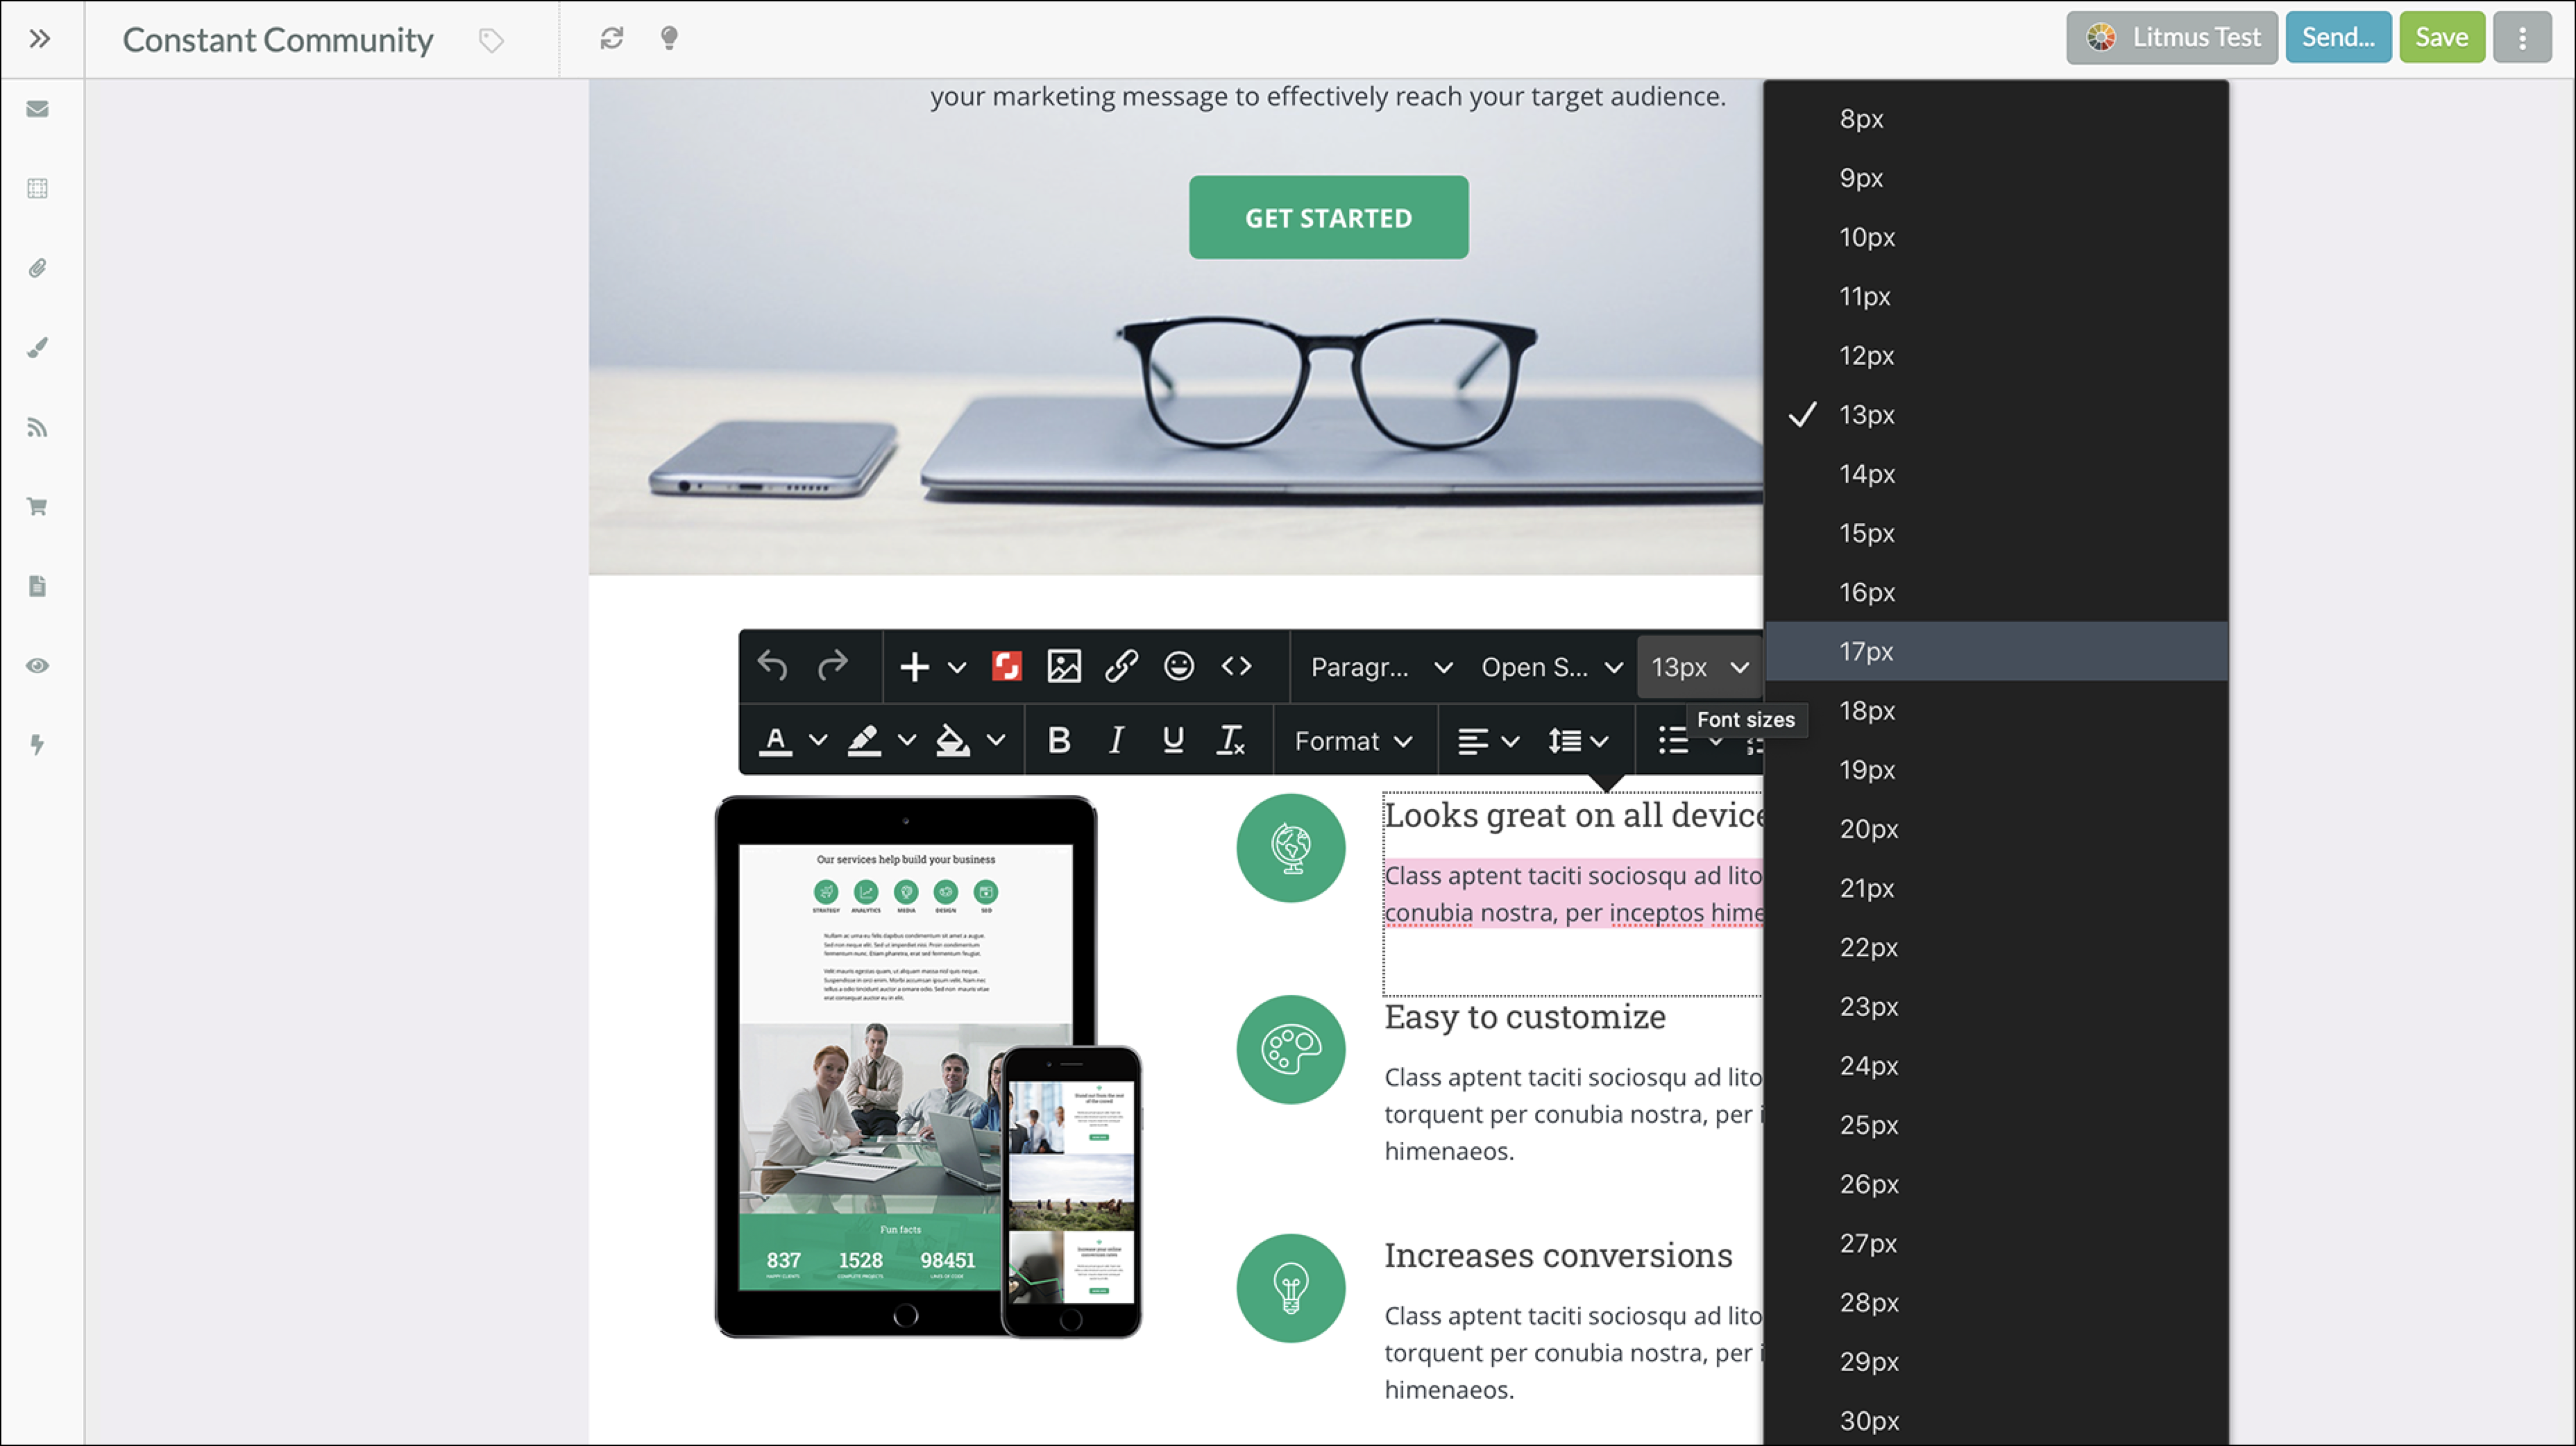
The Font Size menu provides a way to quickly change font size.
The font sizes are predetermined, and they are set to best display across a variety of browsers and computers.
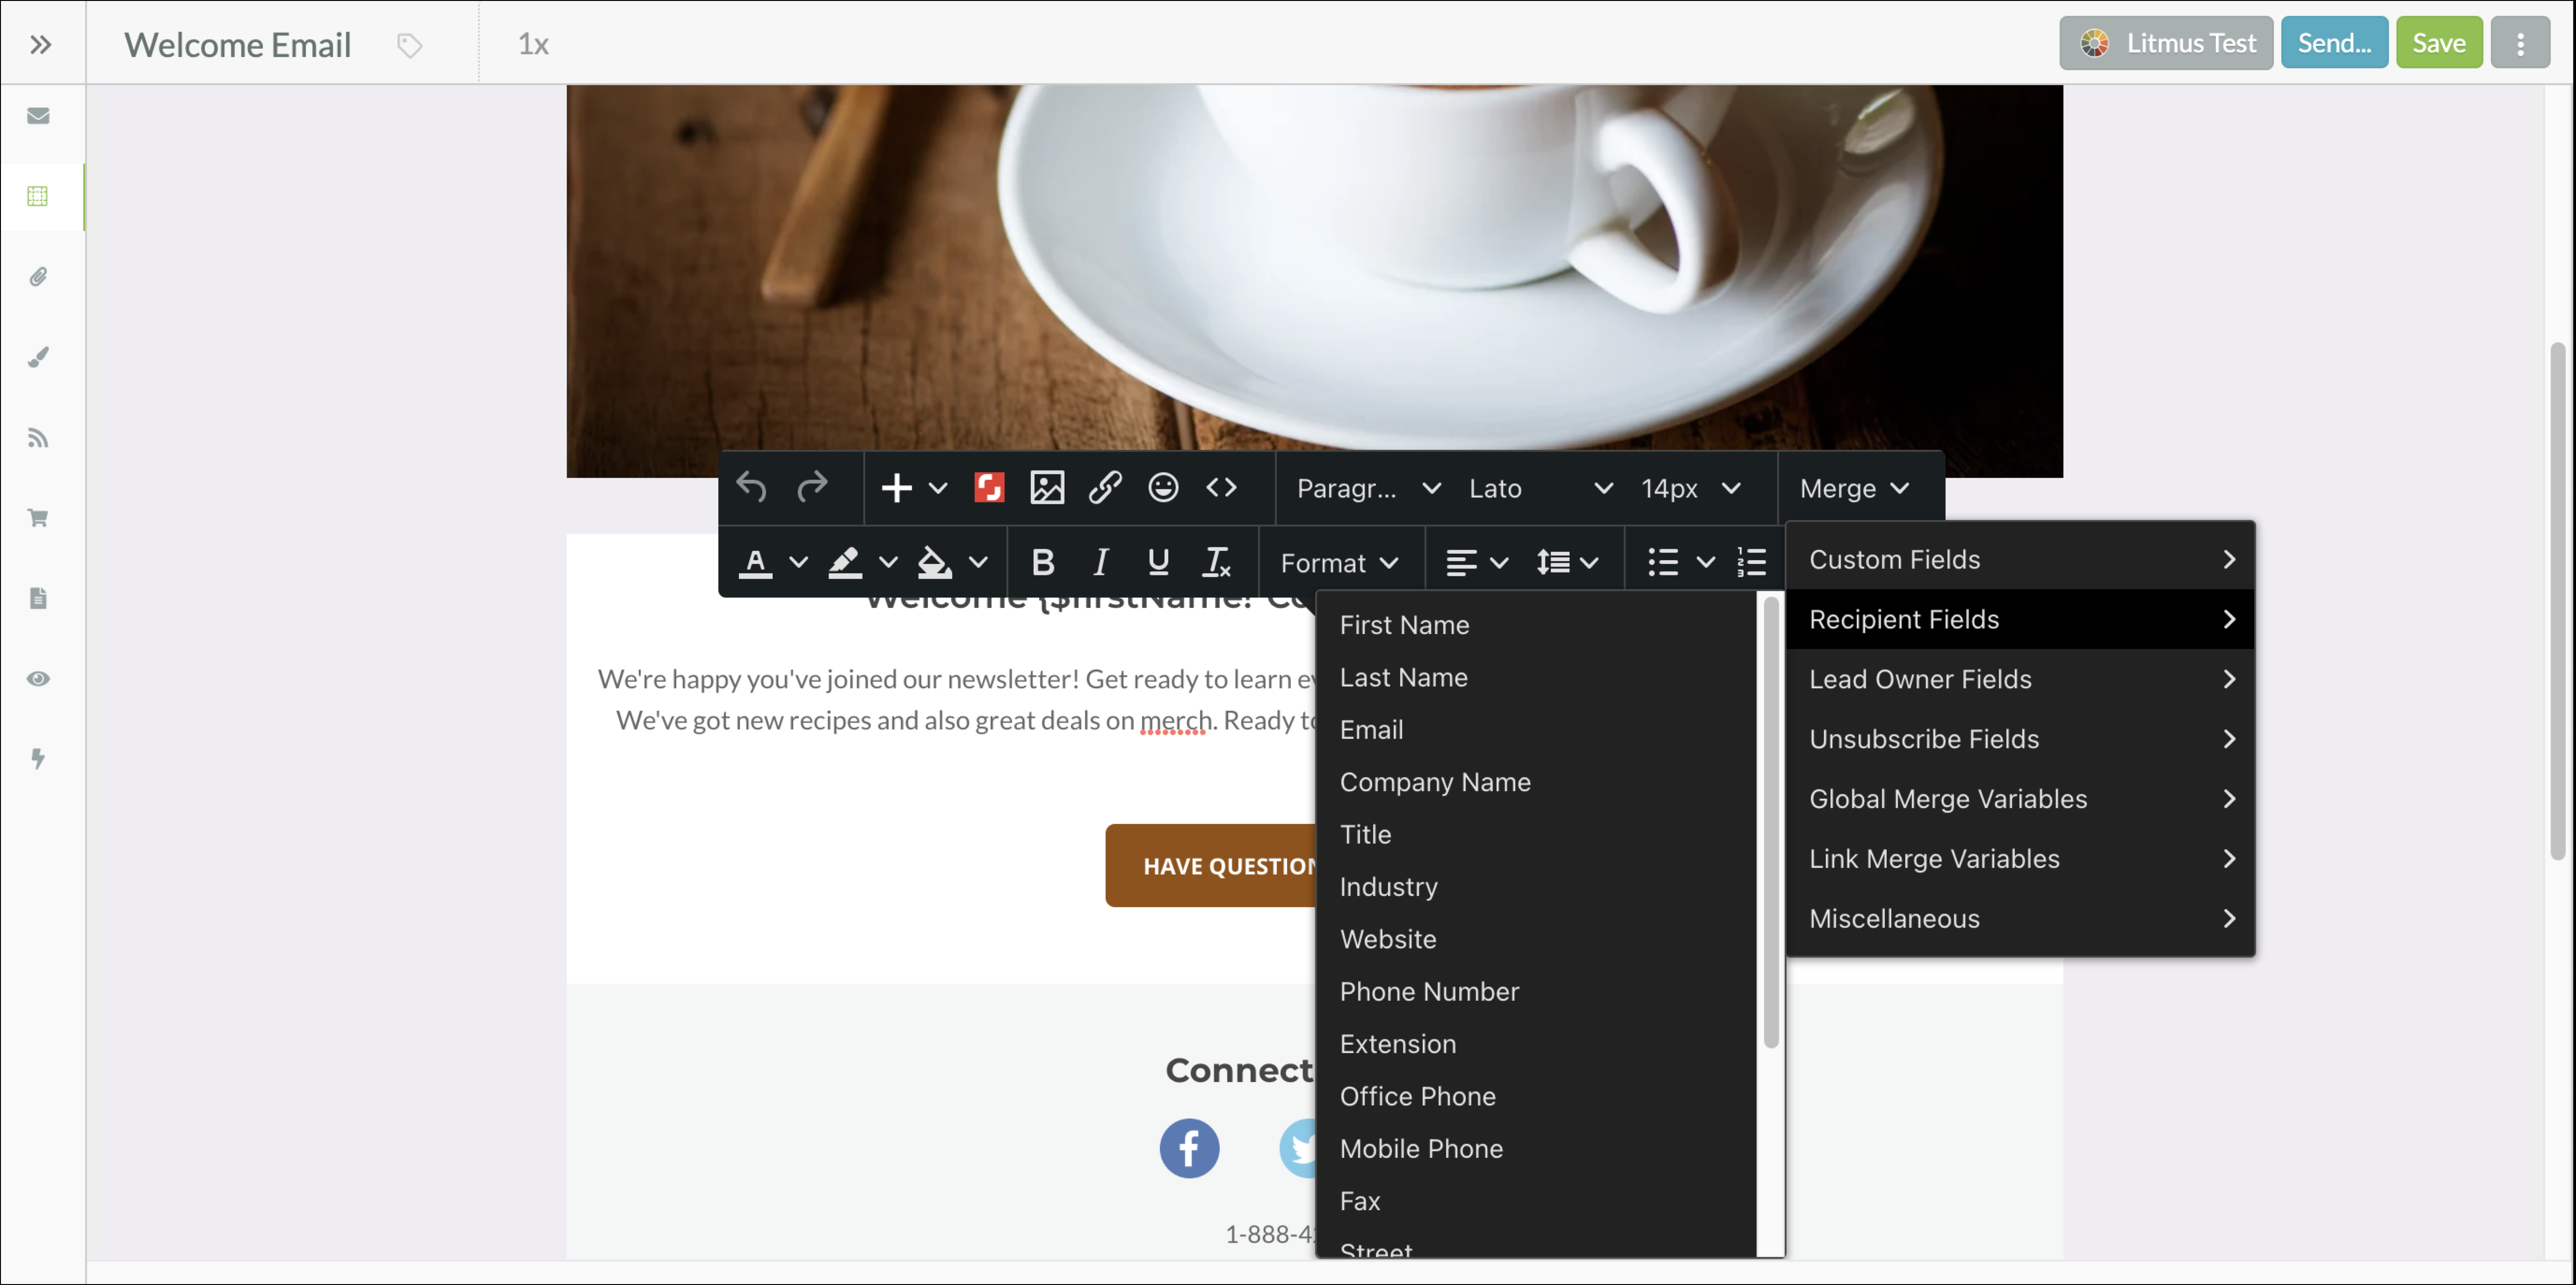
The Merge Variable menu provides a way to add merge variables to an email.
Merge variable can be used to merge information about the each recipient, so you can customize each email to make it look like you are sending a personal email to each person on your list.
Like dynamic content, merge variables allow for personalized emails—which leads to higher transaction rates.
The Text Enhancement toolbar houses modifiers for text. The features are akin to those that you would find in a word processor.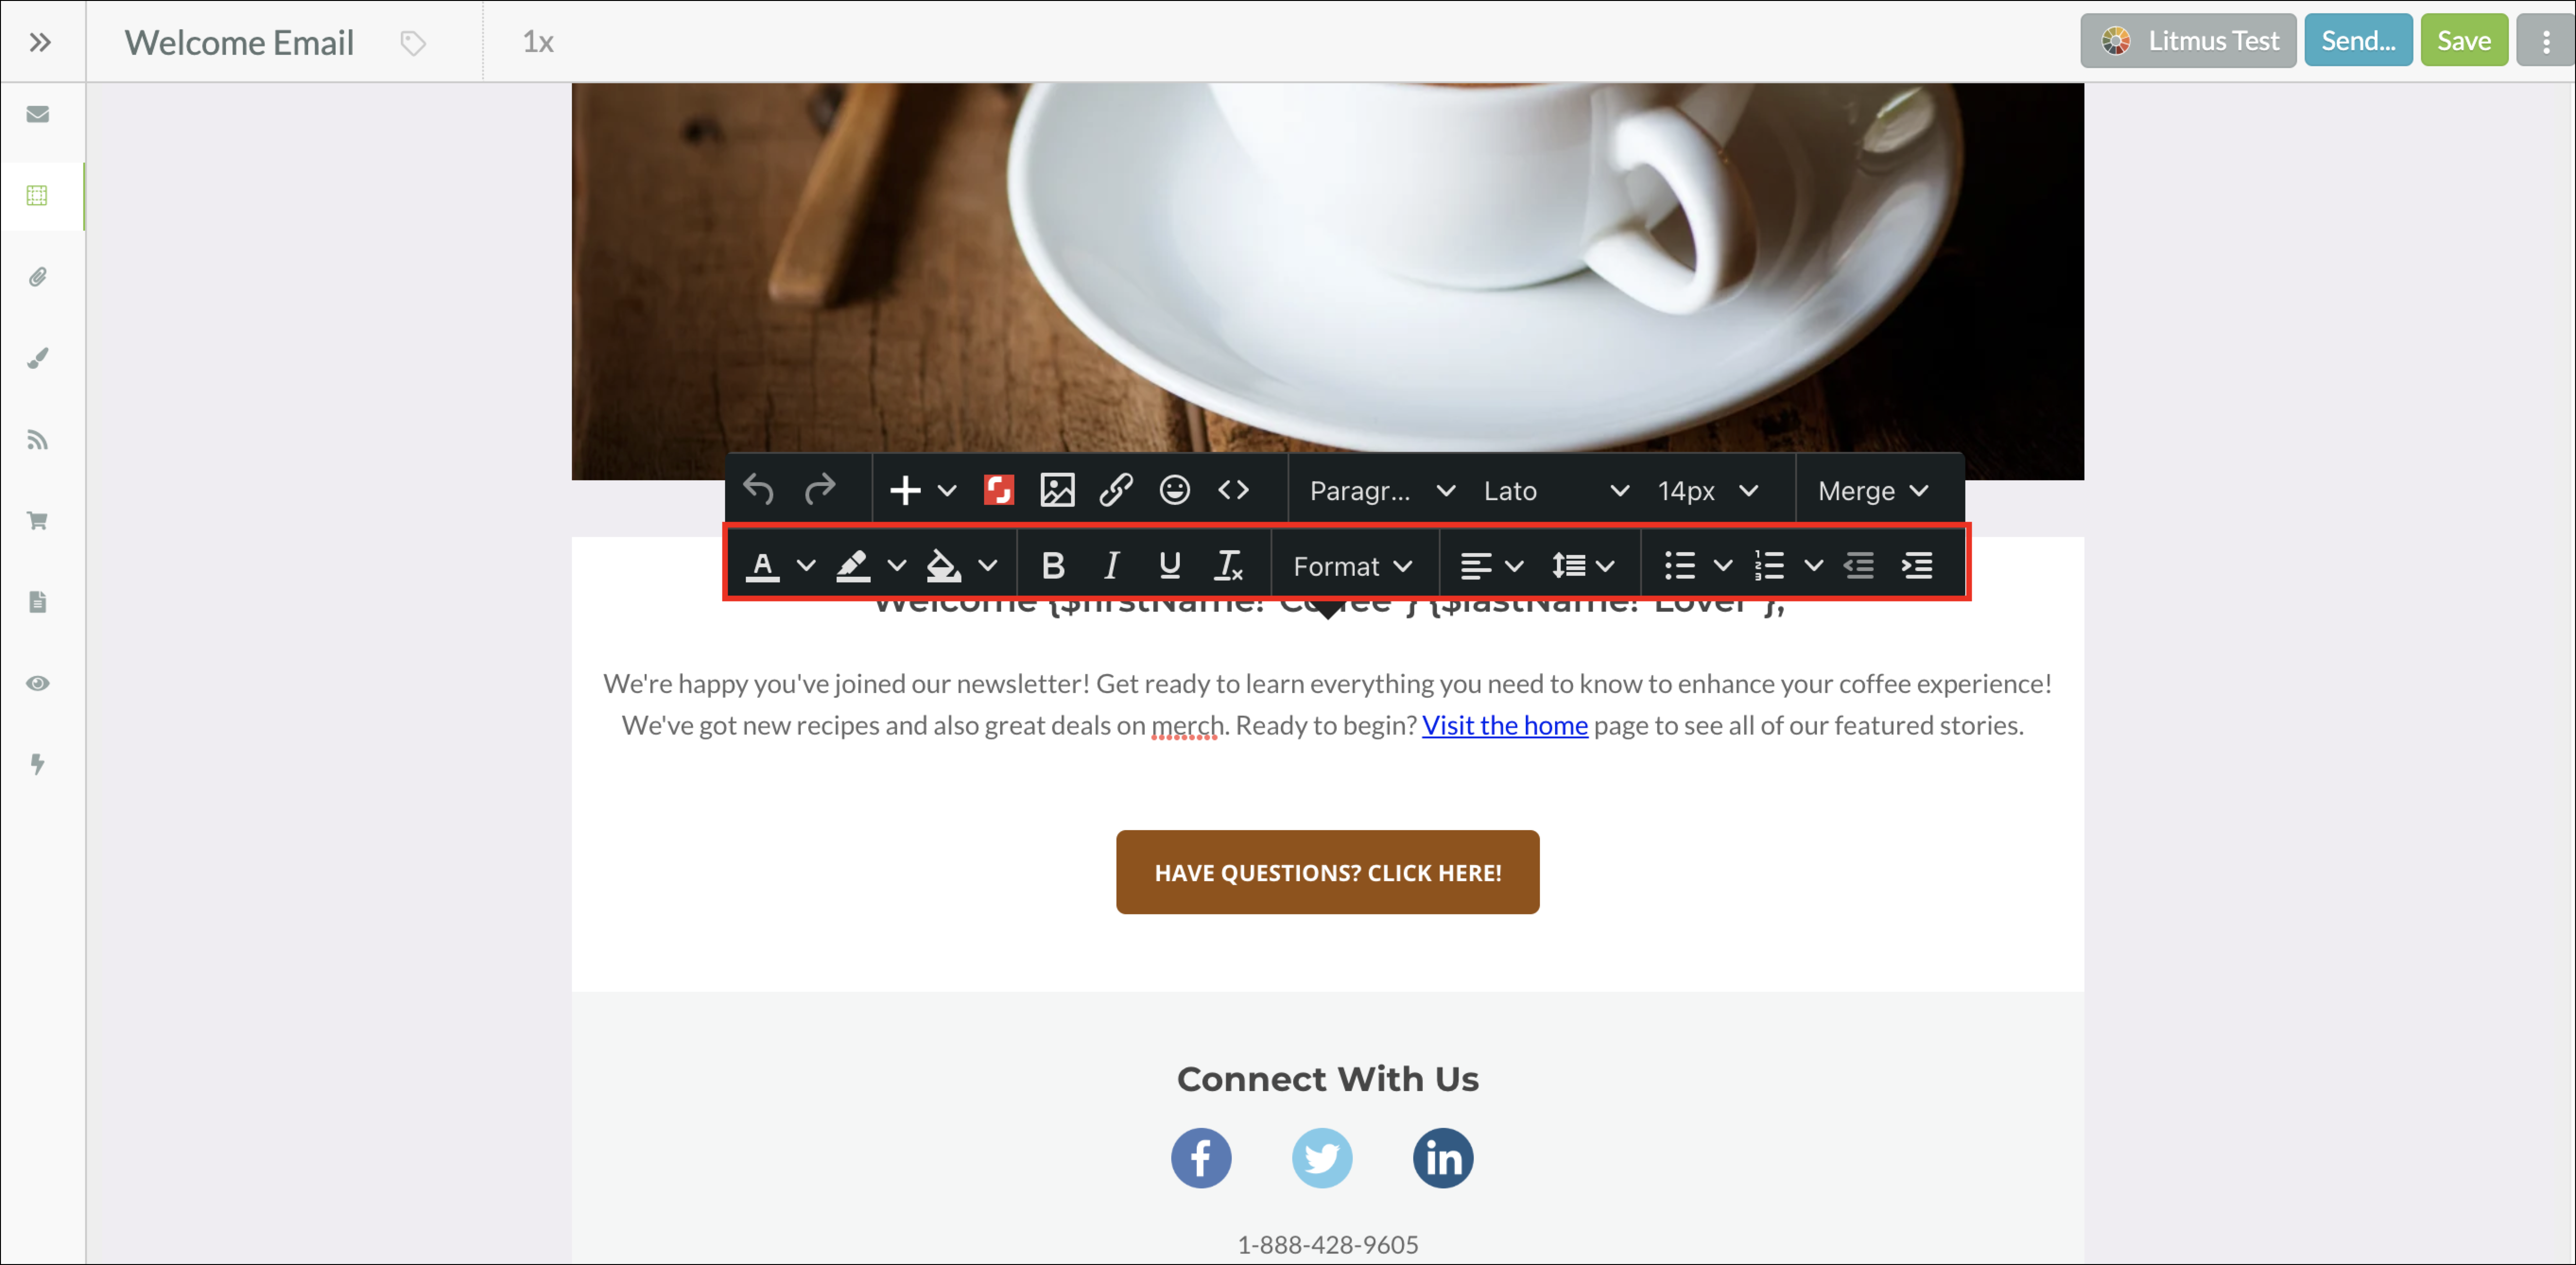
The available enhancements are as follows:
| Available Settings | Description | |||
| Text Color | Modifies the selected text to appear as a specified color. | |||
| Text Background Color |
Modifies the selected text to have a specified color behind the text. | |||
| Fill Color |
Sets the background of the content block as a specified color. This color appears behind all text, images, and media. | |||
| Format |
Modifies the formatting of the specified text. The Format menu has the most common formatting styles available, including those for bolded and italicized text. | |||
| Justification |
Sets the justification of the specified content. Justification determines how content appears on a given line. Content can be set to appear on the left, right, or center of a content block. Additionally, text can be set as justified, which spreads it evenly across a given set of lines. | |||
| Bullet List |
Sets off in a bulleted list a specified set of text or content. Bullet styles are predetermined through the list button. Bullets can be indented by pressing the TAB key on the keyboard. | |||
| Numbered List |
Sets off in a numbered list a specified set of text or content. Number styles are predetermined through the list button. Numbers can be indented by pressing the TAB key on the keyboard. | |||
| Increase Indent |
Increases the overall indent of a specified set of text or content. | |||
| Decrease Indent |
Decreases the overall indent of a specified set of text or content. |
In legacy emails, the Table menu allows you to insert tables. Tables are an excellent way of structuring data into an easy-to-read, aesthetically pleasing format. Tables can be somewhat complex, however.
To insert a table into an email, Hover over a layout or content block.
The table toolbar contains buttons that modify the table. These buttons perform the most common tasks associated with the menu.
The available buttons on the toolbar are as follows:
| Available Settings | Description | |||
| Table Properties | A link to the list of table properties. | |||
| Delete Table | Deletes the entire table. | |||
| Insert Row Before | Inserts a row above the currently selected cell. | |||
| Insert Row After | Inserts a row below the currently selected cell. | |||
| Delete Row | Deletes the row the currently selected cell is part of. | |||
| Insert Column Before | Inserts a column to the left of the currently selected cell. | |||
| Insert Column After | Inserts a column to the right of the currently selected cell. | |||
| Delete Column | Deletes the column the currently selected cell is part of. |
To edit a table's properties after inserting the table into an email, do the following:
The available properties are as follows:
| Available Settings | Description | |||
| Width |
The overall width of the table (in pixels). Changing this number changes how wide the table is, not how wide individual cells are. | |||
| Height |
The overall height of the table (in pixels). Changing this number changes how tall the table is, not how tall individual cells are. | |||
| Cell Spacing |
The amount of gutter space (in pixels) all cells in the table have. | |||
| Cell Padding |
The amount of space (in pixels) between all cell contents and cell borders. | |||
| Border | The thickness (in pixels) of the table borders. | |||
| Caption | Adds space for caption text above the table. | |||
| Alignment | The page alignment for the table as a whole. | |||
| Style | The overall HTML style of the table. | |||
| Border Color |
The color (in hexadecimal value) of any borders associated with the table. | |||
| Background Color |
The color (in hexadecimal value) behind cell contents. | |||
| Background Image |
The image behind cell contents. Background images must be uploaded from a computer. | |||
| Background Repeat |
Whether or not the background image will repeat. Backgrounds may repeat across either the X-axis or Y-axis. This feature is best used for smaller images, or for those images that create a pattern when repeated. | |||
| Background Size |
The overall size of the background image. Menu options allow the image to cover the entire table, be contained within the table, or be manually adjusted. | |||
| Background Width | The width (in pixels) of the background image. | |||
| Background Height | The height (in pixels) of the background image. |
Copyright © 2026 · All Rights Reserved · Constant Contact · Privacy Center