| Administrators | ✓ | |
| Company Managers | ✓ | |
| Marketing Managers | ✓ | |
| Sales Managers | ||
| Salespersons | ||
| Jr. Salespersons |
| Tip: Are you looking for information about Constant Contact’s Email and Digital Marketing product? This article is for Constant Contact’s Lead Gen & CRM product. Head on over to the Email and Digital Marketing articles by clicking here. Not sure what the difference is? Read this article. |
You can add as many contacts as you need. To prevent against duplicate contacts when adding contacts, Lead Gen & CRM will check to make sure the lead is not already a contact in your database. The check uses the lead's email address as the unique identifier to see if the lead already exists in the database.
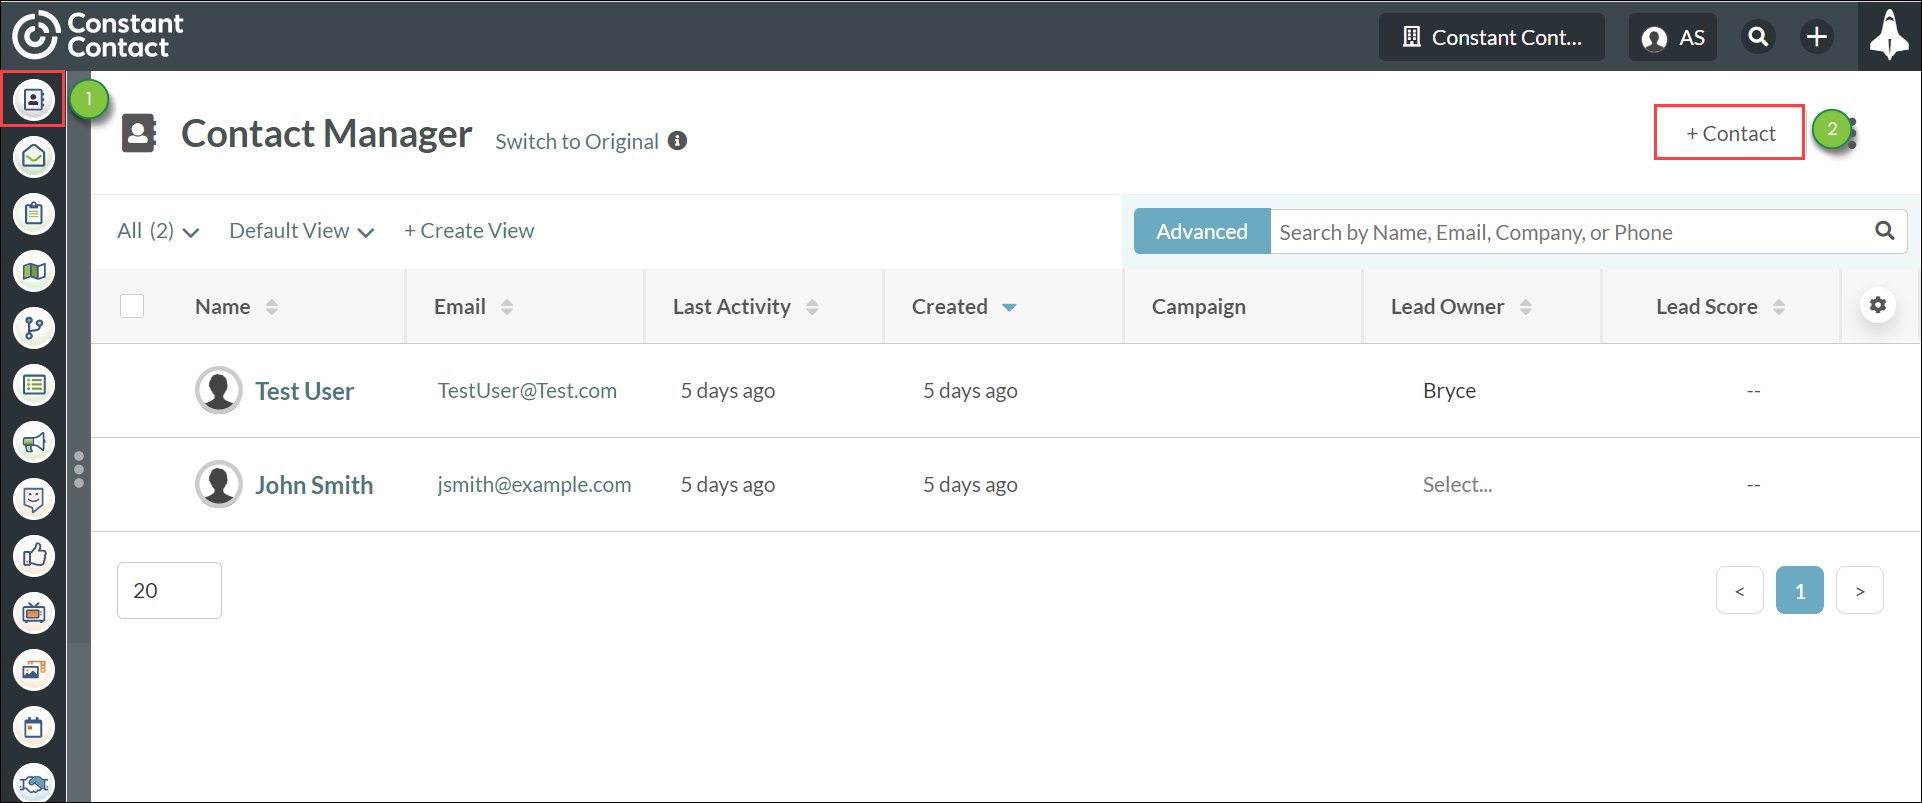
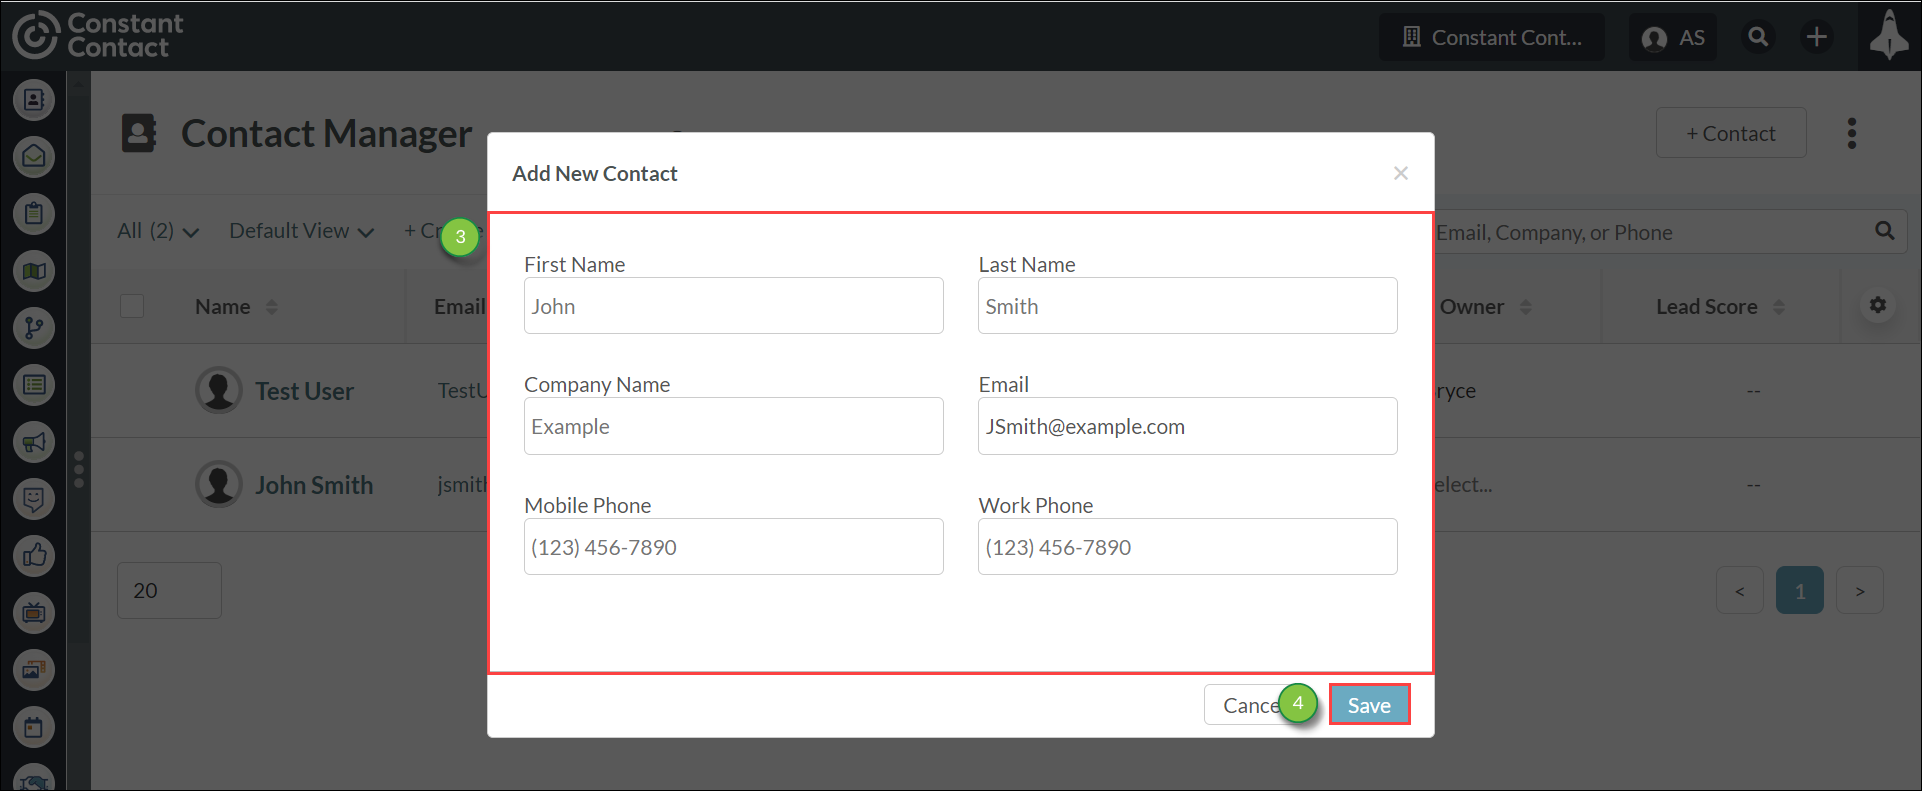
To add a contact, do the following:
When you manually add a lead, that lead is not being tracked. The best way to begin tracking the lead's behavior is by sending the lead a one-off email in the Contact Manager. Once the lead clicks on the link in the email, Lead Gen & CRM can begin tracking that lead.
Note: You cannot manually upload photos for contacts. Contact photos are populated by the contact's associated email information. Photos are also populated if the contact has a Gravatar account. This means that the contact has to have a photo attached to their email account or their Gravatar account for the contact record to display the photo. Contacts without photos will default to the standard ![]() silhouette.
silhouette.
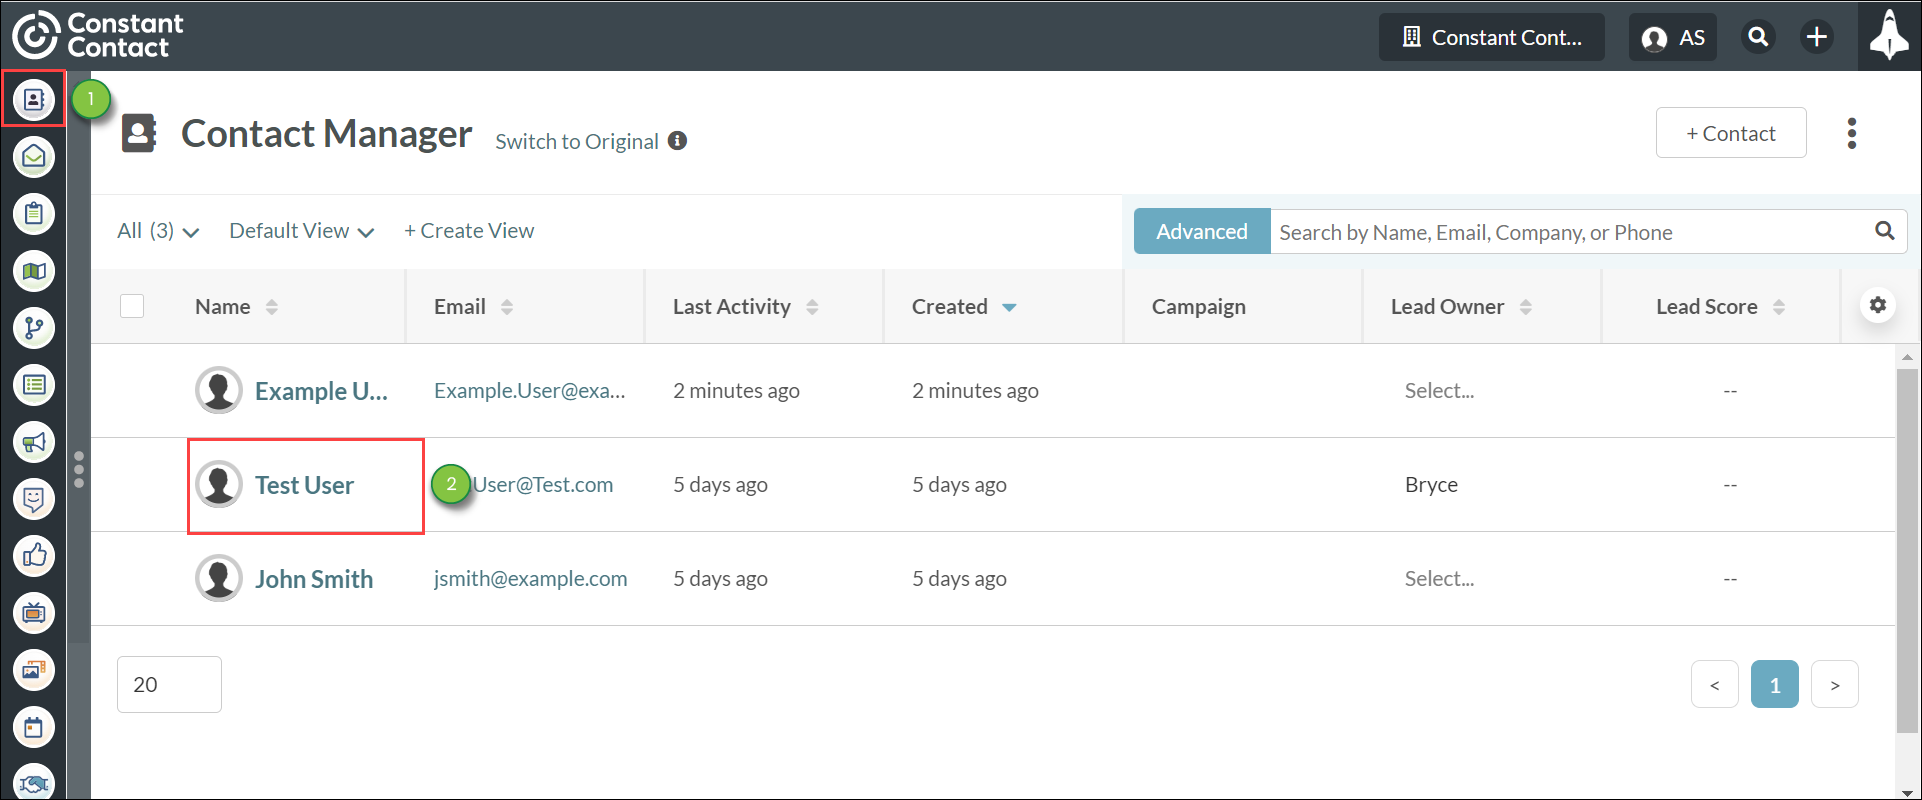
Once you have created a contact, you can add in additional information. This can help provide a more complete profile of your contacts.
To add contact information, do the following:
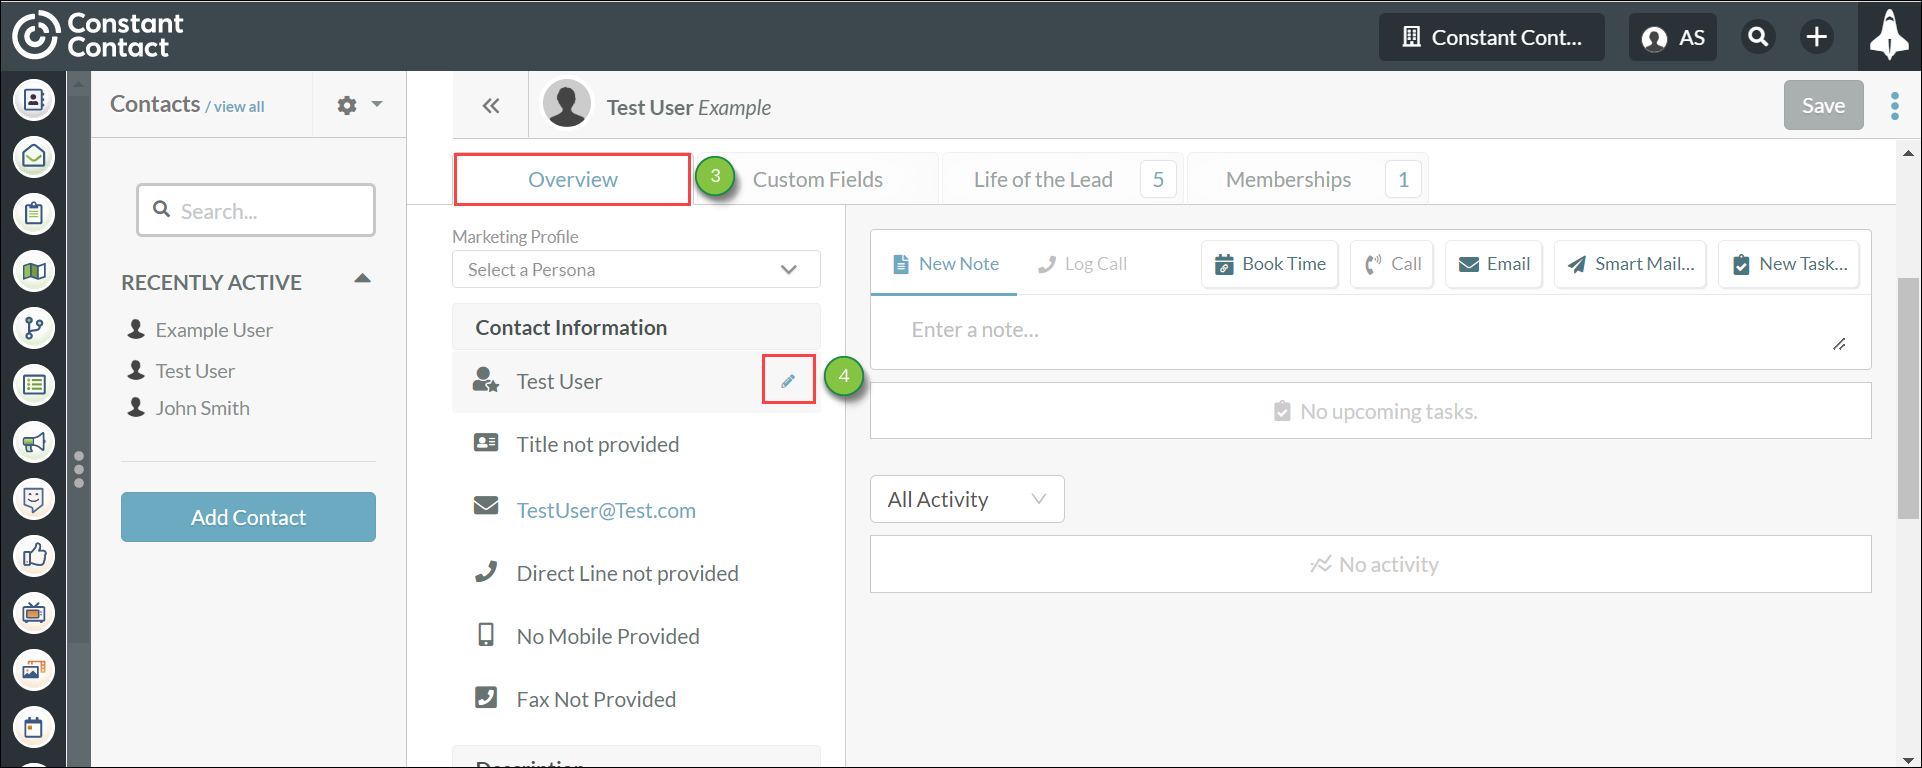
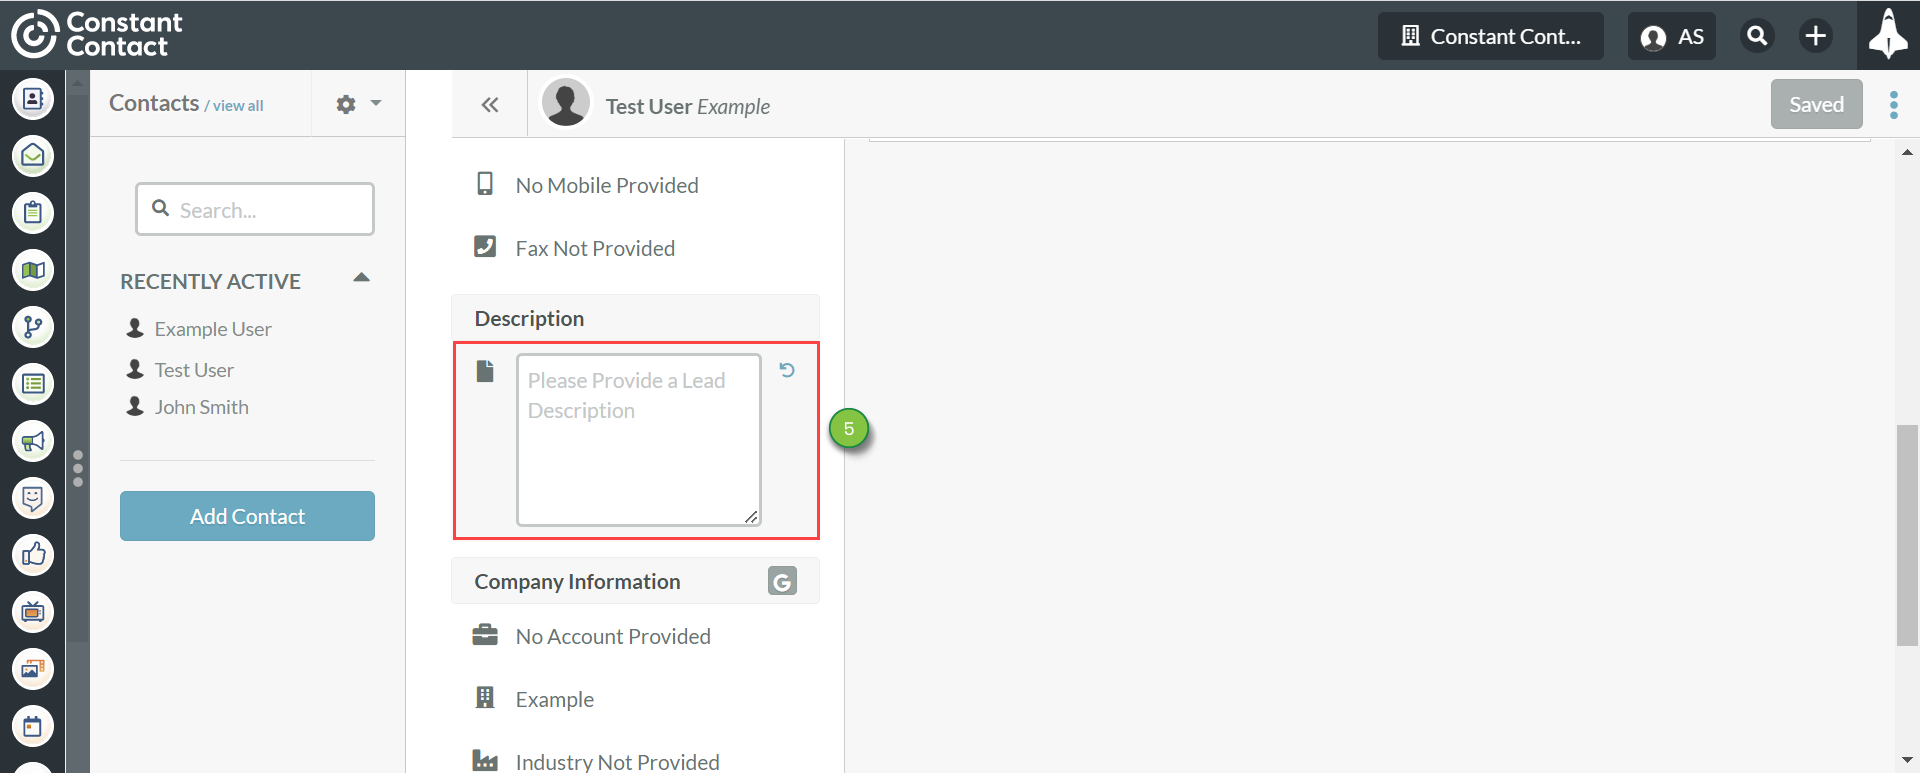
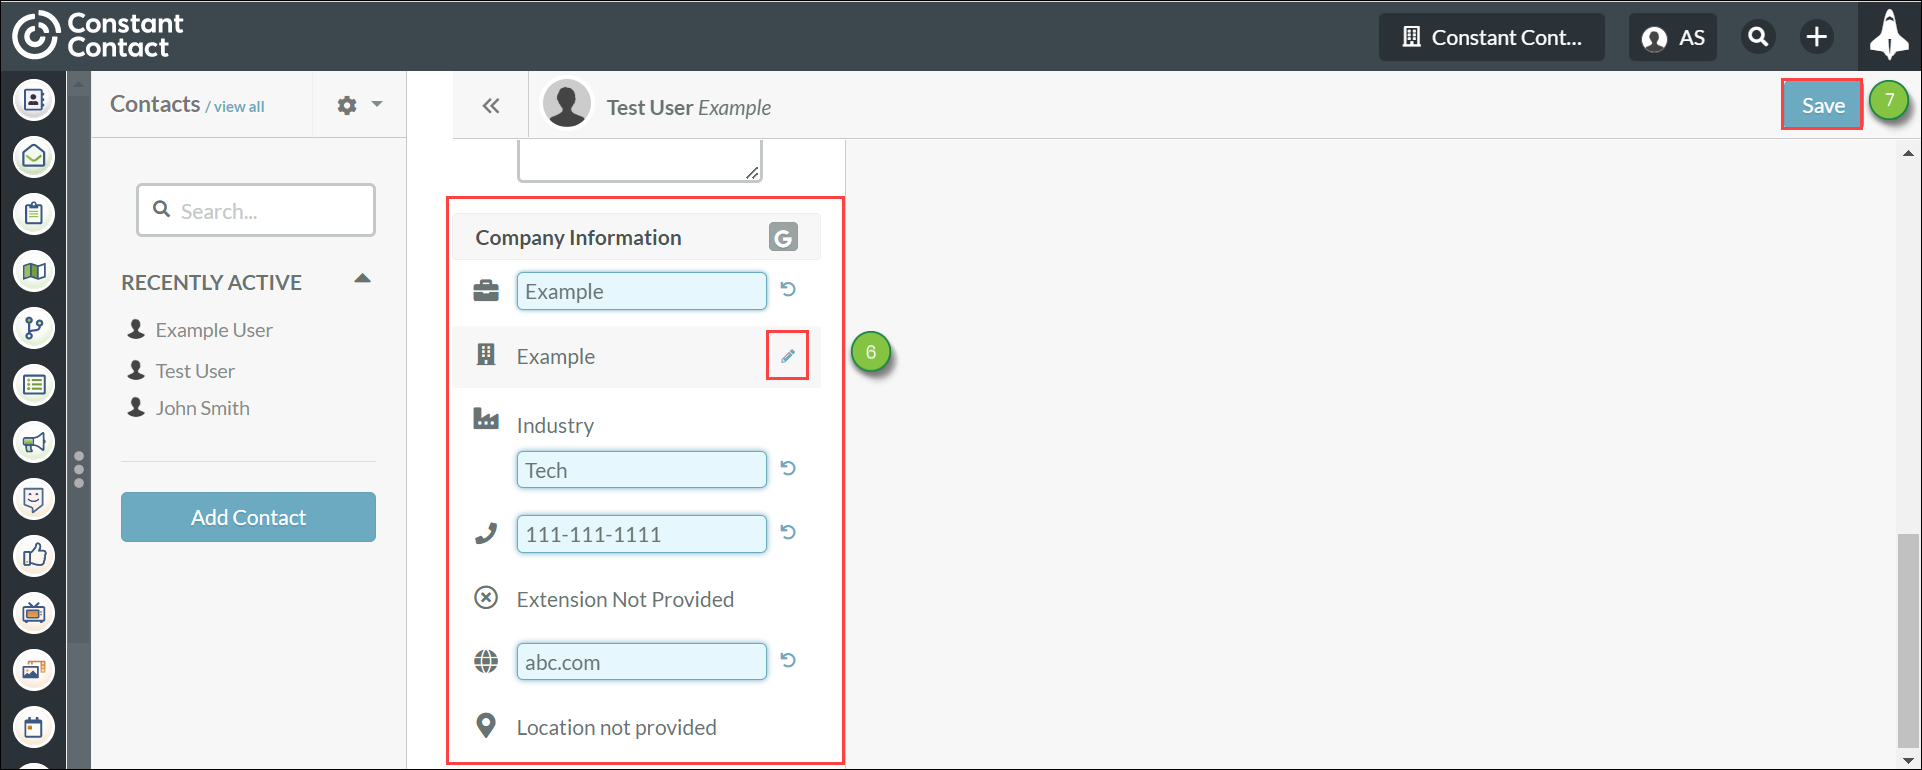
Note: Click ![]() Undo prior to saving to revert changes to the record's information.
Undo prior to saving to revert changes to the record's information.
There may come a time when you want to clone an existing contact for certain purposes. Consider the following example:
Bob has been with Company A for quite some time. During that time, Bob has been added to more than a few lists and has an extended lead history. Bob decides to go and work for Company B. Jane is promoted to Bob's old position in Company A and takes ownership of the role-based email address that Bob had.
Rather than recreating Bob as a new contact, you can clone Bob's existing contact record that is already in your instance. You can then edit the cloned record to update Bob's email address and company information. In addition, you can then edit the existing record to reflect that Jane is now associated with that original email address.
Important: The contact's custom fields will not be copied nor will the contact's Account. Life of the Lead information, Tags, Tasks, Activity History, and Notes will also be excluded. Other details, including Memberships and Company Information (except for the Account) will be copied.
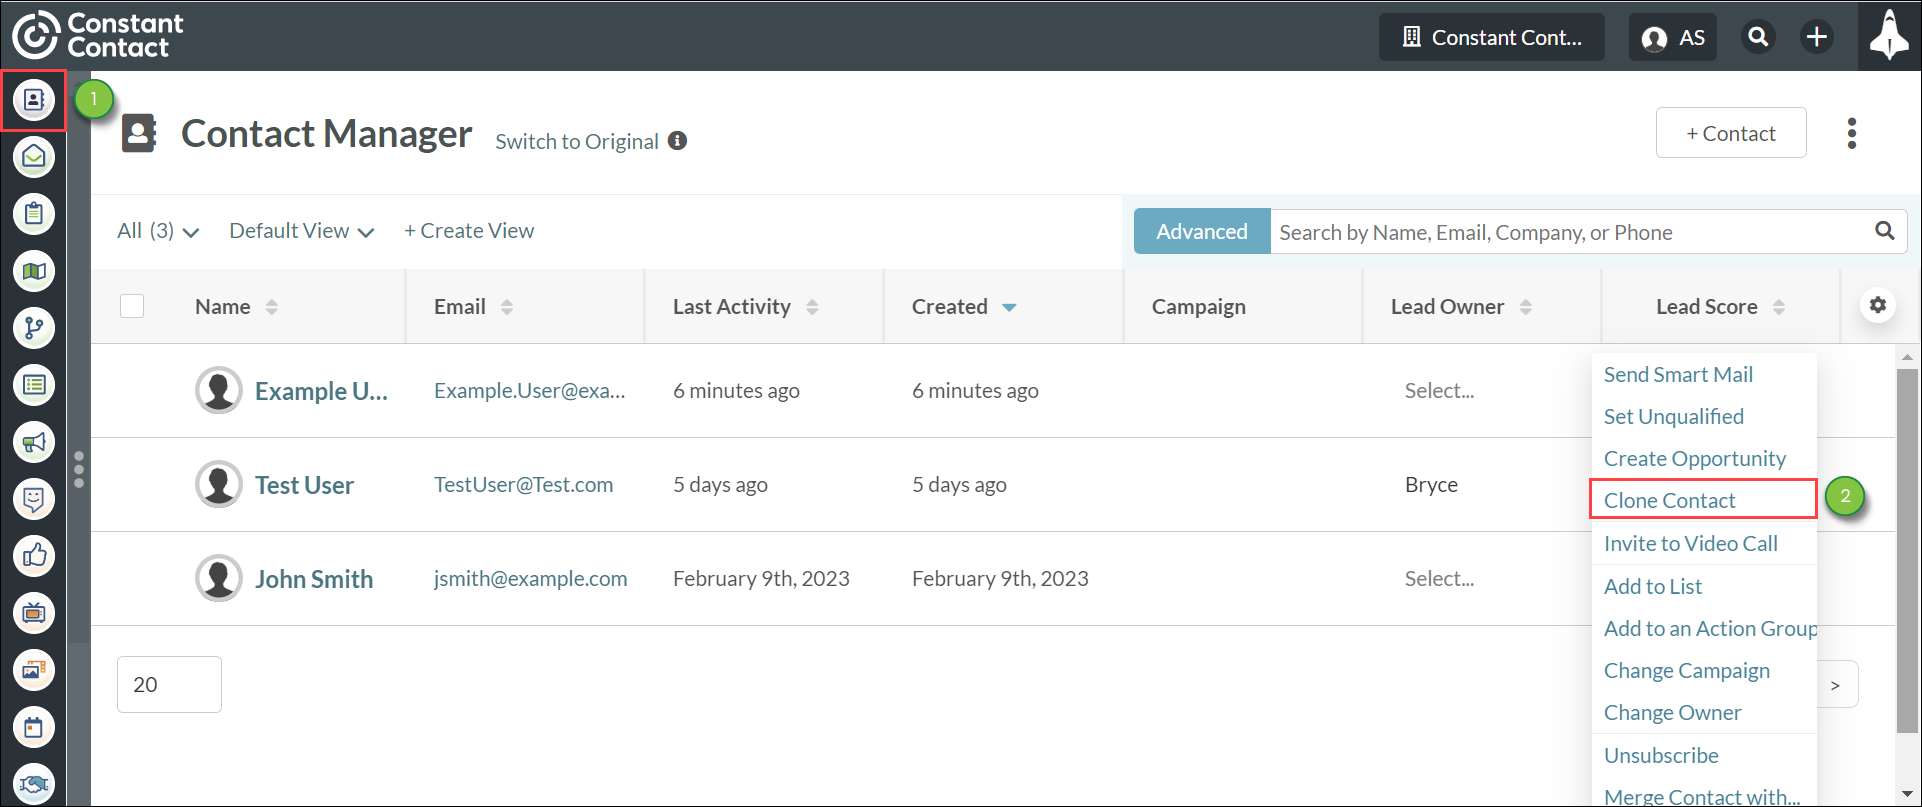
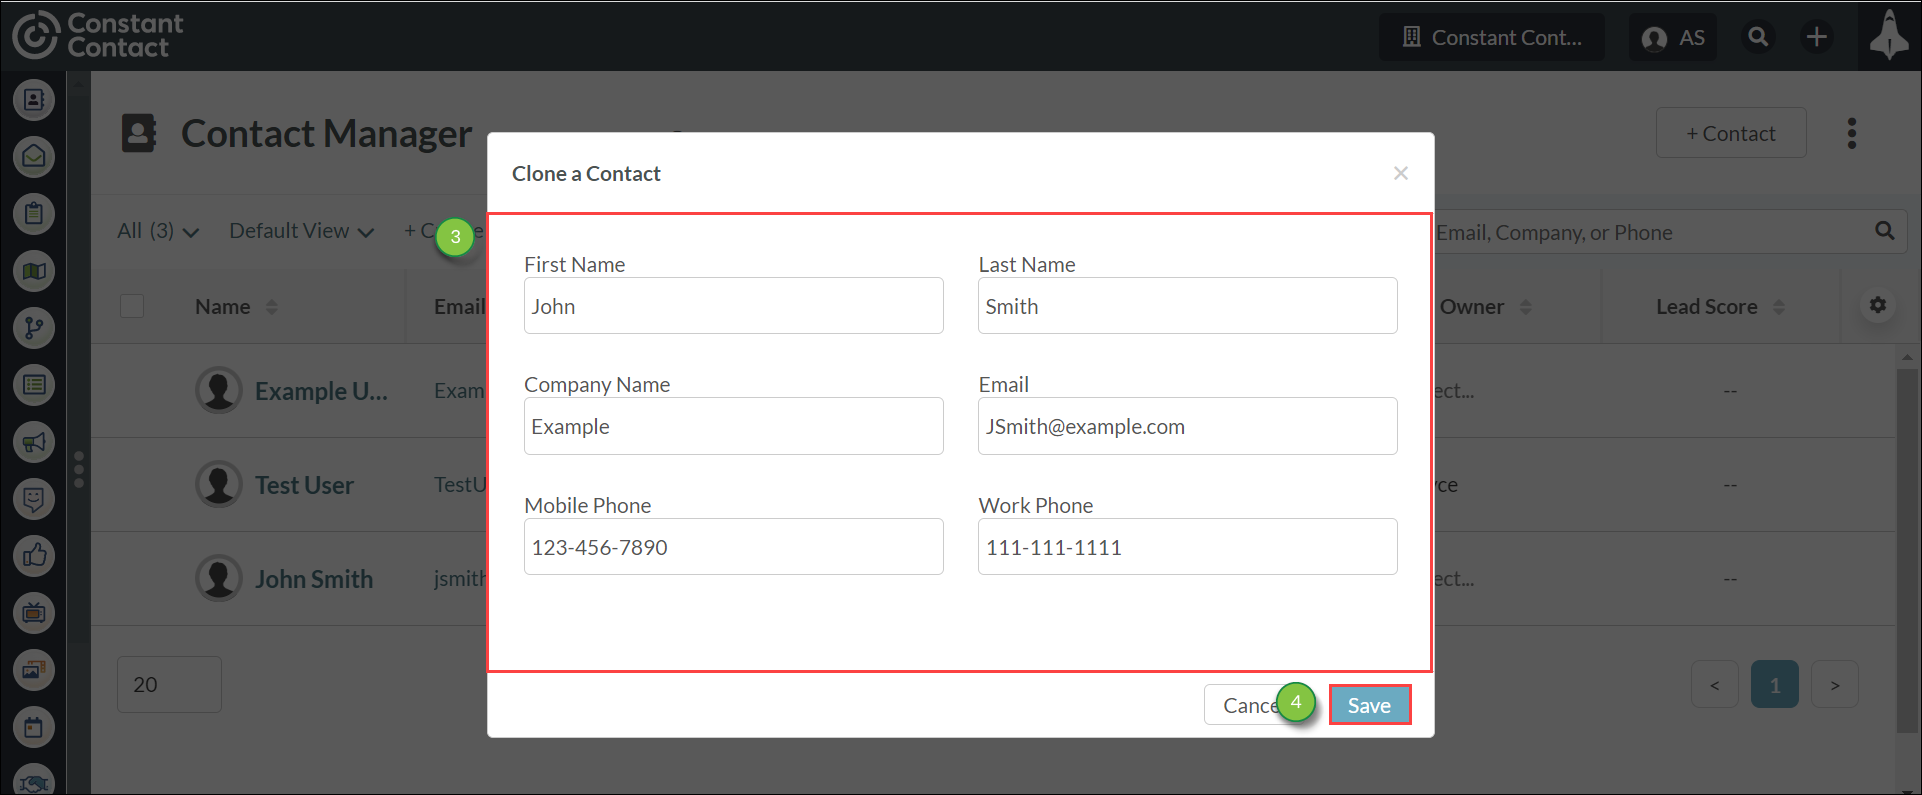
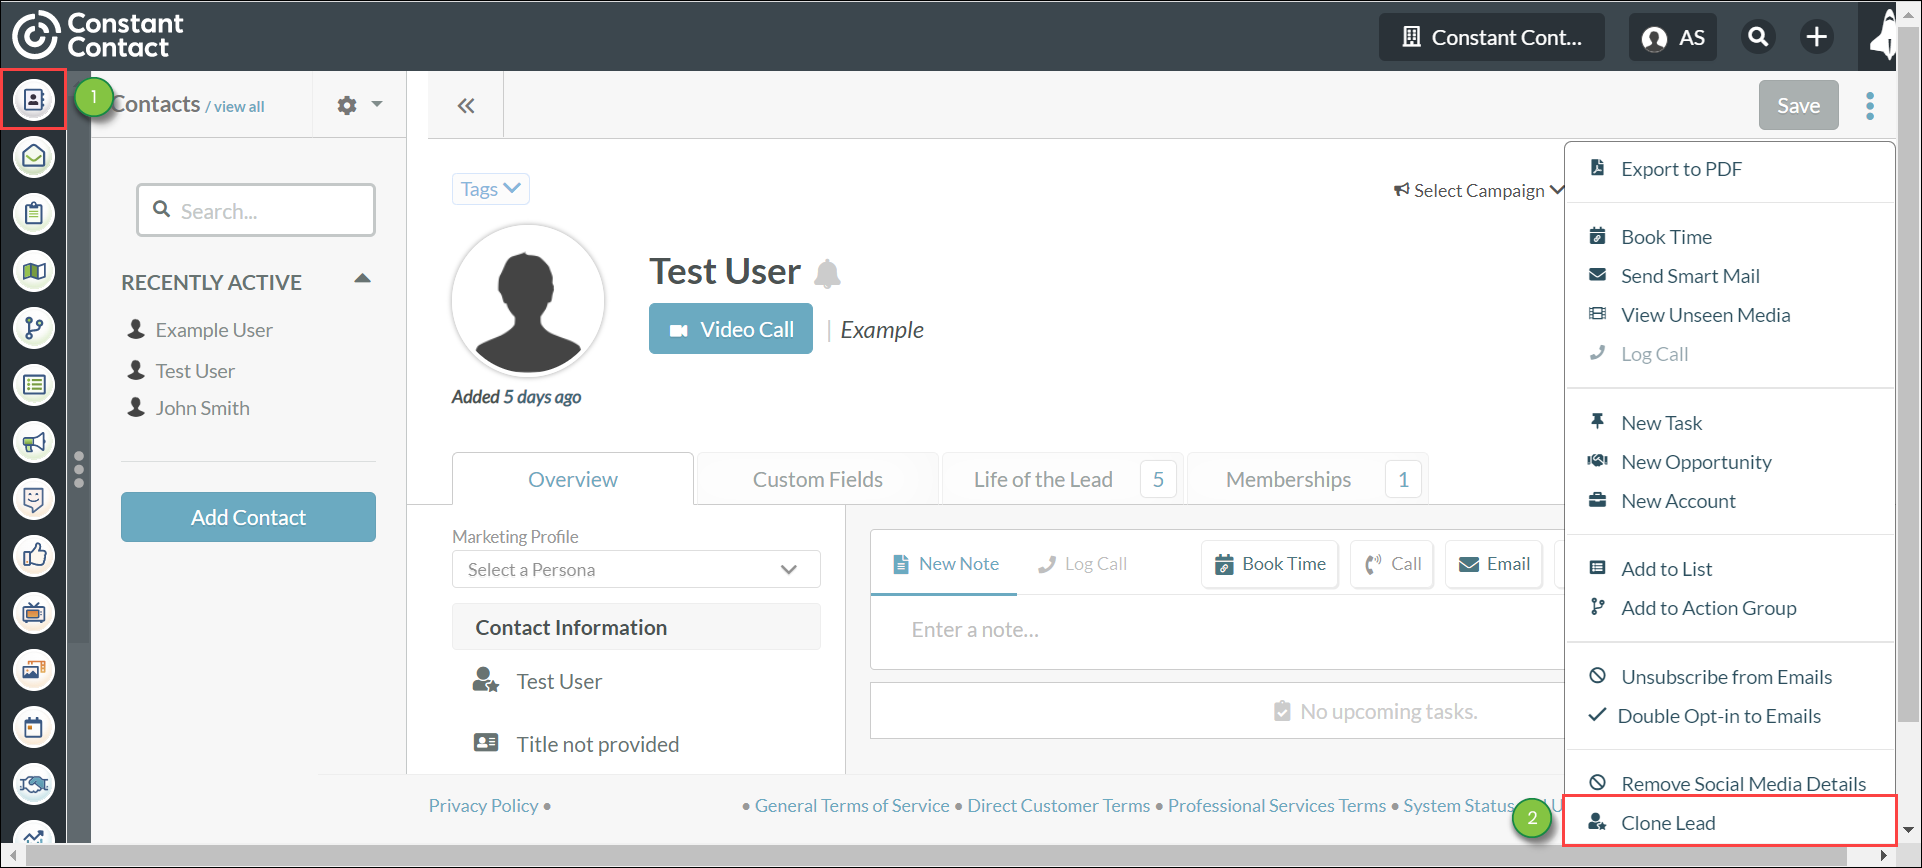
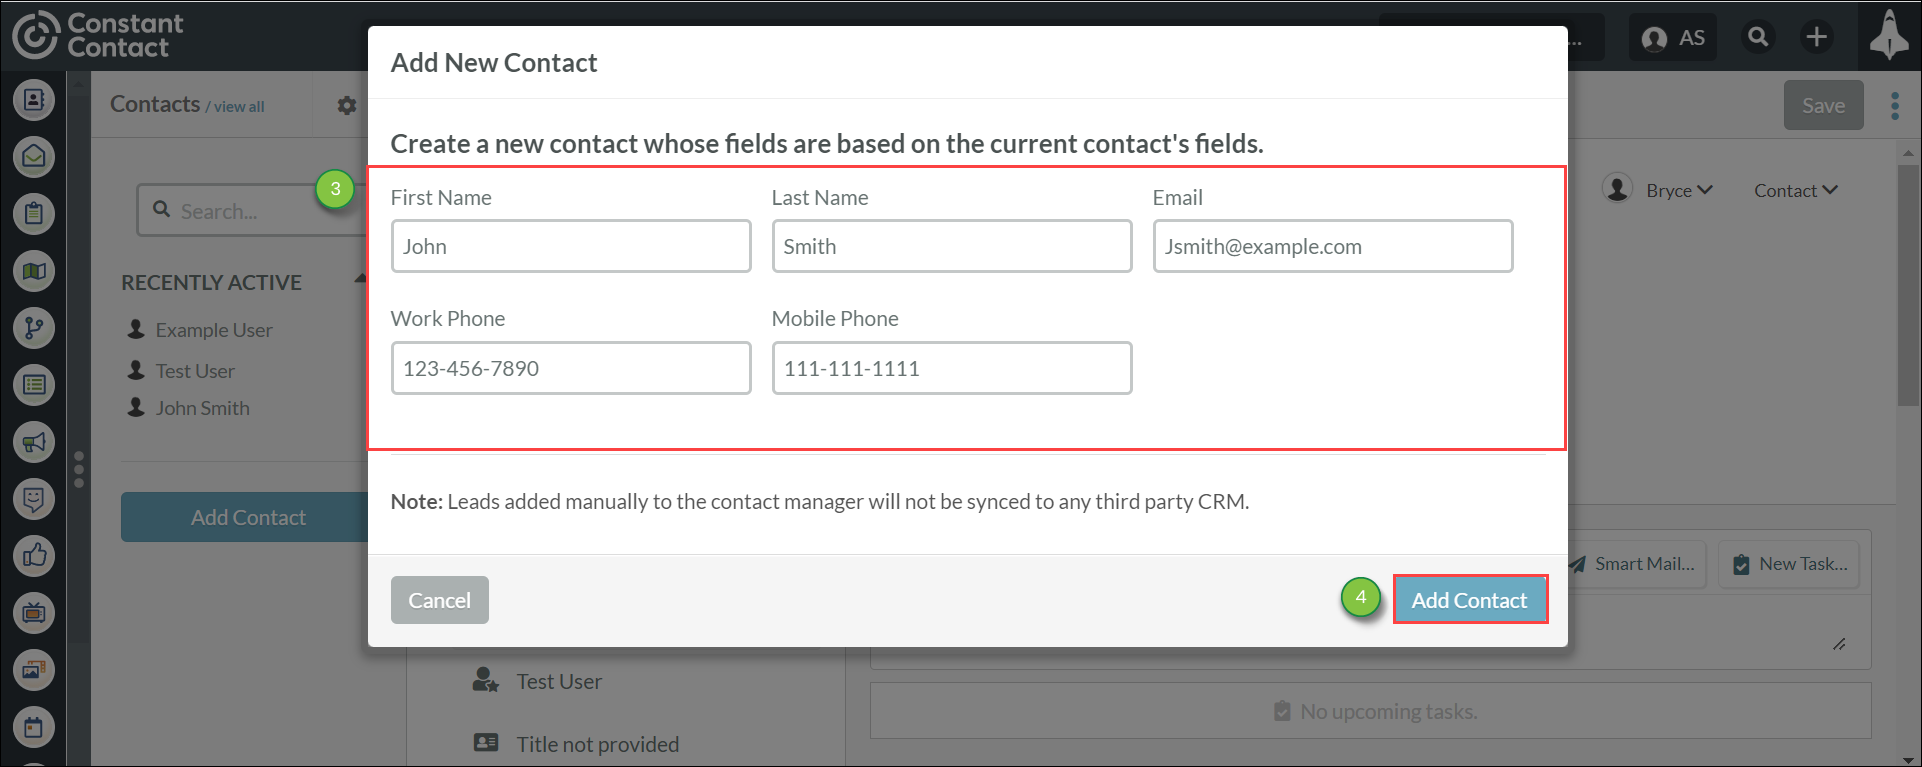
To clone a contact, do the following:
You can also clone contacts through a profile.
To clone a contact through the contact's profile, do the following:
Copyright © 2026 · All Rights Reserved · Constant Contact · Privacy Center