To learn how to make layout blocks and elements dynamic, and how to edit, duplicate, or delete block content, read Customizing Layout Blocks in Emails. To understand which layout blocks are available, read Understanding Layout and Element Blocks.
If you're using the new email editor, read Overview of the New Email Editor instead.
| Administrators | ✓ | |
| Company Managers | ✓ | |
| Marketing Managers | ✓ | |
| Sales Managers | ||
| Salespersons | ||
| Jr. Salespersons |
| Tip: Are you looking for information about Constant Contact’s Email and Digital Marketing product? This article is for Constant Contact’s Lead Gen & CRM product. Head on over to the Email and Digital Marketing articles by clicking here. Not sure what the difference is? Read this article. |
Creating marketing emails has never been quicker. Produce beautiful marketing emails in minutes. Launch campaigns on the fly with out-of-the-box, professionally designed templates.
Start from an email template in the Email section, of the left toolbar. Read Creating Emails from Templates to learn how.
To edit emails, start from the Email page in the left toolbar.
Use the Themed, Simple, and Elements tabs in the Content Panel to build your emails.
The ![]() Content and Layout panel provides several different kinds of customizable blocks for your emails. This panel allows you to access the drag-and-drop function of the email designer. Themed layouts, simple content blocks, and individual content elements are all able to be placed into an email.
Content and Layout panel provides several different kinds of customizable blocks for your emails. This panel allows you to access the drag-and-drop function of the email designer. Themed layouts, simple content blocks, and individual content elements are all able to be placed into an email.
For a description of each of the blocks in the ![]() Content and Layout panel, read Understanding Layout and Element Blocks.
Content and Layout panel, read Understanding Layout and Element Blocks.
To learn how to make layout blocks and elements dynamic, and how to edit, duplicate, or delete block content, read Customizing Layout Blocks in Emails.
Lead Gen & CRM makes it easy to add full-width images to your emails. You may use the Full-width Image layout block in the Simple tab. Drag this element into your email.
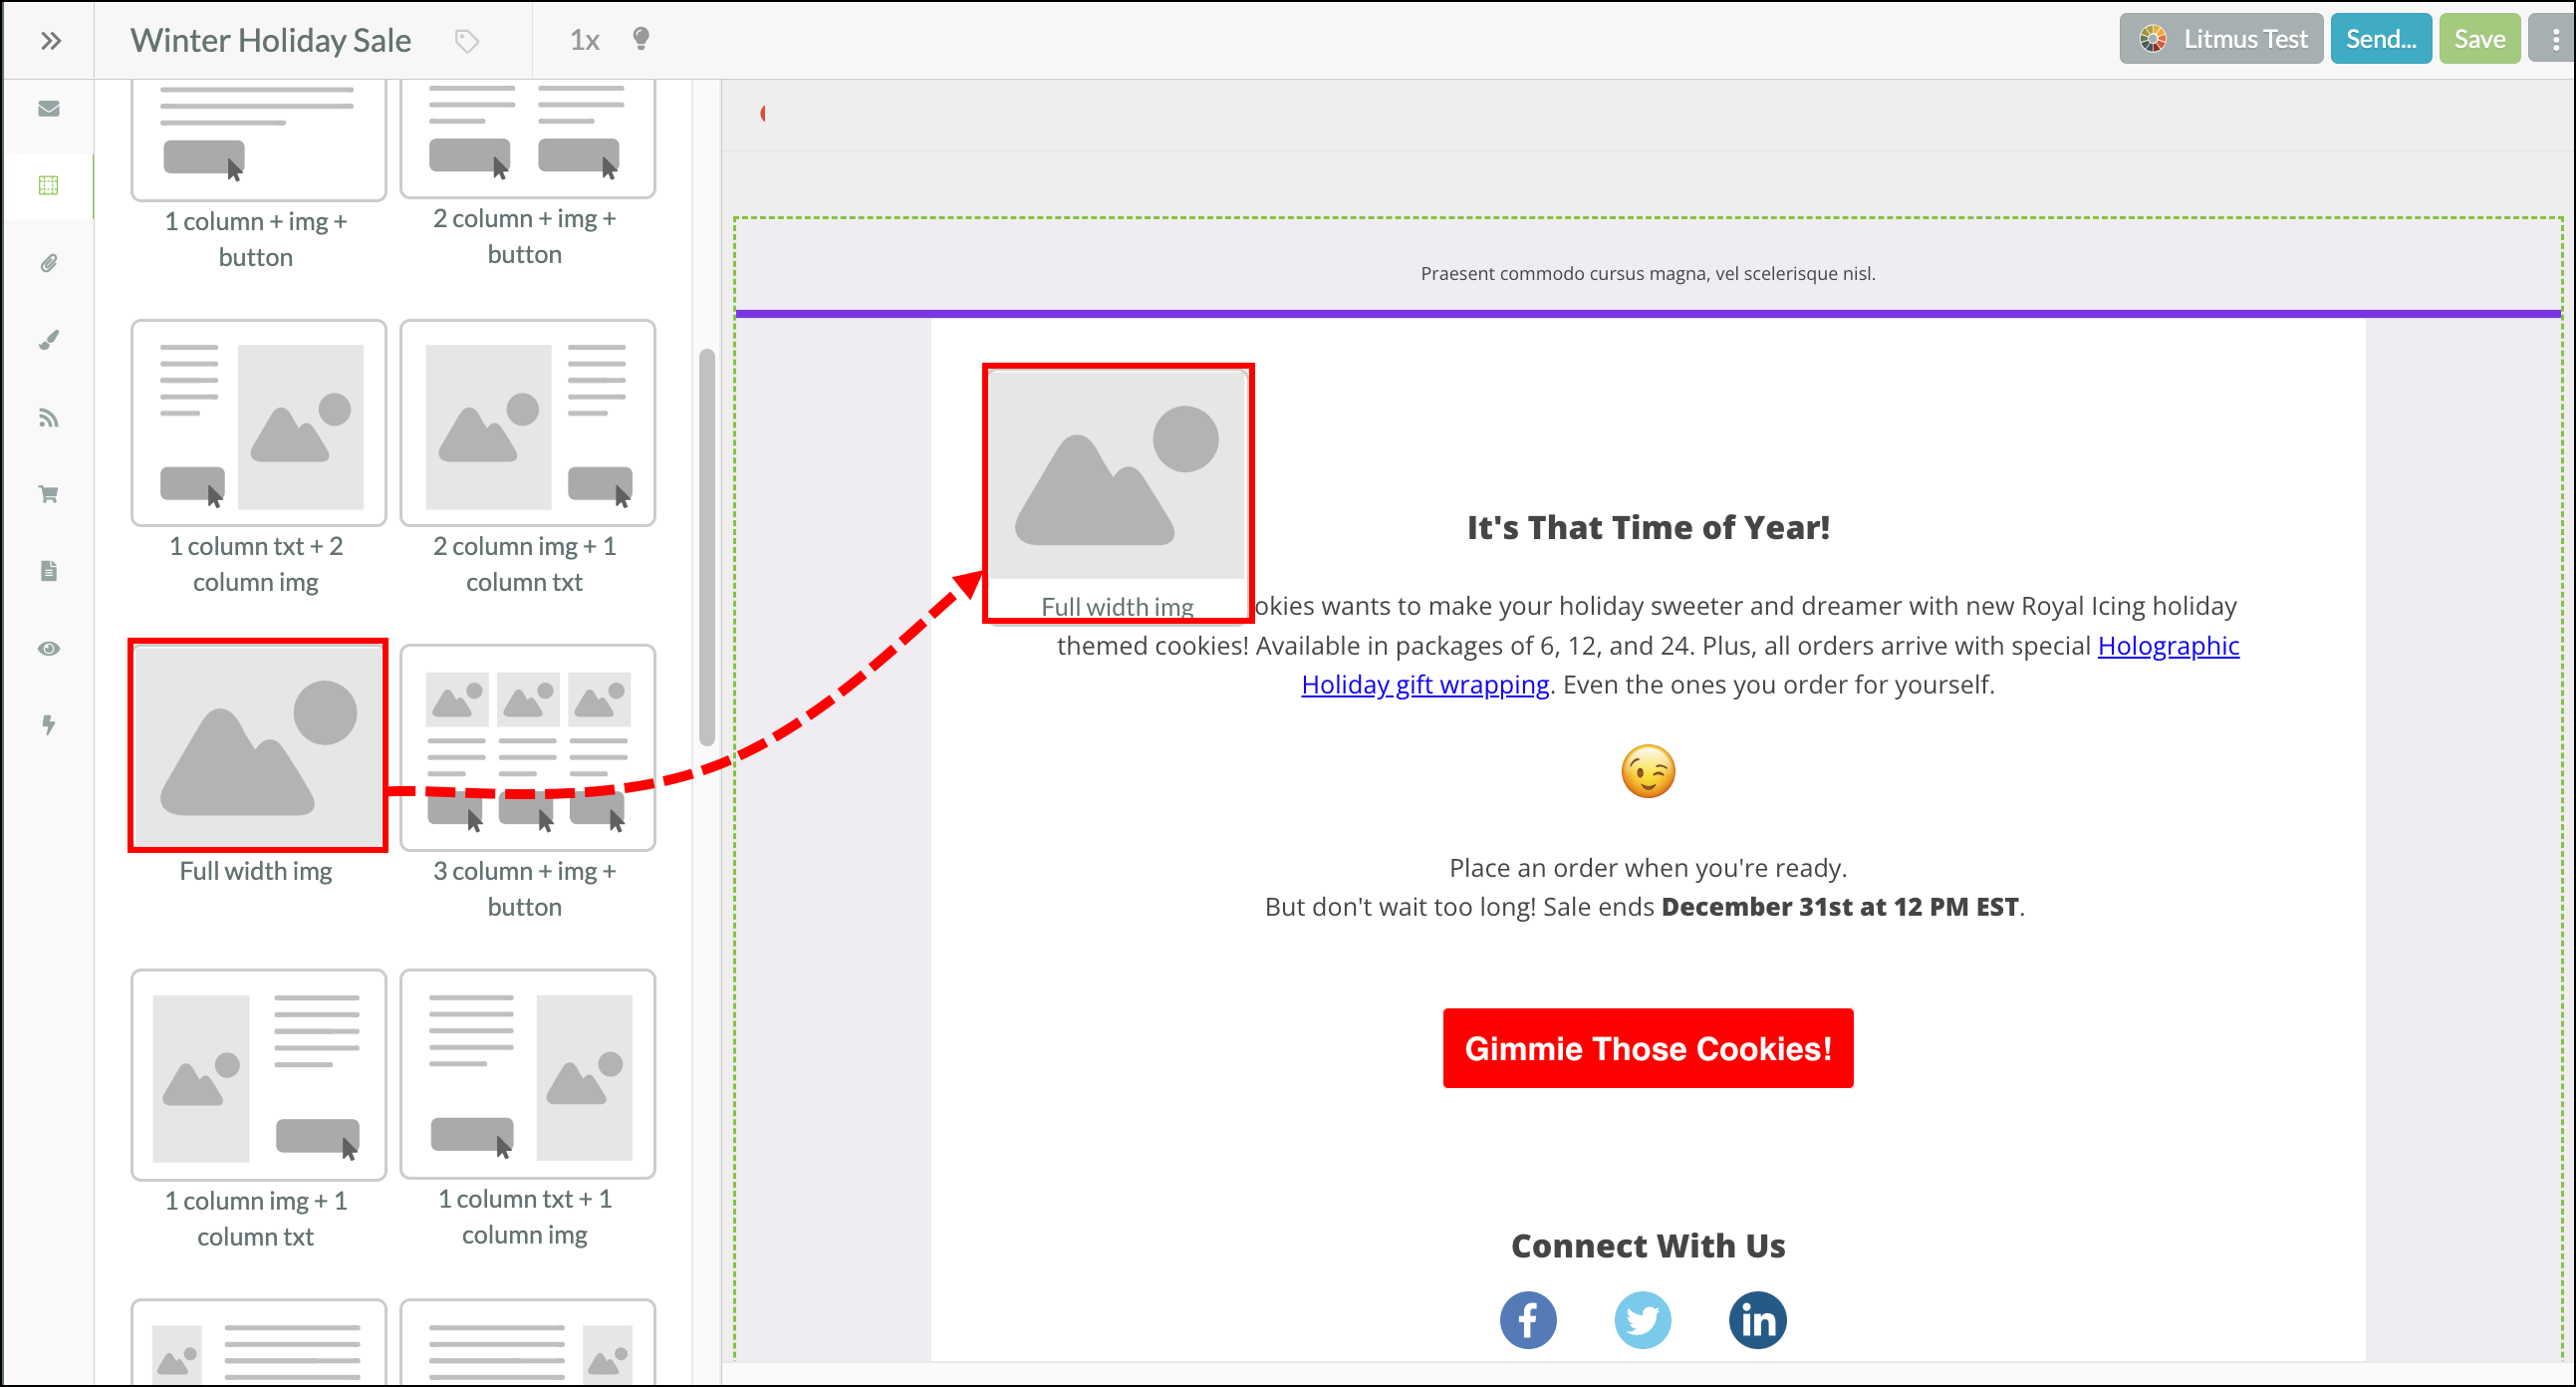
Double-click into the full-width layout block and choose the Image option from the Email Designer Panel. From here, you can insert an image using the image URL, or by uploading it. 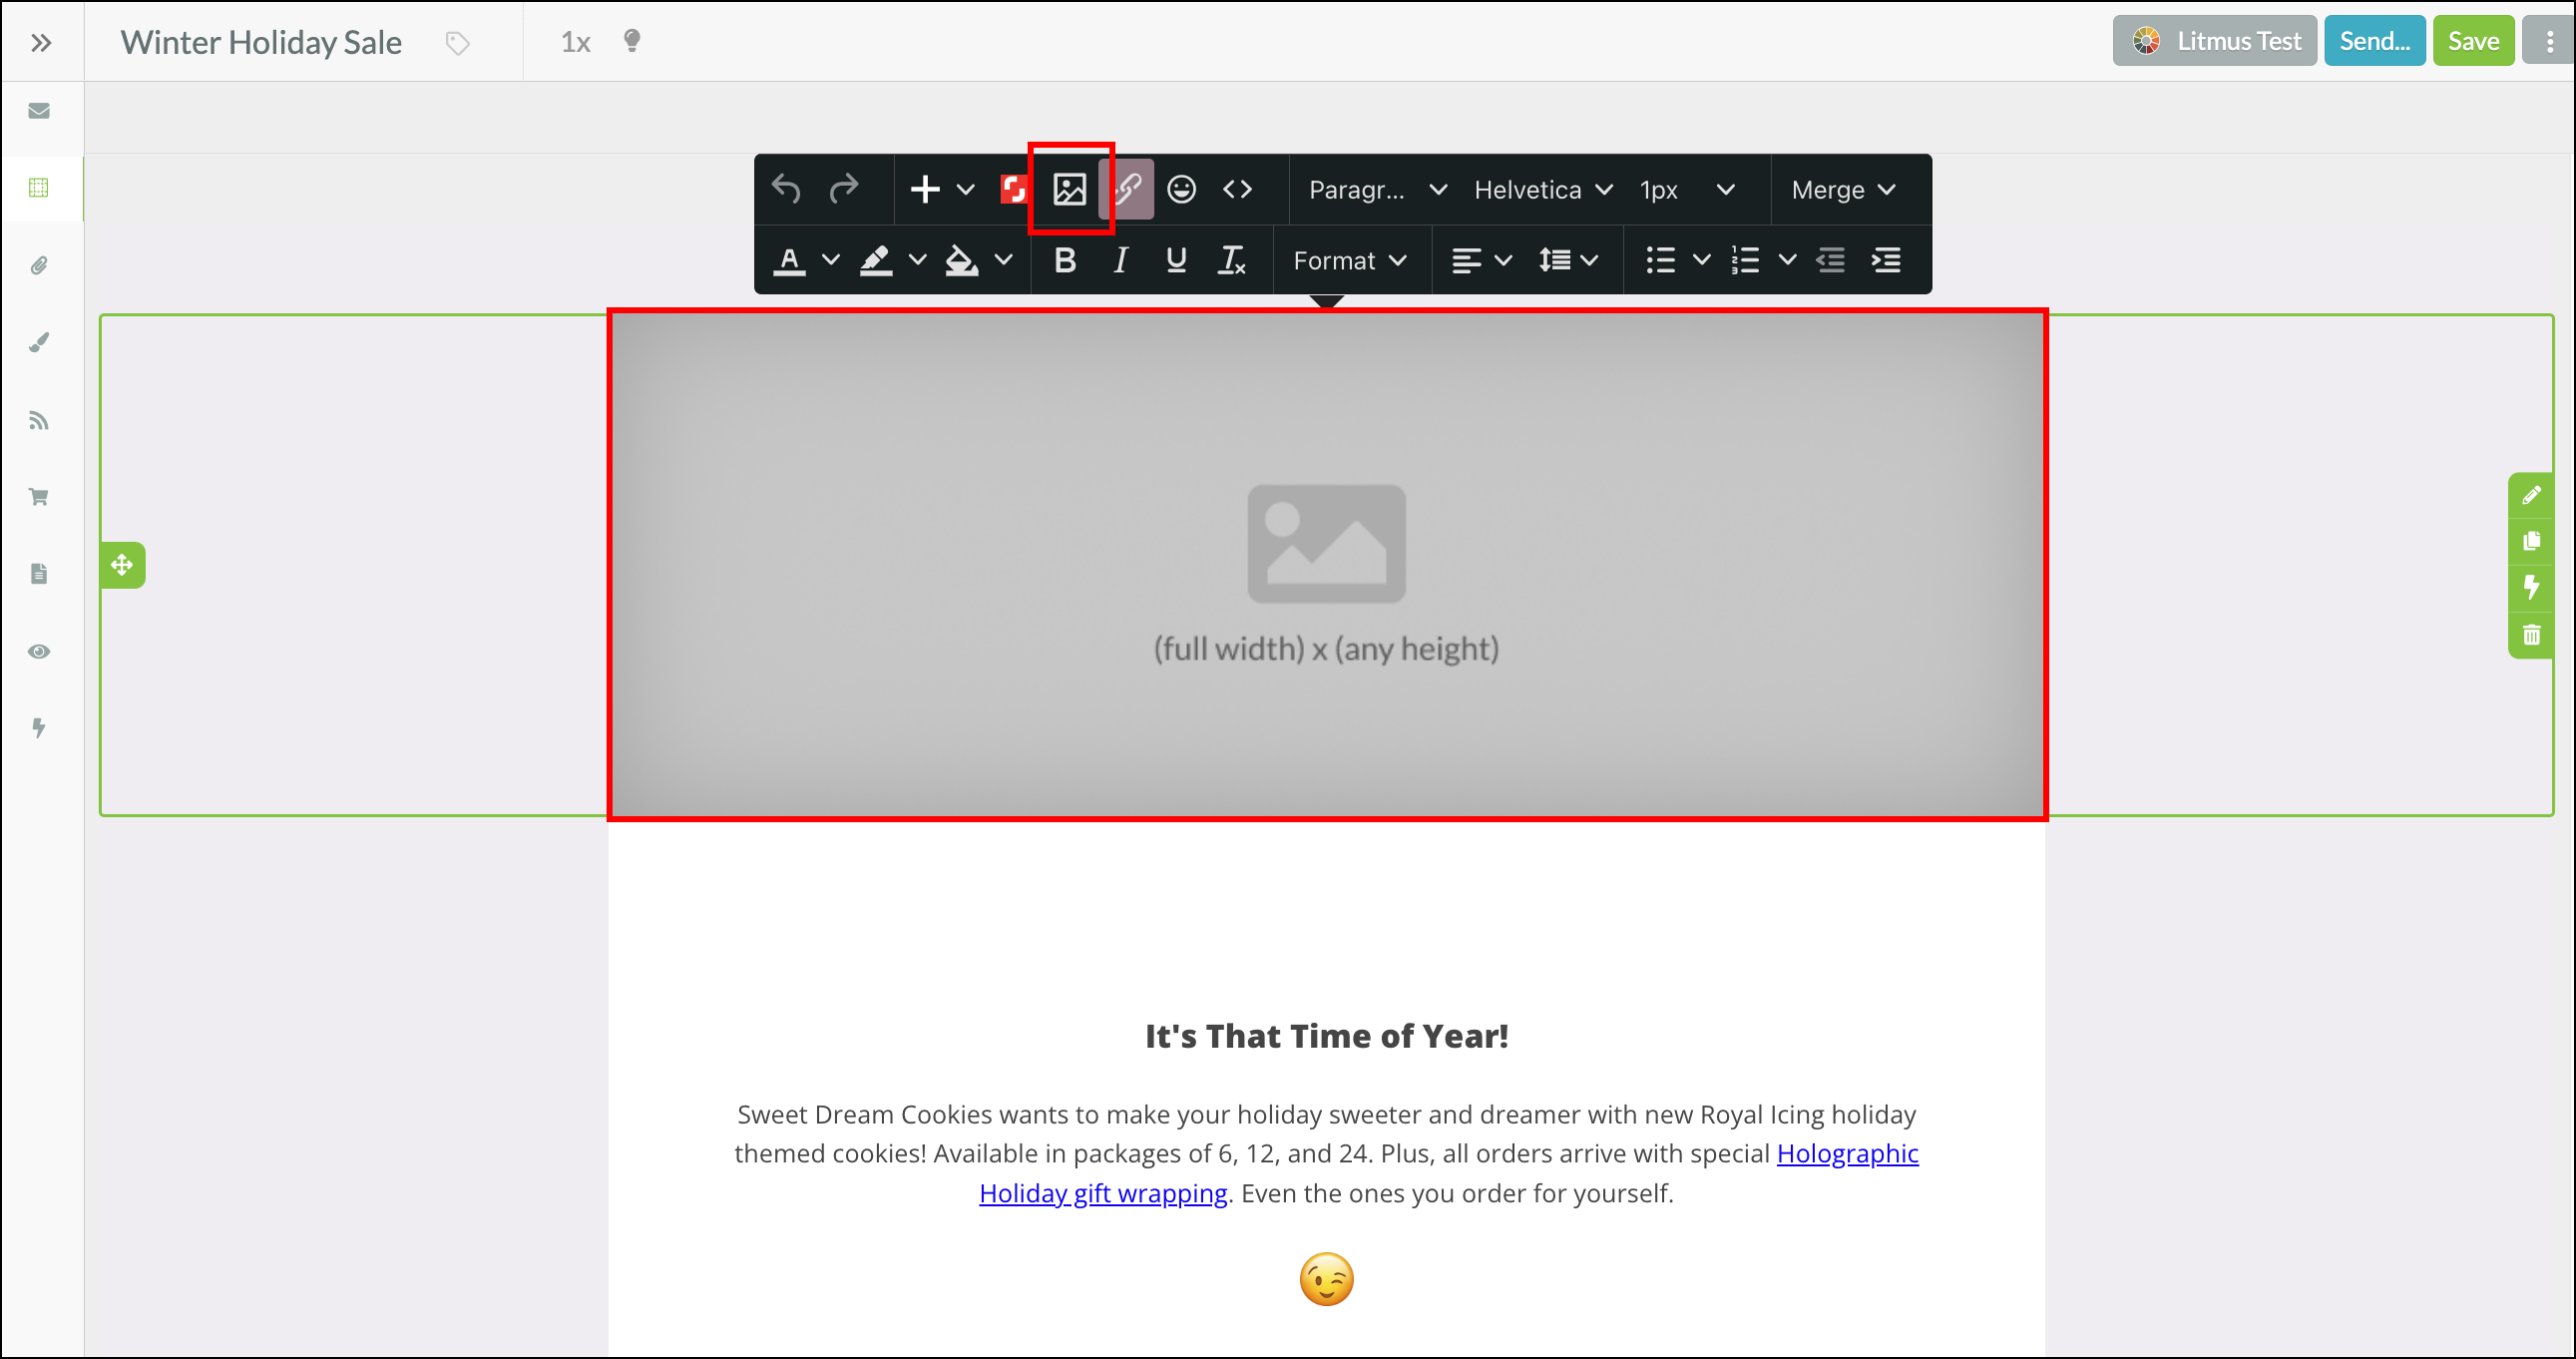
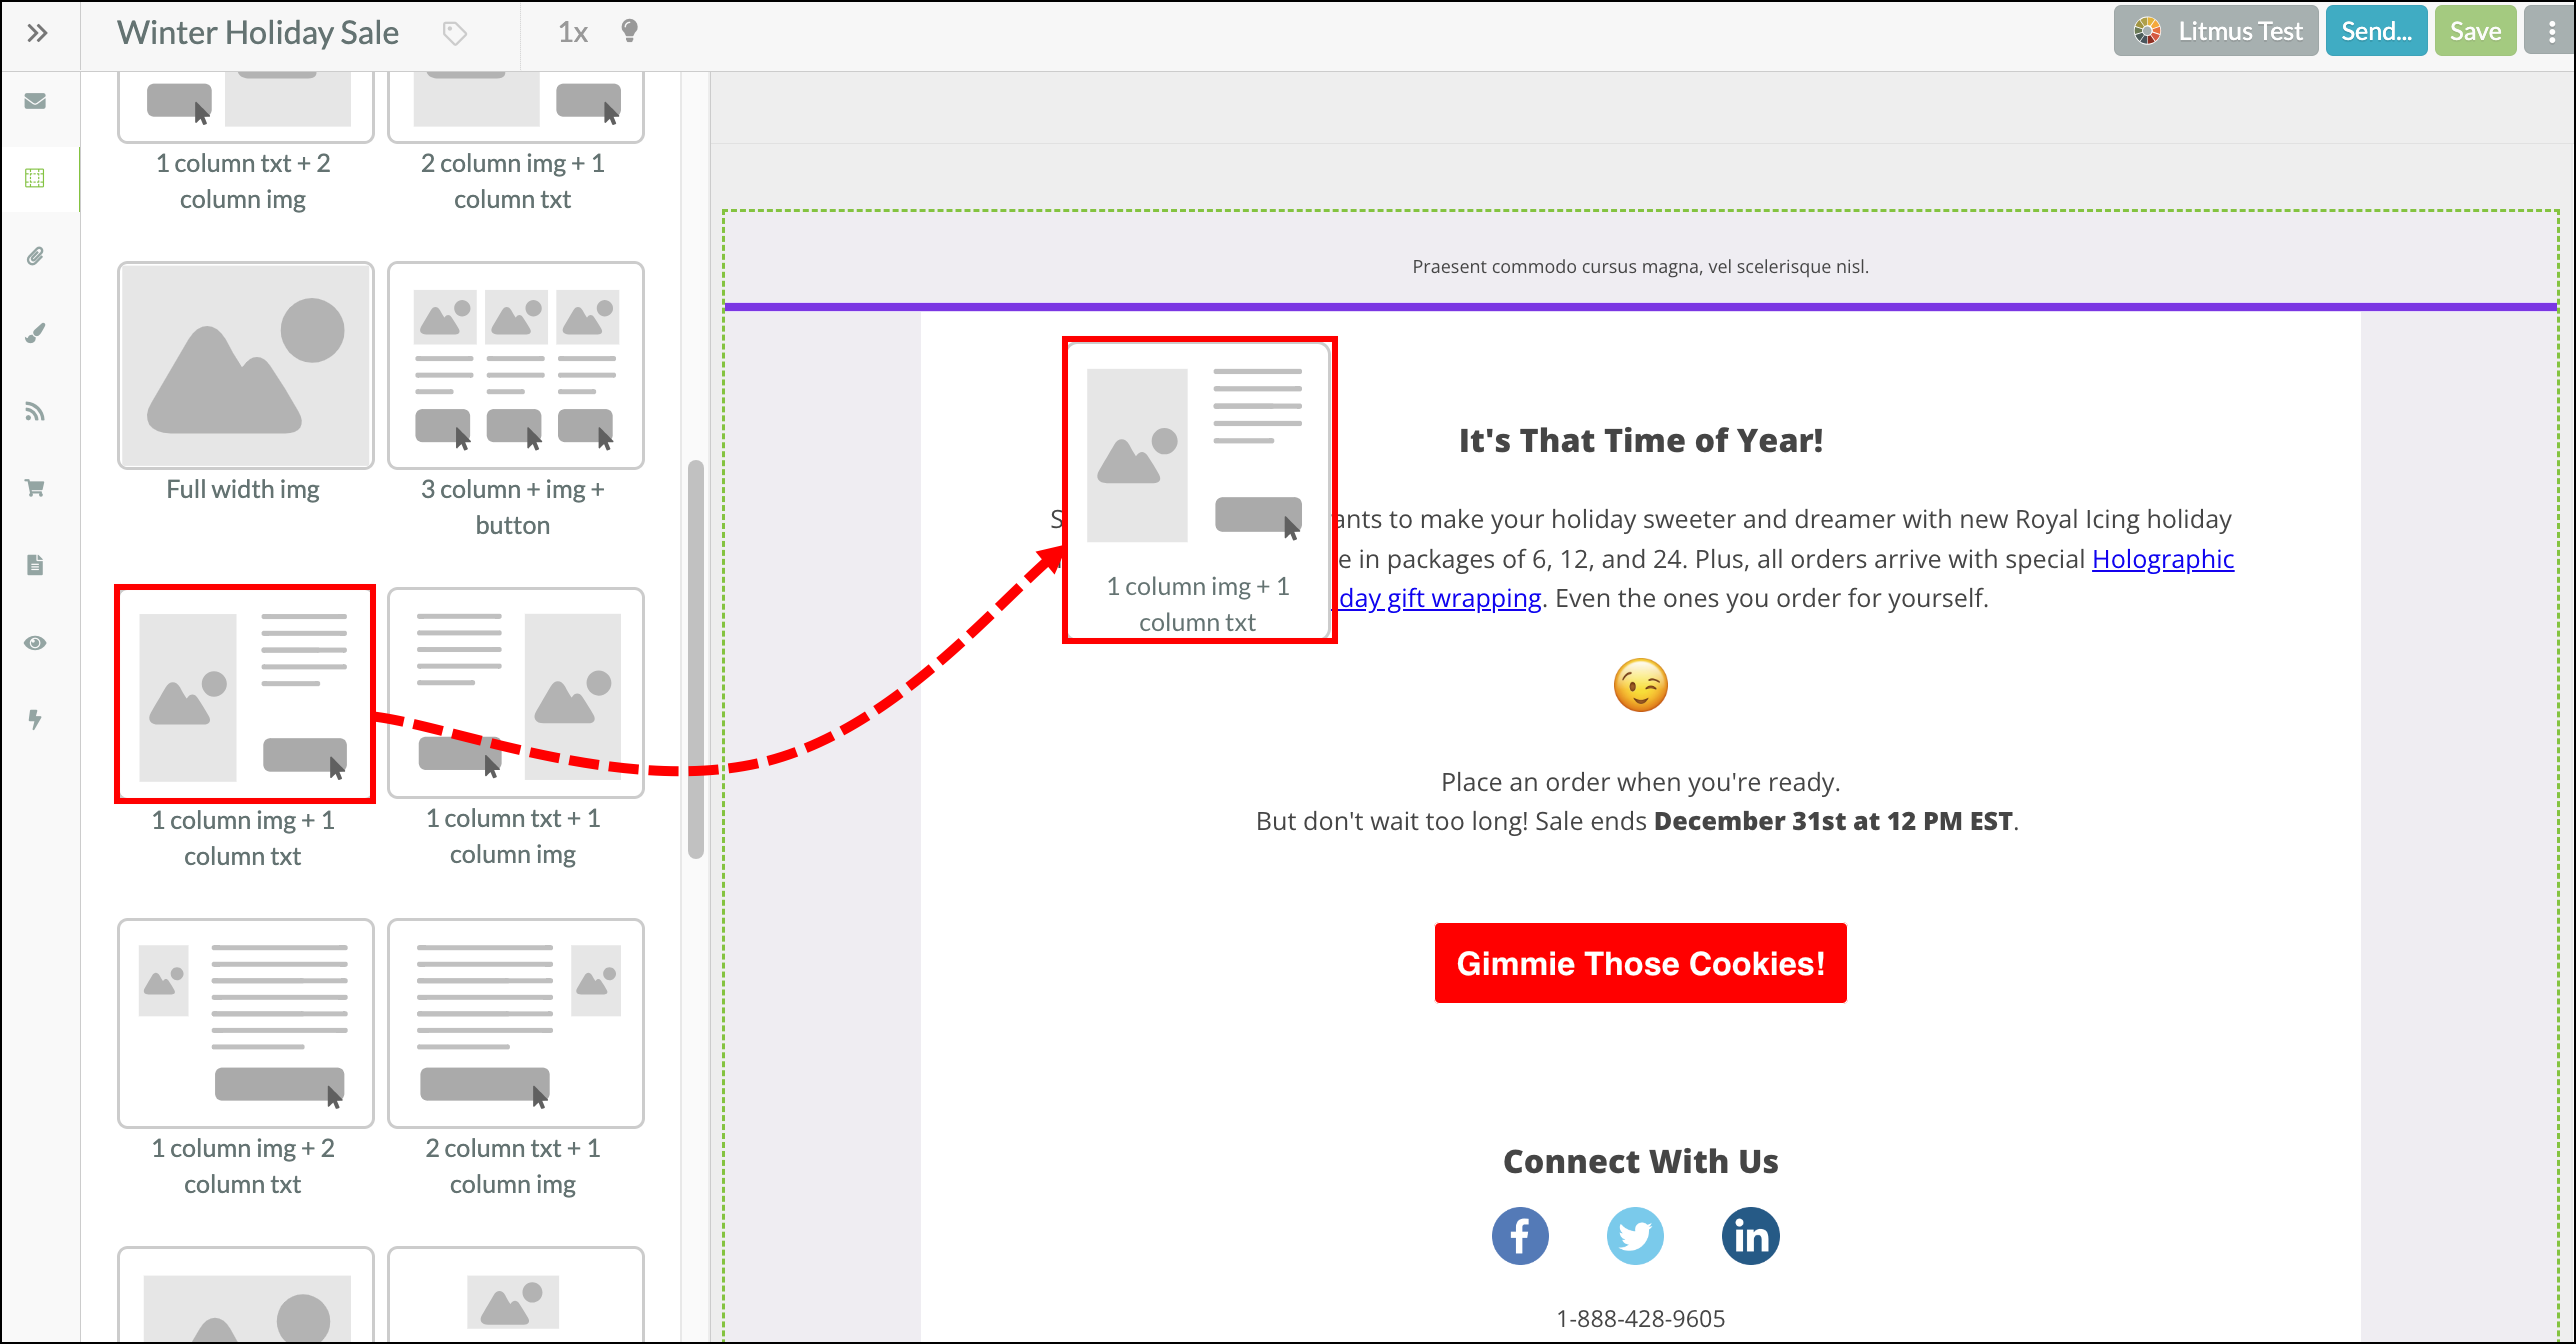
There are many options for two and three-column layouts in the Lead Gen & CRM Email Editor. Choose the layout block with the number of columns you need and insert it into your email. Some blocks include an image column along with text and buttons.

Once your layout block is inserted make any necessary adjustments. Hover over the region containing content you don't need and click the trash can icon to remove that content. 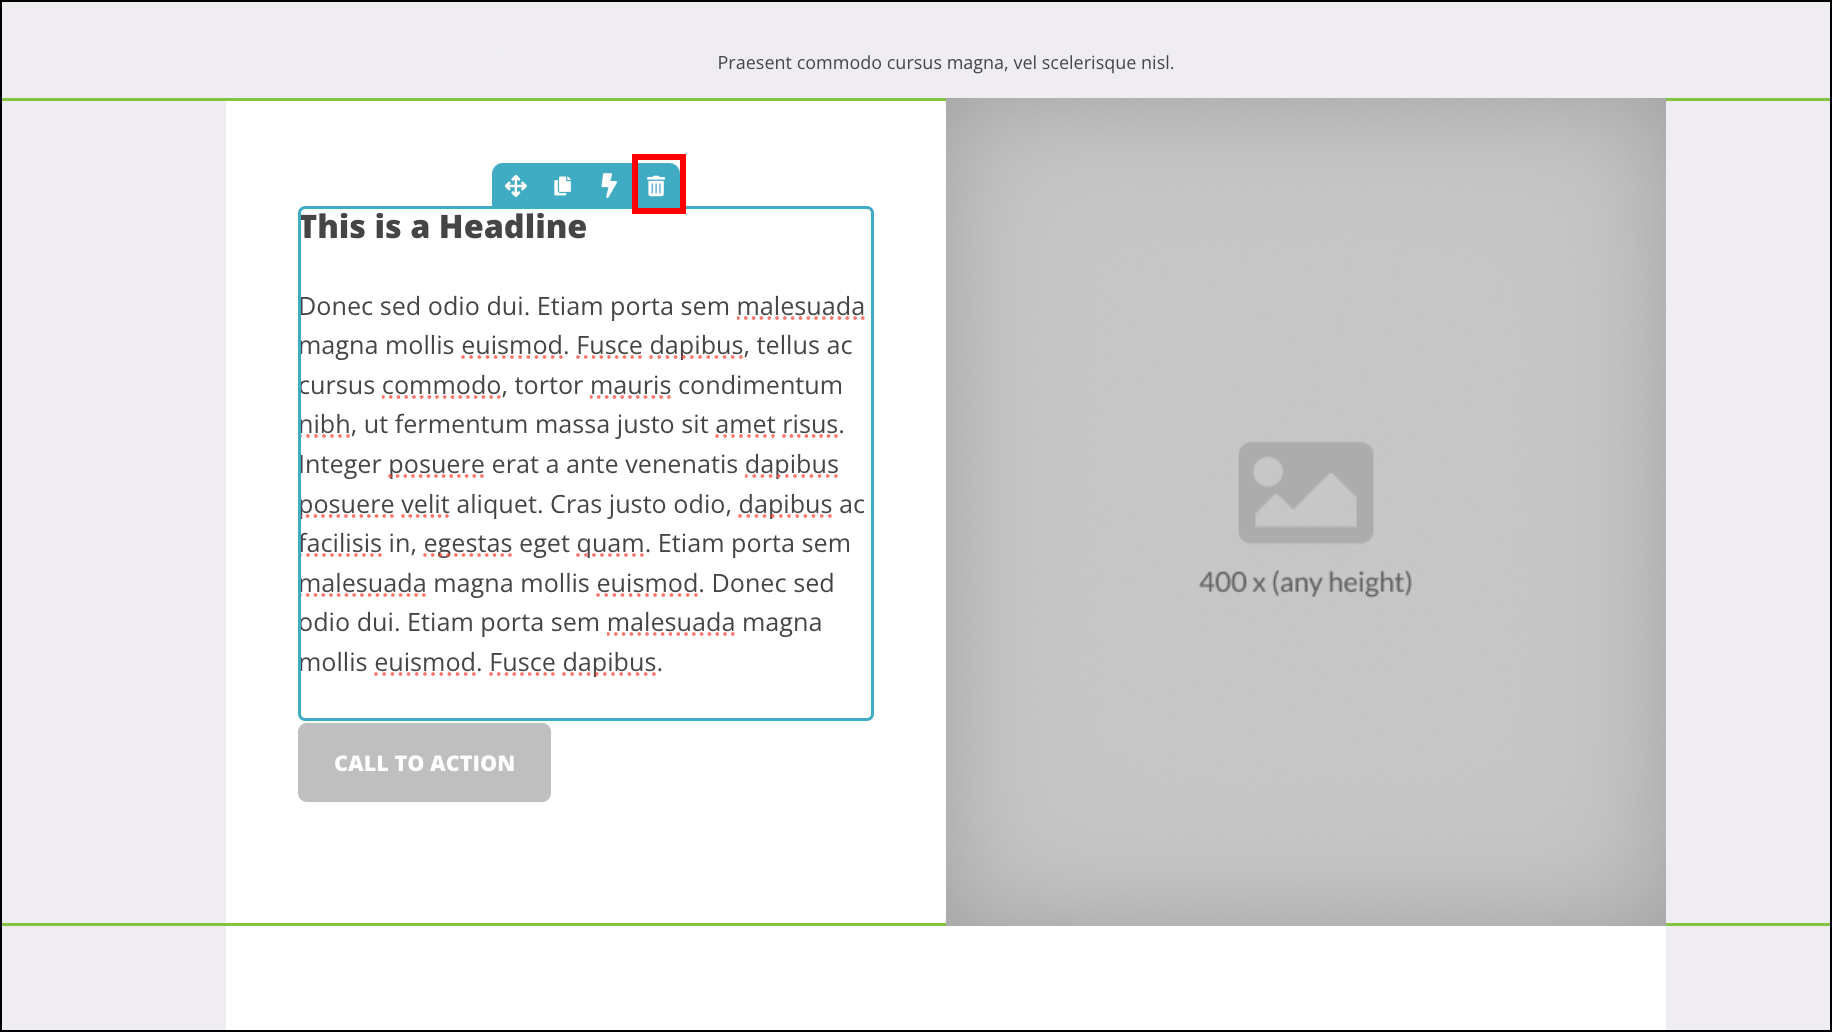
Move your cursor around within the space to catch all of the unneeded regions within the layout block. Some regions may be empty and hard to identify at first glance.
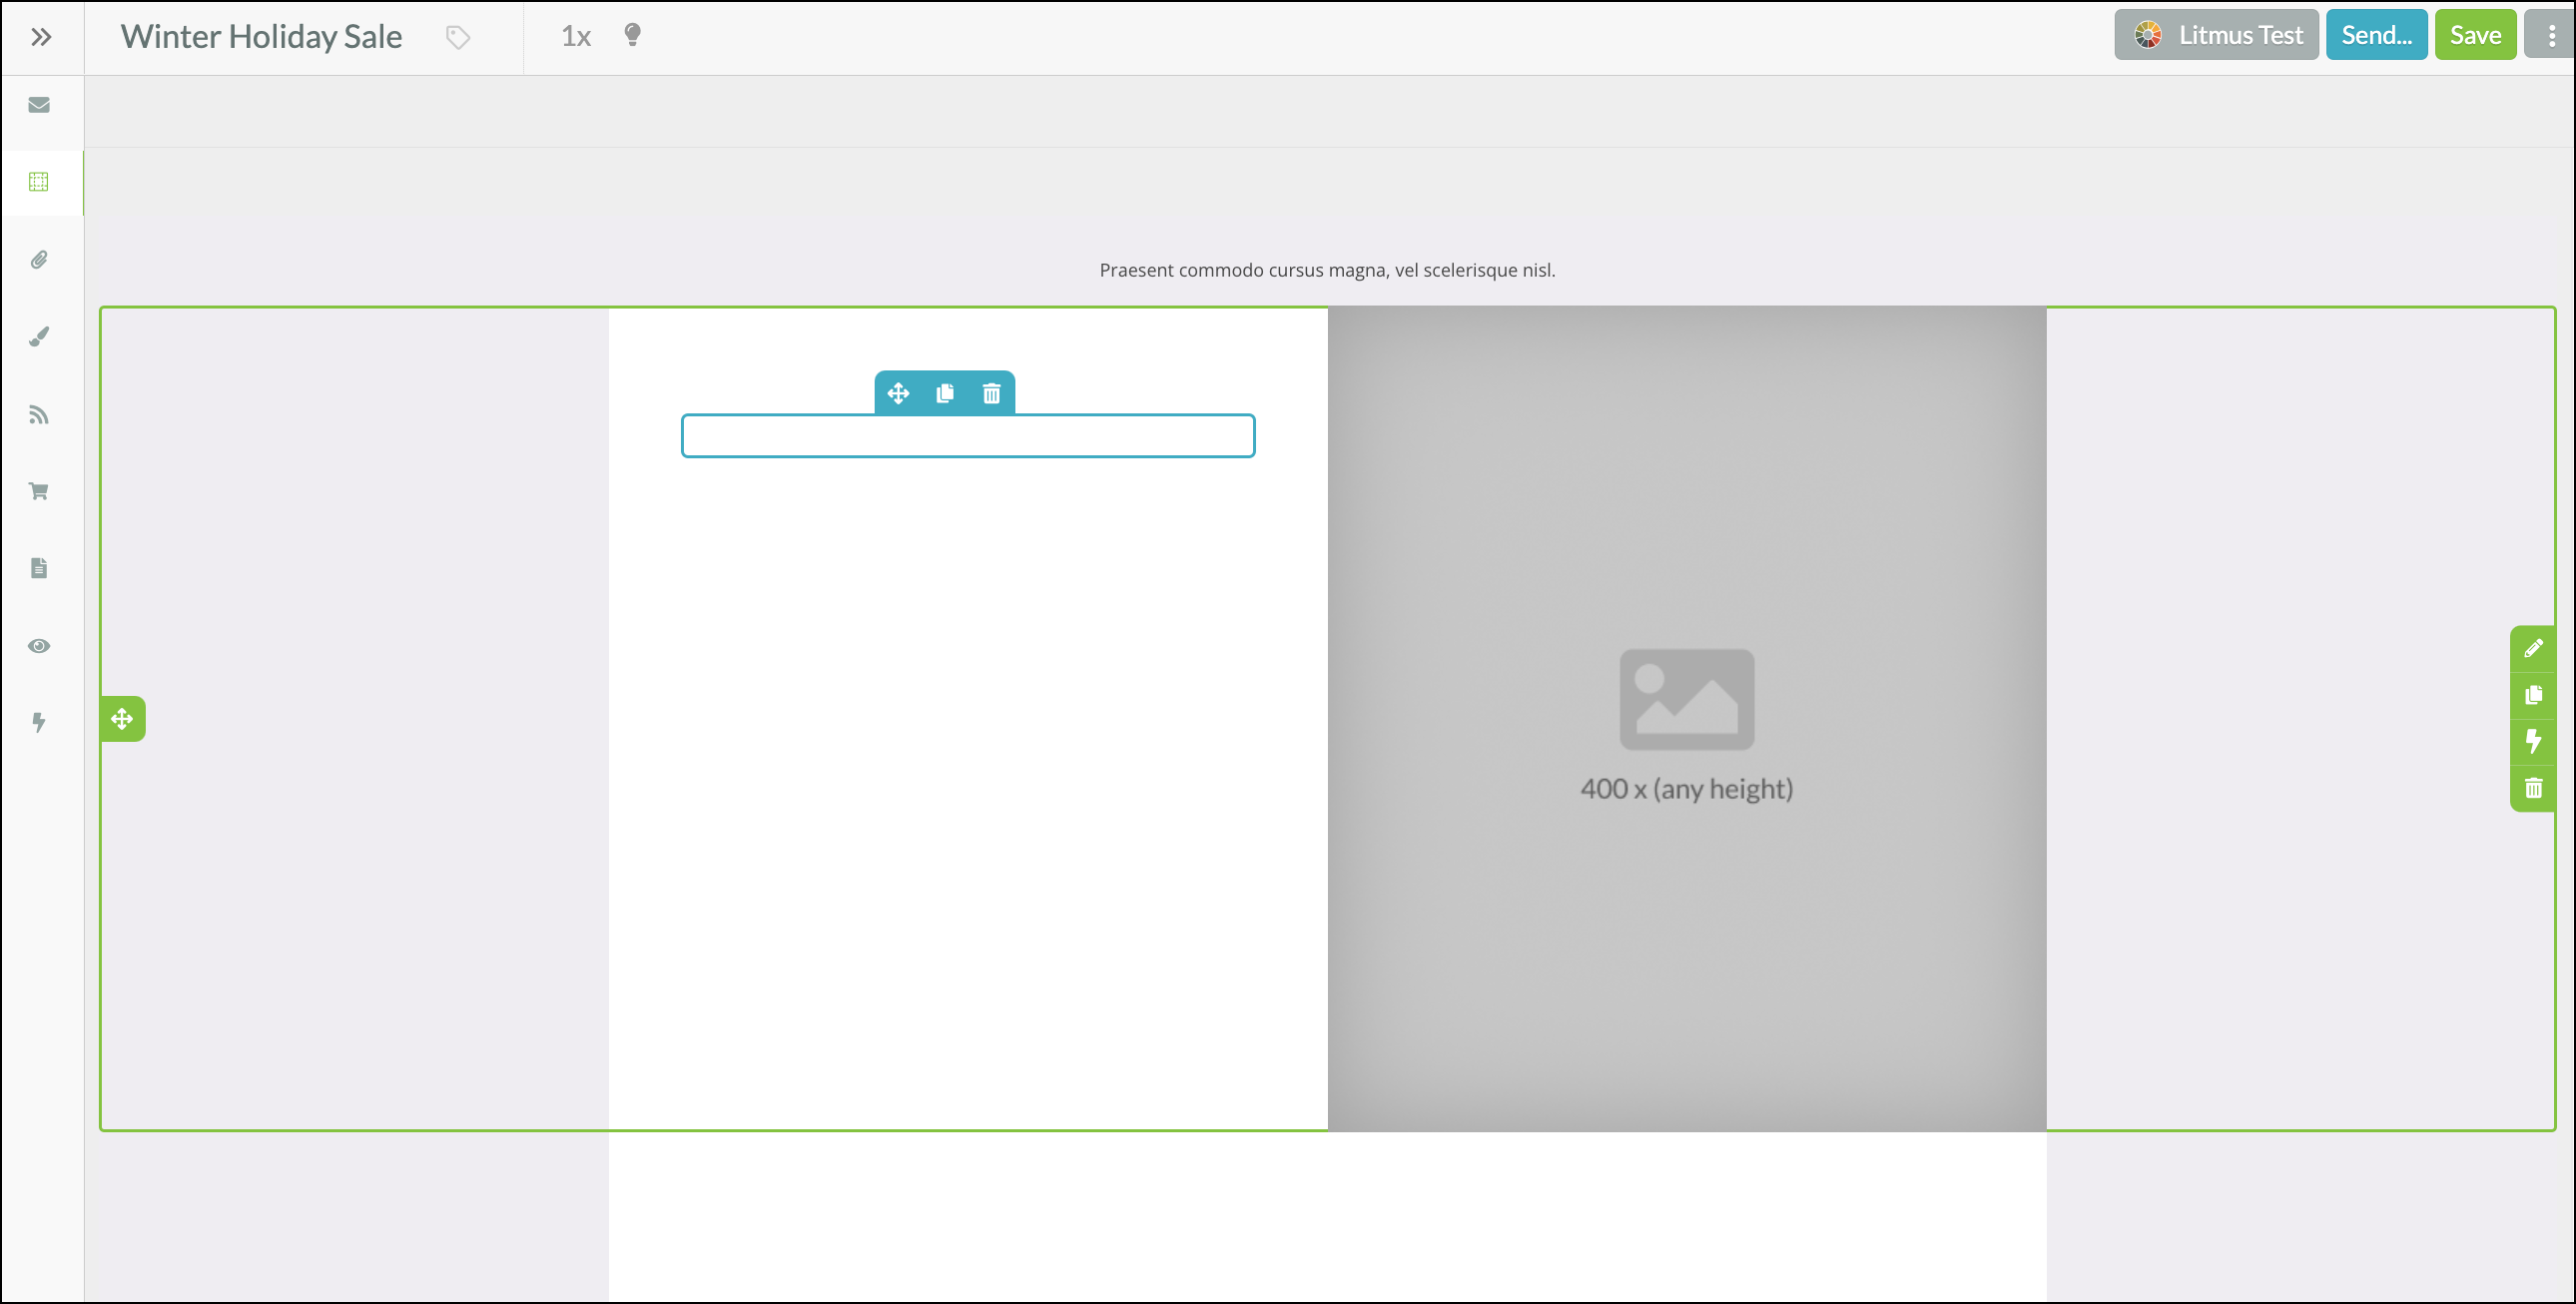
Once the column has been emptied, you can drag a new image Element into that space. 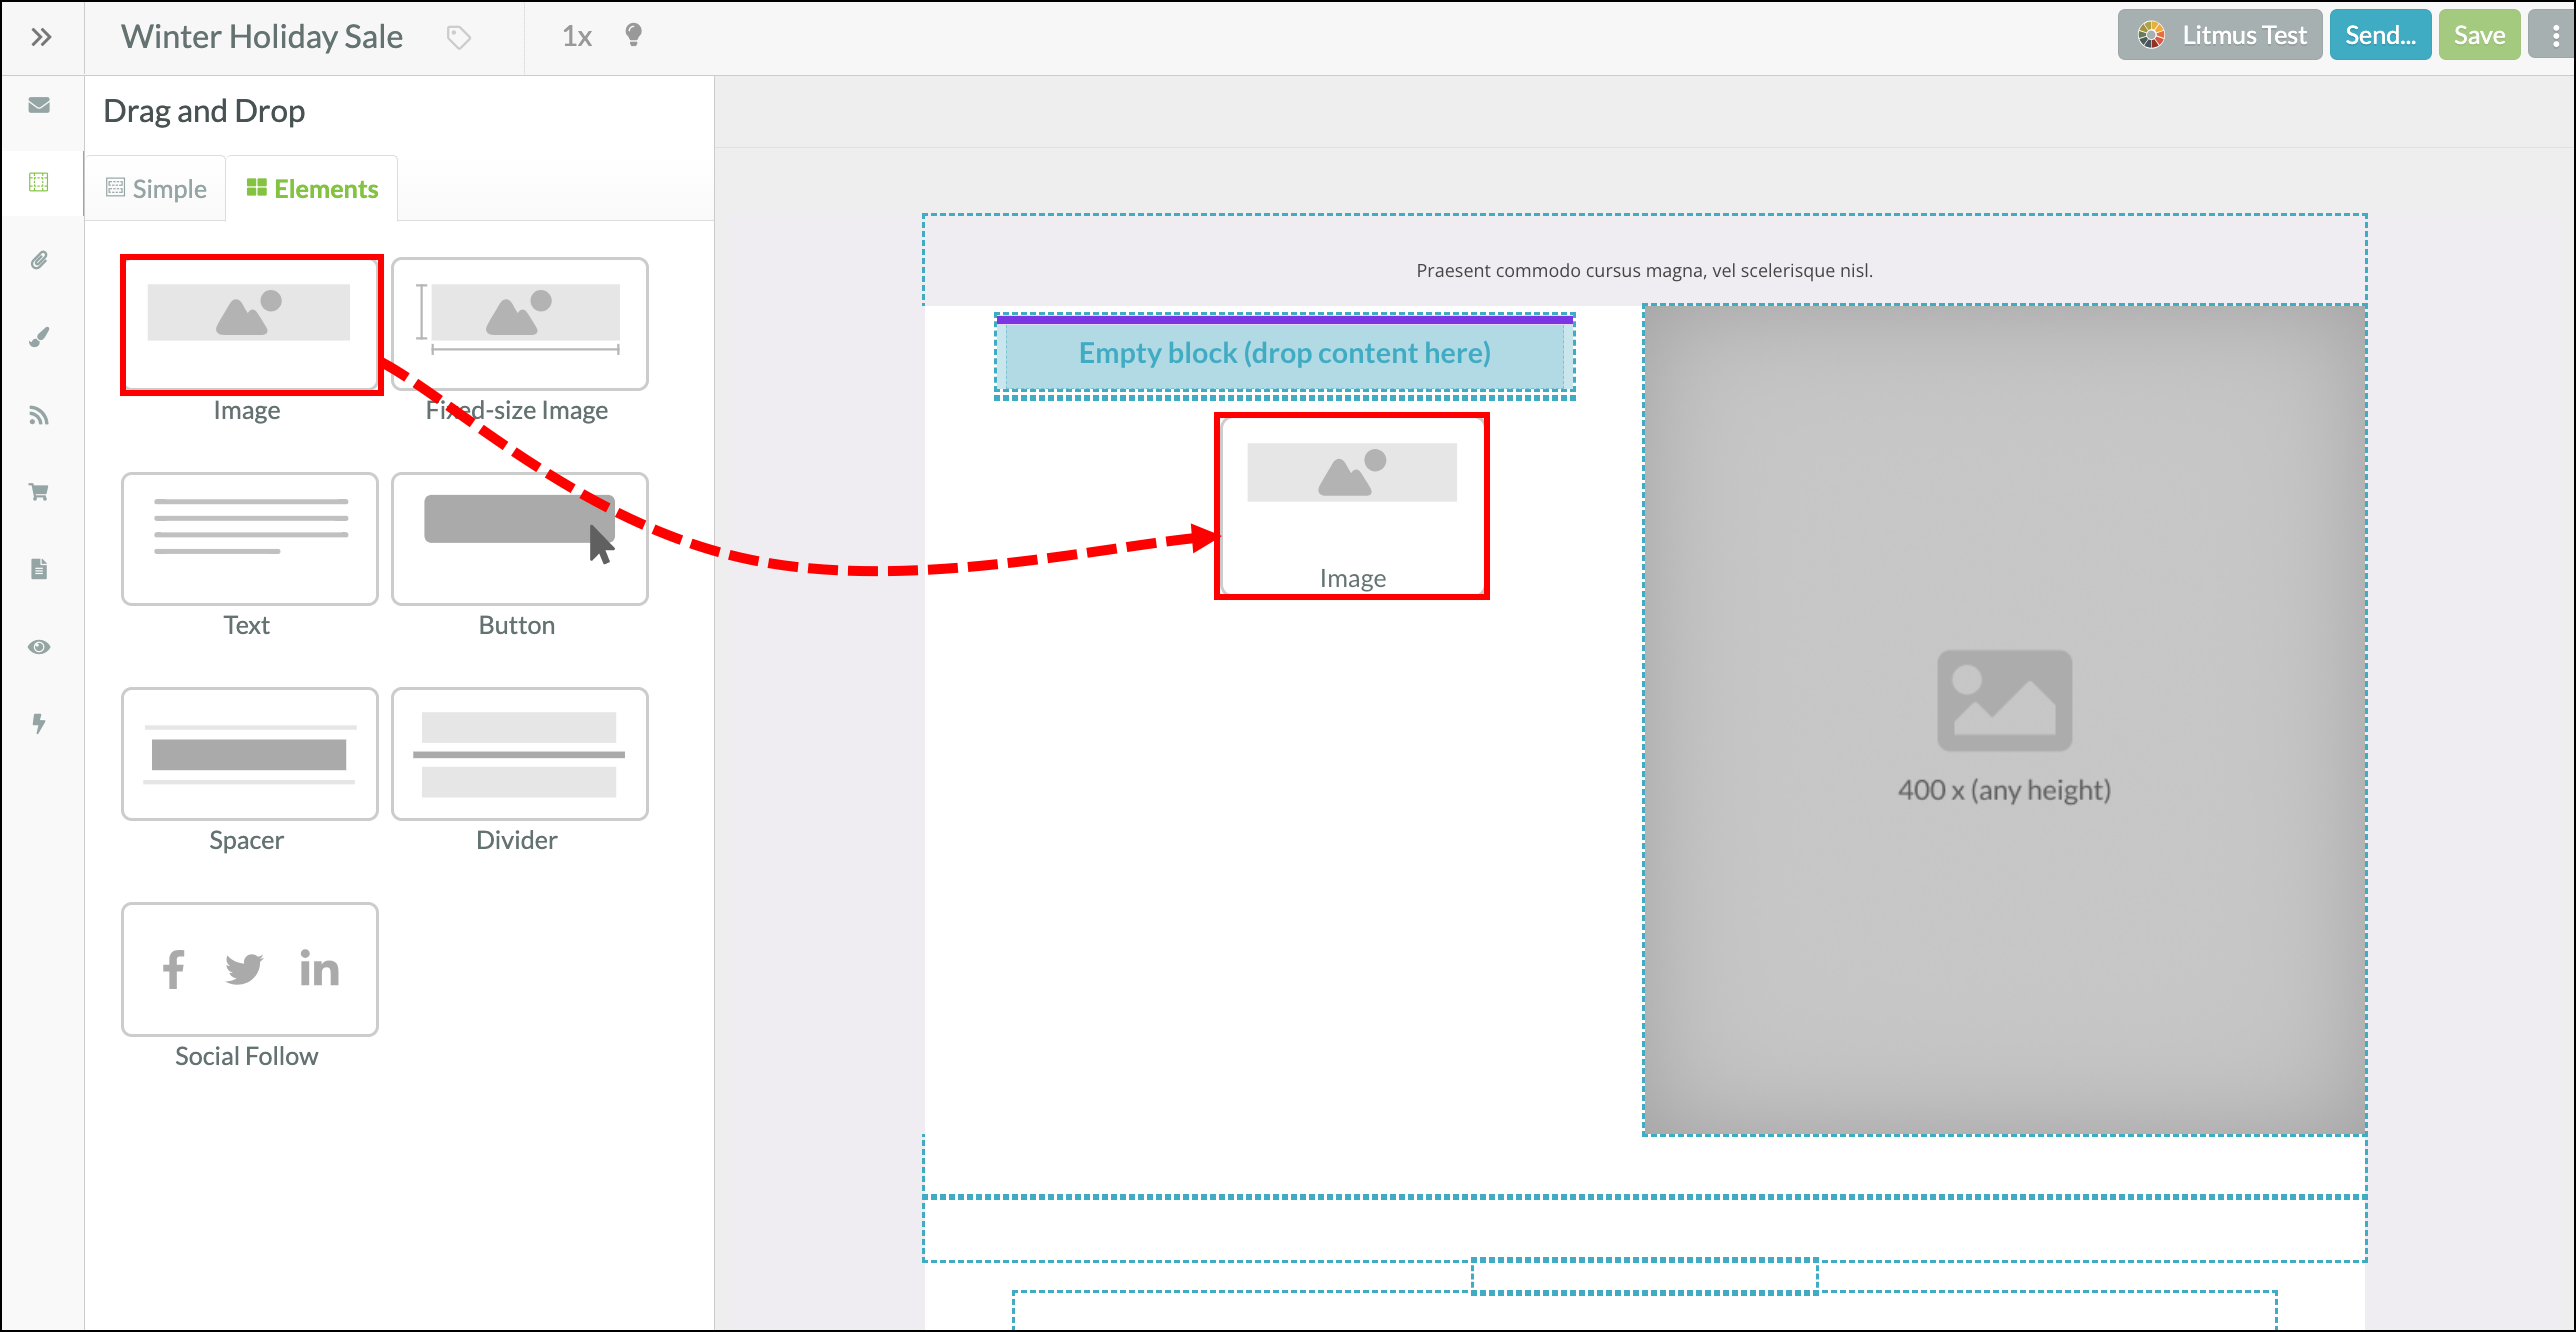
You may need to modify the widths and heights of your images to be sure they match. Double-click on the image element and choose the Image option from the Email Designer Panel. From here, you can insert an image using the image URL, or by uploading it. 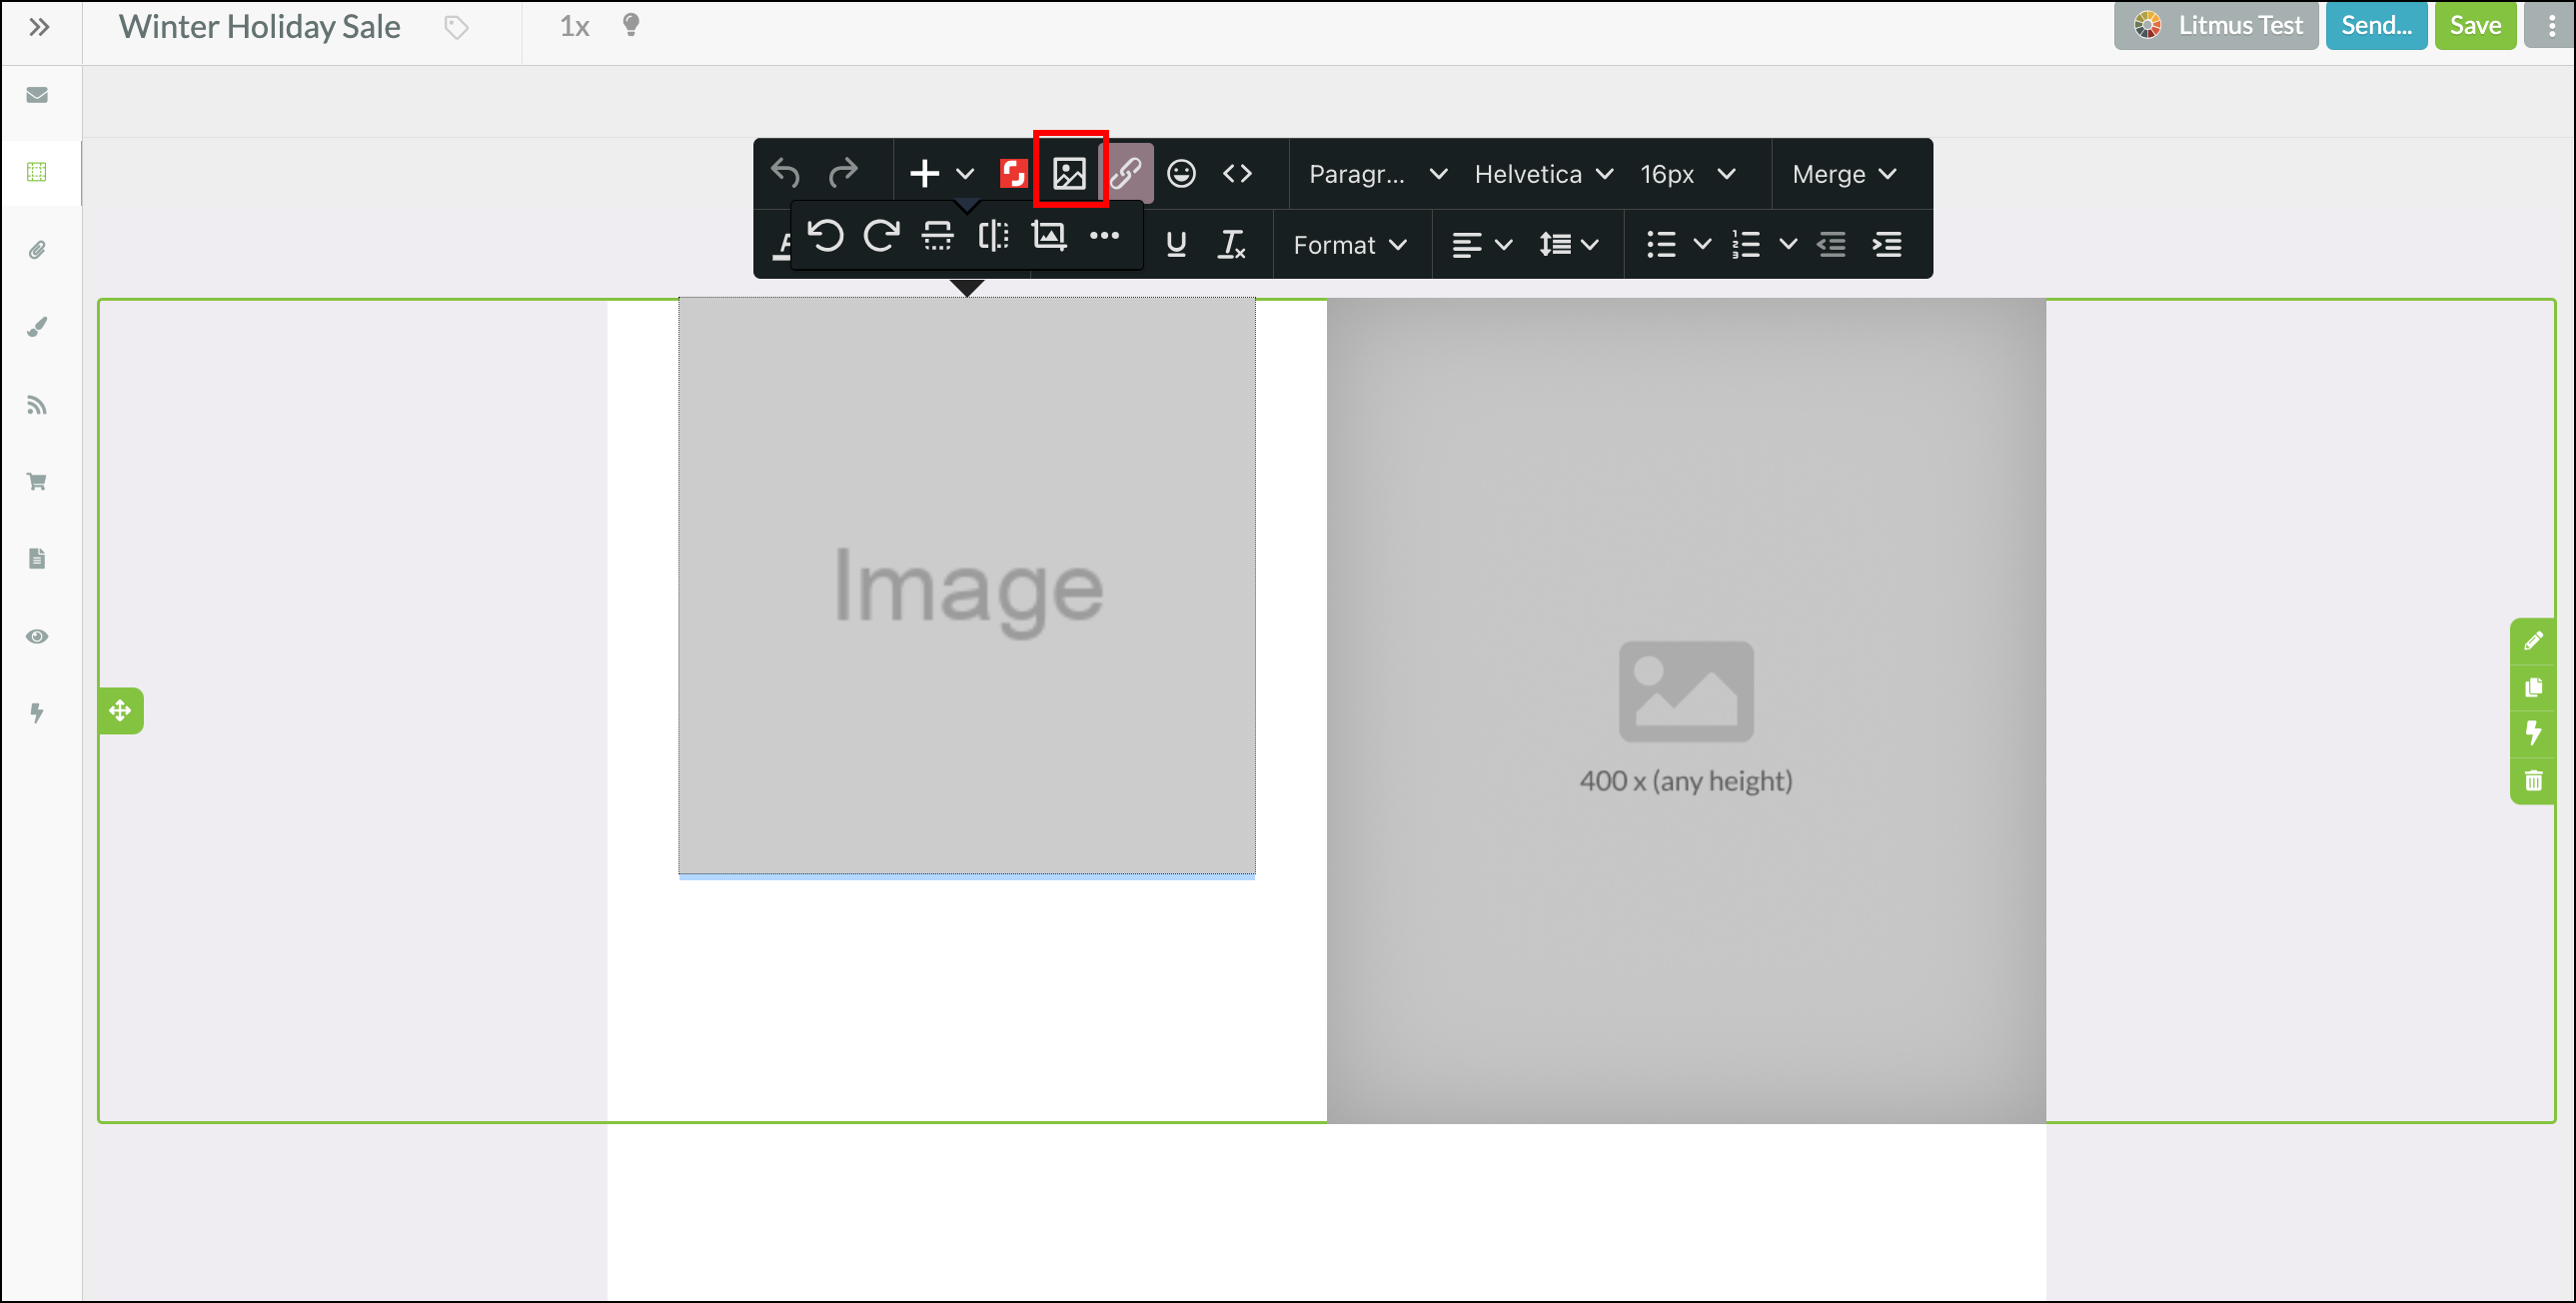
Once your image layout block or element has been added into your email, you can add text above or below the image easily, by dragging and dropping one of the text elements into your email on a purple line.
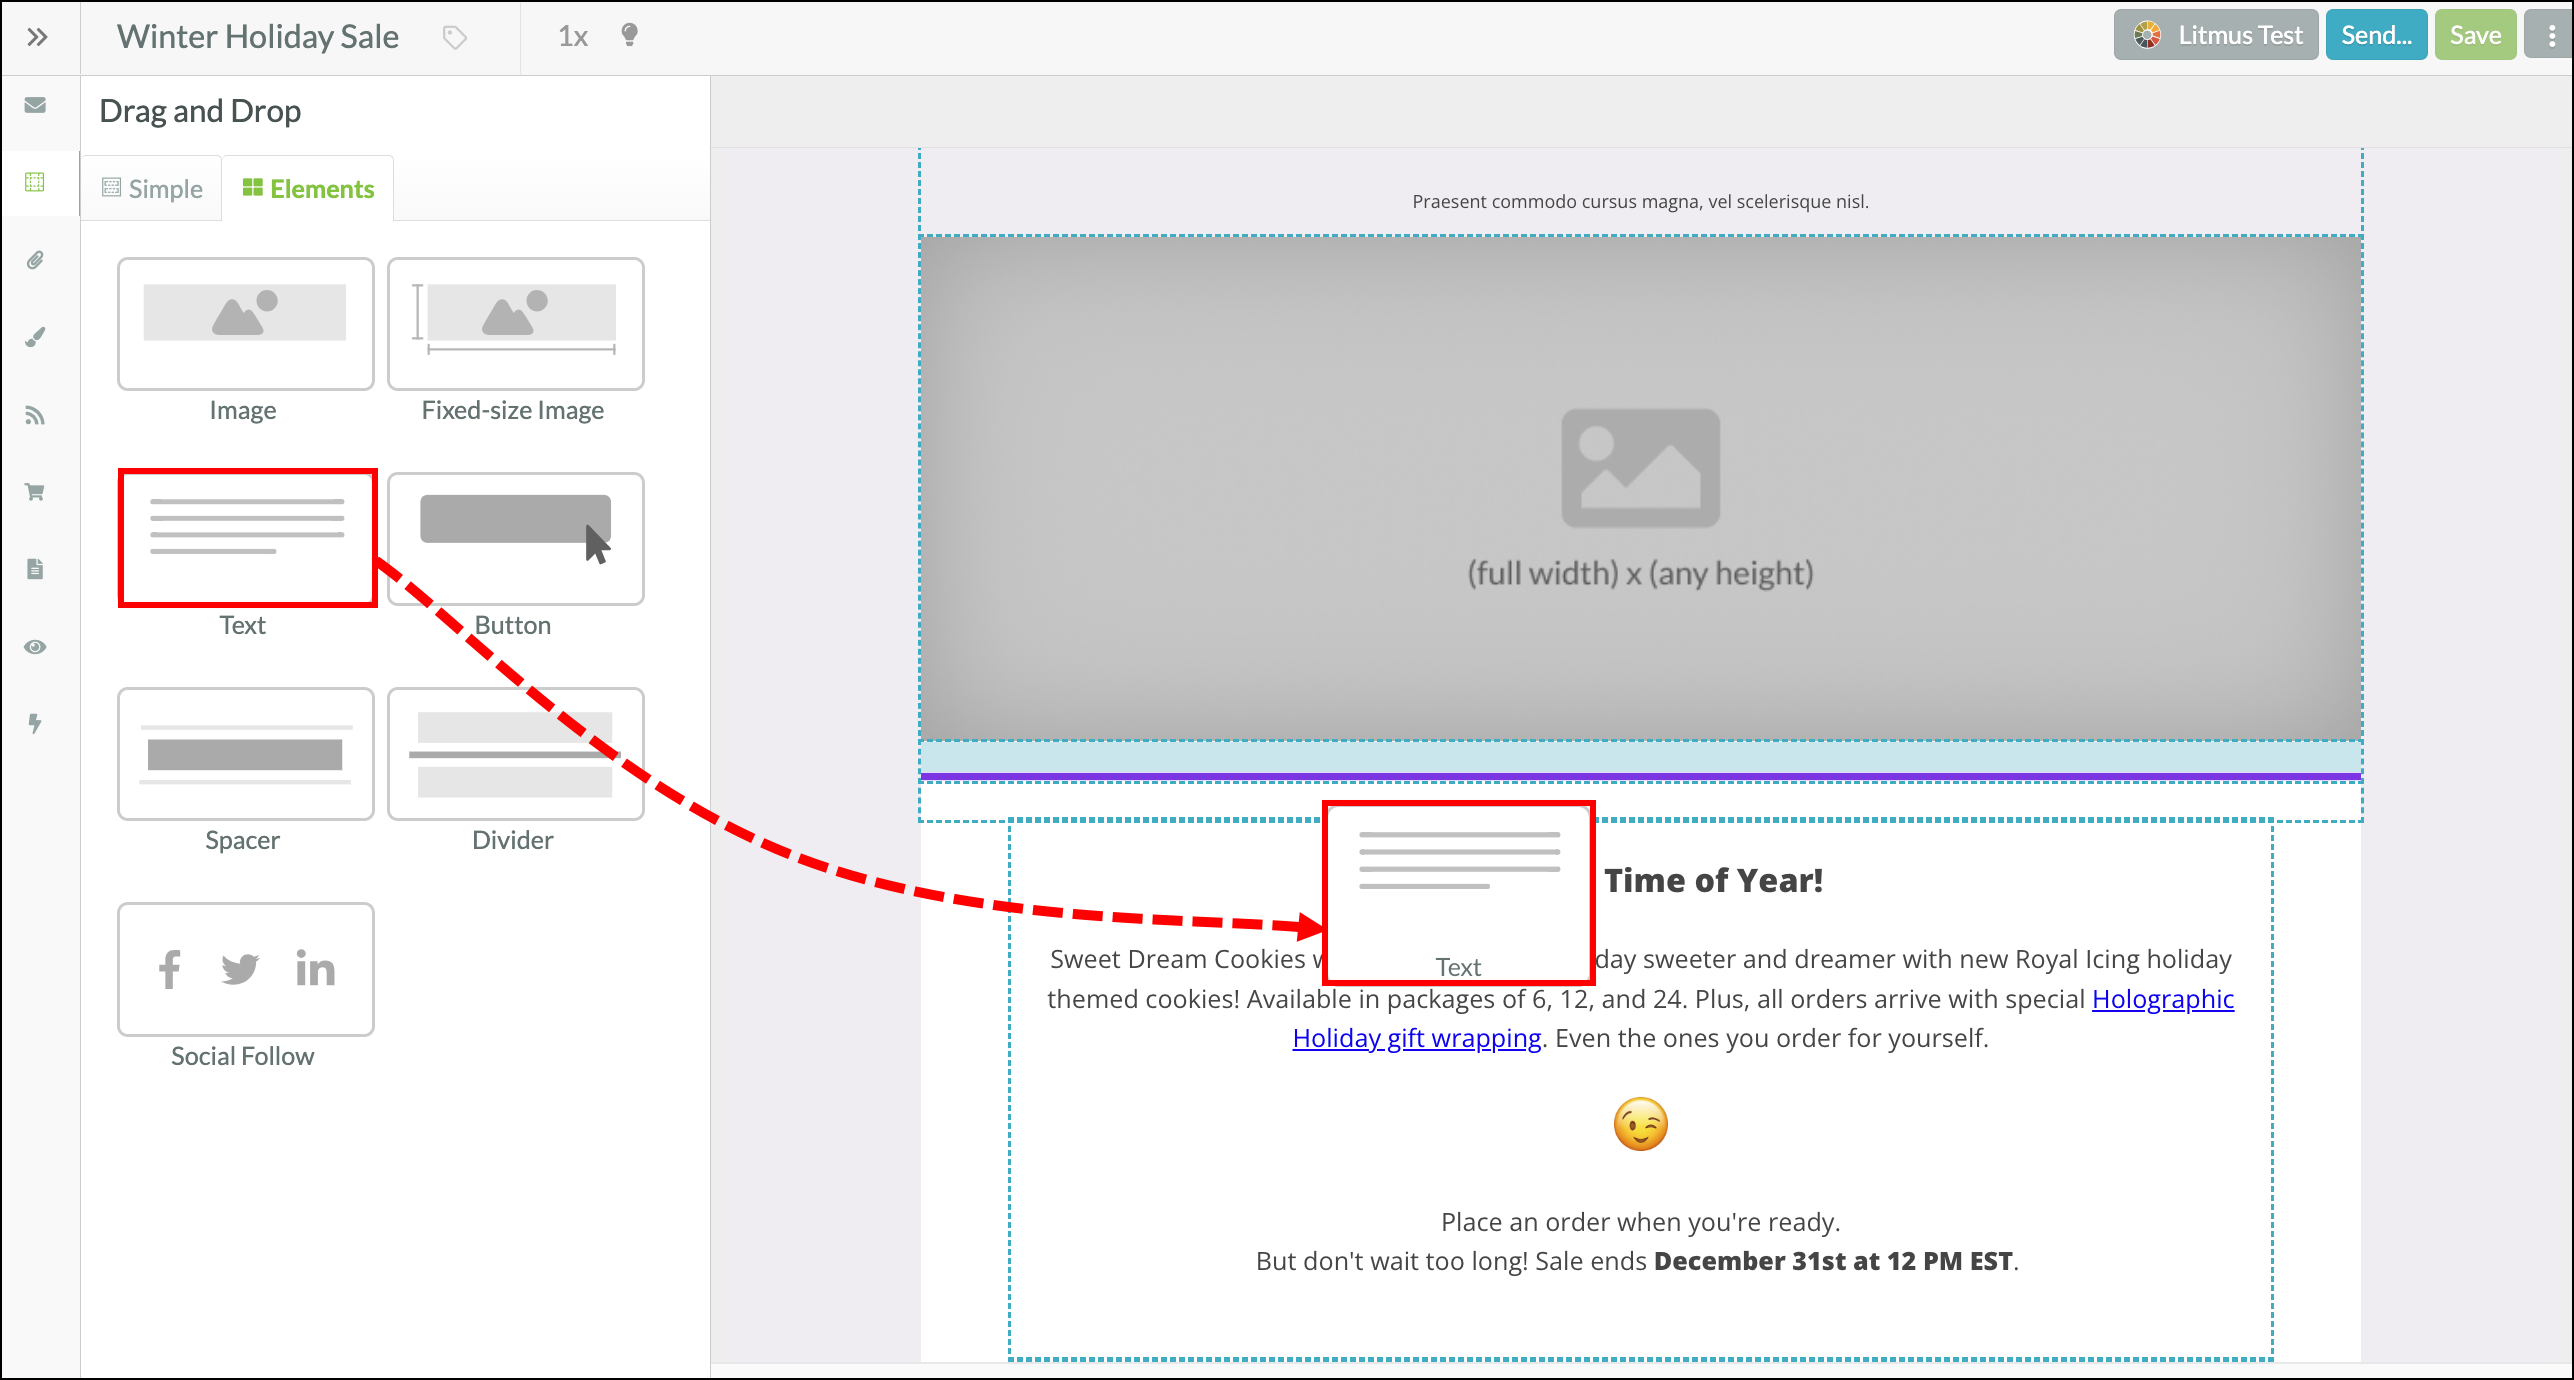
Text can be added above a layout block, below a layout block, above an element, or below an element. Simply drag the text element and the purple line will help guide you.
To add text to the left or the right of an image, use one of the layout blocks with columns. For example, the 1 column img + 1 column txt block. Read Understanding Layout and Element Blocks in Emails to learn more about each of the available layout blocks.
Once your layout block is included, make the adjustments you need. Hover over the region that includes content you don't need and click the trash can icon to remove it.
Double-click into the image region of the layout block and choose the Image option from the Email Designer Panel. From here, you can insert an image using the image URL or by uploading it.
Once your text element has been added into your email, you can add buttons above or below the text easily, by dragging and dropping the button element into your email, on a purple line.

Buttons can be added above a layout block, below a layout block, above an element, or below an element. Simply drag the button element and the purple line will help guide you.
Once a button has been included in your email, you can click on the button to make adjustments to the button's text, link, and color.
Once your image layout block or element has been added into your email, you can add a button above or below the image easily, by dragging and dropping the button element into your email, on a purple line.
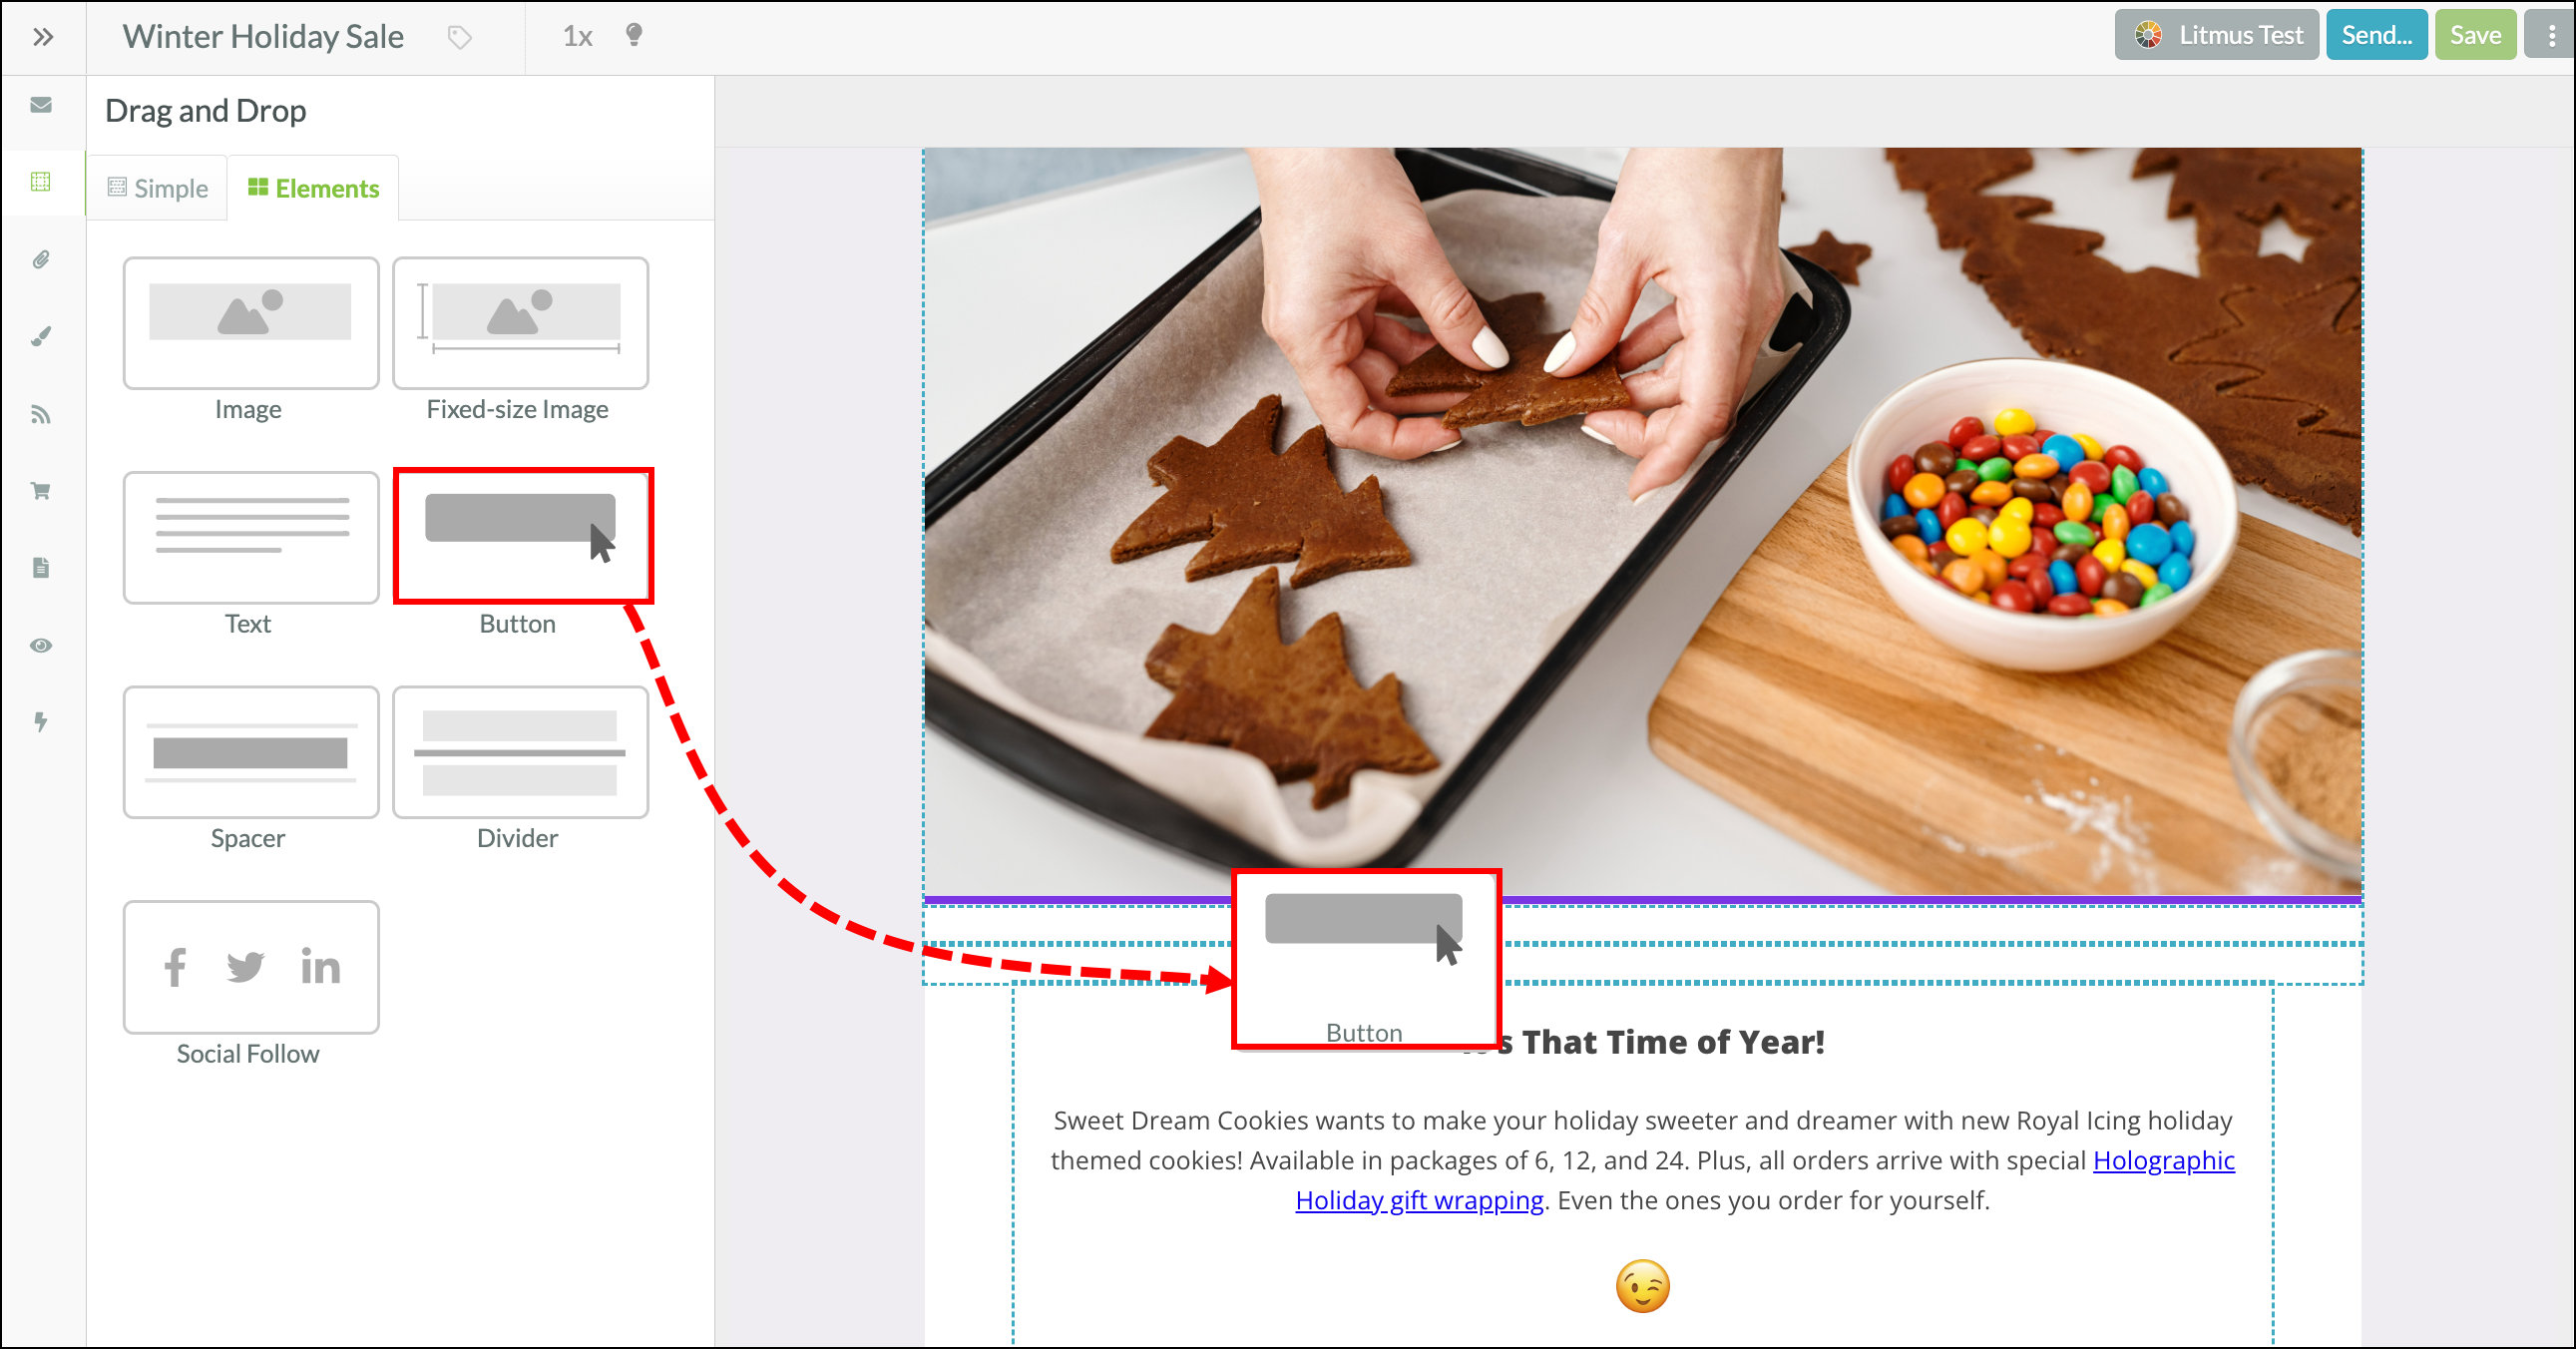
Buttons can be added above a layout block, below a layout block, above an element, or below an element. Simply drag the button element and the purple line will help guide you.
Copyright © 2026 · All Rights Reserved · Constant Contact · Privacy Center