Forms are the primary way that Lead Gen & CRM receives information regarding a potential lead. This information can then be used to send an email to the lead and begin the lead nurturing process.
On the Forms page, you can evaluate the performance of your forms. The data is organized in both a chart and table format and can be exported to a .CSV file.
|
Important: This article provides information on viewing, configuring, and exporting form data. Refer to Using Lead Gen & CRM Forms for information on creating forms.
|
| Administrators | ✓ | |
| Company Managers | ✓ | |
| Marketing Managers | ✓ | |
| Sales Managers | ||
| Salespersons | ||
| Jr. Salespersons |
| Tip: Are you looking for information about Constant Contact’s Email and Digital Marketing product? This article is for Constant Contact’s Lead Gen & CRM product. Head on over to the Email and Digital Marketing articles by clicking here. Not sure what the difference is? Read this article. |
The Forms page is the primary gateway to all form information in Lead Gen & CRM.
Click Forms from the navigation bar along the left side to access the Form Insights page.
By default, the Forms page displays all form submissions over the previous 60-day period.
The Forms page is split into two distinct sections: Submissions and List. Each section deals with forms and leads in different ways.
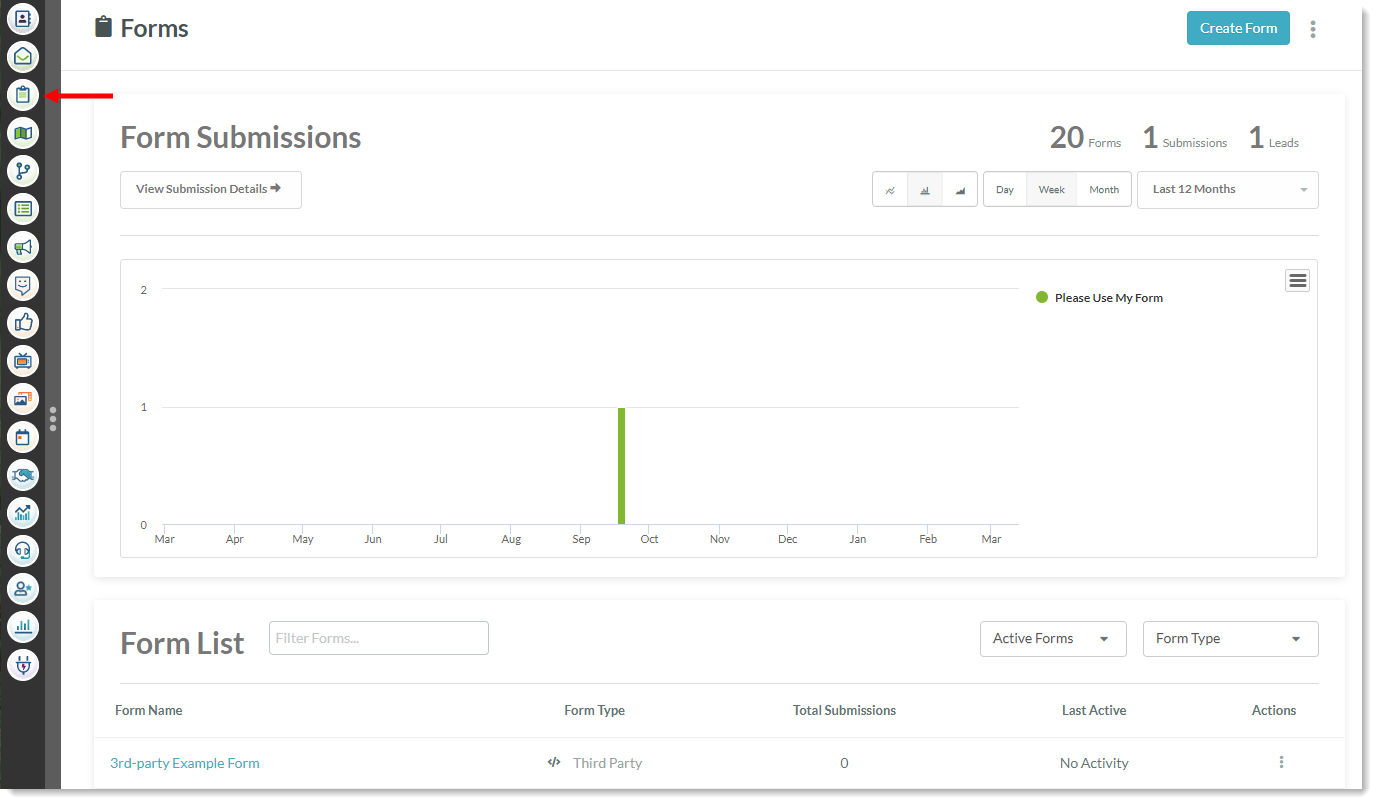
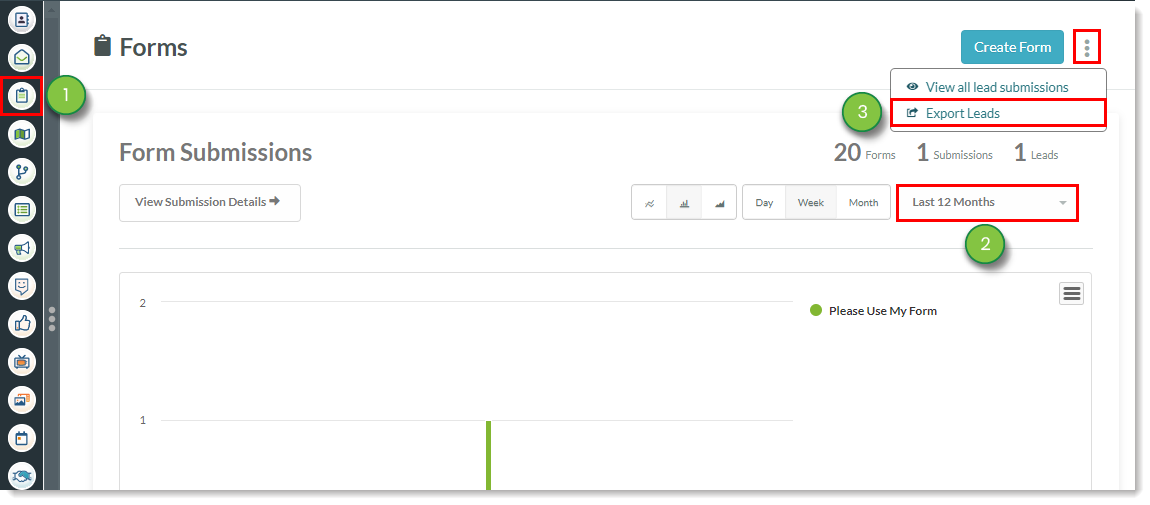
The Forms page features a chart that displays form submission metrics. It shows the Forms Submissions chart, which displays information on all of your forms over a given period of time. This chart is quick indication of how your forms are doing. In addition, the chart displays the total number of unique leads and the total number of times that your forms were submitted.
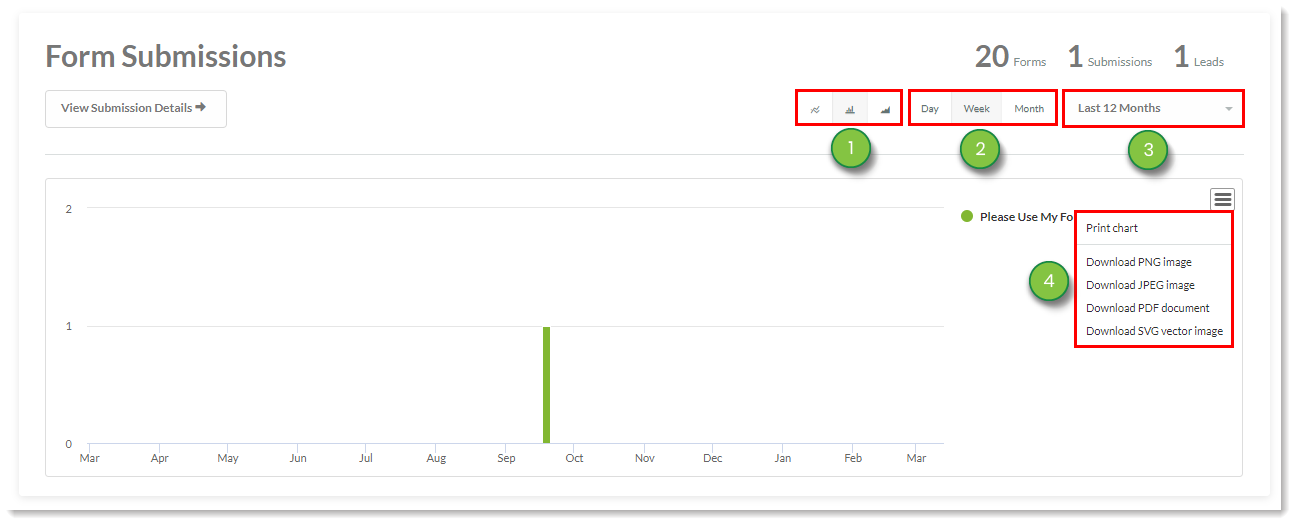
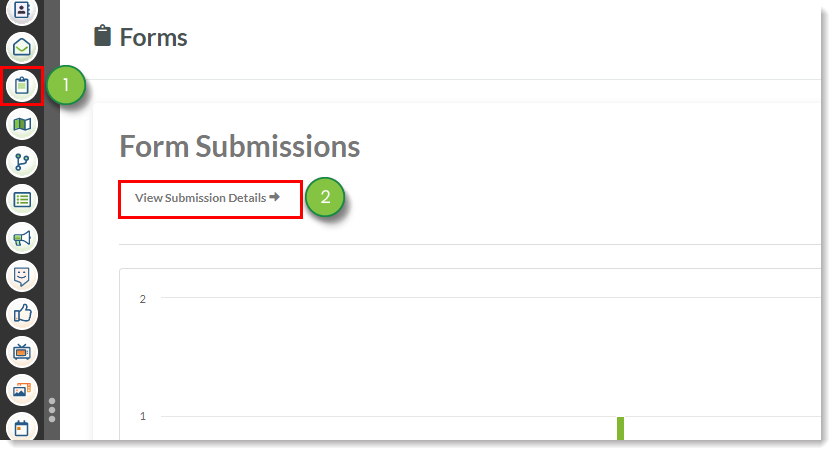
Once configured, this chart can be printed or saved. To view, configure, and save this chart, click Forms in the left toolbar:
The Form Submissions chart displays information on all of your forms. However, you may want to see how individual forms are performing. You can view a breakdown of form details and view performance on a form-by-form basis.
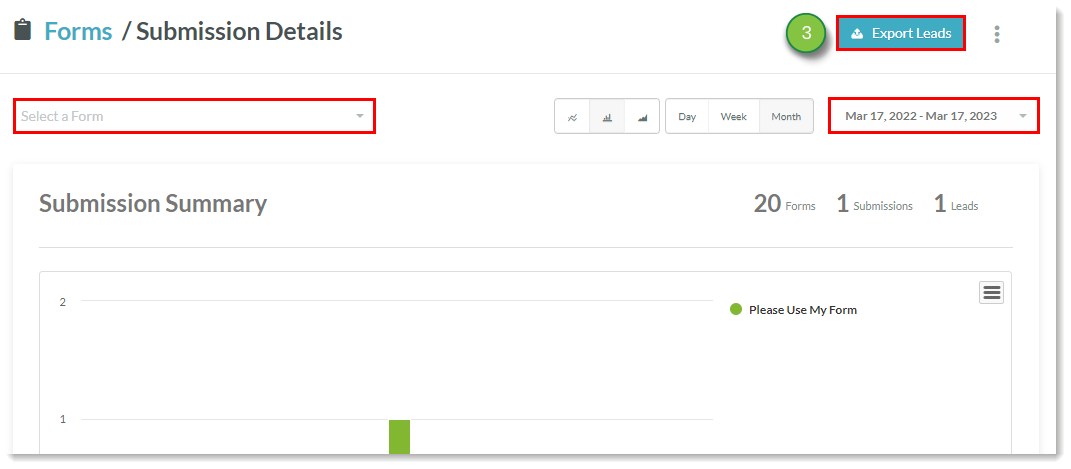
Click View Submission Details while viewing the main Forms page to open the Form Submission Details page.
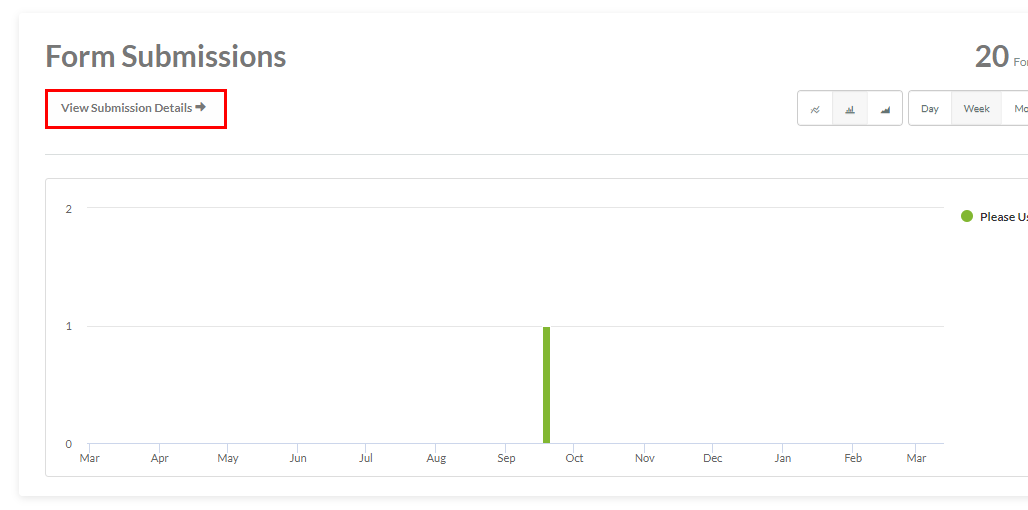
The Form Submission Details chart, much like the main Form Submissions chart, details information about your forms over a given period of time. However, it differs in that it provides a breakdown of those leads who have filled out your forms.
By default, the table will show all leads who have submitted any form over the previous 60-day period. Narrowing the display parameters by selecting specific forms will show the leads who filled out those forms.
Like the main Form Submissions chart, the Form Submission Details chart can be configured to show submission data over a given period of time. That data can then be saved for further use. To configure and save information in the Form Submission Details chart, do the following:

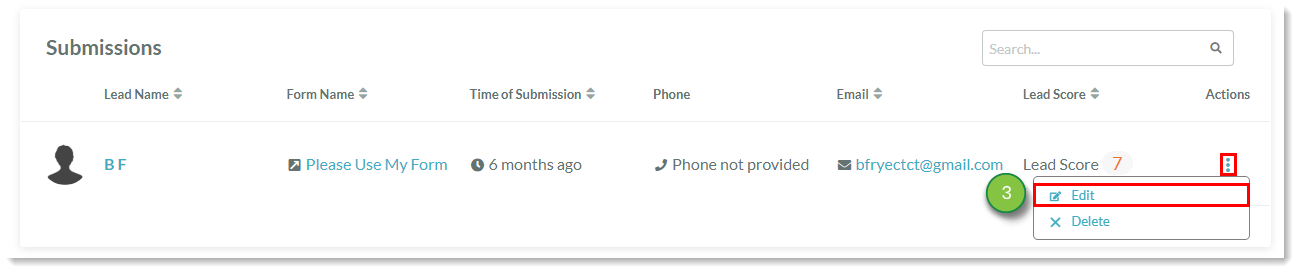
Once configured, the Form Submission Details page will display a table of leads who submitted the selected form or forms over a given period of time. The table includes the following information:
• Leads' names
• Submitted form names
• Time since forms were submitted
• Leads' phone numbers
• Leads' email addresses
• Lead scores
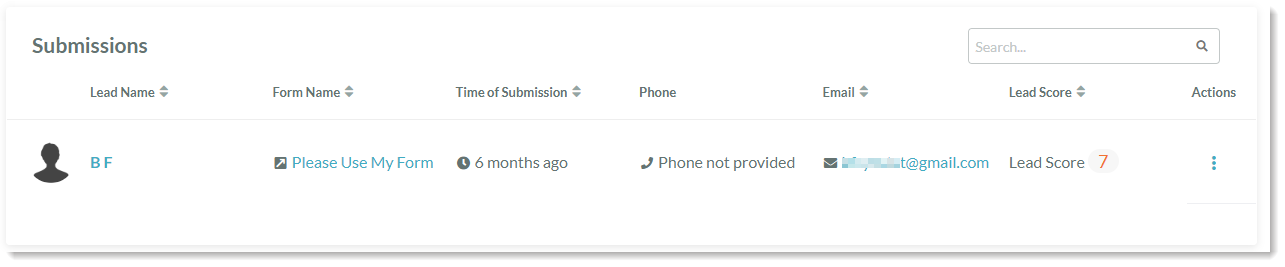
Clicking a lead's name will open that lead's individual record. Clicking a form's name will open that individual form.
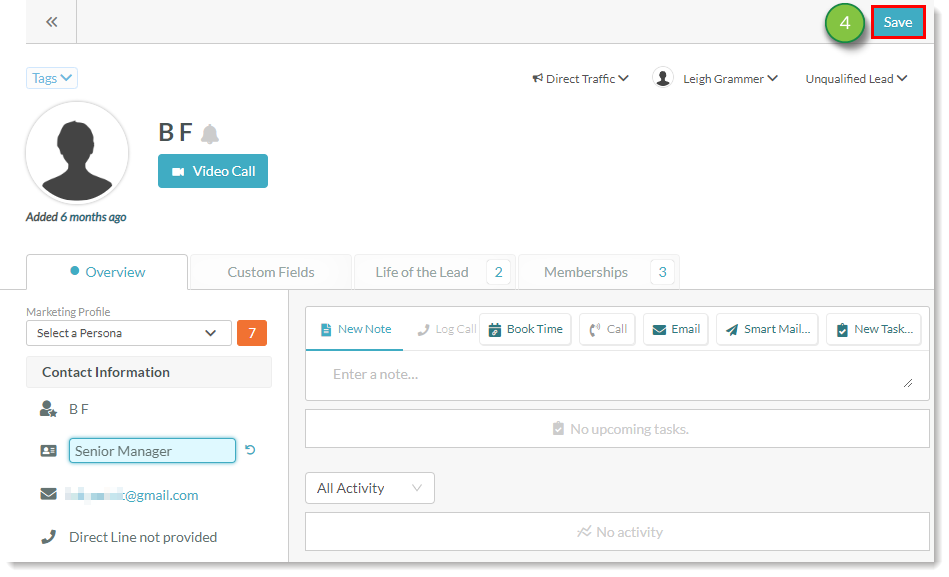
The Form Submission Details page provides you with a way to quickly edit lead information in a lead's individual record. To edit lead information, do the following:
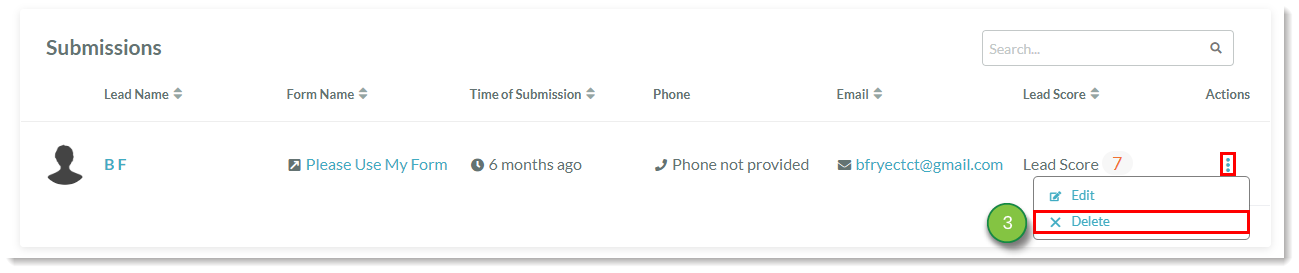
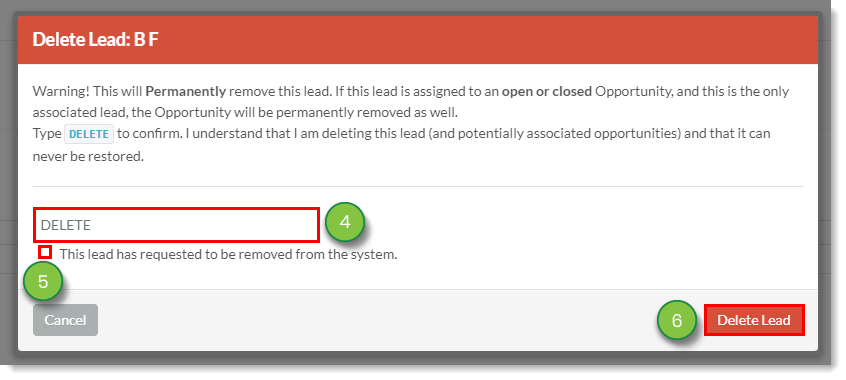
The Form Submission Details page provides you with a way to remove lead records from your system. To delete leads, do the following:
The Form List table provides an overview of how forms are performing. By default, all forms are displayed. Displayed forms can filtered by name, activity, or type. can be viewed individually or as a group. To filter forms in the Form List table, do the following:
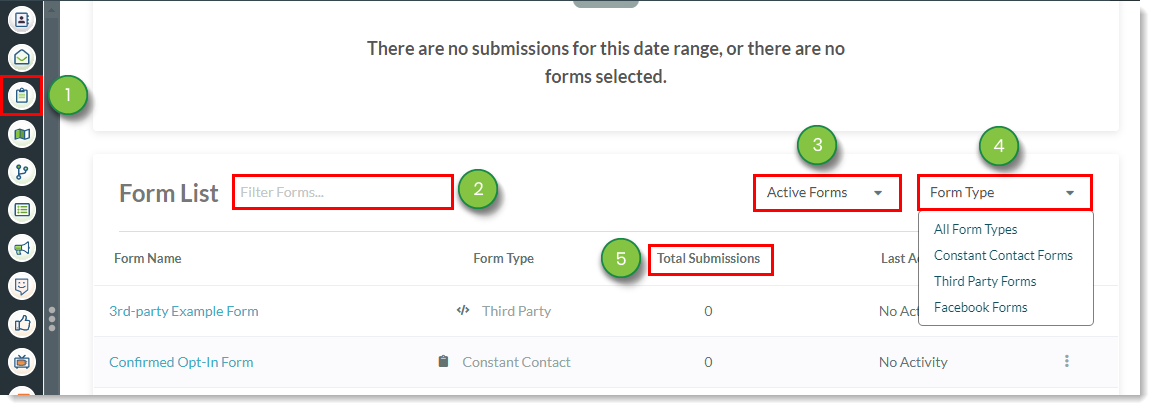
The Form List table provides information for all active and inactive forms. It provides a more direct, text-based display of form submission data.
The Form List table shows the following information for forms:
• Form names
• Form types
• Total form submissions
• Time since forms were last submitted
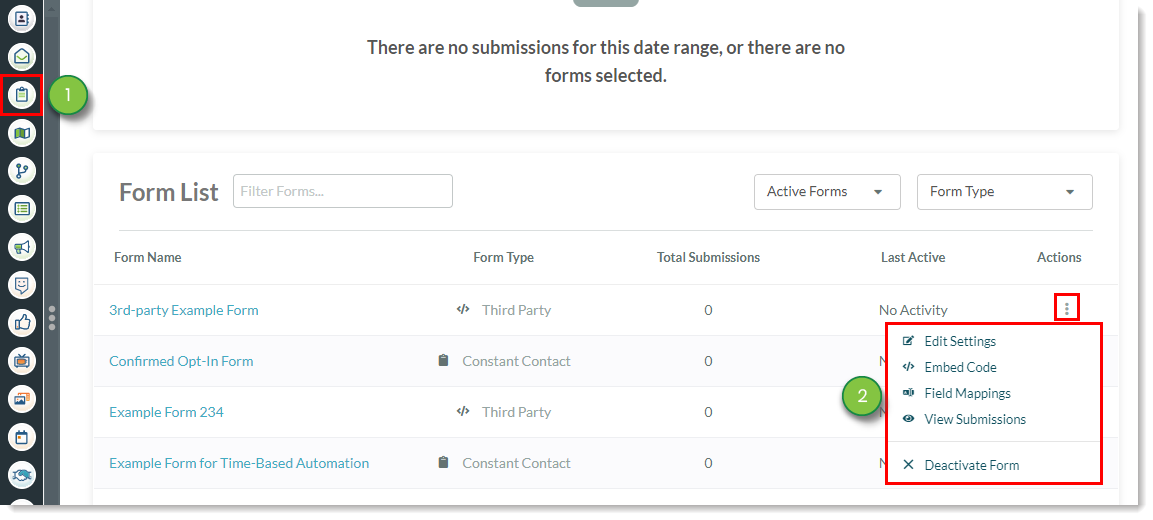
In addition to information on individual forms, the Forms List provides different actions for deactivating, viewing, embedding, or directly modifying a form. To manage forms, do the following:
| Option | Description | |
| Embed Code |
|
Opens form embed code parameters. |
| Edit Form |
|
Directly modify the form. |
| Preview Form |
|
Previews the form in a new browser tab. |
| View Submissions |
|
Previews the form in a new browser tab. |
| Deactivate Form/ Reactivate Form |
|
Deactivates or reactivates the form, depending on activity status. |
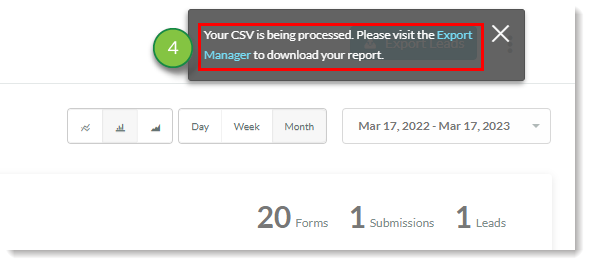
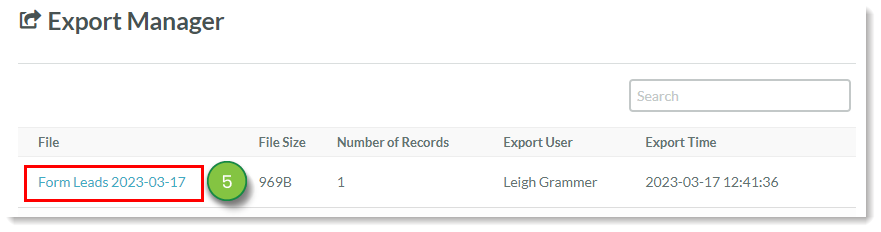
Form and lead data can be exported and downloaded for future reference. This can be done throughout the Forms page.
To export form and lead data from the Forms page, do the following:

To export form and lead data from the Form Submission Details page, do the following:
Copyright © 2026 · All Rights Reserved · Constant Contact · Privacy Center