This article will help you to navigate the new email editor.
Note: To learn more about adding text in the old email editor read Adding Text to Emails.
Users:
| Administrators | ✓ | |
| Company Managers | ✓ | |
| Marketing Managers | ✓ | |
| Sales Managers | ||
| Salespersons | ||
| Jr. Salespersons |
| Tip: Are you looking for information about Constant Contact’s Email and Digital Marketing product? This article is for Constant Contact’s Lead Gen & CRM product. Head on over to the Email and Digital Marketing articles by clicking here. Not sure what the difference is? Read this article. |
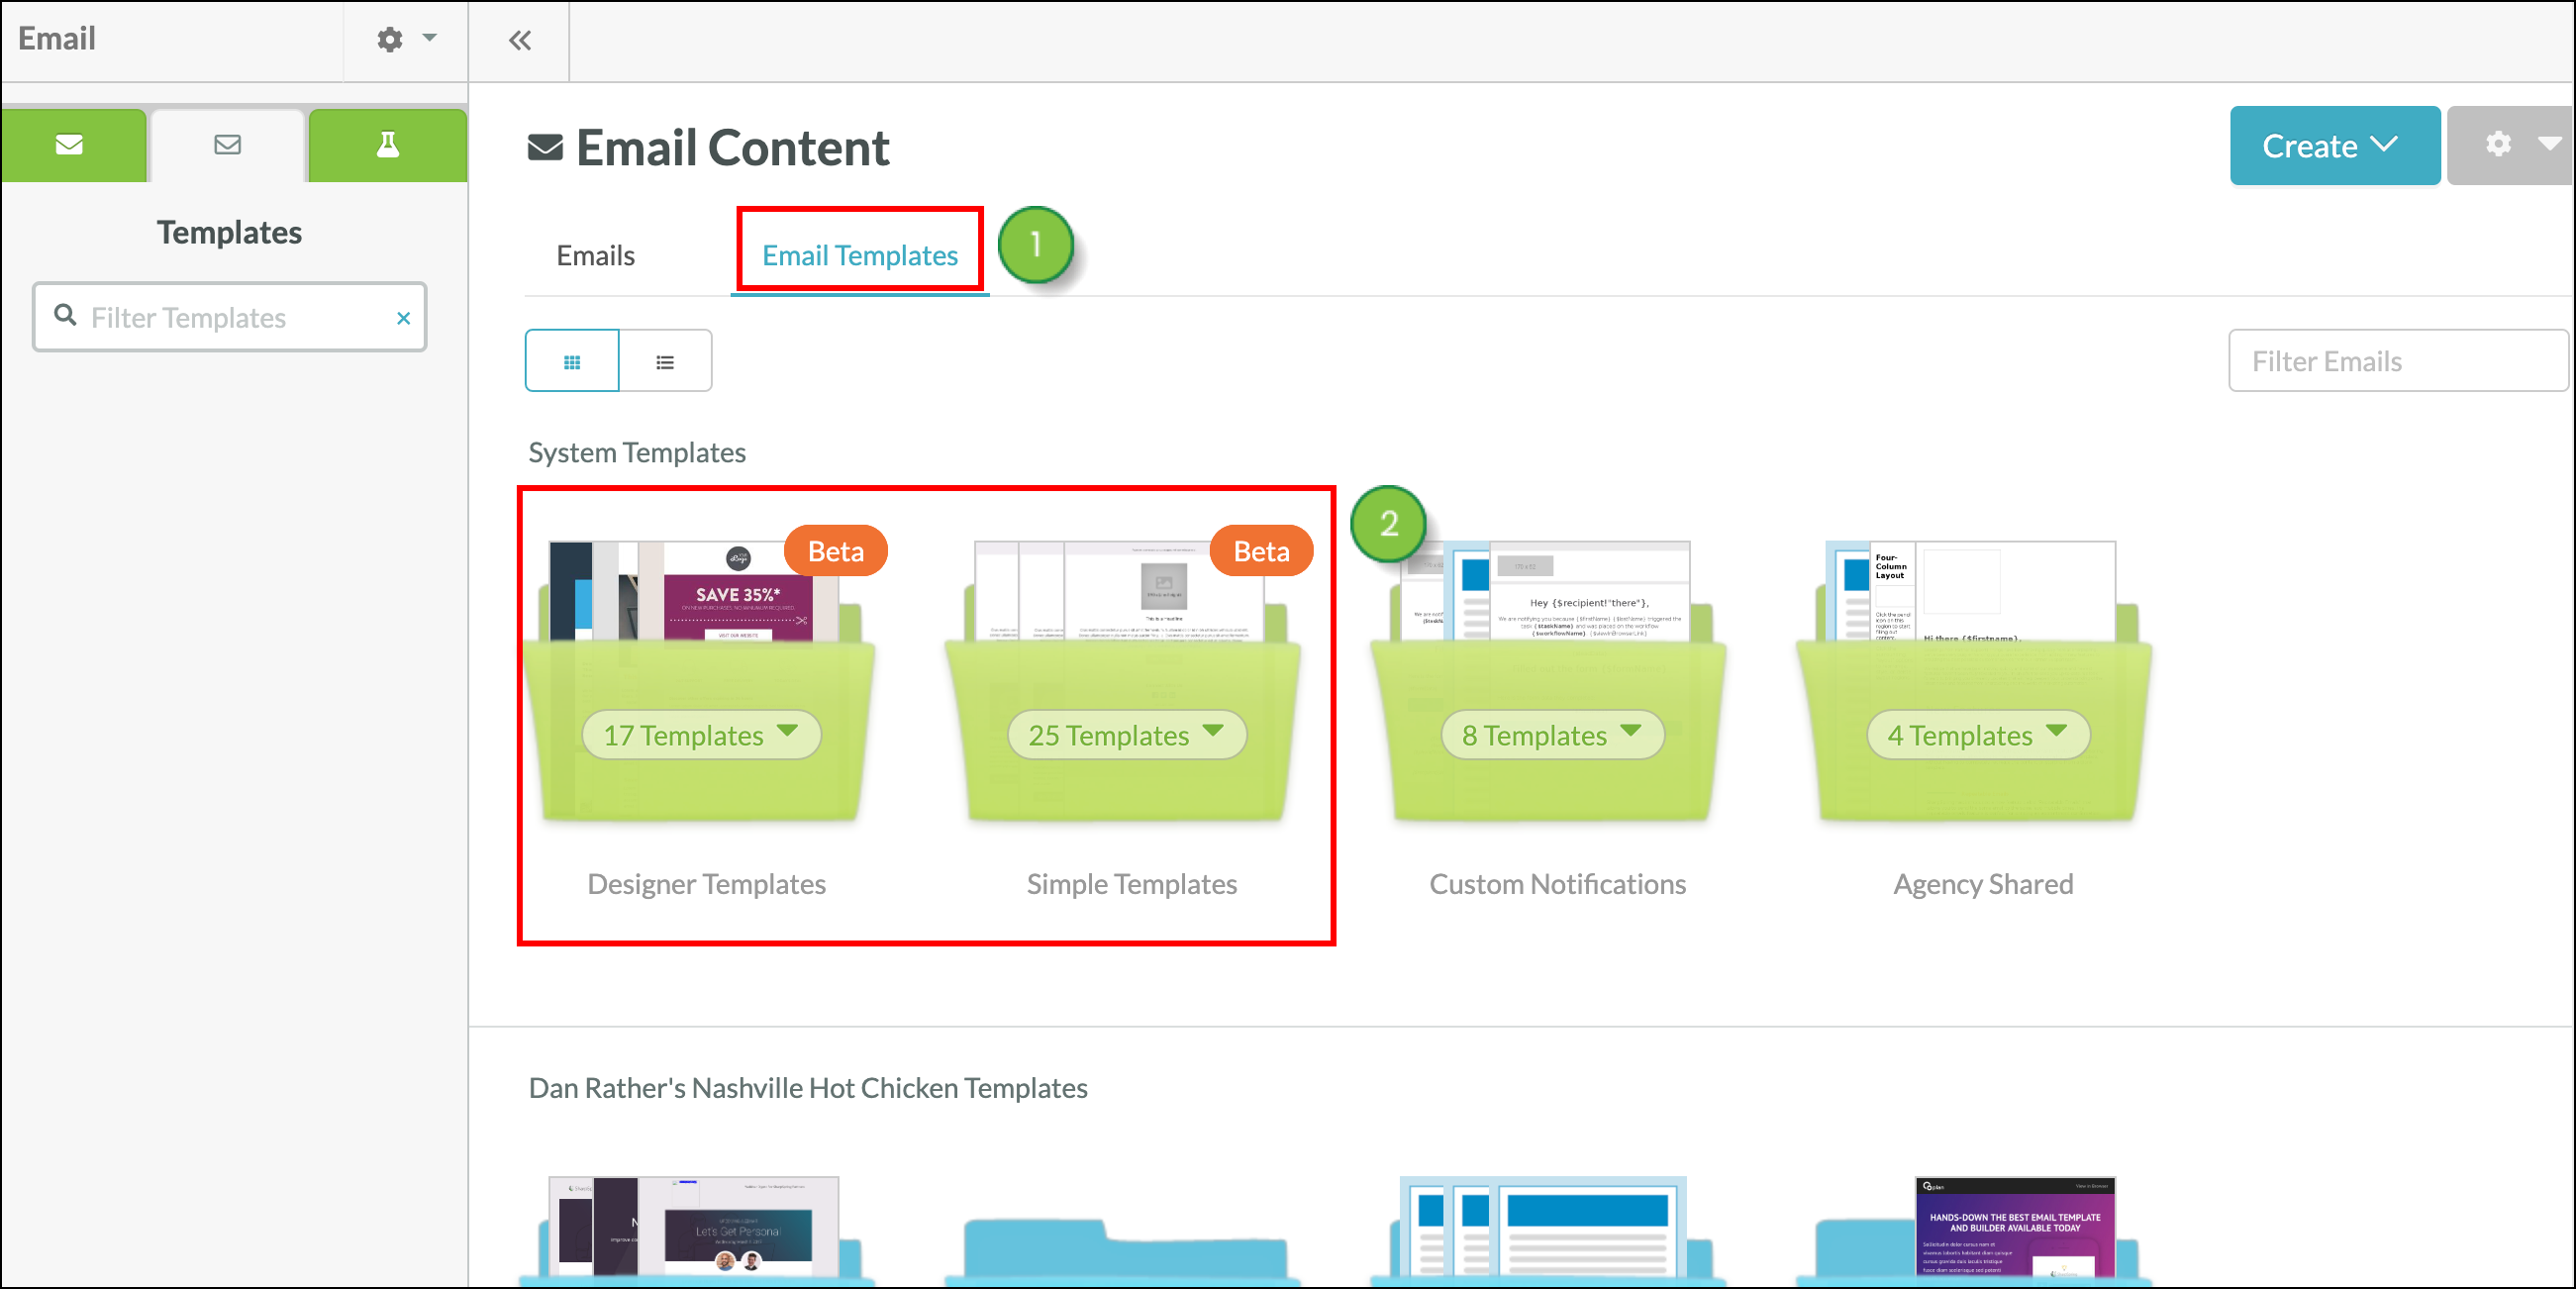
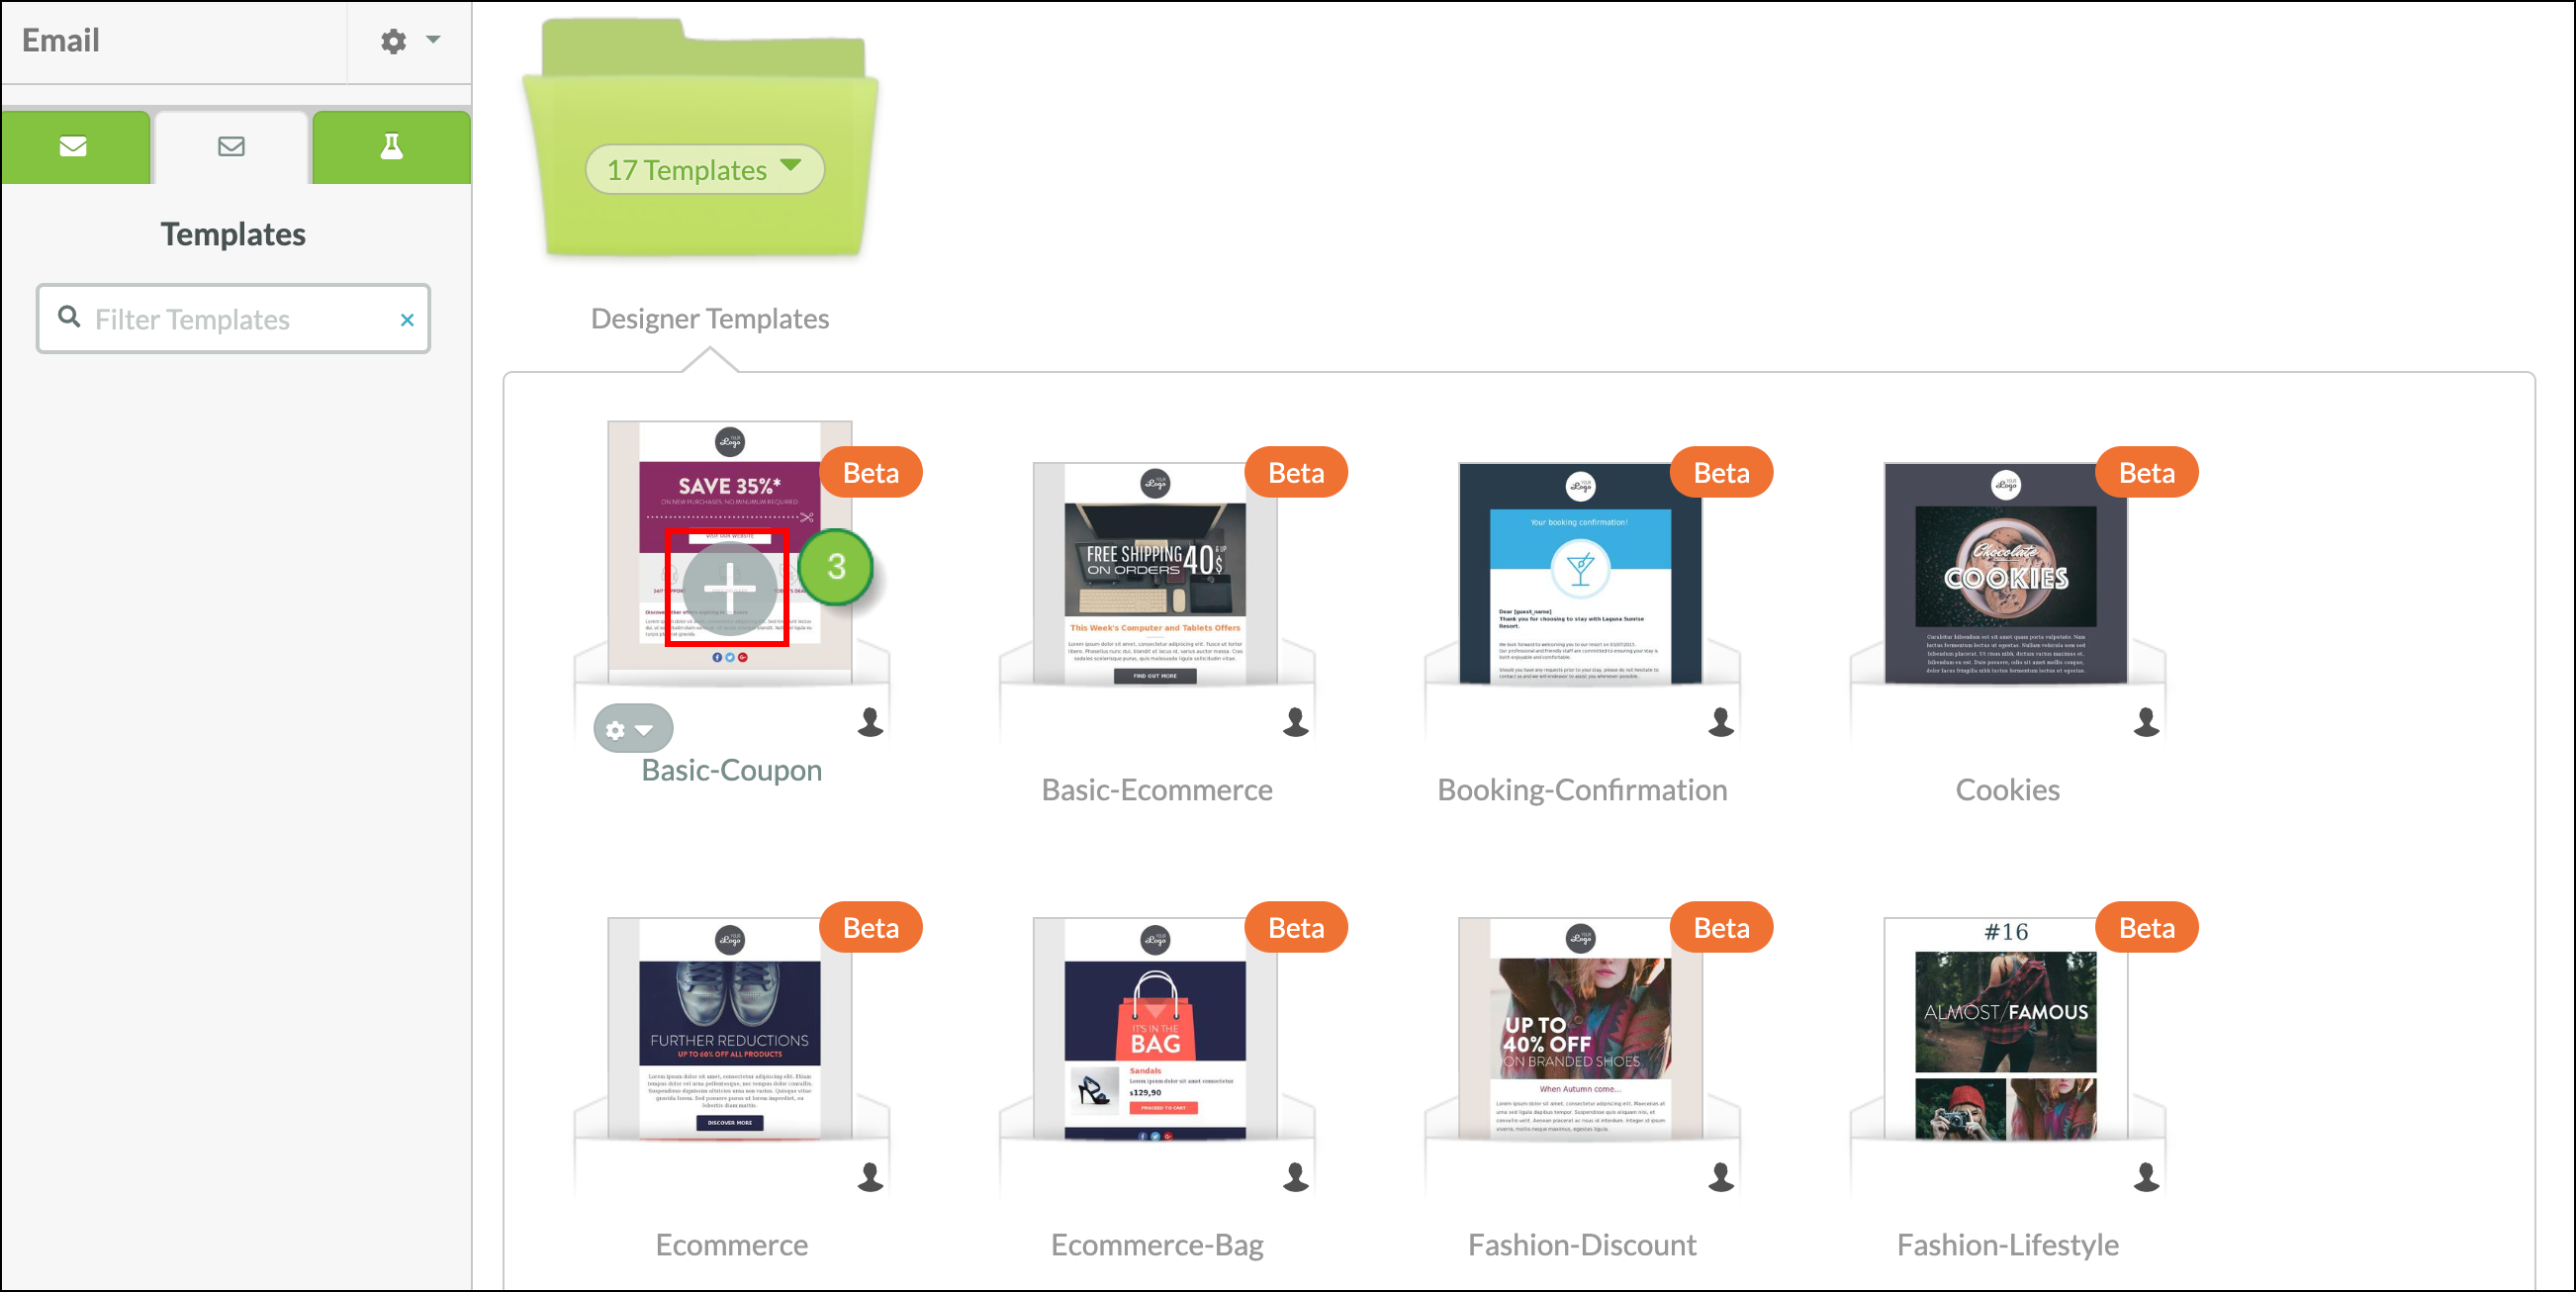
These text elements are available in the new email editor. Read Overview of the New Email Editor to learn more about the included features and to find out how to build emails. Navigate to the new editor by starting from the Email category.
The Title, Paragraph, List, and Menu elements are all text elements.
| Element | Description |
| Title | Inserts a single-line H1 text title into your email. |
| Paragraph | Inserts a multi-line block of editable text into your email. |
| List | Inserts an unordered (bullet point) list into your email. Change to an ordered (numbered) list or modify the bullet point icon style. |
| Menu | Inserts a horizontal navigation menu into your email. Add labels and links to your menu items. For example, you can include Home, Products, About, and Contact Us in your email menu element with links to the associated pages. |
To insert a text element into your email, drag and drop the selected element using the blue lines to guide you. 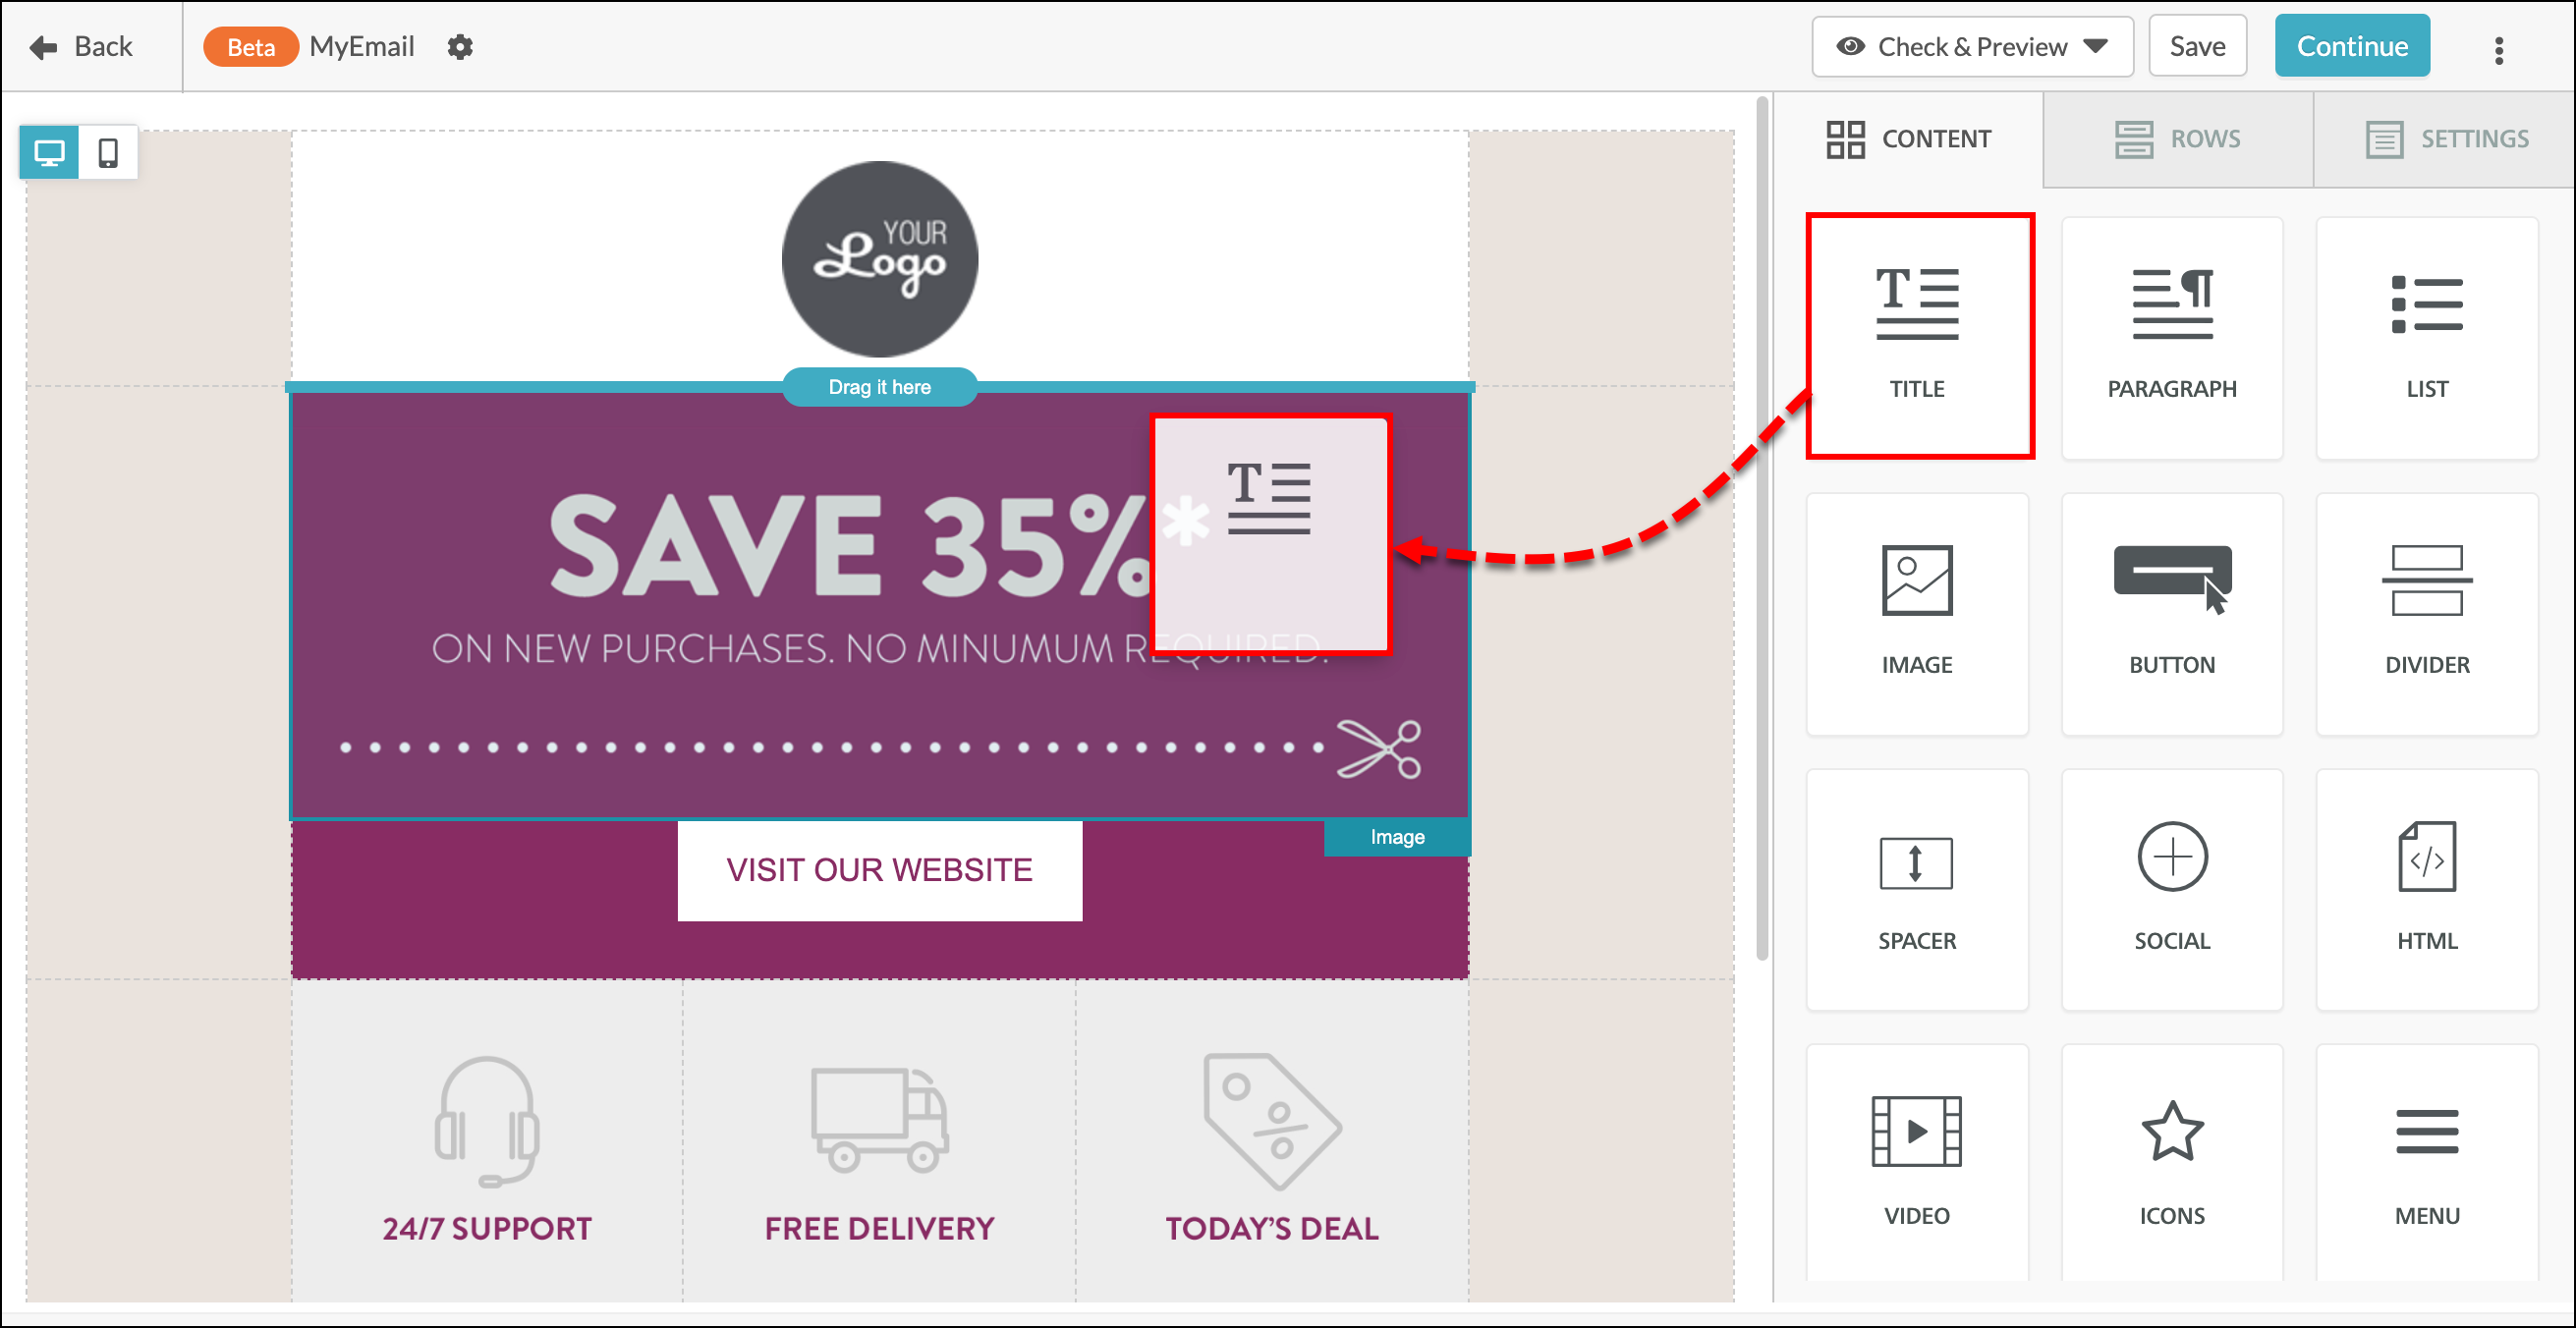
Click into the text content element to edit the text. Above your content element, text edit options will appear. To the right, a window will appear that allows you to modify the content properties and style of your text element.
Lead Gen & CRM now offers AI writing tools. Eliminate writer's block and write new taglines, headers, paragraphs, and titles with our easy-to-access Write With AI feature. AI is available in the new email editor for most text elements. 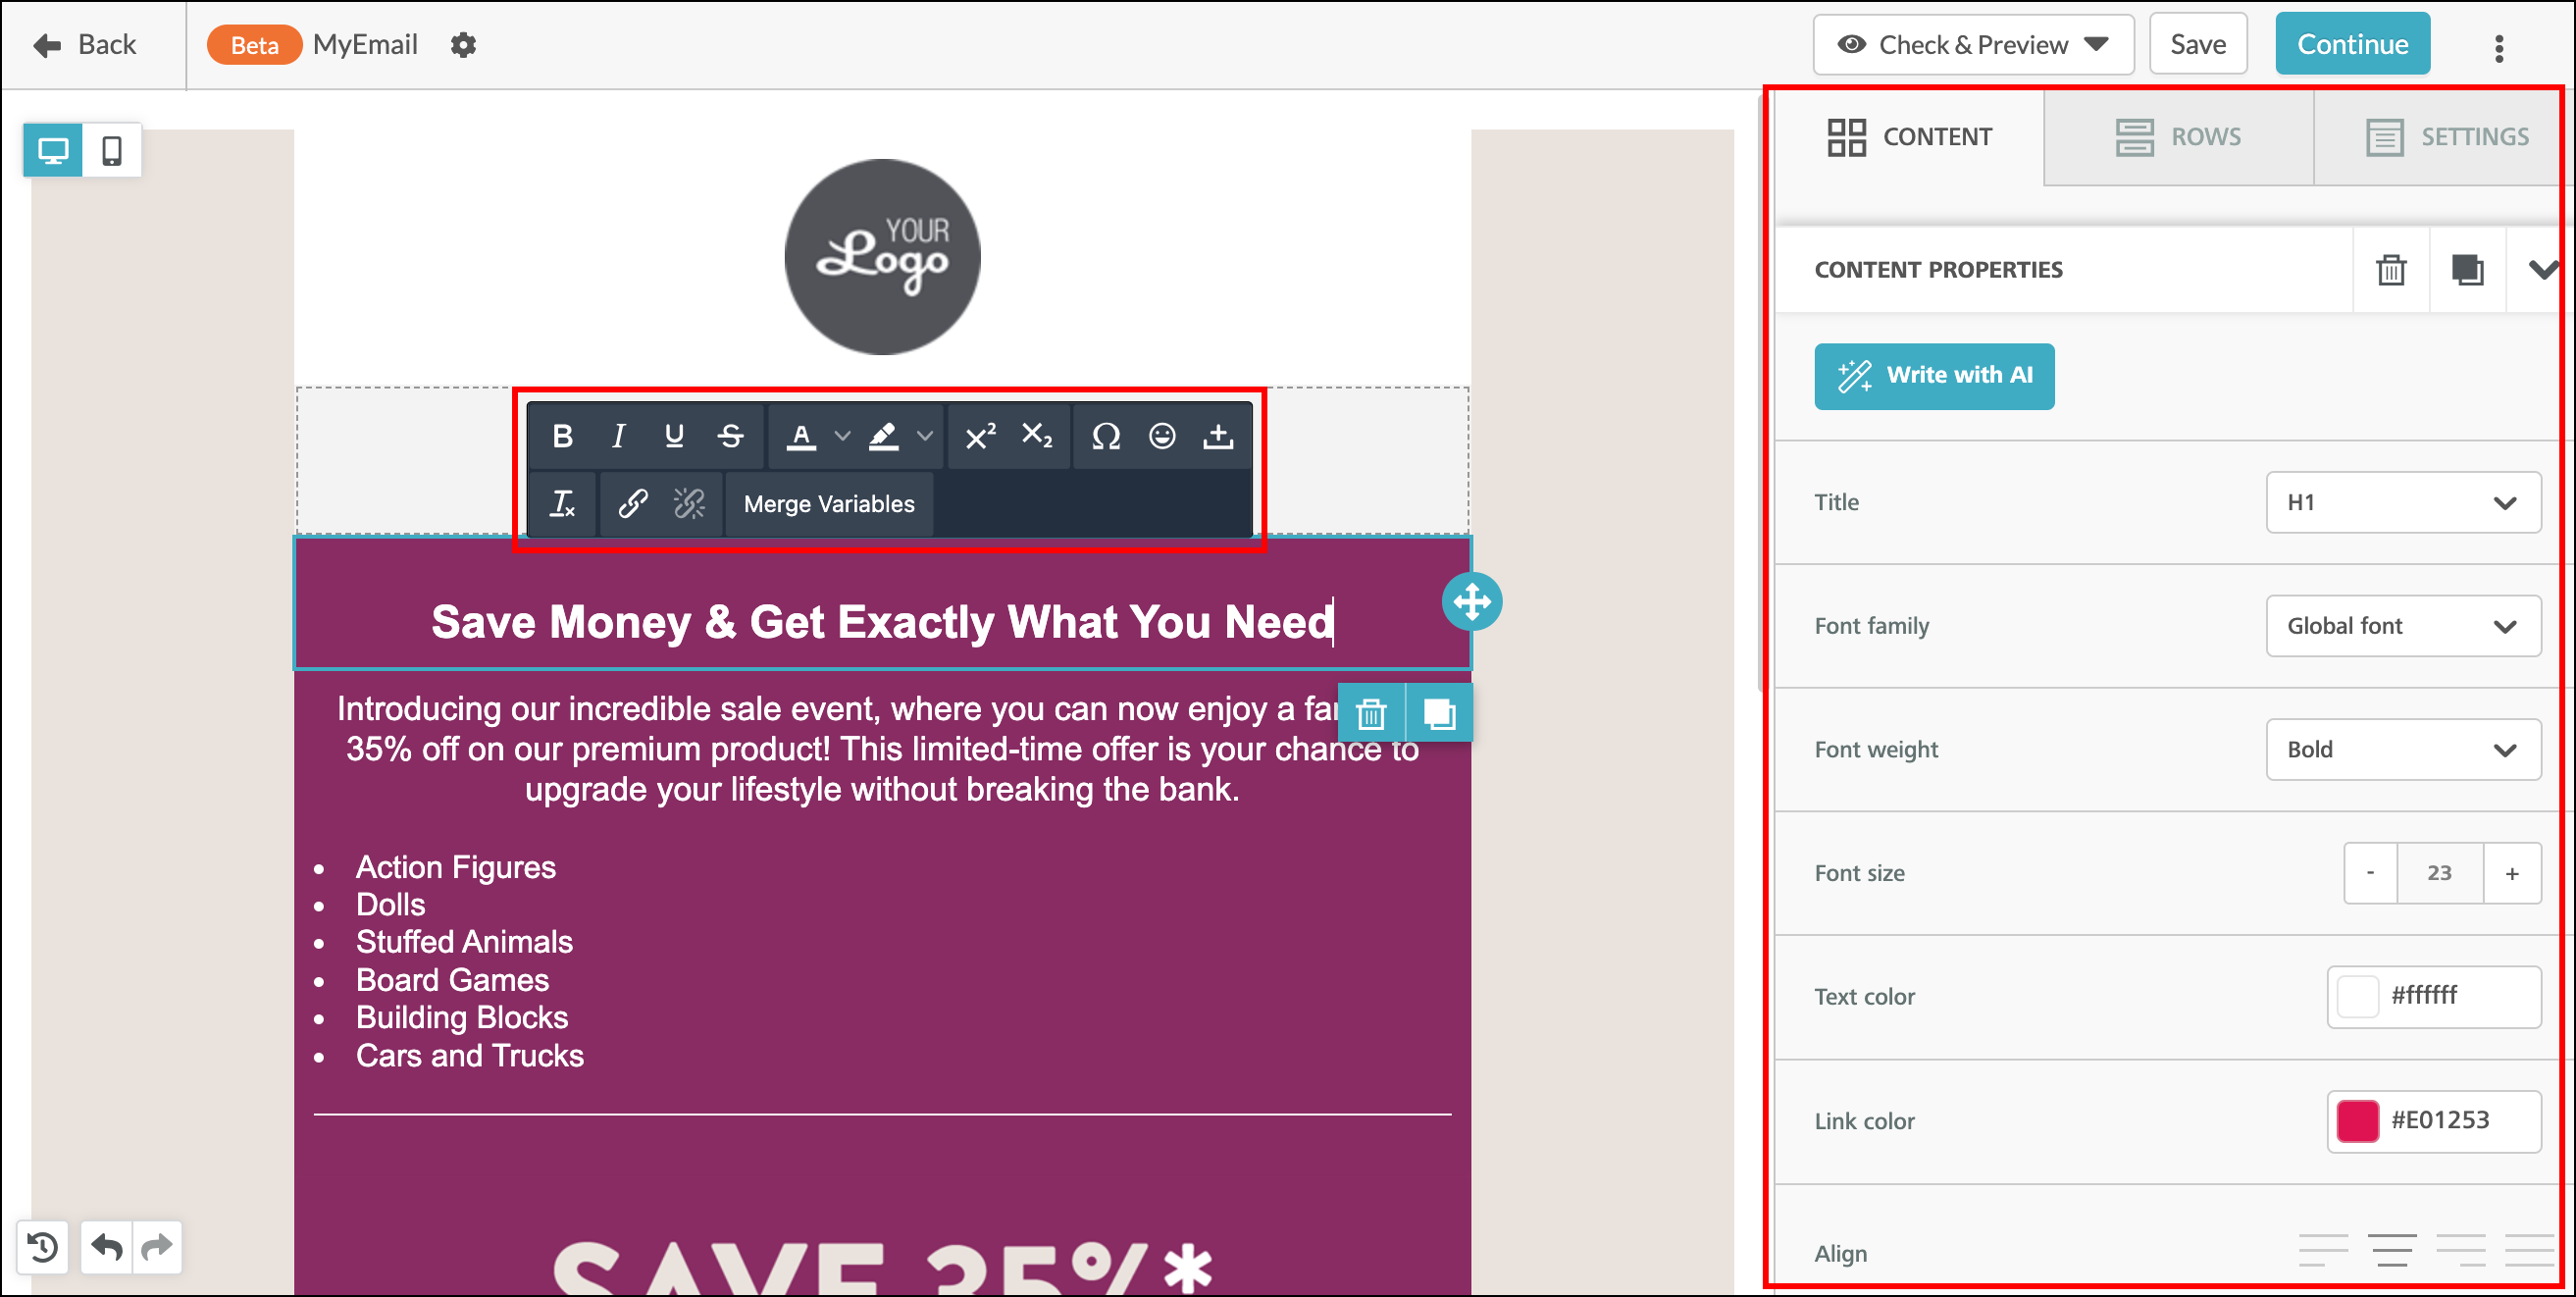
Note: if you want to minimize the text edit options that appear above your paragraph or title text content element, use the ![]() Expand / Collapse icon in the top right corner of the Content Properties window.
Expand / Collapse icon in the top right corner of the Content Properties window.
Note: Paragraph elements and Text elements provide two different text editing experiences with regard to Font Size and AI. Paragraph elements are used to create blocks of text that will contain the exact same Font and Font Size throughout, and have the "Write with AI" tool available for them. Text elements can be used to create formatting with text that contains varying sizes and types of Fonts throughout the text. Also, Text blocks do not have the "Write with AI" functionality available with them.
In the first section of your text edit options, you’ll find standard font styling options: Bold, Italic, Underline, and Strikethrough styling options.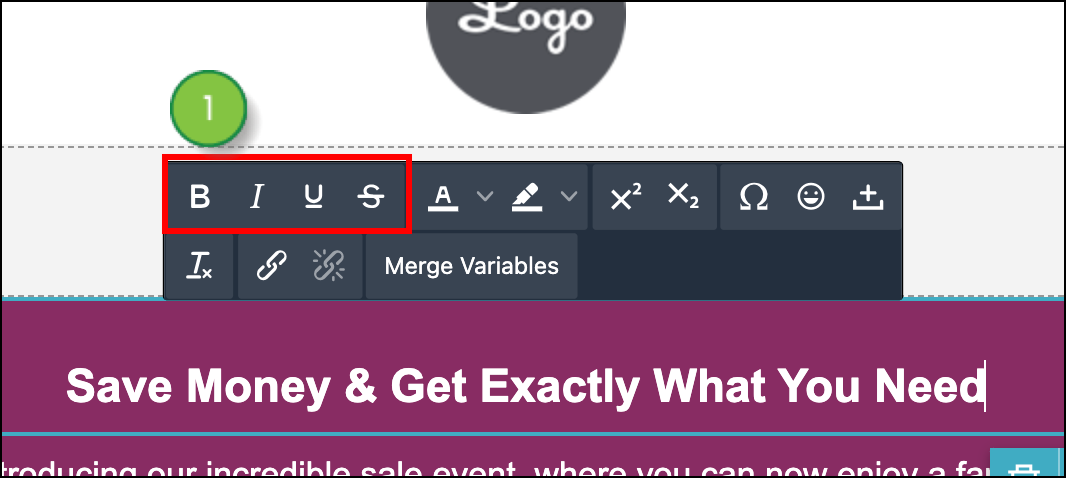
In the next section, modify text color and text highlight colors. You can select black, white, no color, or use the color picker for more advanced selection (RGB, HEX, and gradient color selection).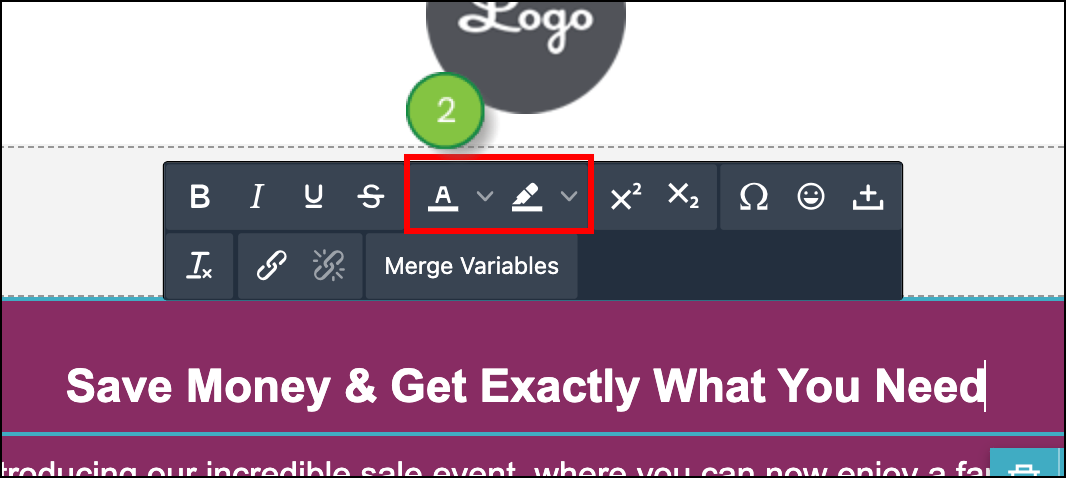
The next section allows you to insert subscript or superscript text, characters that are slightly below or above the normal line of your text. These characters will be smaller than the rest of your text. 
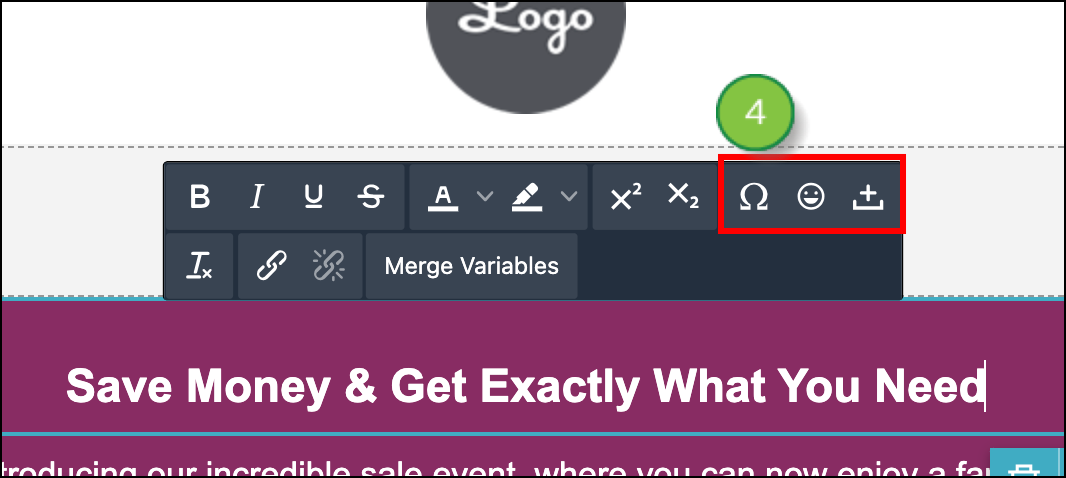
In the following section, select special characters, emojis, or add a space into your text element block. The following special characters are available:
The next option allows you to remove formatting from highlighted text. Make sure to first highlight the text you want to modify before clicking the button.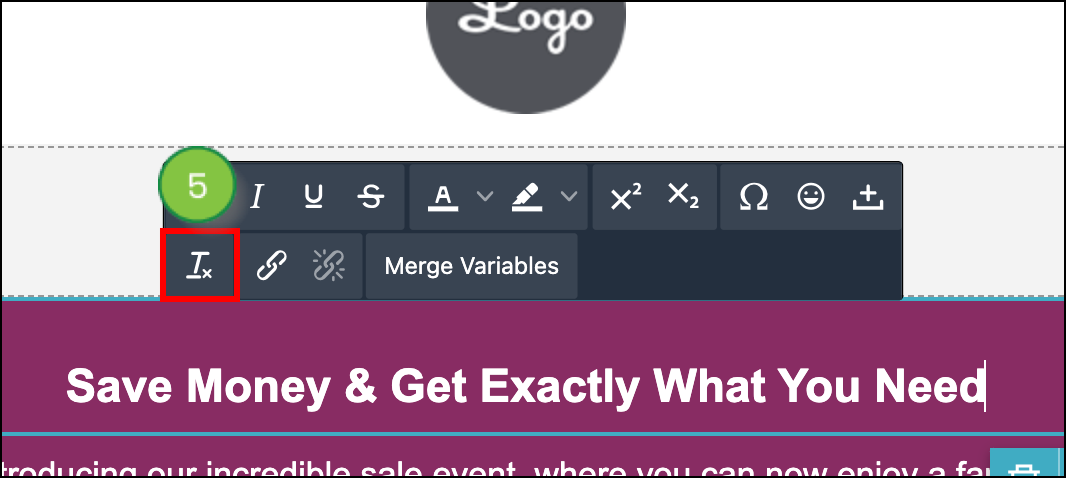
In the next section, add a link to highlighted text, or remove a link from highlighted text.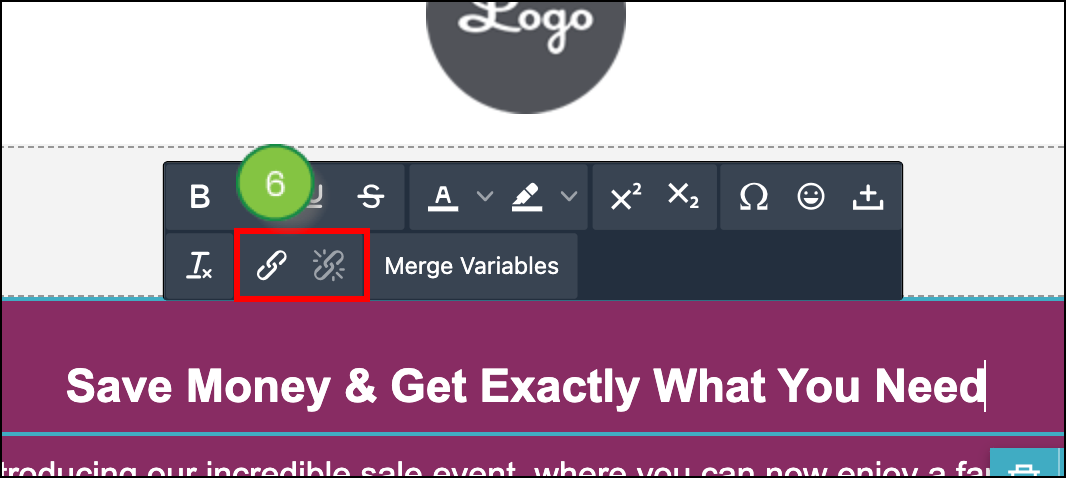
In the final section, insert a merge variable into your email. Merge variables make your content more dynamic, pulling from data in your Lead Gen & CRM instance. 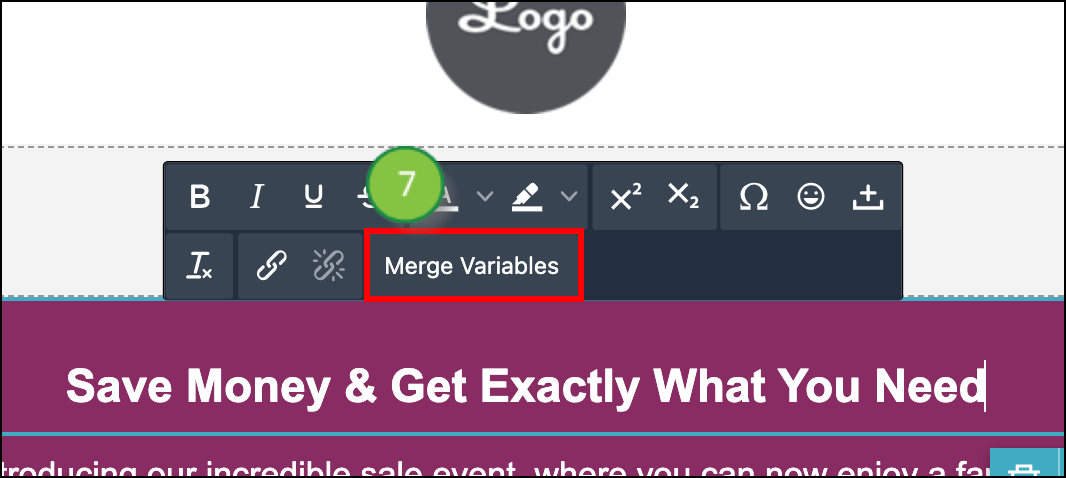
First, select the type of merge variable you need from the drop-down menu, then enter a Default Value. The default value will appear if we cannot locate any data for the merge variable.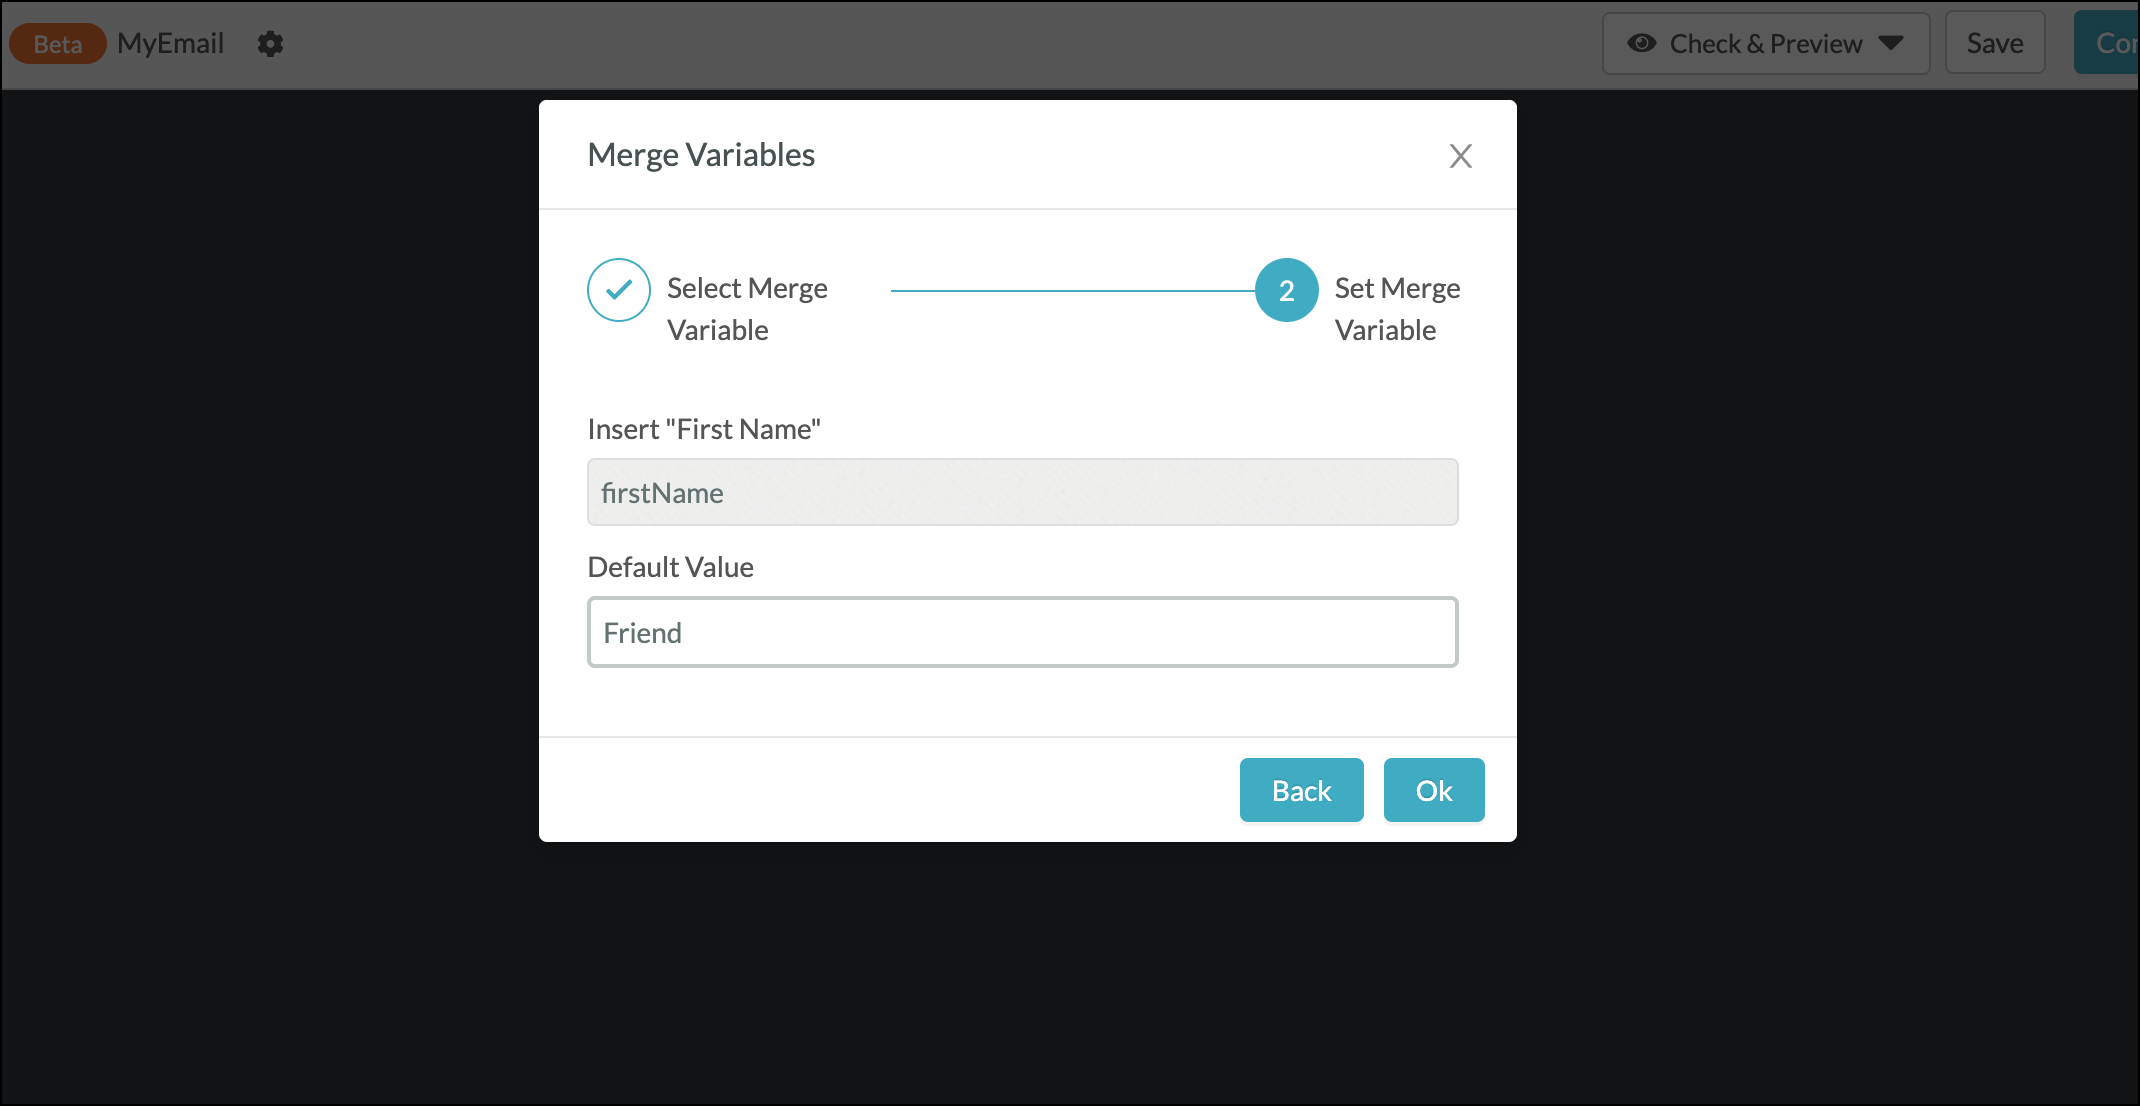
Available Merge variables include:
Your Custom Fields will also be available as Merge Variables.
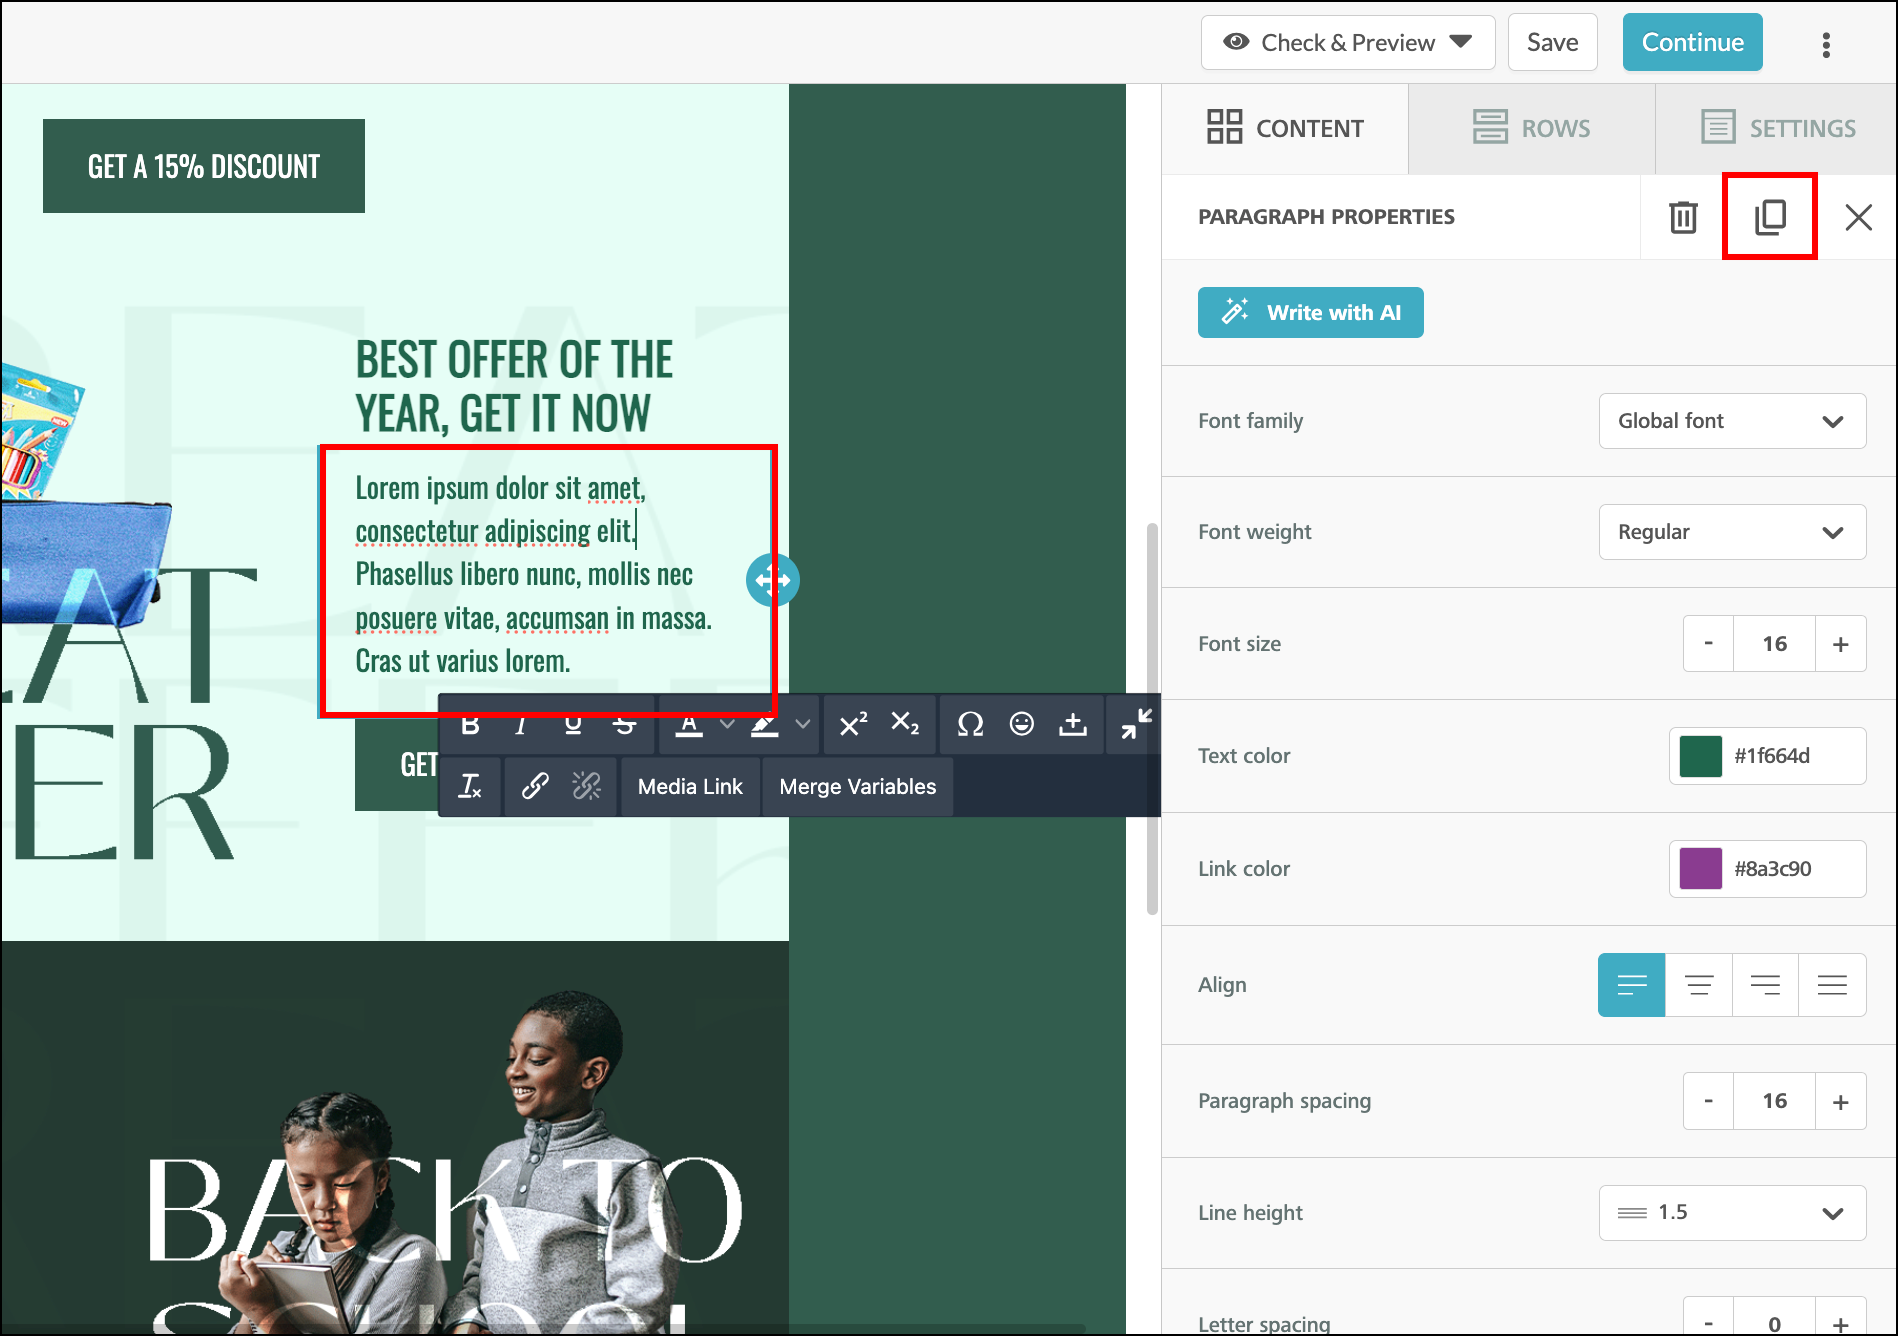
If you'd like to reuse some of the formatting from one of your text blocks, the easiest way to do so is to duplicate the block and then edit the content inside of it.
Tap the text block and then tap the Duplicate button in the top right corner of the email editor.
To add a new menu item, click the ADD NEW ITEM button.
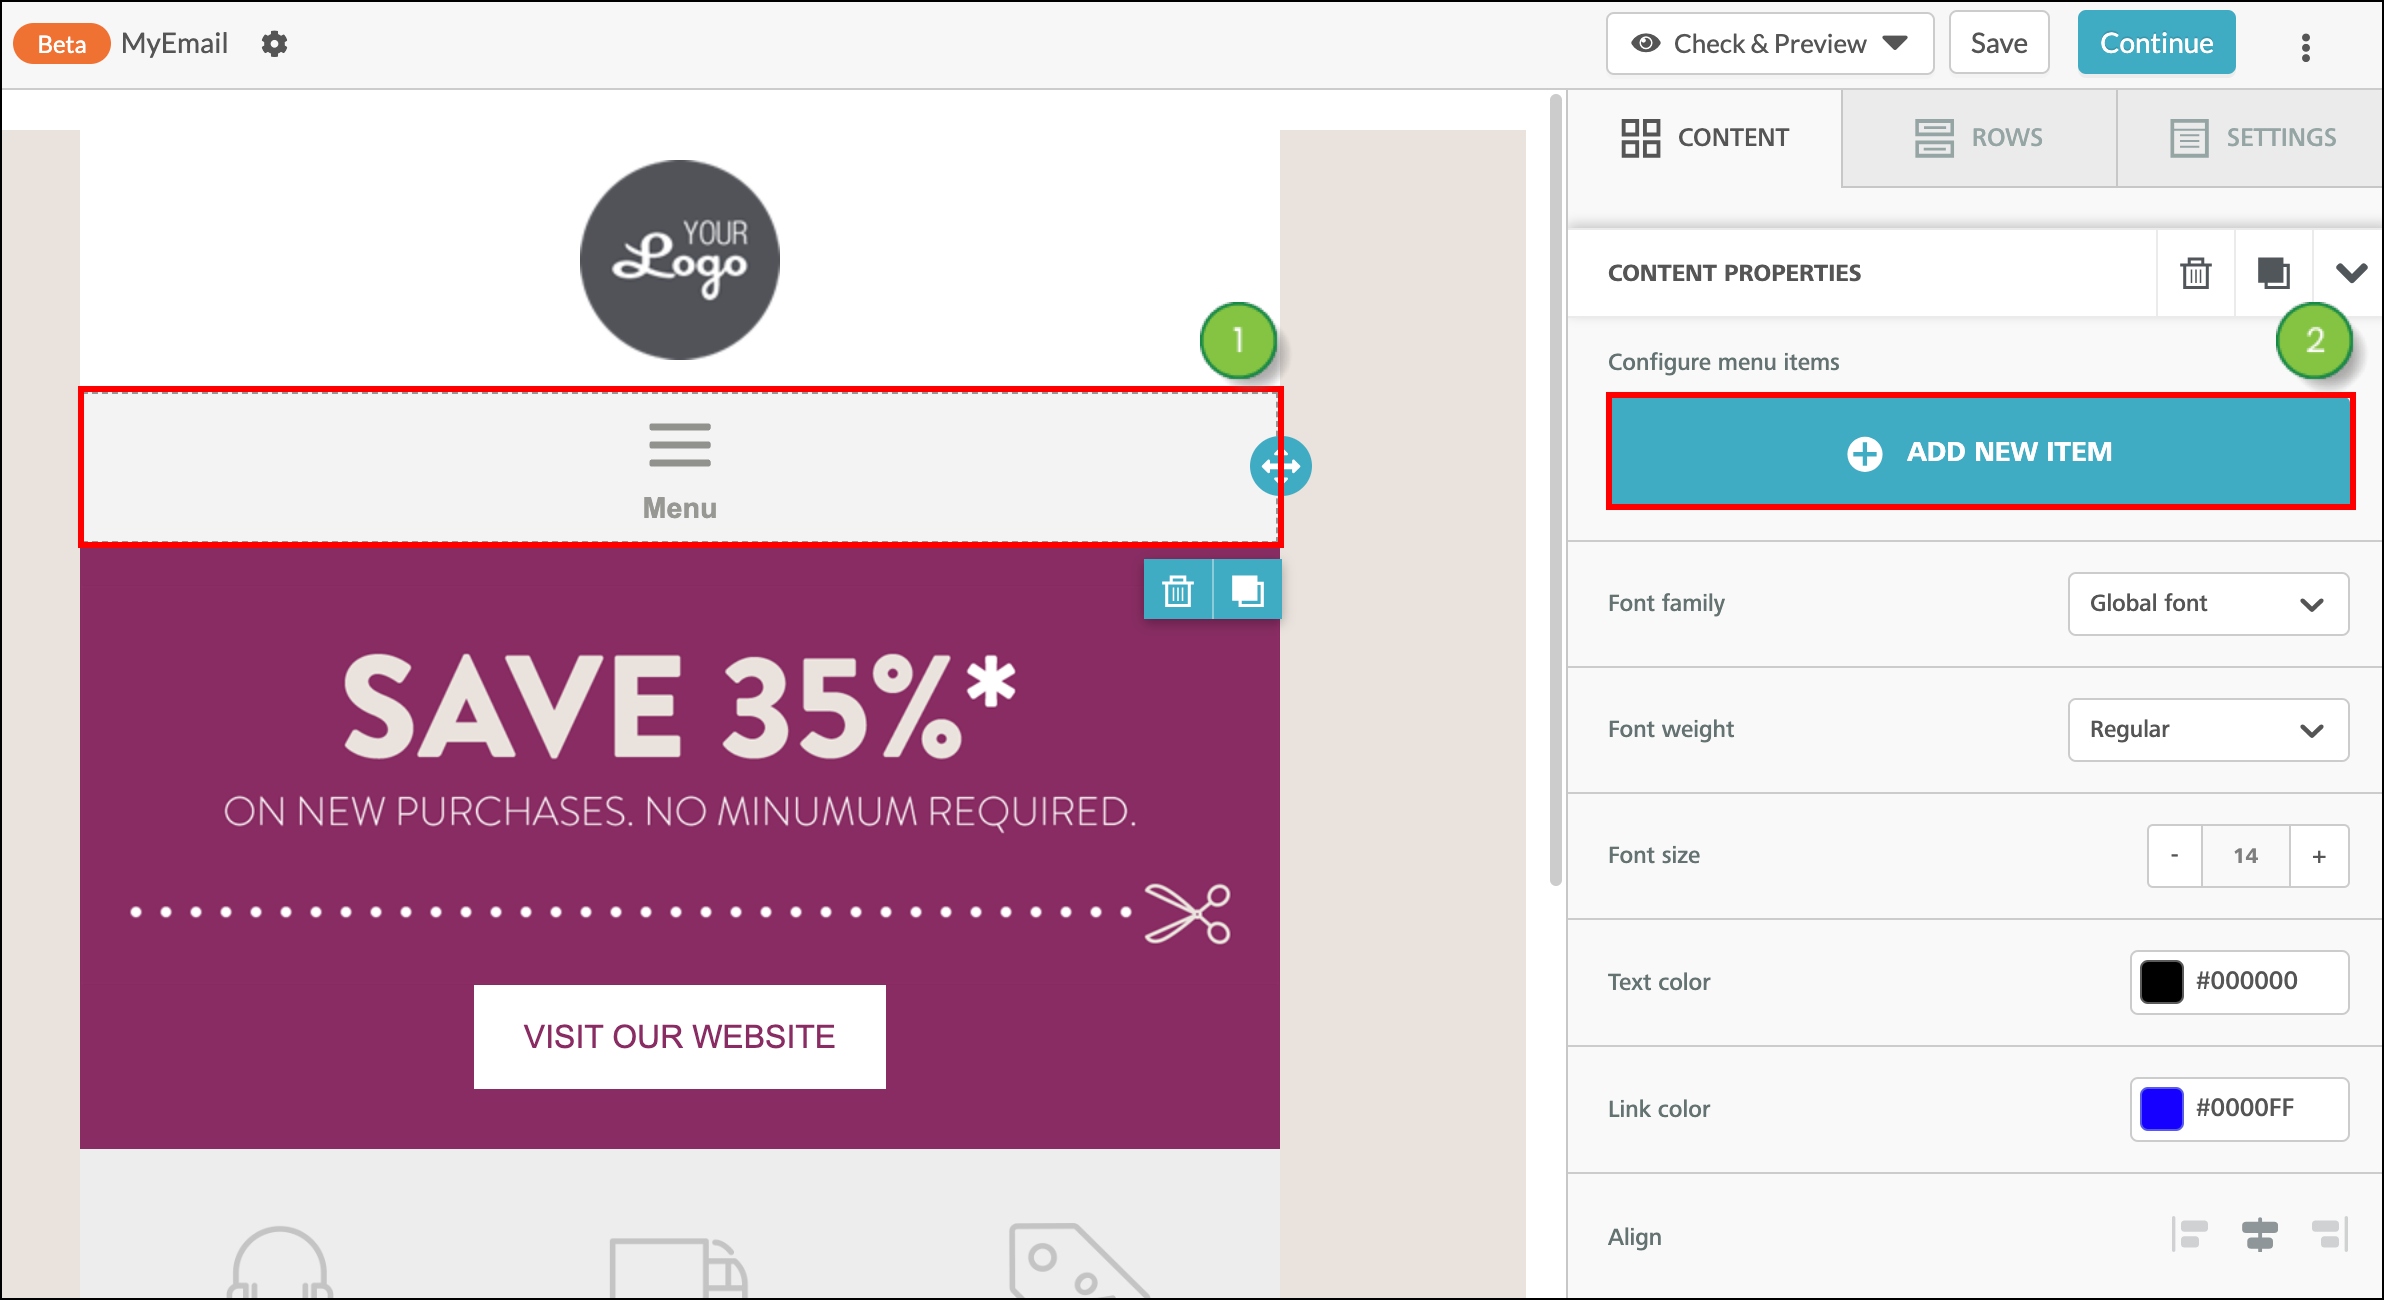
The content properties tab will allow you to modify text for the entire content element at once (use the text edit options explained above to modify just some of the content).
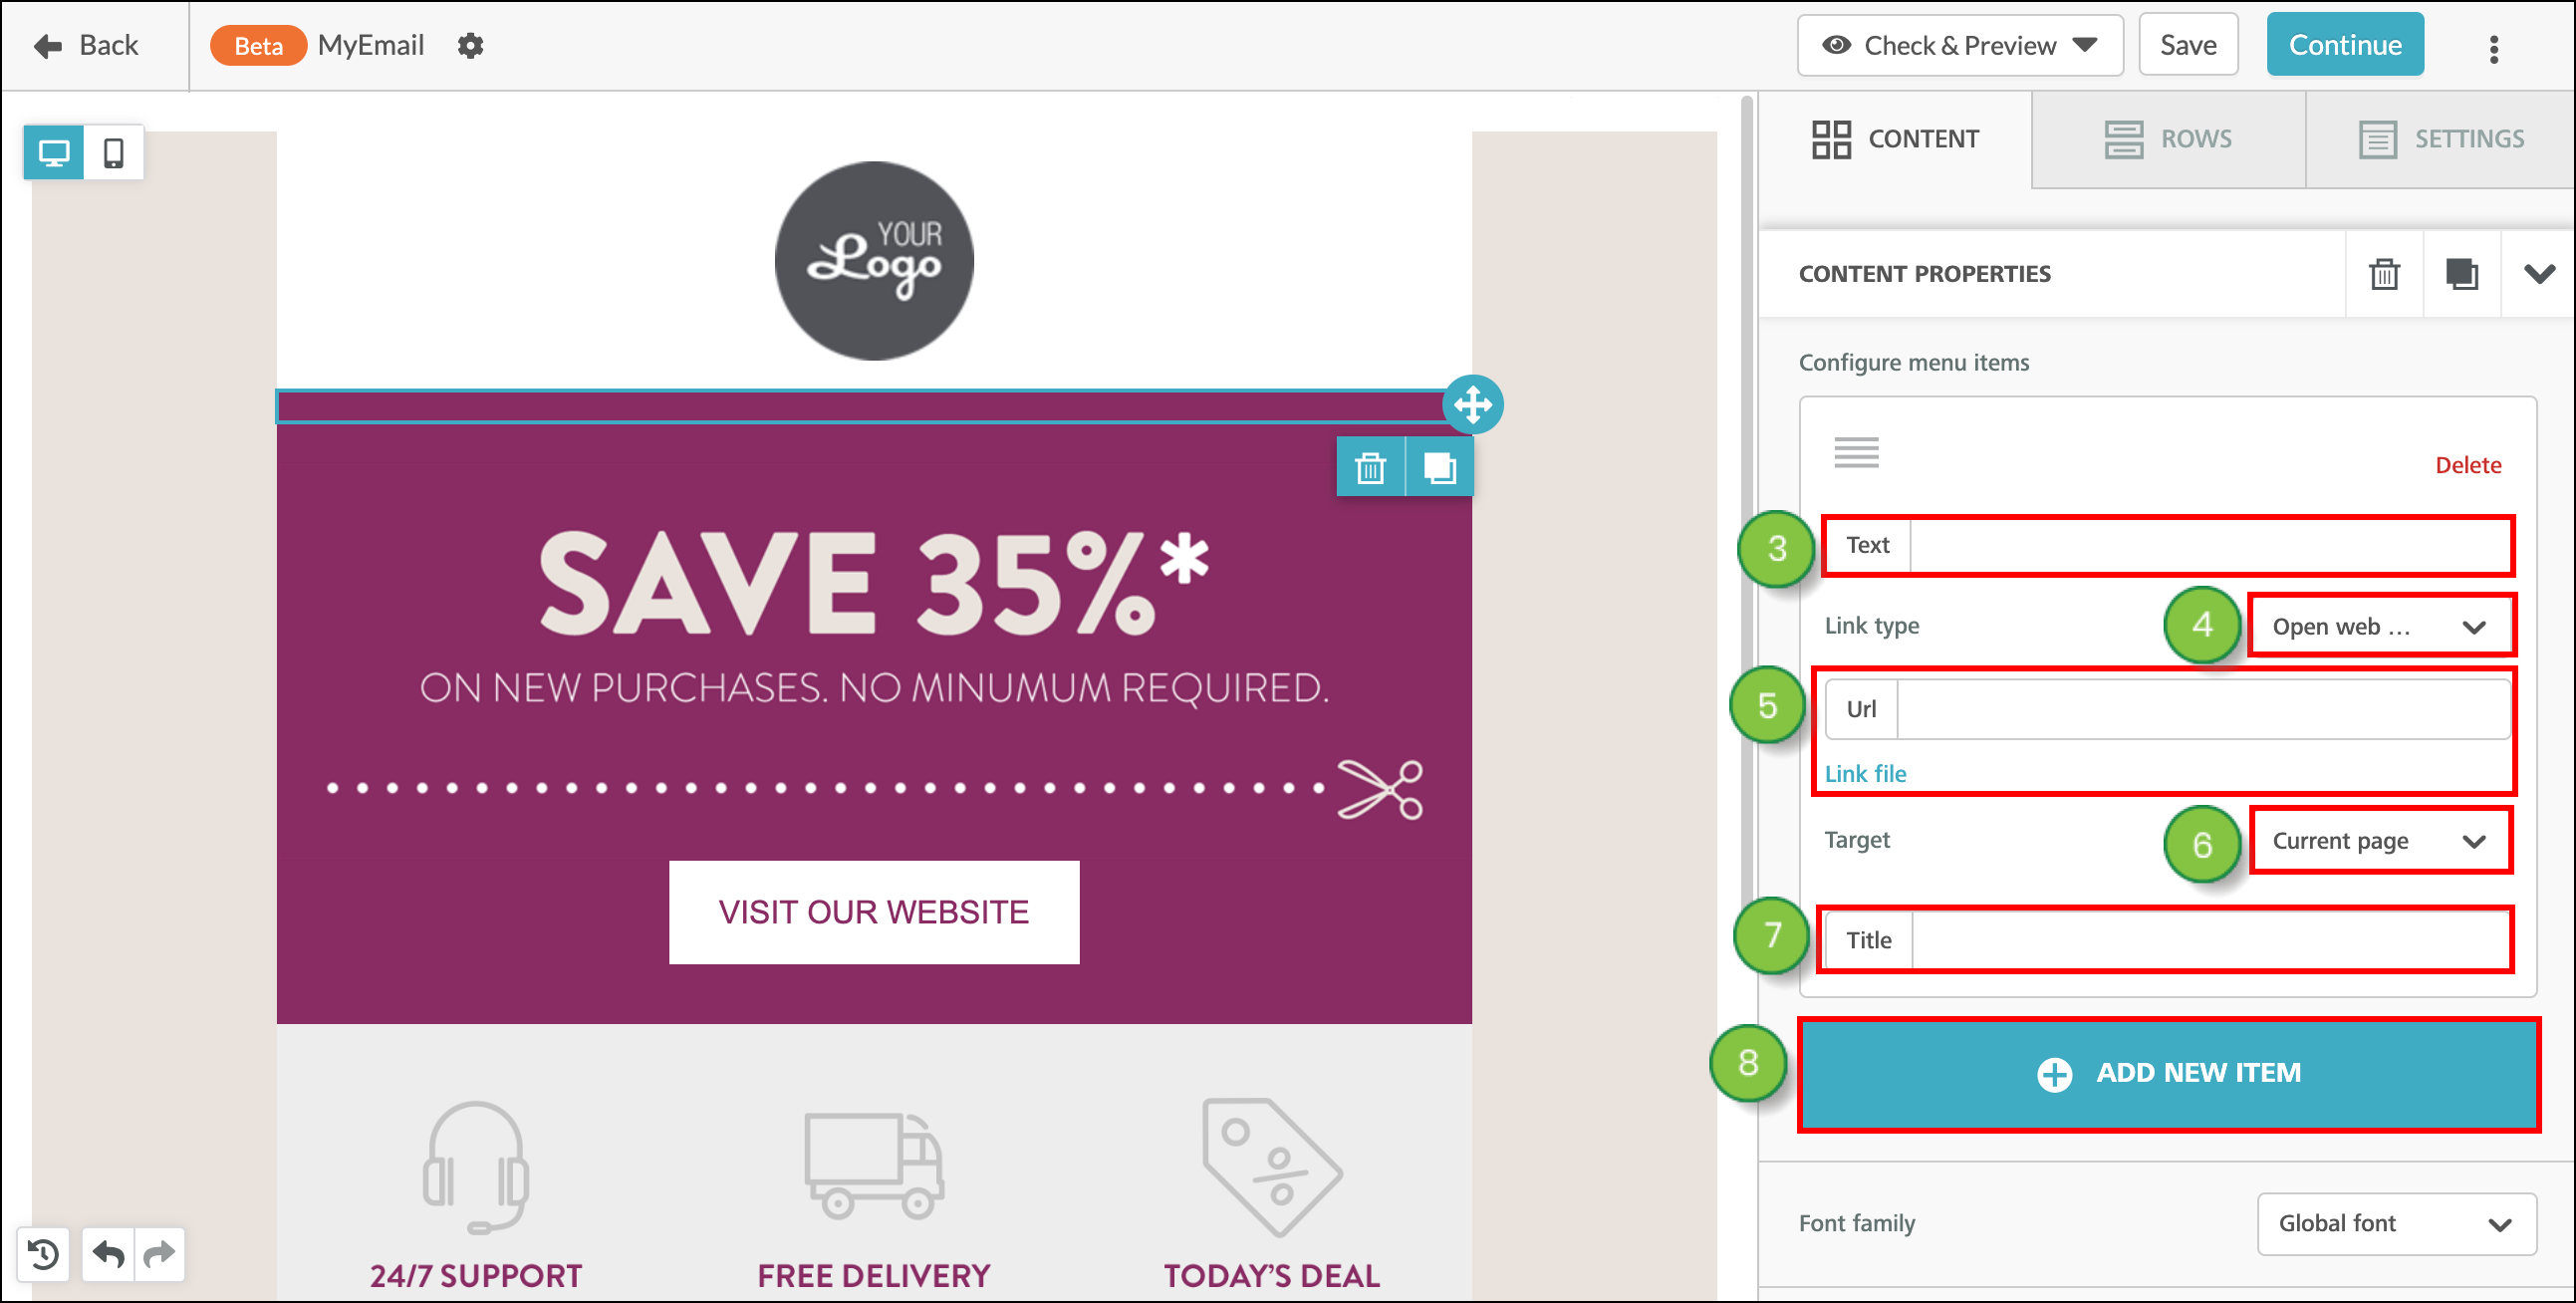
The Menu Element
The Menu element includes the following Content Properties:
The Title Element
The title element includes the following Content Properties:
The Paragraph Element
The paragraph element includes the following Content Properties:
The List Element
The list element includes the following Content Properties:
Copyright © 2026 · All Rights Reserved · Constant Contact · Privacy Center