Users:
| Administrators | ✓ | |
| Company Managers | ✓ | |
| Marketing Managers | ✓ | |
| Sales Managers | ||
| Salespersons | ||
| Jr. Salespersons |
| Tip: Are you looking for information about Constant Contact’s Email and Digital Marketing product? This article is for Constant Contact’s Lead Gen & CRM product. Head on over to the Email and Digital Marketing articles by clicking here. Not sure what the difference is? Read this article. |
Please note that Dynamic Content works differently in the New email editor than it does in the Classic email editor. If you are interested in learning more about Dynamic Content in the Classic editor, click here.
For a detailed comparison of Dynamic Content in Classic and New editor, check out our comparison guide here.
In order to create a display condition, you will need to first create a Row in your email. This Row will only appear for some recipients once you create the Display Condition. Once you have created an email and Row, you will create a Display Condition following these steps:
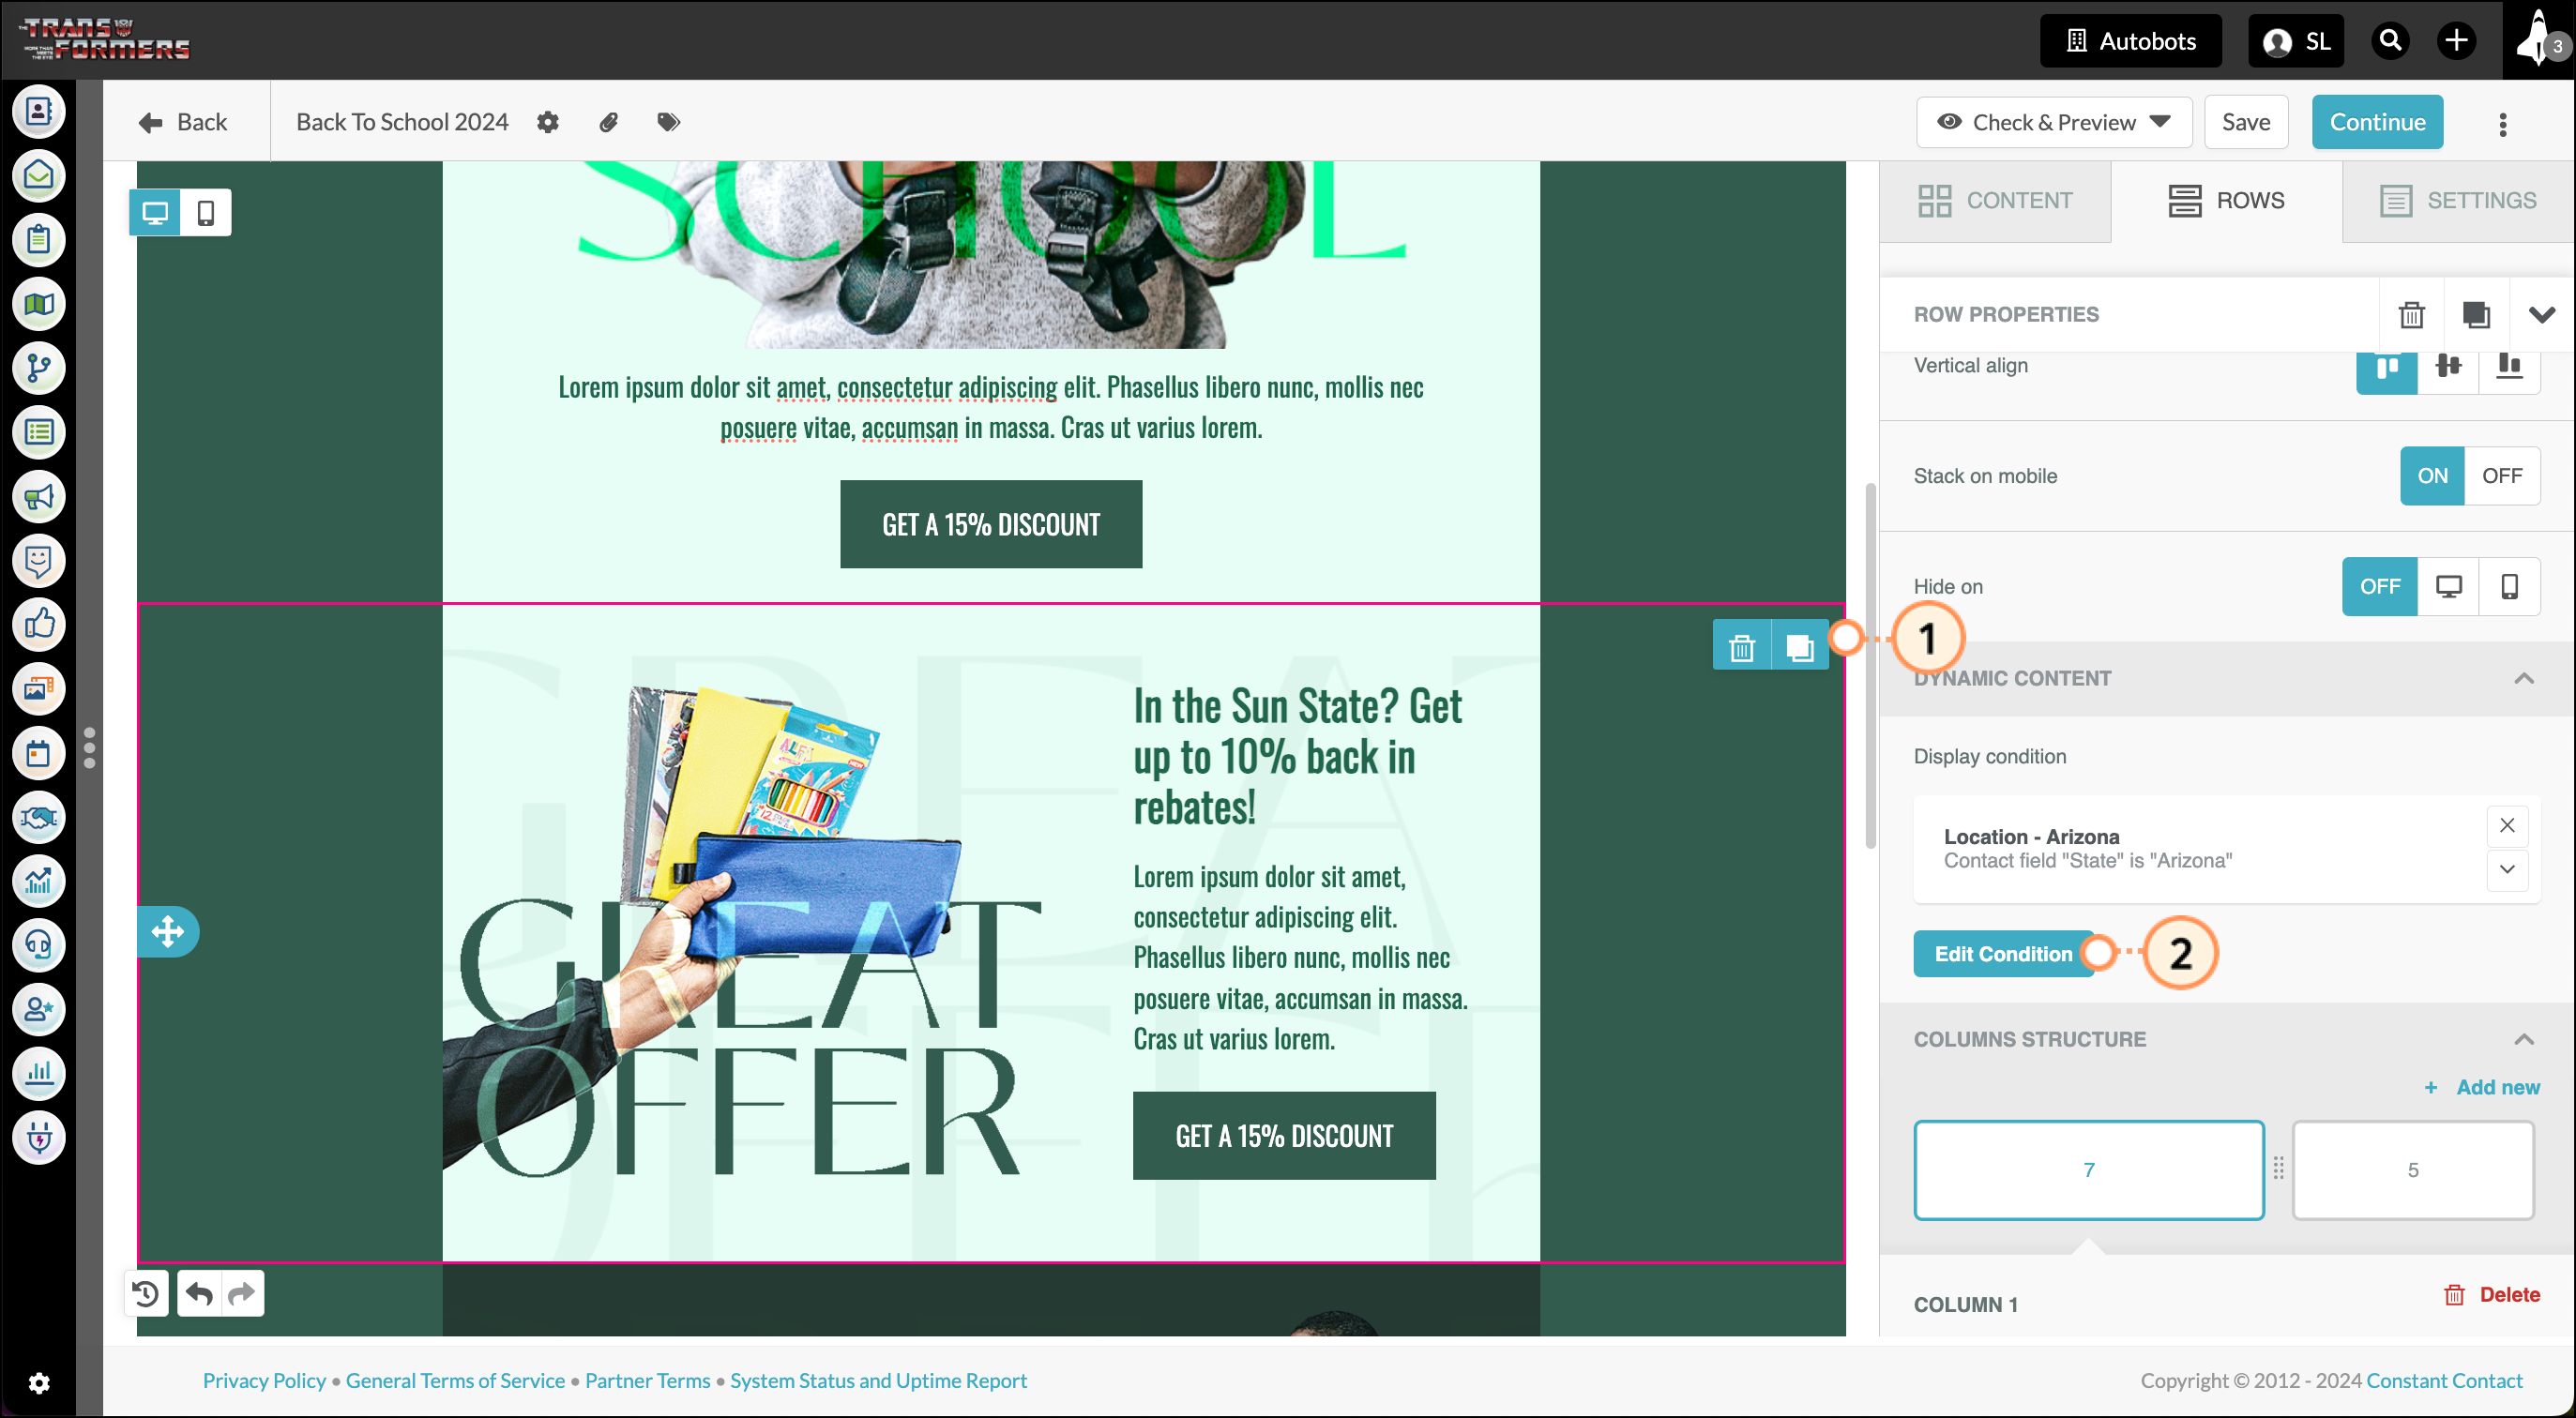
First, select the row that you will apply a condition to.
Next, scroll down the right-hand menu to the “Dynamic Content” section and select “Edit Condition.”
In the pop-up modal that appears, you will be prompted to either select an existing Dynamic rule or create a new one.
If you are creating a new rule, select “Create New Condition” from the drop-down and type in the Name of your rule.
Add the display rules for your row.
You can create rules based on any Standard and Custom lead fields within your account. You can also create complex rules using ANY or ALL statements.
If you use an “ANY” rule, the row(s) to which the rule is applied will show if at least one or more of the conditions are valid for a lead.
If you use an “ALL” rule, the row(s) to which the rule is applied will only appear if ALL of the statements are true for a lead.
Once you have added the parameters of your rule, click “Save.”
Now your rule is applied to the row! When you apply a Display Condition, that row will only appear for the contacts who meet the specific rule set you have created.
Display Conditions exist across emails. If you create a condition in one email, you can use it in all of your emails built with the New email editor. However, if you have a rule that is applied to more than one email, you will be unable to edit a condition until you have removed the rule from all other applied rows in other emails.
If you want to edit an existing display condition, simply navigate to the Rows menu, scroll down to the Dynamic Content section, and select “Edit Condition.”
NOTE: Editing an existing condition on a row will edit the condition everywhere it is applied within the email. Remember, if a condition is already being used in a different email, you can apply that condition to any row you like but you will not be able to edit it. Instead, you will need to “Copy rule” and save a modified version.
If a condition is already being used in a different email, you will not be able to edit it. Instead, you will need to “Copy rule” and save a modified version. When attempting to edit a rule that is being used in another email, you will see the following yellow warning message:

Simply select “Copy rule” and you will be able to modify a new version of that rule. Make sure to rename the rule before saving so that it is easy to find the next time you need to find it.
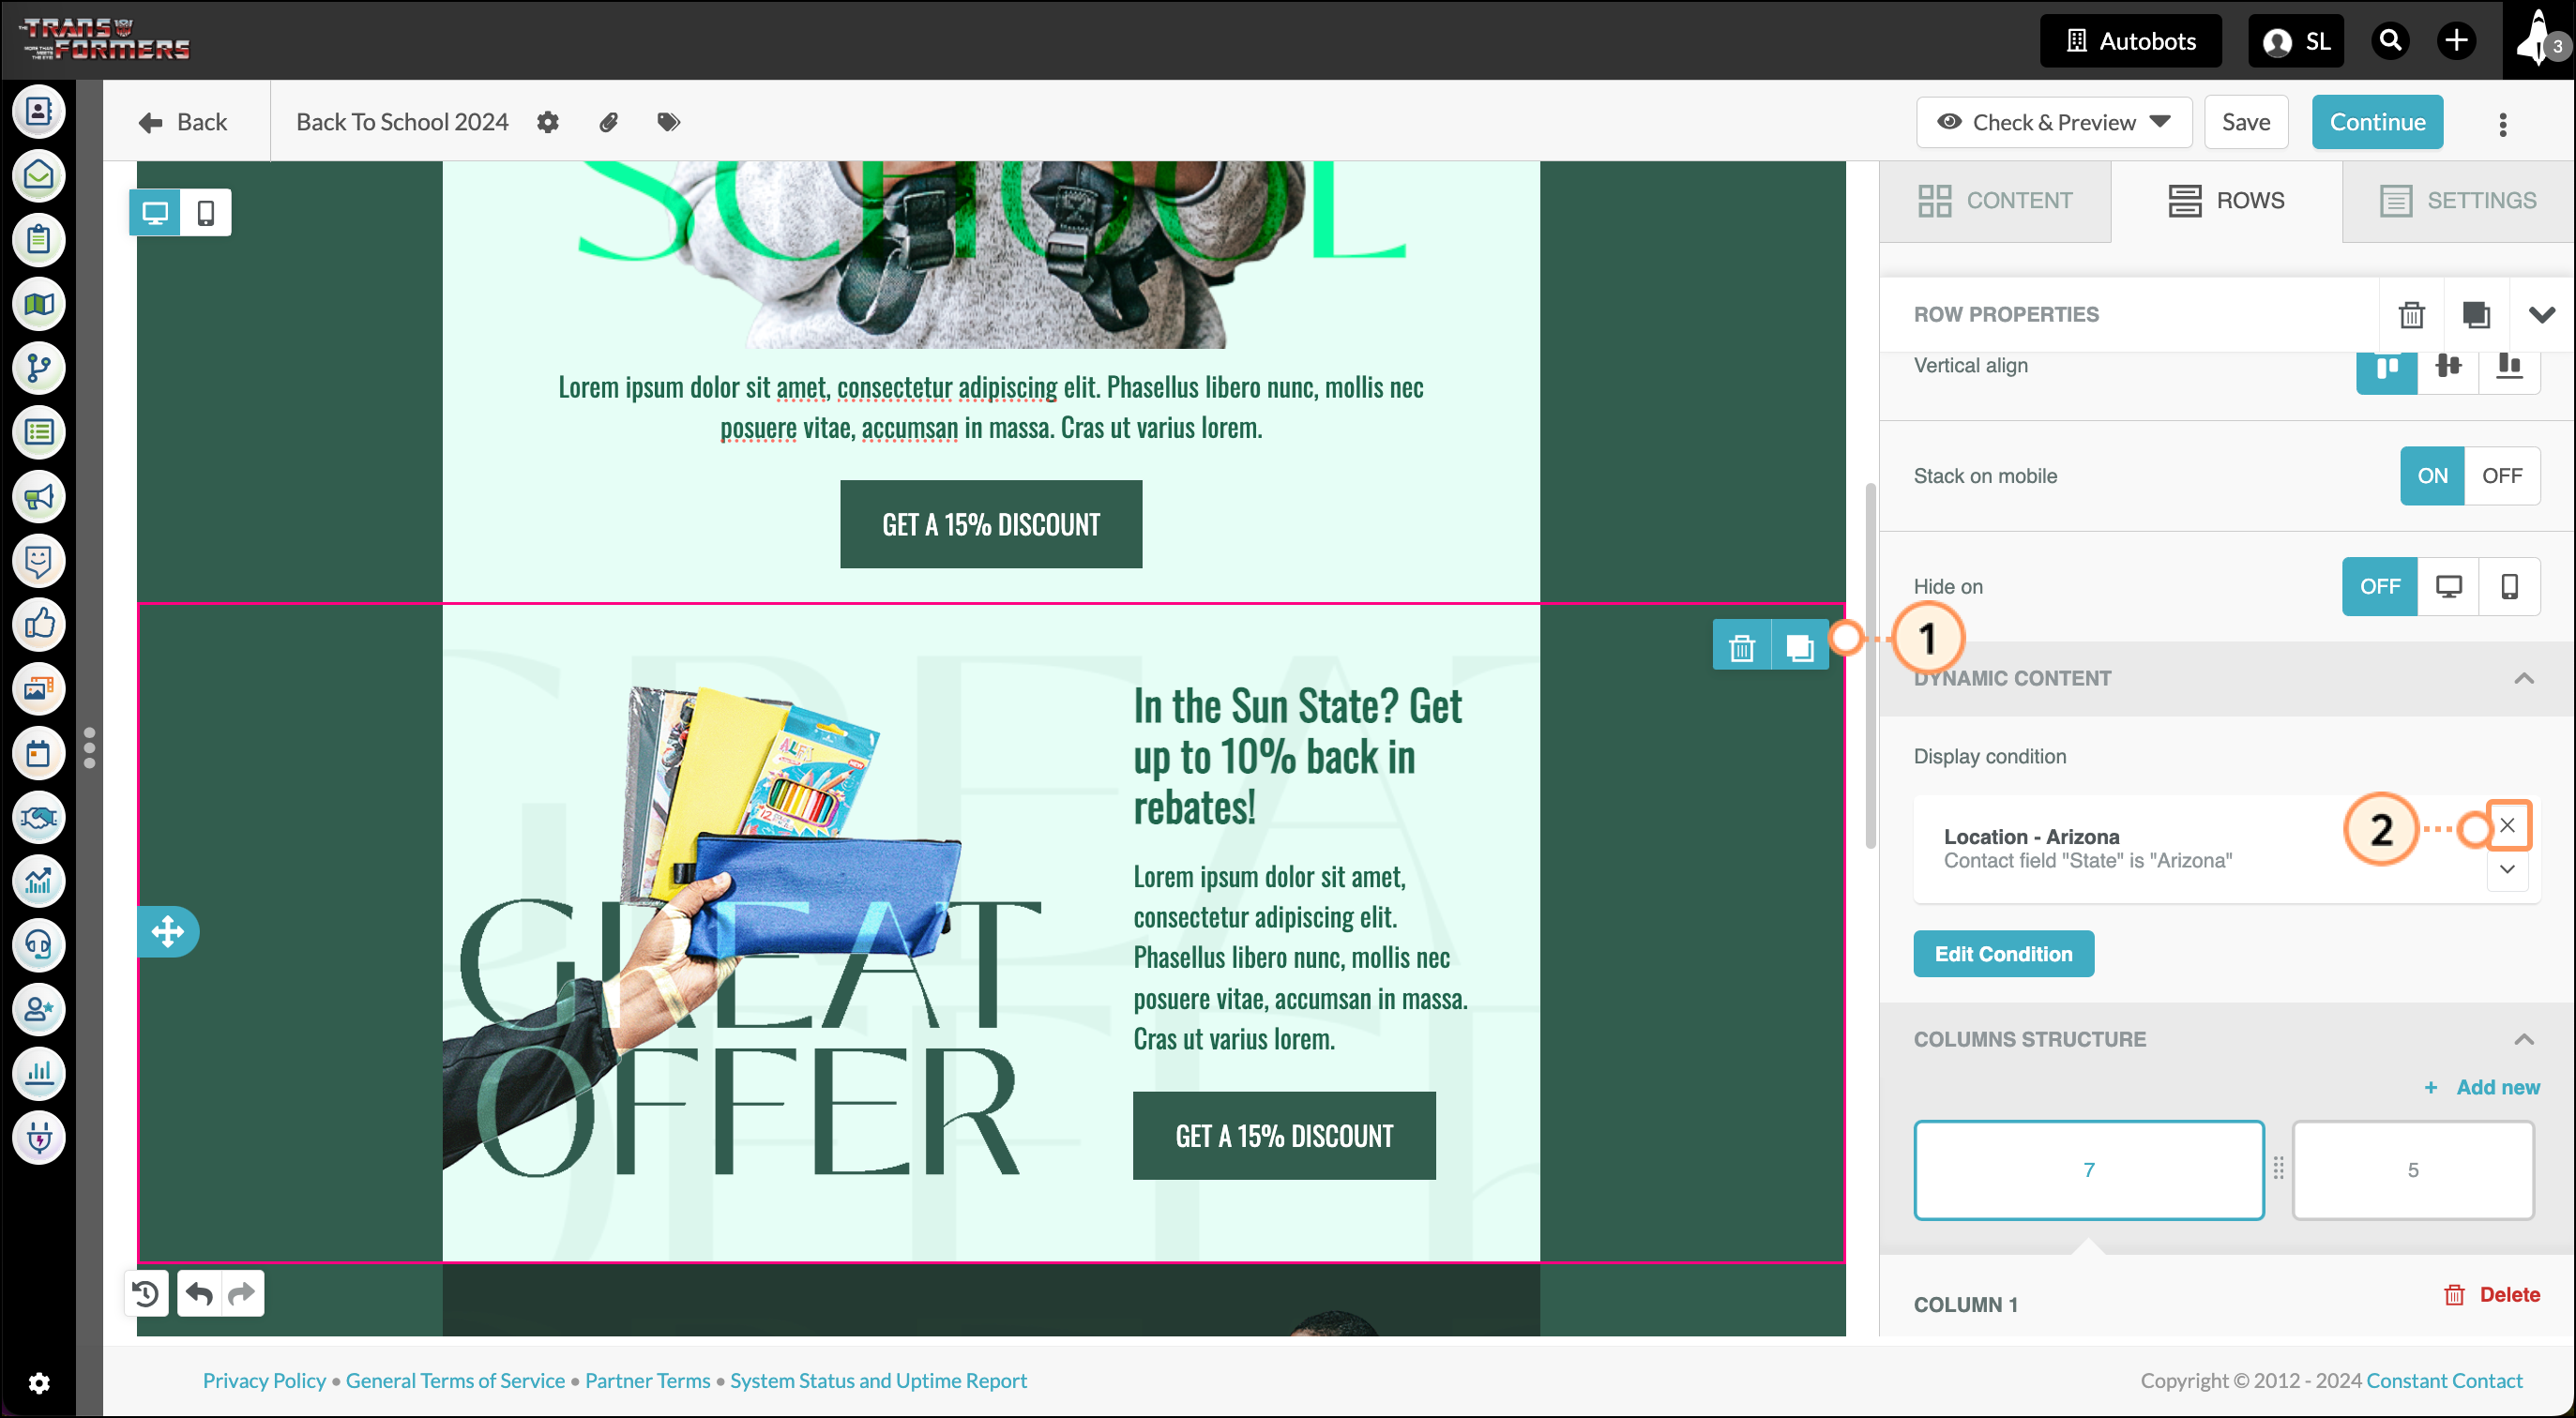
If you decide you no longer want a display condition to apply to a row, navigate to the Dynamic Content section in the right-hand menu and click the “X” icon.
Once you have applied a set of rules to one or more blocks within your email, you can preview what this will look like to your leads. To preview, select Check & Preview > Preview at the top-right of the email editor page. At the top of the page preview window, select the text that says “Select row display conditions.” Toggle the display conditions based on how you want them to appear, and the preview window will update to reflect the rules you have created.
Once you exit the preview and return to editing the email, all of your rows will appear within the editing window.
Copyright © 2026 · All Rights Reserved · Constant Contact · Privacy Center