To learn how to modify emails using the older email editor, read Understanding Layout and Element Blocks.
In this article, you'll learn how to add table elements to your emails using the new email editor.
Users:
| Administrators | ✓ | |
| Company Managers | ✓ | |
| Marketing Managers | ✓ | |
| Sales Managers | ||
| Salespersons | ||
| Jr. Salespersons |
| Tip: Are you looking for information about Constant Contact’s Email and Digital Marketing product? This article is for Constant Contact’s Lead Gen & CRM product. Head on over to the Email and Digital Marketing articles by clicking here. Not sure what the difference is? Read this article. |
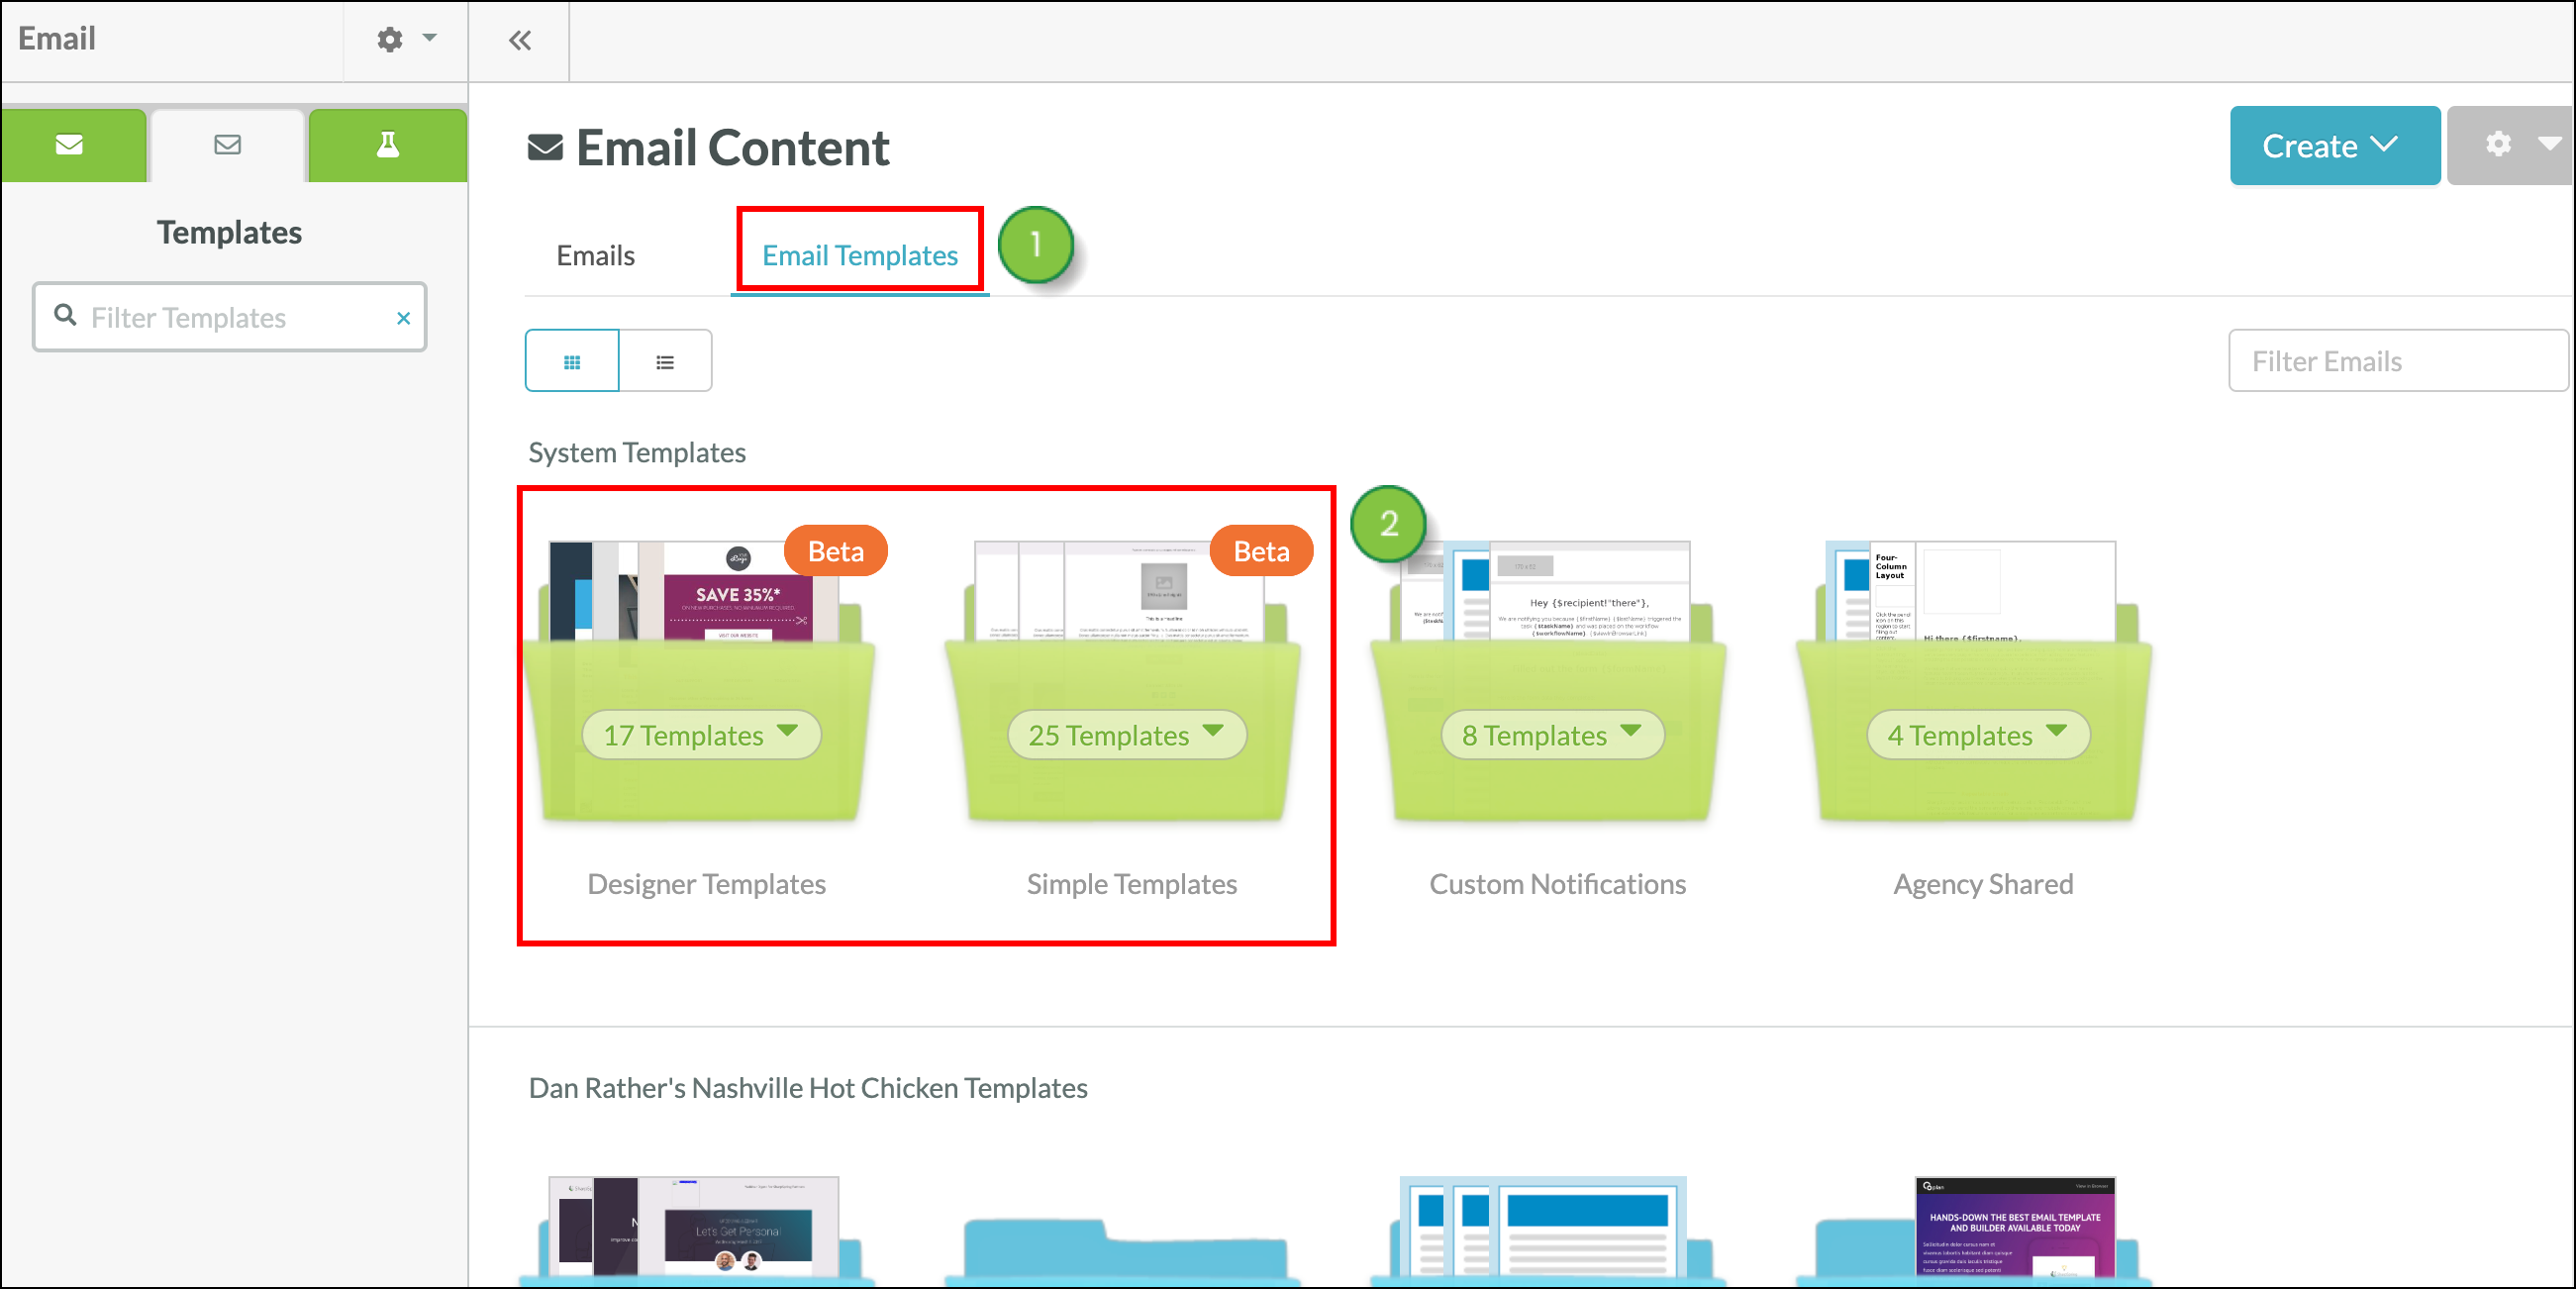
These text features are available in the new email editor. Read Overview of the New Email Editor to learn more about the included features and to find out how to build emails. Navigate to the new editor by starting from the Email category.
The width of your table is determined by the row block that you put your table into. Select a row block in the width you'd like for your table.
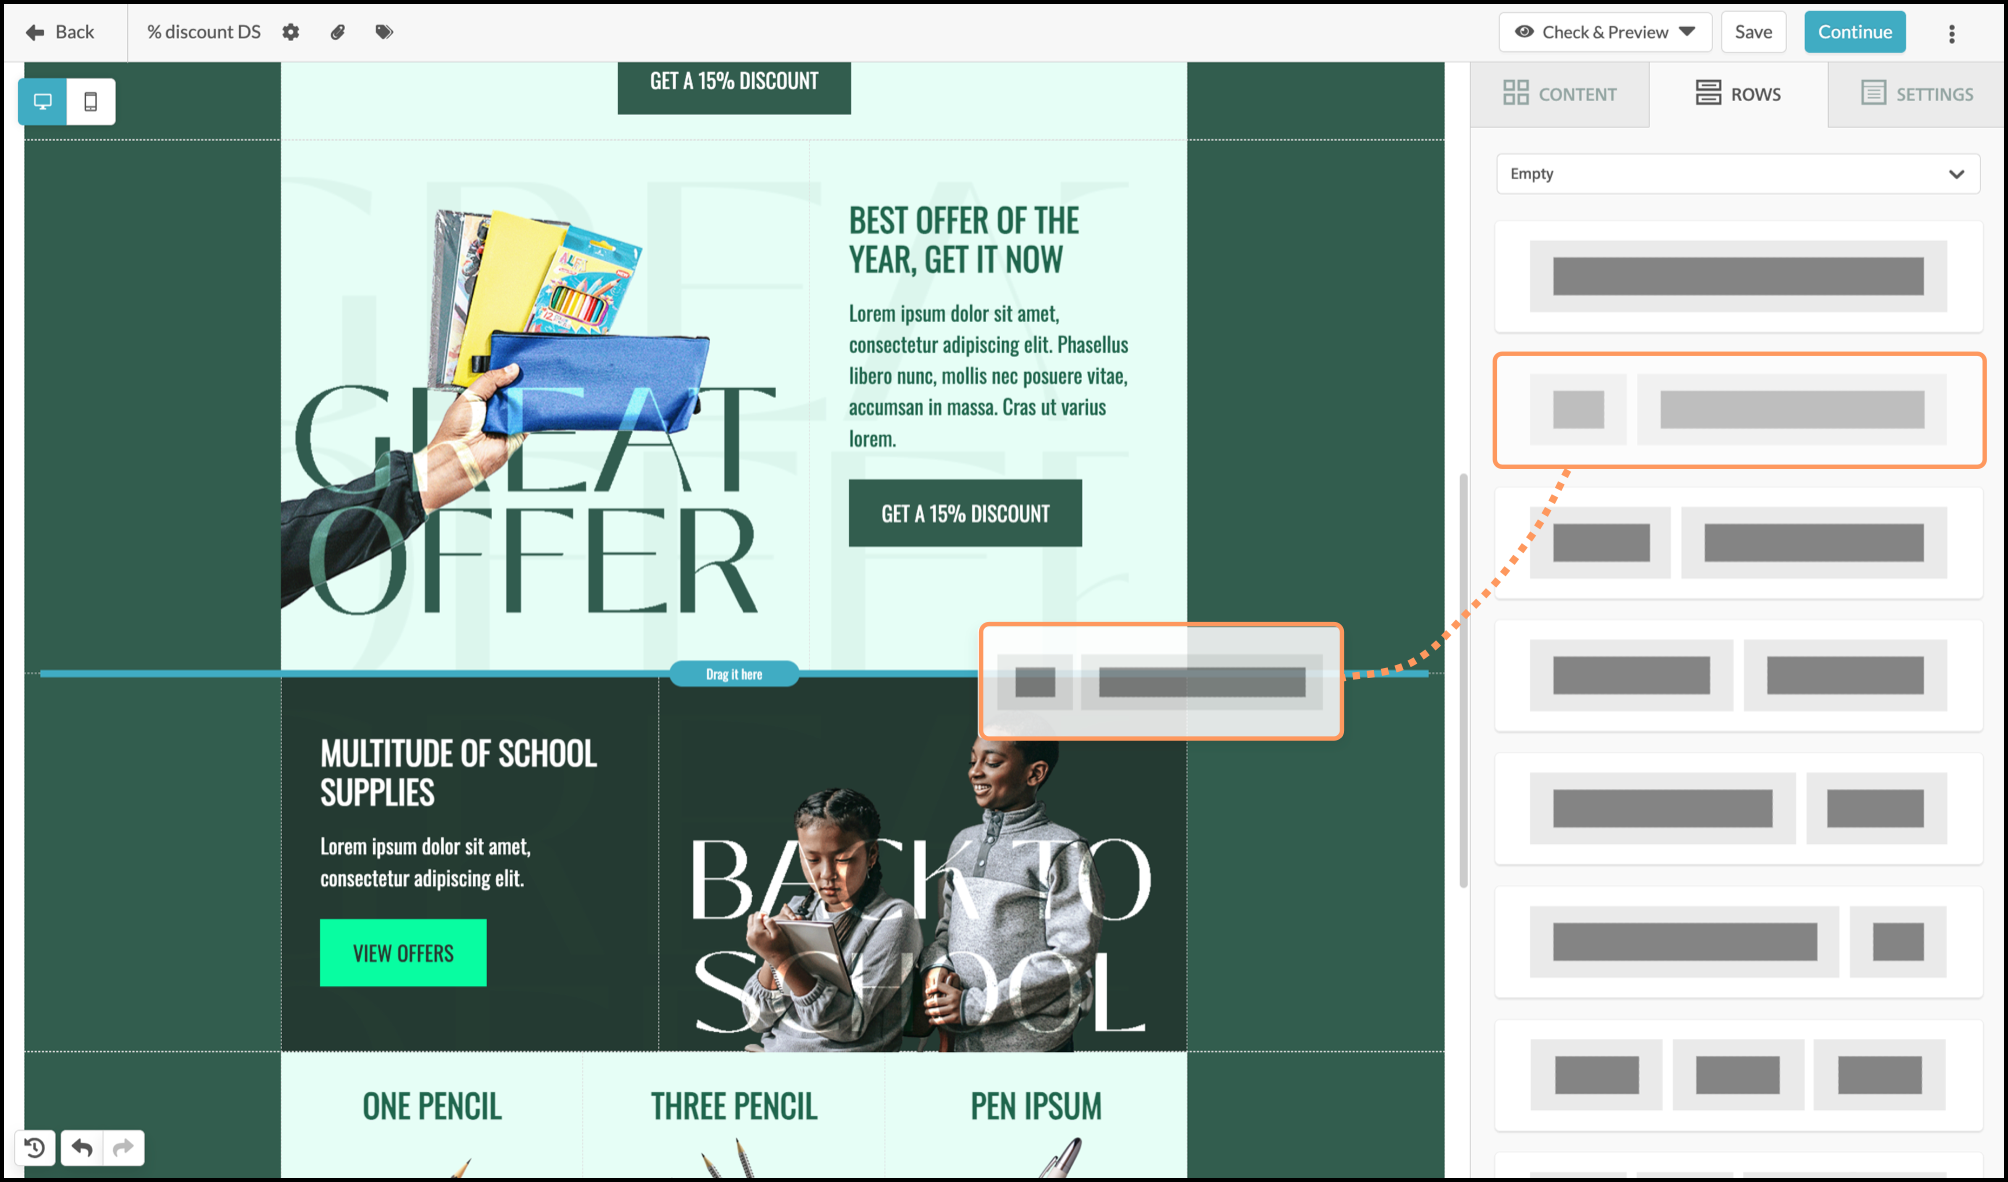
Drag and drop a table element into your row block using the blue 'Drag it here' lines to guide you.
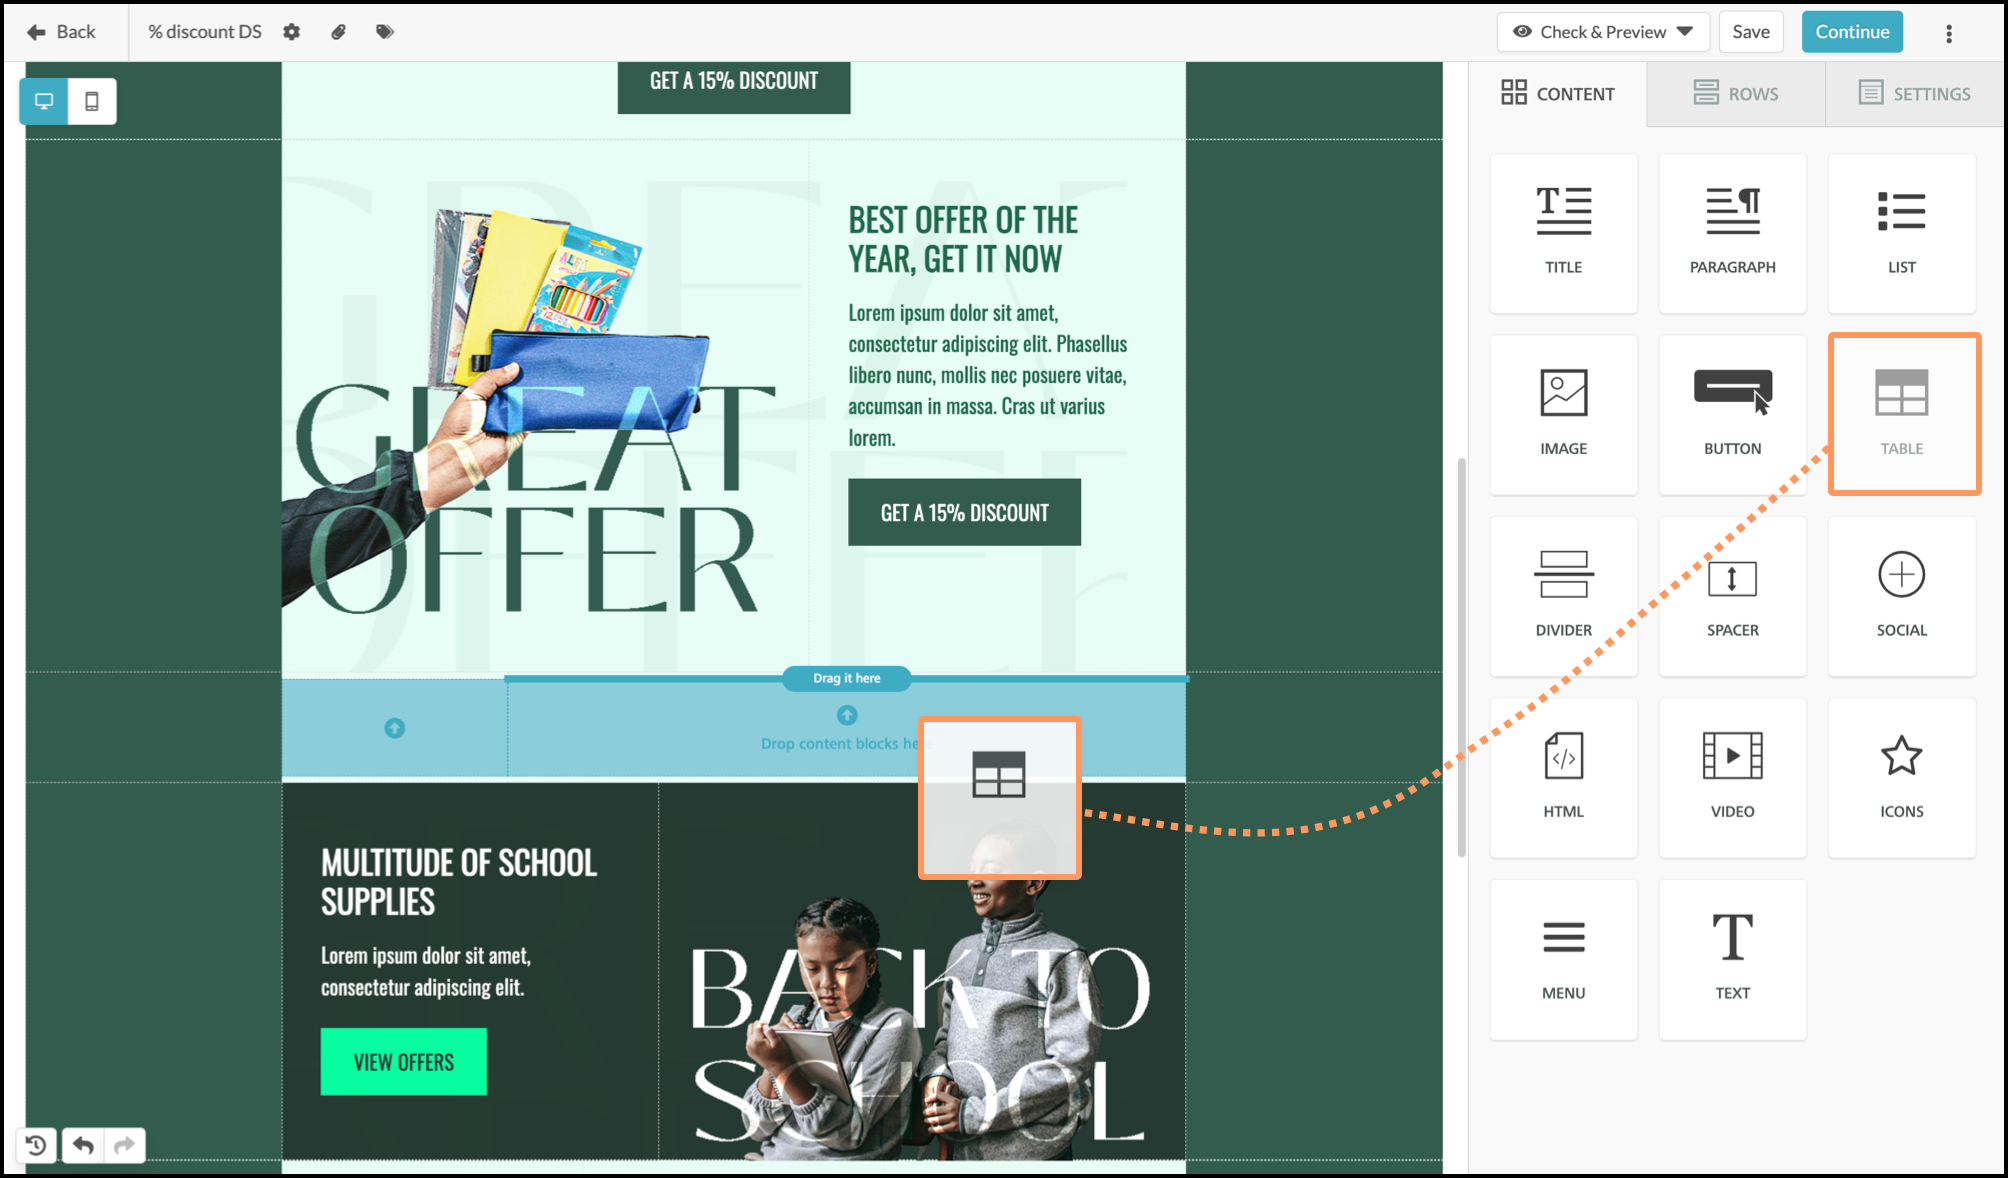
Your table will default to three columns and four rows, including a header row. Using the Content tab's Table Properties, edit the columns, rows, and header row, as needed.
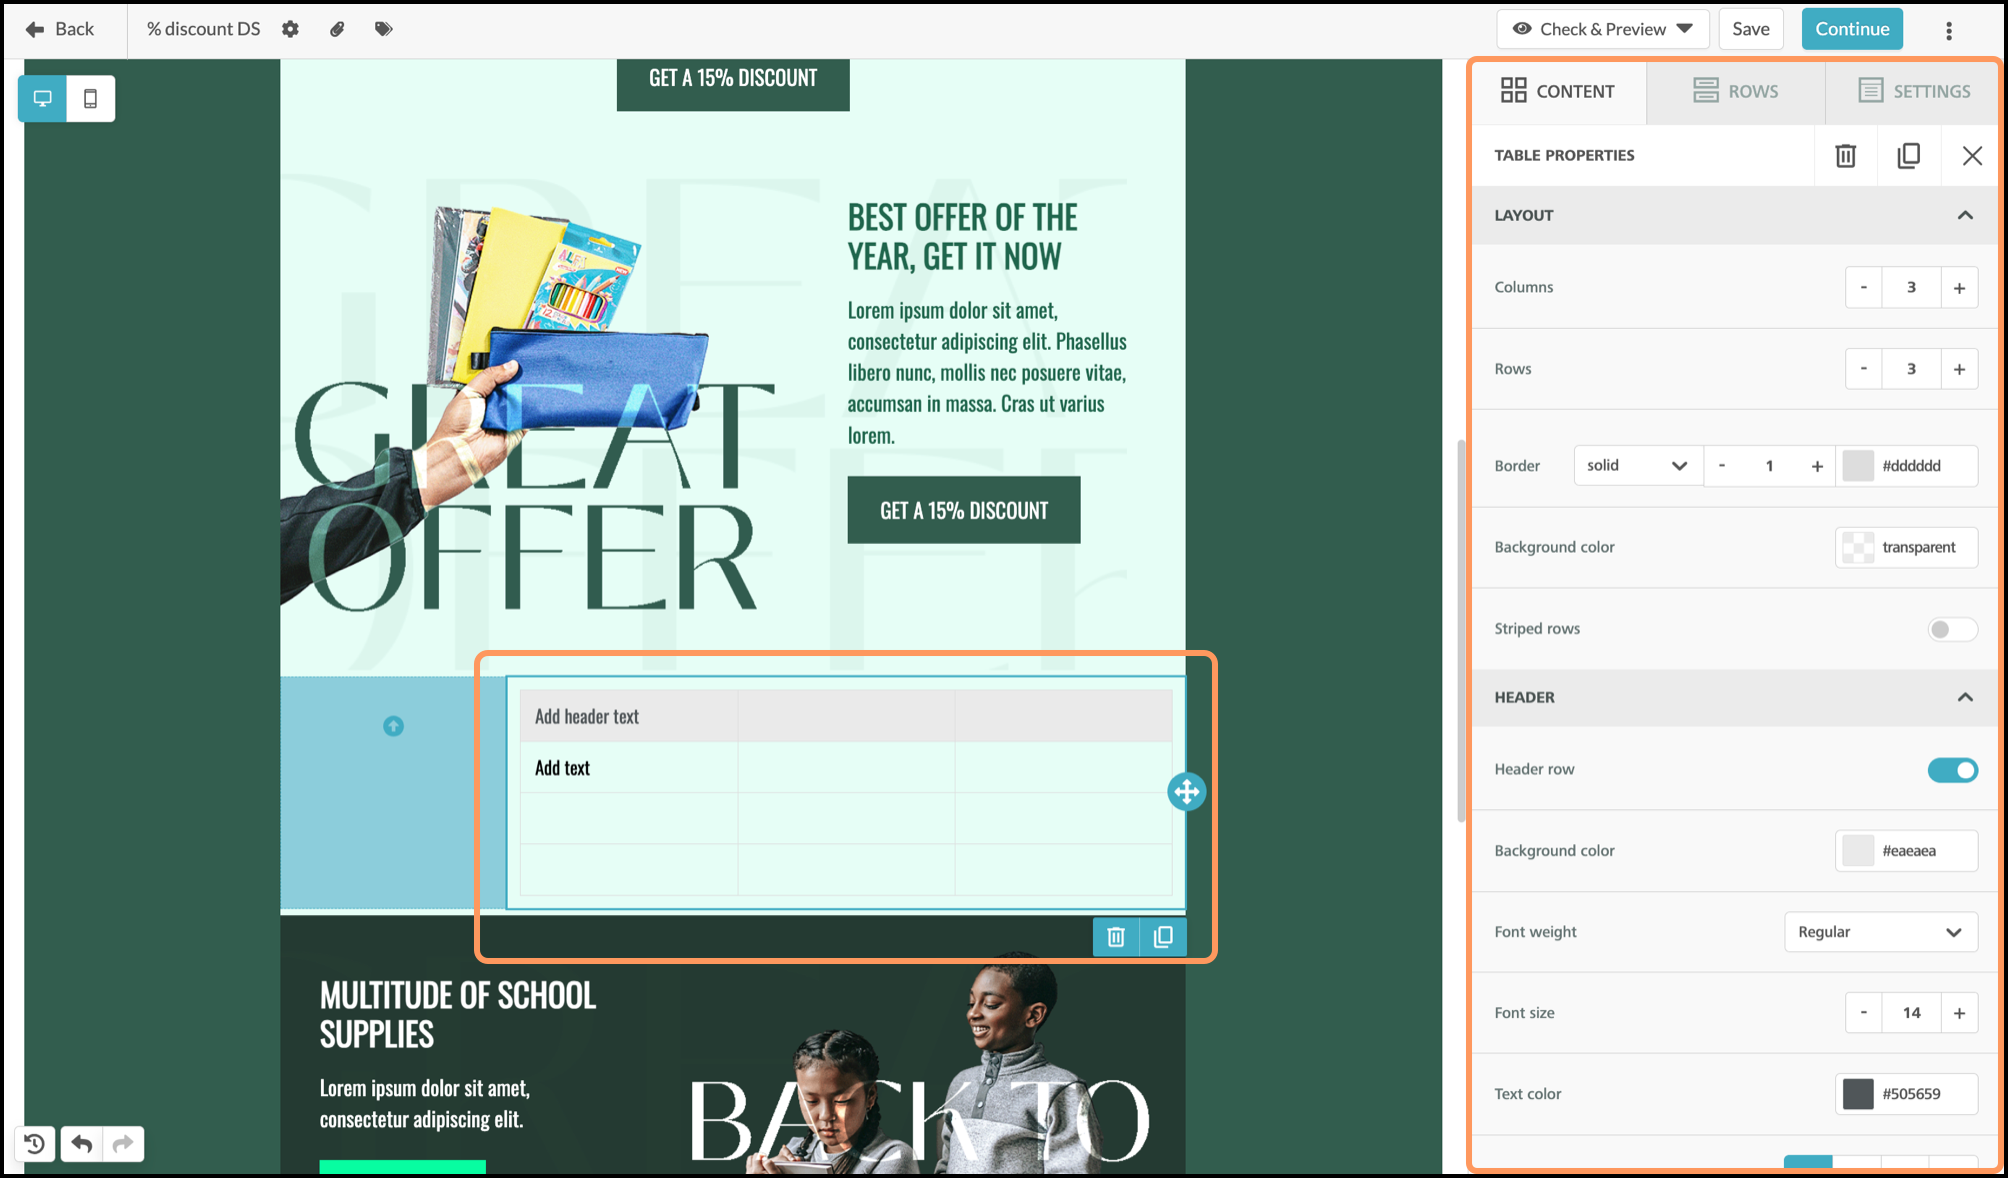
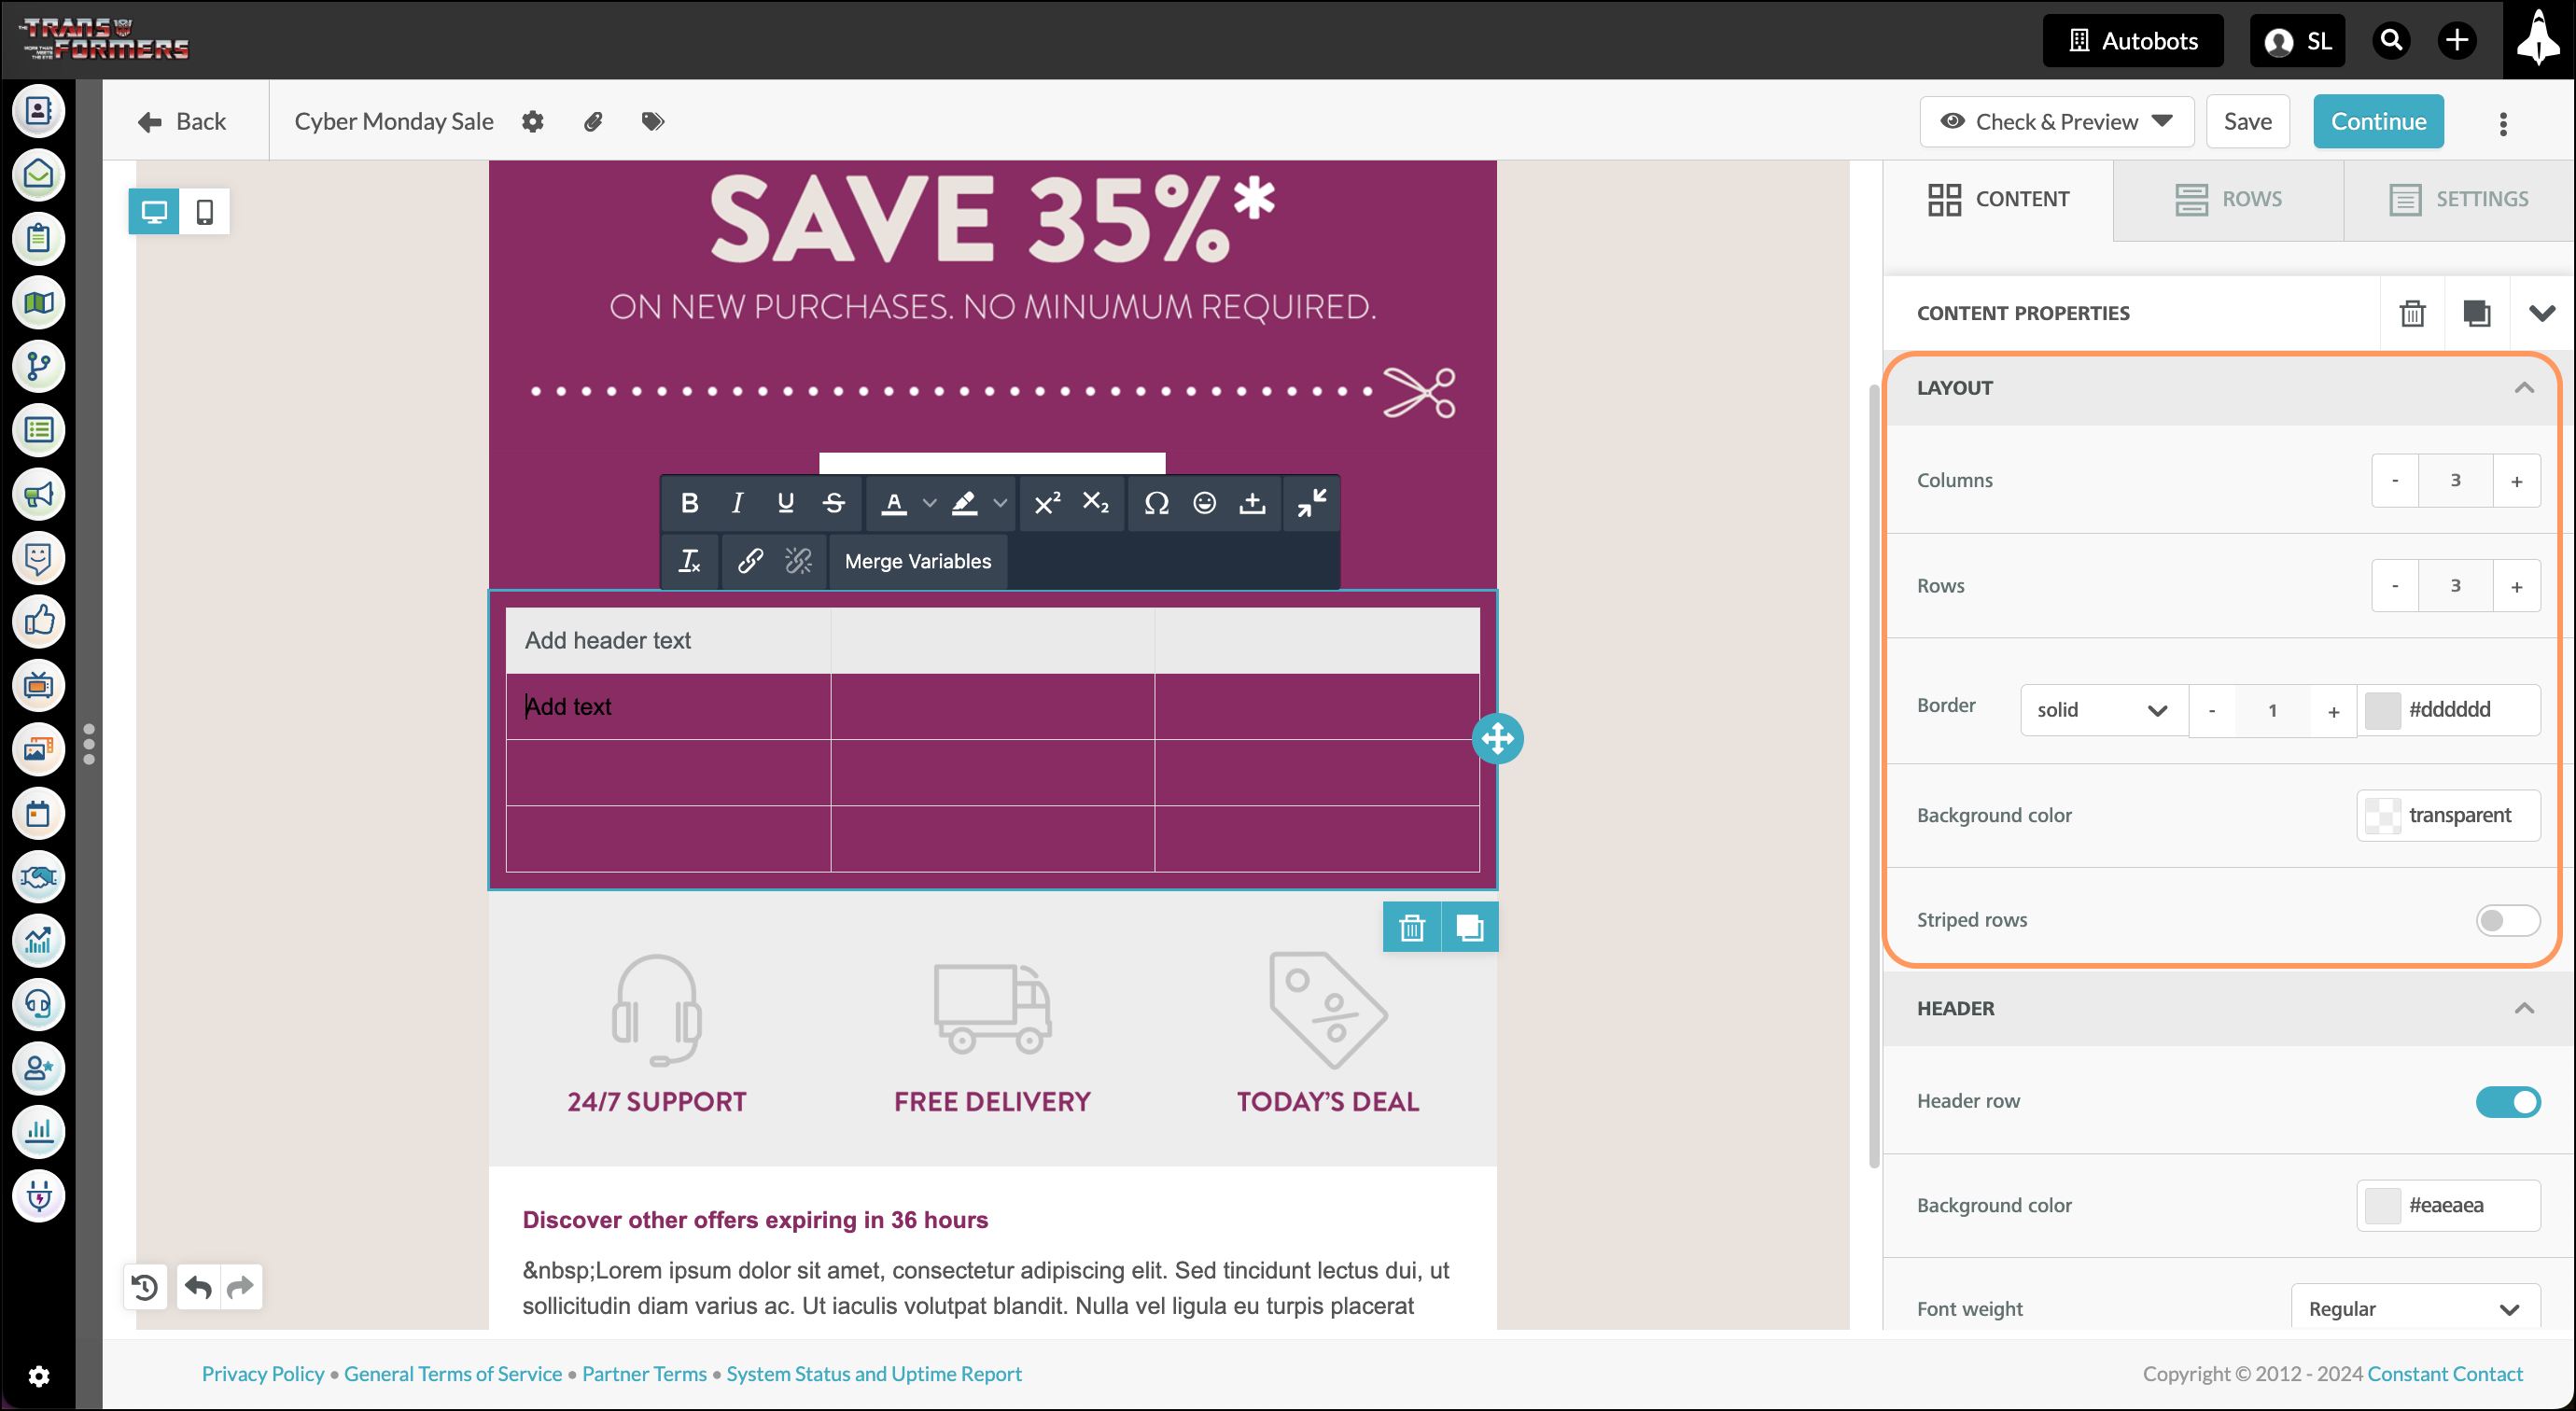
Click the table in your email and use the Content tab on the right to edit it.
These properties apply to the structure and layout of the table.
| Property | Description |
| Columns | Add or remove the number of columns in your table. You can set between 1 and 8 columns. Columns will always be of equal width. |
| Rows | Add or remove the number of rows in your table. Note: You'll need to modify the header row separately. |
| Border | Modify the border style, width, and color. |
| Background Color | Modify the background color of your table or make the background transparent. Note: You'll need to modify the background color of the header row separately. |
| Striped Rows | Toggle alternating color rows in your table on or off. |
| Striped Row Background Color | When Striped Rows are toggled on, select the color of the striped row or make the striped row's background transparent. Note: The Striped Rows feature will not affect the header row. |
These properties apply to the header row that sits at the top of the table.

| Property | Description |
| Header Row Toggle | Enable or disable the header row. |
| Background color | Modify the background color of your header row or make the background transparent. |
| Font weight | Select Regular or Bold font weight. |
| Font size | Select the size of text in your header row. |
| Text color | Modify the color of your header row text or make the text color transparent. |
| Align | Left, right, center, or justify align the header row text within the column. |
These properties apply to the content and text added to the rows and columns of the table.

| Property | Description |
| Font family | Select the font family for your table text. Selecting Global font will set your table text to match the default font family for your email template. |
| Font weight | Select Regular or Bold font weight. |
| Font size | Select the size of text in your table. |
| Text color | Modify the color of your table's text or make the text color transparent. |
| Link color | Modify the color of links in your table or make the link color transparent. |
| Align | Left, right, center, or justify align the table text within its column. |
| Line Height | Adjust the amount of space above and below each line of text. |
| Letter spacing |
Adjust the amount of space to the left and right of each letter in your text. |
| Text direction |
Reverse the direction of content in the table, left or right. This change will apply to all rows in the entire table. |
These properties allow you to modify the entire layout block that contains the table.

| Property | Description |
| Padding |
Add space to the sides or the top and bottom of the block. By default, the padding options allow you to select equal padding on all sides. When the More Options toggle is on, you can edit the amount of space on the top, right, bottom, and left side of the block individually. |
| Hide On | Decide if the block should appear on desktop and/or mobile, or if it should be hidden. |
Copyright © 2026 · All Rights Reserved · Constant Contact · Privacy Center