Add dividers and spacing elements to your email, in the new email editor. To learn how to modify emails using the older email editor, read Adding Dividers to Emails.
In this article, you'll learn how to add dividers and space elements to your emails using the new email editor.
Users:
| Administrators | ✓ | |
| Company Managers | ✓ | |
| Marketing Managers | ✓ | |
| Sales Managers | ||
| Salespersons | ||
| Jr. Salespersons |
| Tip: Are you looking for information about Constant Contact’s Email and Digital Marketing product? This article is for Constant Contact’s Lead Gen & CRM product. Head on over to the Email and Digital Marketing articles by clicking here. Not sure what the difference is? Read this article. |
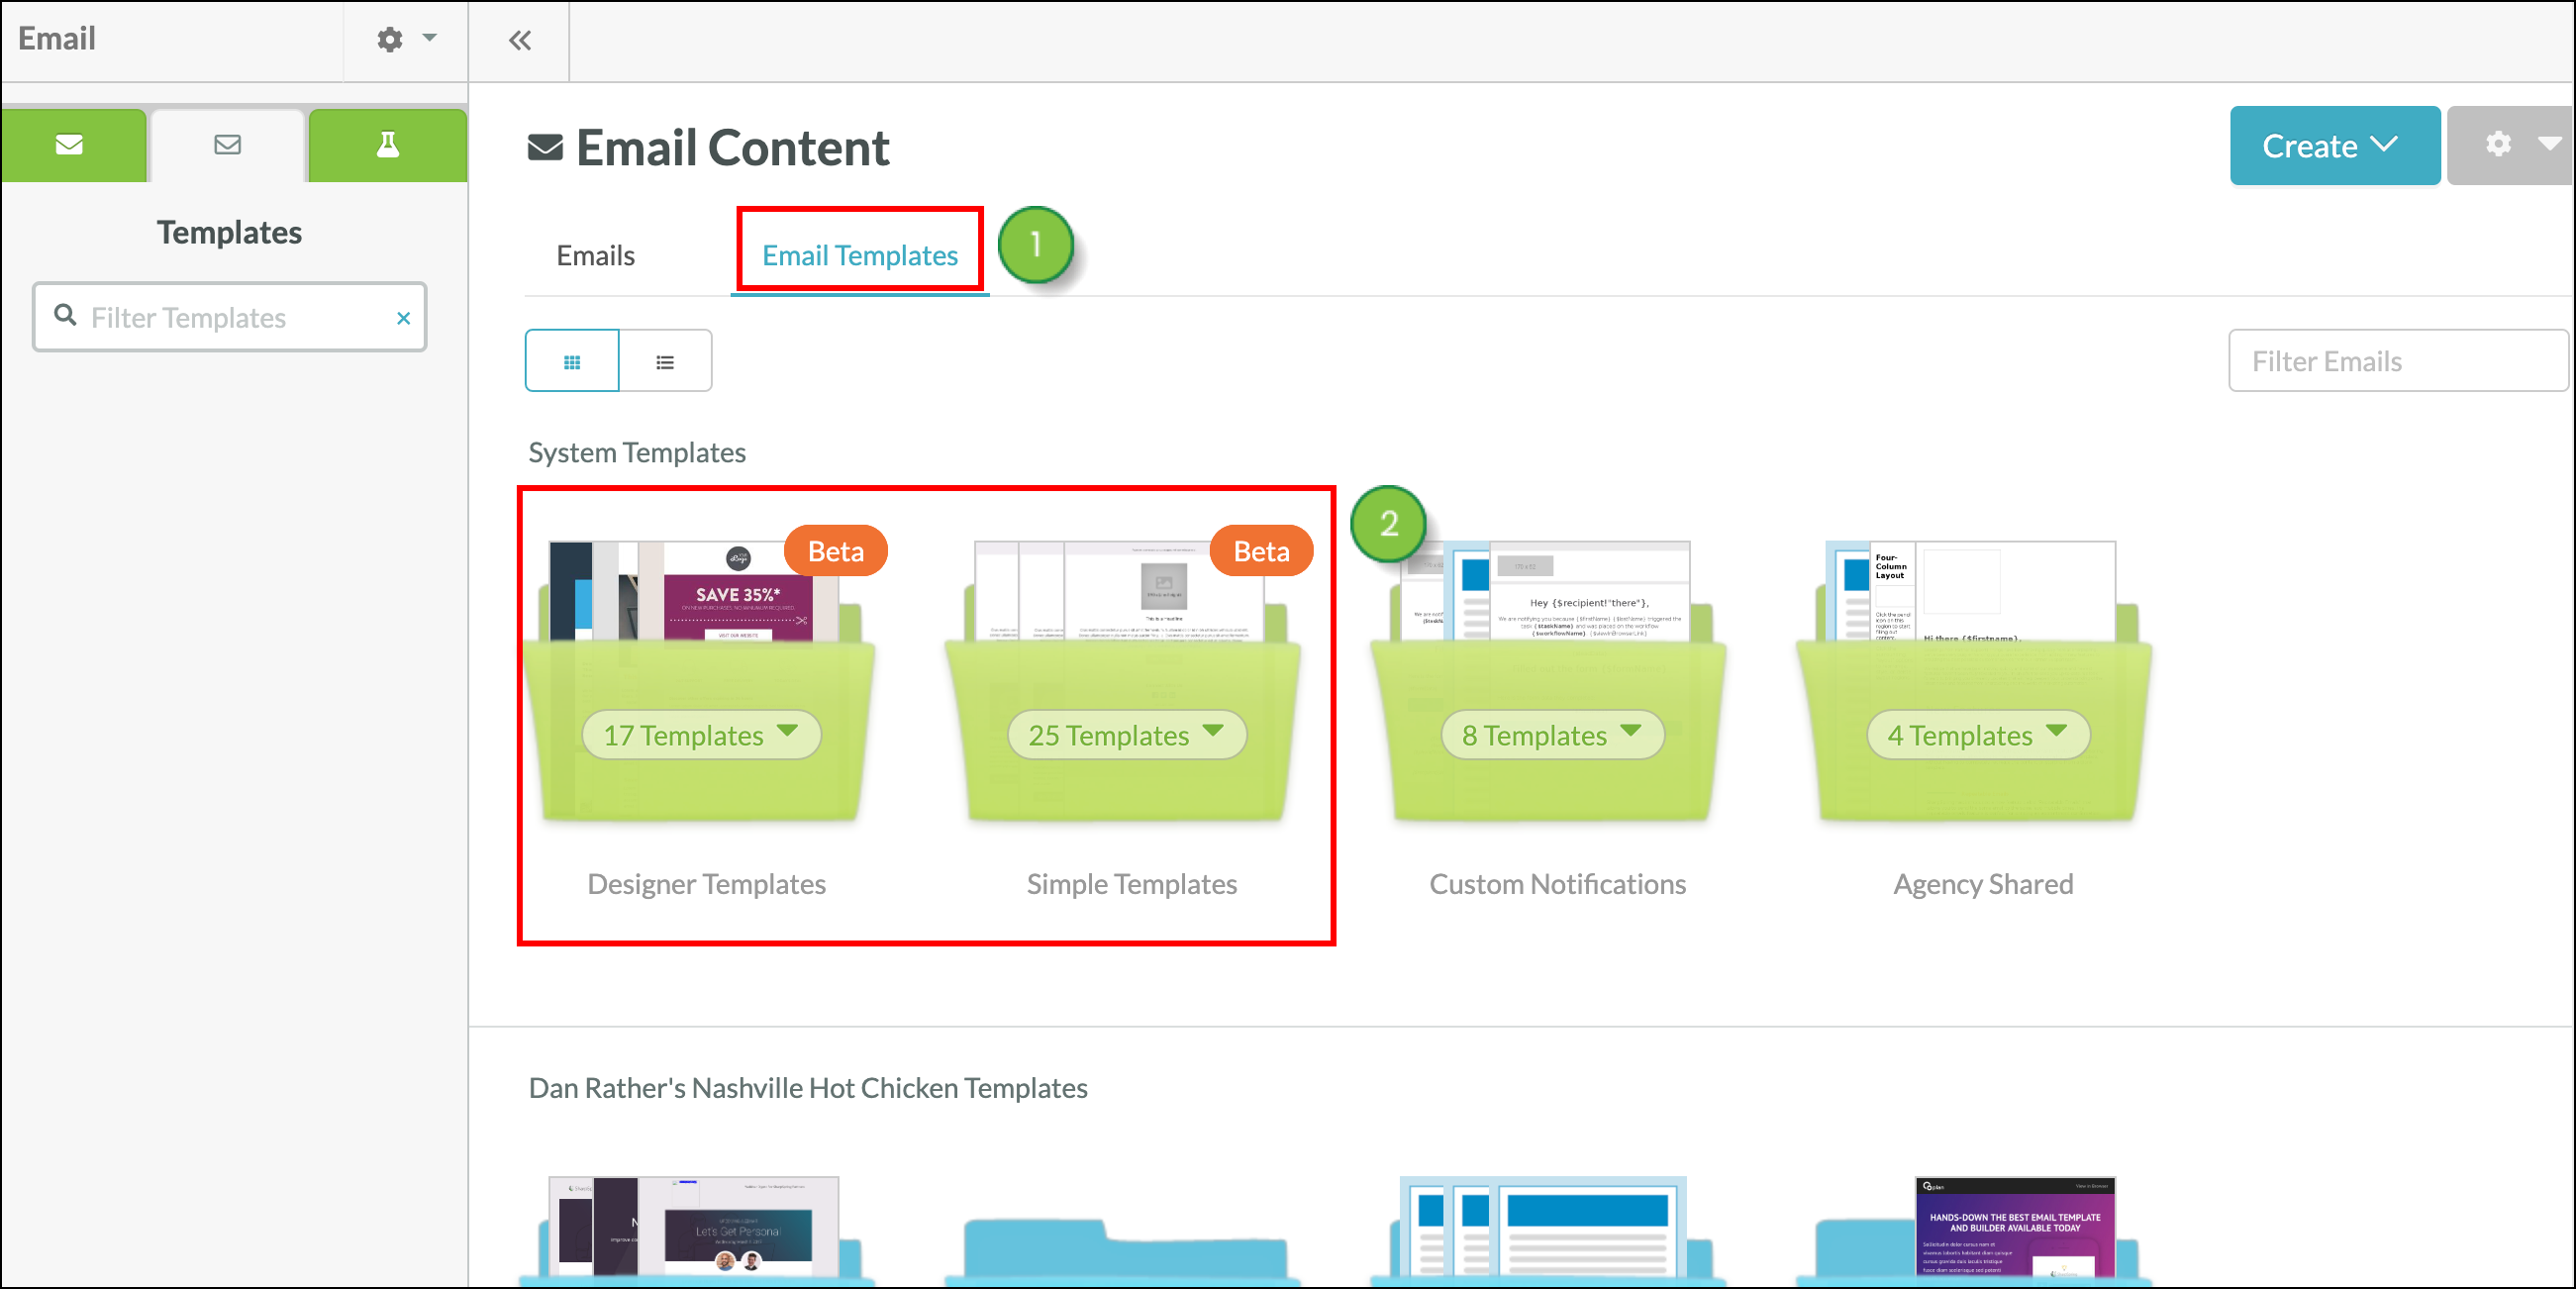
These text features are available in the new email editor. Read Overview of the New Email Editor to learn more about the included features and to find out how to build emails. Navigate to the new editor by starting from the Email category.
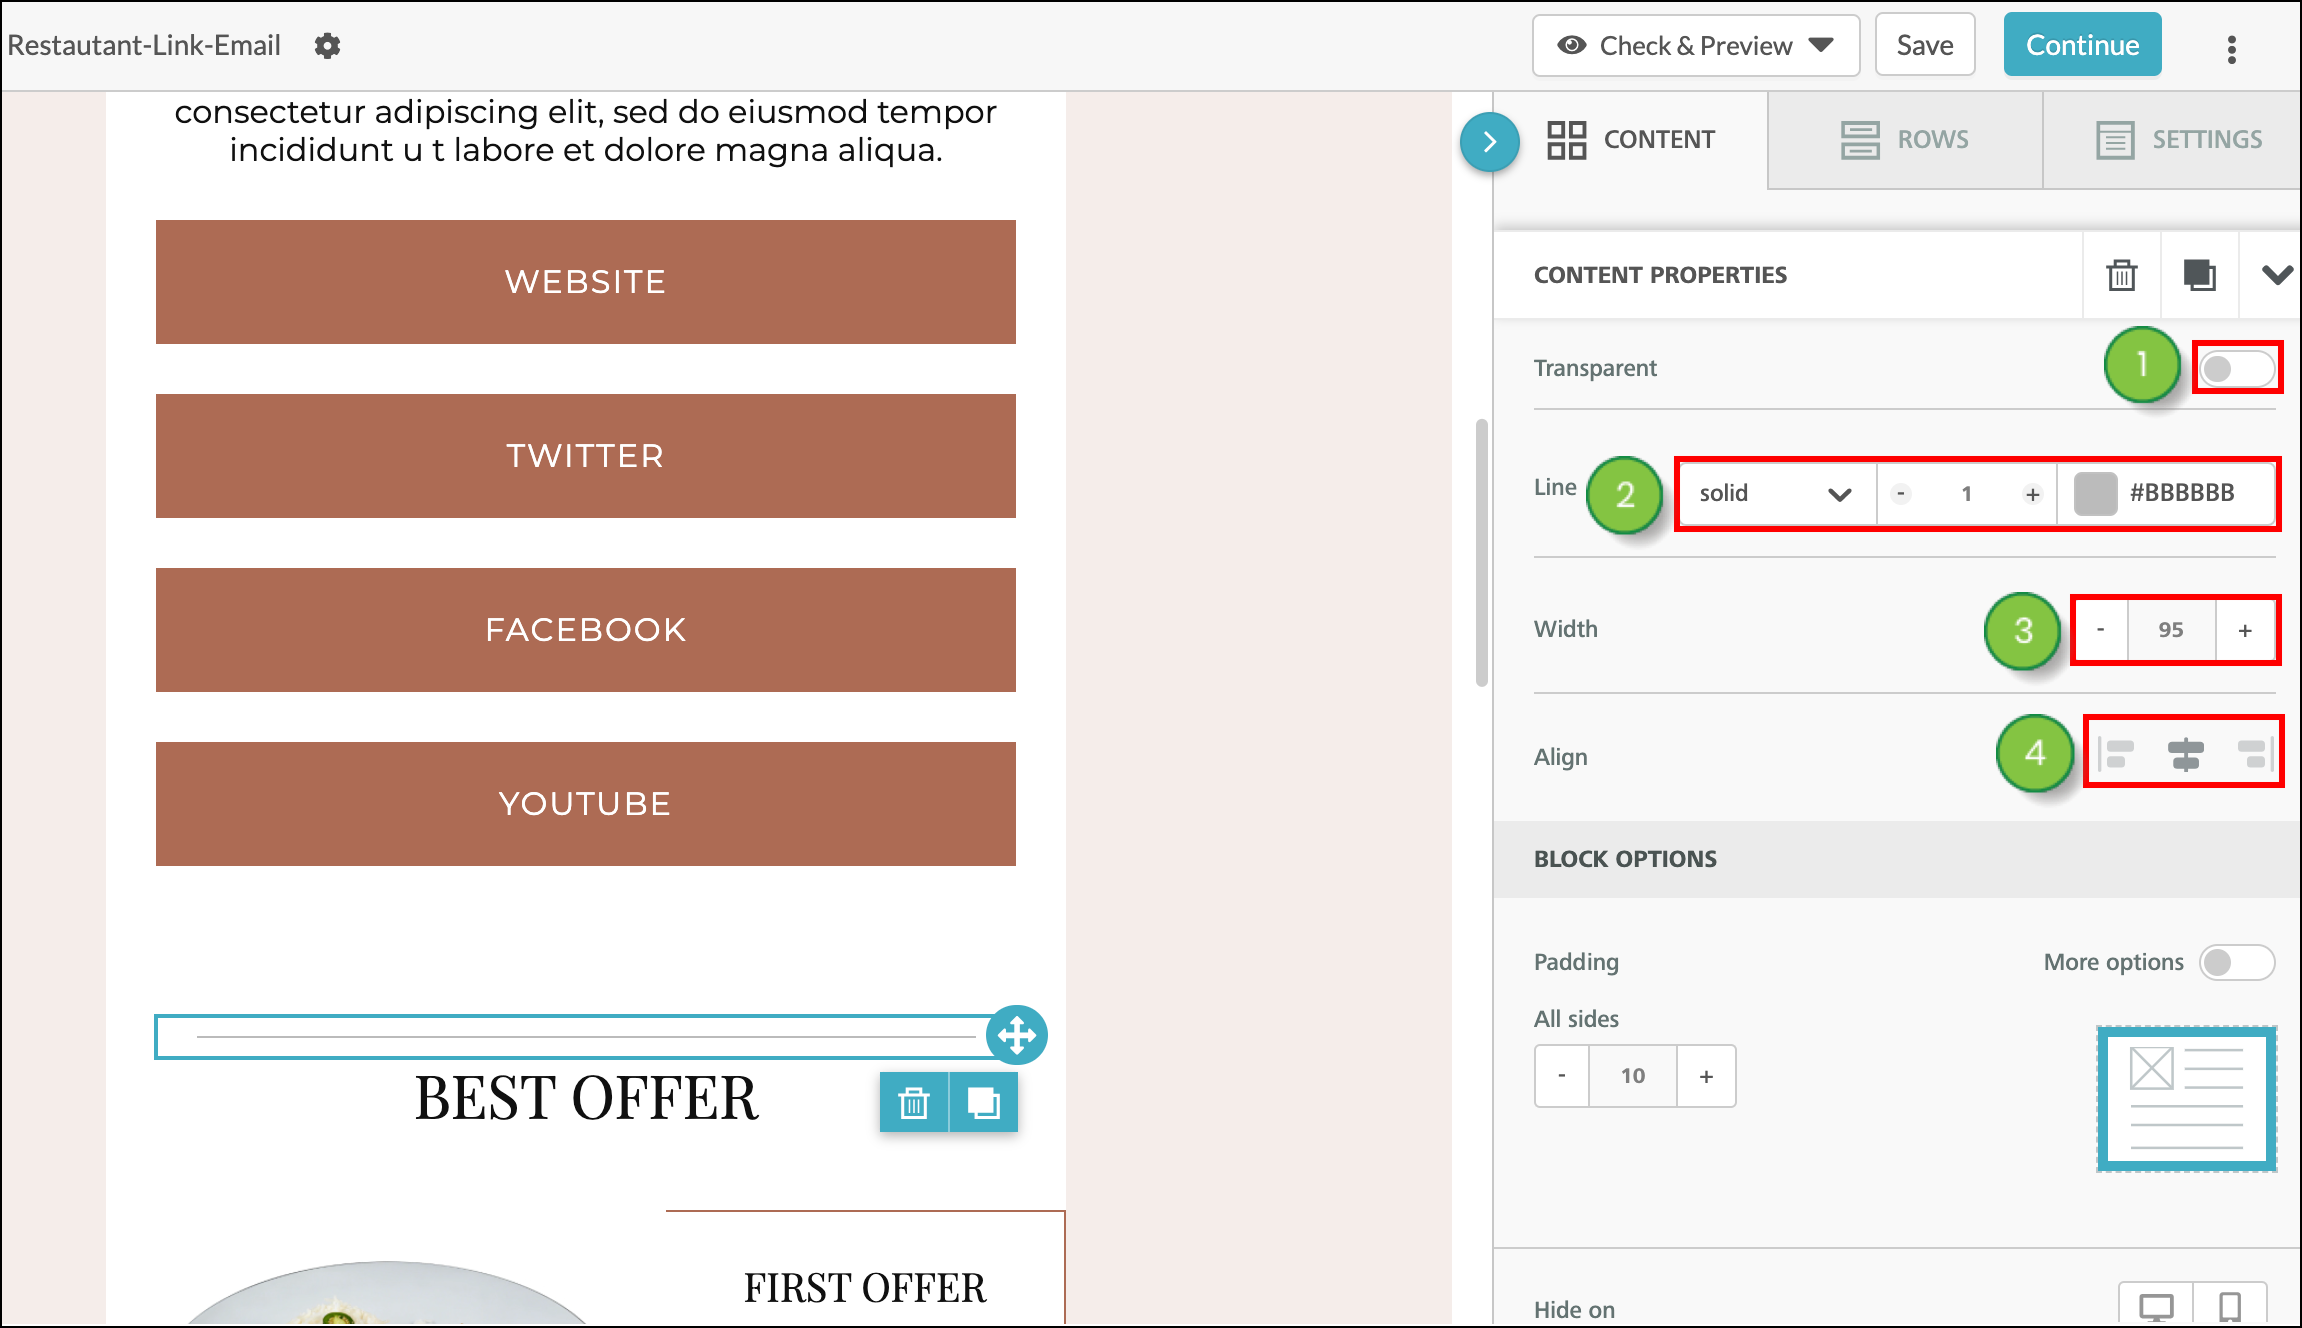
Drag and drop a divider element into your email using the blue lines to guide you. This inserts a solid 1px thick horizontal line with 100% width into your email, in light grey color #BBBBBB. You can modify the divider element as needed.

Click the element in your email and use the Content Properties window to the right to edit your divider.
Drag and drop a space element into your email using the blue lines to guide you. This inserts space in your email with 60px of height and takes the full width of your email. 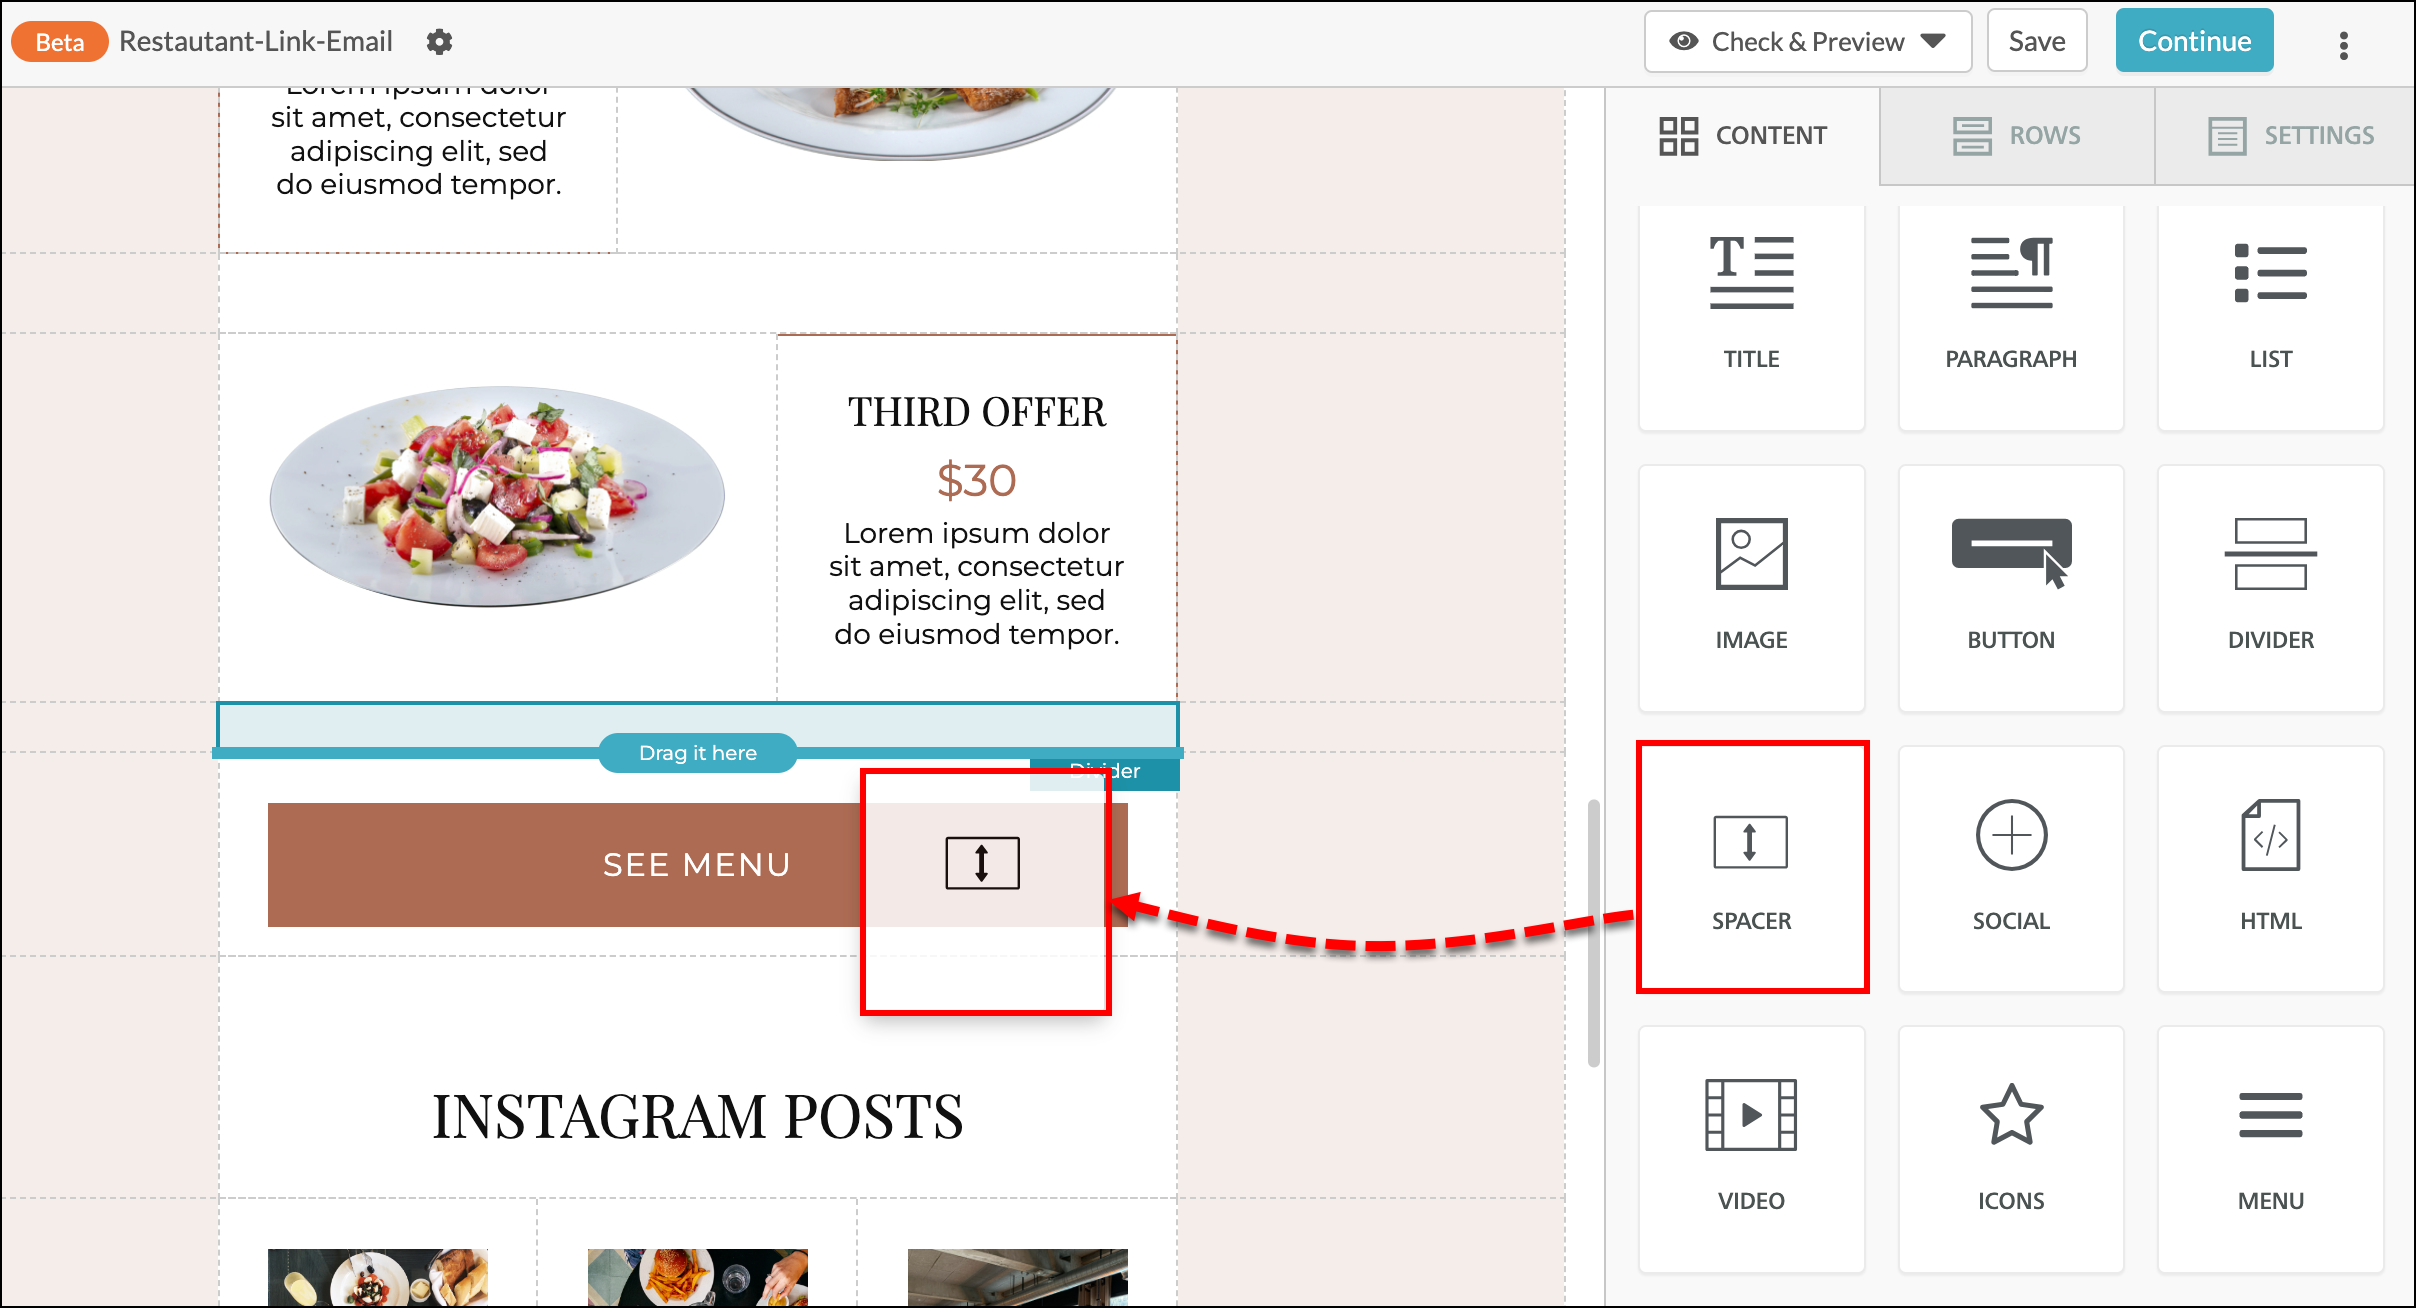
Click the space to open the Content Properties window to the right and modify the height. Select a minimum of 1 px for the space element. There is no maximum height setting for your space element. 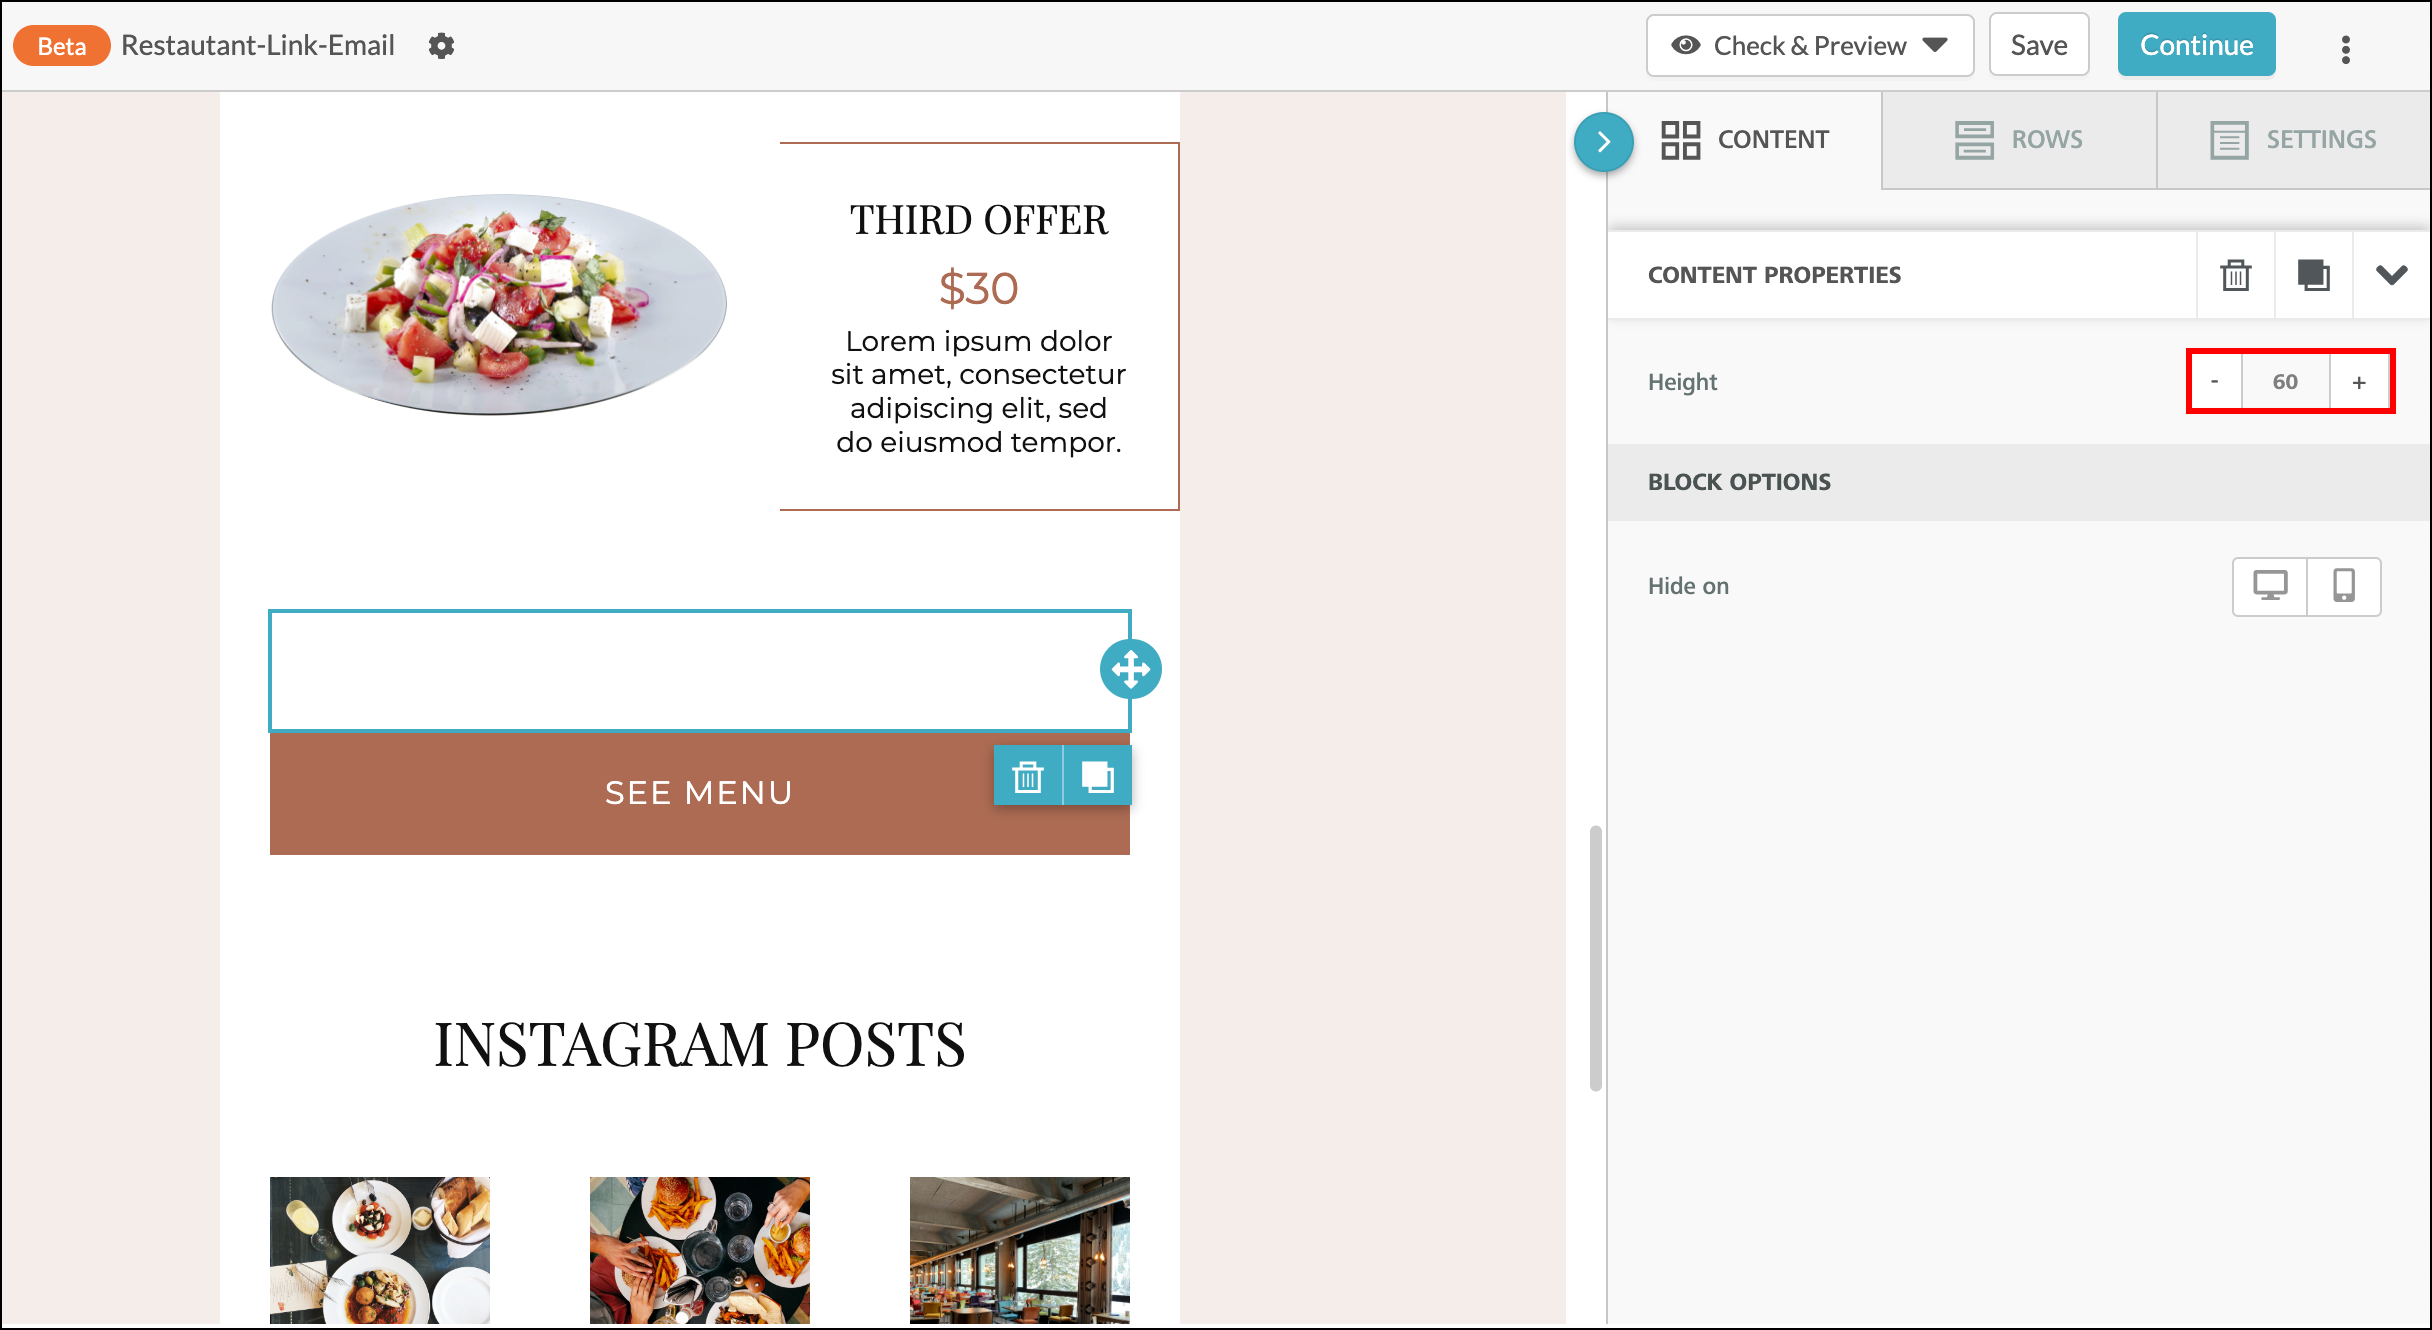
Copyright © 2026 · All Rights Reserved · Constant Contact · Privacy Center