Gated content is content that is purposefully hidden behind a feature. In Lead Gen & CRM, content is normally gated behind form fills. Gated content is a key content marketing strategy, as it forces leads to interact with your forms and submit their information before they can access the desired content.
This article will detail how to create simple gated content pathways.
| Administrators | ✓ | |
| Company Managers | ✓ | |
| Marketing Managers | ✓ | |
| Sales Managers | ||
| Salespersons | ||
| Jr. Salespersons |
| Tip: Are you looking for information about Constant Contact’s Email and Digital Marketing product? This article is for Constant Contact’s Lead Gen & CRM product. Head on over to the Email and Digital Marketing articles by clicking here. Not sure what the difference is? Read this article. |
In order to gate content behind forms, you will first need to decide what content you want to gate. Options include:
Once you've decided which content to gate, ensure you've uploaded it or created it in Lead Gen & CRM, if applicable, and then proceed to building your form.
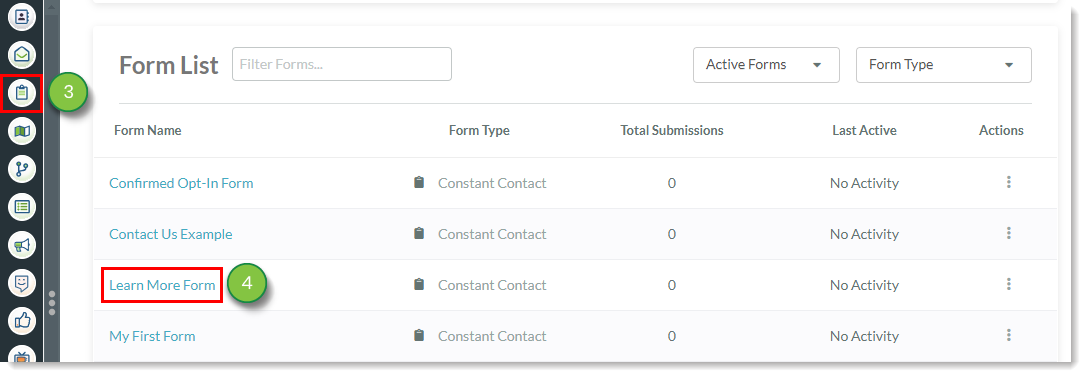
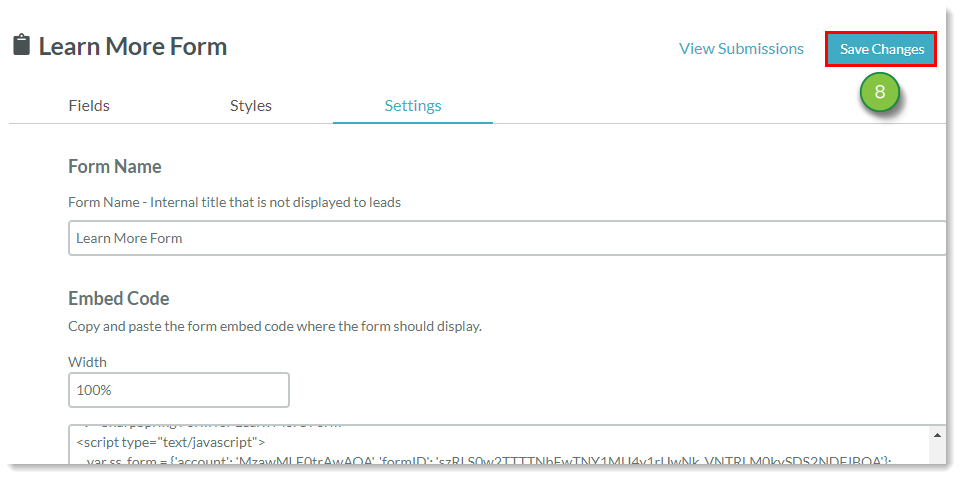
Once you have decided which content should be gated by a form, you can create the form itself. Add field and formatting content and configure form buttons. Because this form is gating content, consider changing the form's button text in the General Styles section from "Submit" to something that explains to the lead that they will obtain a file or information when they submit their information, such as "Download Now" or "Request a Demo".
After building your form, take the necessary steps to gate the media content, landing page, or external content.
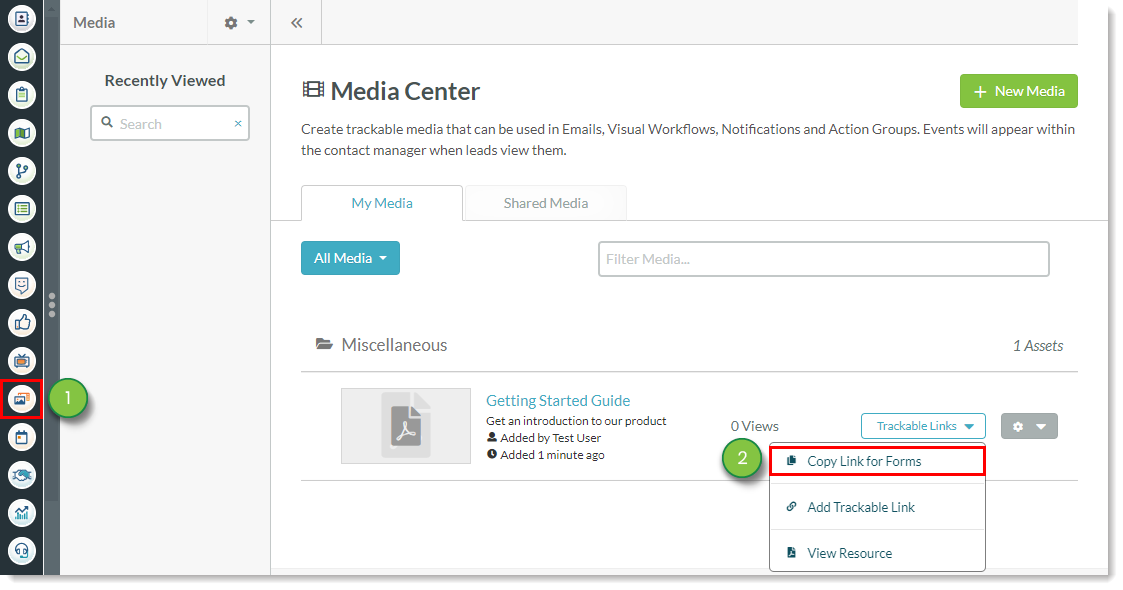
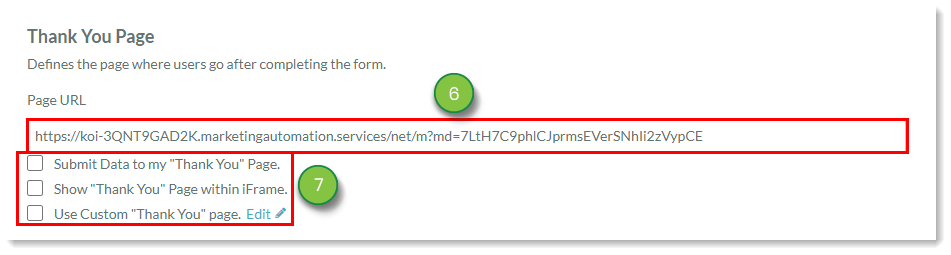
You can set forms to navigate to or download specific media content after a lead has filled out your form. When paired with required fields, you ensure that leads can access your content only after they have filled out form information.
This requires that you have first uploaded media content to the Media Center, added a trackable links, and created a fully configured form.
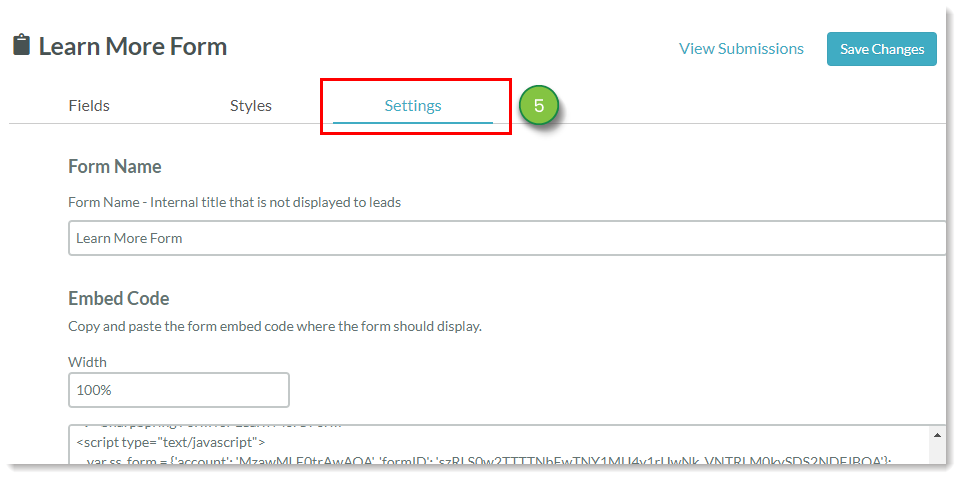
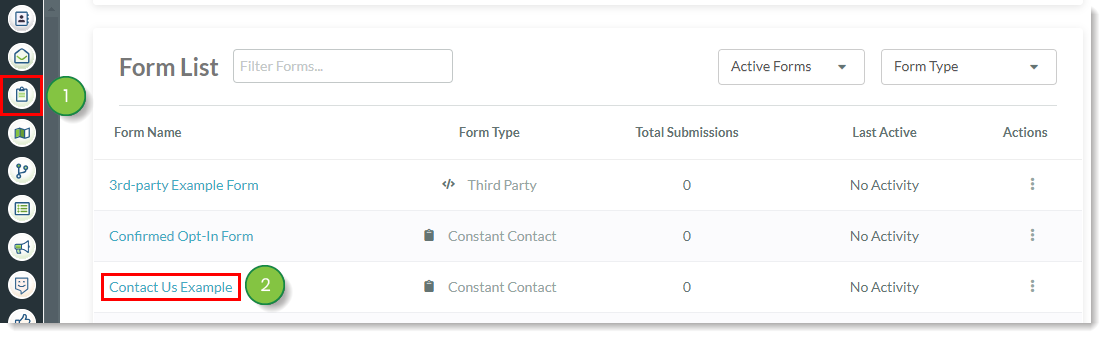
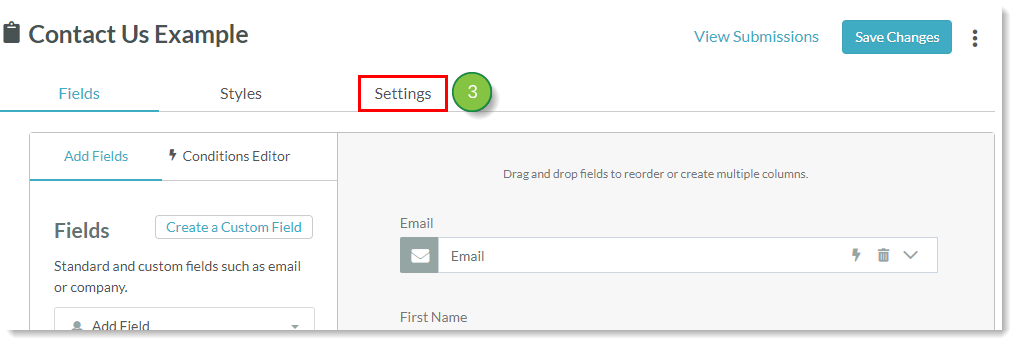
To gate downloadable content behind a form fill, do the following:
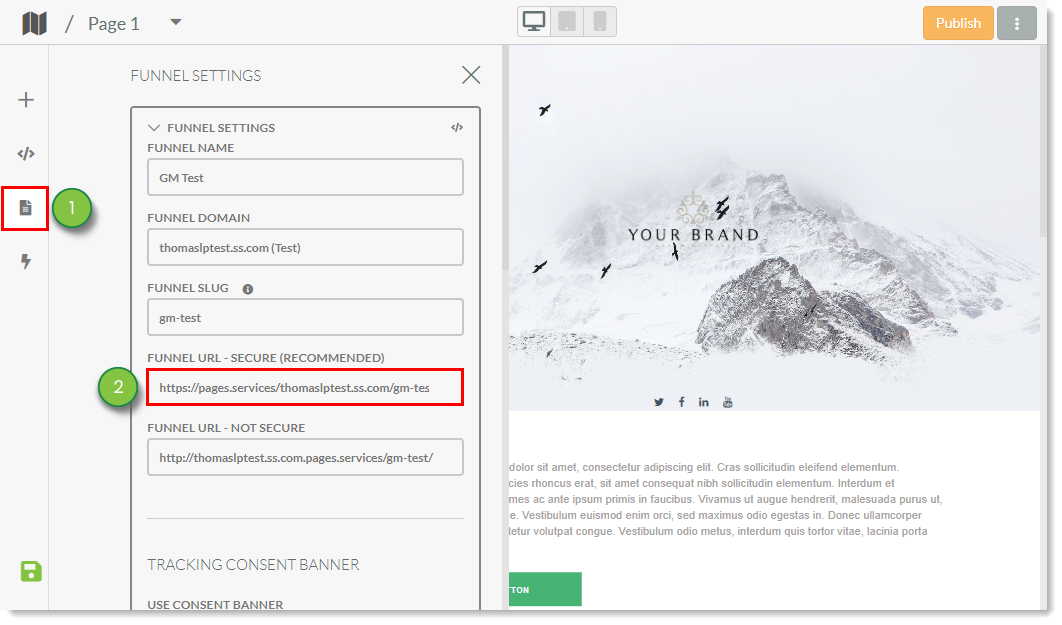
There may be times when you want forms to direct to specific landing pages after they have been filled out and leads have submitted their information.
This requires that you have first built a landing page and created a fully configured form.
To link to landing pages or other content after a form fill, do the following:
You can use your forms to redirect to external content, such as webpages, images, videos, files, and other content not hosted in Lead Gen & CRM.
This requires that you have first created a fully configured form and have the external content's URL available.
To link to external content after a form fill, navigate to the desired webpage or other content and copy the external content's URL. Then:

Copyright © 2026 · All Rights Reserved · Constant Contact · Privacy Center