| Administrators | ✓ | |
| Company Managers | ✓ | |
| Marketing Managers | ✓ | |
| Sales Managers | ||
| Salespersons | ||
| Jr. Salespersons |
When leads view trackable media items, an event will appear in their Life of the Lead in the Contact Manager. This enables you to track your leads’ interaction with important content and follow up with them in a meaningful way. The Media Center provides the ability to:
In addition, you can utilize uploaded media assets for use in emails, providing recipients with a modern and more interactive experience.
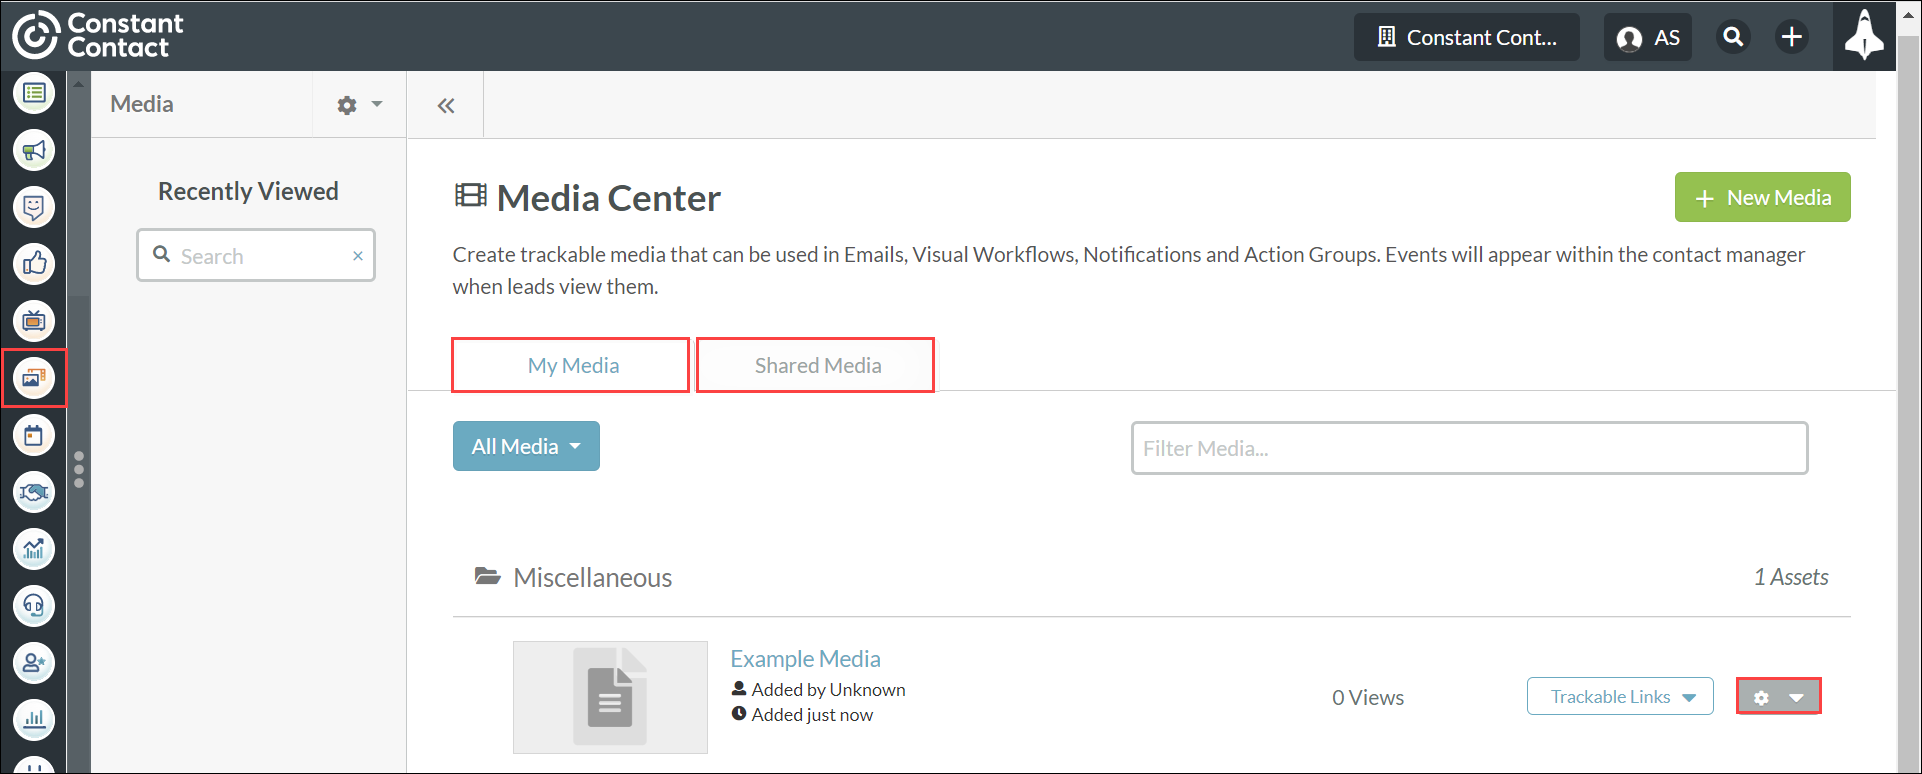
Click Media Center in the left toolbar to access the Media Center.
On the Media Center page, you will be able to:
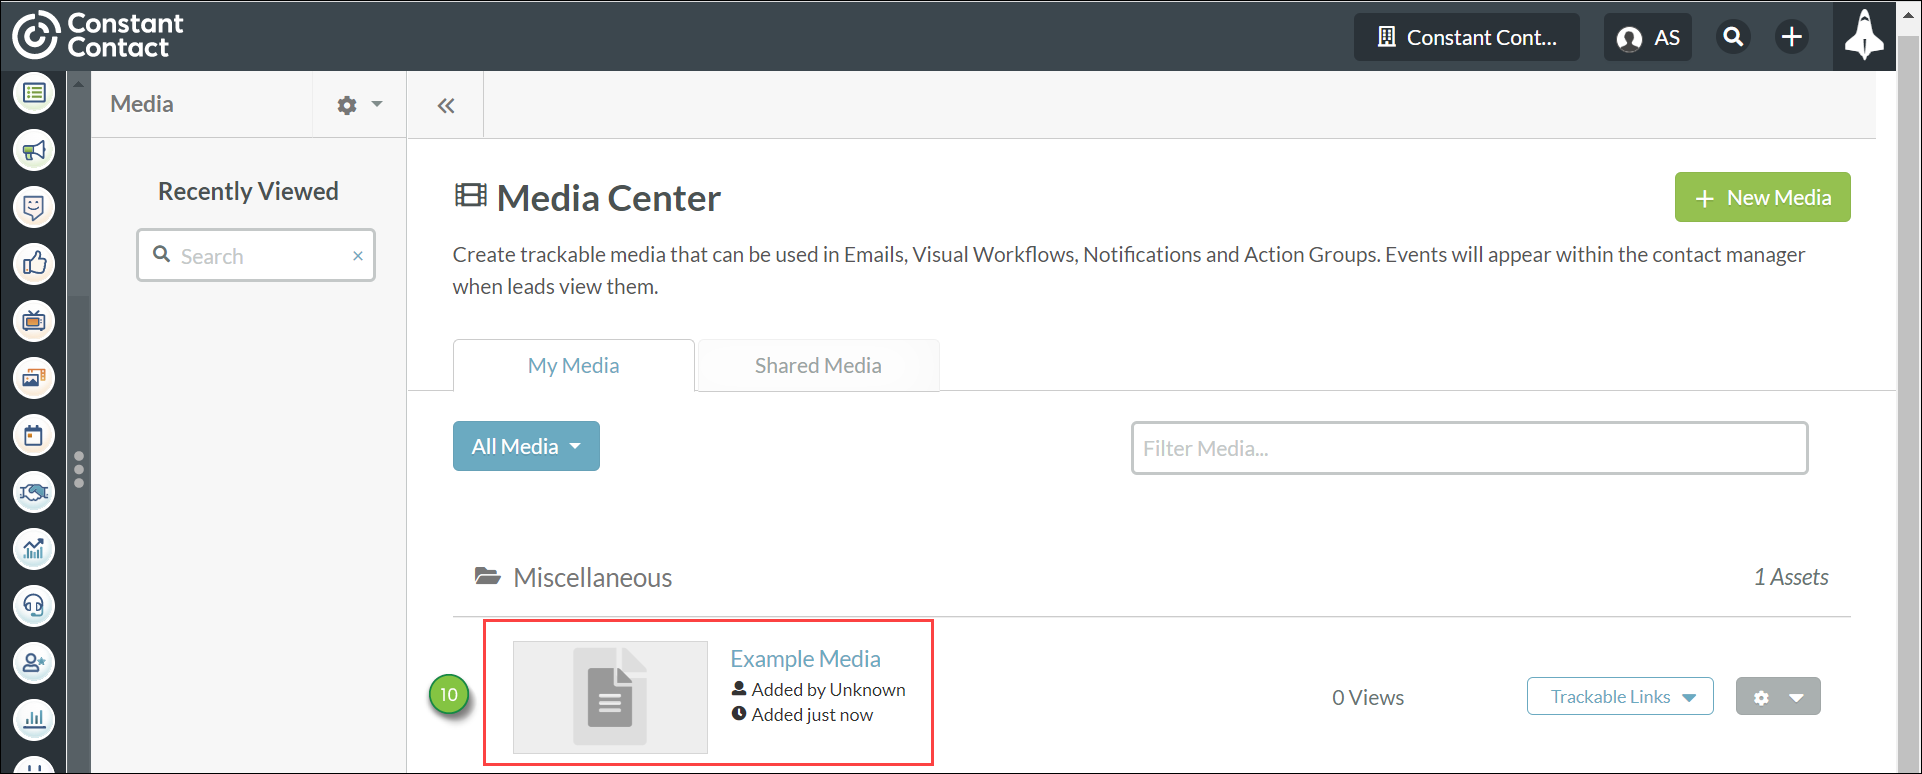
The My Media tab provides an at-a-glance view of uploaded media center assets.
The Shared Media tab contains all media designated as "Share with team." Checking the Share with team box in your Media settings grants account users with a Marketing Manager role access to view and manage that media. If the Share with team box is not checked, the asset's visibility is limited to administrators and customer managers only.
After media has been added to the Media Center, each item will be in an itemized list of assets that can be organized into folders. You can also modify sharing and availability options by clicking the ![]() Options icon.
Options icon.
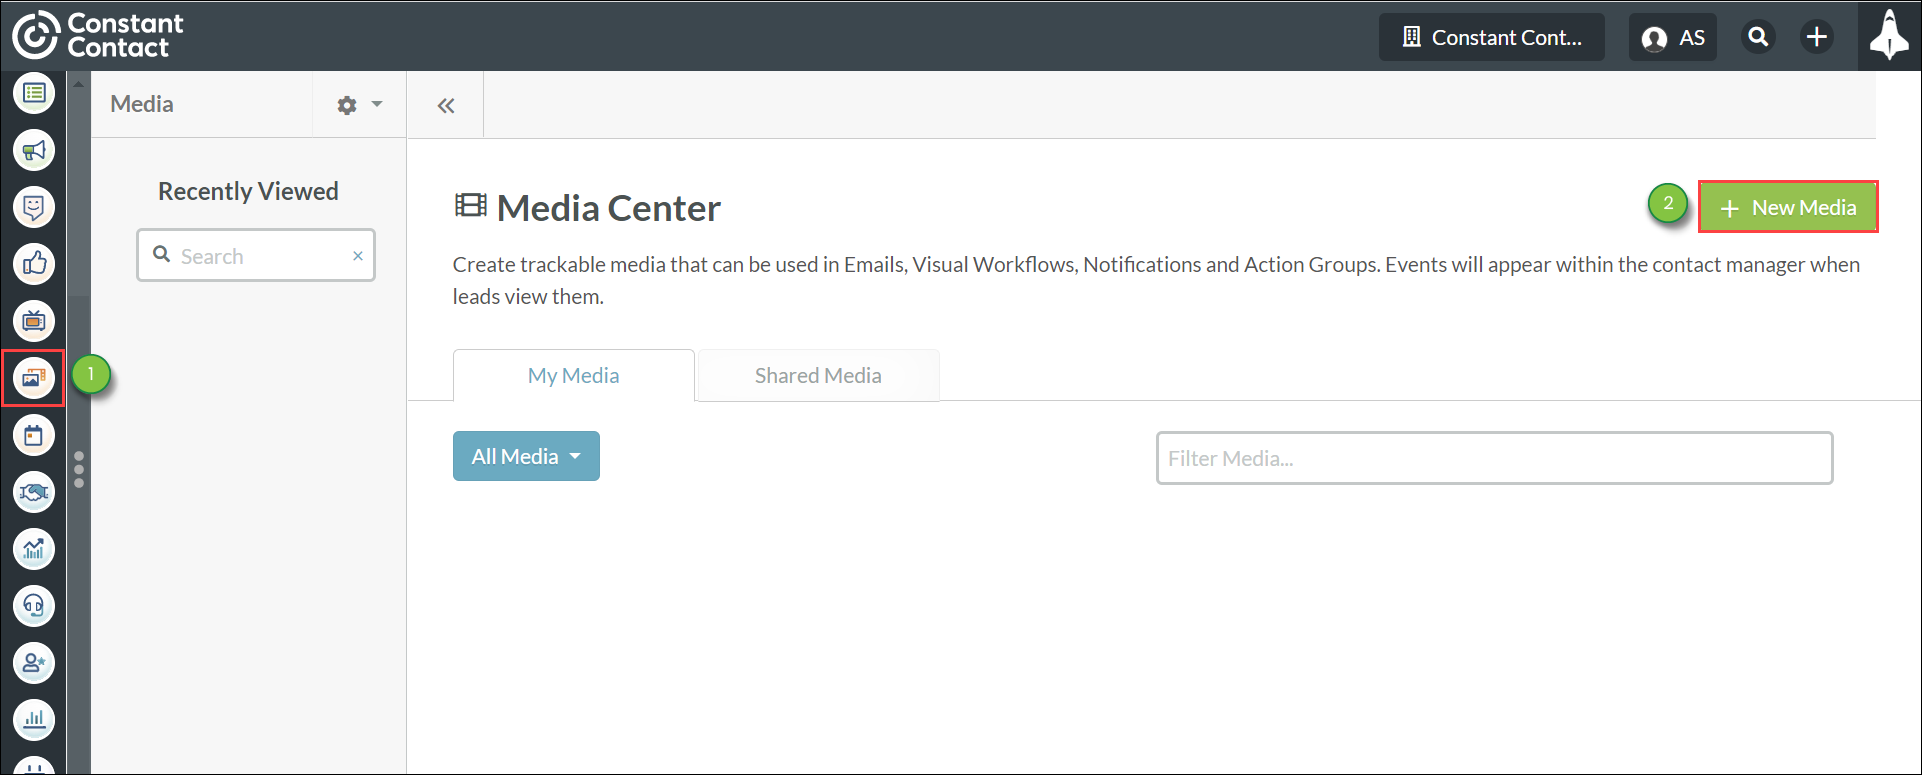
You can add new media files to the Media Center as necessary. To add new media files, do the following:
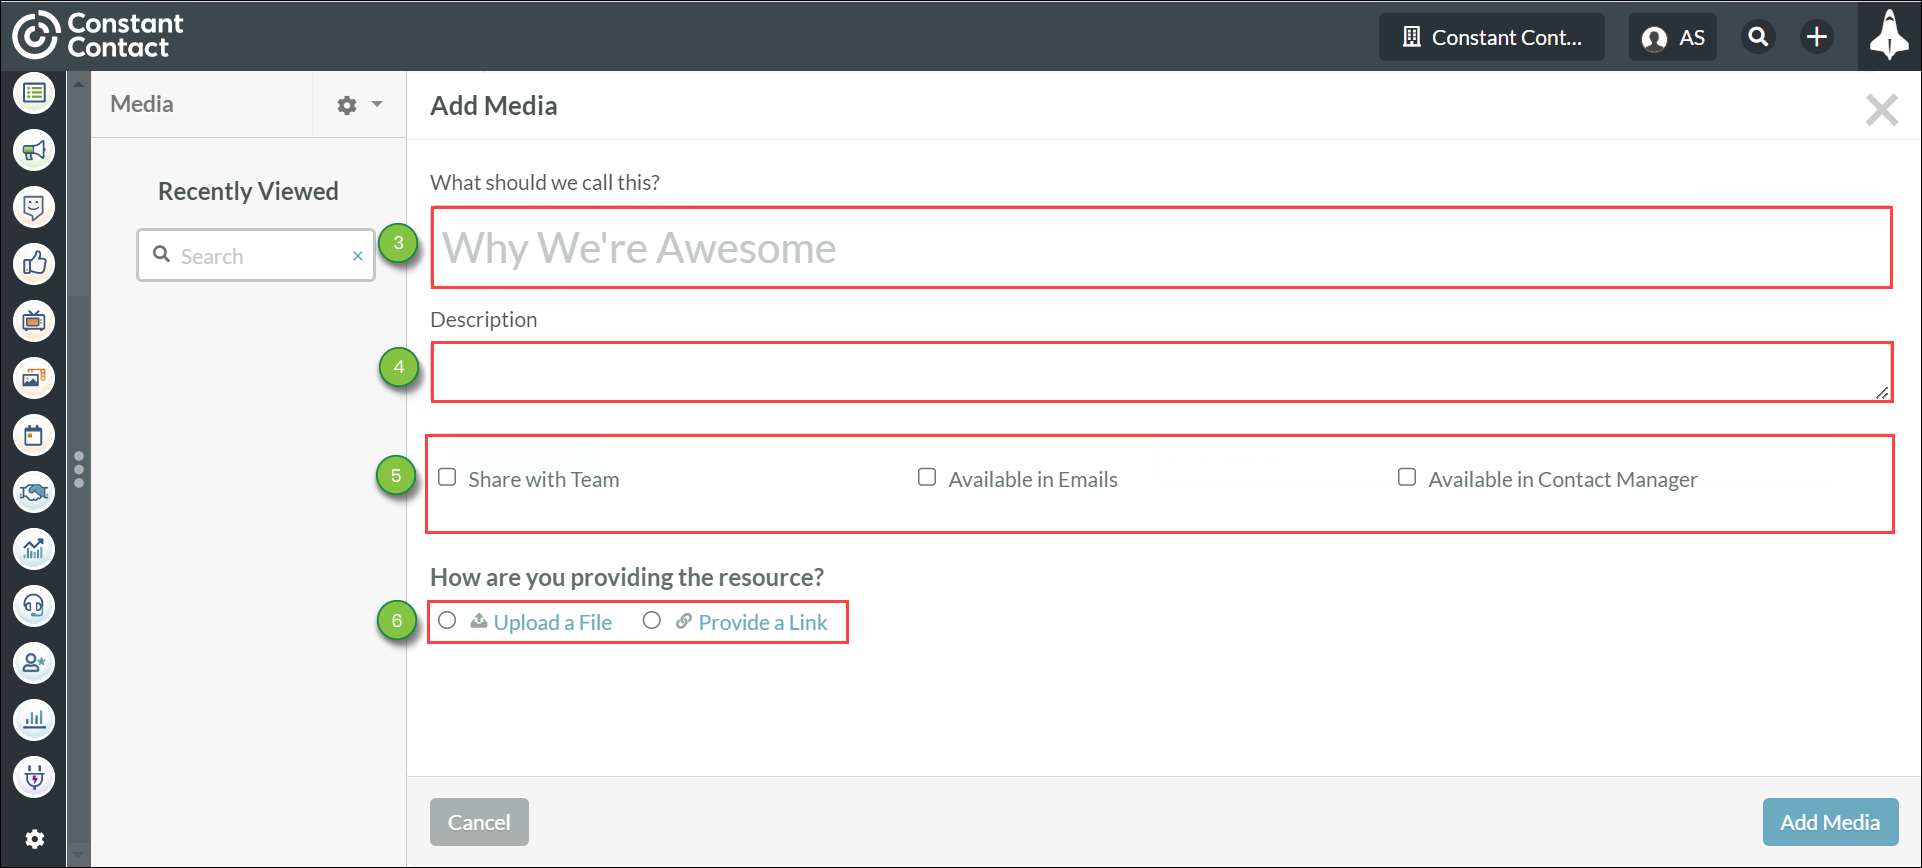

Note: For video files, use a video streaming service (such as YouTube or Vimeo) to host the video content and provide the link when uploading to the Media Center. Video files tend to be large, and are best managed in a dedicated service.
The Media Center allows you to upload the following file types:
| Supported File Types | ||||
| • .CSV |
• .GIF | • .JPEG | • .PNG | • .XLSX |
| • .DOCX |
• .JPG | • .PPTX | • .ZIP | |
The safest file types to send are .GIF, .JPG, .PDF, and .PNG. While Lead Gen & CRM supports their attachment, .ZIP files should never be included as attachments in an email.
Note: 30MB is the maximum recommended file size.
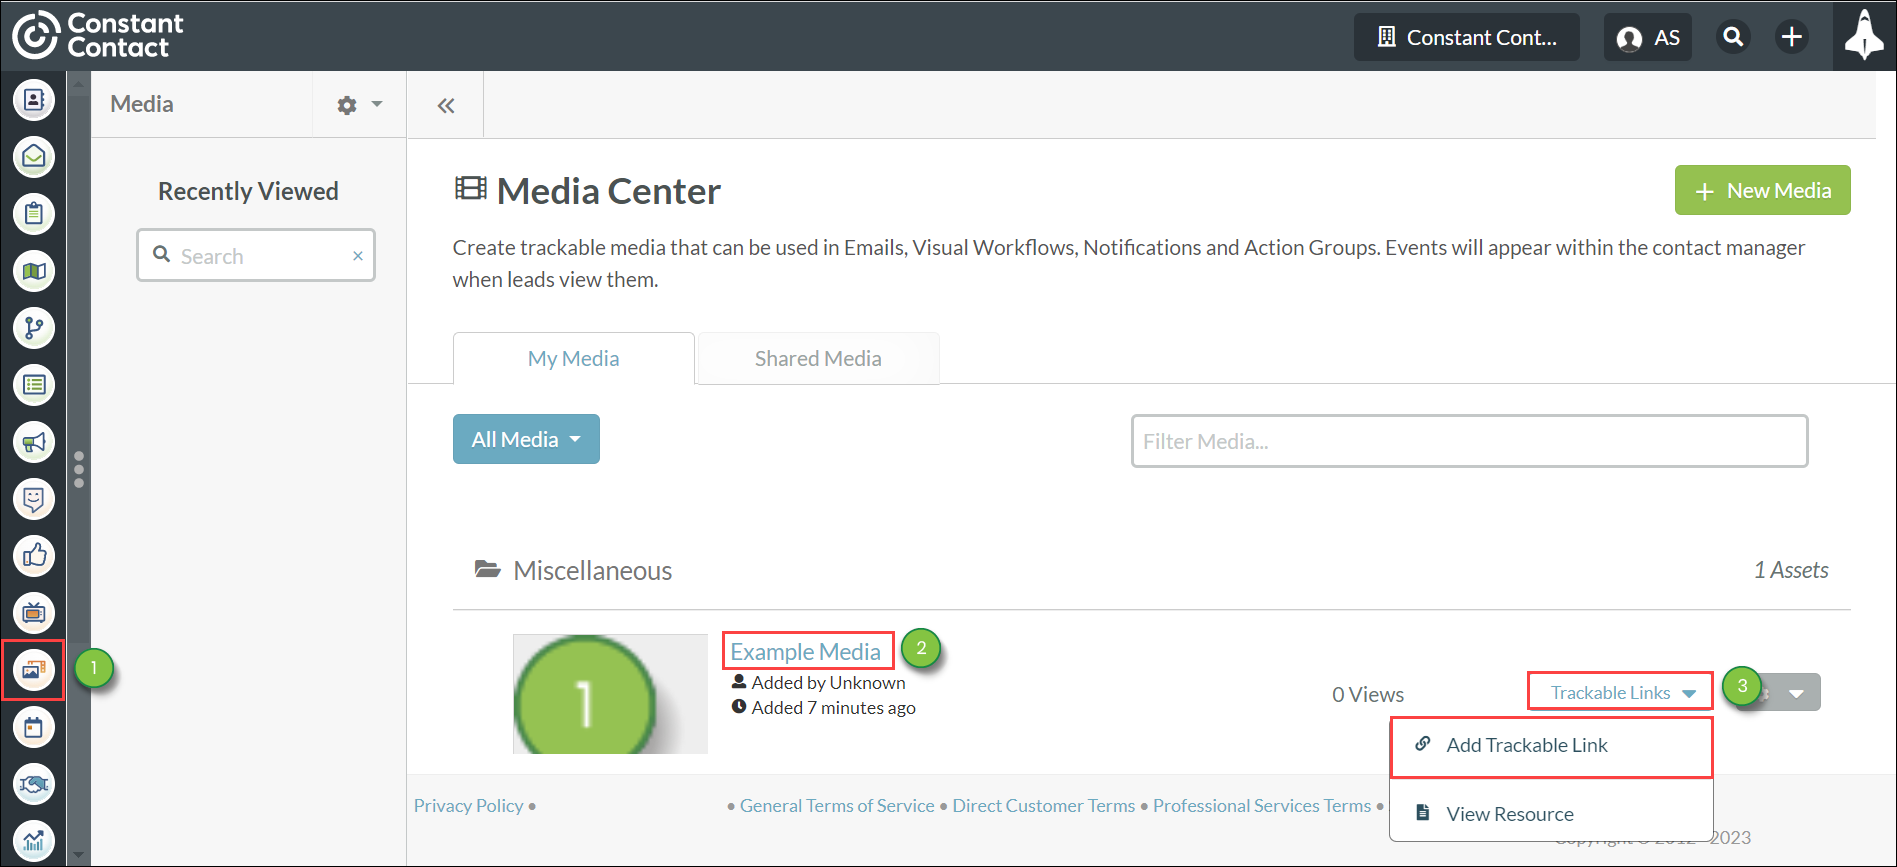
Lead Gen & CRM allows you to create a trackable link for any media asset uploaded in the Media Center.
These trackable links are necessary to place Media Center assets into emails and landing pages.
To create trackable links, do the following:
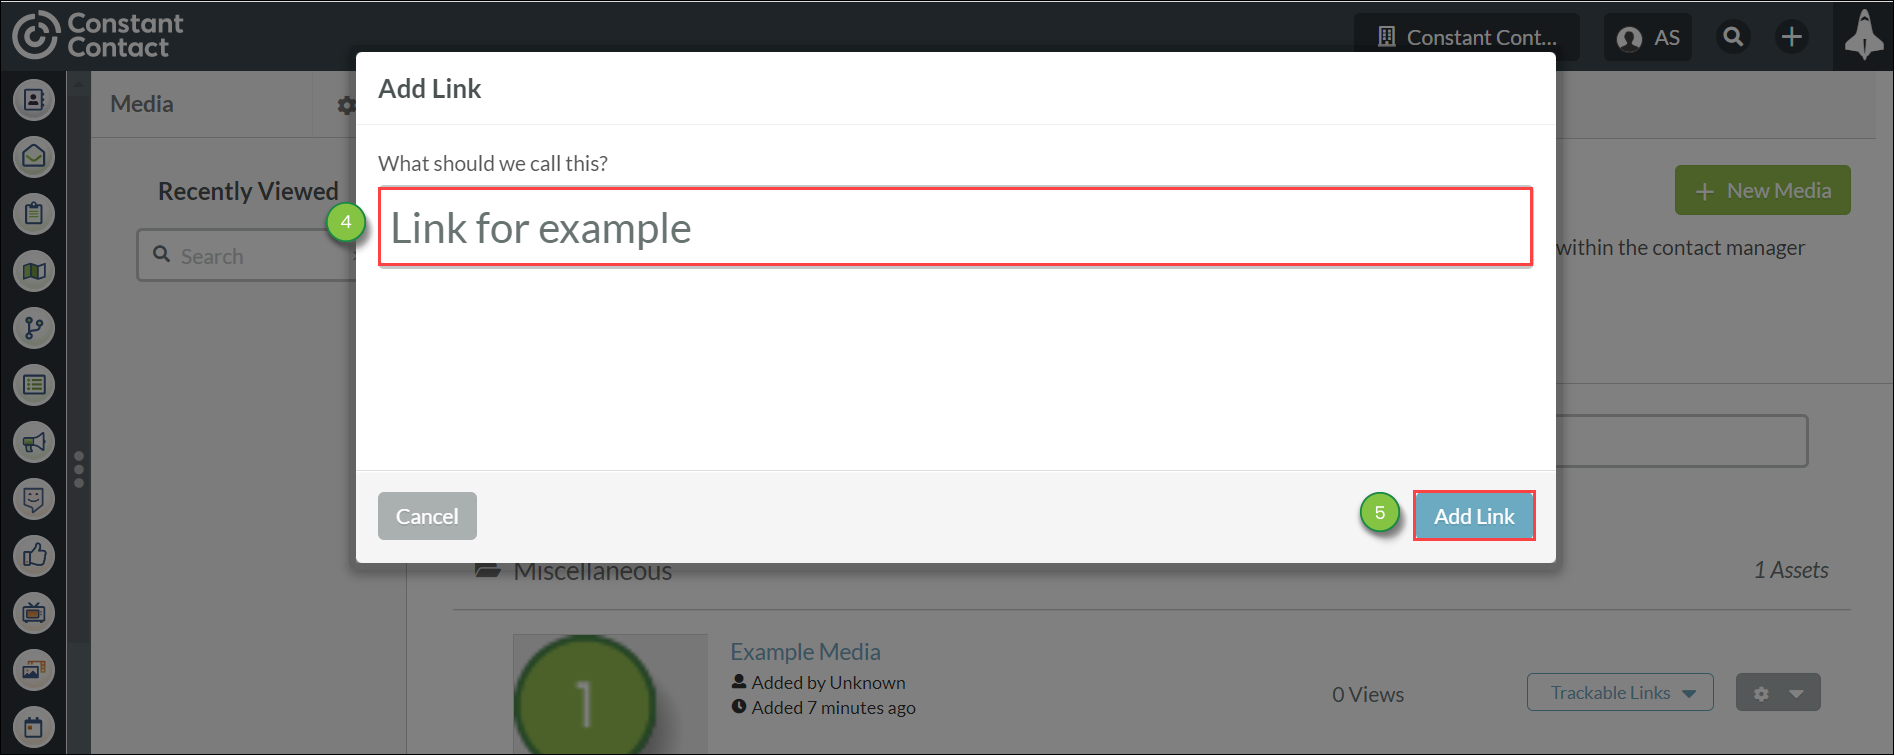
Once created, you can use trackable links in an email or on a landing page as a way to track visitors and traffic to that media file.
Note: Trackable links will not establish new tracking. Since they are a more generic link that is connected to your Lead Gen & CRM environment, the interaction with that media will only display in the Life of the Lead for leads that are already tracked.
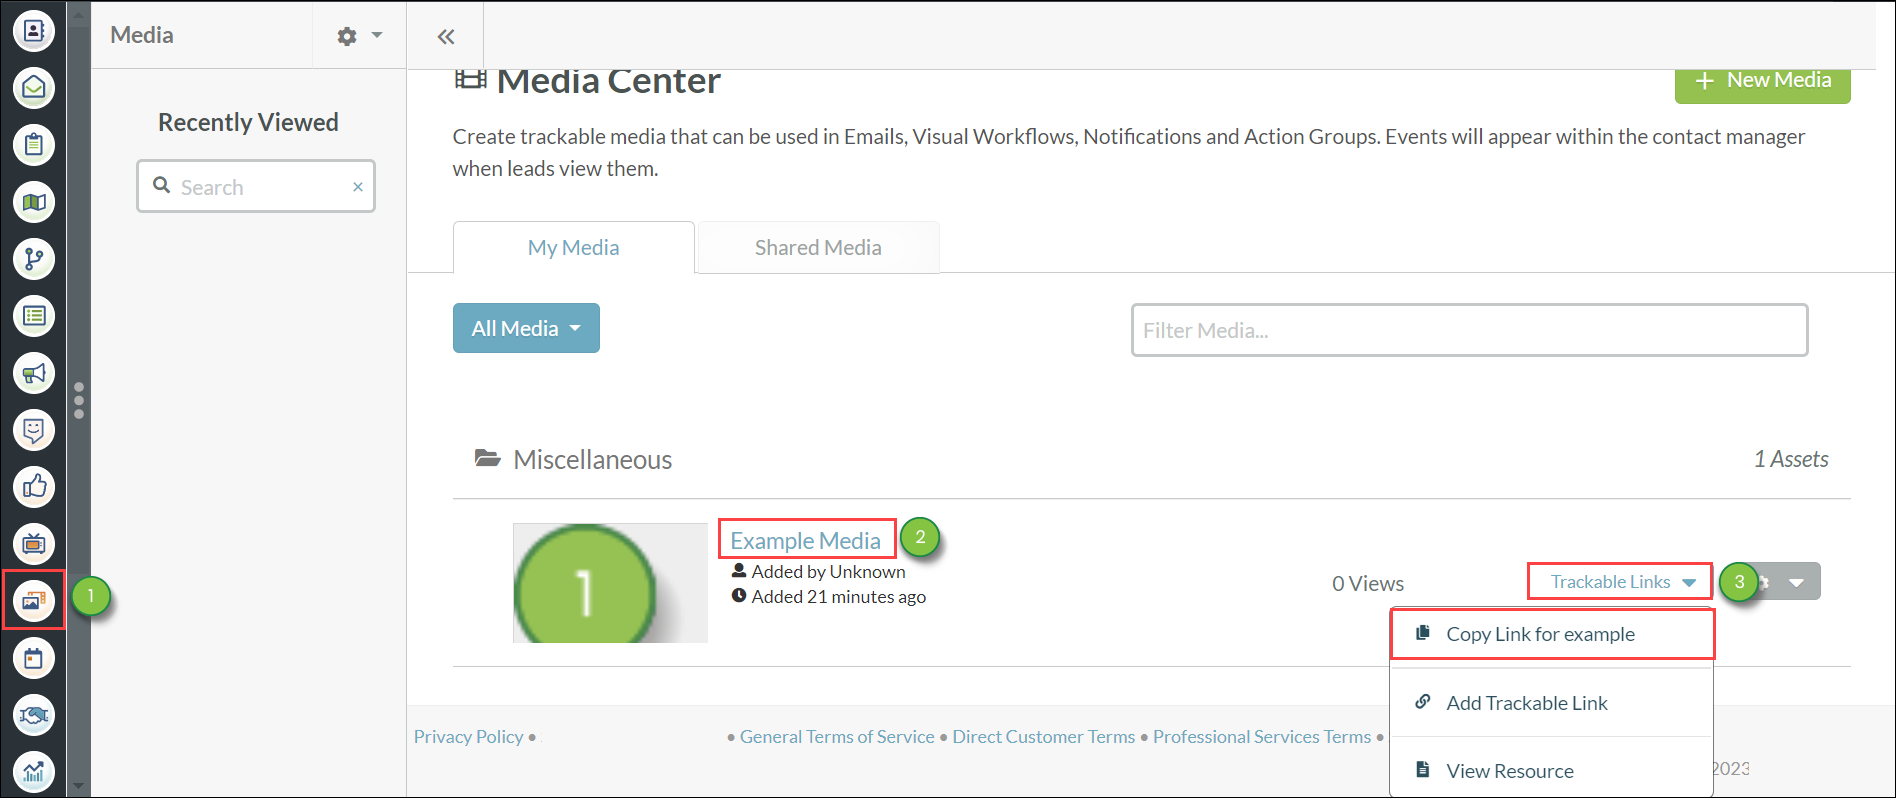
You can copy previously created asset links. To copy trackable links, do the following:
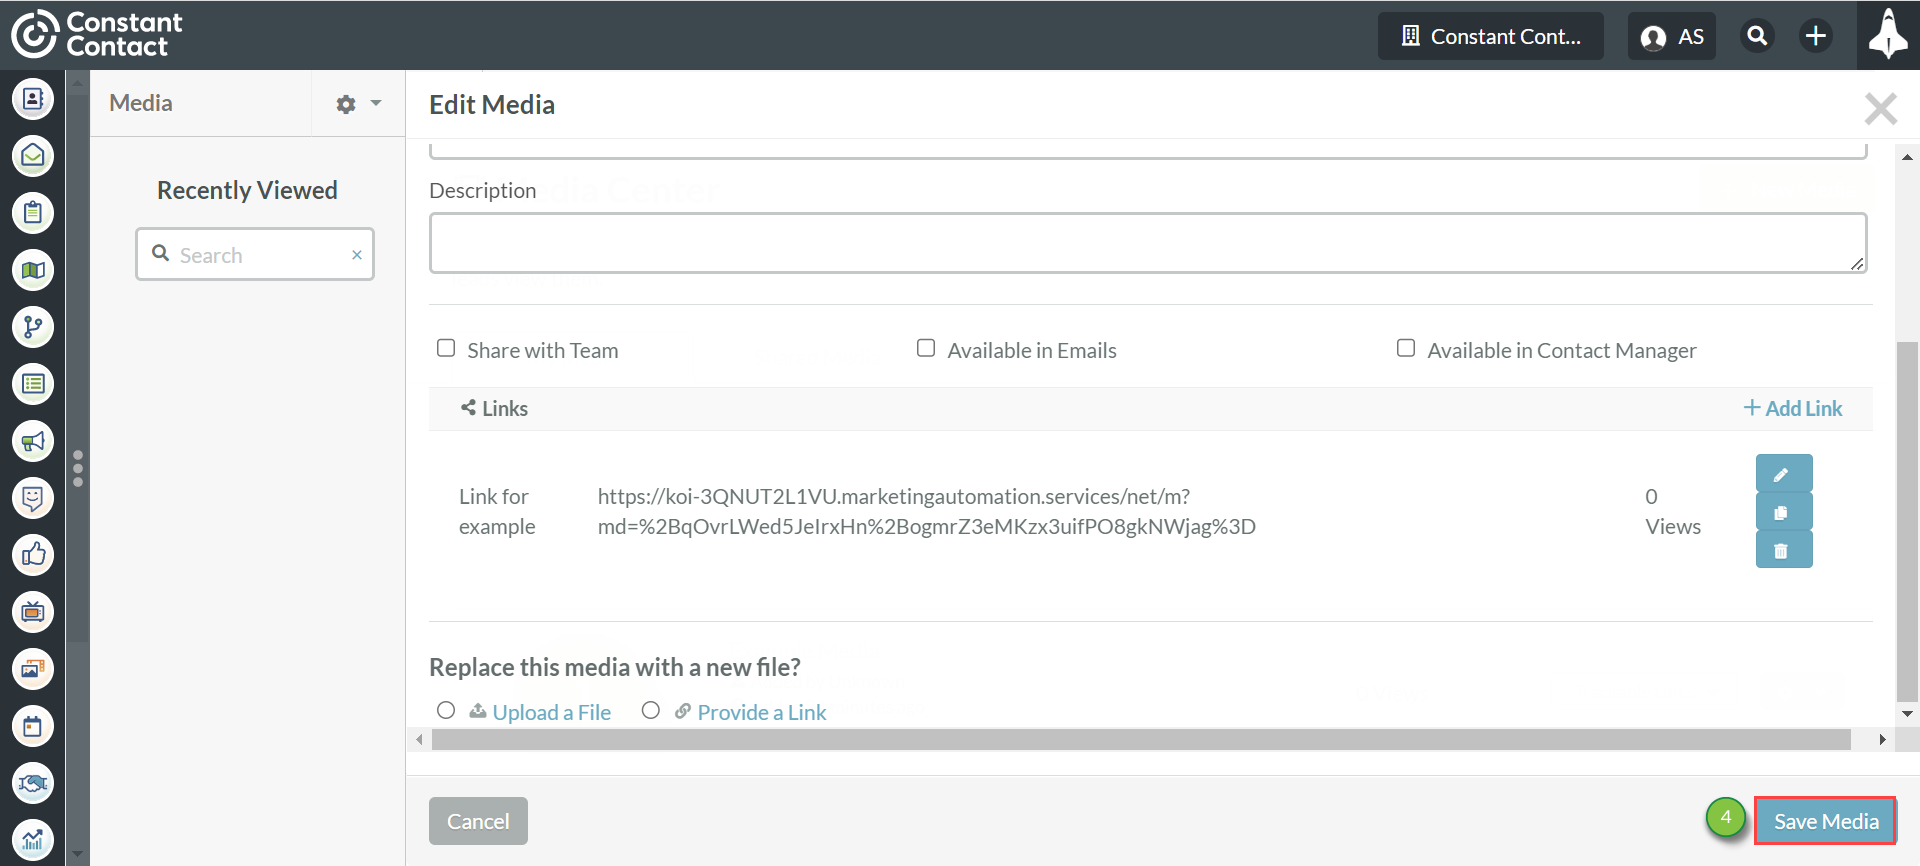
You can edit an uploaded asset's data. To edit asset data, do the following:

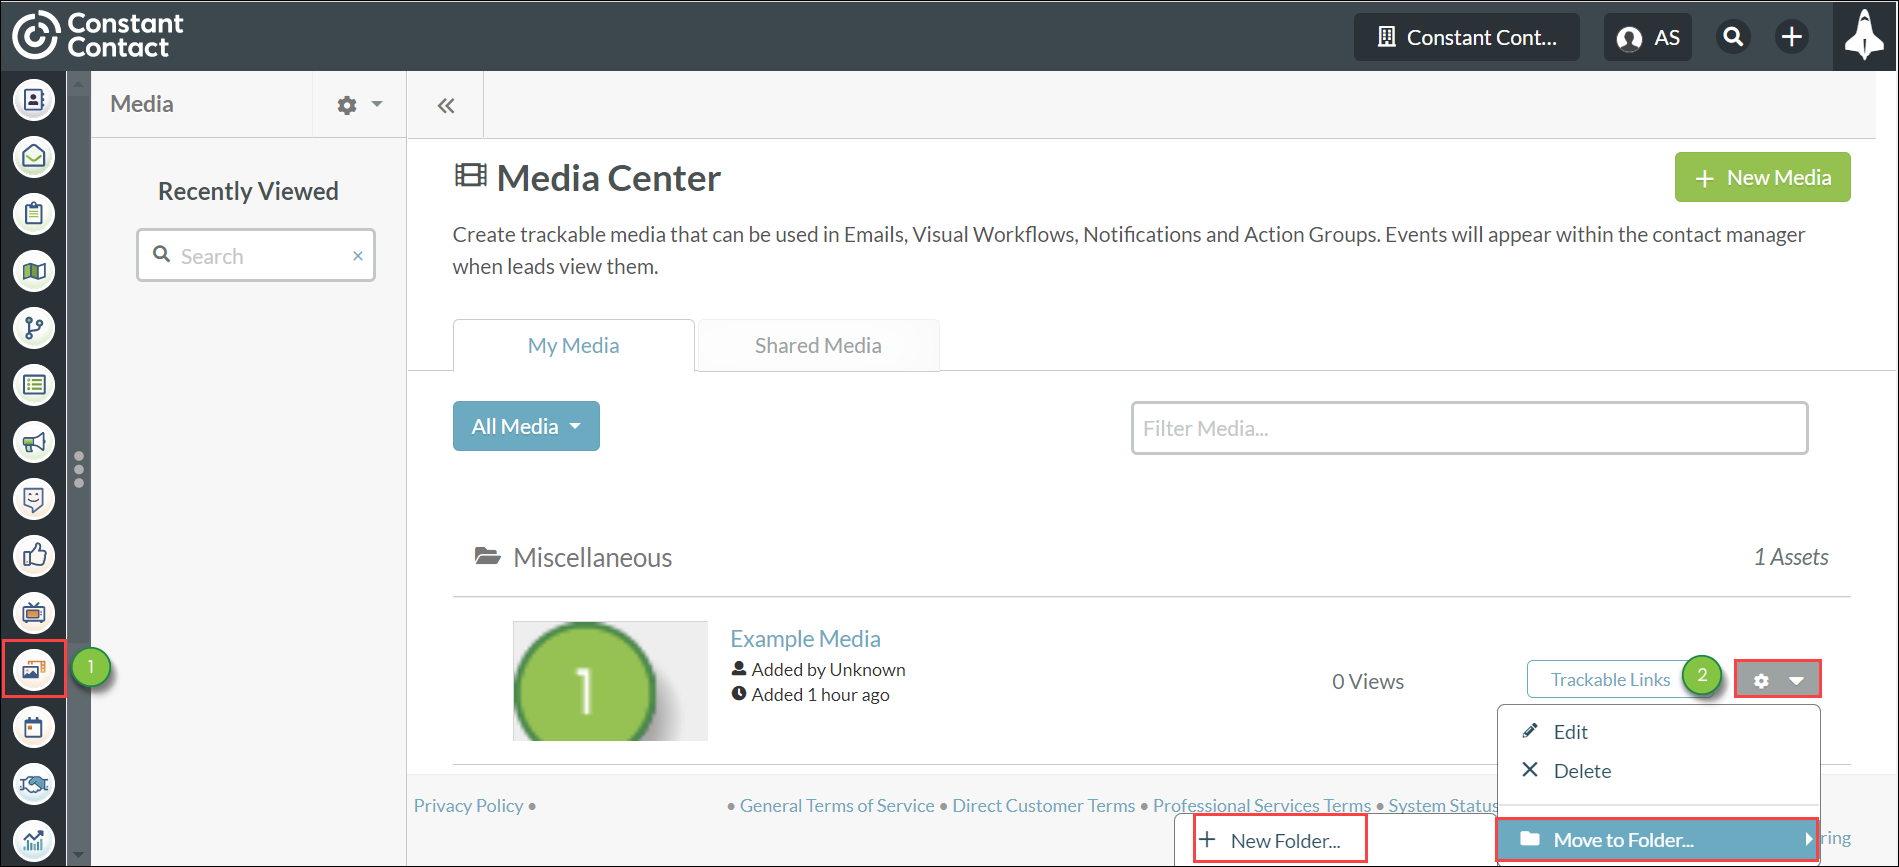
There may come a time when you have many loose media assets. To better organize assets, consider grouping them in folders.
To create folders in the Media Center, do the following:
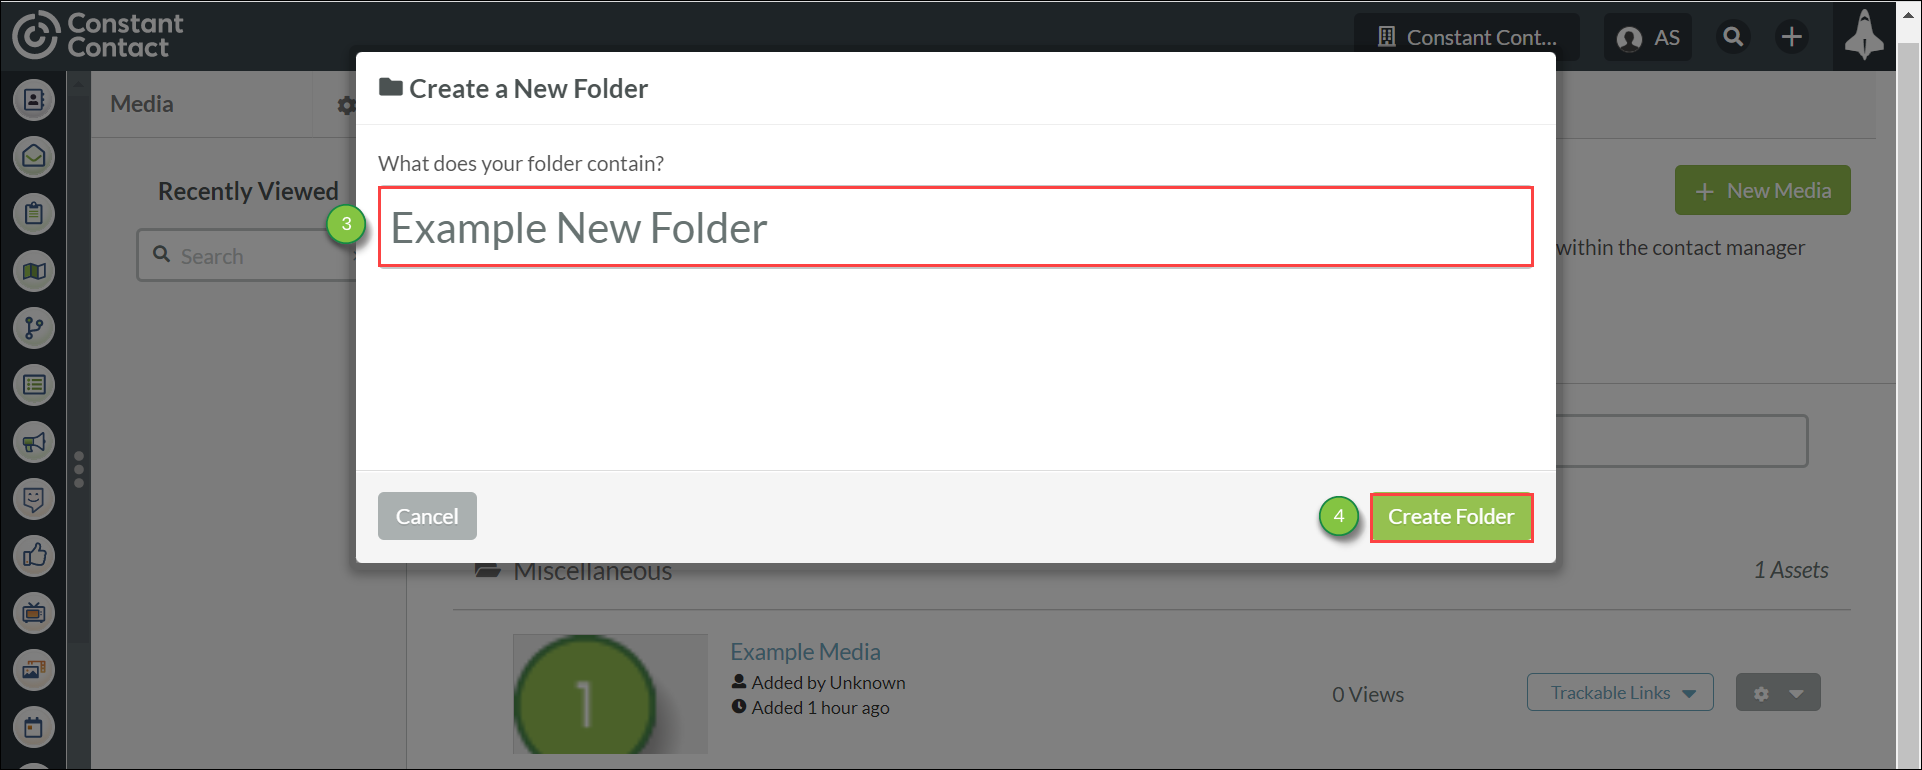
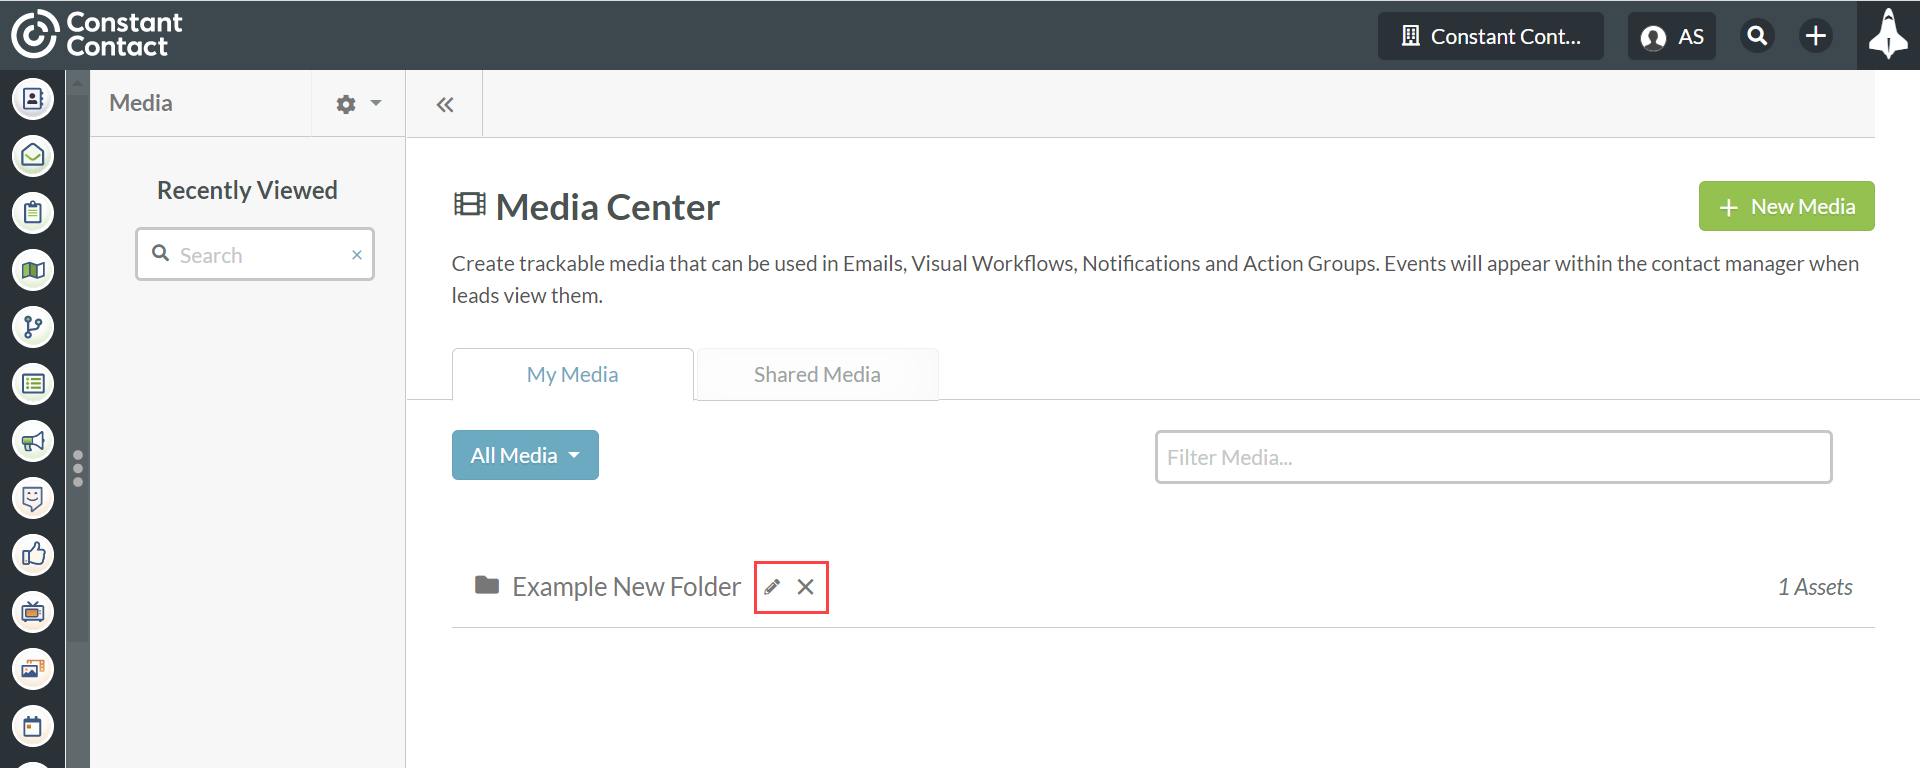
Once created, you can:
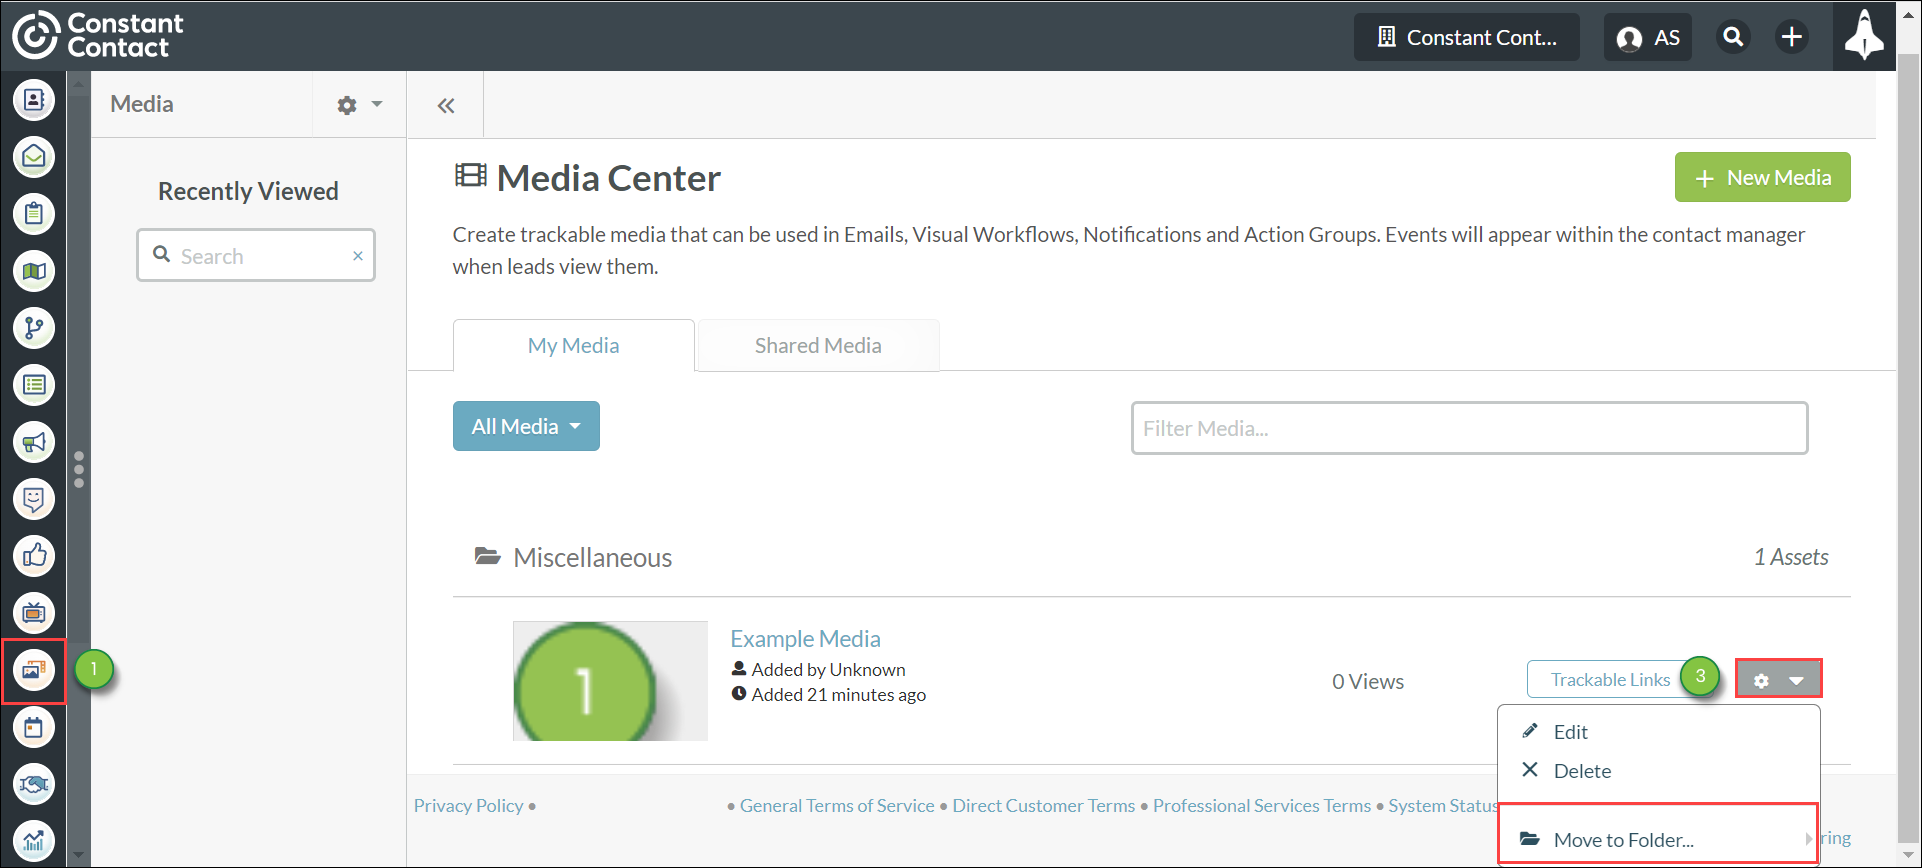
You can move media assets between folders in the Media Center. To move assets, do the following:
You can delete unwanted media assets as necessary. To delete assets, do the following:
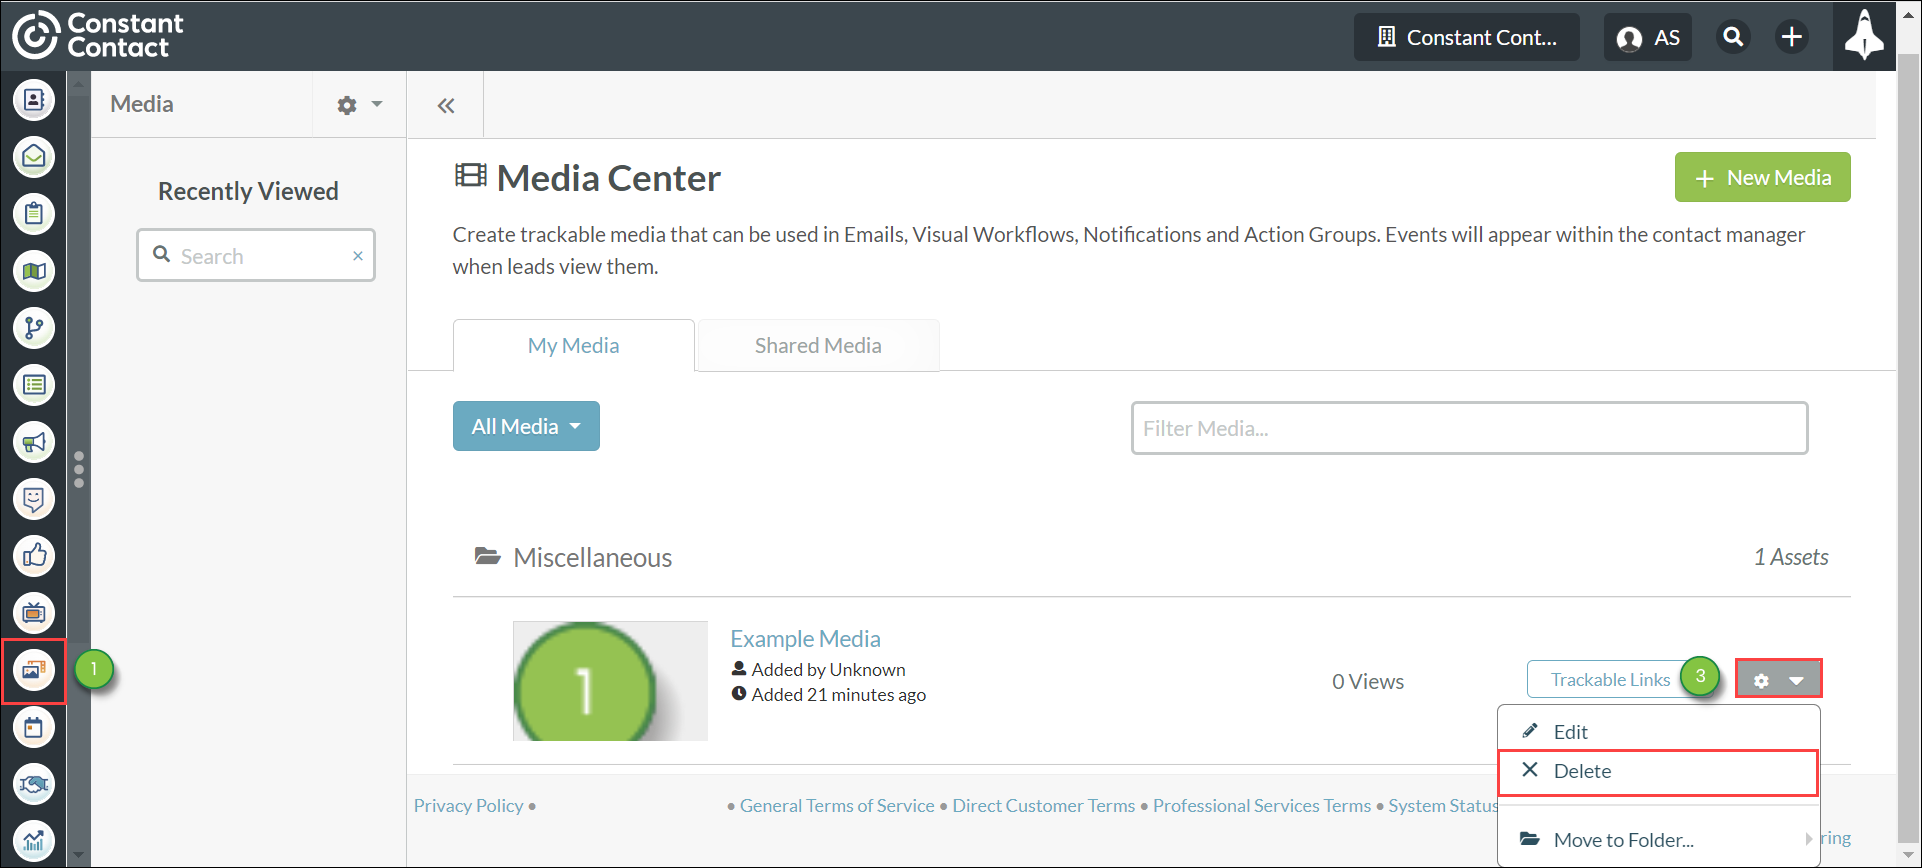
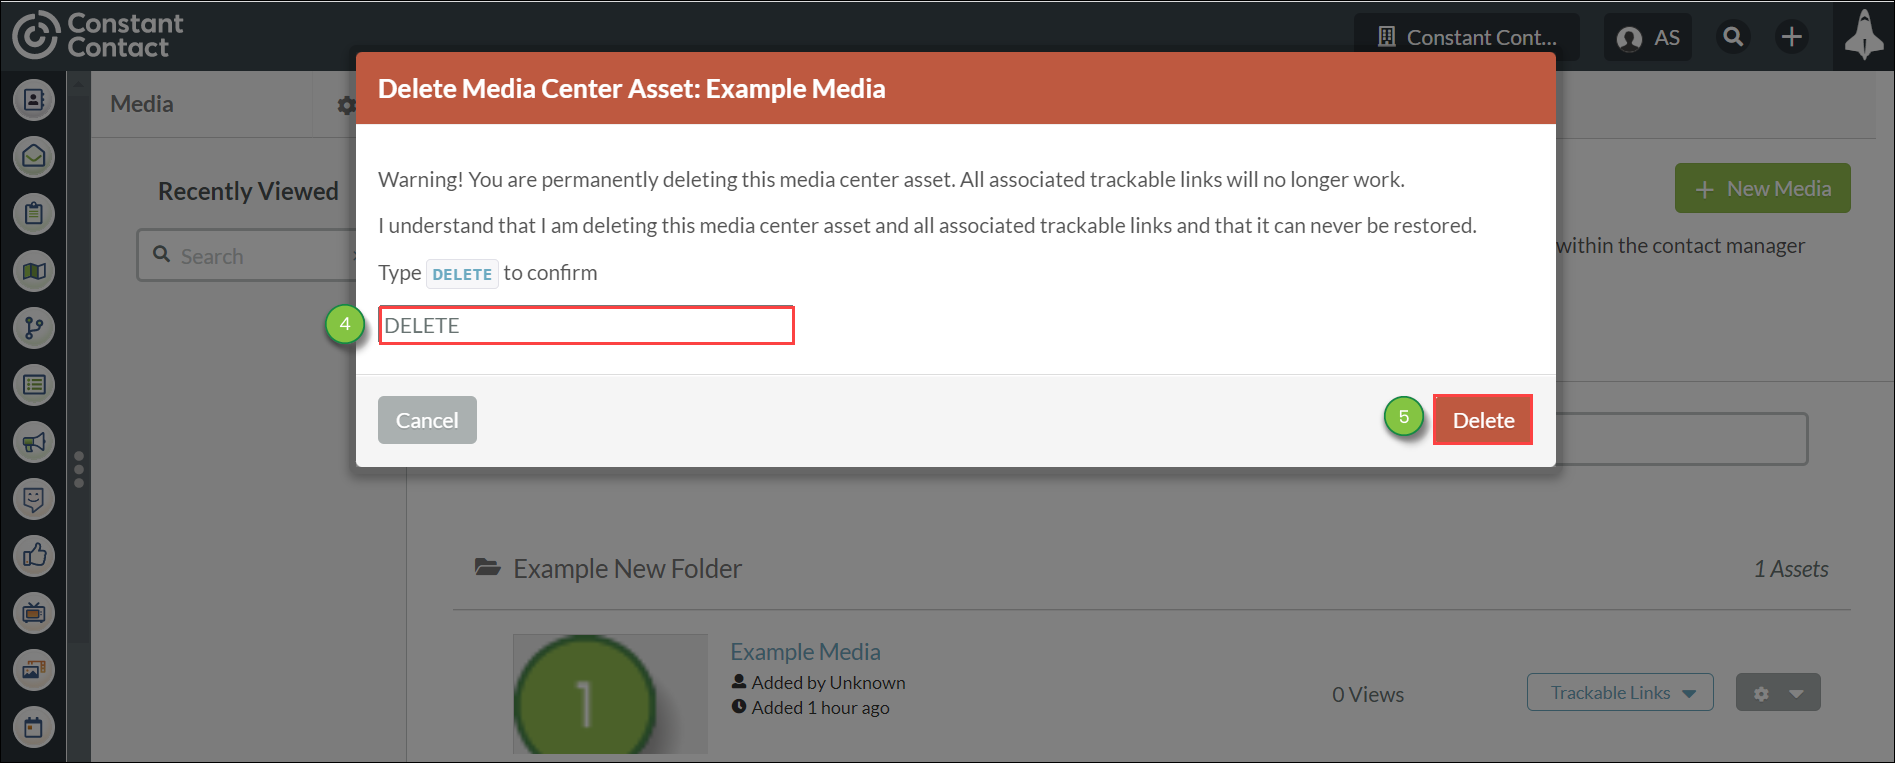
Important: Deleting Media Center assets is a permanent action. In addition, all associated trackable links will no longer work.
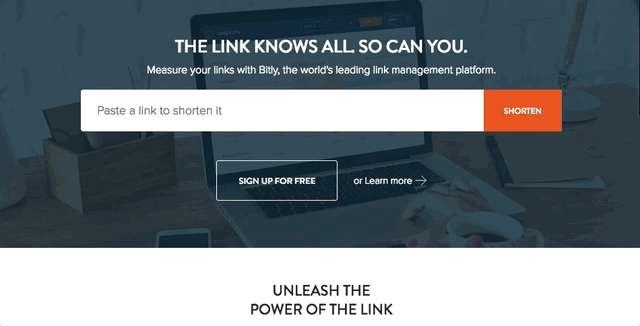
You can use link shorteners for your trackable links, if you do not like the way the trackable links look. This will not affect tracking or managing that media, as it only changes the aesthetics of your link.
To shorten your trackable links, do the following:
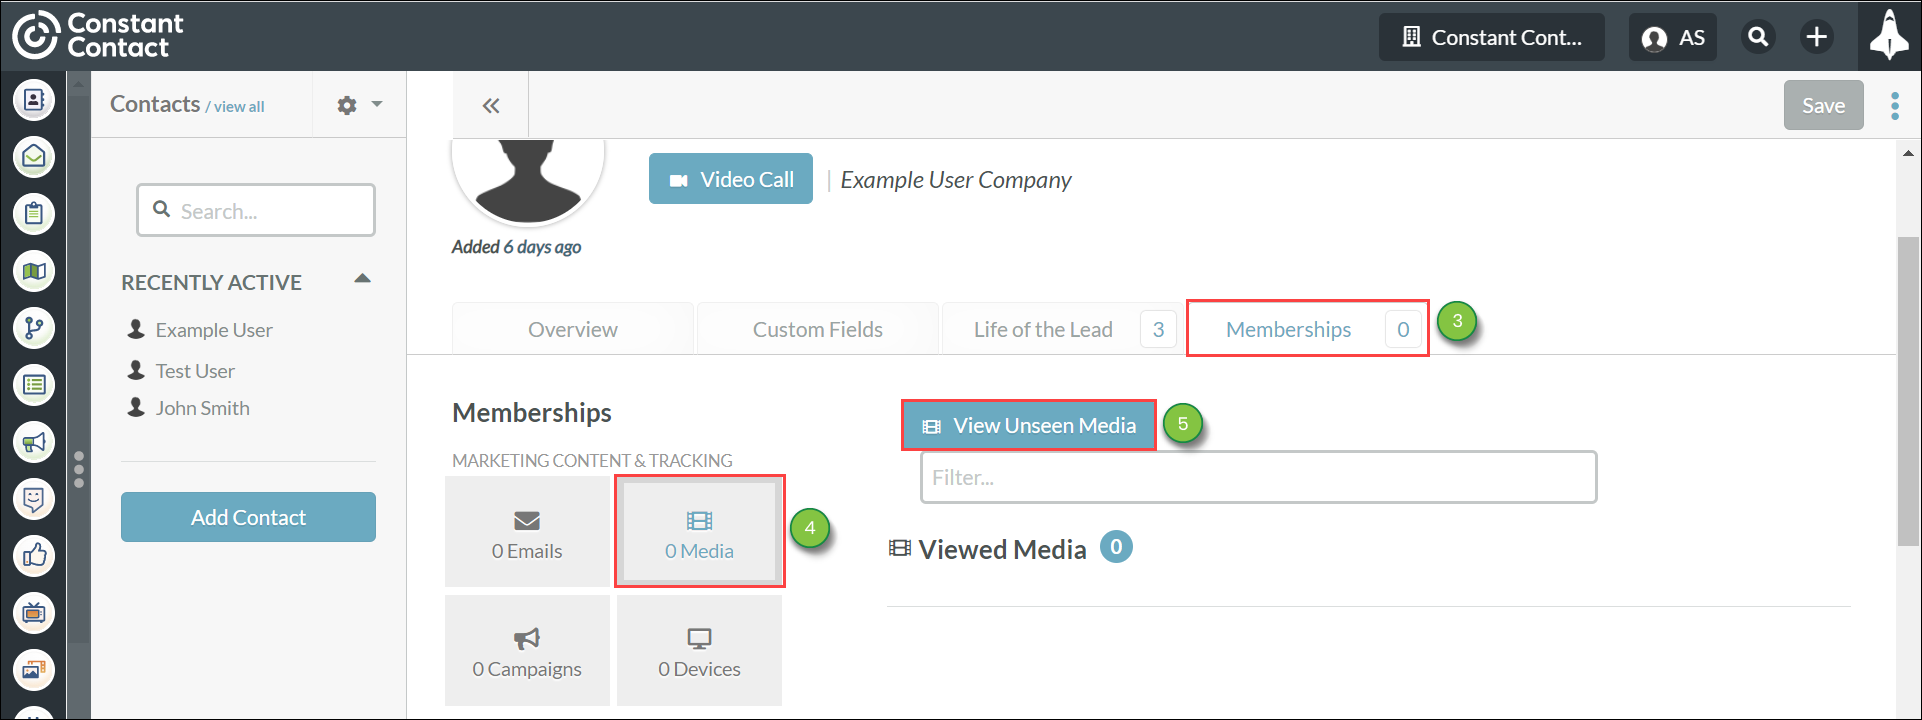
You can check the media files a contact has not viewed. To view unseen media, do the following:
Copyright © 2026 · All Rights Reserved · Constant Contact · Privacy Center