Contact forms should include no more than four fields per form. Adding additional fields reduces the likelihood a lead will fill out your form and give you their information.
To help keep your forms clean, you can add progressive profiling fields to your Lead Gen & CRM forms. Progressive profiling fields will only display if the information for the specific field is unknown. If you already have information for the lead, the field will be replaced with a field you have yet to collect.
| Administrators | ✓ | |
| Company Managers | ✓ | |
| Marketing Managers | ✓ | |
| Sales Managers | ||
| Salespersons | ||
| Jr. Salespersons |
For Lead Gen & CRM forms, fields above the Progressive Profiling Fields section in the Fields tab will display the first time a lead views and submits the form. Fields below the Progressive Profiling Fields section are queued for display each additional time the lead views the form.
Once the lead submits the information for a specific field, it will be replaced by the next queued field when the visitor views the form in the future. This behavior will continue until the point at which the lead has provided information for all of the form fields. At that time, the form will then display the fields included above the Progressive Profiling Fields section.
You can add progressive profiling fields to Lead Gen & CRM forms as necessary.
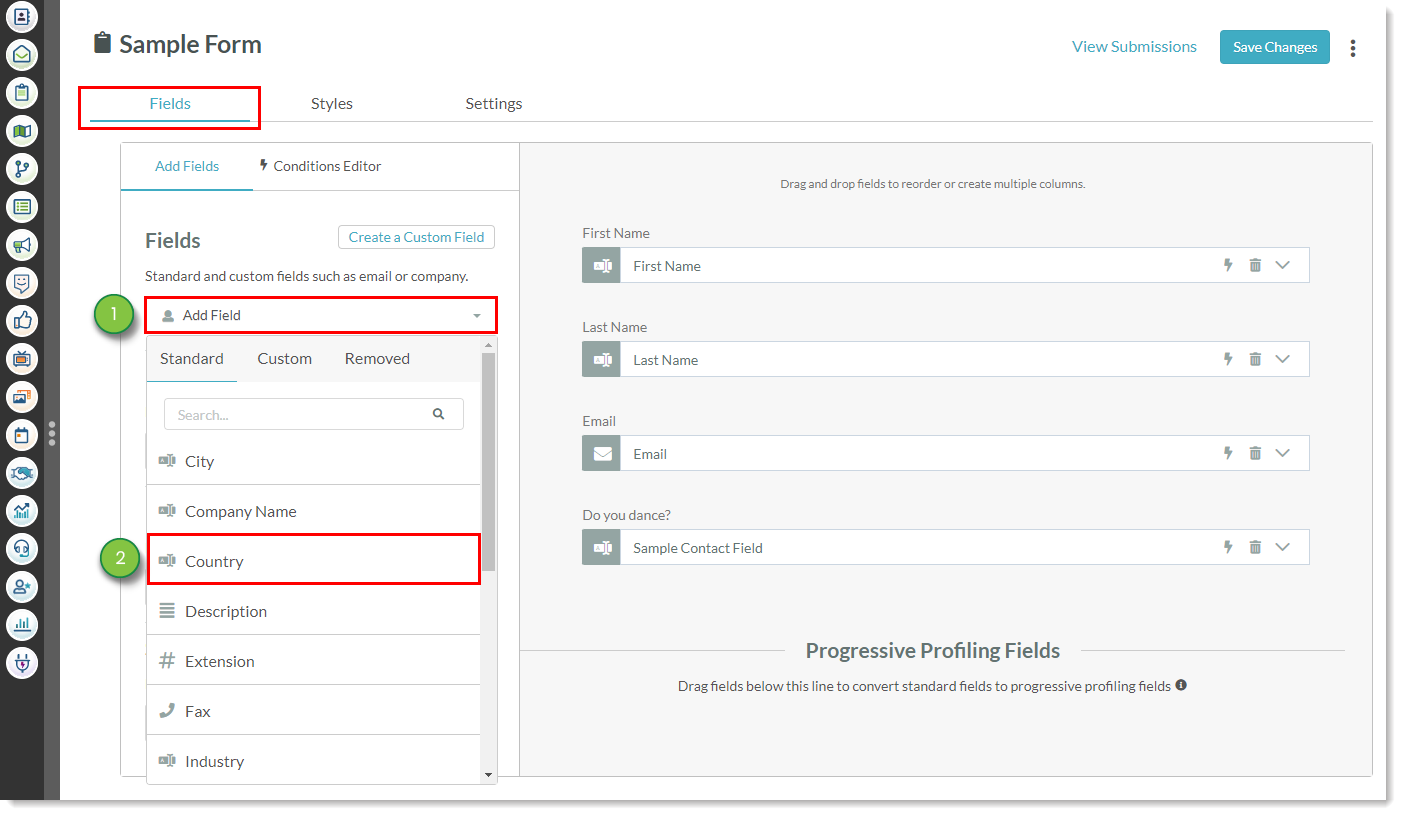
To add progressive profiling fields to a Lead Gen & CRM form, create or edit a form:

When you are ready to place the form on your website, copy the embed code and paste it onto your website.
Q. Can I add forms with progressive fields to Lead Gen & CRM landing pages?
A. Yes.
Q. How do required fields work when a form has progressive fields?
A. Any field that is flagged to be required will only be required when that field displays to the visitor. Required fields that have yet to display to the visitor will not prevent the form from submitting.
Q. Can referral fields be used as progressive profiling fields?
A. Referral fields are unavailable as progressive profiling fields.
Copyright © 2026 · All Rights Reserved · Constant Contact · Privacy Center