Images are important design elements in your email; using just the right image, making it the right size, and putting it in the right location makes all the difference!
 | Save time: Take a look at our tips for making your images look their best before you upload them to the Library. |
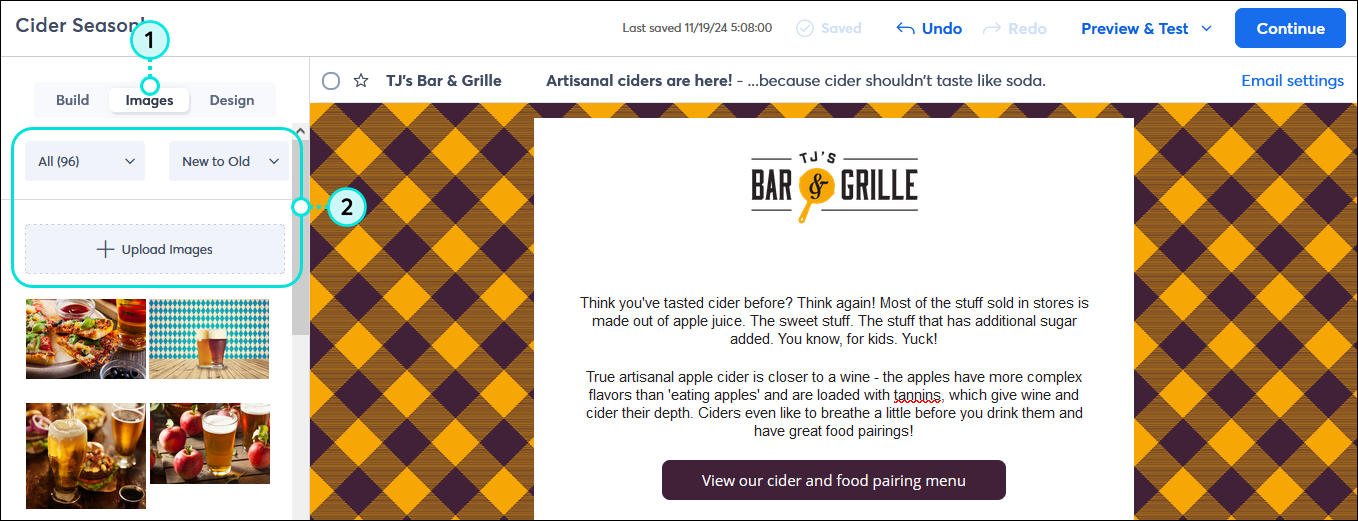
Add an image from the Images tab
Images can be used as banners at the top of your email, can be used to create a multi-column layout, can be aligned to one side of a text block, or can even have text wrap around them. Each image in your Library can be customized using editing tools within the email editor—the design possibilities are endless! First, you have to get the image into your template:
- From within the email editor, click the Images tab.
- (Optional) Filter the images you see on the Images tab by choosing a folder or by sorting the images. You can upload new images into your Library from here too.
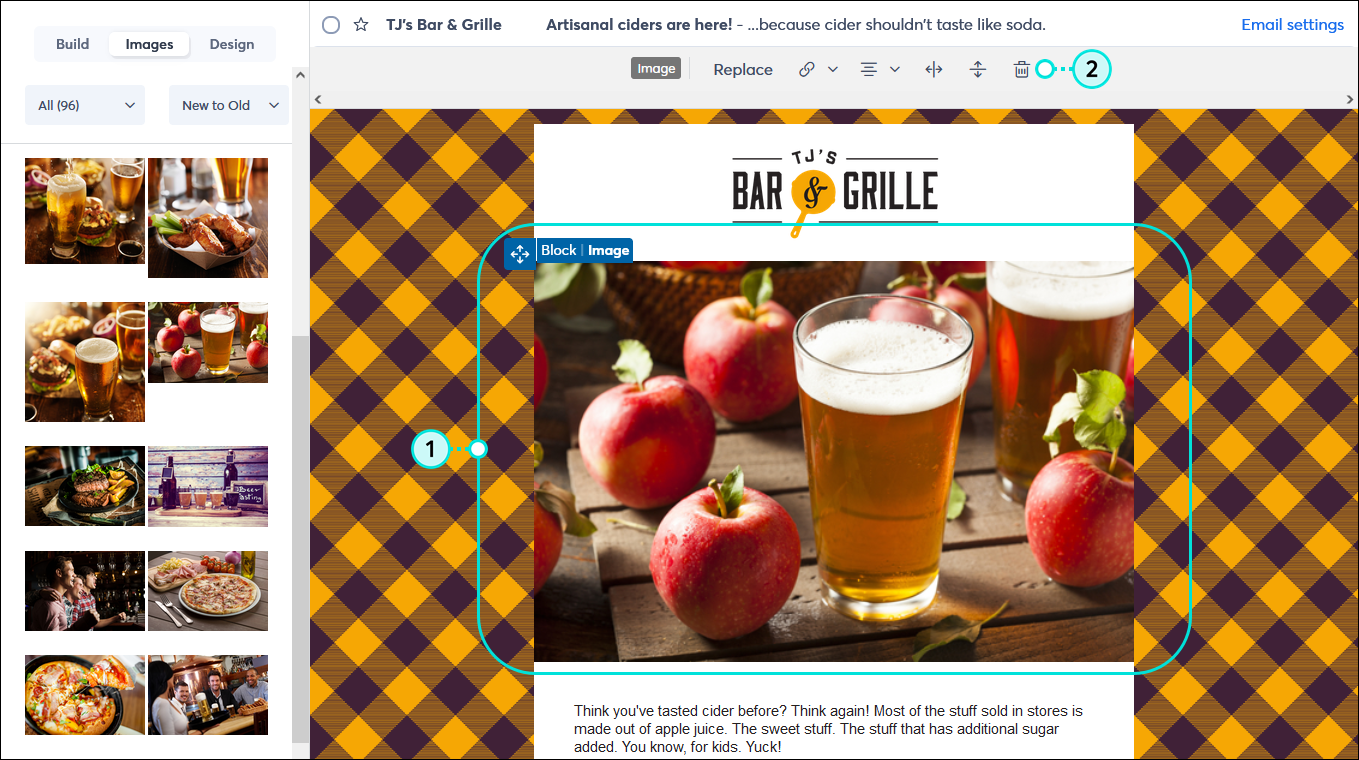
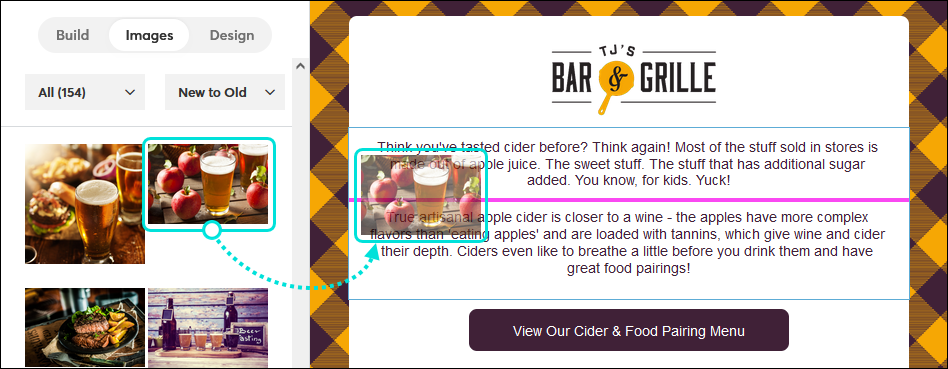
- Drag and drop the image you want to use into your email and use the guideline to help you place it. Don't worry—once the image is in your template, you can drag it to different locations.
- Insert in a row (banner image) - When an image is inserted into its own row, it can be resized to span the entire width of the template, or aligned so it is centered. If the image takes up too much space, you can crop the image to decrease the height.
- Insert as a column - When an image is used to create a new column, other blocks can be added above or below the image to make the column longer. You can also use a two or three-column layout to sit images side-by-side.
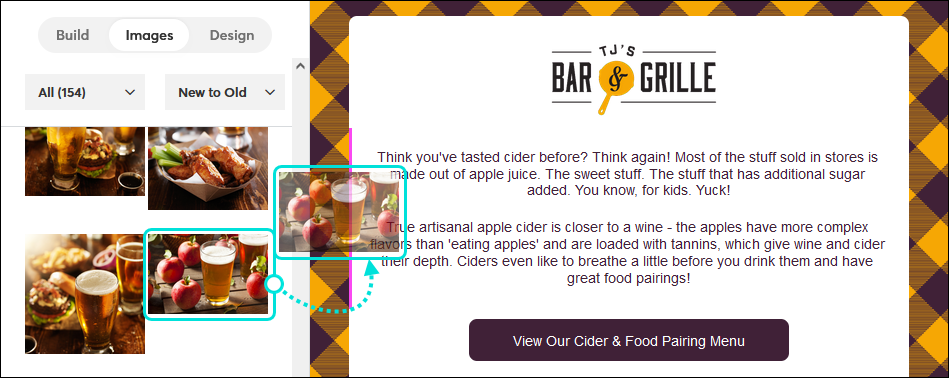
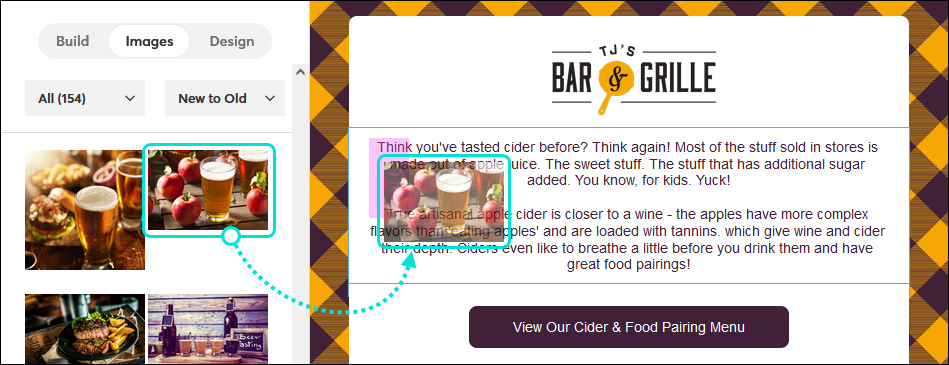
- Insert between blocks of text - To place an image between two paragraphs of text, each paragraph should be in its own block. If your text is in one block, copy the block and then delete the duplicate portion of text from each block before dragging your image between them. You can change the background color of the block behind the image to make it look seamless too.
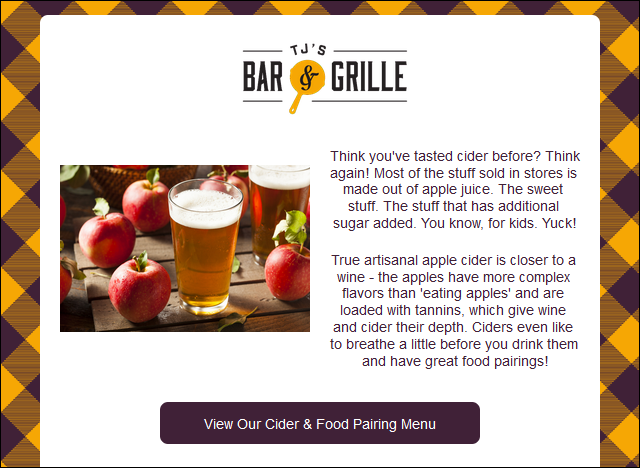
- Insert inside a text block (text wrapping) - If you want text to wrap around an image, you can insert the image inside of a text block. The more text you have, the more pronounced the text-wrapping becomes, but you can also resize your image to find the right balance too.
Insert an image hosted elsewhere online using its URL
If you have images that are hosted online that are available for the public to view, like on your website or in your own image server, you can paste the URL for the image into your email. If your images are hosted on a private server, or you need a password to access them, we recommend uploading the image to the Library instead.
- Drag an image placeholder into your email template and use the guideline to help you find just the right place to drop it into your template.
Note: Alternatively you can choose any existing image or image placeholder in your template that you want to change and skip to step 2.
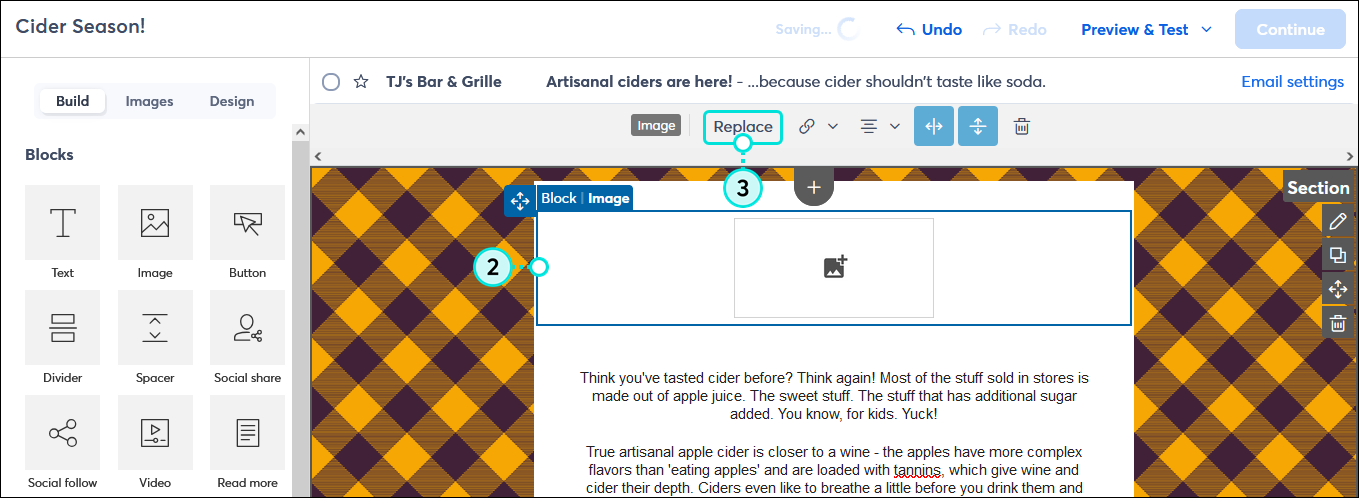
- Click anywhere on the Image block to open the Image toolbar.
- Click the Replace button.
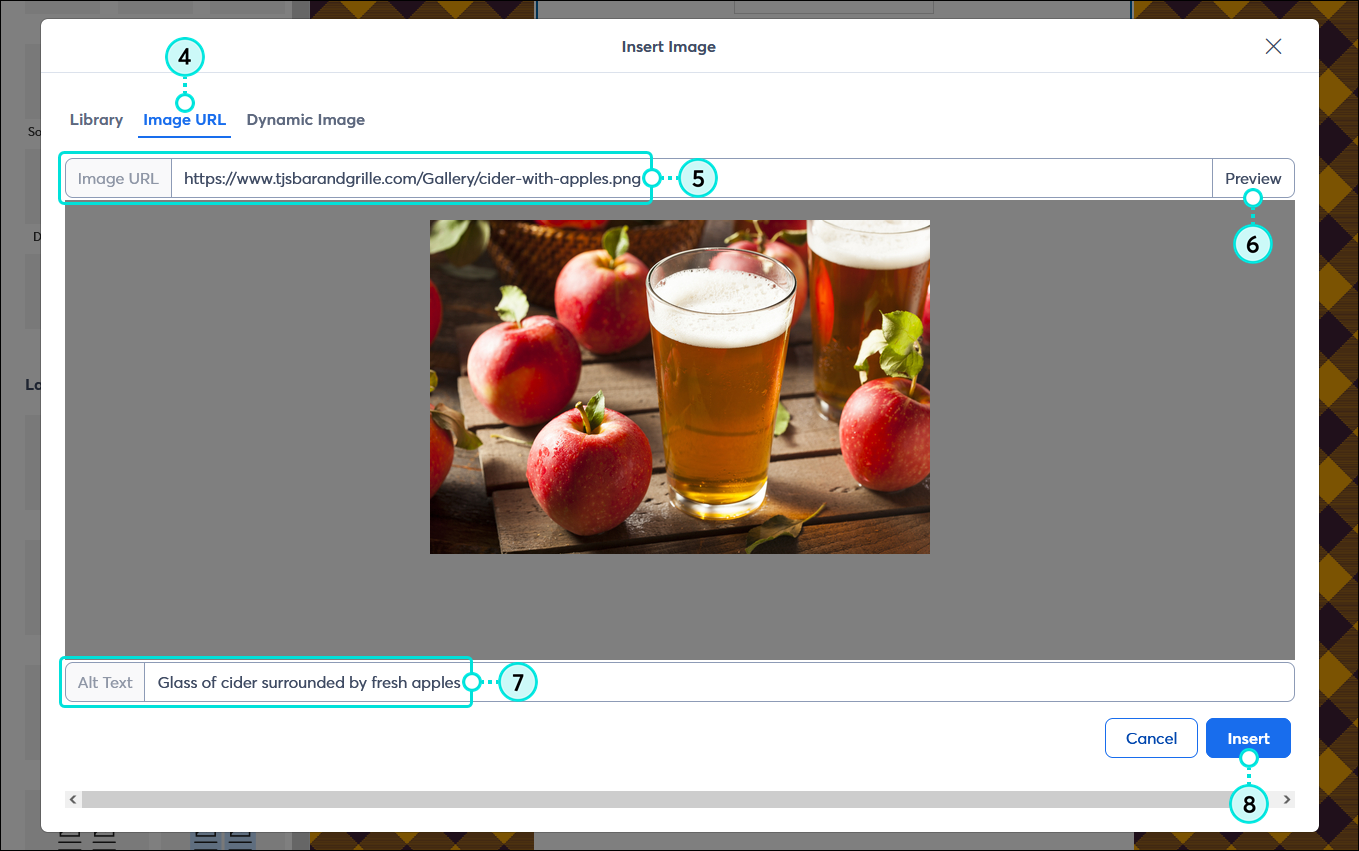
- Click the Image URL tab.
- Paste the link for your image into the Image URL field.
- Click Preview.
- (Optional) Add an image description into the Alt Text field.
- Click Insert.
Use the tools in your Library to find the right image
Having images uploaded into your Library is just one of the ways to add them into your email. You can access all the tools available in your Library from any image in your email template, like the editing tools and the stock image gallery choose an image from the stock image gallery, or upload a new image, and also gives you tools to edit them without leaving your email.
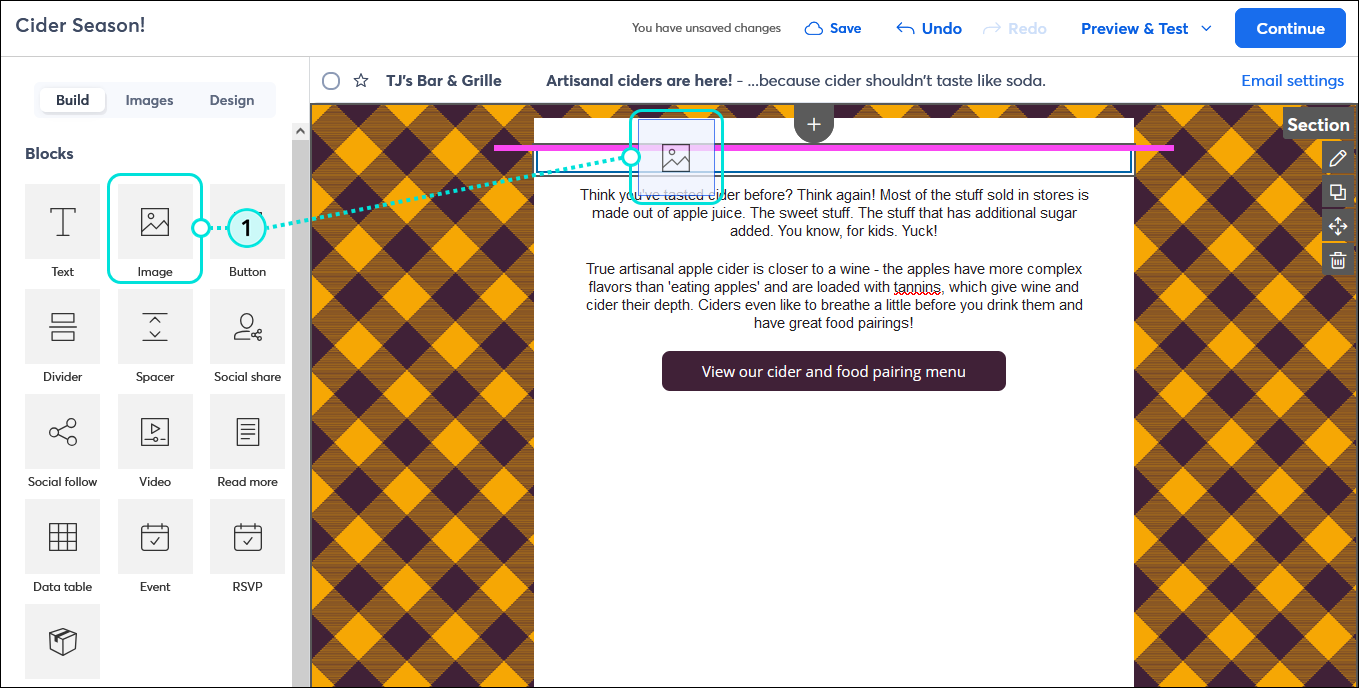
- If your template doesn't already have an image, drag an Image block from the Build tab or an any image from the Images tab into your email template. Use the guideline to help you find just the right spot and drop it into your email.
Note: Alternatively you can choose any existing image or image placeholder in your template that you want to change and skip to step 2.
- Click anywhere on the Image block to open the Image toolbar.
- Click the Replace button.
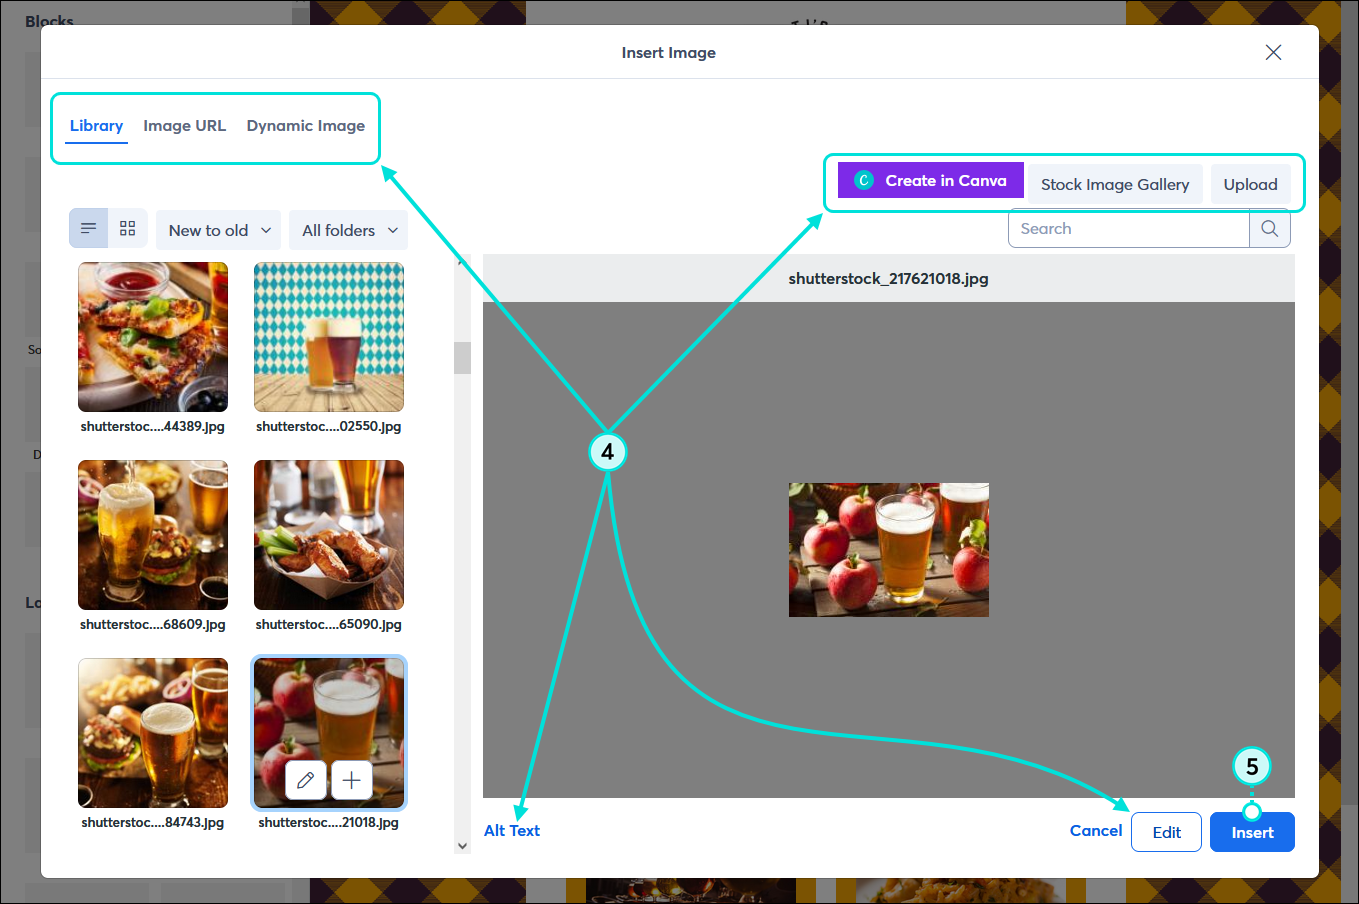
- From the Insert Image overlay you have access to all the different tools available in the Library:
- Library tab - Click this tab to choose an existing image from your Library. You can sort the images or look in specific folders that have been created.
- Image URL tab - Click this tab to use the URL for an image hosted outside of your Constant Contact account.
- Dynamic Image tab - Click this tab to use a dynamic variable tag to add logo or email signature images to a Central Send email.
- Create in Canva button - Click this button to use your Canva account to create an image and import it into your Library.
- Stock Image Gallery button - Click this button to browse the free and paid images from Shutterstock.
- Upload button - Click this button to import a new image to your Library from your computer or to import images from your Facebook account.
- Alt text link - Click this link to edit the description that displays to readers who cannot see the images in your email.
- Edit button - Click this button to change an image by cropping it, adding borders, and laying text over the image, etc.
- Once you have your image and are ready to return to your email template, click the Insert. button.
Insert a dynamic image with a variable tag
A dynamic variable tag lets you pull in the logo image or email signature image that you have stored in your account settings into your email draft instead of dragging the image into your email from your Library. If you have a Partner account that use Central Send emails, you can add a variable tag for the logo or signature image in your email, and when the emails are shared to your sub-accounts, it pulls the logo or signature email that is stored in each unique sub-account. (If you don't have a partner account, you may have noticed that your logo or email signature image are automatically included in a template when you create an email. This is because the template already uses a dynamic variable tag and you don't have to do anything further. These images can be changed just like any other image in your template.)
 | Tip: Dynamic images don’t just work with Account variables, they also work with Contact variables and Custom variables! Read our Insert dynamic links in an email article for more information on the different ways you can use dynamic images. |
- Drag an image placeholder into your email template and use the guideline to help you find just the right place to drop it into your template.
Note: Alternatively you can choose any existing image or image placeholder in your template that you want to change and skip to step 2.
- Click anywhere on the Image block to open the Image toolbar.
- Click the Replace button.
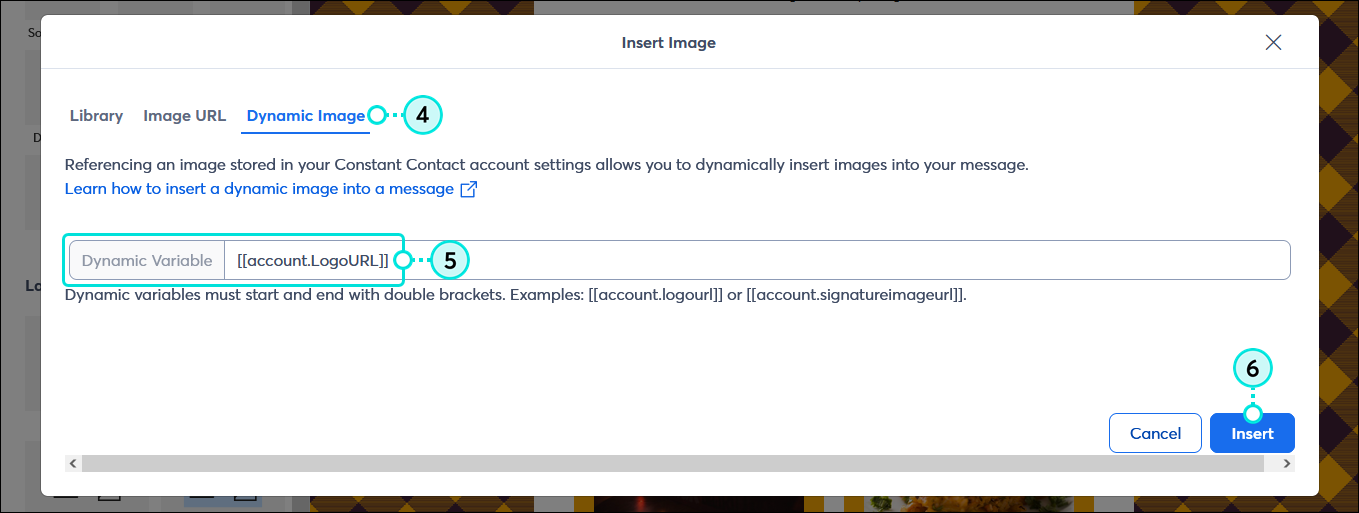
- In the Insert Images overlay, click the Dynamic Image tab.
- Add the variable code for your logo or email signature into the Dynamic Variable field.
- Click the Insert button.
Delete an image
| Design tip: The images in your email are never set in stone! Images can always be replaced and you can use our editing tools to do things like crop, add decorative borders, or layer text over the image, just to name a few. |
It doesn't matter what type of image you have, if it's a placeholder, or where your image is located in the email—it's the same process to remove an unwanted image:
- Click anywhere on the image to open the Image toolbar.
- Click the trash can icon to delete the image.