Constant Contact's partnership with eXp Realty provides agents with access to our Lead Magnet and email marketing tools. Easily capture lead information by sharing eXp-branded contact forms and surveys online or in-person. Then, keep in touch with your new leads and nurture a relationship through personalized, targeted messaging.
Set up your Lead Magnet profile
Create additional Lead Magnets
Edit your Lead Magnets
Share your Lead Magnets and access your leads
Market to your new leads
Set up your Lead Magnet profile
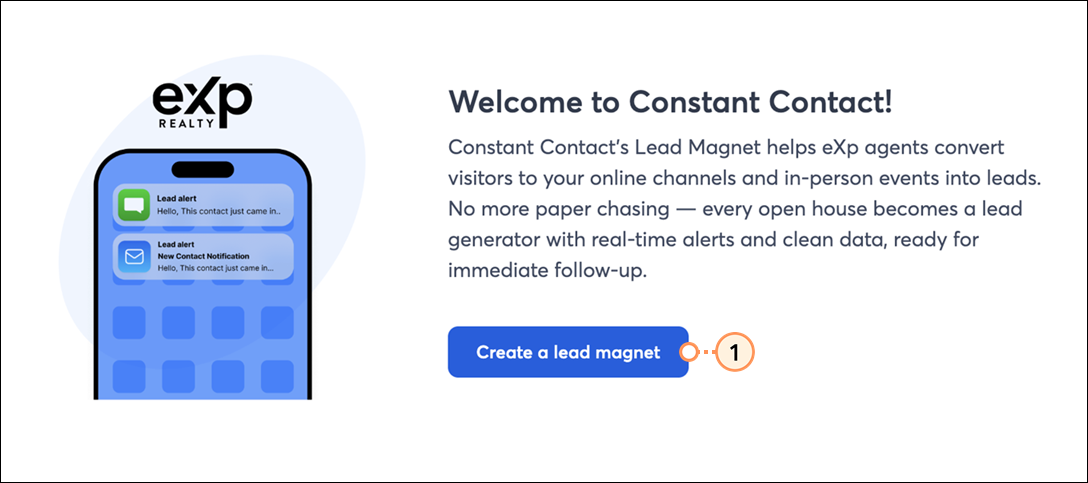
Upon logging into your Constant Contact account for the first time, you are prompted to set up your Lead Magnet profile, which automatically generates a set of Lead Magnets for you:
- Click Create a lead magnet.
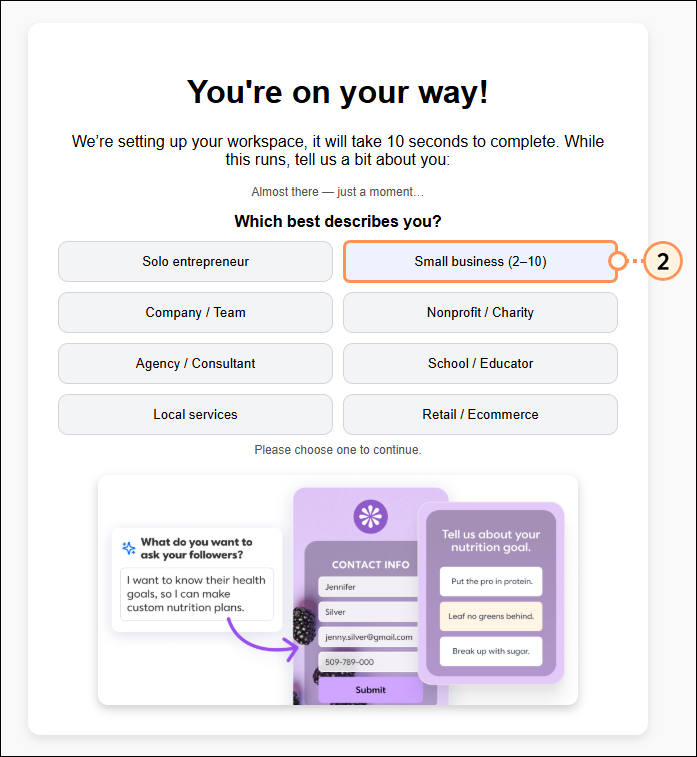
- Select the option that best describes your business.
- If you wish, watch the video to learn about our Lead Magnet tool, and then click Continue.

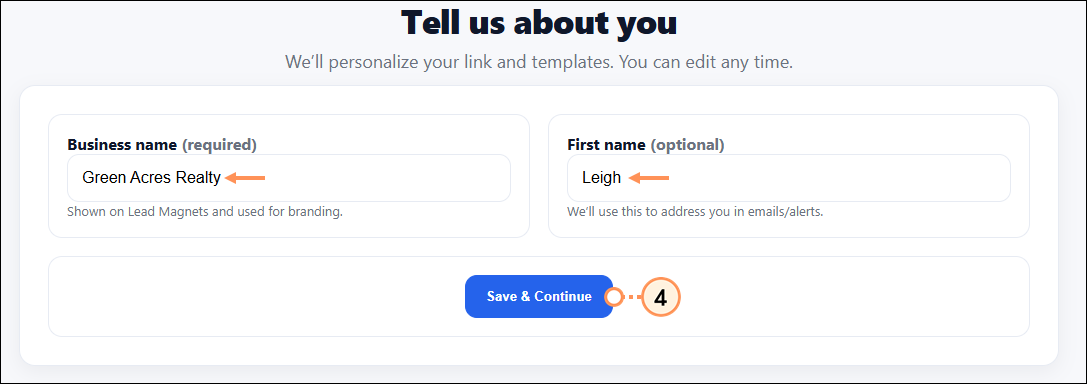
- Enter your business name and first name, then click Save & Continue.
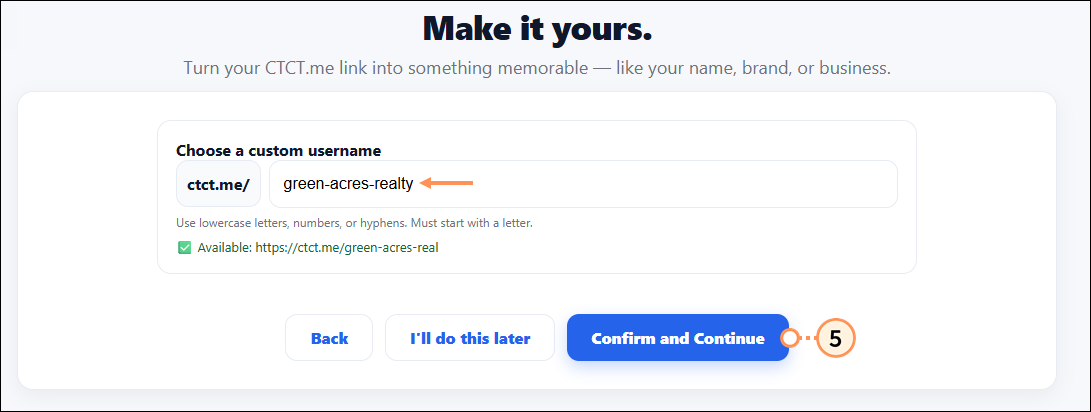
- Your Lead Magnet web address will be generated for you and can be customized. If you'd like to customize it at a later time, click I'll do this later. Otherwise, enter a unique username and then click Confirm and Continue.
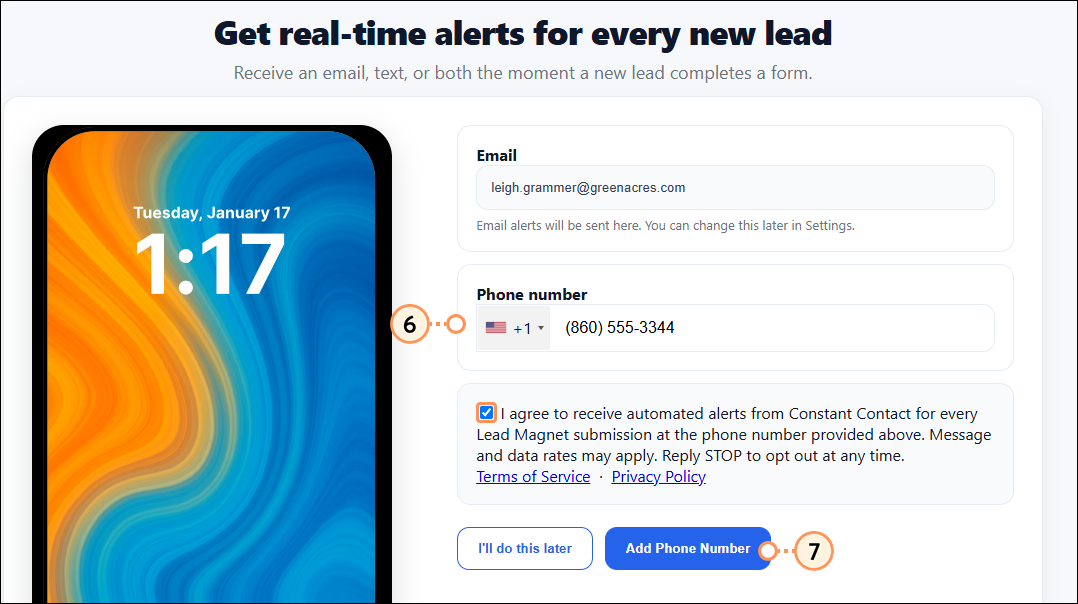
- We can notify you by email and via SMS message whenever a prospect has filled out one of your lead magnet forms. Email notifications are enabled by default. To receive SMS messages, enter a mobile phone number.
- Check the consent box and click Add Phone Number.
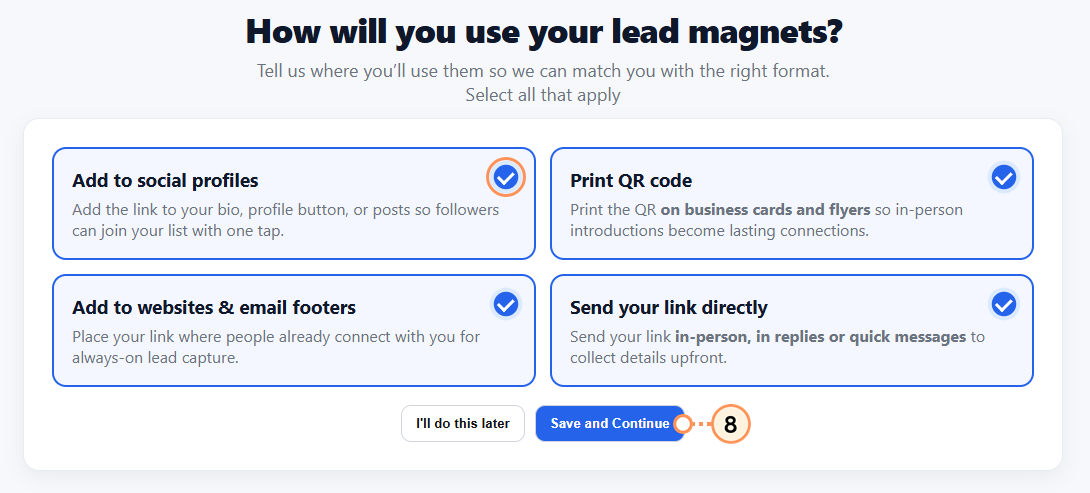
- Select the ways you plan to use your lead magnets, and then click Save and Continue.
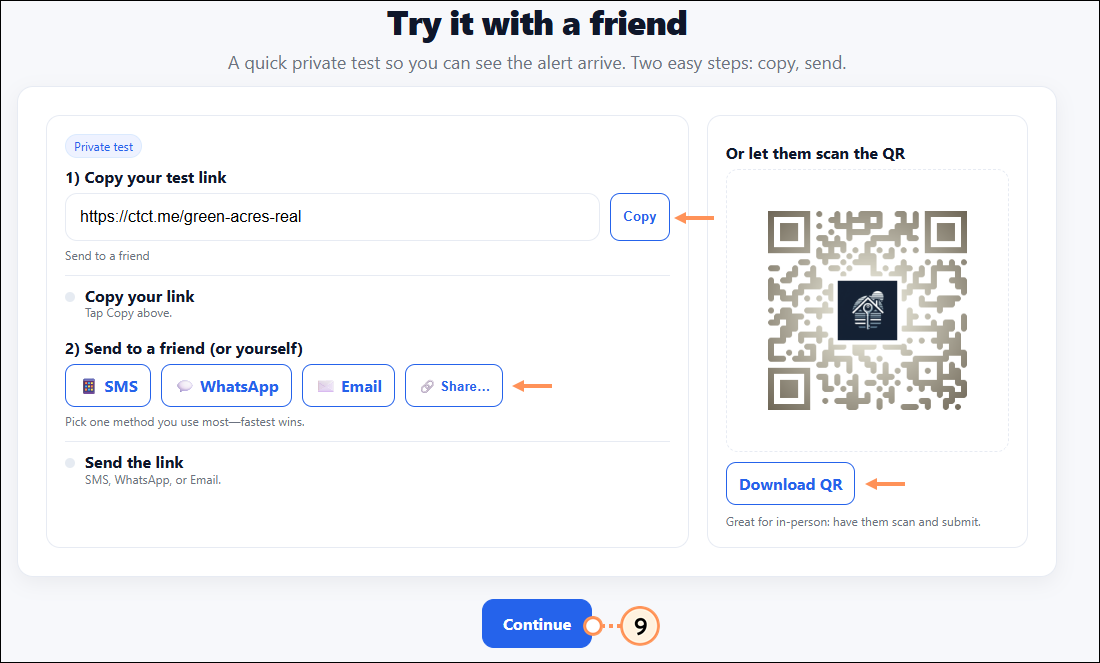
- (Optional) Test out your lead magnet link and/or QR code. Then click Continue.
- Click Open dashboard.

Once your profile is set up, three Lead Magnets are automatically generated: a contact form and two survey forms. You can edit these and/or create additional Lead Magnets.
Create additional Lead Magnets
You can create two types of Lead Magnets: Contact forms and Survey forms. Contact forms capture your prospect’s name, email address, and phone number. Survey forms gather feedback and comments, allowing you to ask questions and provide multiple-choice answer options.
- Click Home from the left-hand menu.
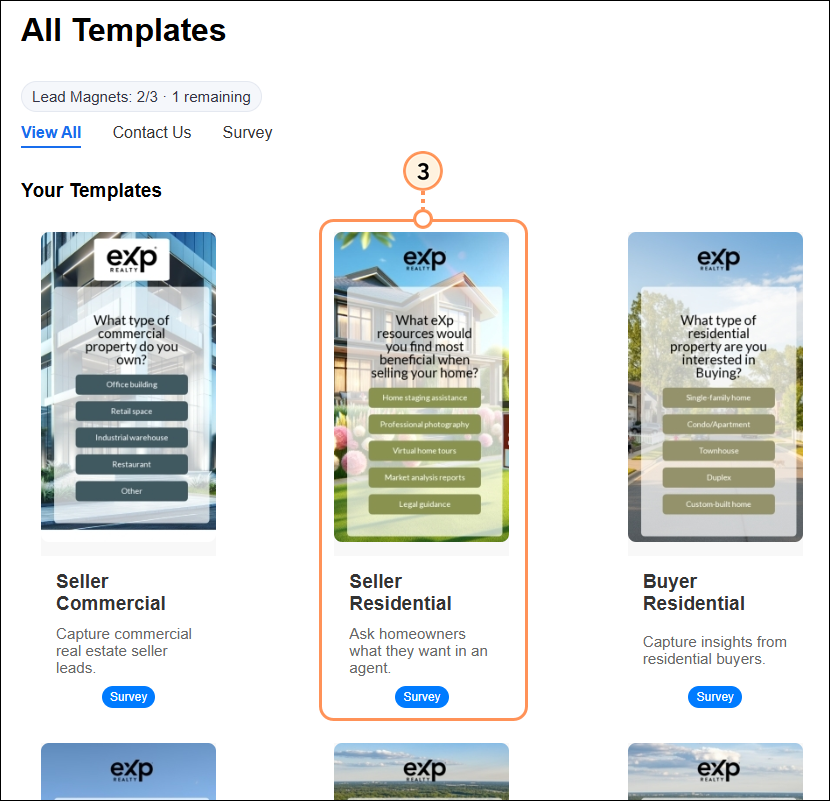
- Click Create in the top-right corner.

- Select one of the eXp-branded templates.
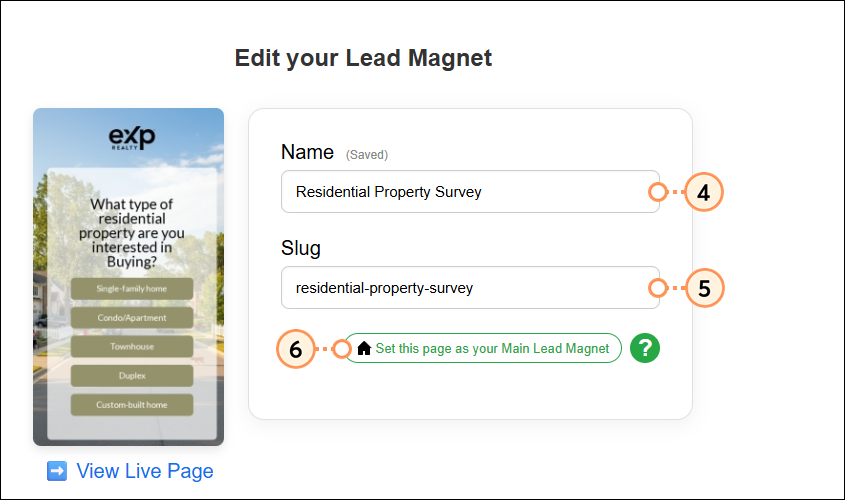
- Update the name, as desired.
- The slug will update to match the name entered. You can edit it, as desired.
- Optionally, click Set this page as your Main Lead Magnet. Your Main Lead Magnet is the first page people see when they visit your primary Lead Magnet web address. Setting this page as your Main Lead Magnet replaces what visitors see there.
Next, edit the Lead Magnet to add your own style, customize the questions, and more.
Edit your Lead Magnets
We've given you a head start with pre-built Lead Magnets, but we encourage you to edit and personalize these as you wish. Additionally, you can edit any of the Lead Magnets you create on your own.
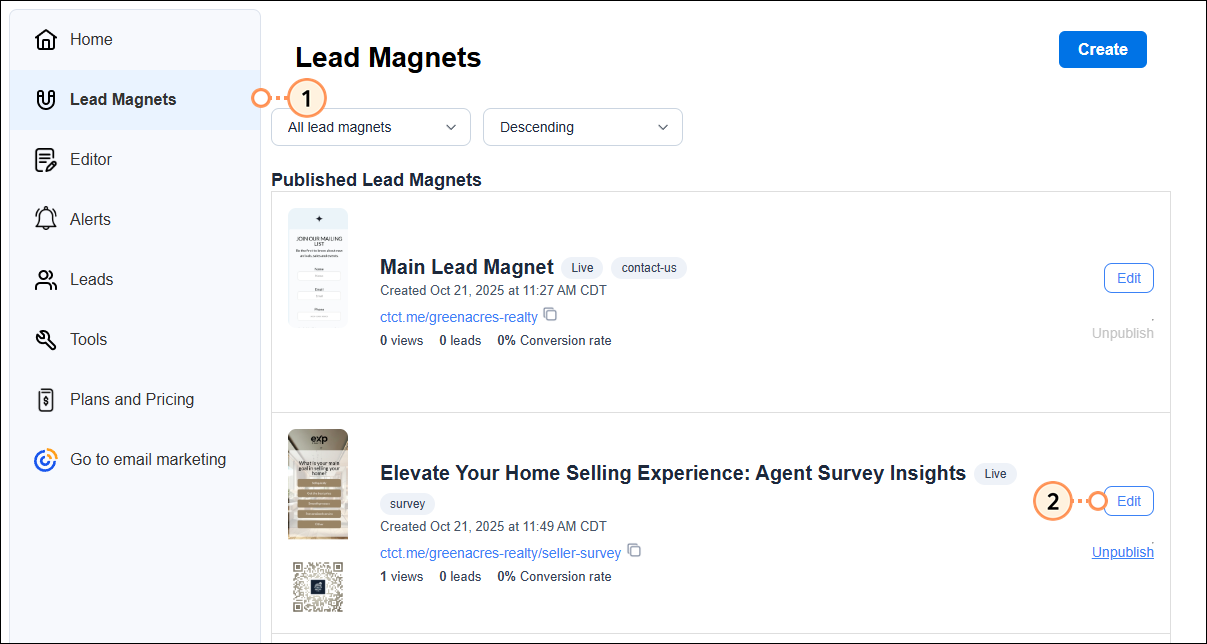
- Click Lead Magnets from the menu on the left.
- For the Lead Magnet you wish to customize, click Edit.
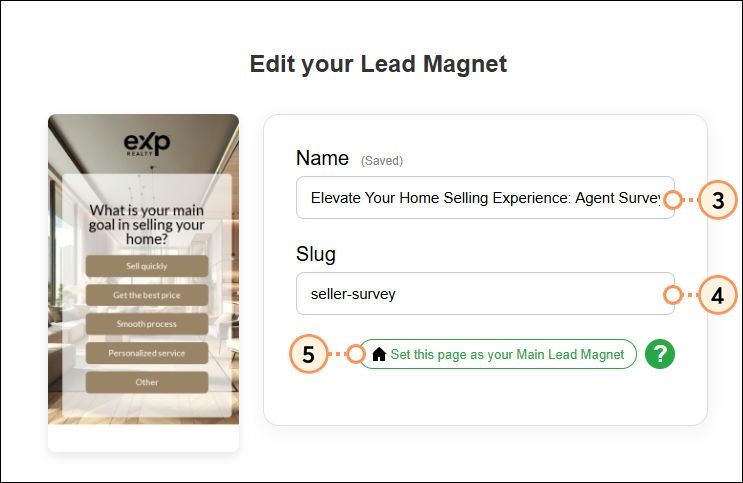
- Update the name, as desired.
- The slug will update to match the name entered. You can edit it, as desired.
- Optionally, click Set this page as your Main Lead Magnet. Your Main Lead Magnet is the first page people see when they visit your primary Lead Magnet web address. Setting this page as your Main Lead Magnet replaces what visitors see there.
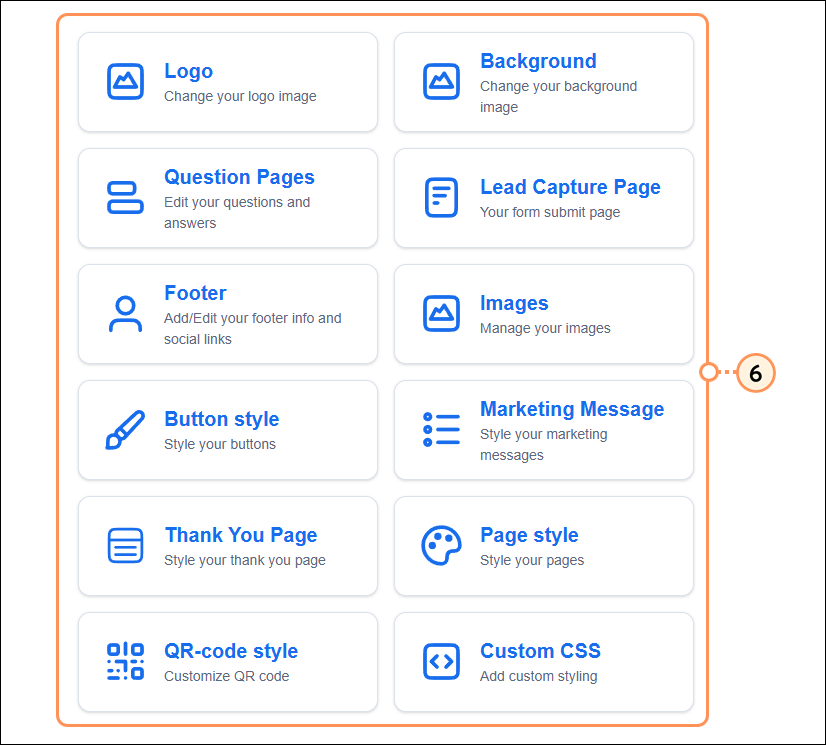
- Scroll down and access any of the following edit options:
 | Learn More: Check out our article on editing Lead Magnets to get an in-depth understanding of the ways in which you can fully customize your Lead Magnet. |
- Logo - Select the logo that you'd like to appear at the top of your Lead Magnet
- Background - Select a background image
- Question Pages - Edit the questions and answer options that display to the lead
- Lead Capture Page - Edit the title, button text, and more of the submit page
- Footer - Customize the footer of your lead magnet and add social links, if desired
- Images - Manage your images for the header, background, sponsorship, QR code center image, and more
- Button Style - Customize your buttons
- Marketing Message - Customize the messages displayed to the lead
- Thank You Page - Customize the title and message displayed on the thank you page
- Page style - Manage your page text settings, logo position, and more
- QR-code style - Customize the appearance of your QR code
- Custom CSS - Switch the Enable custom CSS toggle on and paste in your CSS code
Share your Lead Magnets and access your leads
You can share your published Lead Magnets in two ways:
- Share the URL - This URL will start with “ctct.me” and is always listed with your Lead Magnets. This is a great way to include your Lead Magnet in your social bios or similar text-based outreach.
- Download and share the QR code - Your QR code can be downloaded from your Home dashboard by clicking the three dots on your Lead Magnet and selecting QRCode, or by clicking the QR Code on your Lead Magnets page. From there, you can share it on your social media, print it out to share at open houses, or anywhere your prospects might be.

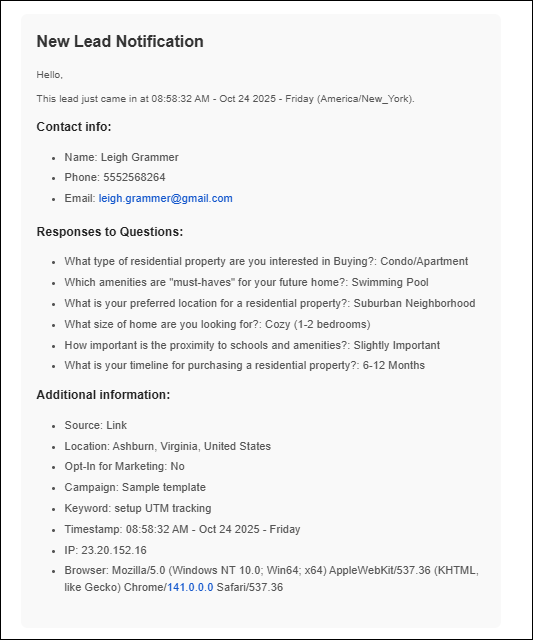
When a lead completes your Lead Magnet form, you are notified immediately via your eXp email address and by SMS, if you opted in.
| Email Notification | SMS Notification |
|

|
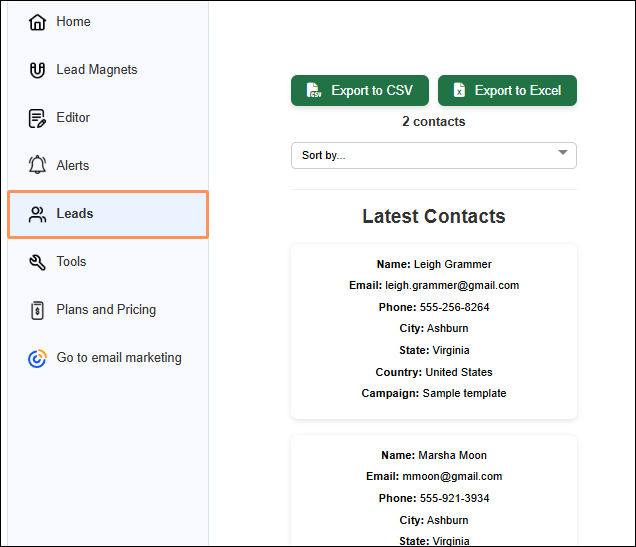
You can access your individual leads within Constant Contact by:
- Viewing them from the Leads tab within Lead Magnet
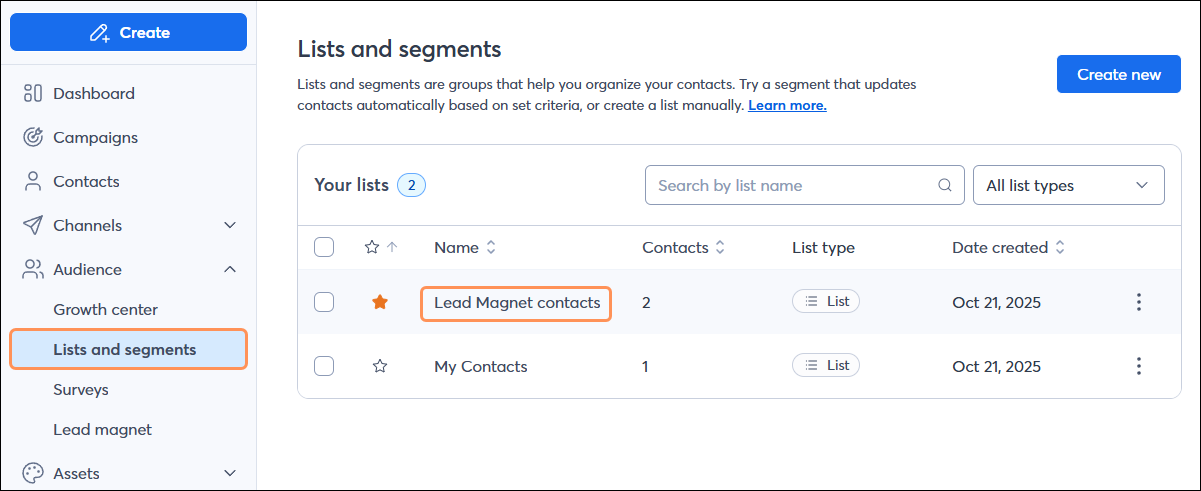
- Visiting the Audience section of the email platform, where they are automatically added to a list called “Lead Magnet contacts"
| Leads Page | | Audience Page |
| |
|
Market to your new leads
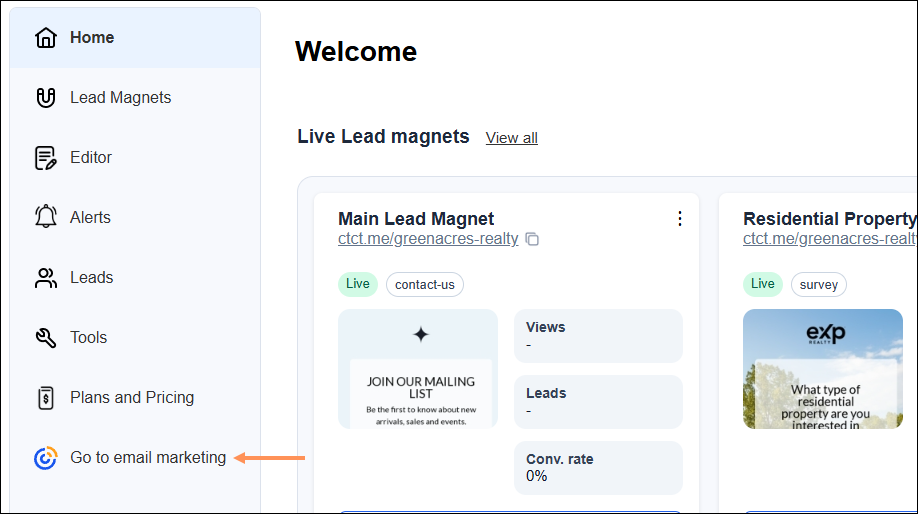
Once you've started generating leads, use Constant Contact's email marketing tools to build trust and loyalty. Within Lead Magnet, you can access your email marketing tools by clicking Go to email marketing at the bottom of the left-hand menu.
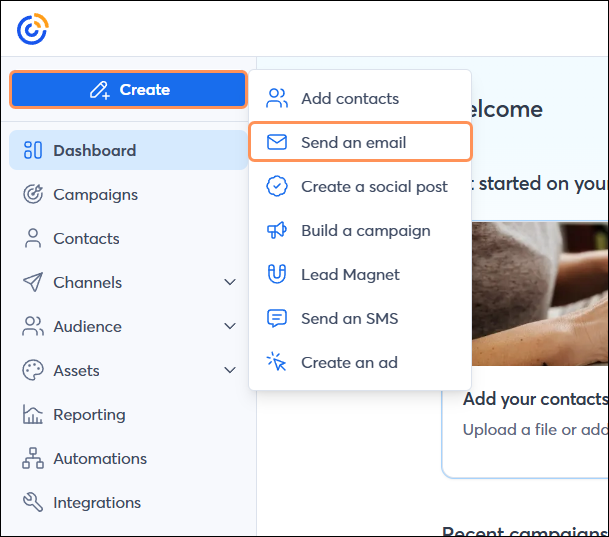
Send an email
To create a new email, click Create > Send an email.
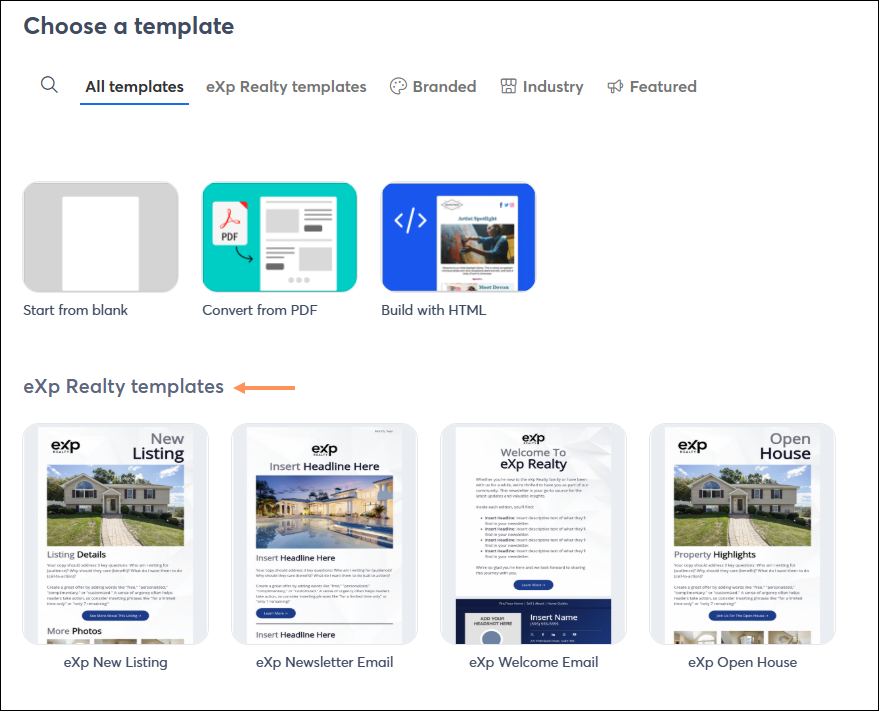
Choose from Constant Contact’s library of professionally designed, mobile-ready templates, including custom eXp-branded templates:
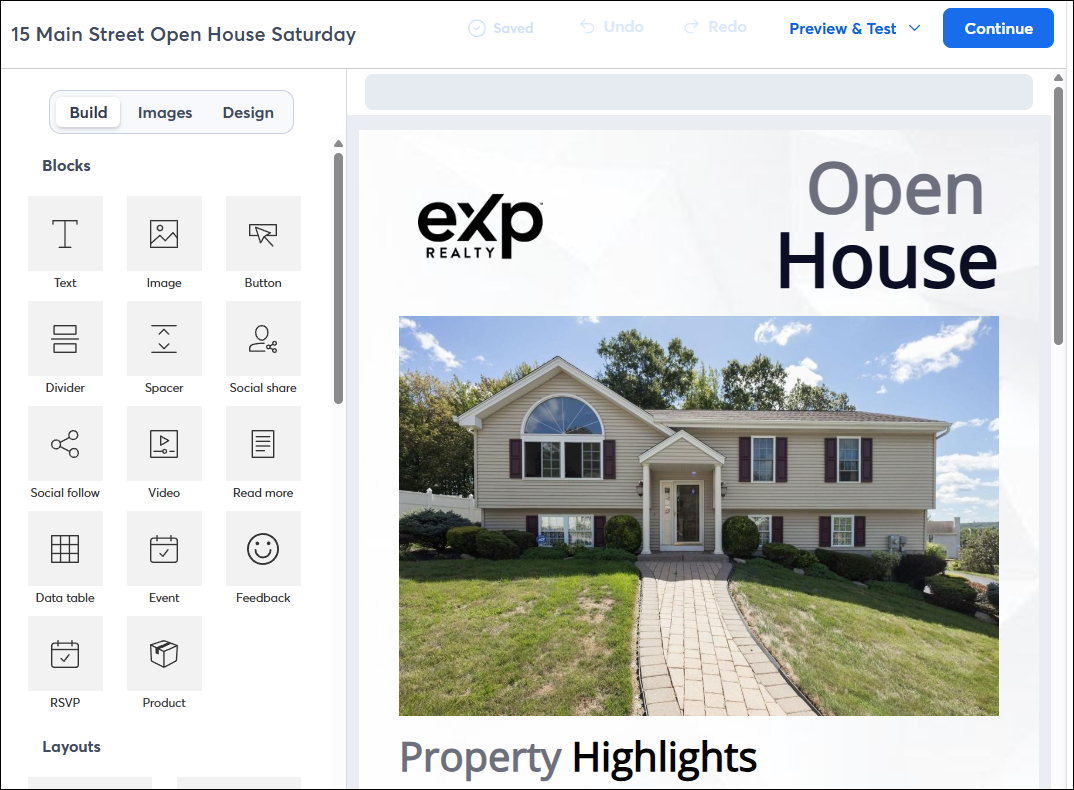
Next, build your email. Customize your subject line and preheader, and use our drag-and-drop editor to add and arrange blocks, layouts, and sections in your email template. Add images to improve the visual impact of your email. If you use Canva, easily add images from your Canva account from within the email editor.
Once you've customized your email to your liking:
After you’ve sent your email, you can use the Reporting tab in your account to view metrics such as open rate, click rate, unsubscribe rate, and more.
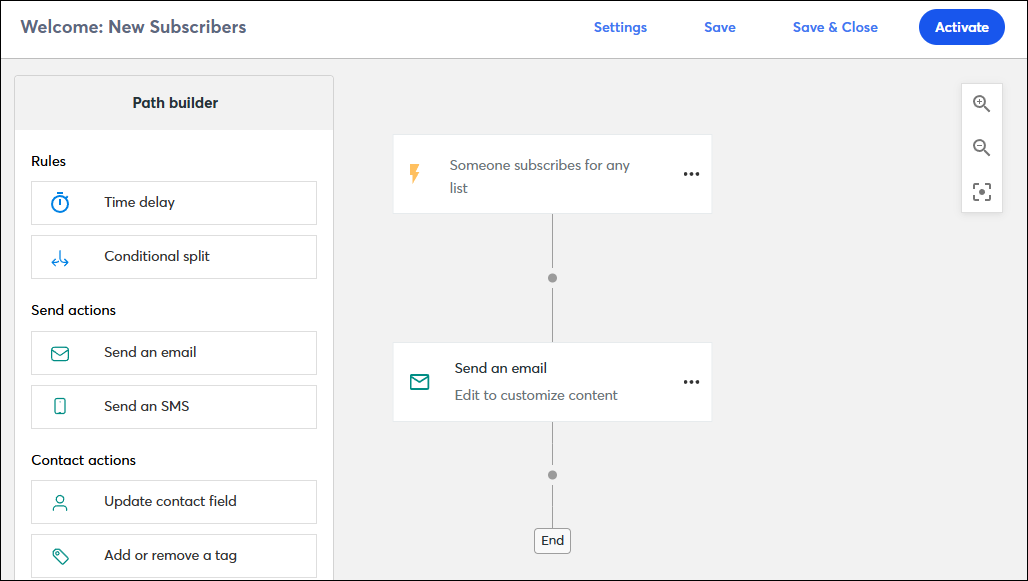
Set up automated communications
You have access to one templated email automation that will automatically email subscribers based on the criteria you choose. Among the templated automations you have access to are: