Lead Magnet contact forms and surveys that have been created for you, as well as those you create on your own, can be customized to add your own branding and links. Edit the logo and background images, make style changes, add links to the footer, and customize the final pages displayed to leads after they fill out the contact form or survey.
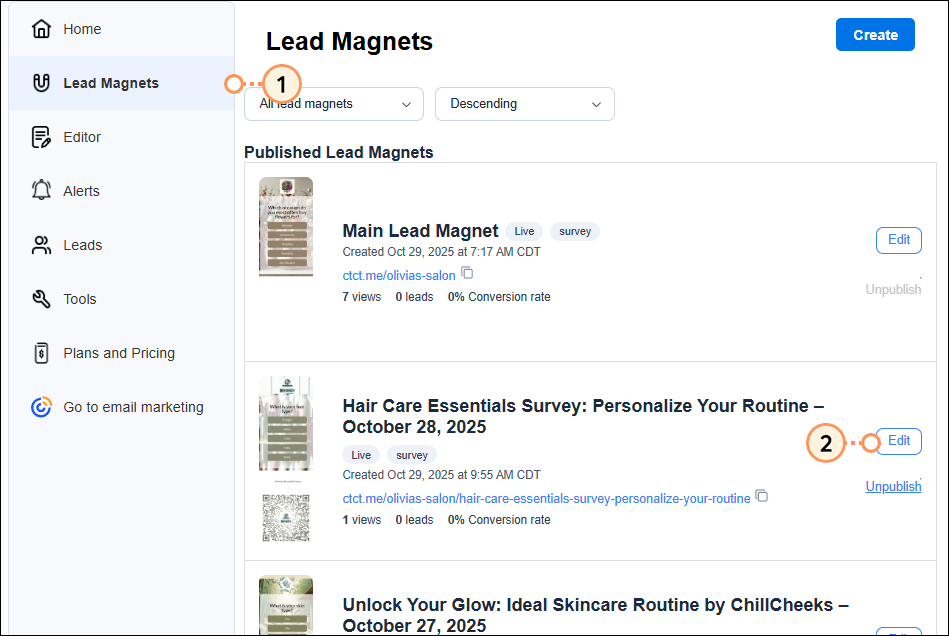
Access the editor for a Lead Magnet
| Want to edit survey questions? See our article here on how to edit survey questions and answer options. |
Within the Lead Magnet editor, the following edit options are available:
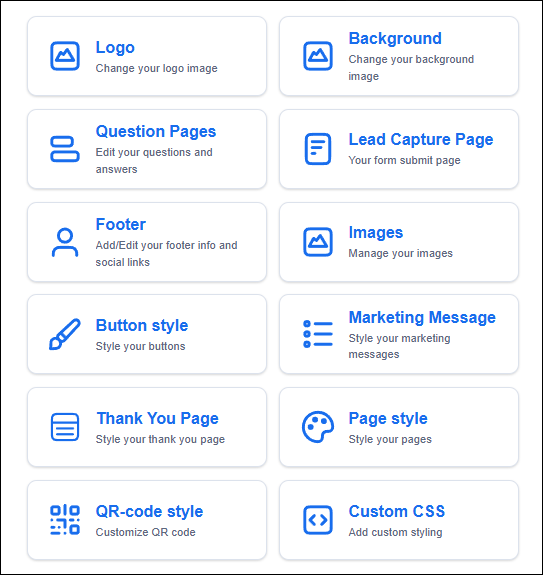
Within the editor, click Logo. Then click the Replace button to upload a new logo.
Within the editor, click Background. Then click the Replace button to upload a new logo.
To manage all of your images (header, background, sponsorship, QR code center image, marketing message icon, and favicon) in one place, click Images. For each image, choose to Replace or Remove.

Within the editor click QR-code style. Manage any of the following settings and then click Save:

Within the editor click Button style. Manage any of the following settings.
A preview of your button style appears at the top and will update as you make changes. Once you've made your desired edits, click Save.

Within the editor click Page style. Manage any of the following settings, and then click Save.

Within the editor, click Custom CSS. Switch the Using custom CSS toggle on, paste in your CSS code, and click Save.

Within the editor, click Footer. Add any contact information and social media links that you'd like to appear in the footer of the Lead Magnet, and click Save.
Within the editor, click Lead Capture Page. Fill out and/or edit the fields and then click Save.

Within the editor, click Marketing Message. Choose to turn marketing messages on or off. If on, customize the messages displayed to the user.

Within the editor, click Thank You Page. Customize the title and message displayed on the thank you page, and then click Save.

Copyright © 2026 · All Rights Reserved · Constant Contact · Privacy Center