Lead Gen & CRM
How can we help you?
Search our help articles, video tutorials, and quickstart guides

You've got this. You've got us. Search our Knowledge Base to quickly find answers to your questions.

Setting Account Tags

Article: 000050618
Updated: July 26, 2024

Lead Gen & CRM offers several different ways to segment or group accounts. Account tags are a way to group any number of accounts together under a similar label.

Accounts can have multiple tags associated with them, which allows for accounts to be organized together in many different ways. Adding multiple tags to an account can further isolate specific sets of accounts that are similar to one another but different from other accounts.

This article will detail how to set account tags.


Article Contents


Users:
Administrators 
Company Managers 
Marketing Managers 
Sales Managers 
Salespersons 
Jr. Salespersons 


Setting Tags

Tags are used to group accounts together under a searchable label. Accounts can have multiple tags set to them. For example, an account can be set with a New Account tag, which will group it together with all other accounts with that tag. That same account can also be set with a B2B tag, which will group it in the same manner with other accounts with that tag.

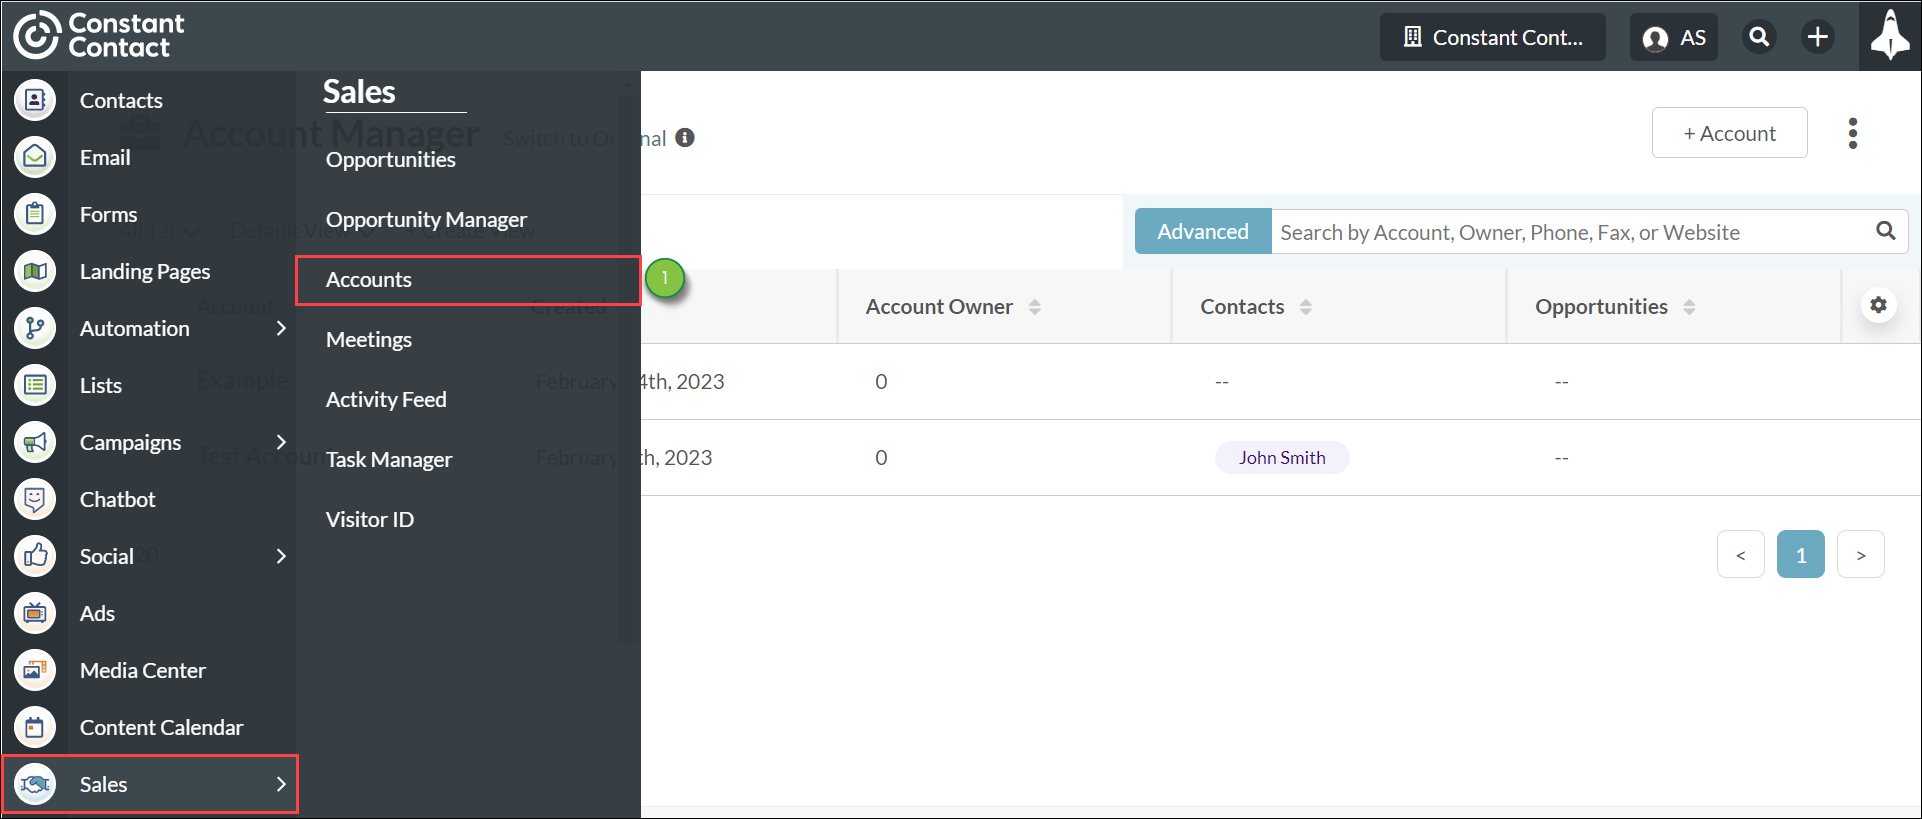
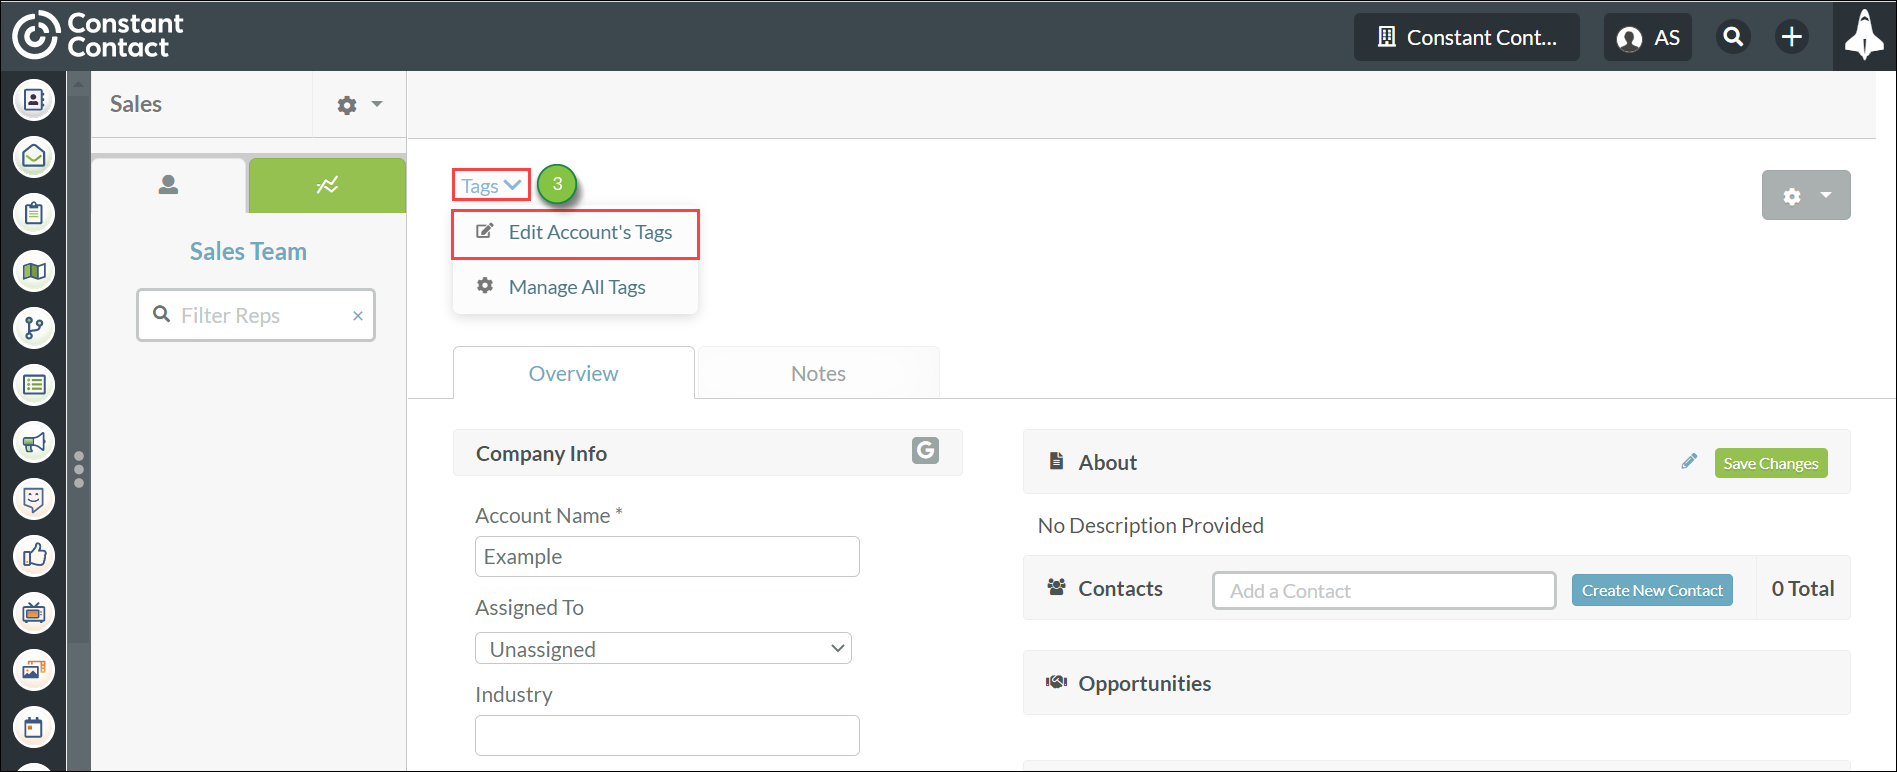
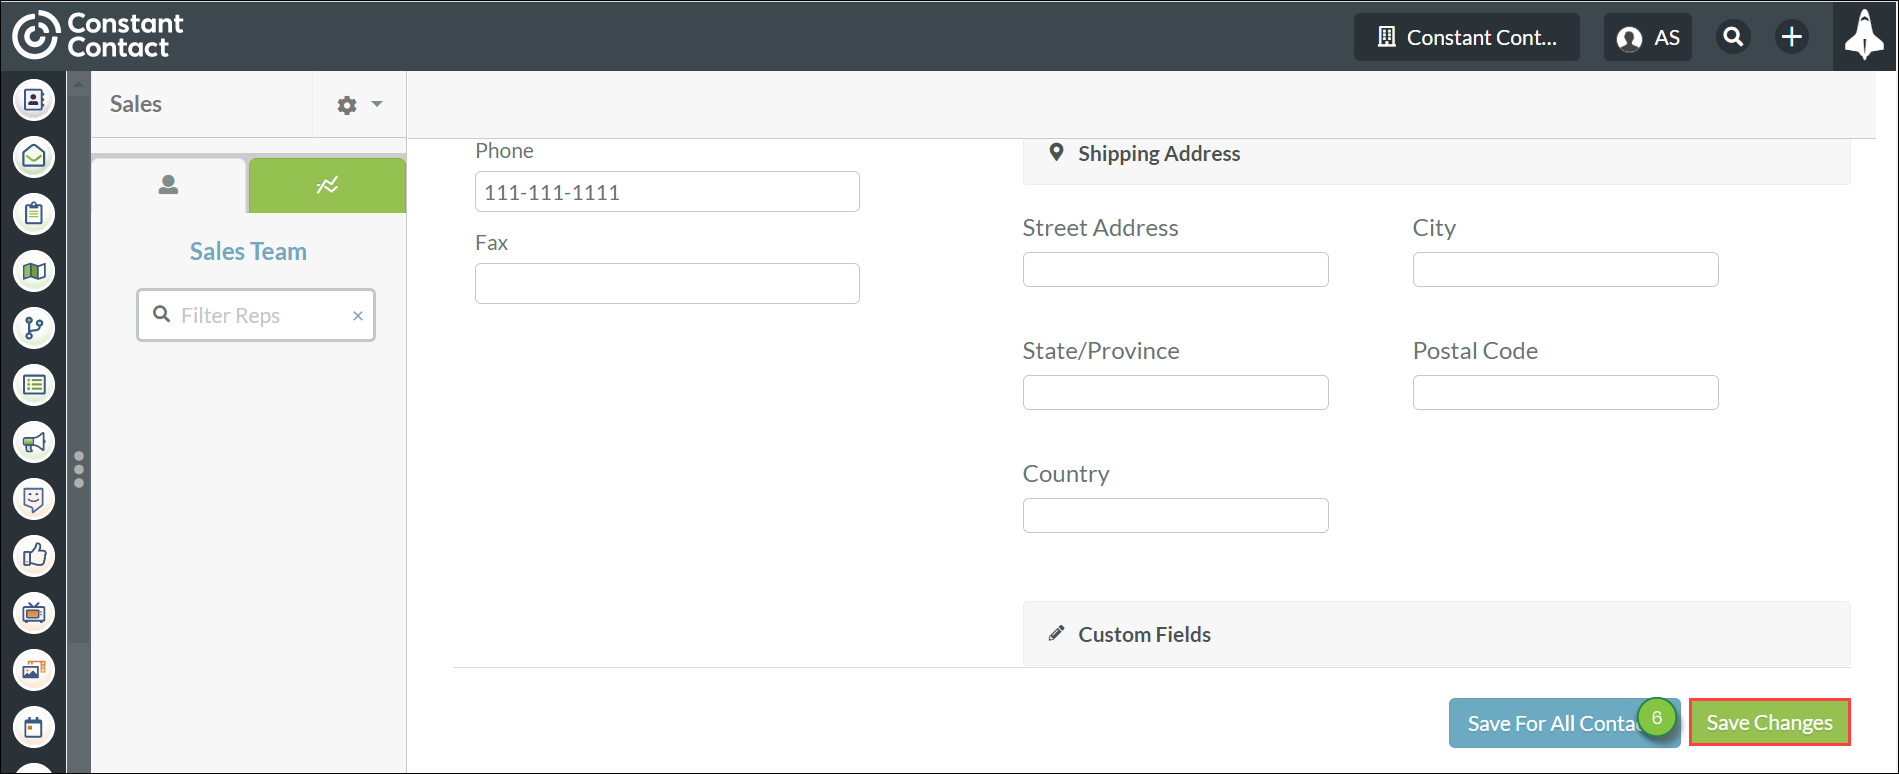
To set account tags, do the following:

  1. Click Sales > Accounts in the left toolbar.

    Setting Account Tags


  2. Create or open an account.
  3. Click Tags > Edit Account's Tags.

    Setting Account Tags


  4. Enter a tag name in the Select a Group field. Repeat as necessary.
  5. Click Close.

    Setting Account Tags


  6. Click Save Changes.

    Setting Account Tags


When adding or editing account tags, be aware of the following:

  • Clicking Edit Account's Tags will display all tags currently attributed to the account.
  • Clicking the Select a group text box when it does not have text in it will display all tags across all accounts.

Refer to Using the Tag Manager for more information on creating and editing tags in Lead Gen & CRM.


Removing Tags

You can remove tags previously set to accounts. 

To remove tags from accounts, do the following:

  1. Click Sales > Accounts in the left toolbar.Setting Account Tags


  2. Create or open an account.
  3. Click Tags > Edit Account's Tags.Setting Account Tags


  4. Click  12close.png  Remove next to the desired tag. Repeat as necessary.
  5. Click Close.

    Setting Account Tags


  6. Click Save Changes. Setting Account Tags


Did this article answer your question?


Constant Contact Logo

Copyright © 2025 · All Rights Reserved · Constant Contact · Privacy Center