This article will detail how to create, edit, and preview different types of meetings.
| Administrators | ✓ | |
| Company Managers | ✓ | |
| Marketing Managers | ||
| Sales Managers | ✓ | |
| Salespersons | ✓ | |
| Jr. Salespersons | ✓ |
In Lead Gen & CRM, meetings can only be booked after you have created a meeting. When creating meetings, you will need to determine the length and frequency of the blocks of time that people can book time with you. Once you have set your general availability during a given day, you can set meetings to take up certain amounts of time during that availability.
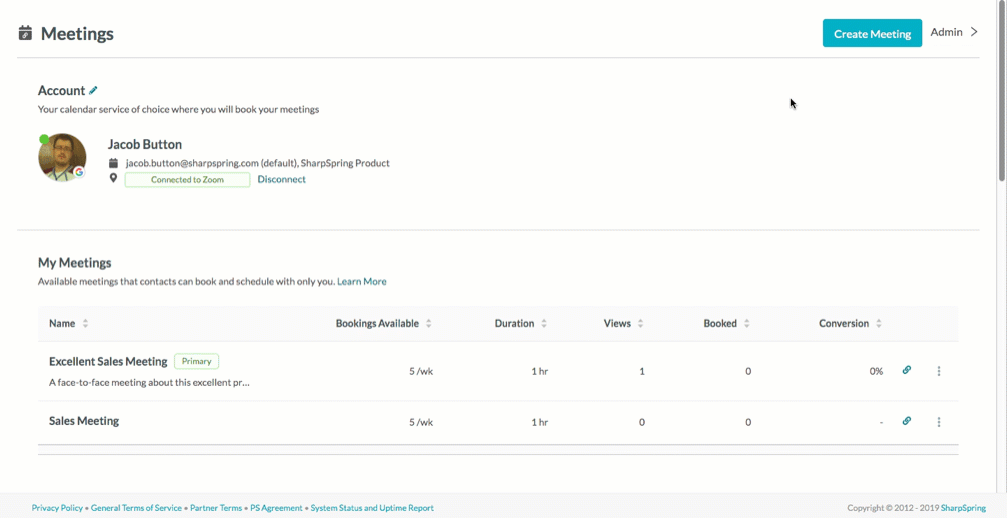
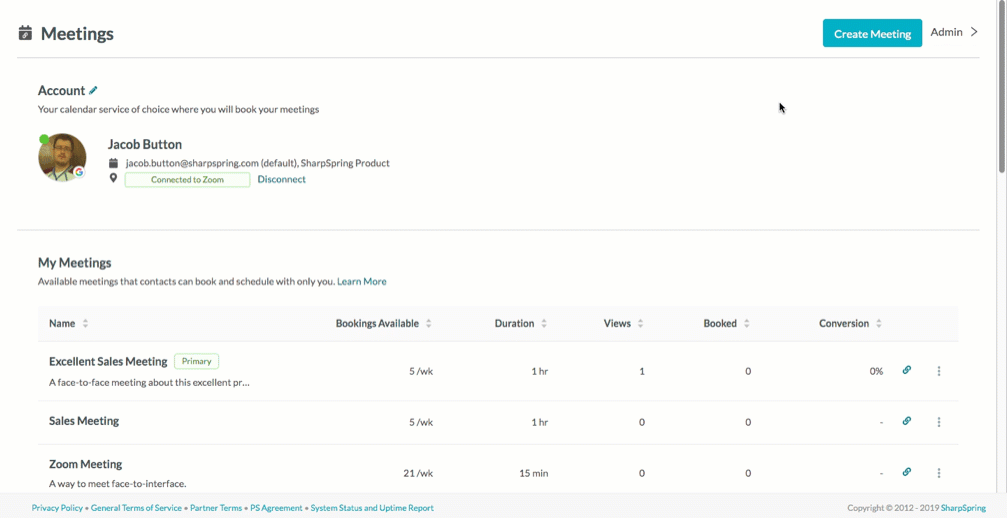
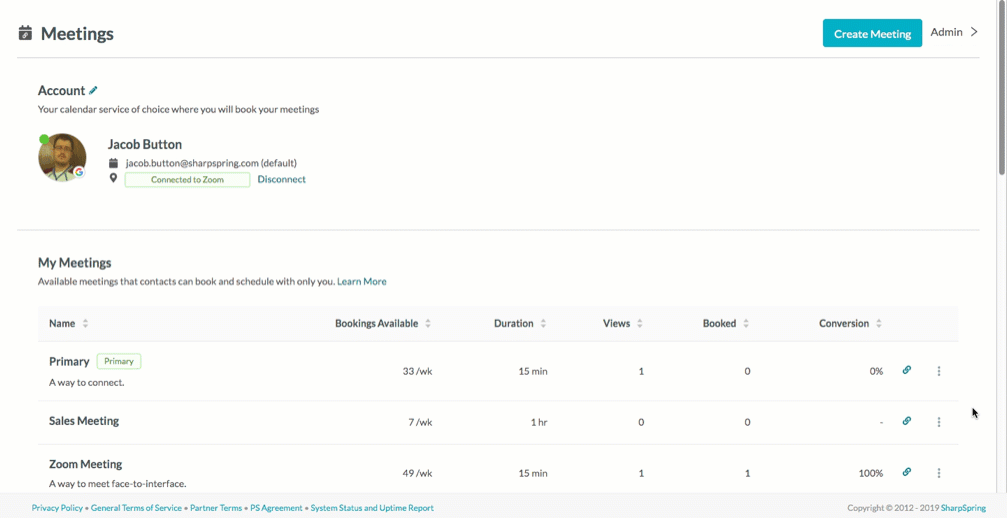
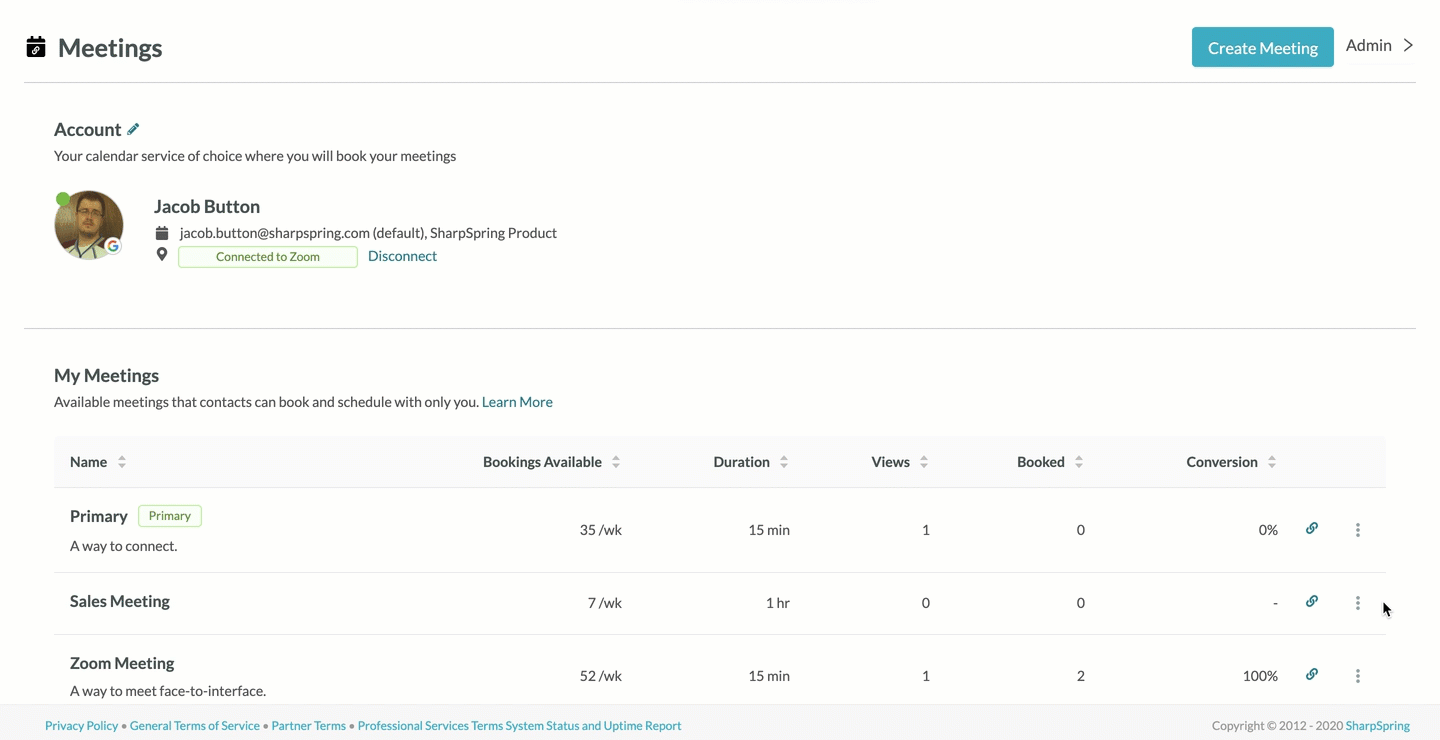
After you create a meeting, that meeting will display a meeting link. Meeting links are unique to the meeting. When you send meeting links to prospective viewers, you are inviting them to book a meeting with you. They will select from a preset date, time, and length that are determined by how you configure meetings.
Note: Admins can see the average availability of an agent in hours, the number of an agent's calendar views, and the total number of meetings booked. To see contact information of a lead who has booked a meeting, the agent must view the calendar invite.
Creating a meeting requires information about the meeting itself, as well as when and how it will be placed in your calendar. You can set meetings for one-on-one interactions. To create an individual meeting, do the following:
Note: Primary meetings are the default meeting type used when sharing booking links or buttons and will be copied to your clipboard if you have created multiple meetings. Primary meetings cannot be deleted. If you have not connected Lead Gen & CRM with Zoom, Make it a Zoom meeting will instead appear as Connect Zoom Meetings. You will need to connect Lead Gen & CRM with Zoom.
Meeting location information can be physical locations, such as a building address, or a website URL.
You can set meetings that bring in many different people. To create a team meeting, do the following:
Note: Setting a meeting as a group meeting disables the option to set the meeting as a primary meeting. Click ![]() Remove next to an added team member's name to remove that team member from the team meeting. Meeting location information for the Meeting Location or Add location or virtual meeting fields can be physical locations, such as a building address, or a website URL.
Remove next to an added team member's name to remove that team member from the team meeting. Meeting location information for the Meeting Location or Add location or virtual meeting fields can be physical locations, such as a building address, or a website URL.
You can edit previously created meetings at any time. To edit the content of a meeting, do the following:

Note: Team meetings cannot be set as primary meetings.
Created meetings will display a meeting link. This link can be placed in emails or on landing pages as either a hyperlink or as a button. For more information on meeting links and buttons, refer to Sharing Meetings.
Once you have created a meeting, You can preview the process for how prospective viewers book time with you. To preview how viewers book time with you, do the following:
Note: Once you have finished the preview process, Lead Gen & CRM will send a confirmation email to the email address you entered in the preview calendar. Be aware that this email comes premade and cannot be modified. Be aware that the meeting form comes premade by Lead Gen & CRM and cannot be modified, except for its color.
You can delete previously created meetings as needed. Be aware that deleted meetings that have future bookings will direct meeting attendants to a 404 page should they attempt to connect. You will need to reschedule attendees to other meetings.
To delete meetings, do the following:
Note: The Primary meeting cannot be deleted.
Meetings respect events set to a Busy status that are on your calendar already. They will not allow for that time to be booked. However, Meetings will not respect events set to a Free status. They will allow time to be booked with your meeting link.
As such, your important calendar events—or at least those you do not want subject to scheduling conflicts—should be set to a Busy status.
For more information on setting calendar events to have a Busy status, refer to the following external help articles:
Copyright © 2026 · All Rights Reserved · Constant Contact · Privacy Center