Lead Gen & CRM
How can we help you?
Search our help articles, video tutorials, and quickstart guides

You've got this. You've got us. Search our Knowledge Base to quickly find answers to your questions.

Using Zoom with Meetings

Article: 000050554
Updated: July 26, 2024

You can enable Zoom video for your meetings. Determine when and how people can book time on your calendars to have a meeting with you. These meetings can be shared through your emails, or they can be placed on your landing pages.

When creating meetings, you can enable Zoom video functionality, which allows for video conferencing. Learn how to set it up, download, sign in, and integrate Zoom video calls into your meetings.

This article will explain how to sign up for Zoom, install Zoom, integrate Zoom with Lead Gen & CRM, and add Zoom conferencing to your meetings.


Article Contents


Users:
Administrators 
Company Managers  
Marketing Managers  
Sales Managers  
Salespersons  
Jr. Salespersons  


Signing Up for Zoom Accounts

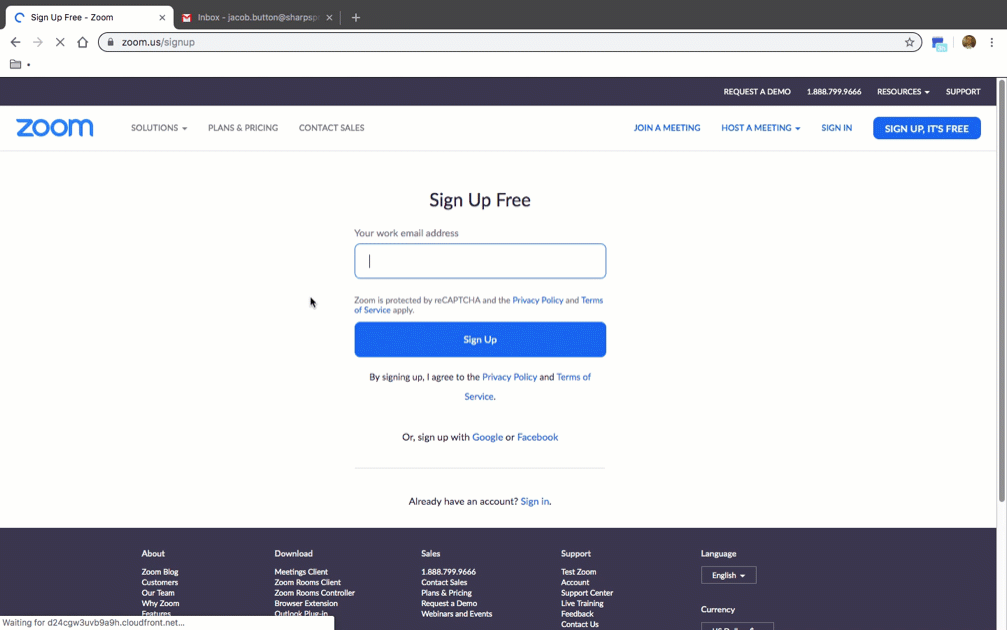
To create a Zoom account, do the following:

  1. Open a new tab in your web browser.
  2. Navigate to https://www.zoom.us/signup.
  3. Enter your email address.
  4. Click Sign Up.
  5. Open another tab in your web browser.
  6. Navigate to your email provider.
  7. Open the Zoom email.
  8. Click Activate Account.
  9. Enter your name.
  10. Enter your password.
  11. Click Continue.

Once you have entered your credentials, Zoom will request that you invite colleagues and start a preliminary video call. The email invitations and video call are entirely optional and have no impact the account creation process. You may skip these as desired.

For more information on configuring account settings, refer to Zoom's external help documentation.


Signing Up for Zoom with Other Accounts

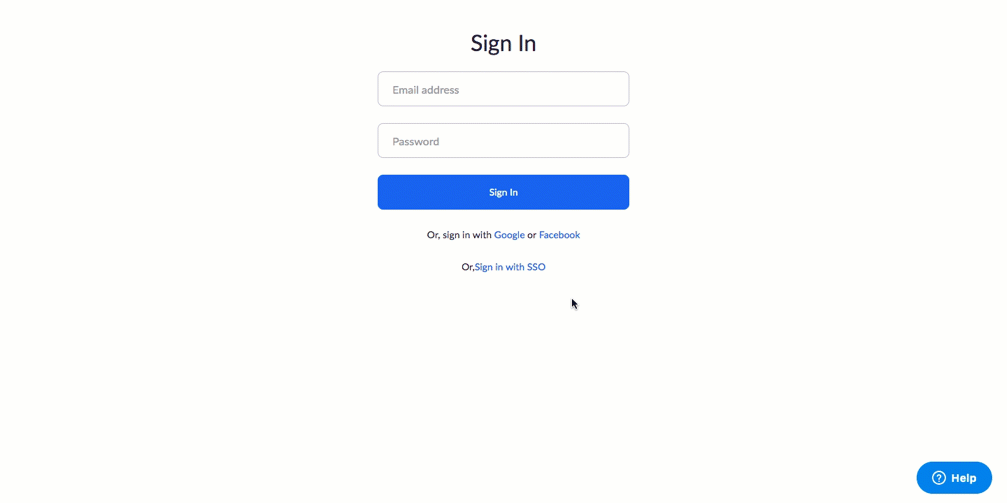
In addition to direct account creation, Zoom provides different ways for you to sign up for its services. If you do not have a Zoom account and log in with Google or Facebook, Zoom will ask if you want to use these accounts to create a Zoom account with the same information.


Using Google Accounts for Zoom

You can use an existing Google account to sign up for Zoom. To sign up for Zoom with a Google account, do the following:

  1. Open a new tab in your web browser.
  2. Navigate to https://www.zoom.us/signup.
  3. Click Google.
  4. Enter your Gmail address.
  5. Click Next.
  6. Enter your Gmail password.
  7. Click Next.


Using Facebook Accounts for Zoom

You can use an existing Facebook account to sign up for Zoom. To sign up for Zoom with a Facebook account, do the following:

  1. Open a new tab in your web browser.
  2. Navigate to https://www.zoom.us/signup.
  3. Click Facebook.
  4. Enter the email address associated with your Facebook account.
  5. Enter your Facebook password.
  6. Click Log In.


Using Single Sign-On Accounts for Zoom 

In addition to Google and Facebook account creation, Zoom provides a way to create accounts using single sign-on (SSO) systems. To sign in to Zoom with a SSO account, do the following:

  1. Open a new tab in your web browser.
  2. Navigate to your company's Zoom login URL.
  3. Click Sign in with SSO.
  4. Enter your company's domain.
  5. Click Continue.

If your account is unable to connect via SSO, you will need to request access from your system administrator or Zoom account manager.

For more information on connecting via SSO, refer to Zoom's external help documentation.


Pre-Approval for Managed Zoom Accounts

There are certain instances where the integration process needs pre-approval. Users who are members of a managed Zoom account will need to request app pre-approval from the administrator who oversees the Zoom account. In these instances, this pre-approval is required before users can download, install, and authorize the integration.

To have an administrator pre-approve the Lead Gen & CRM app, do the following: 

  1. Open a new tab in your web browser.
  2. Navigate to your Zoom administrator account.
  3. Access your Zoom profile page.
  4. Click Advanced, located under Admin the left panel.
  5. Click Integration.
  6. Click Go to App Marketplace.
  7. Search published apps.
  8. Locate the Lead Gen & CRM app. 
  9. Pre-approve the Lead Gen & CRM app.

For more information on the pre-approval process, refer to Zoom's external developer documentation.


Downloading and Installing Zoom

In order to use Zoom with your meetings, you will need to download and install Zoom. This will allow all of your meetings with Zoom links to open in your web browser. To download and install Zoom, do the following:
 

  1. Open a new tab in your web browser.
  2. Navigate to https://www.zoom.us/download.
  3. Locate the desired version of the Zoom client.
  4. Click Download next to the desired version of the Zoom client.
  5. Navigate to where your files are downloaded to.
  6. Open the downloaded Zoom client file.

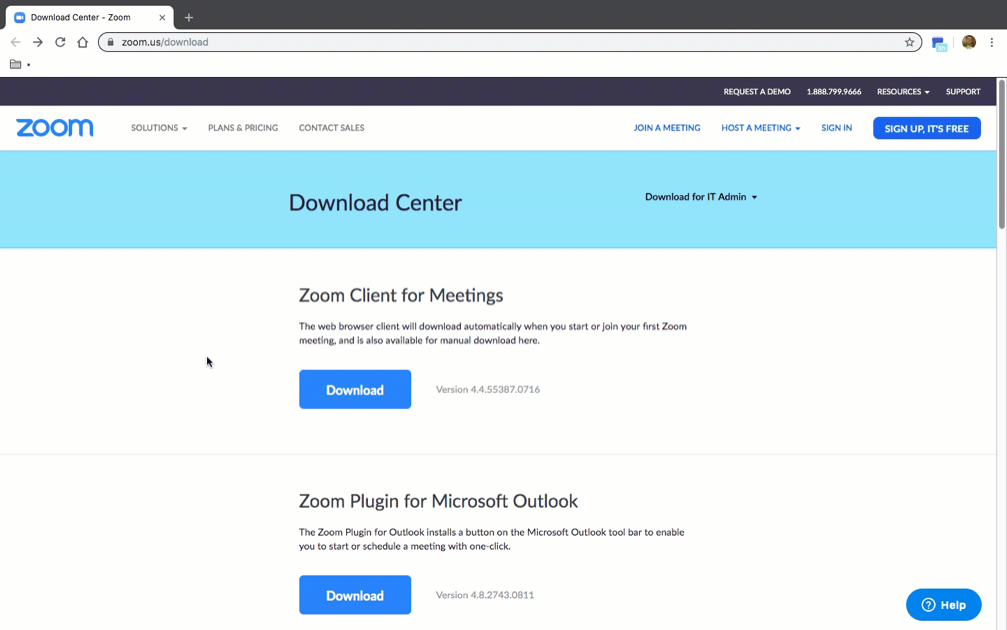
In most instances, the Zoom client will automatically install. Once installed, Zoom links will open in the Zoom client. For more information on installing Zoom, refer to the following external help documentation:


Connecting Lead Gen & CRM with Zoom

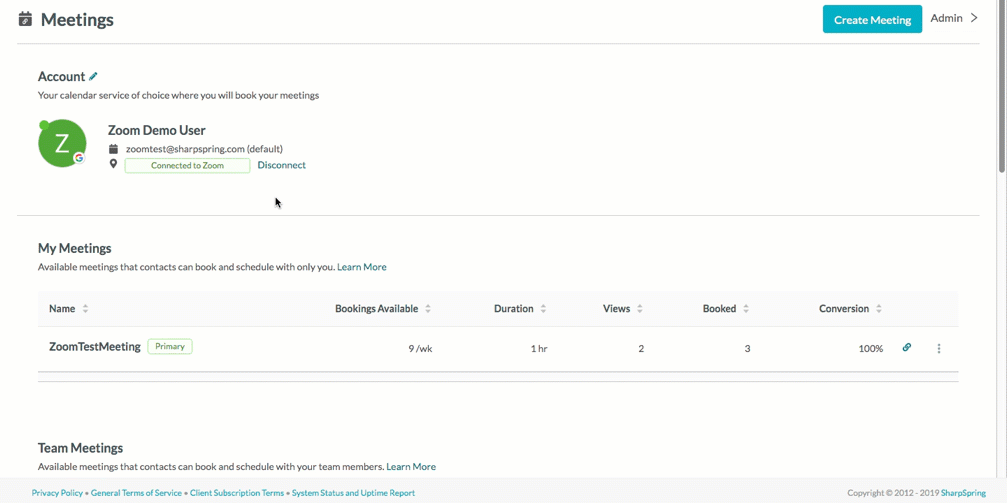
Once you have created a Zoom account and installed the Zoom application, you can connect Zoom with Lead Gen & CRM. To connect Zoom with your Lead Gen & CRM instance, do the following:

  1. Open a new tab in your web browser.
  2. Log in to Lead Gen & CRM.
  3. Click Sales > Meetings in Lead Gen & CRM's left toolbar.
  4. Click Connect Zoom Meetings.
  5. Enter your Zoom account's email credentials.
  6. Authorize the connection to Zoom.

Be aware that Lead Gen & CRM and Zoom must be connected in order to use Zoom with your meetings


Disconnecting Lead Gen & CRM from Zoom

Disconnecting Lead Gen & CRM from Zoom will remove authorization from your previously set connection and permissions. To disconnect Lead Gen & CRM from Zoom, do the following:

  1. Click Sales > Meetings in Lead Gen & CRM's left toolbar.
  2. Click Disconnect.
  3. Click Disconnect in the modal window that appears.

Be aware that disconnecting Lead Gen & CRM from Zoom does not uninstall the Lead Gen & CRM application from your Zoom account


Uninstalling the Integration

To completely uninstall and remove the integration from your account, you will need to deauthorize the Lead Gen & CRM app. To deauthorize and uninstall the Lead Gen & CRM app, do the following:

  1. Open a new tab in your web browser.
  2. Navigate to https://marketplace.zoom.us/.
  3. Log in to Zoom.
  4. Click Manage in Zoom's top toolbar.
  5. Click Installed Apps in the left panel.
  6. Locate the Lead Gen & CRM app.
  7. Click Uninstall.
  8. Click Uninstall in the modal window that appears.

Note: You may need to agree to Zoom's terms and services for the Marketplace to be able to log in.


Creating Individual Meetings with Zoom

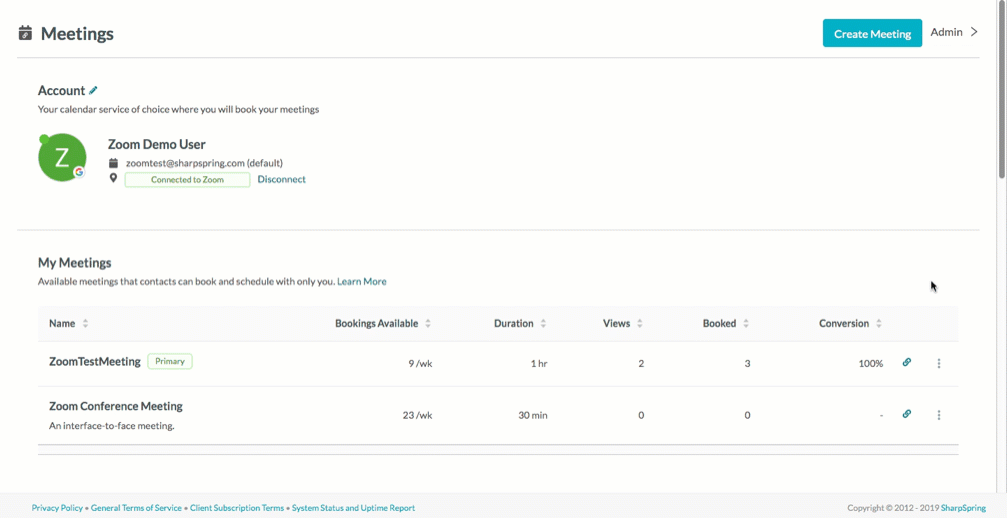
Creating a meeting requires information about the meeting itself, as well as when and how it will be placed in your calendar.

You can set meetings for one-on-one interactions. To create an individual Zoom meeting, do the following:

  1. Click Sales > Meetings in Lead Gen & CRM's left toolbar.
  2. Click Create Meeting.
  3. Enter a title for the meeting in the Meeting Title text field.
  4. Select your name in the Who will host this meeting section.
  5. Optionally, do any or all of the following:
    • Click the Set as Primary checkbox.
    • Enter a description for the meeting in the Meeting Description text field.
    • Enter a location for the meeting in the Meeting Location text field. 
  6. Click the Make it a Zoom meeting checkbox.
  7. Select how much time the meeting will take in the Duration drop-down menu.
  8. Select how much time to block off before and after the meeting in the Meeting Buffer drop-down menu.
  9. Select how long past a given hour the meeting can begin in the Start Time Increments drop-down menu.
  10. Select how long before the meeting begins a meeting can be booked in the Minimum Booking Notice section.
  11. Select the amount of time in advance bookings can be added to your calendar in the Booking Window drop-down menu.
  12. Click Save.

Note: Primary meetings are the default meeting type used when sharing booking links or buttons and will be copied to your clipboard if you have created multiple meetings. Primary meetings cannot be deleted.

Note: If you have not connected Lead Gen & CRM with Zoom, Make it a Zoom meeting will instead appear as Connect Zoom Meetings. You will need to connect Lead Gen & CRM with Zoom.

Note: Meeting location information can be physical locations, such as a building address, or a website URL.


Previewing Meetings

Once you have created a meeting, You can preview the process for how prospective viewers book time with you. To preview how viewers book time with you and send a preview meeting email to your email account of choice, do the following:
 

  1. Click Sales > Meetings in Lead Gen & CRM's left toolbar.
  2. Click  12more.png  Options > Preview Booking Page next to a created meeting with Zoom enabled.
  3. Click an available date on the calendar.
  4. Select the desired time.
  5. Click Book it.
  6. Enter the following information:
    • First Name
    • Last Name
    • Email
    • Phone Number
    • Message
  7. Click Finish.
  8. Open another tab in your web browser.
  9. Navigate to the email account that you sent the meeting to.
  10. Open the Zoom meeting email.


Did this article answer your question?


Constant Contact Logo

Copyright © 2025 · All Rights Reserved · Constant Contact · Privacy Center