| Administrators | ✓ | |
| Company Managers | ✓ | |
| Marketing Managers | ✓ | |
| Sales Managers | ✓ | |
| Salespersons | ✓ | |
| Jr. Salespersons | ✓ |
The Launchpad provides you with an at-a-glance look at your upcoming tasks, recent activity, and most important metrics. The Launchpad itself is a collection of different dashboards that house specific information. This information can largely be customized through the Custom Reports feature to better display the information that you want to see.
Along with Custom Reports and Cloud Dashboards, you can create your own custom reports and set them to be the default tab that you see when you first log in to Lead Gen & CRM during a given day. This means that, instead of a being presented with a generic and static startup page, you can use any of your custom reports to create individual Launchpad dashboards that showcase widgets reporting on metrics that are useful to you.
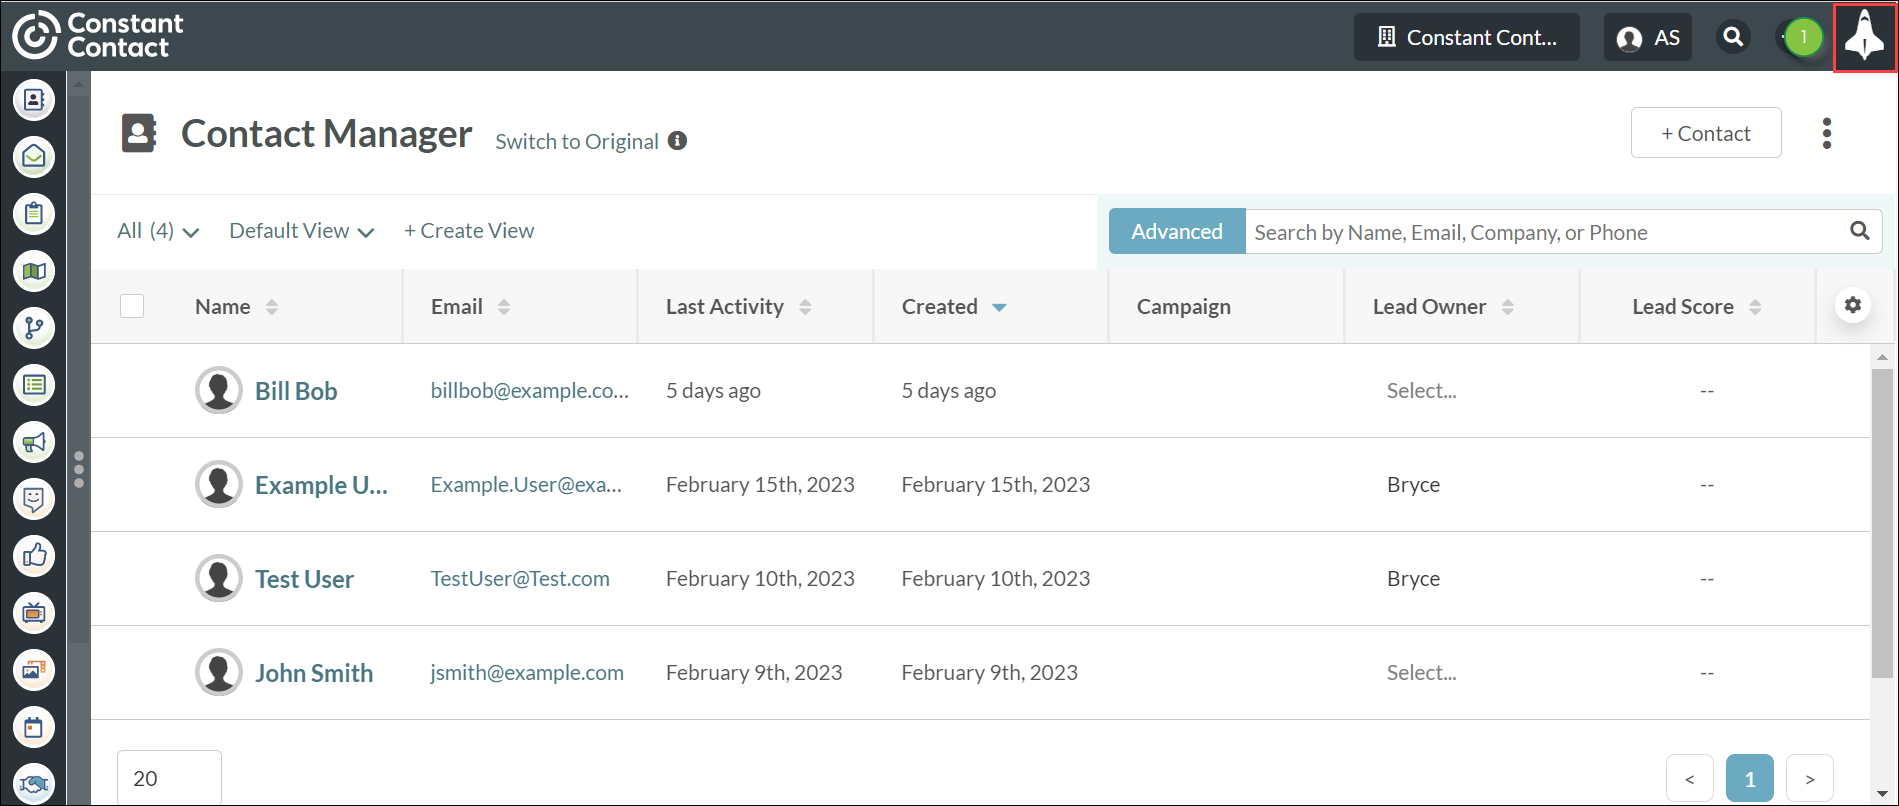
The Launchpad will appear automatically on your screen the first time you log in to your account in a day. To access the Launchpad at any time from any page within the platform, click ![]() Launchpad in the top toolbar.
Launchpad in the top toolbar.
You can choose to Disable Launchpad on login by going to Settings and then My Account. Once disabled, the launchpad will not appear when you log in; you'll need to click on the ![]() Launchpad icon to access it.
Launchpad icon to access it.

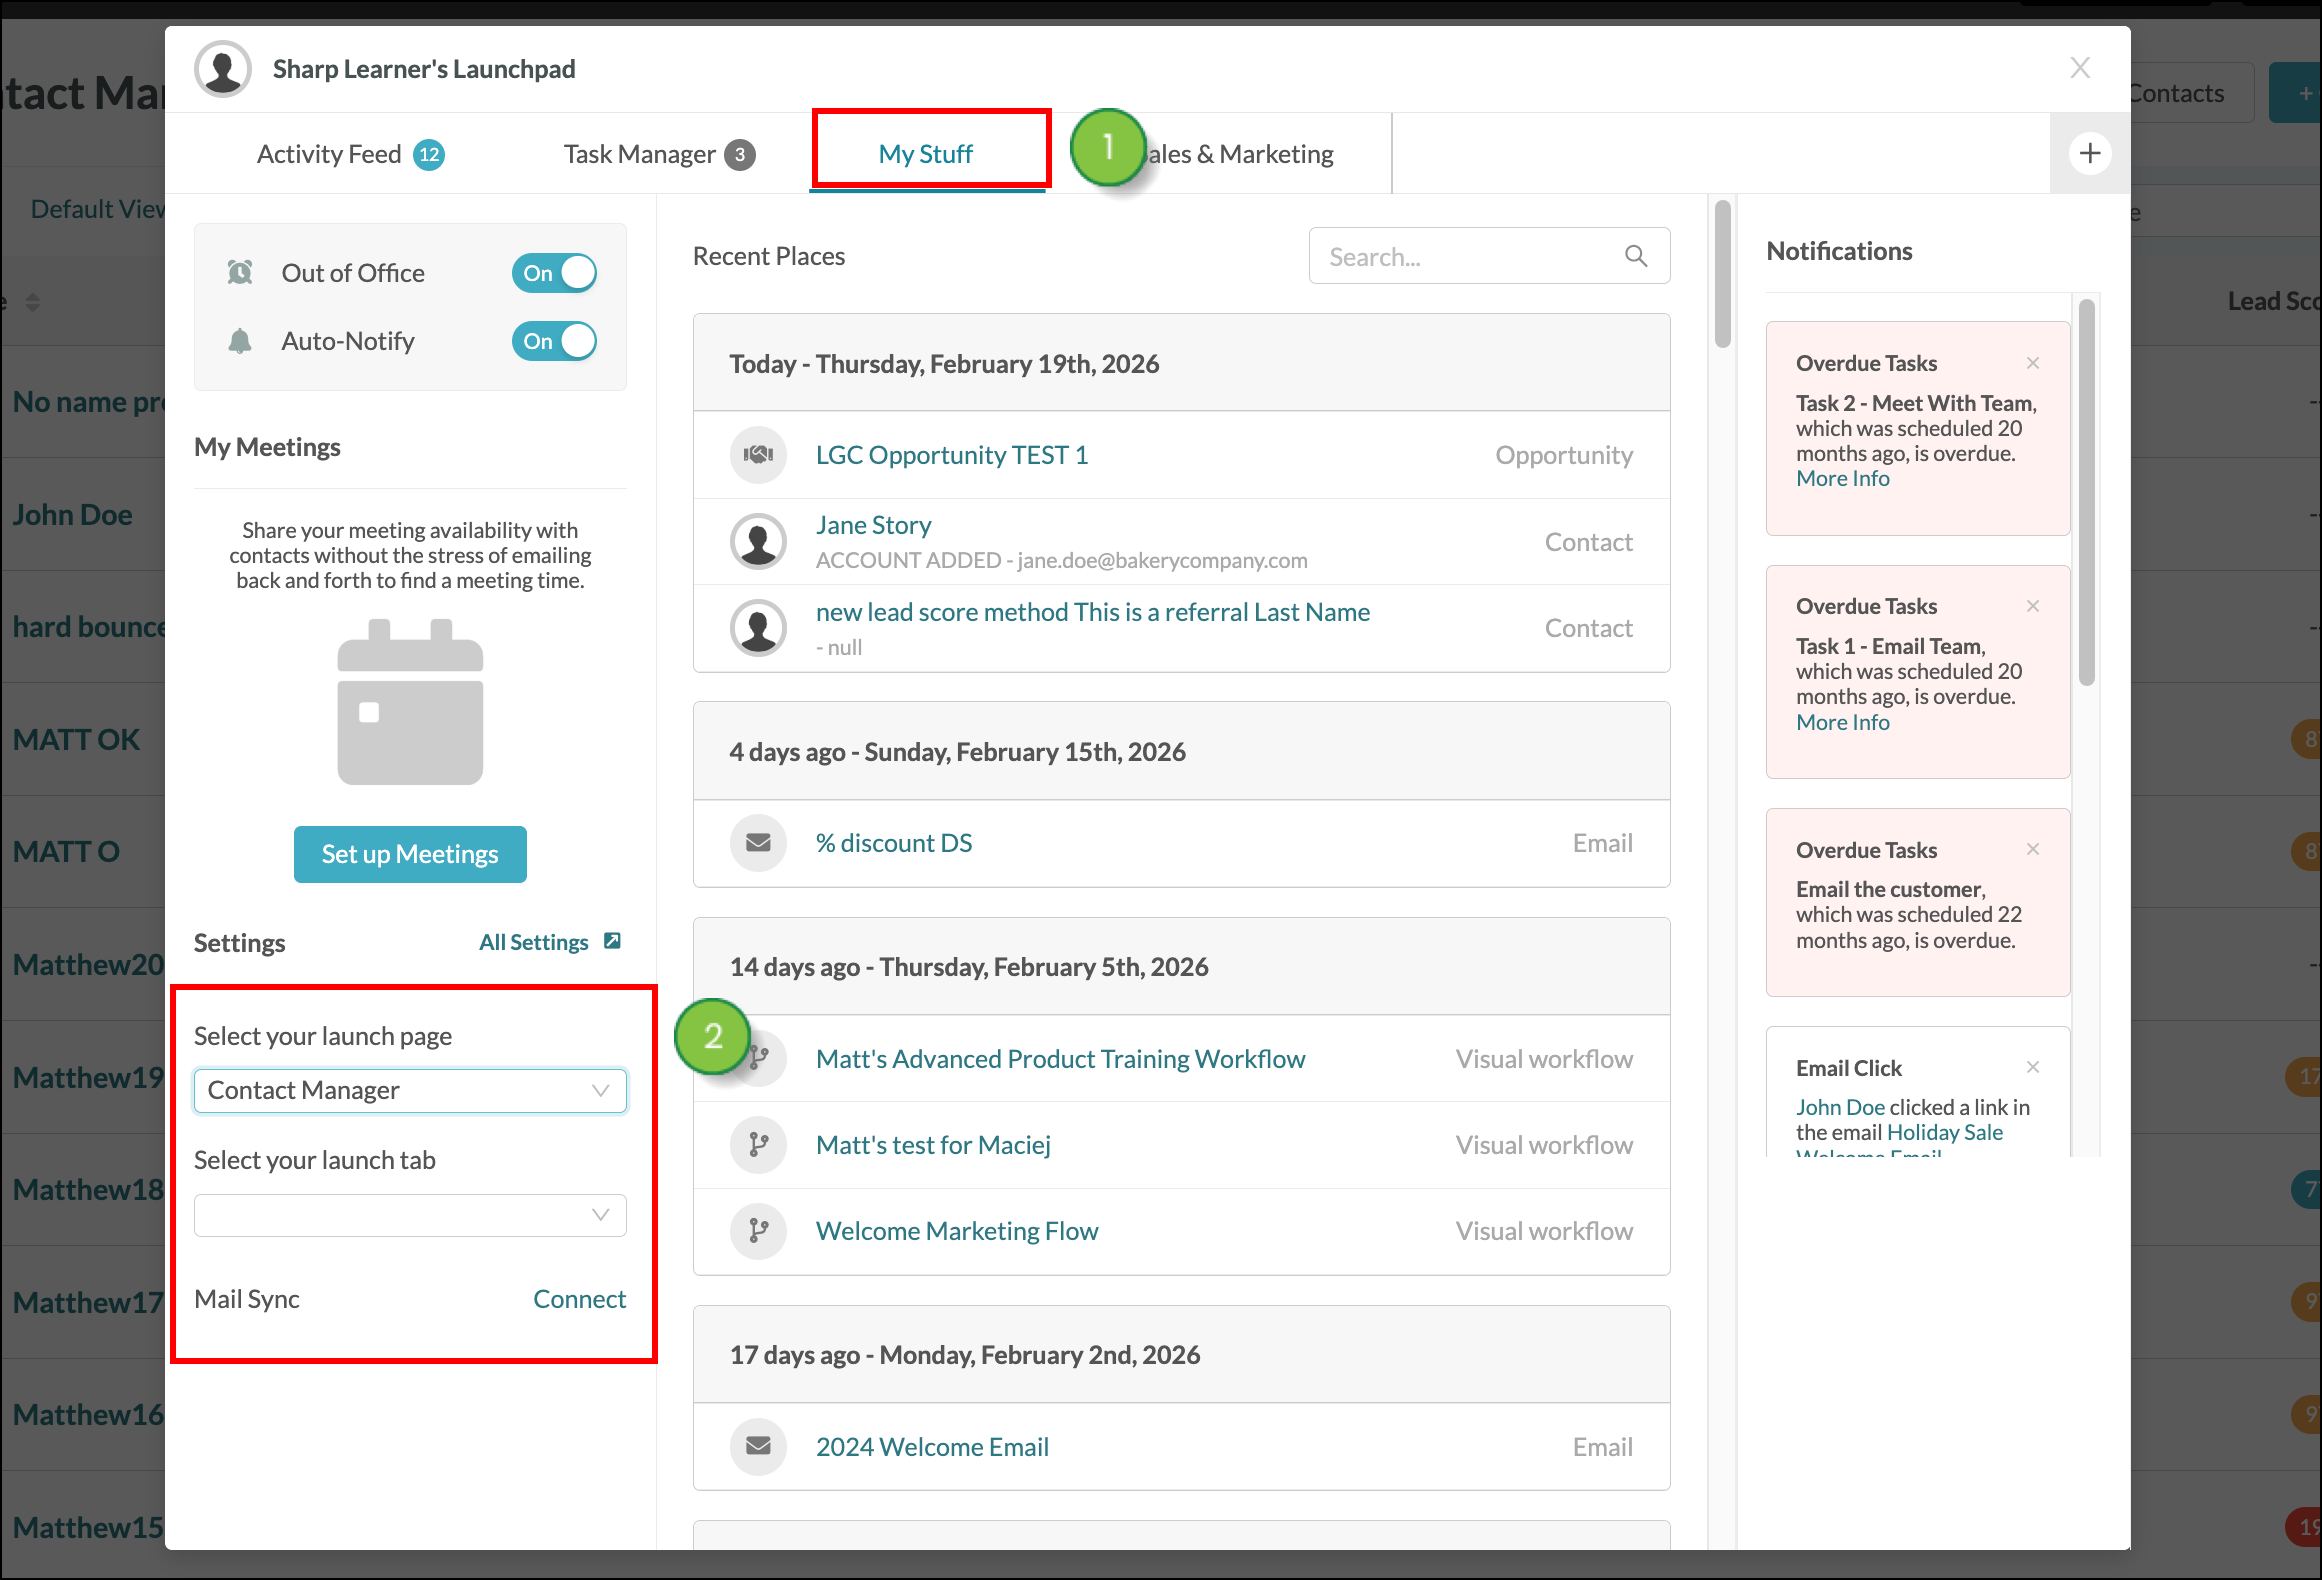
From the Launchpad, in My Stuff, you can choose your launch page and launch tab.
Launch Page
Your launch page is the page of your Lead Gen instance that opens when you first log in. Once set, this page will open regardless of whether the Launchpad is enabled to open as well, or not. You can also change the launch page from your main account Settings.
Launch tab
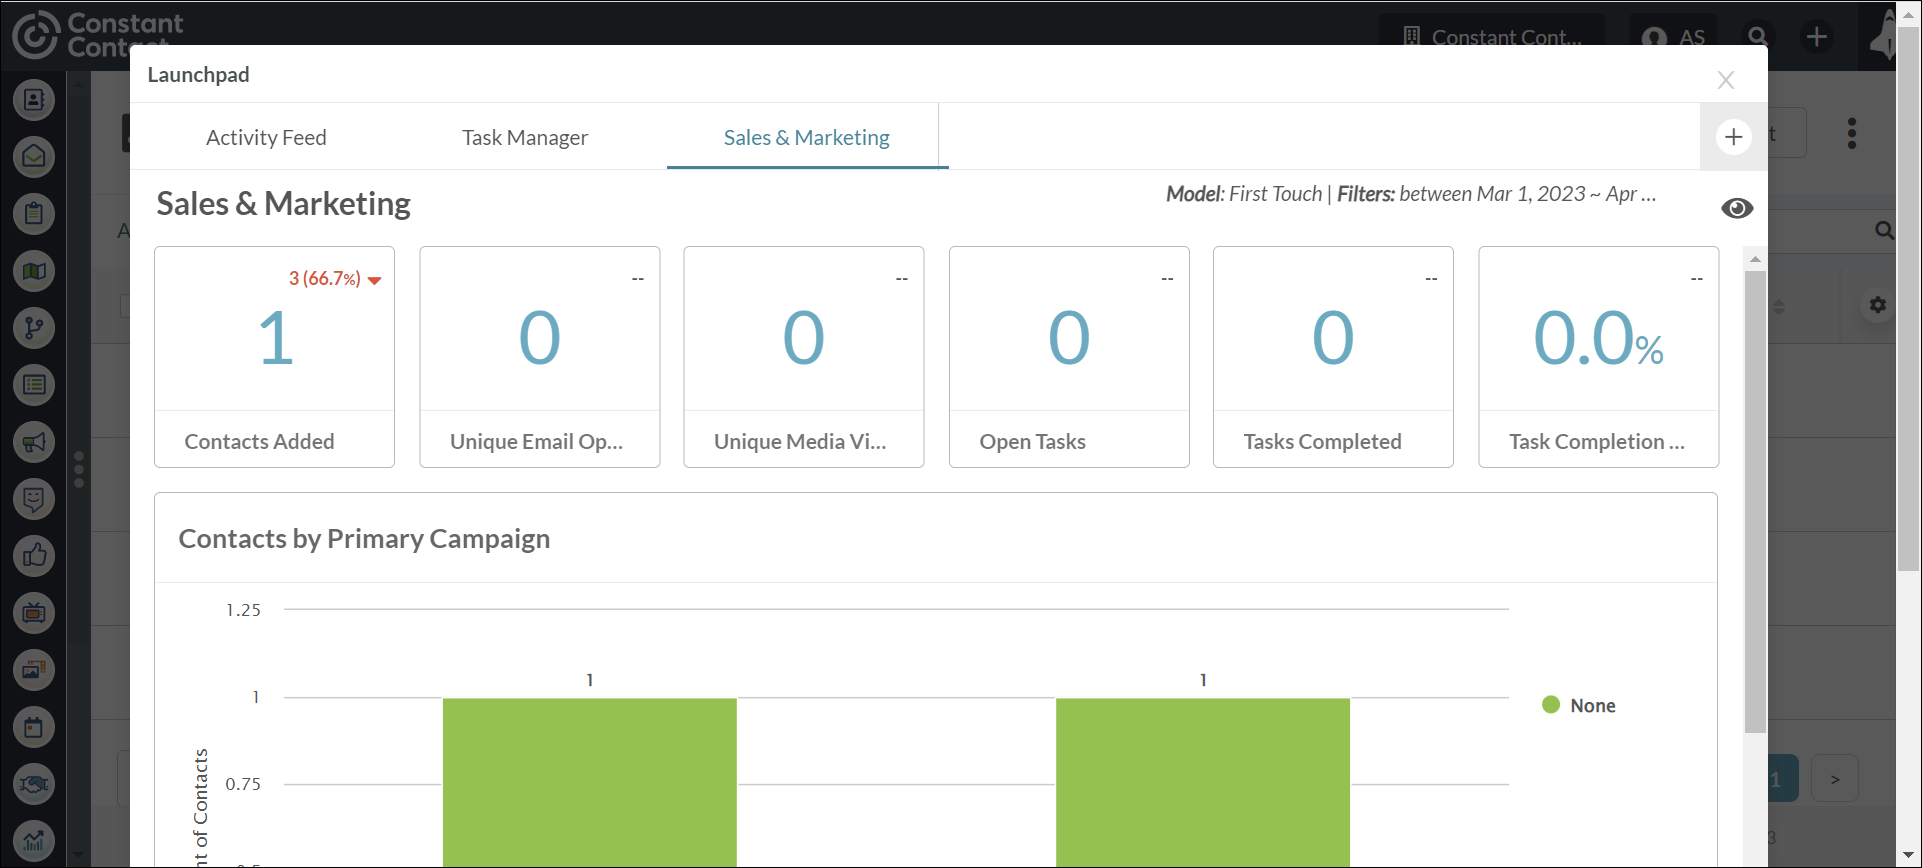
Your Launch tab is the Launchpad tab that opens when the Launchpad opens. This can be the Activity Feed, Task Manager, My Stuff, or the Sales & Marketing tab.
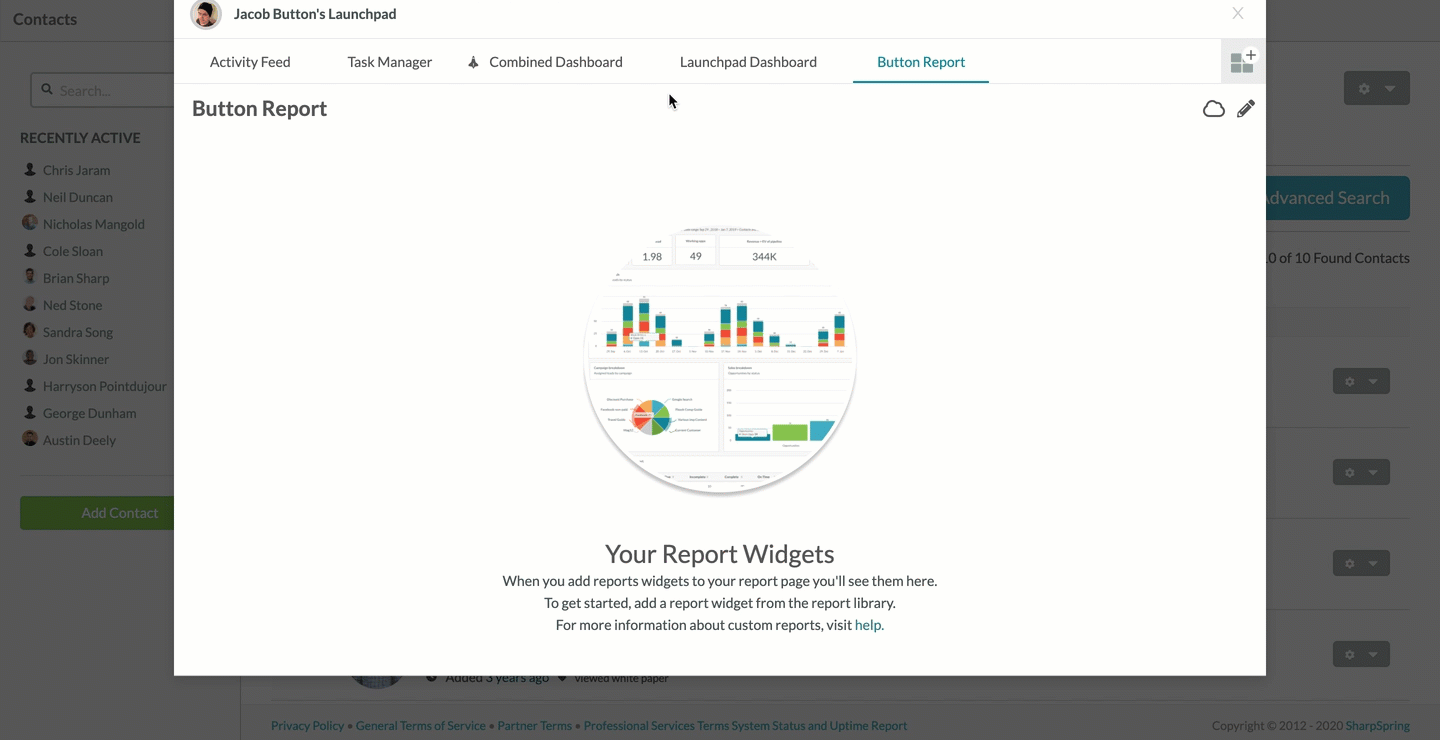
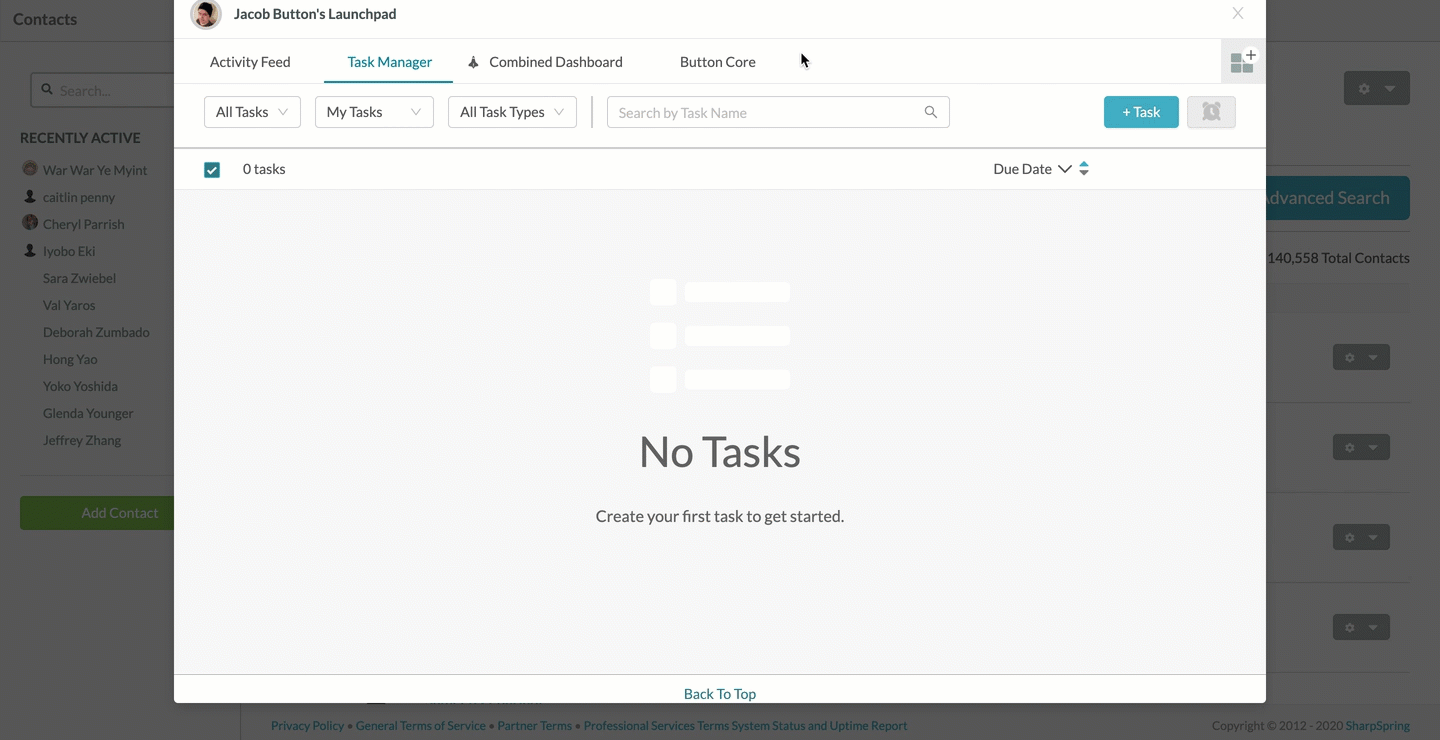
The Launchpad will always display the Task Manager and Activity Feed dashboards. These dashboards provide information on what tasks are available to you, as well as the activities you or others have taken. However, you might find that you want more information. You can add different dashboards that draw on information from custom reports widgets. This may help to better provide a more complete view on what your metrics are.
You can add up to 10 dashboards to the Launchpad. With the Task Manager and Activity Feed dashboards, that means that you can have 12 dashboard tabs available on your Launchpad.
Additionally, you can choose between 3 default dashboards, use those system dashboards as a starting point for their own, or choose to display a generated custom report.
To create a custom report for use as dashboards, do the following:
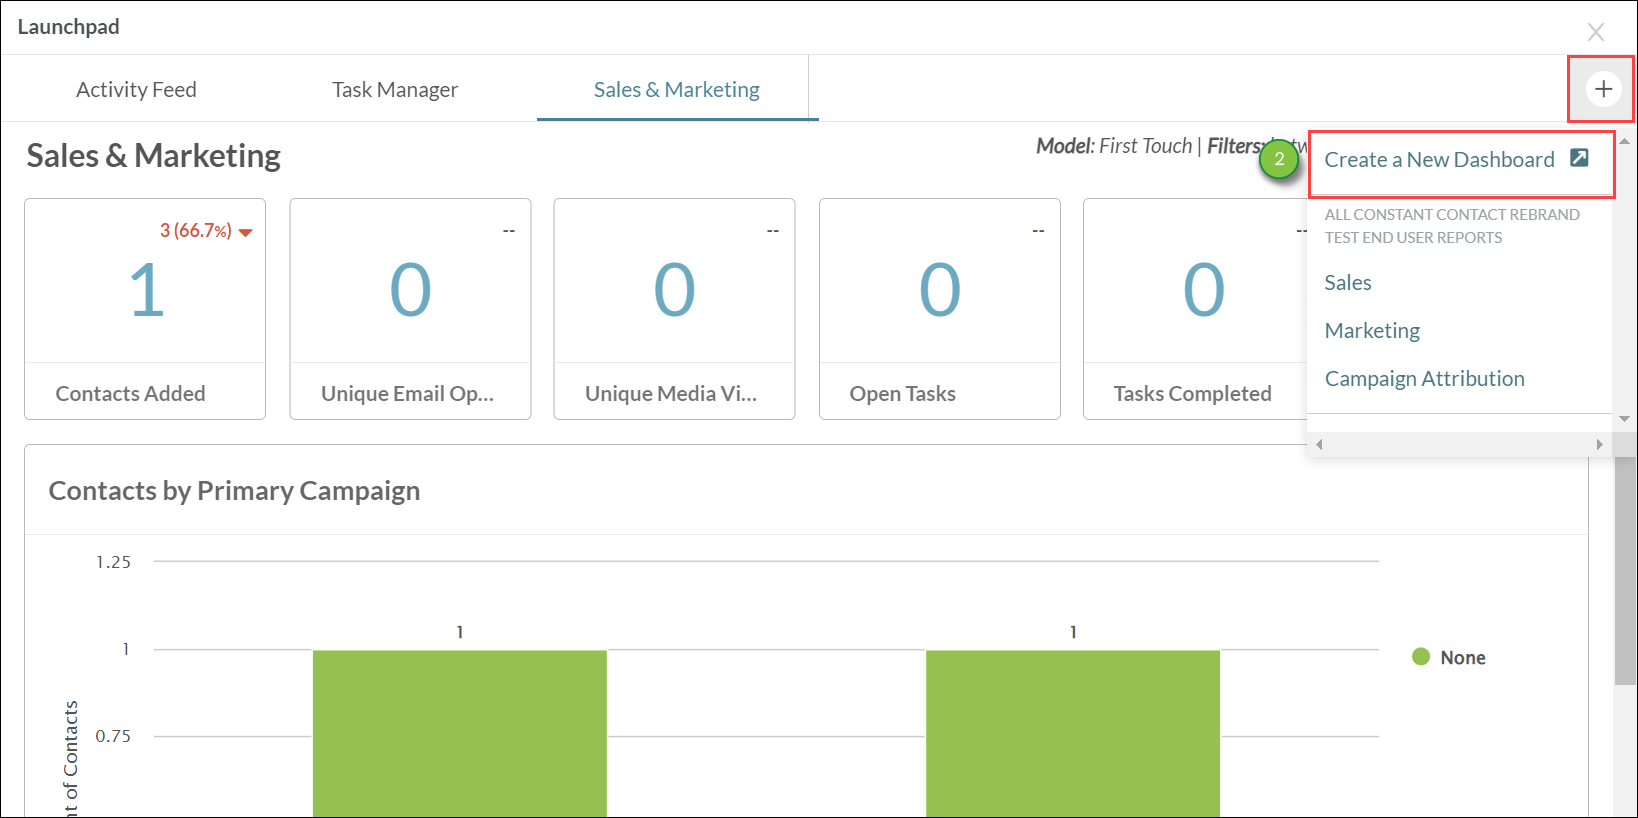
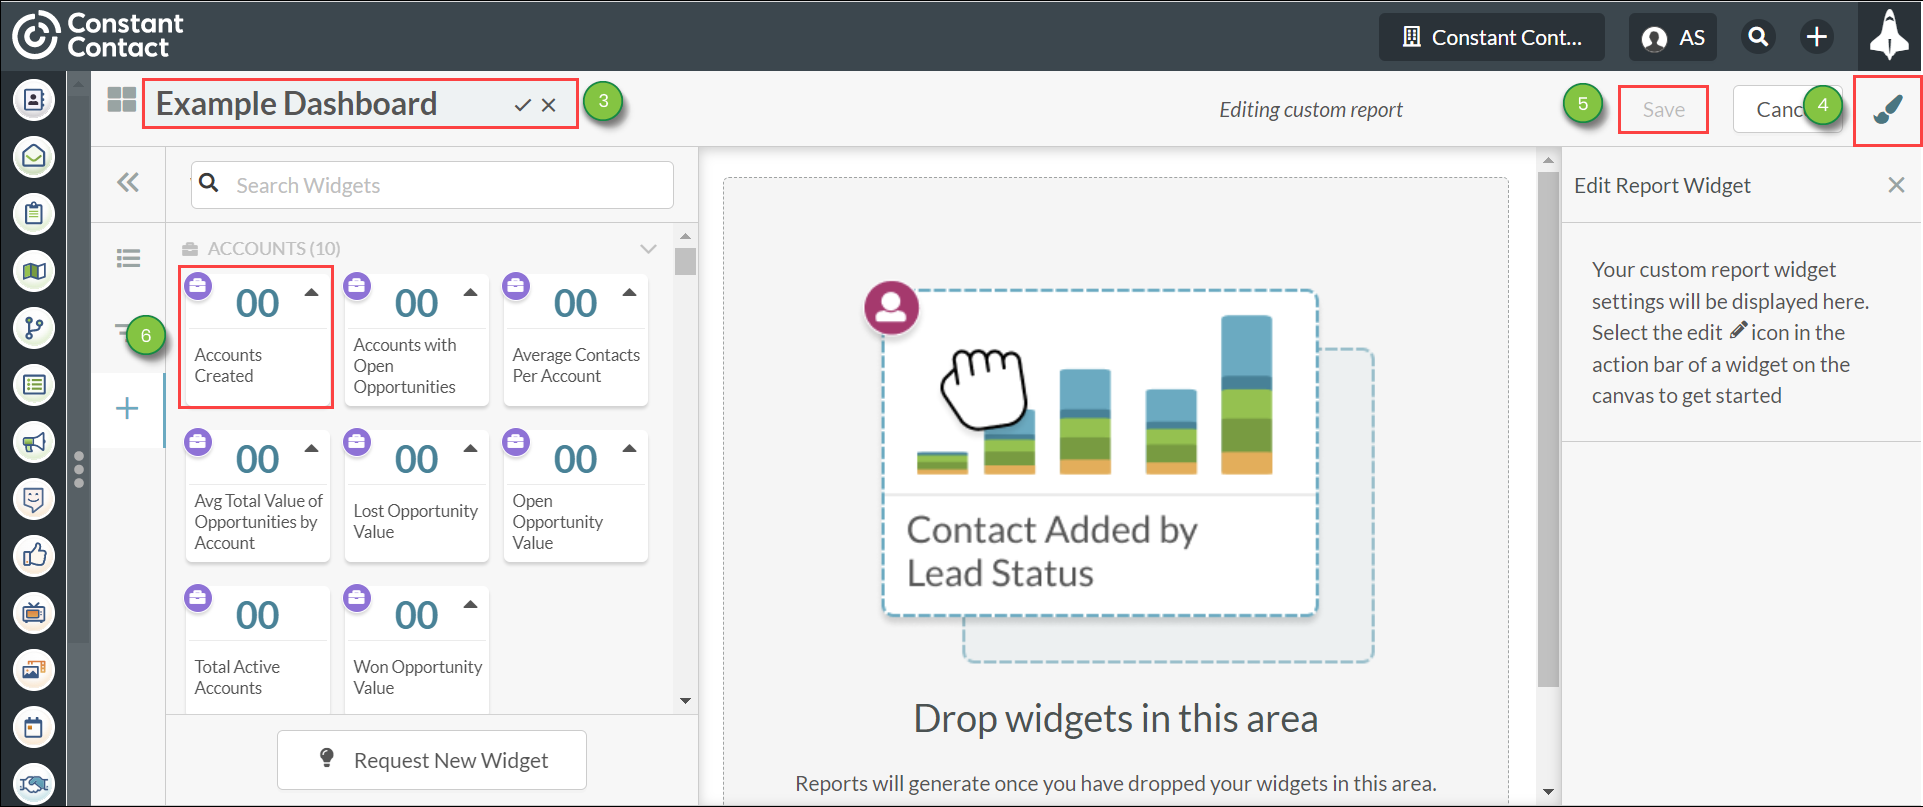
The created custom report will be available to use as a custom dashboard.
For more information about creating custom reports, refer to Using Custom Reports.
Important: Launchpads are tied to individual users. Users will need to set up their own dashboards.
Note: Salespersons and Jr. Salespersons will not be able to make their own custom reports, but will be able to choose from custom reports within their organization to be on their Launchpad. The default dashboard will be the active tab on Launchpad upon logging in.
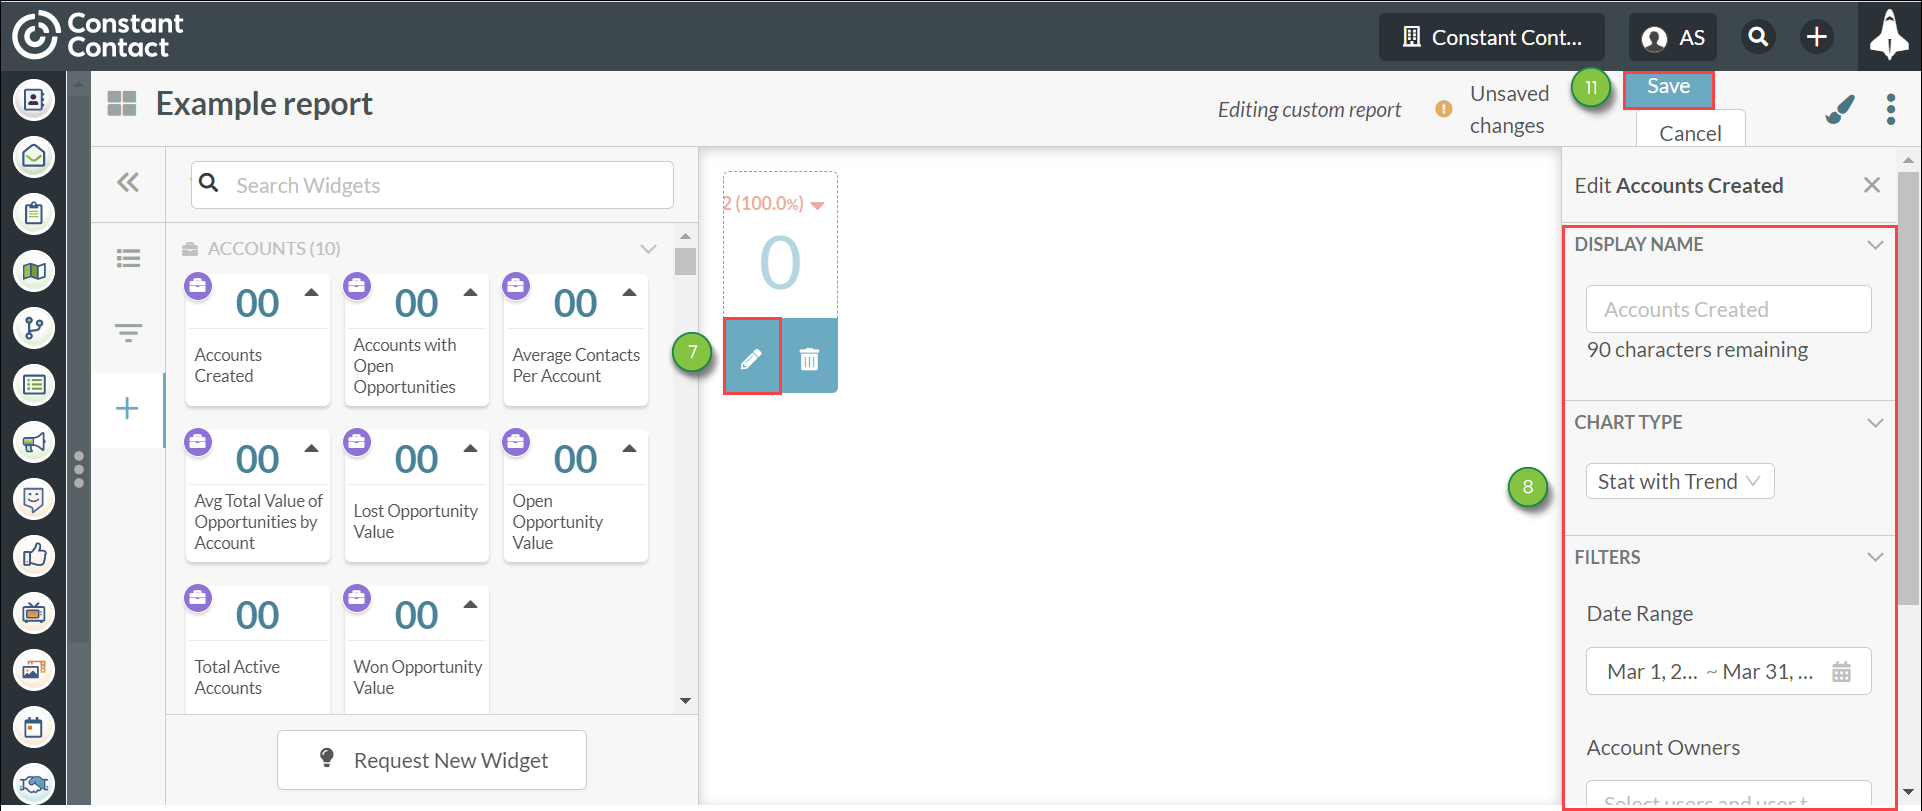
Saved reports can be added as a dashboard.
To add custom reports as dashboards, do the following:
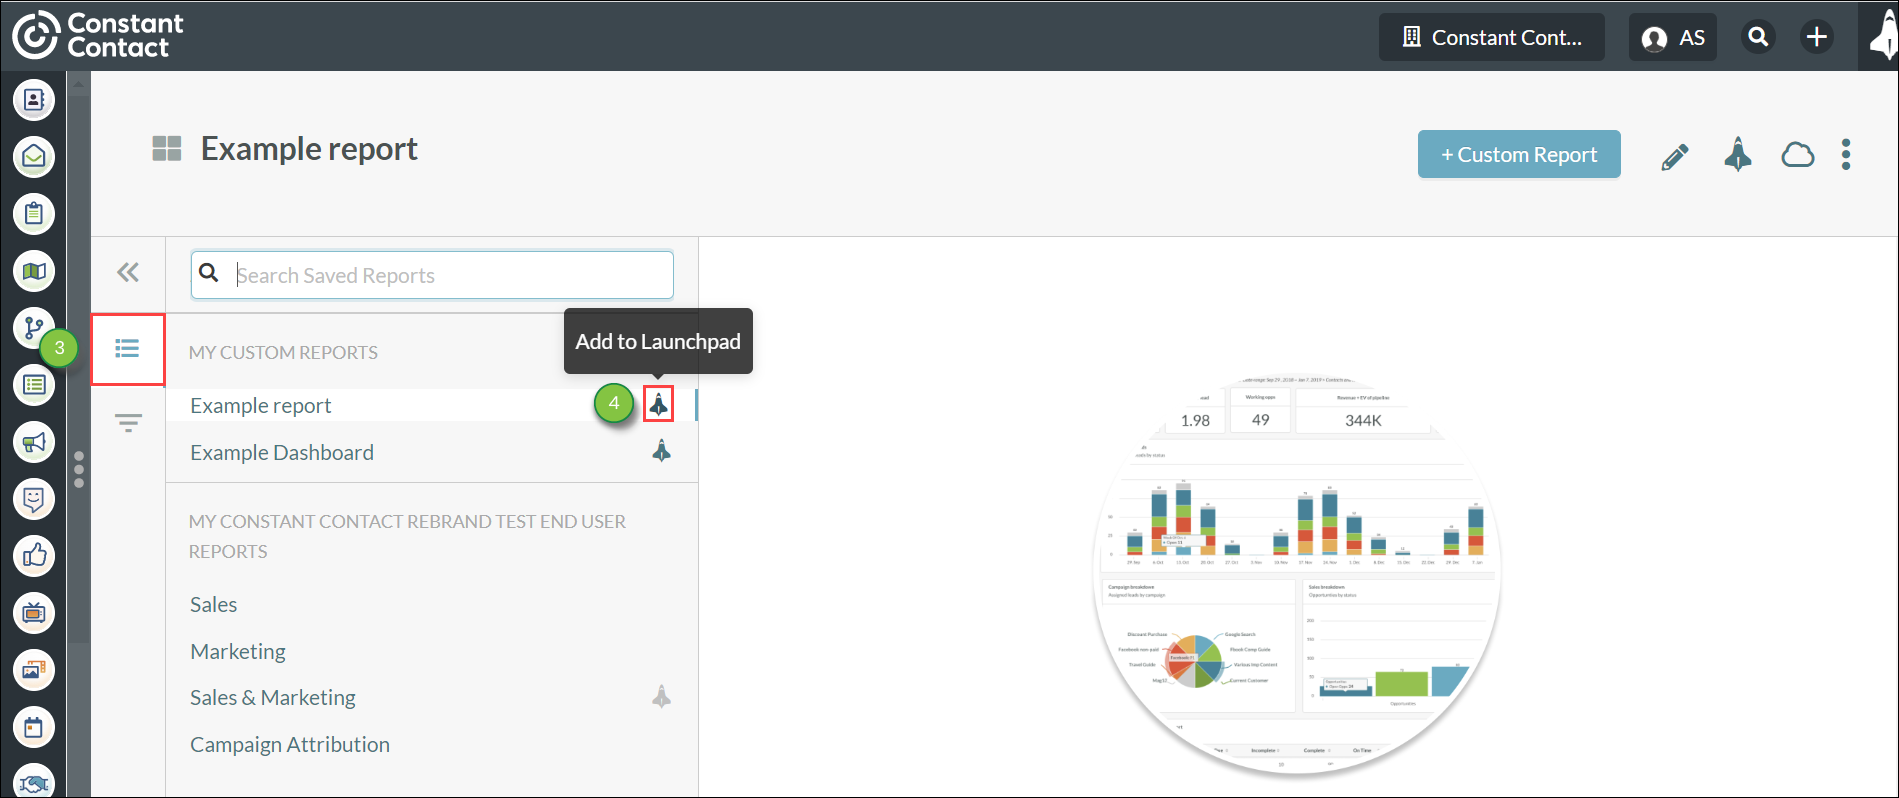
Once you have created a custom report, you can use it as a dashboard.
To use custom reports as dashboards, do the following:

Once you have created a custom report and added it to the Launchpad as a dashboard, you can set it to be the dashboard that appears when the Launchpad opens.
To set a dashboard to be the default dashboard on the Launchpad, do the following:
In the same way, clicking ![]() Default on a dashboard that is already set as a default dashboard will remove its default status.
Default on a dashboard that is already set as a default dashboard will remove its default status.
You may find that you no longer need a certain created dashboard. You can remove created dashboards from the Launchpad at any time.
To remove dashboards from the Launchpad, do the following:

Note: The Sales and Marketing, Task Manager, and Activity Feed dashboards cannot be removed from the Launchpad.
You can share your customized dashboards. They are shared through Cloud Dashboards, which are preset displays that are broadcasted to external monitors or televisions. Shared dashboards can be accessed via URLs that are unique for each individual dashboards.
To share reports from the launchpad, do the following:
Note: The Sales and Marketing, Task Manager, and Activity Feed dashboards cannot be shared as public or private dashboards. To share these dashboards, you will need to copy the custom reports these dashboards are based on and set them as new dashboards
Once copied, you can paste the copied link URL in a browser tab or an email.
When clicked, the shared report will open as a dashboard view of all added widgets and related data. This view will display the information that appears as a result of your filters.
Clicking ![]() Full Screen will display the report window in a full screen mode and will hide the associated URL.
Full Screen will display the report window in a full screen mode and will hide the associated URL.
Clicking ![]() Normal Screen will restore the report window to its original size.
Normal Screen will restore the report window to its original size.

Copyright © 2026 · All Rights Reserved · Constant Contact · Privacy Center