The European Union's data protection law, the General Data Protection Regulation (GDPR), is meant to protect the data and rights of individuals who are in the European Union and European Economic Area (EU/EEA). To be in compliance with the GDPR, landing pages must now display cookie disclosure information.
This information, presented on landing pages in the form of a banner, will disclose what cookies are being used on landing pages—and for what purpose. In addition, this banner provides a way to link to your privacy policy.
This article will detail how to add tracking consent banners to landing pages.
| Administrators | ✓ | |
| Company Managers | ✓ | |
| Marketing Managers | ✓ | |
| Sales Managers | ||
| Salespersons | ||
| Jr. Salespersons |
| Tip: Are you looking for information about Constant Contact’s Email and Digital Marketing product? This article is for Constant Contact’s Lead Gen & CRM product. Head on over to the Email and Digital Marketing articles by clicking here. Not sure what the difference is? Read this article. |
The available GDPR settings for landing pages are as follows:
| Setting | Description | |
| Use Consent Banner |
This toggle turns on the cookie and privacy policy consent banner at the bottom of a landing page. This toggle must be set to ON for all banner content to display. | |
| Description |
This field is for a description of what your cookie, privacy, and information policies actually mean. This field should also explain to a visitor how they can provide consent or denial for information collection. | |
| Consent Label |
The text that displays on the button that users click to provide consent for their information to be collected. | |
| Deny Label |
The text that displays on the button that users click to deny that their information be collected. | |
| Link Name |
The link text that displays at the end of the description. By default, this reads as Privacy Policy. | |
| Link URL |
The URL that visitors click to go to external policy information. | |
| Theme |
The overall color theme of the banner. Dark banners are a dark gray, and light banners are a light gray. |
When adding GDPR banner content, your goal is to inform your visitors why you are collecting their information, and for what purpose it is being collected.
Lead Gen & CRM provides basic, default text in the primary fields, but you can edit the content in these fields to better reflect your cookie, privacy, and information policies. To add GDPR banner content, create or edit a landing page. Then:
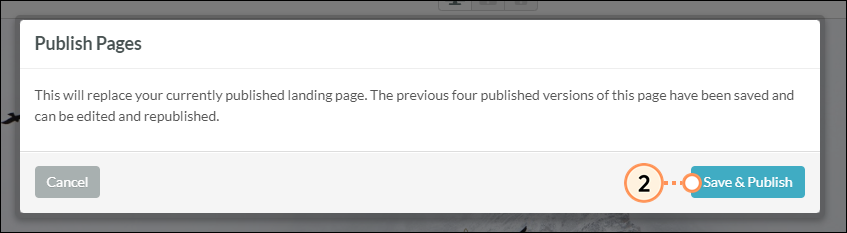
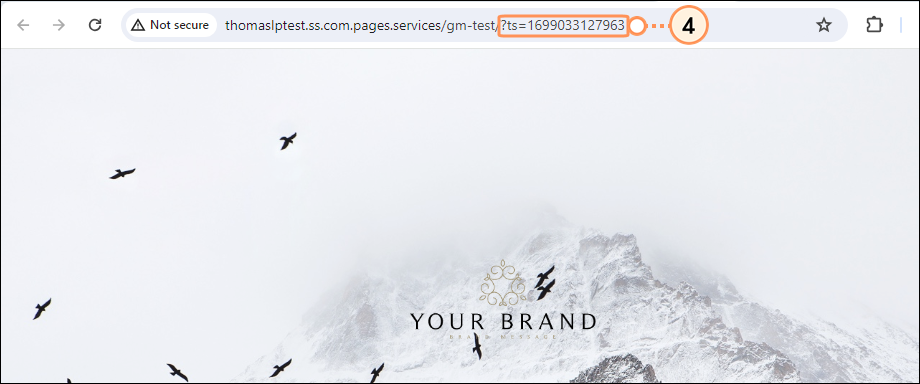
Once you have set GDPR banner content, you will need to test it to see how it performs on a live page. To test banner content, do the following:


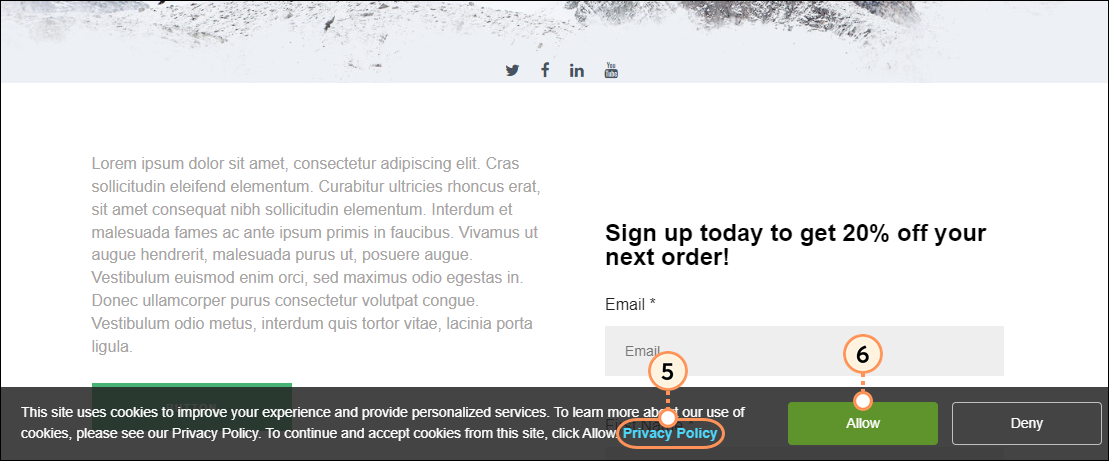
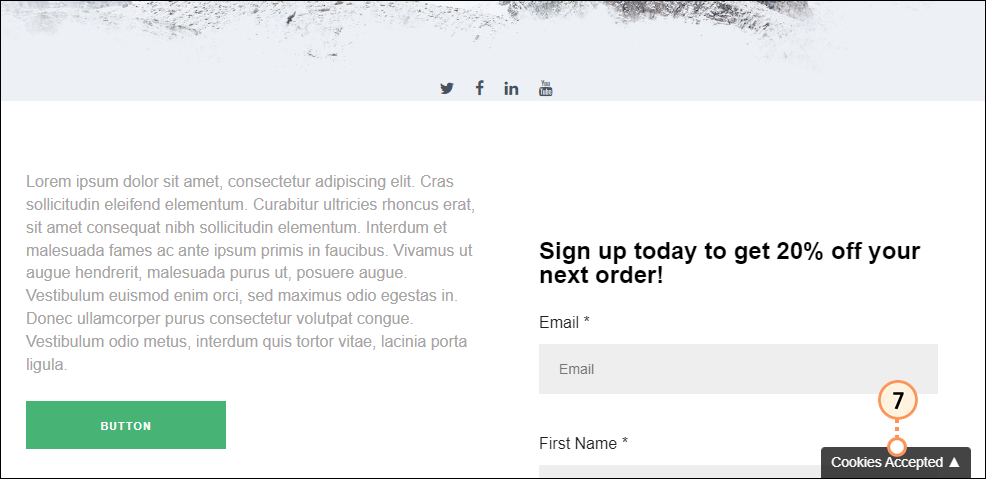
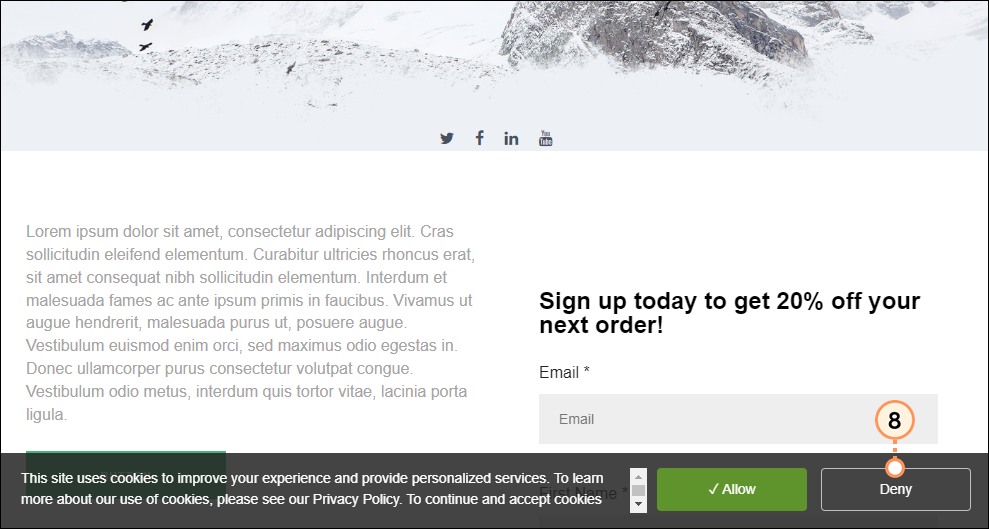
Note: When visitors click Allow, cookies are accepted and are tracked. When visitors click Deny, cookies are not accepted and are not tracked.
Copyright © 2026 · All Rights Reserved · Constant Contact · Privacy Center