This article will provide information on the various aspects of the Visual Workflow Builder.
| Administrators | ✓ | |
| Company Managers | ✓ | |
| Marketing Managers | ✓ | |
| Sales Managers | ||
| Salespersons | ||
| Jr. Salespersons |
With the Visual Workflow Builder, you can build simple or complex automation workflows using a combination of triggers and filters to fire off actions or action groups. This means that you can use the Visual Workflow Builder to construct visual diagrams of your leads' journeys to control the paths they are taking toward conversion. These diagrams are called visual workflows.
In turn, a visual workflow is a sequence of triggers, filters, yes/no branching filters, and actions:
| Term | Description | |
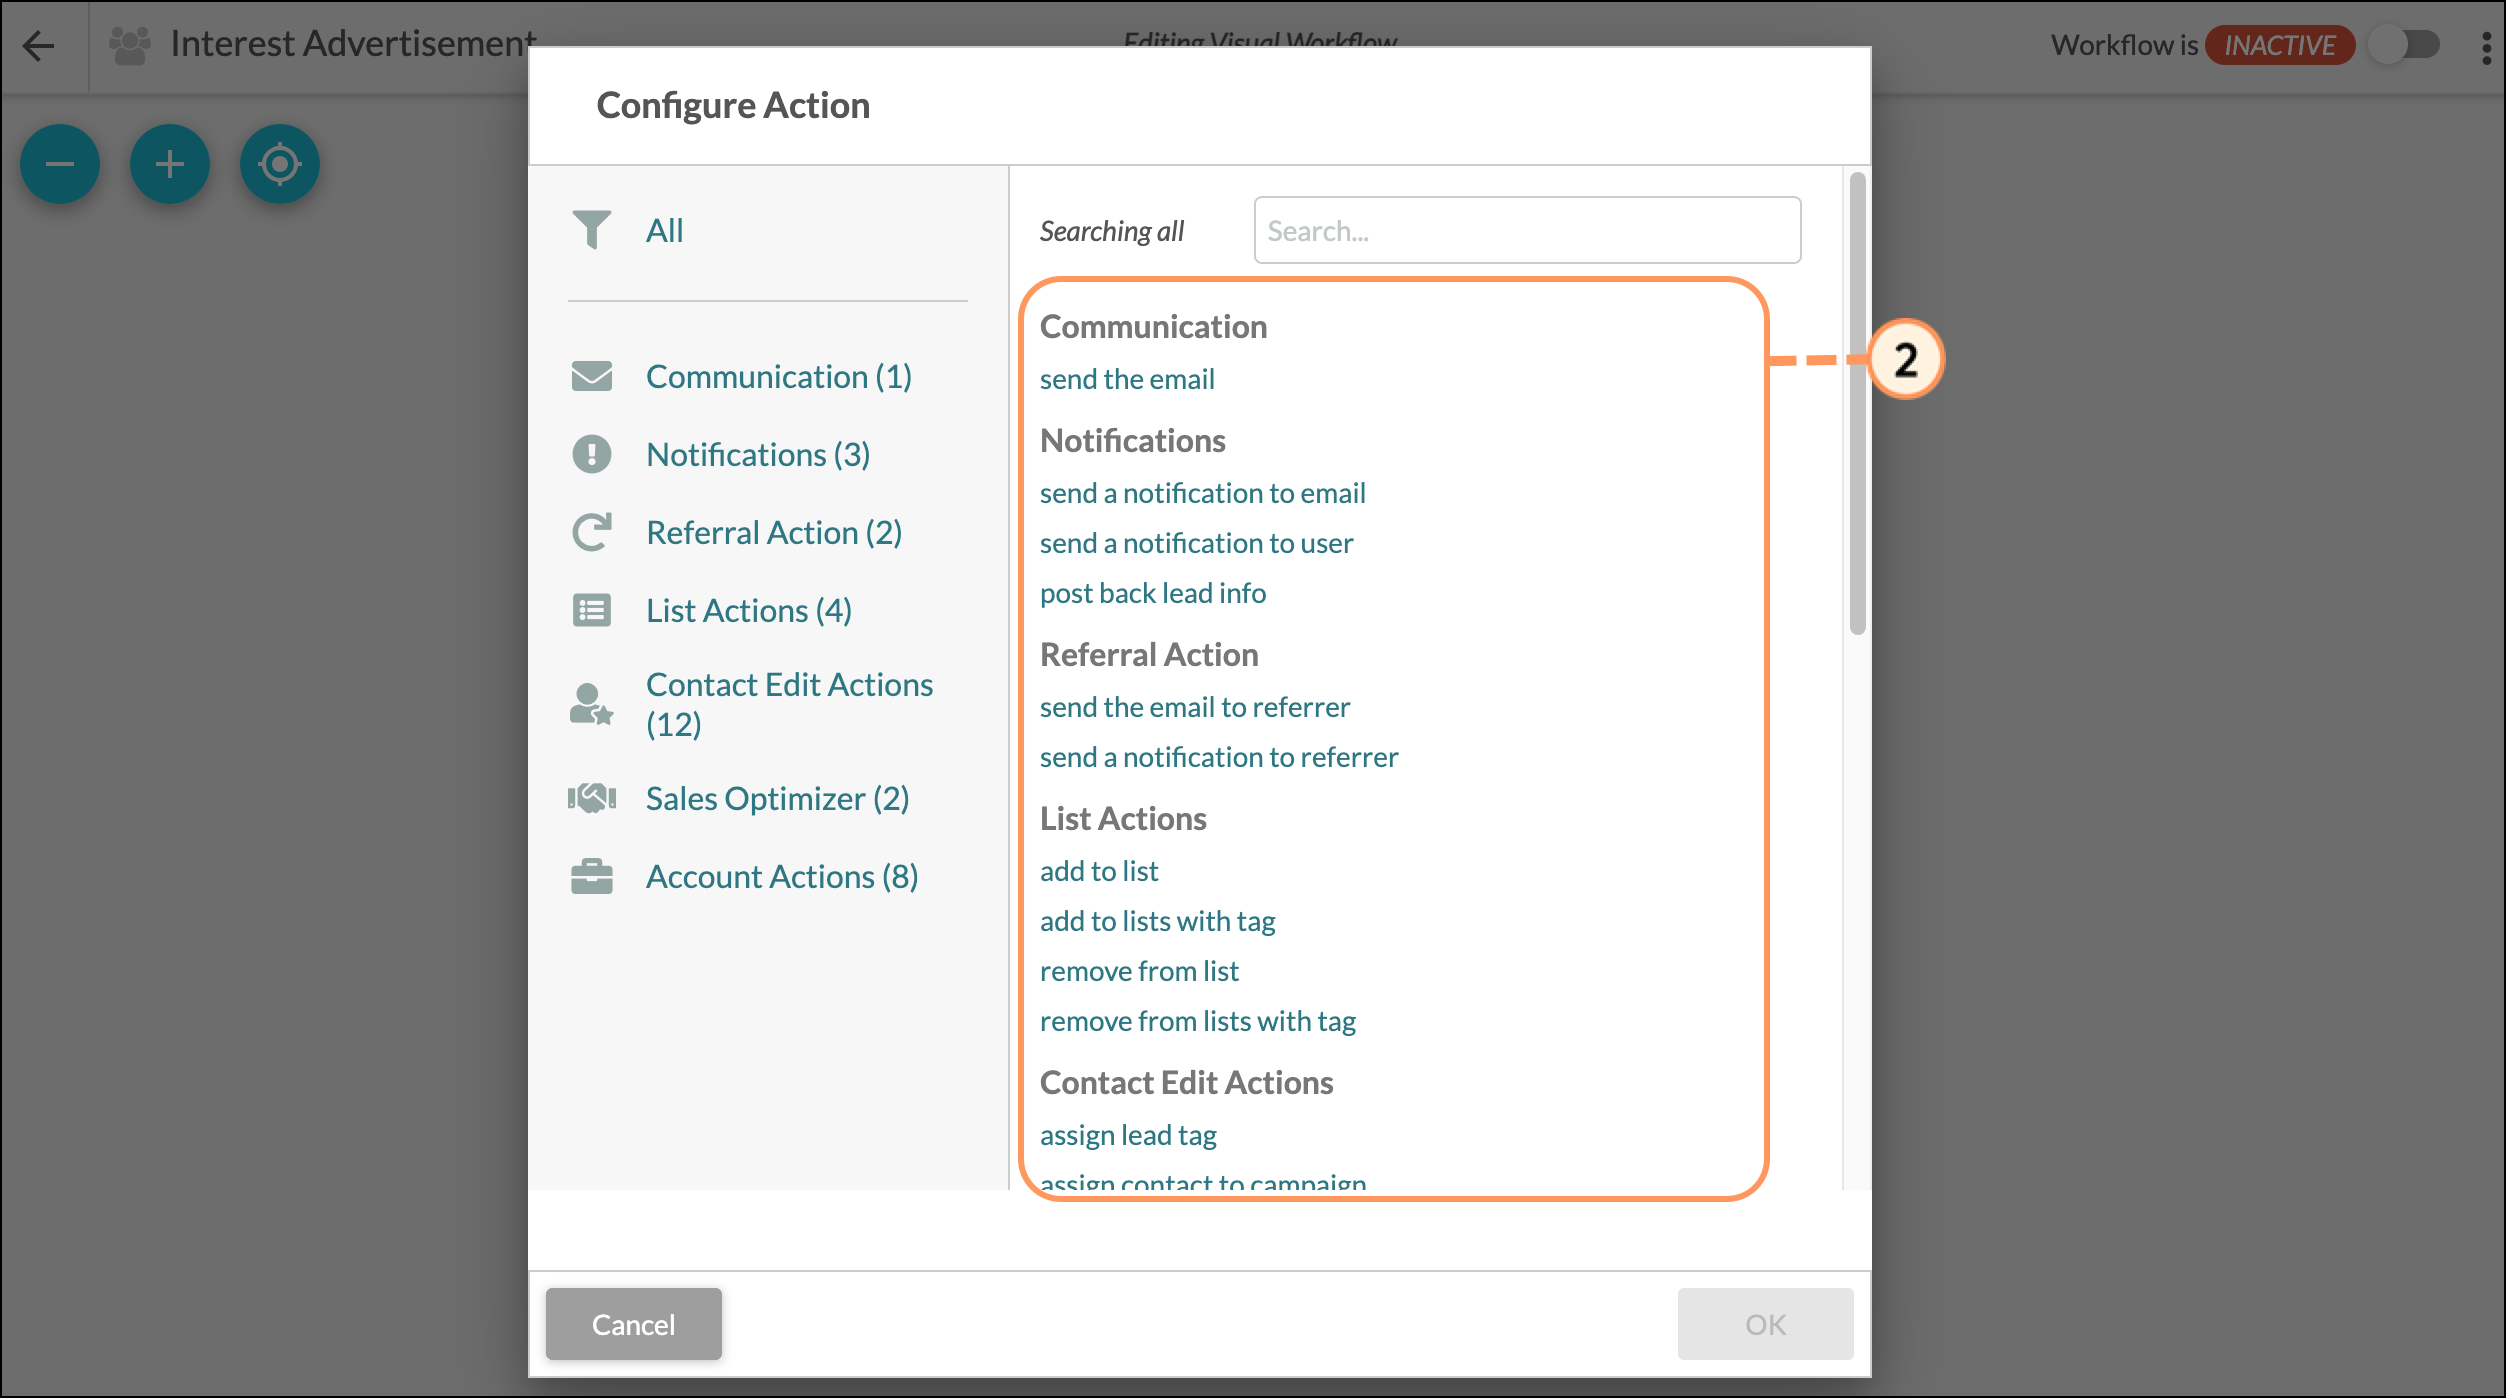
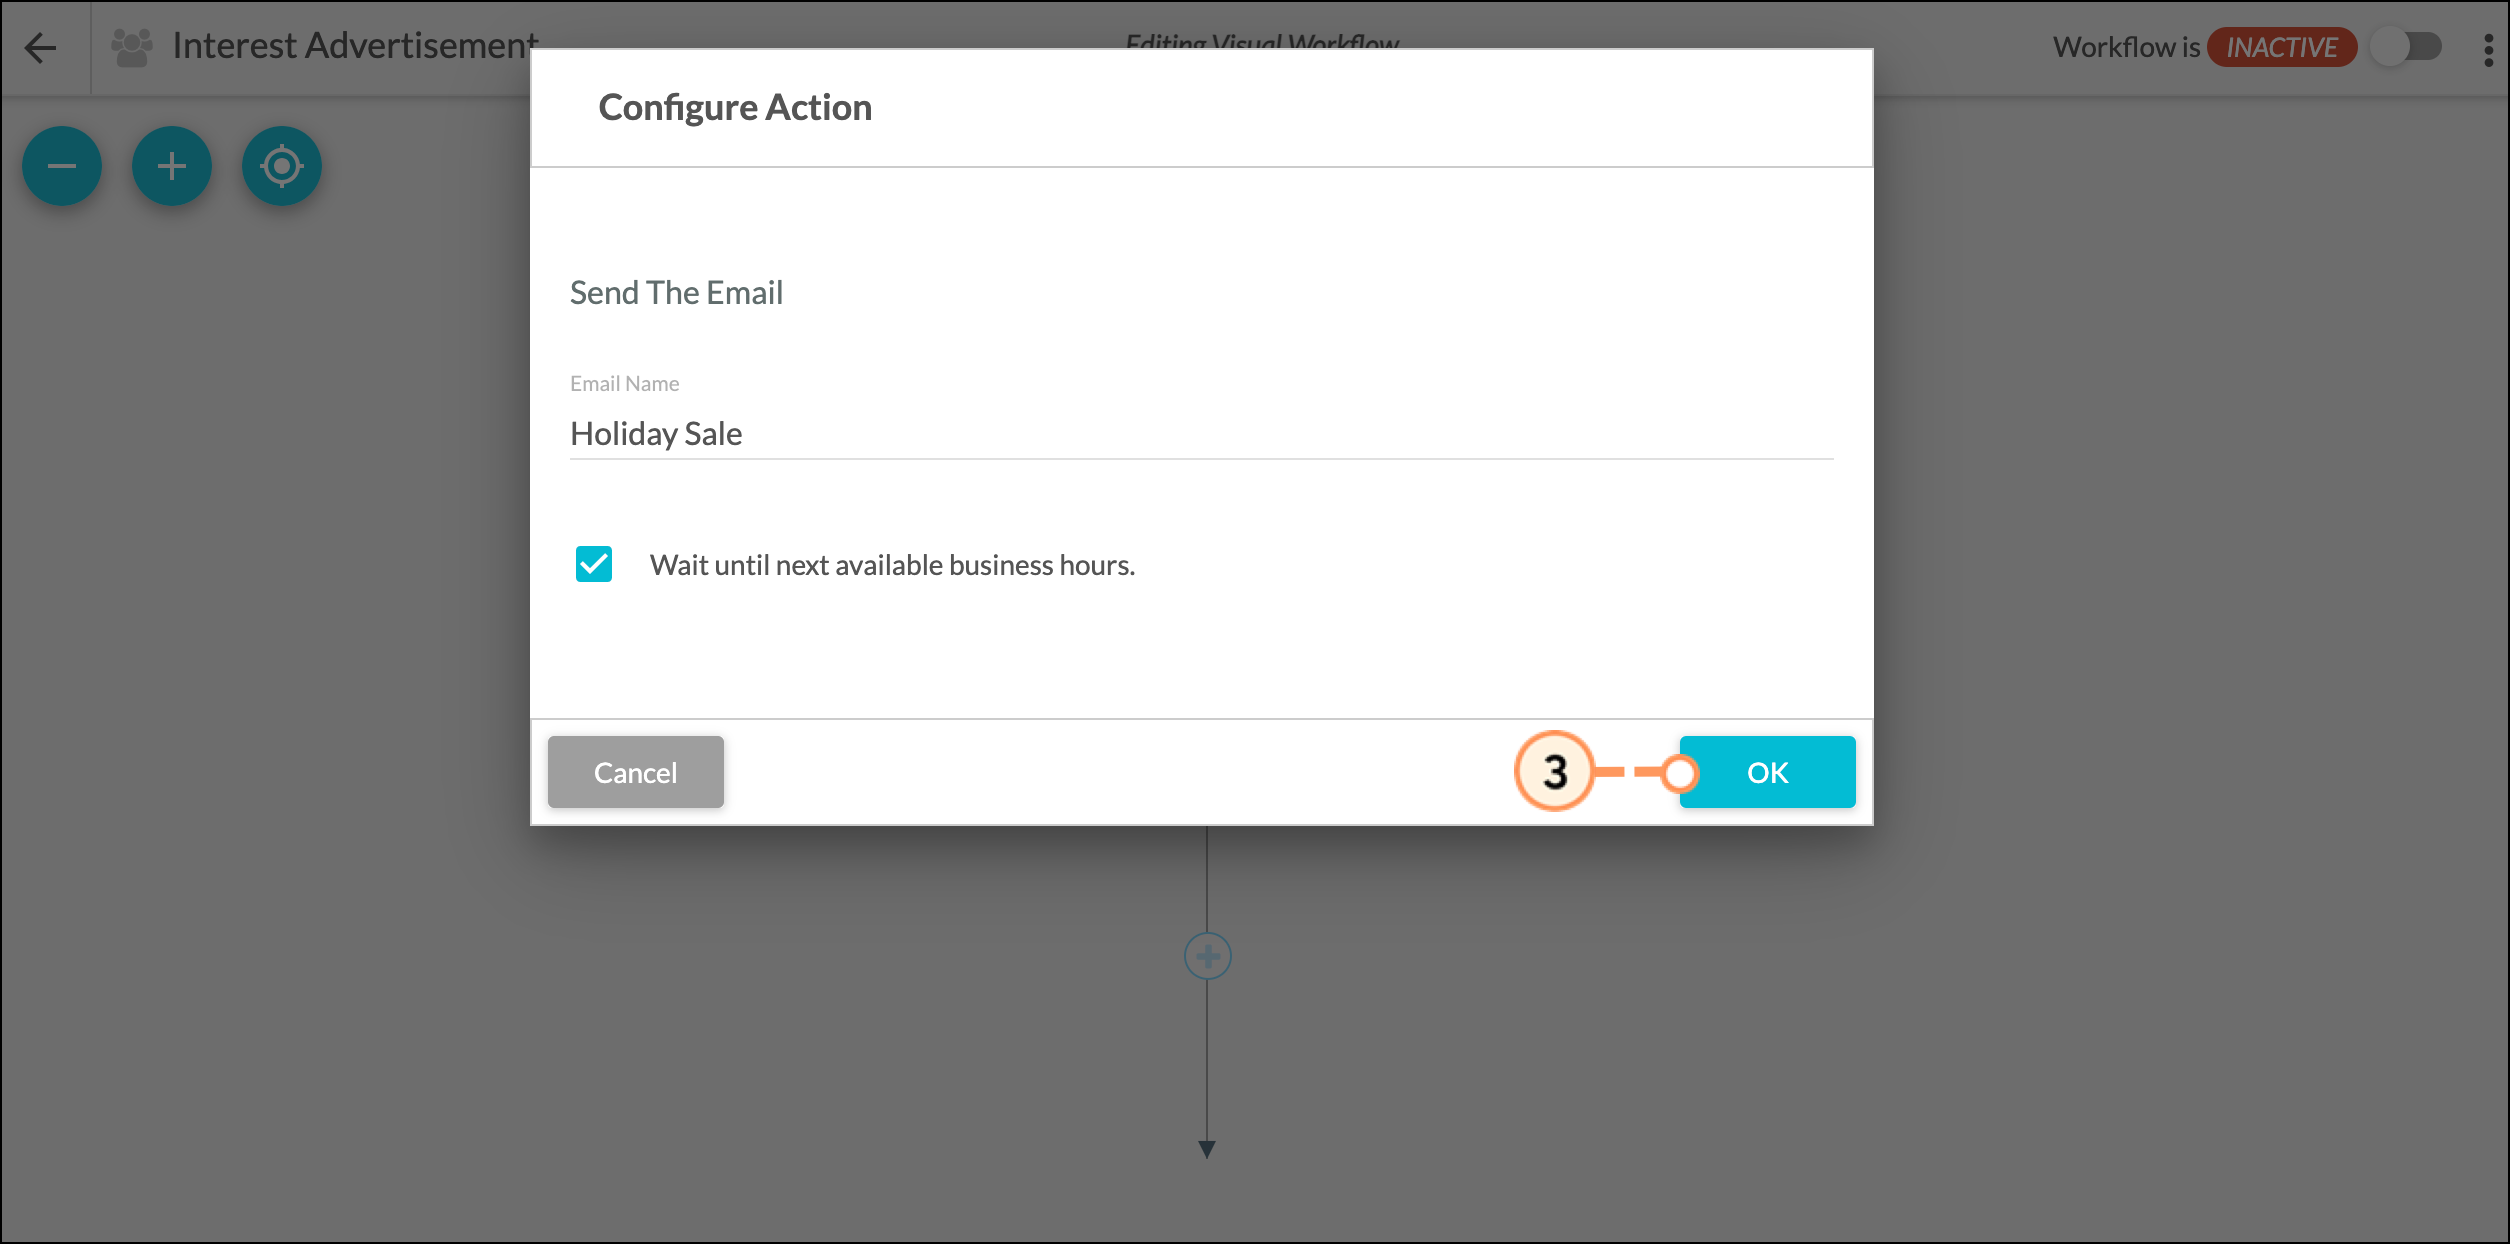
| Actions |
An event that happens as a result of an action group running. An example of an action is a trigger immediately sending an email. | |
| Filters |
An optional part of an automation that is used to narrow the An example of a filter is when a contact has the Industry field | |
| Triggers |
An event that results in an action group running. Only triggers An example of a trigger is when a contact fills out a form. | |
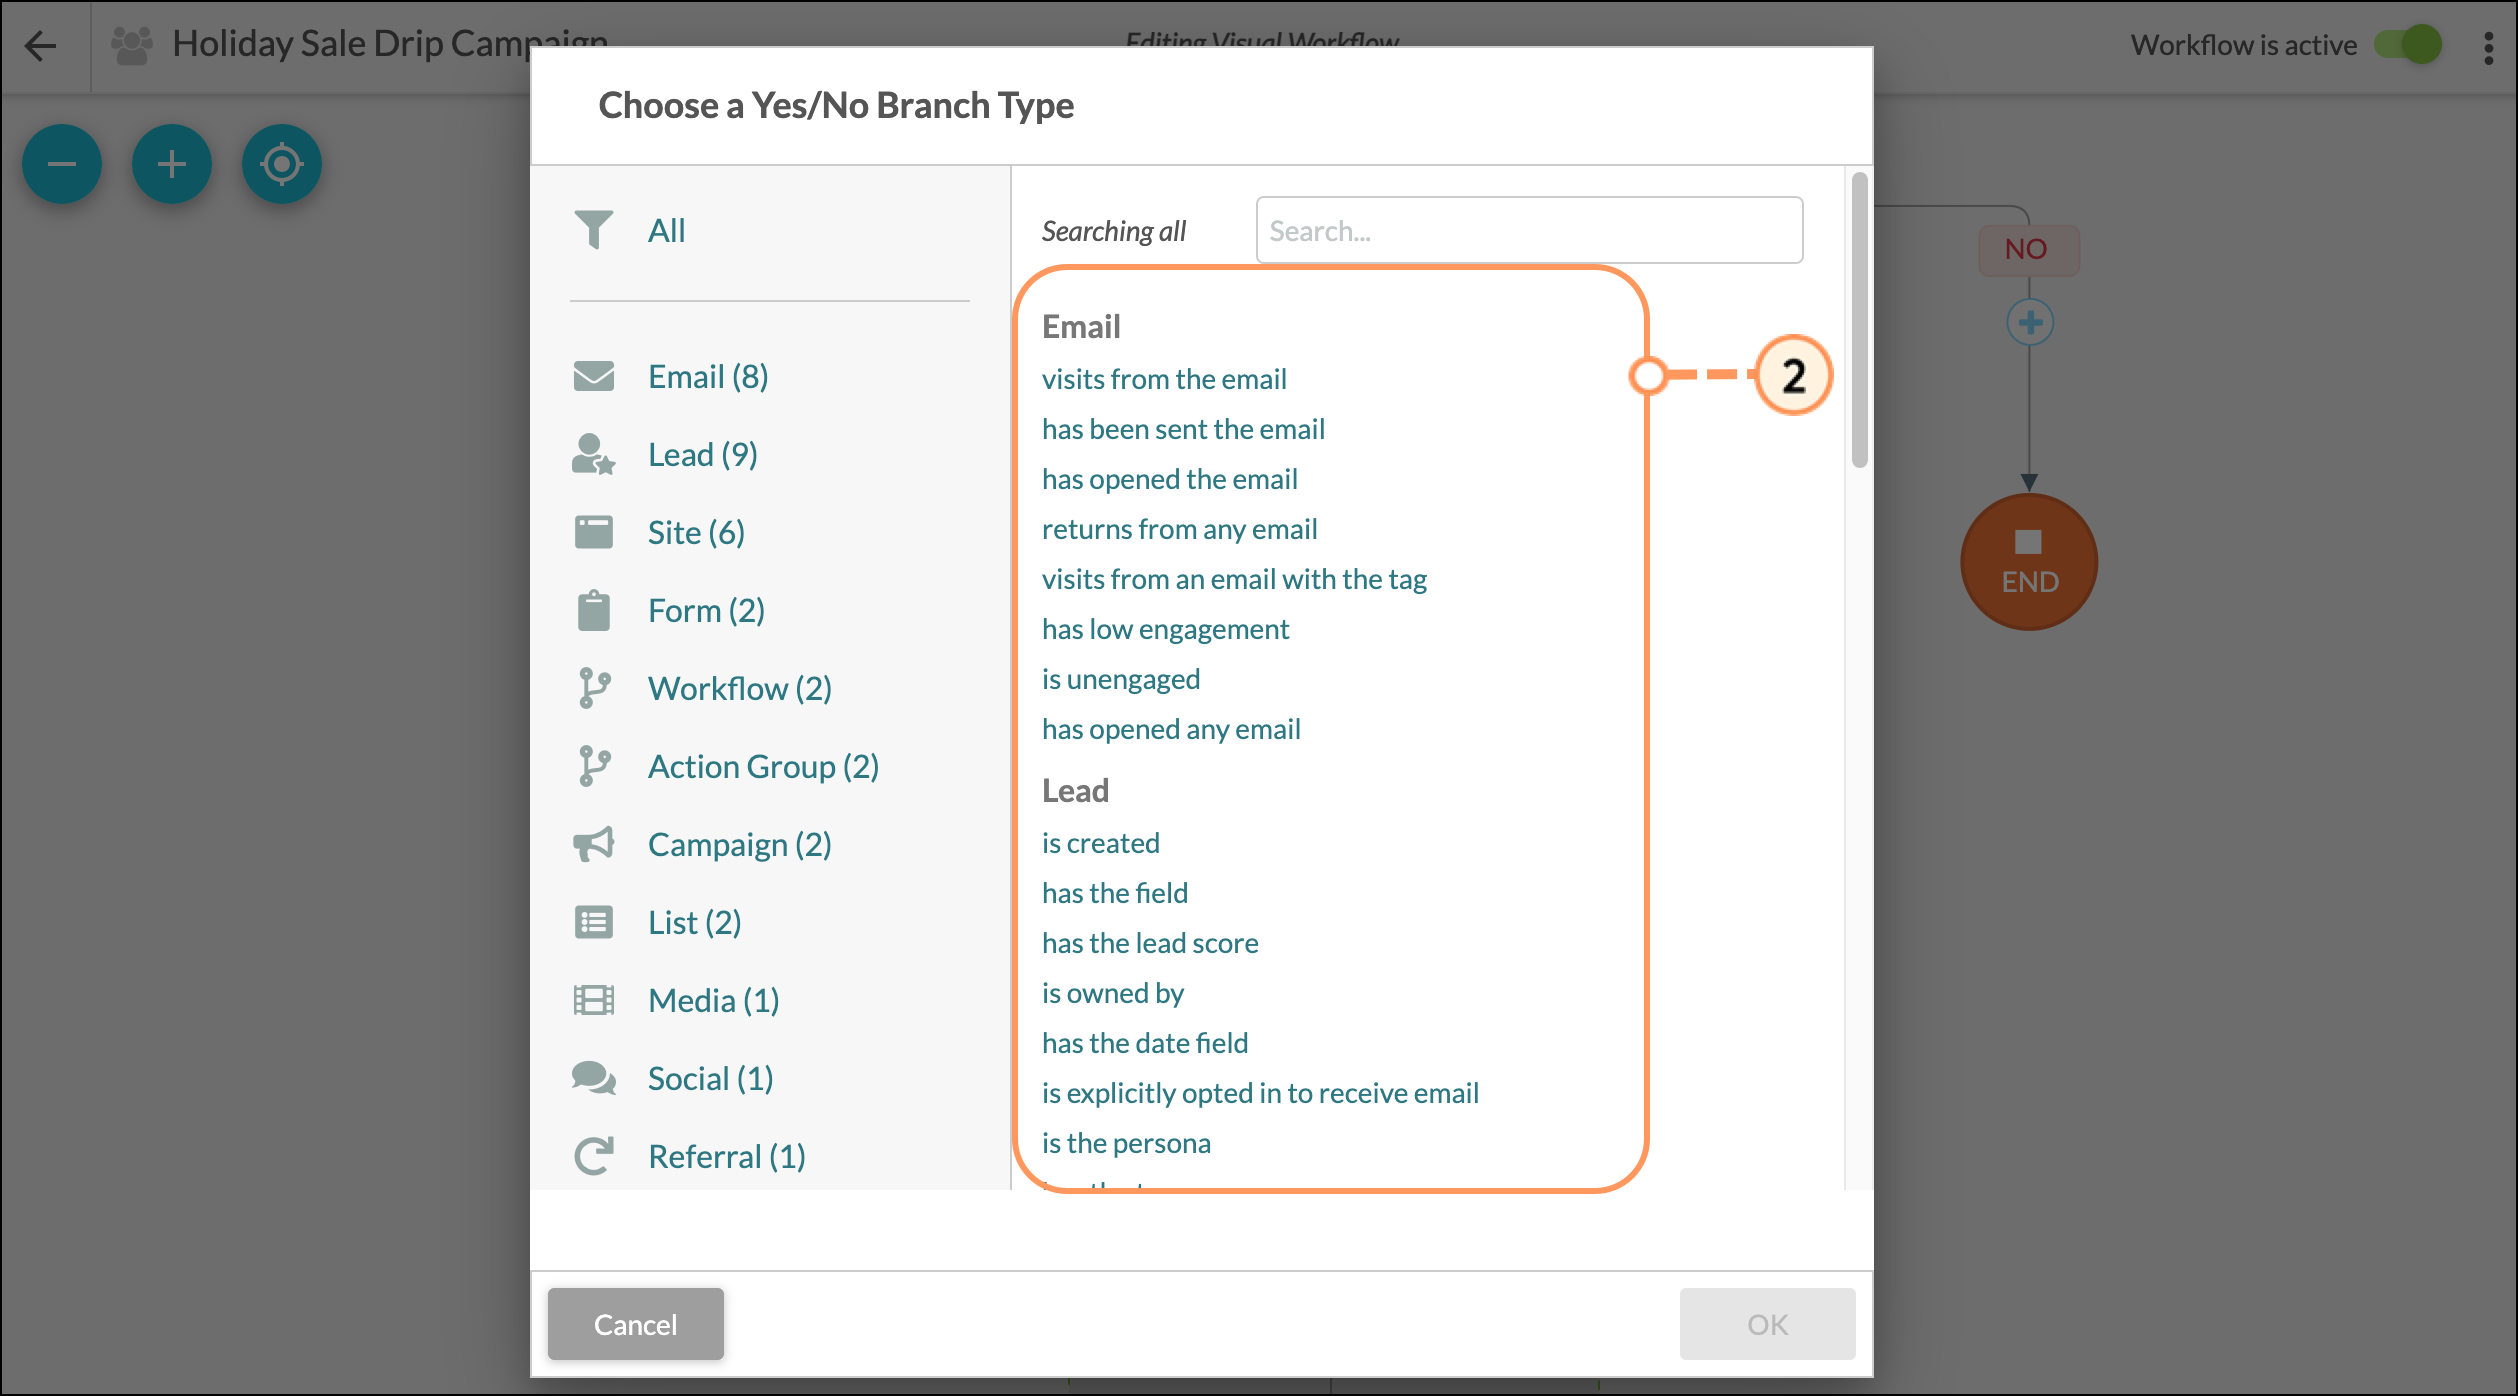
| Yes/No branching filters |
An optional part of an automation that evaluates at a designated point during the flow if specified criteria are met or not, then filters down to their own Yes and No action groups. An example of a yes/no branching filter is checking if contacts have or have not opened an email. |
Refer to Understanding Triggers, Filters, and Actions in Automation for more information on automation terminology.
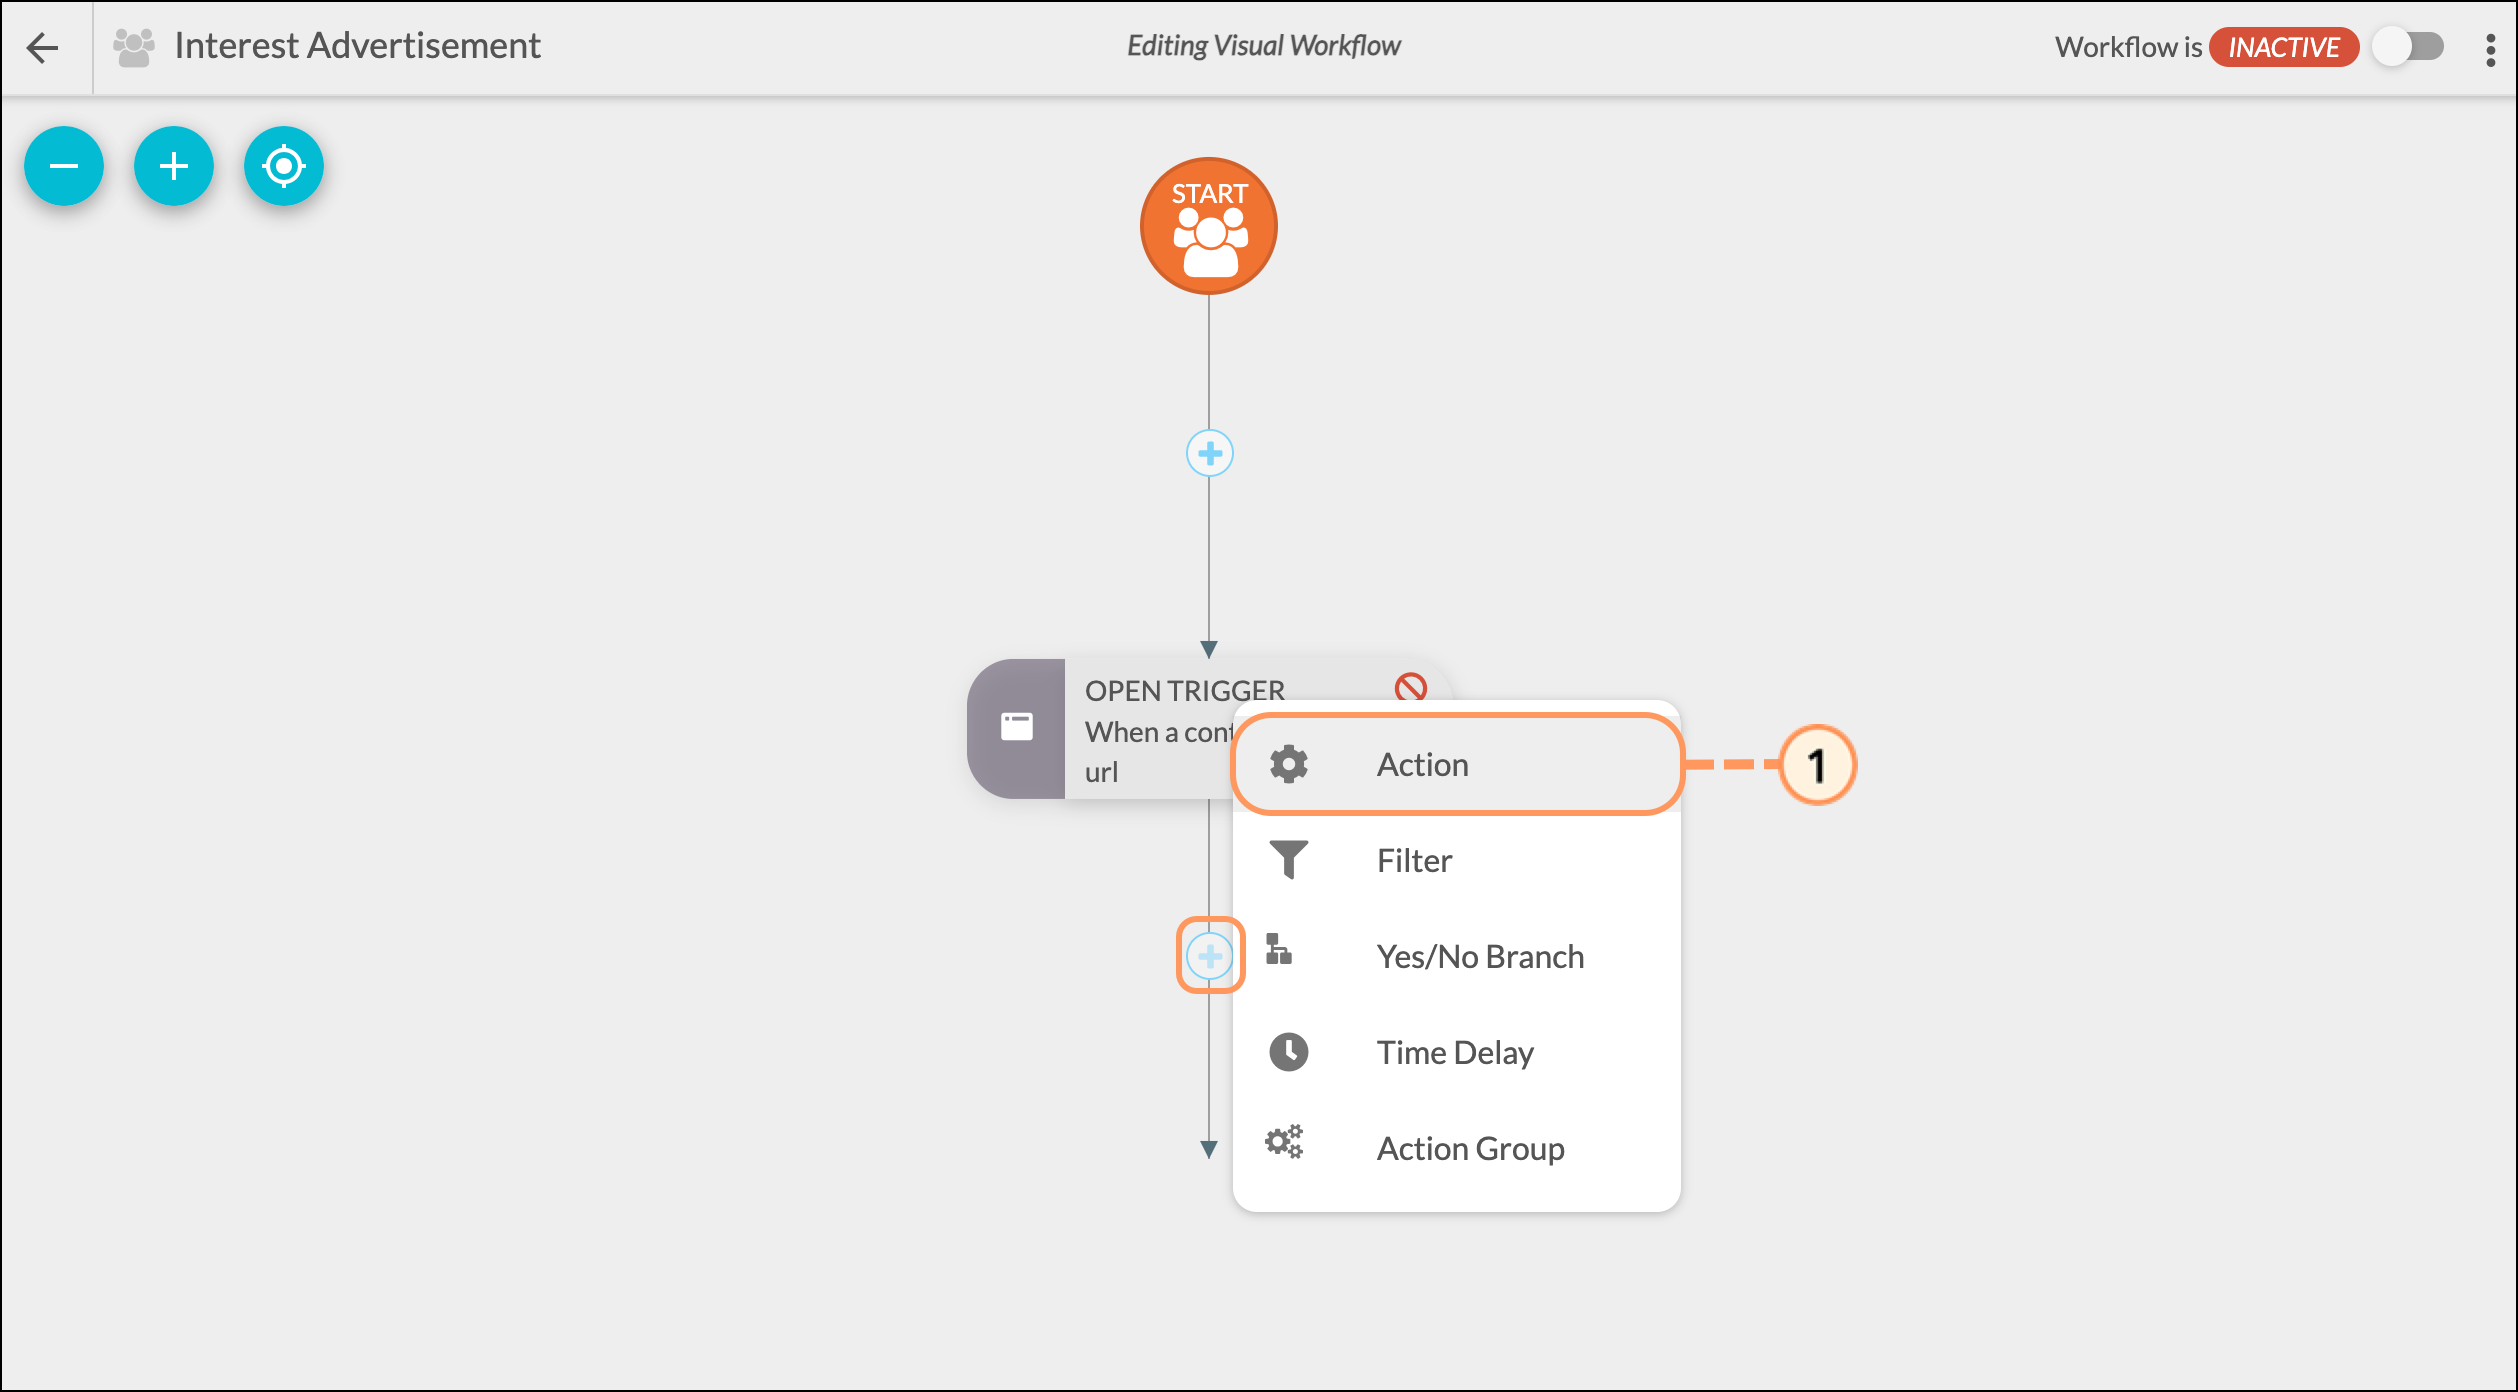
When creating Visual workflows, they begin blank and need triggers, filters, and actions added in order to have the workflow function.
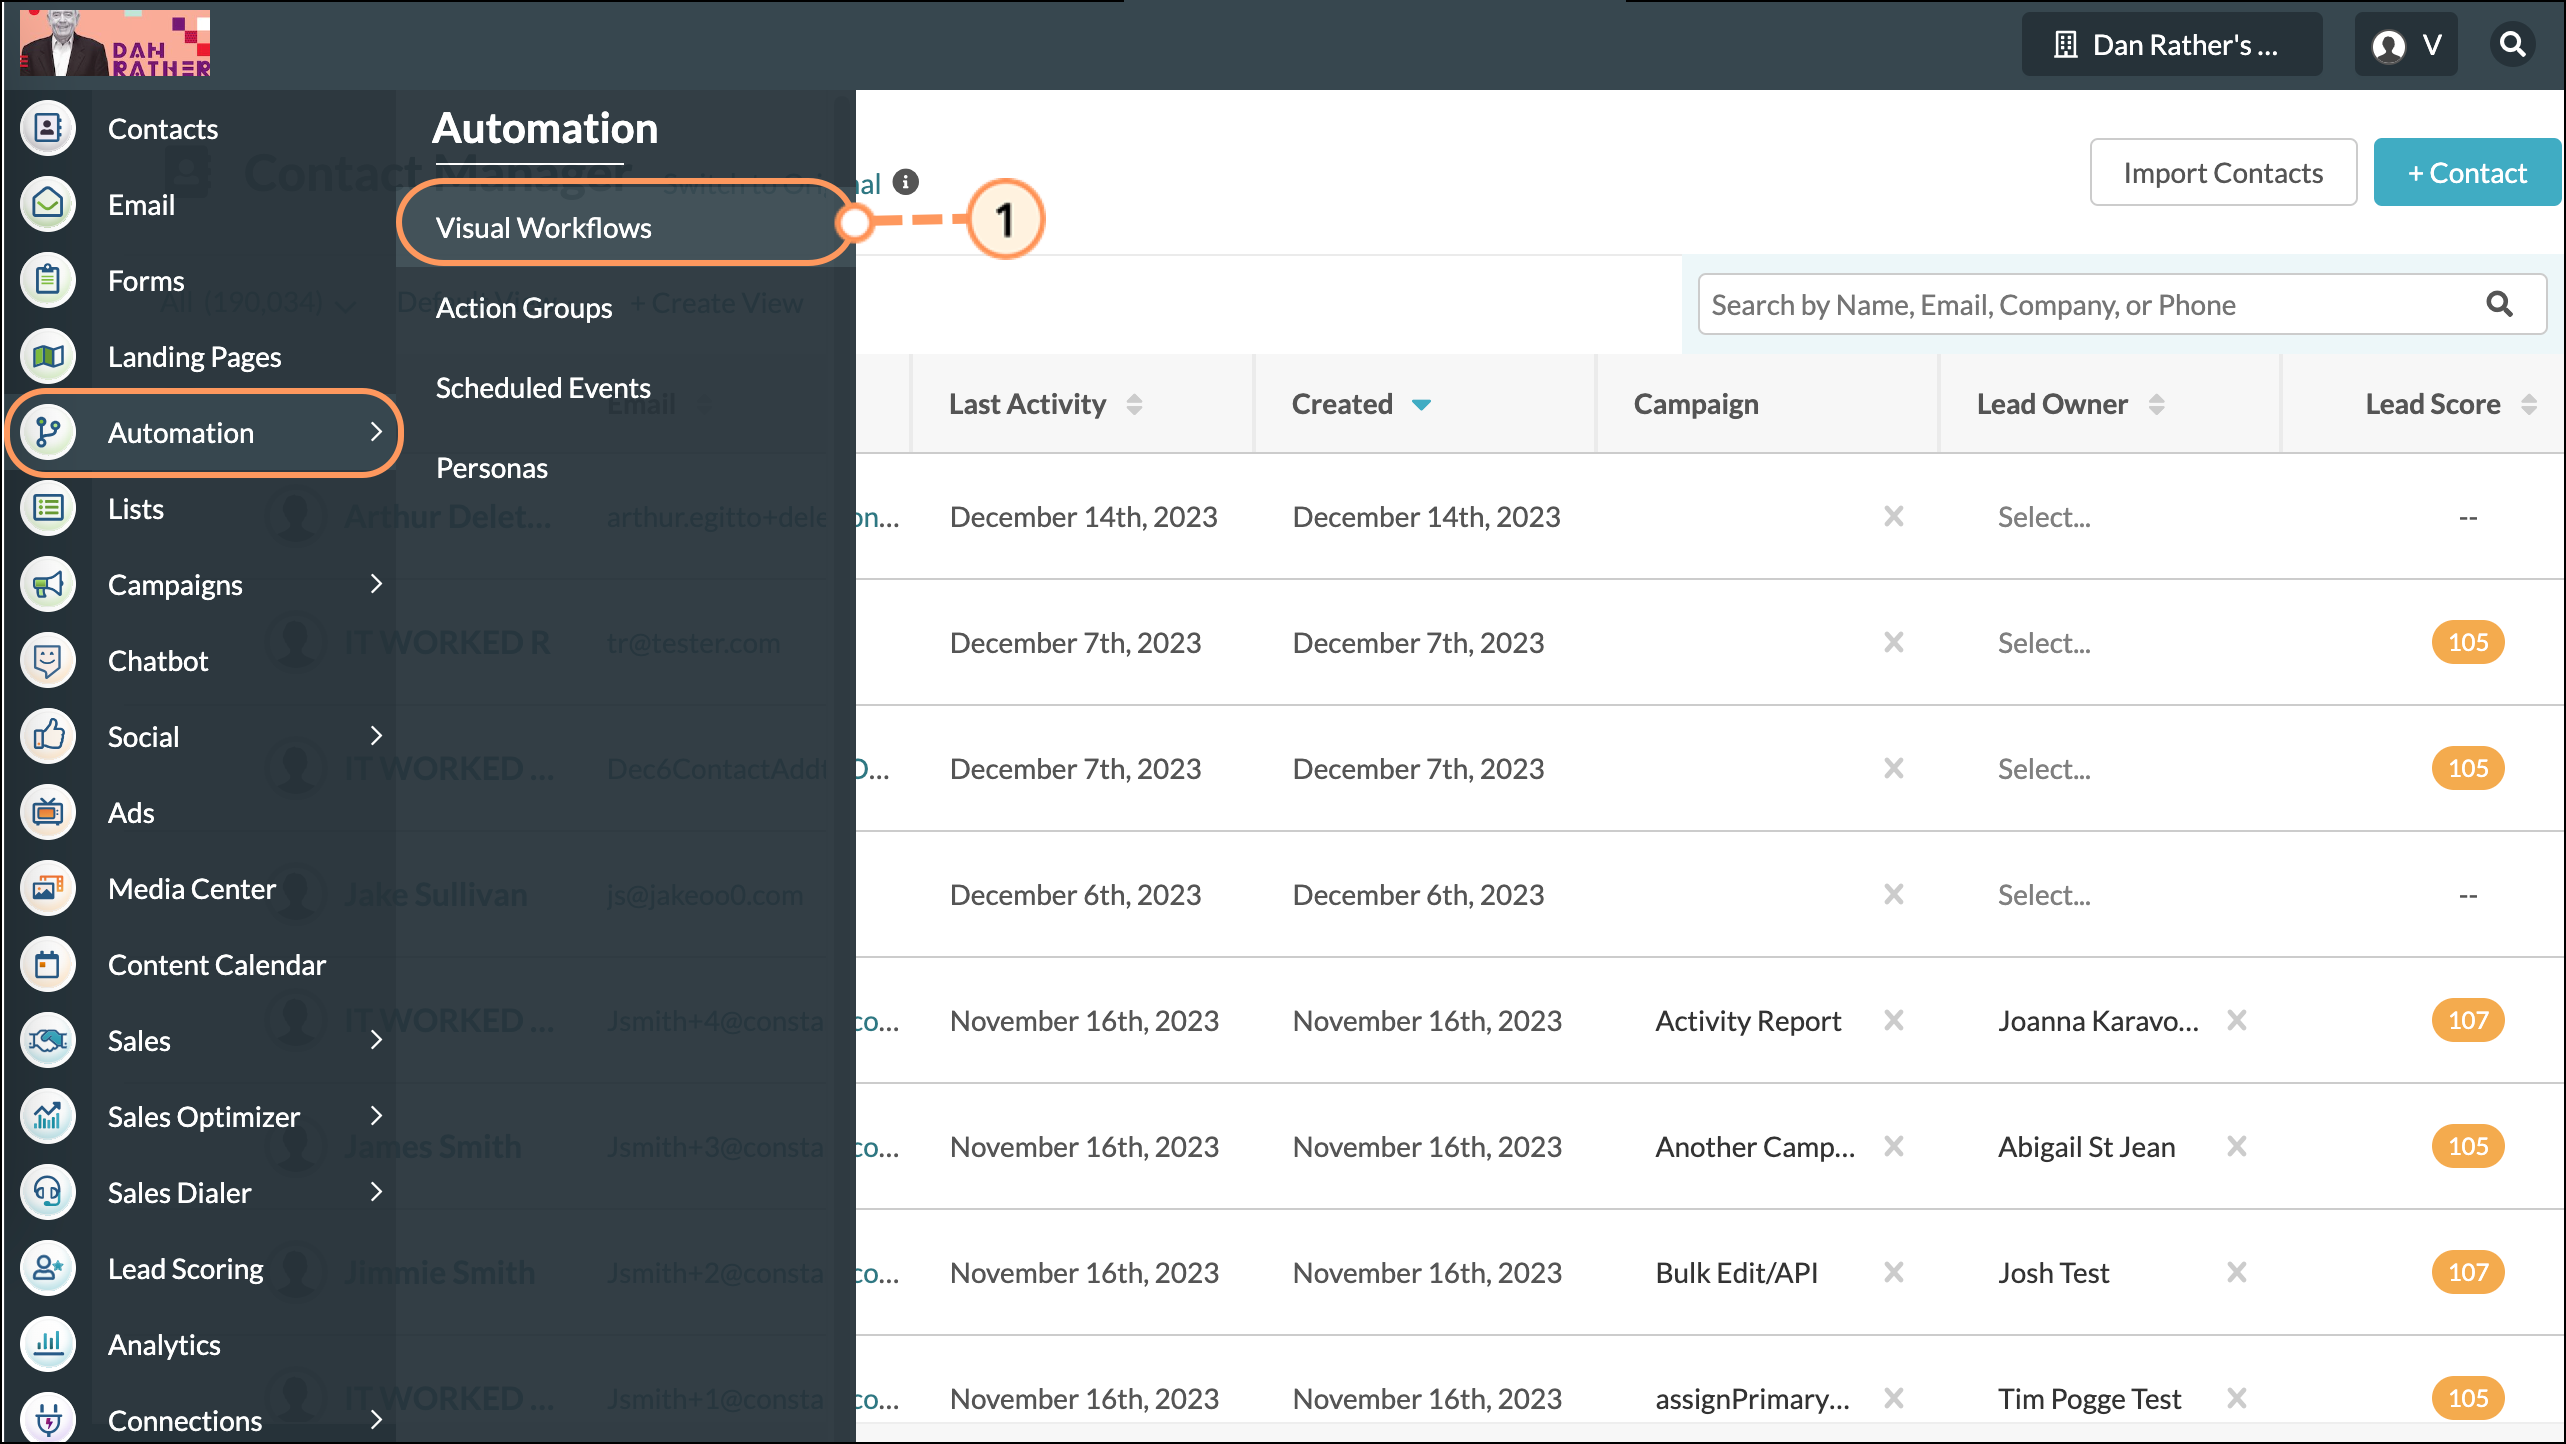
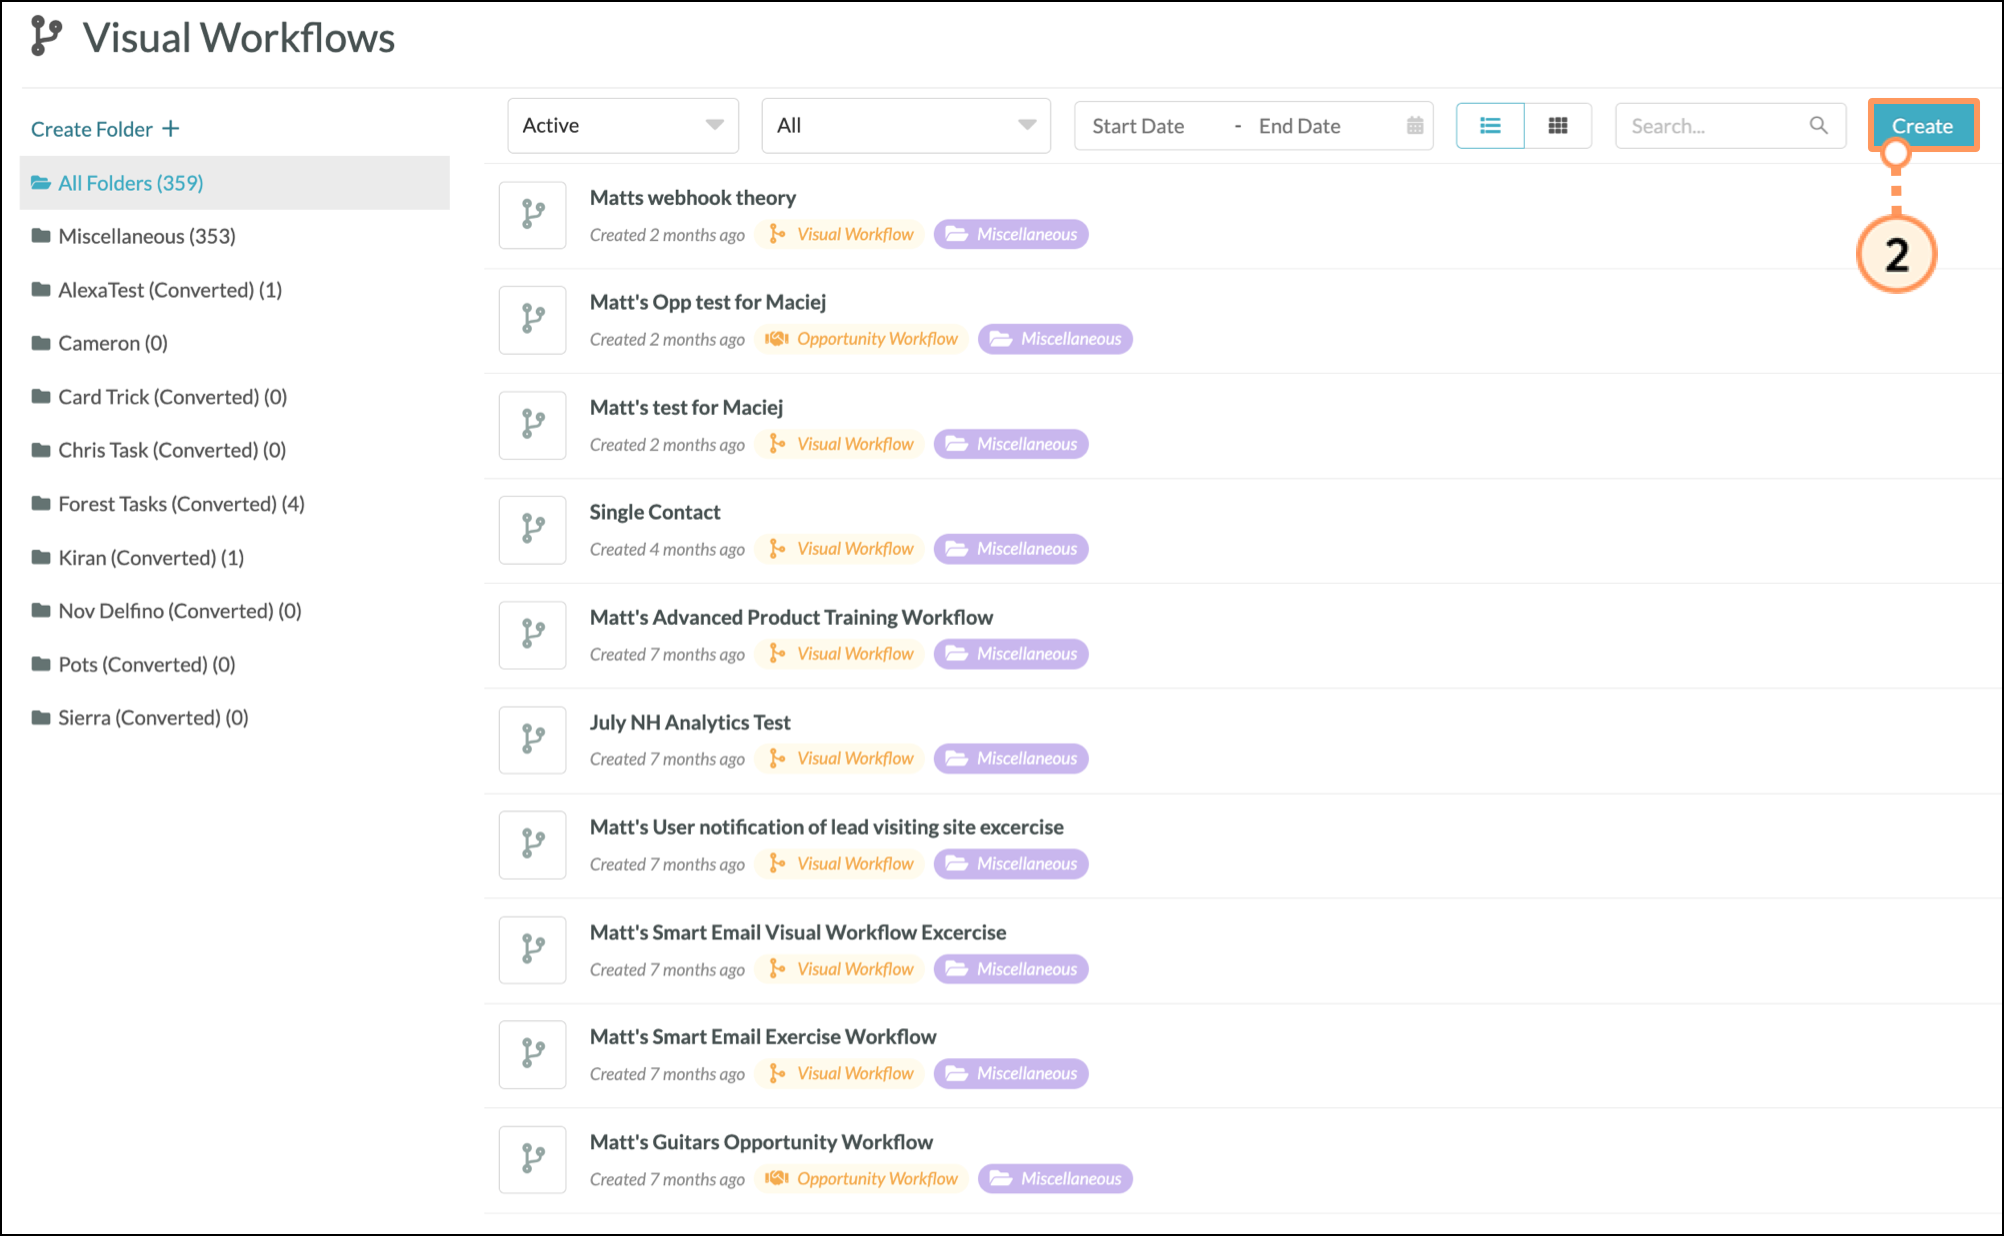
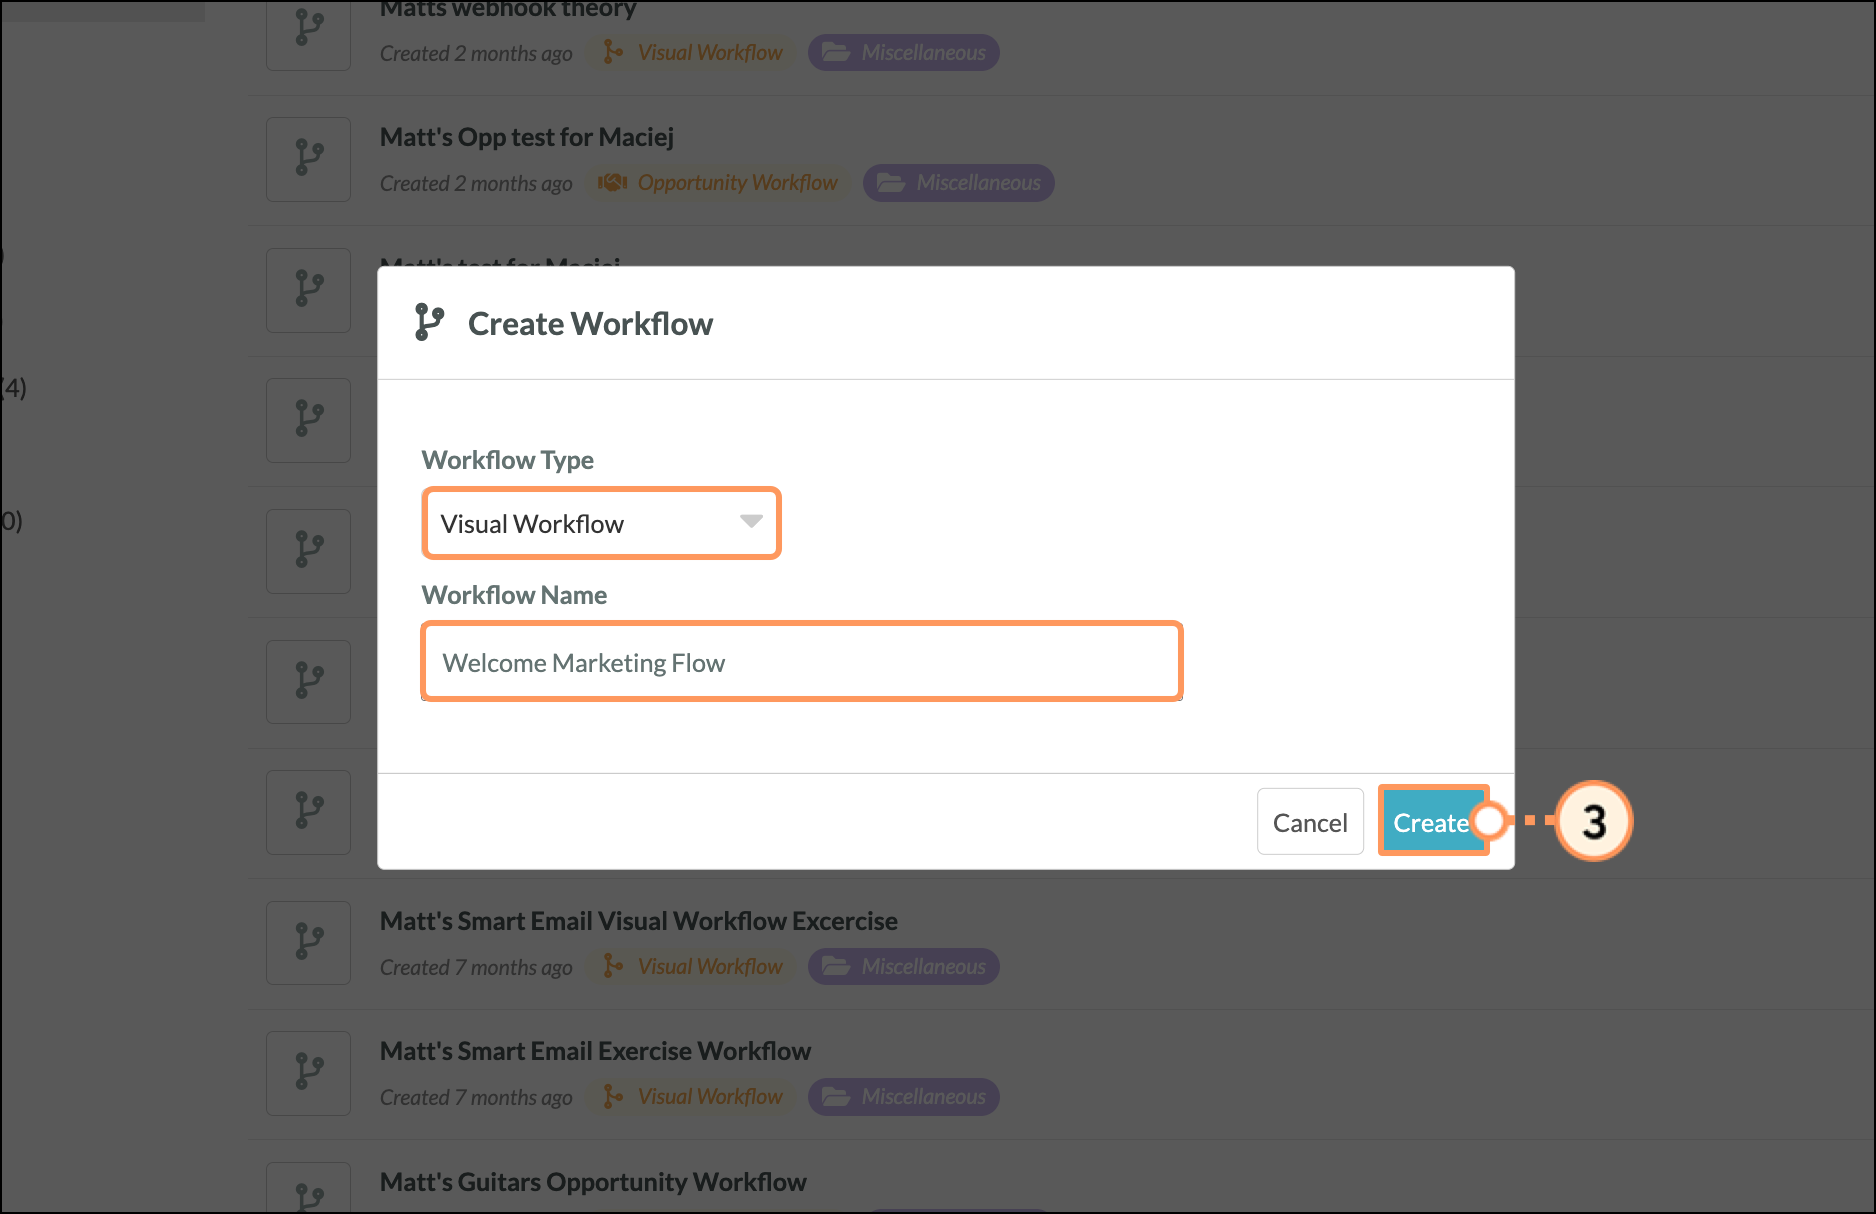
To create new visual workflows with a trigger:


While workflows can be simple and have just one main trigger, they can be as complex as necessary.
You'll find that whenever a trigger is added, a new branch is started within the workflow. You can use this to build out many branches in a single workflow, with each branch doing different things that occur alongside or separate from each other. This lets each interaction set off different parts of the workflow.
For more information on workflow triggers, refer to Understanding Visual Workflow Branching.
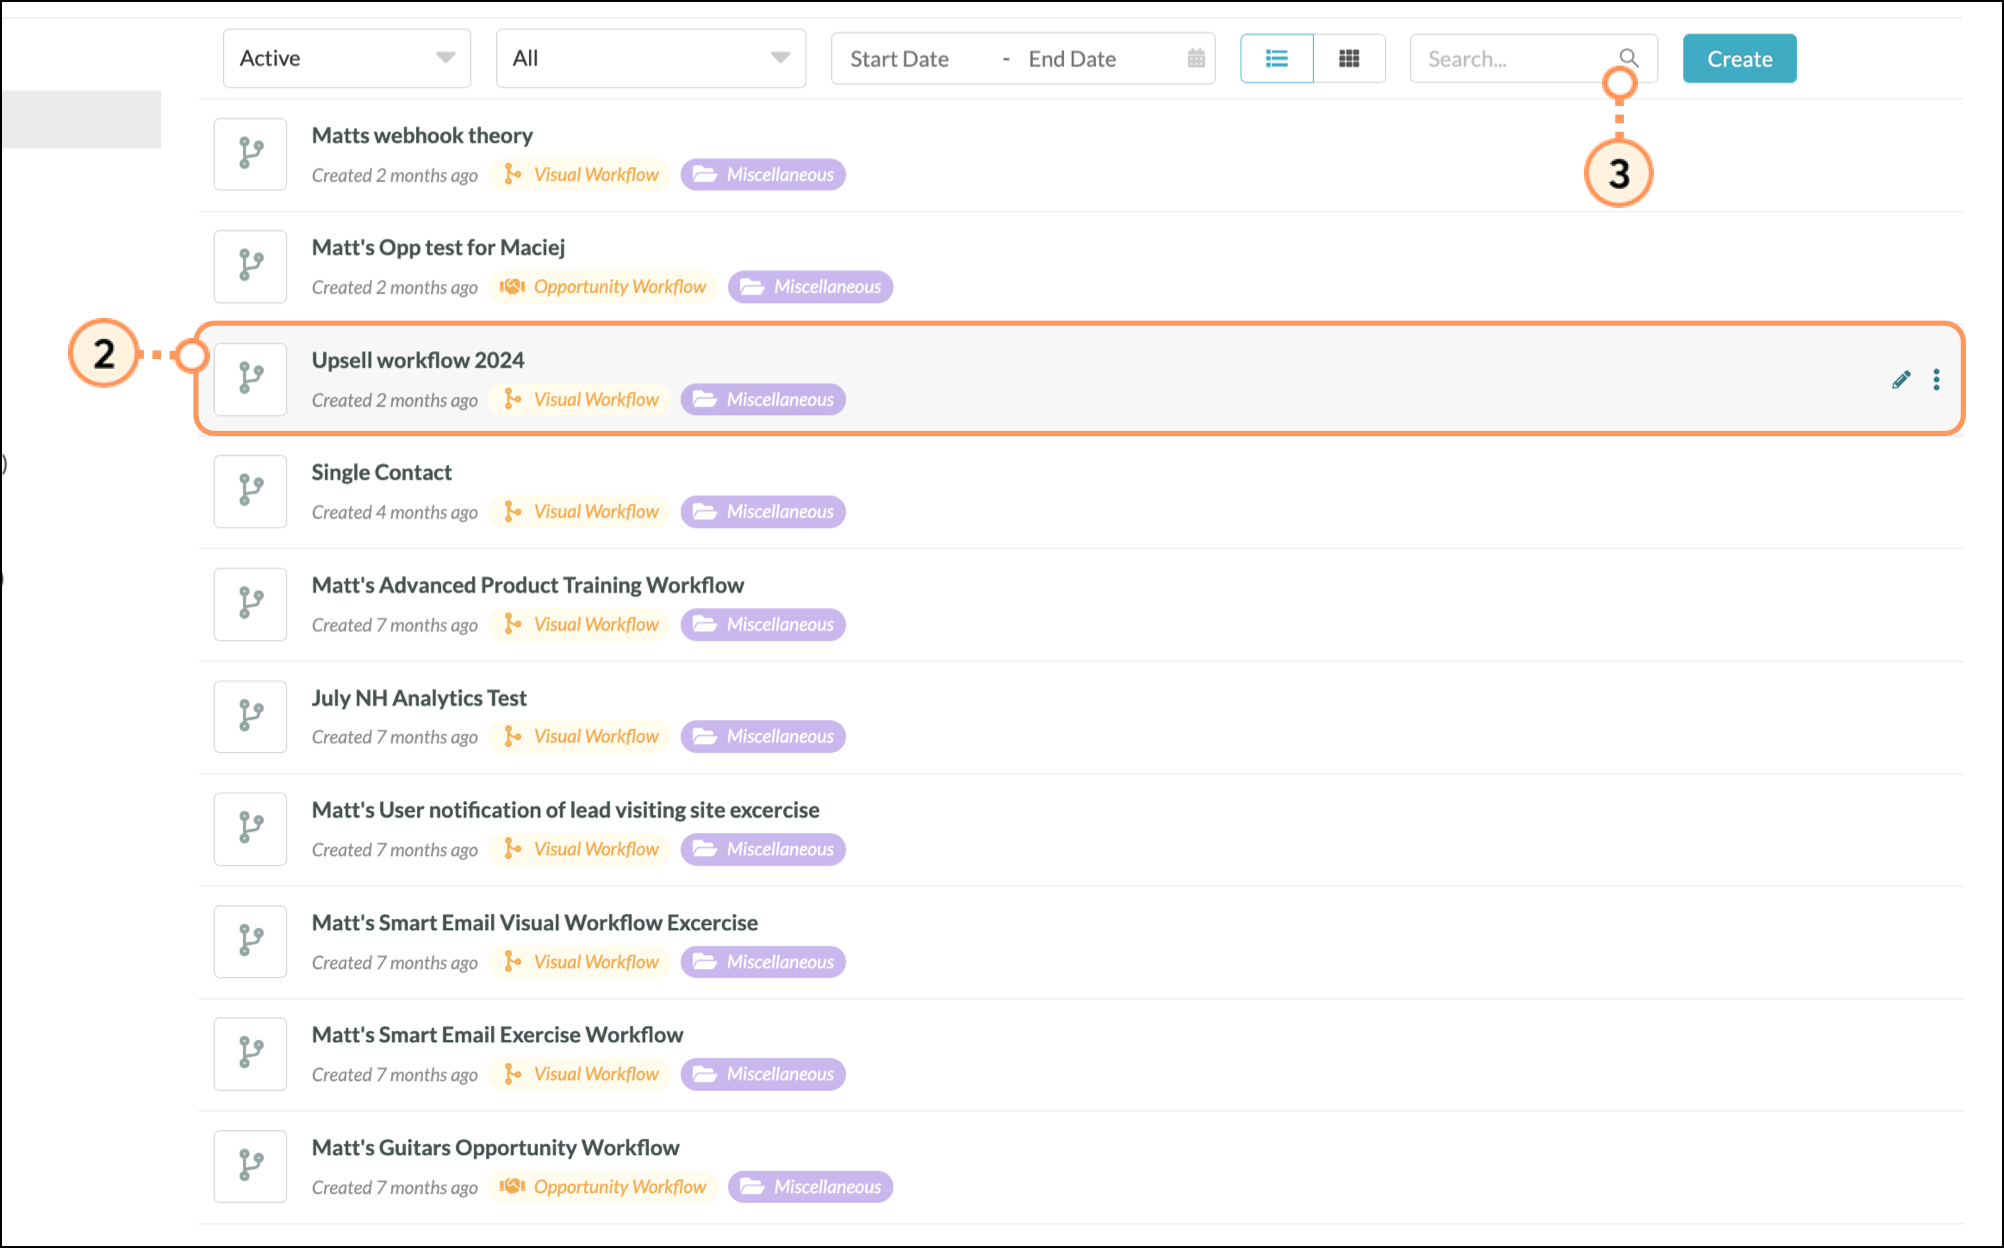
Once you have created a visual workflow, you can open it and edit it when you need to.
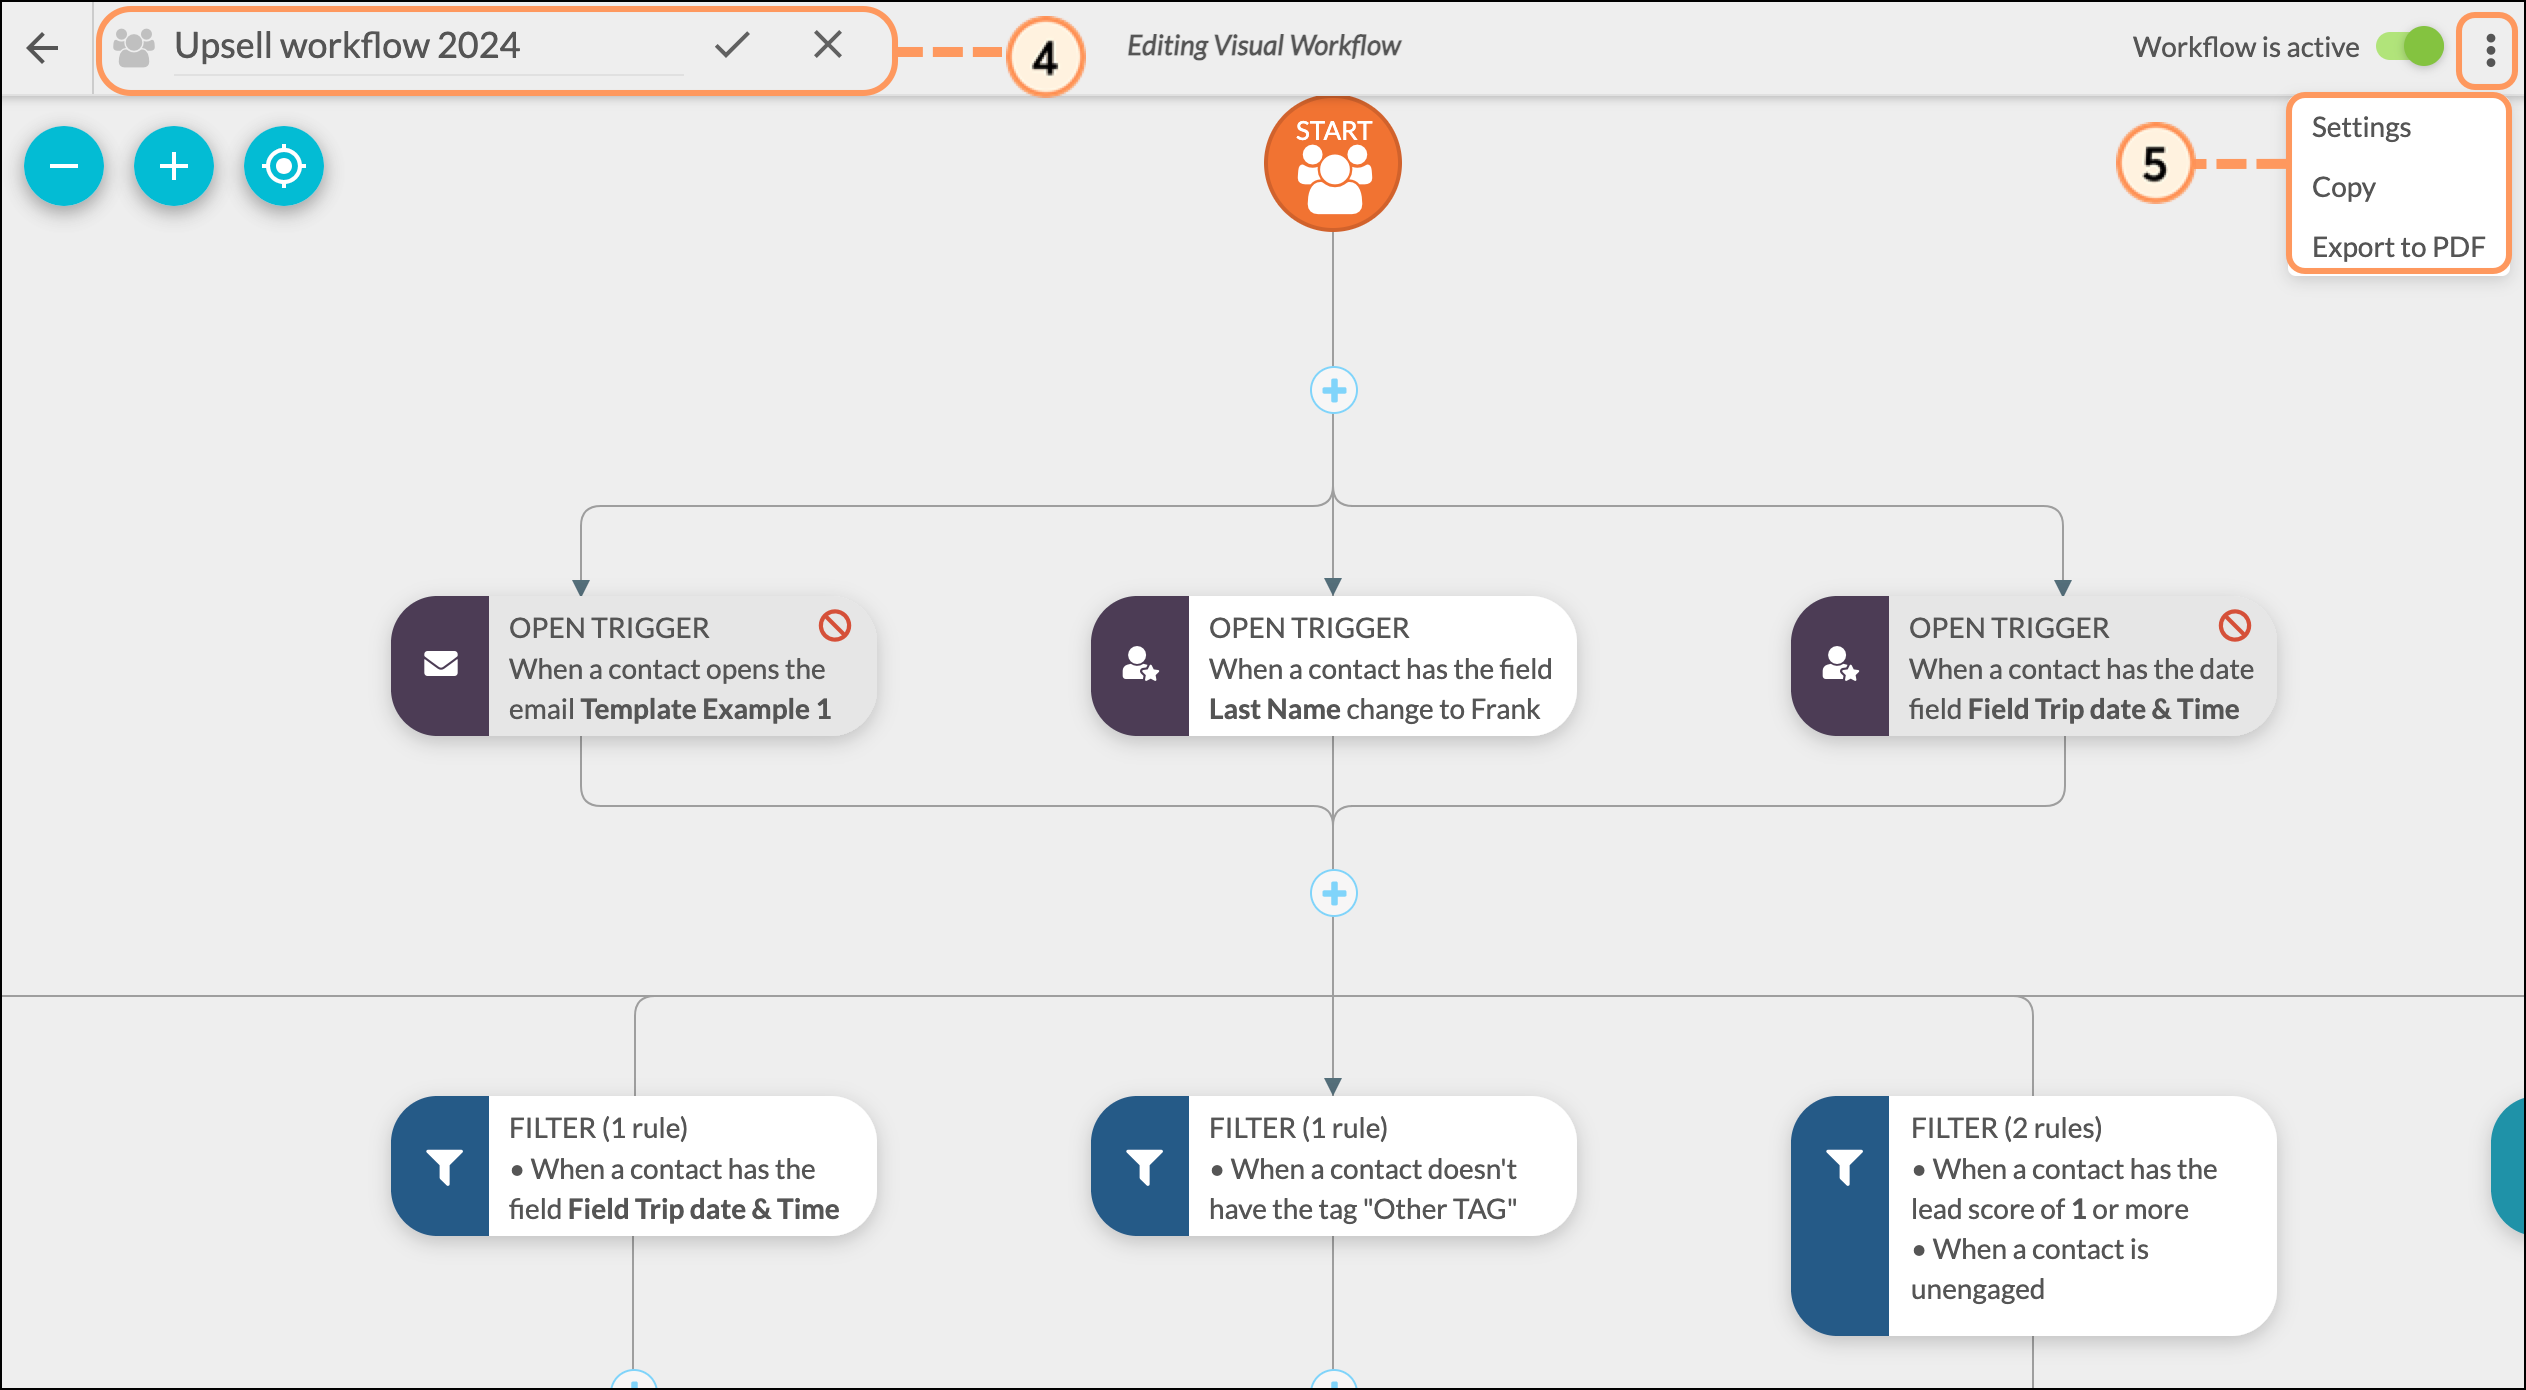
To edit a visual workflow, do the following:
Triggers are only part of what makes a workflow function. While triggers start a chain of events in a workflow, those triggers depend upon branch content—actions, filters, delays, and action groups—in order to continue or finish that event. As such, creating strong workflows requires utilizing branch content to tell triggers what to do.
To add branch content to triggers, do the following:


Like triggers, branch content can be as simple or complex as necessary. Just as a trigger starts a workflow branch, the branches can split off with different branch content.
For example, one branch can have many different actions that stem from a single trigger, with each doing different things. Those actions can, in turn, have multiple filters or delays that follow them, with each setting off more actions.
Refer to Understanding Visual Workflow Branching for more information on workflow branches.
Refresh your page to see your changes.
While Yes/No Branches are optional to create a workflow, they allow for flexibility and targeted actions to be executed without holding up contacts in an automation workflow.
Note: A single Yes/No branch can only be added after a Trigger, Time Delay, or Action.
To add a Yes/No Branch to a workflow, do the following:
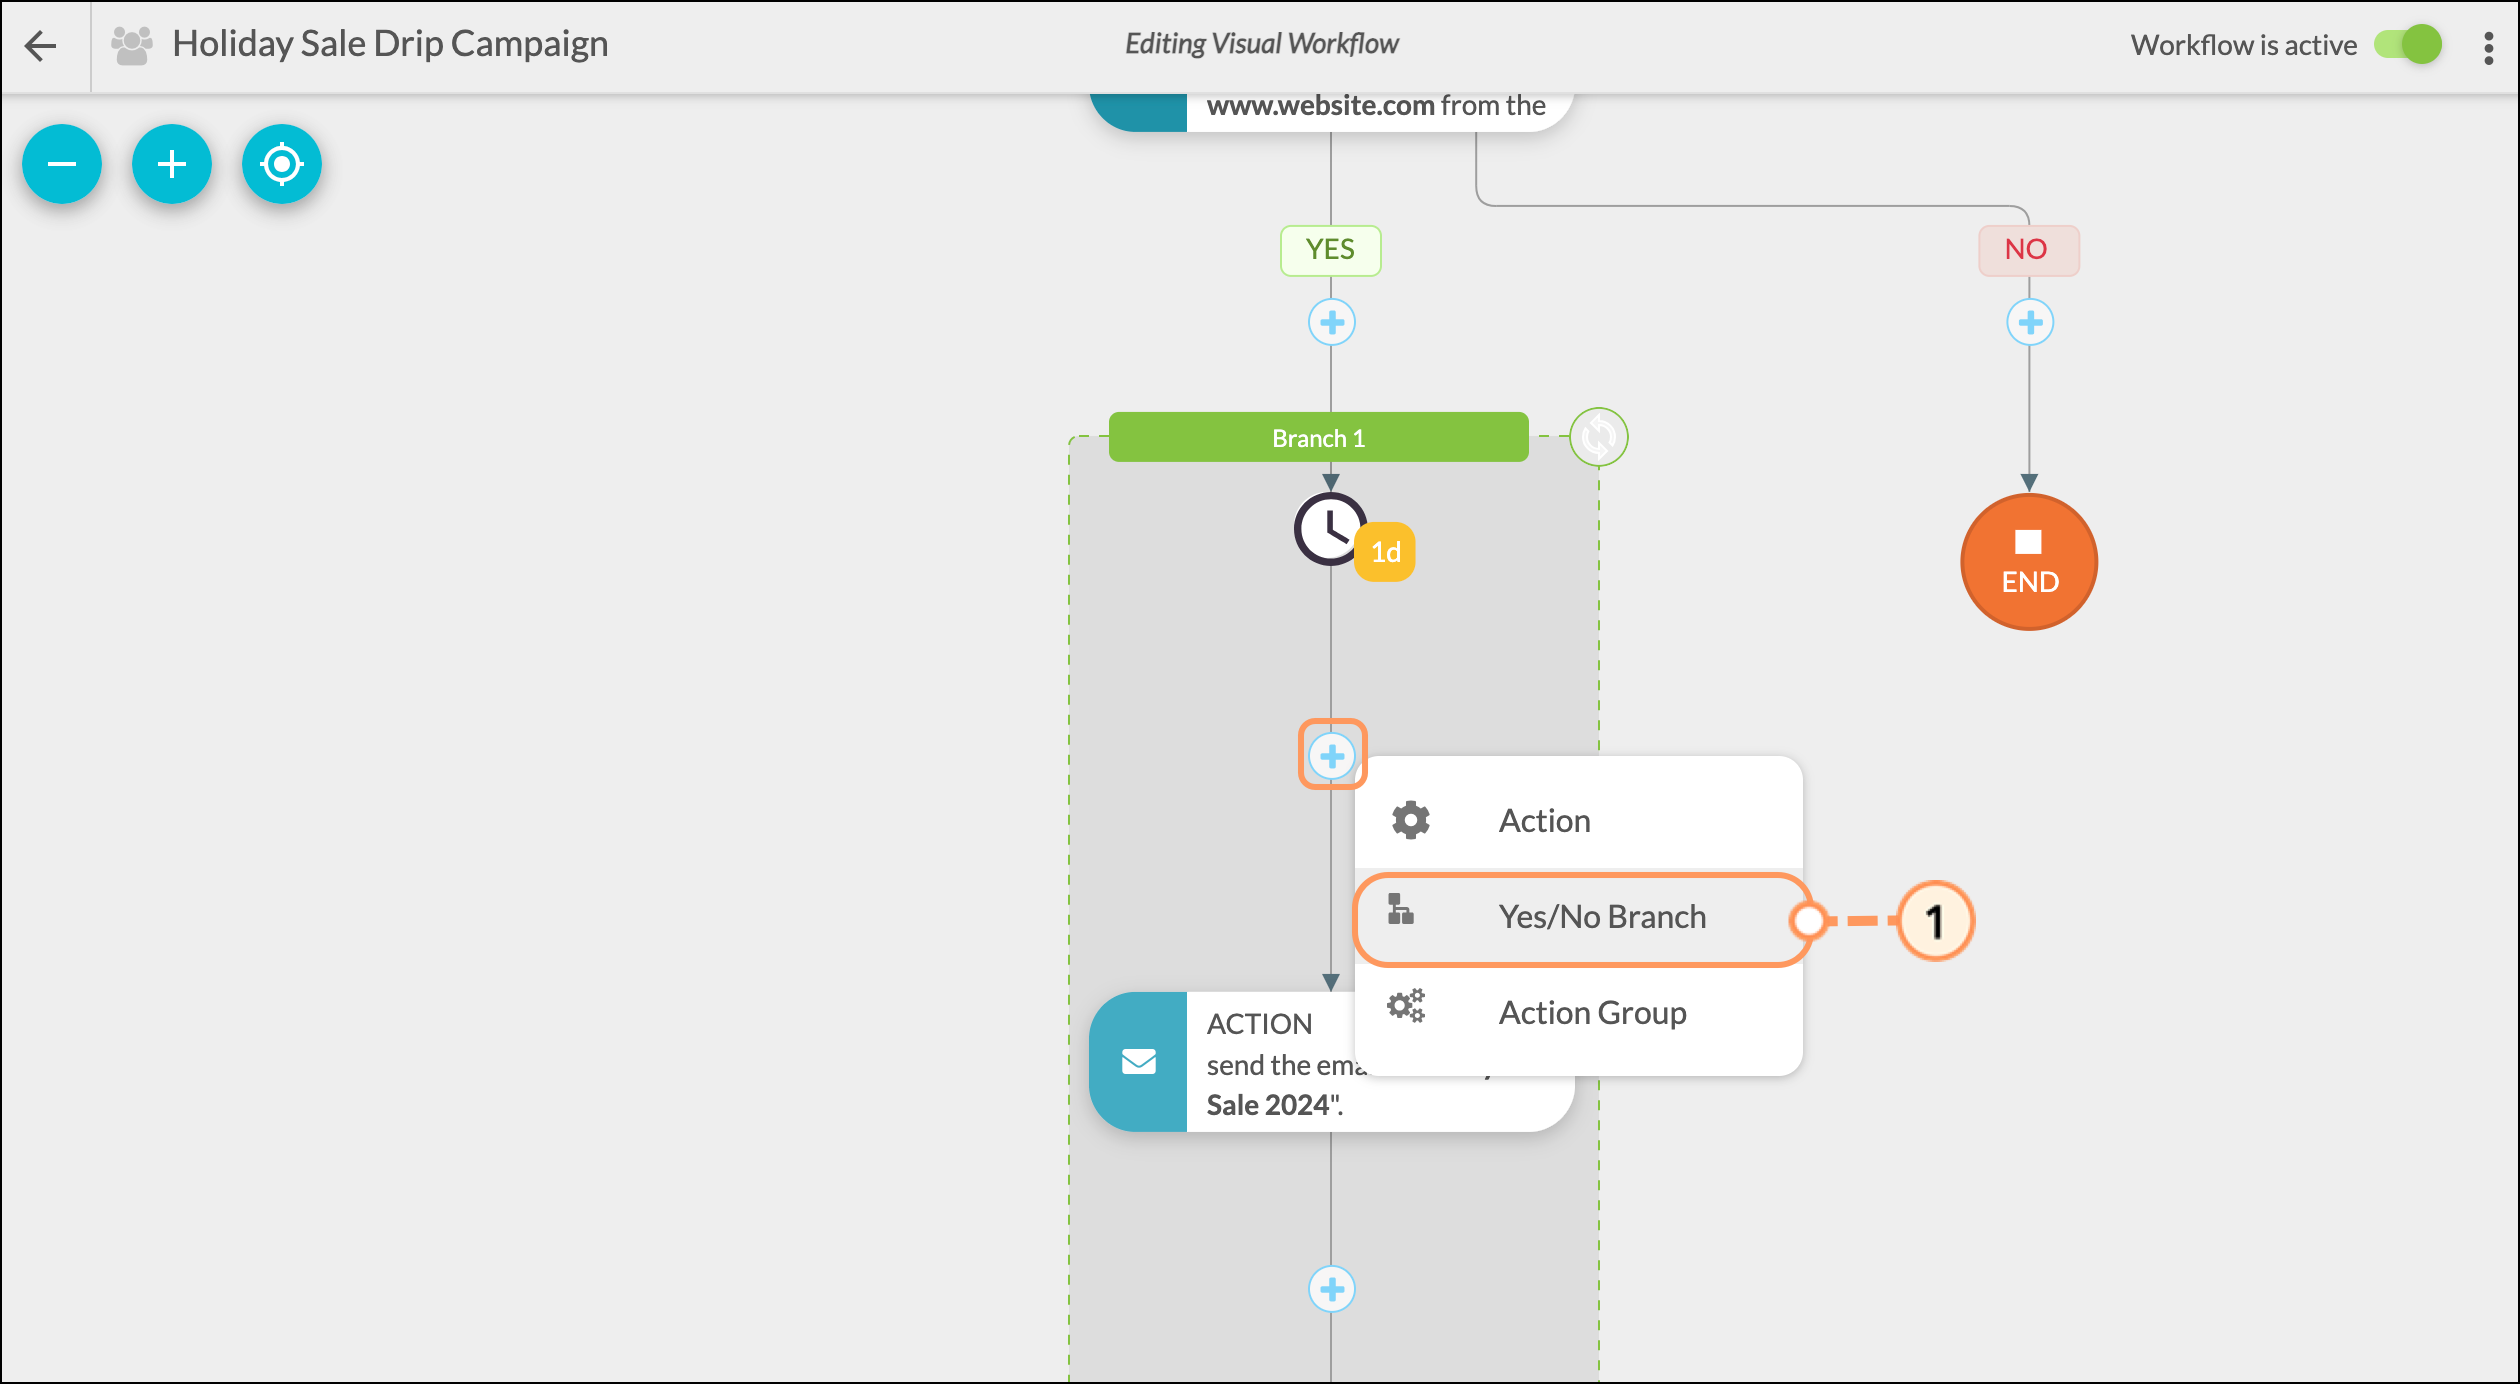
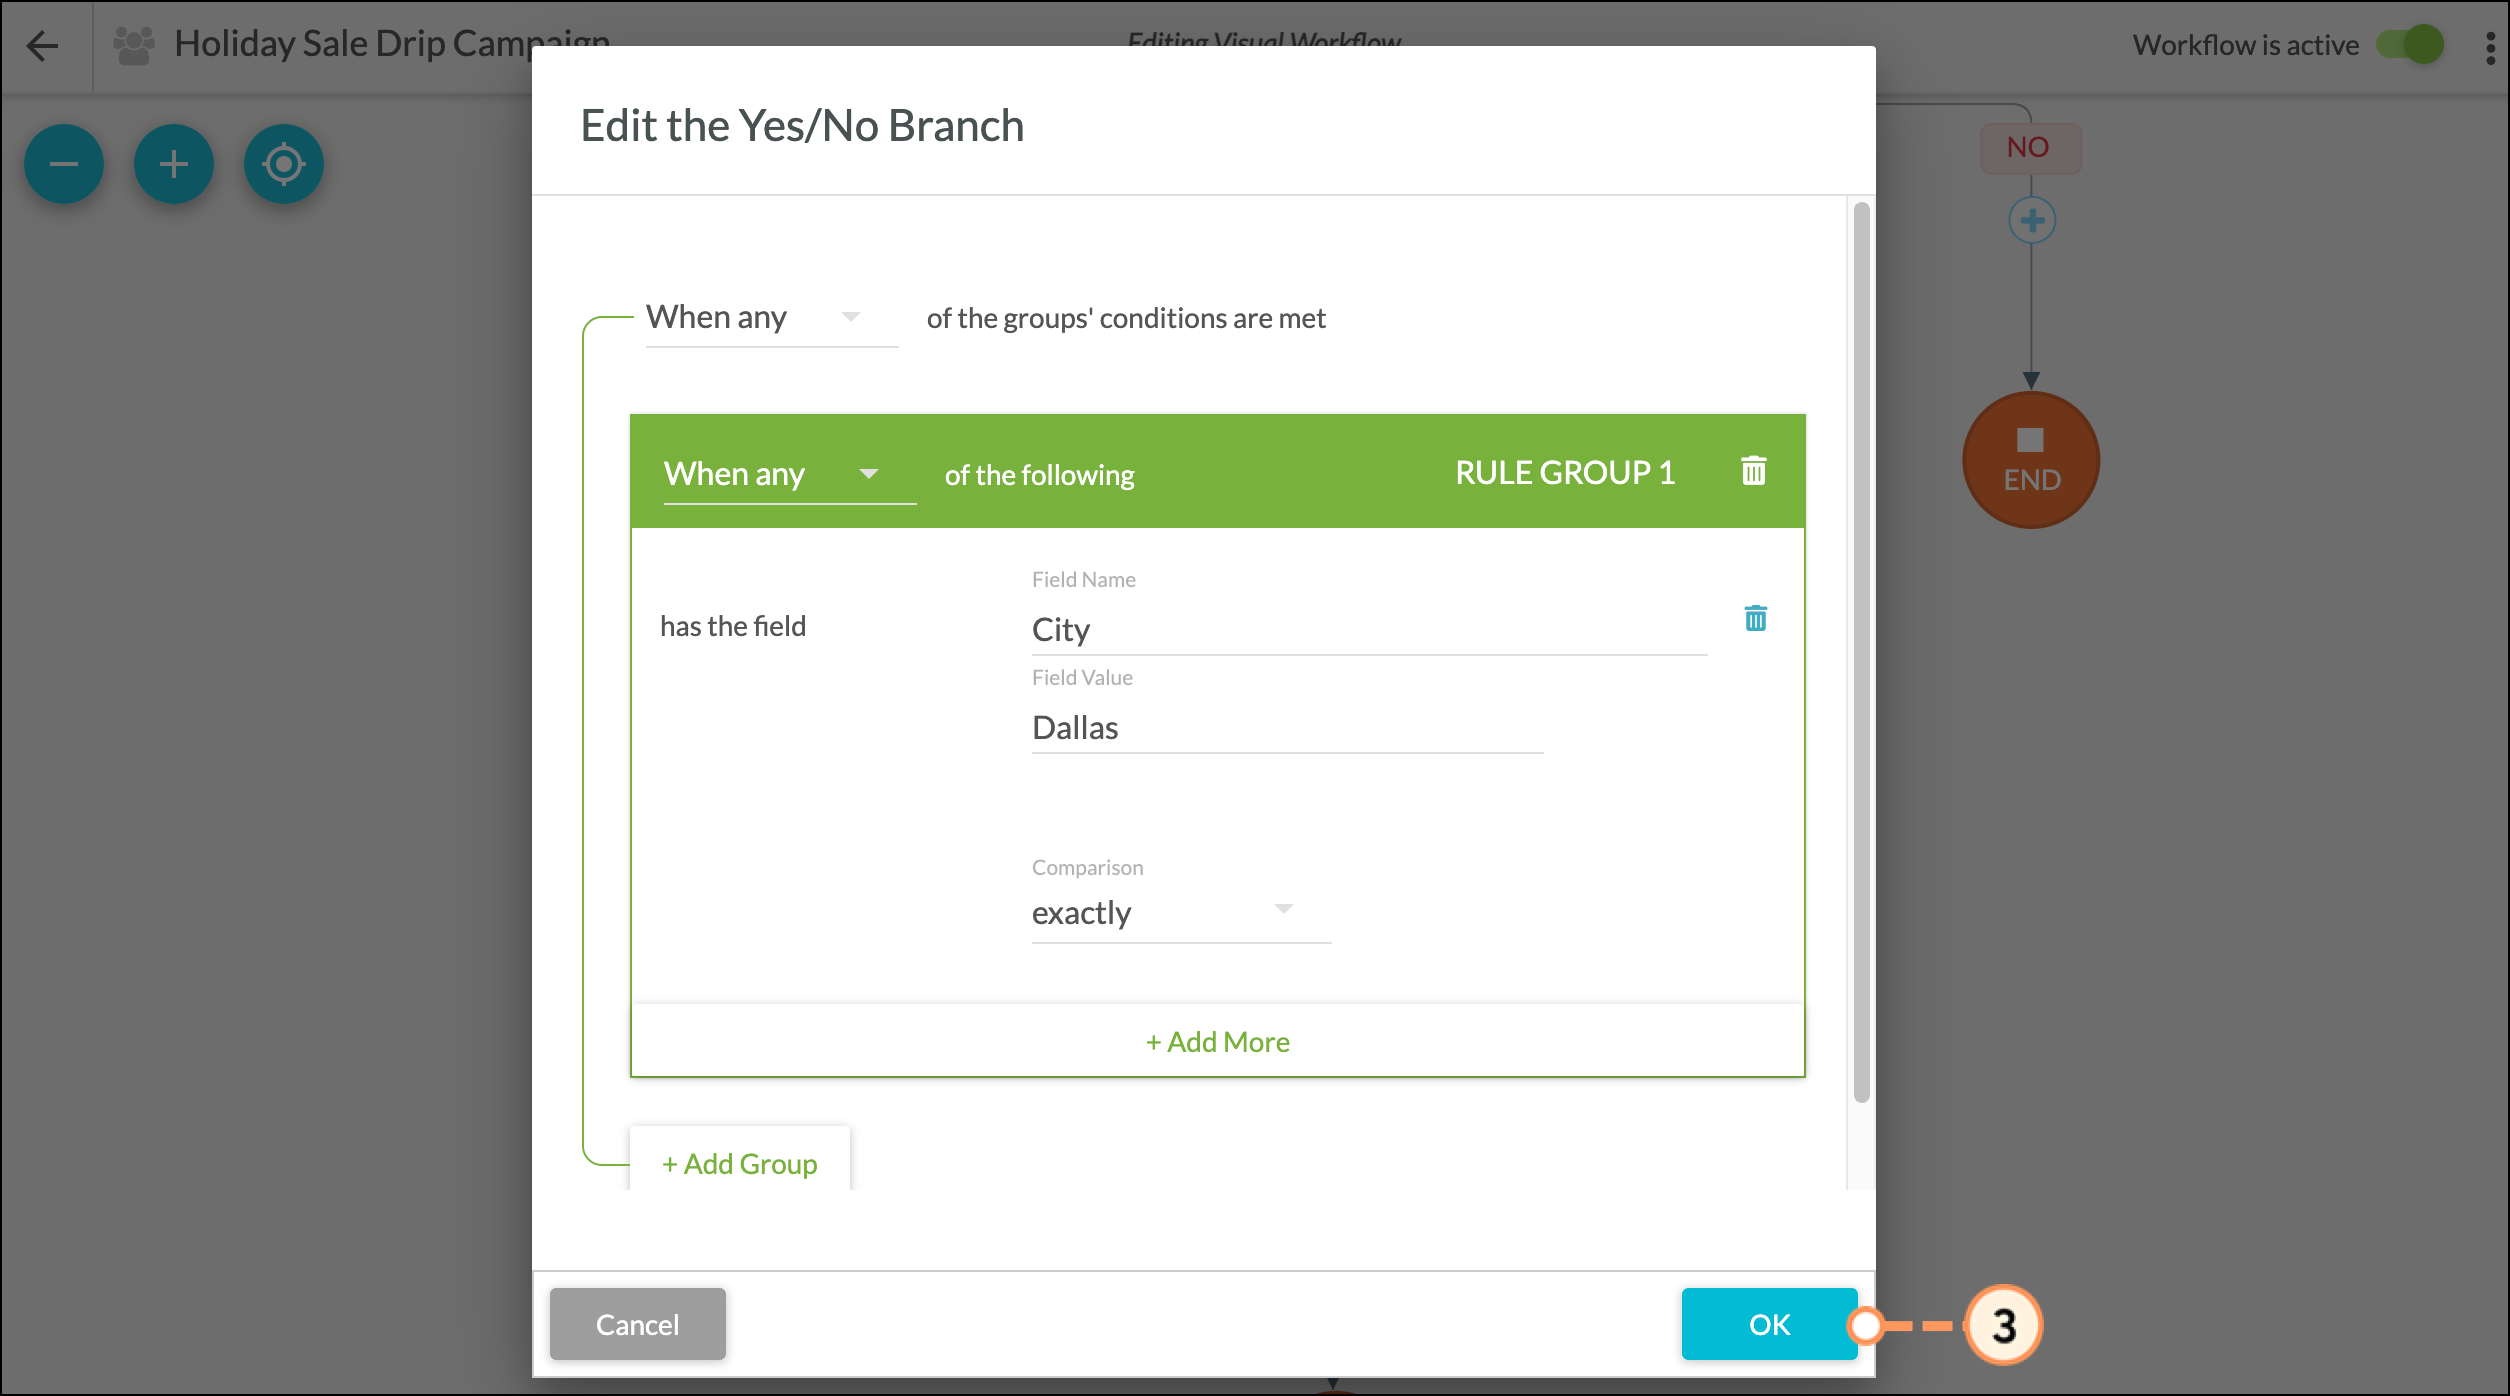
Like branch content, Yes/No Branches can be as simple or complex as necessary. The branches can split off with different branch content, actions, and filters.
For example, one branch can have many different actions that stem from a single trigger, with each doing different things. Those actions can, in turn, have multiple filters or delays that follow them, with each setting off more actions.
You can preview sites, emails, forms, pages, and certain media assets from within the Visual Workflow Builder and quickly jump to them to edit those assets.
With a visual workflow, you can see every aspect of your automation from a single interface, which makes this an ideal centerpiece for your marketing strategy. Workflows have the following available assets:
| Asset | Available Actions |
| Emails |
|
| Forms |
|
| Media Center |
|
| Sites |
|
Important: The Visual Workflow Builder is not supported in Internet Explorer 11. Use one of the other browsers supported by Lead Gen & CRM to create visual workflows.
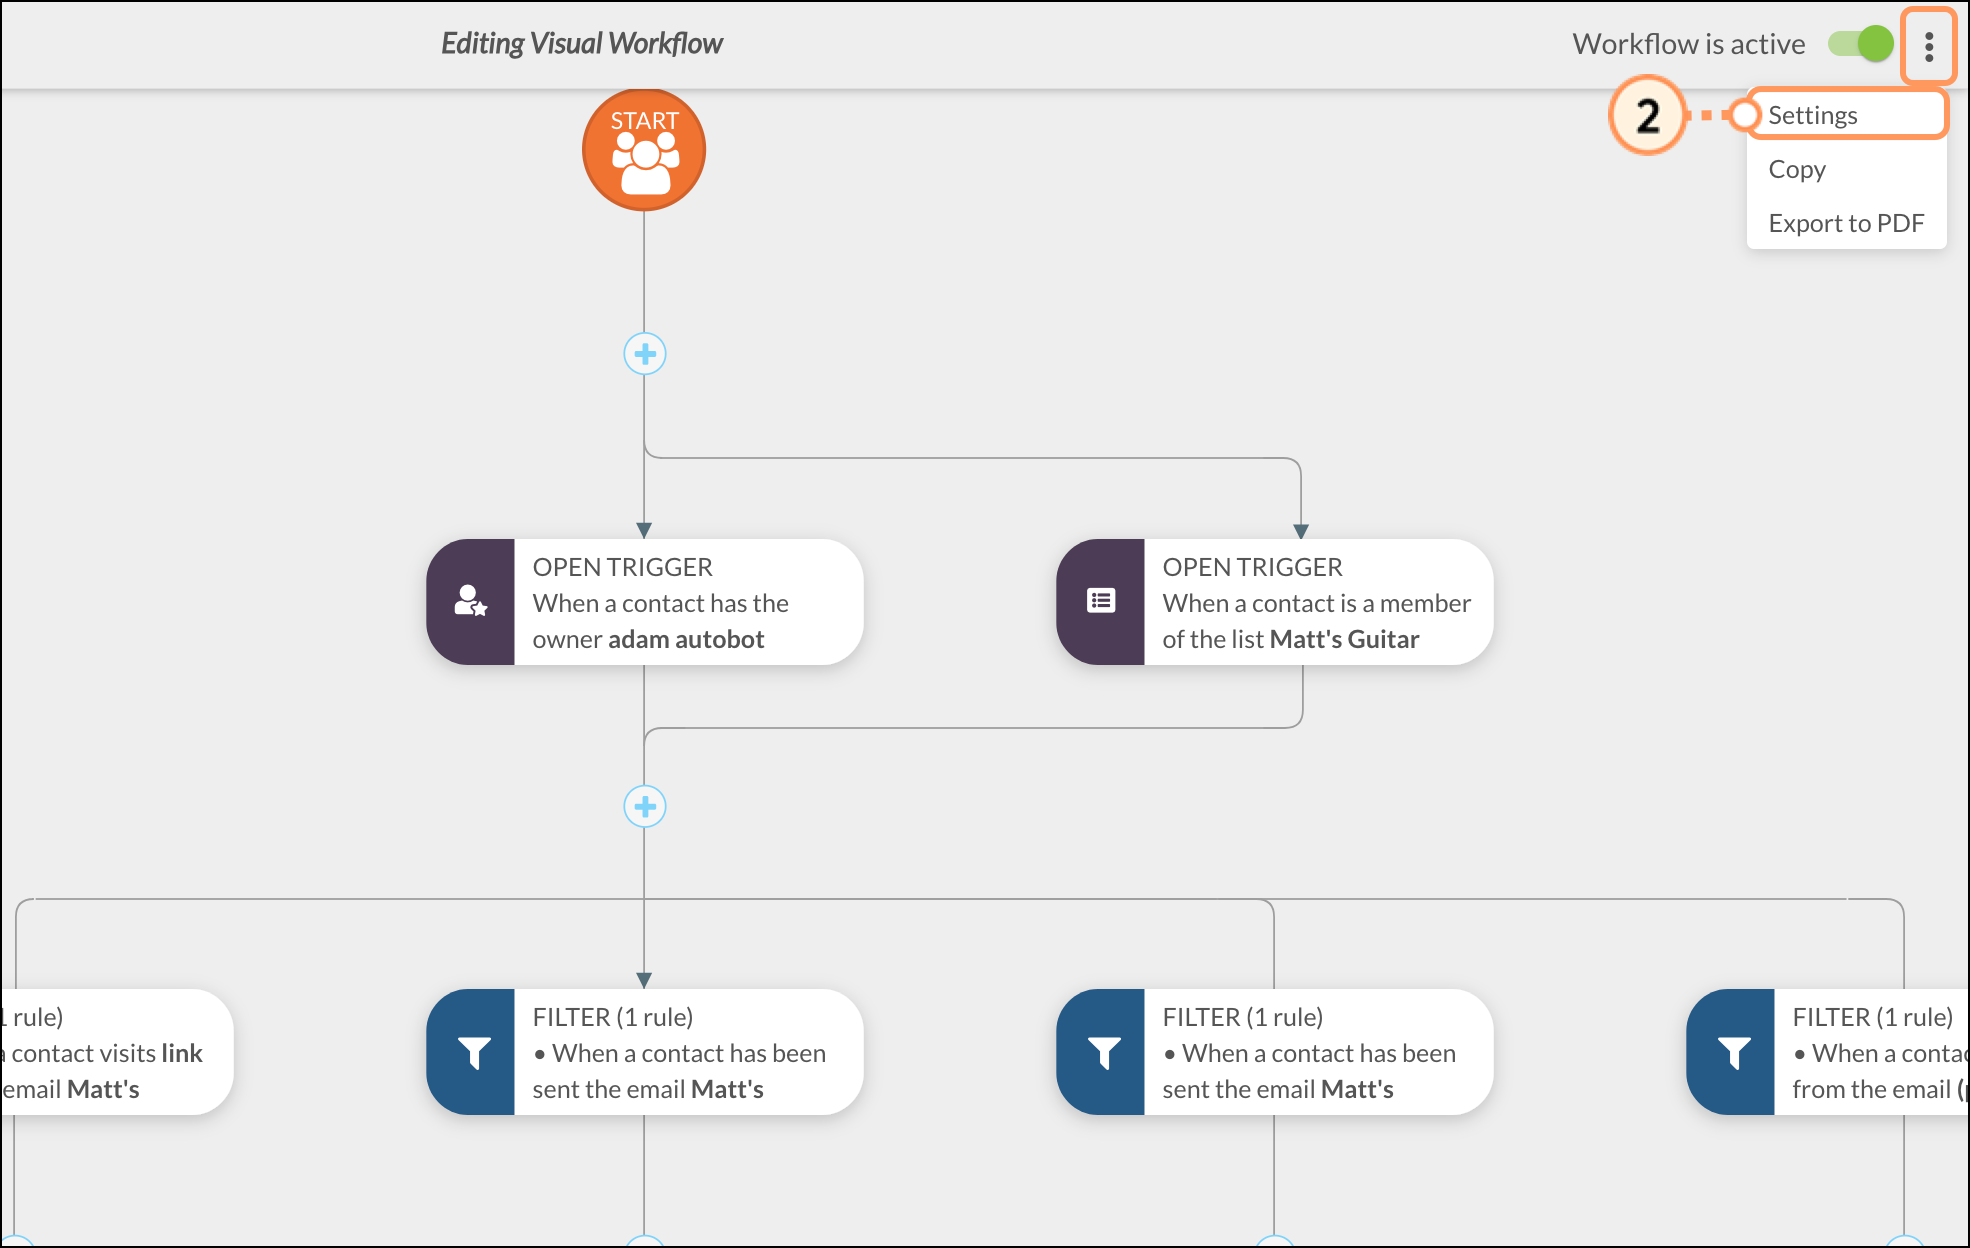
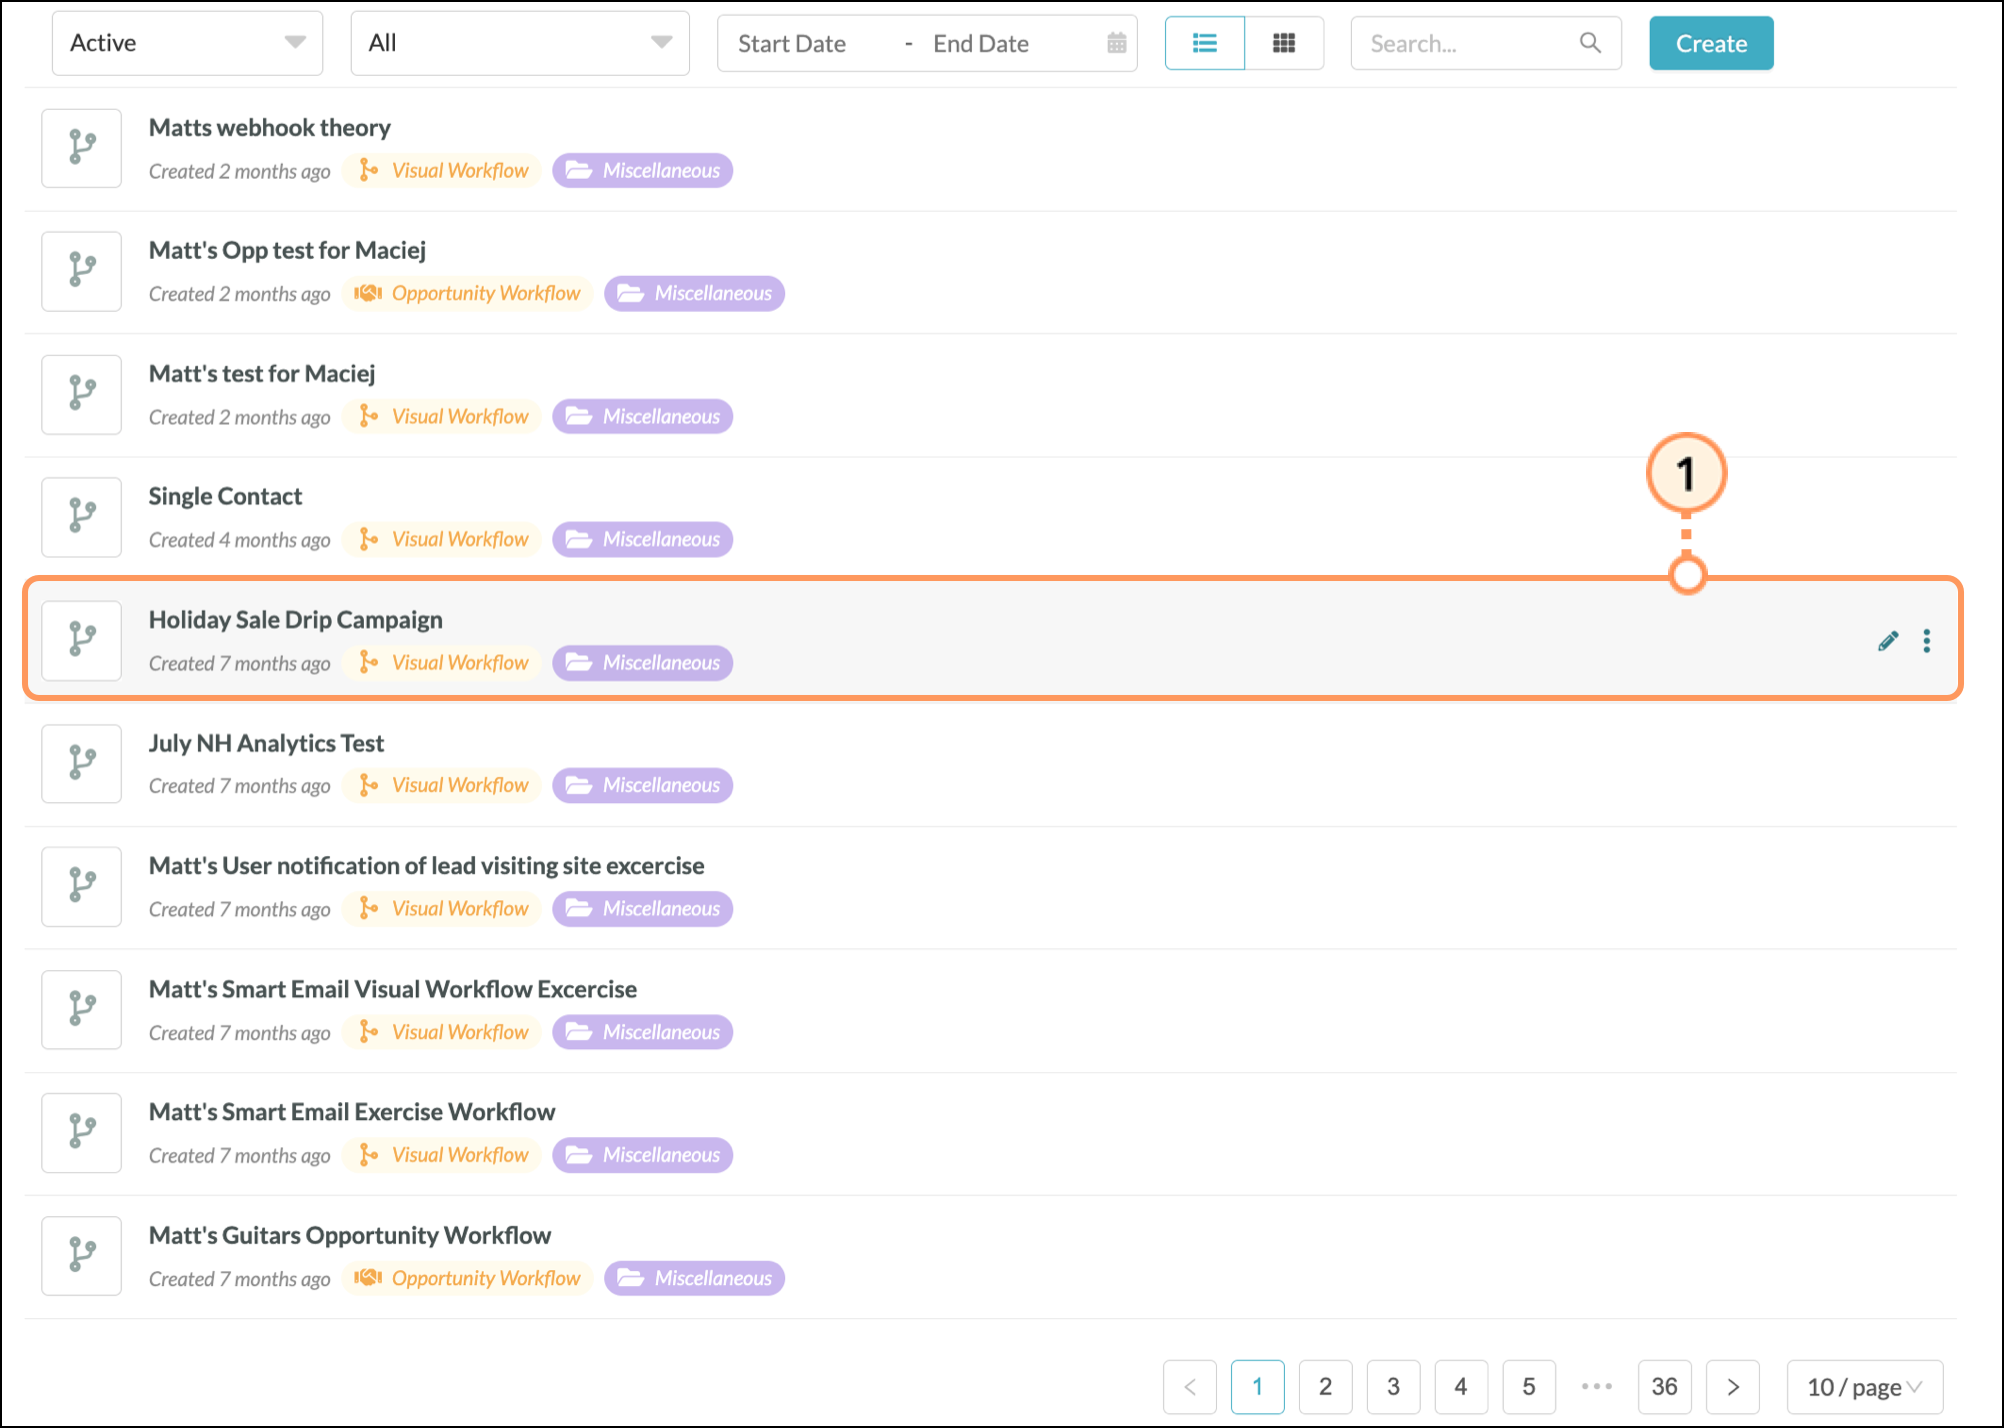
You can make copies of visual workflows. This can save time, as you now need only to create one visual workflow to have several copies. These copies can be as complex as necessary or have just one or two minor modifications.
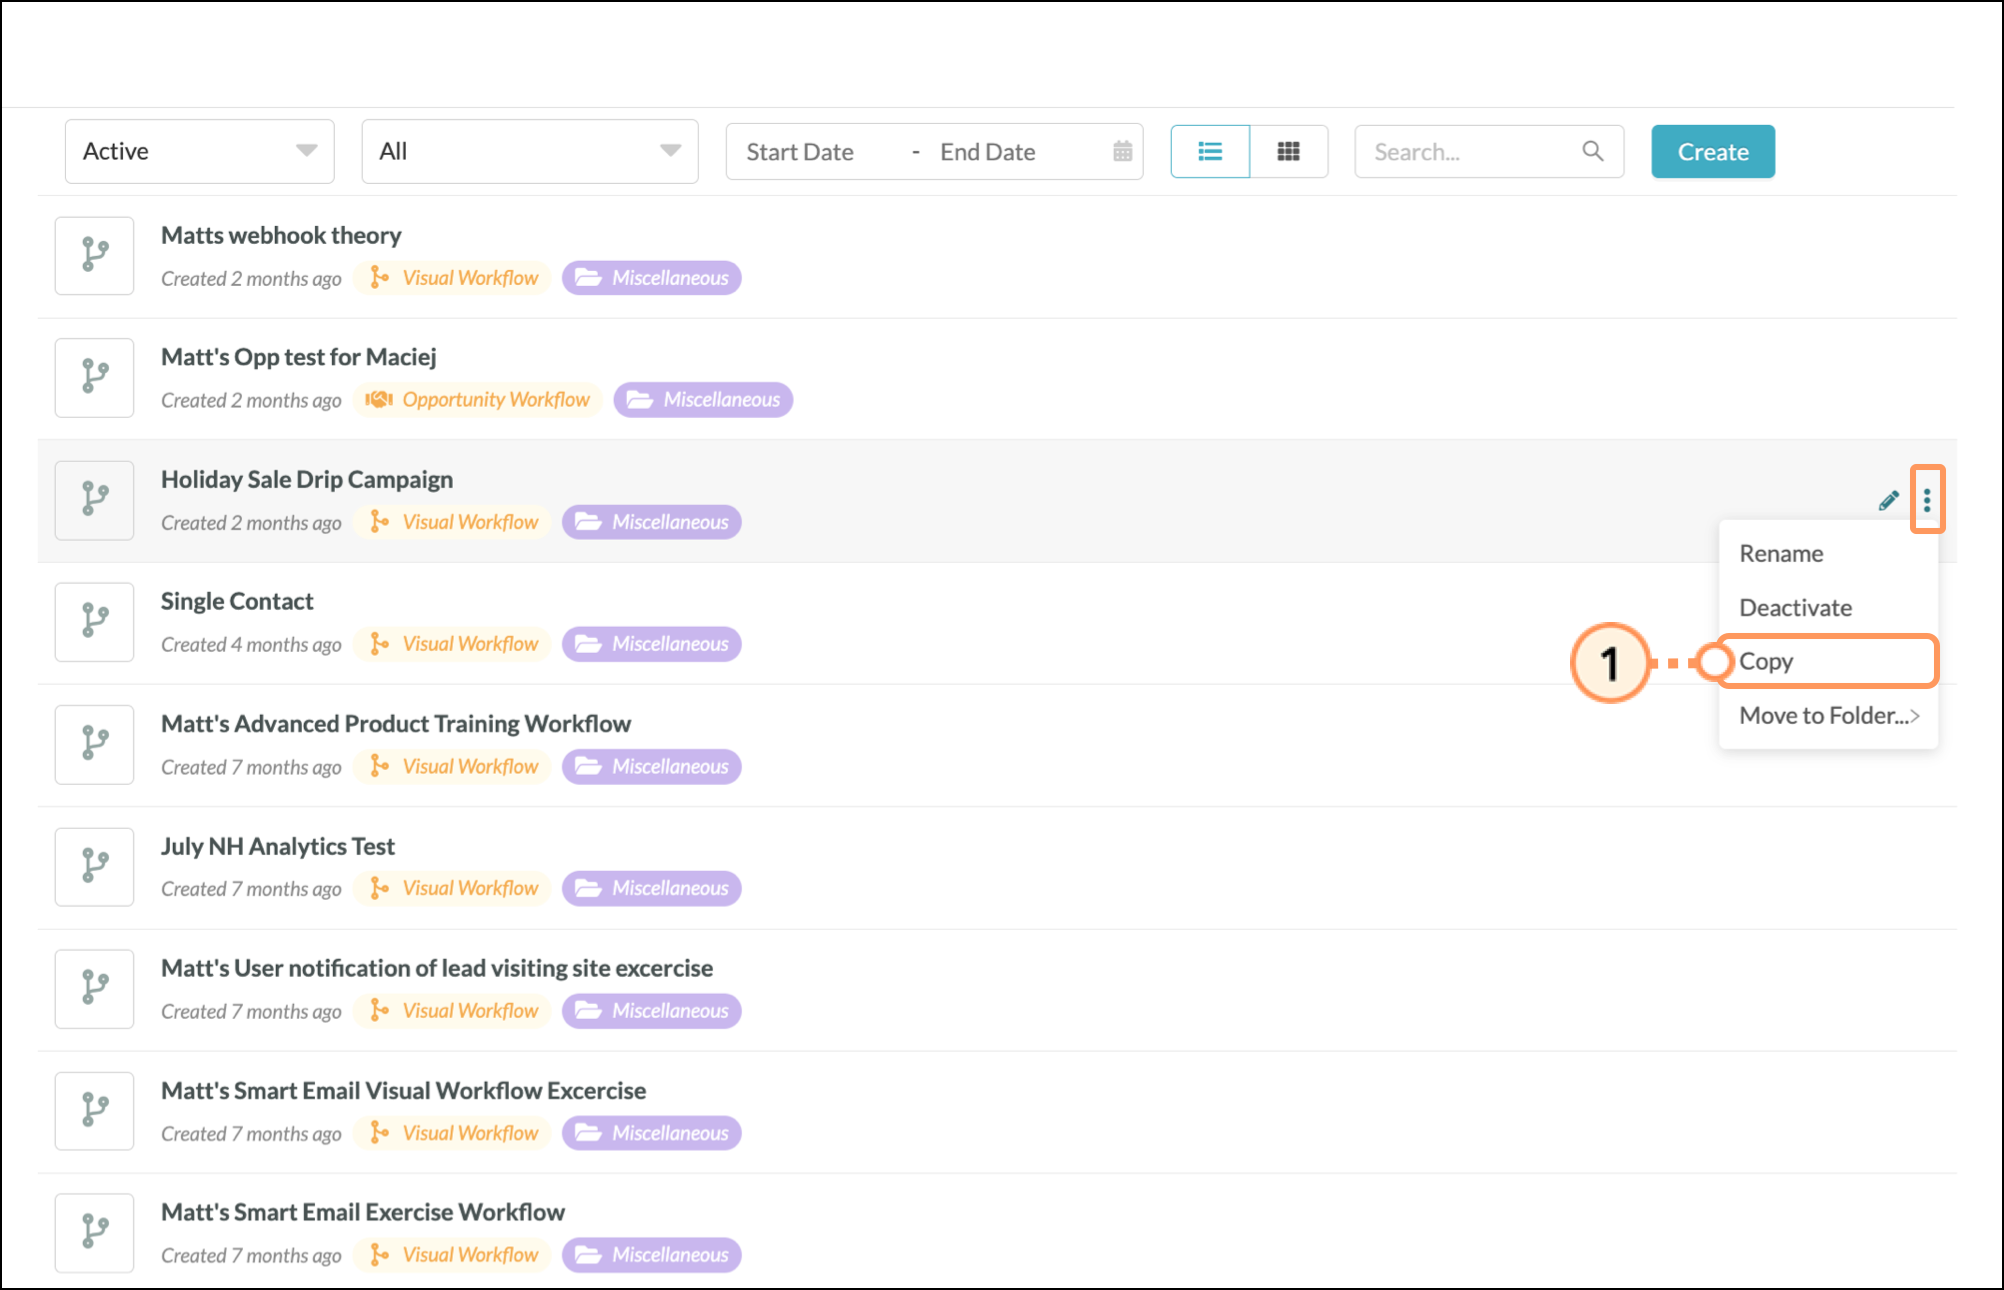
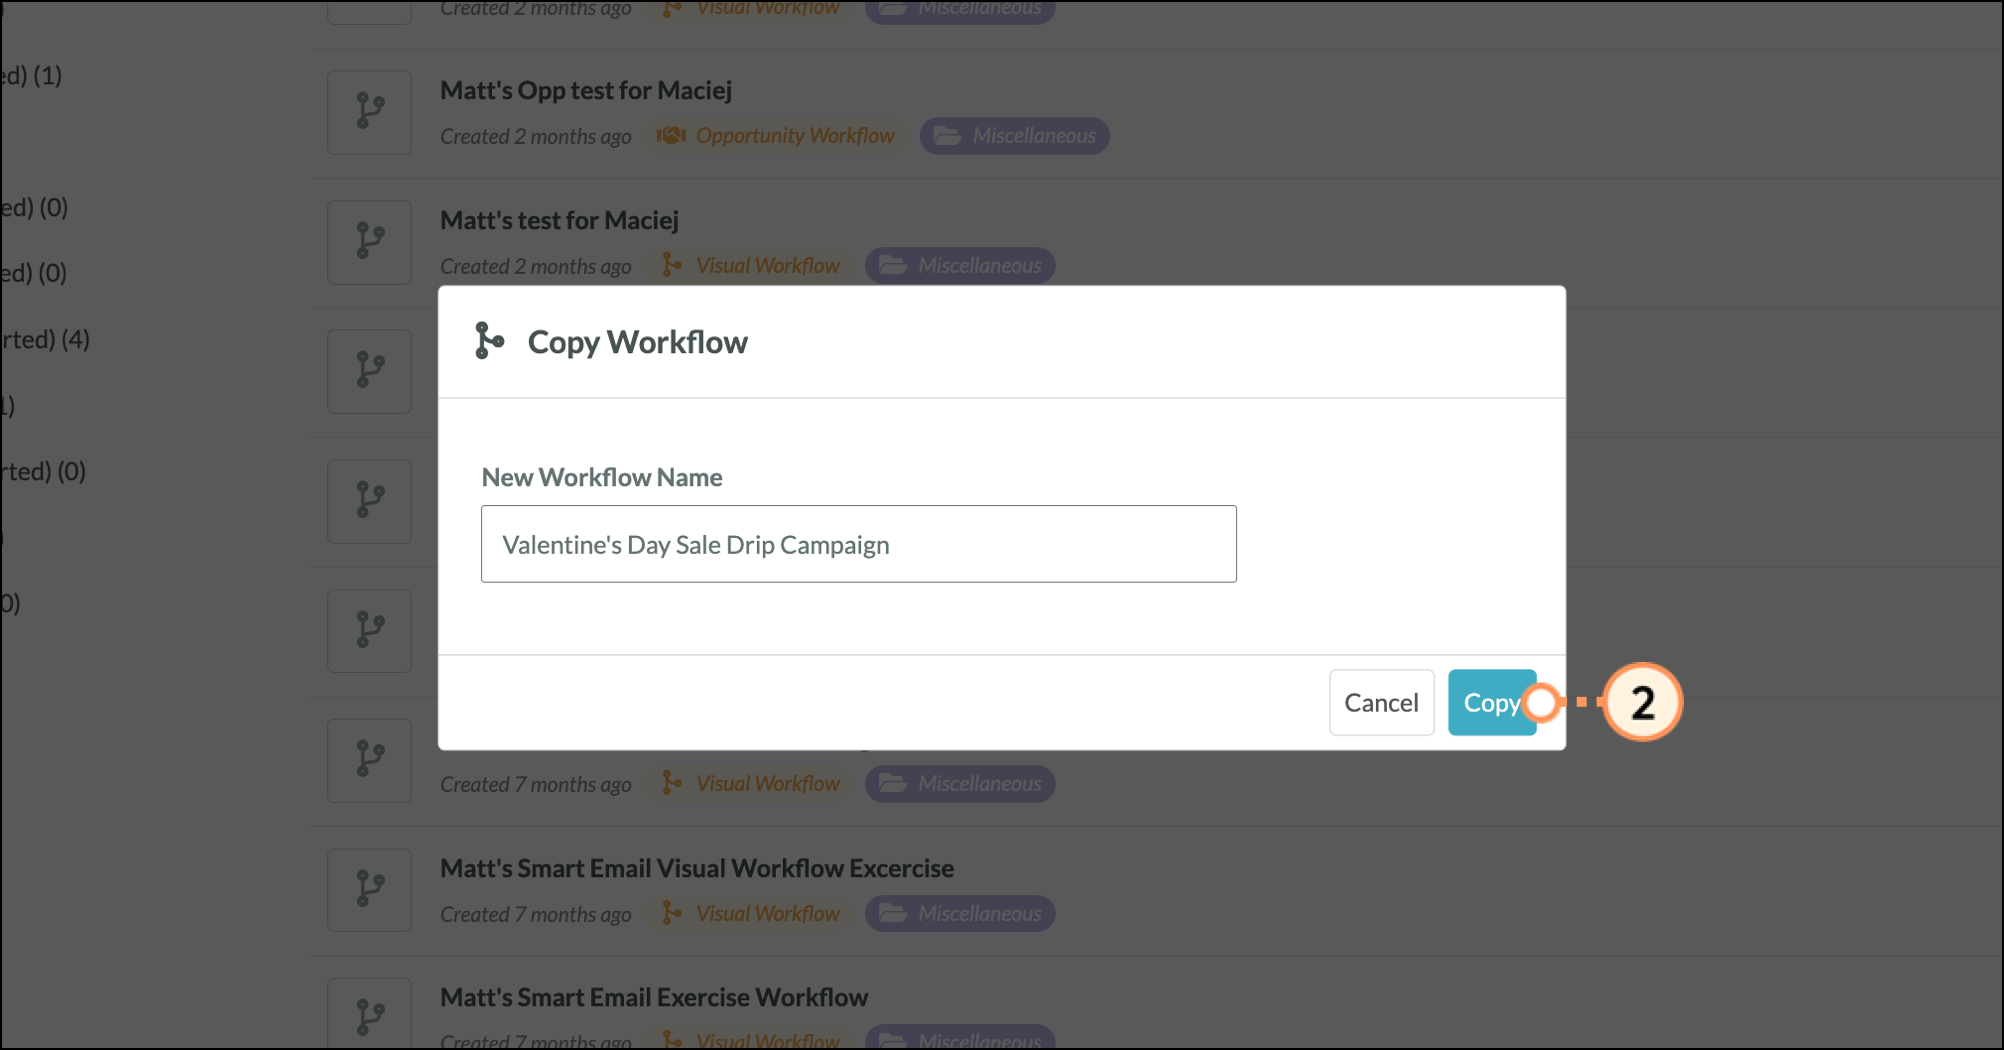
Copied workflows open in a new window with all of the copied branch content. From there, you can modify the copied workflow as necessary.
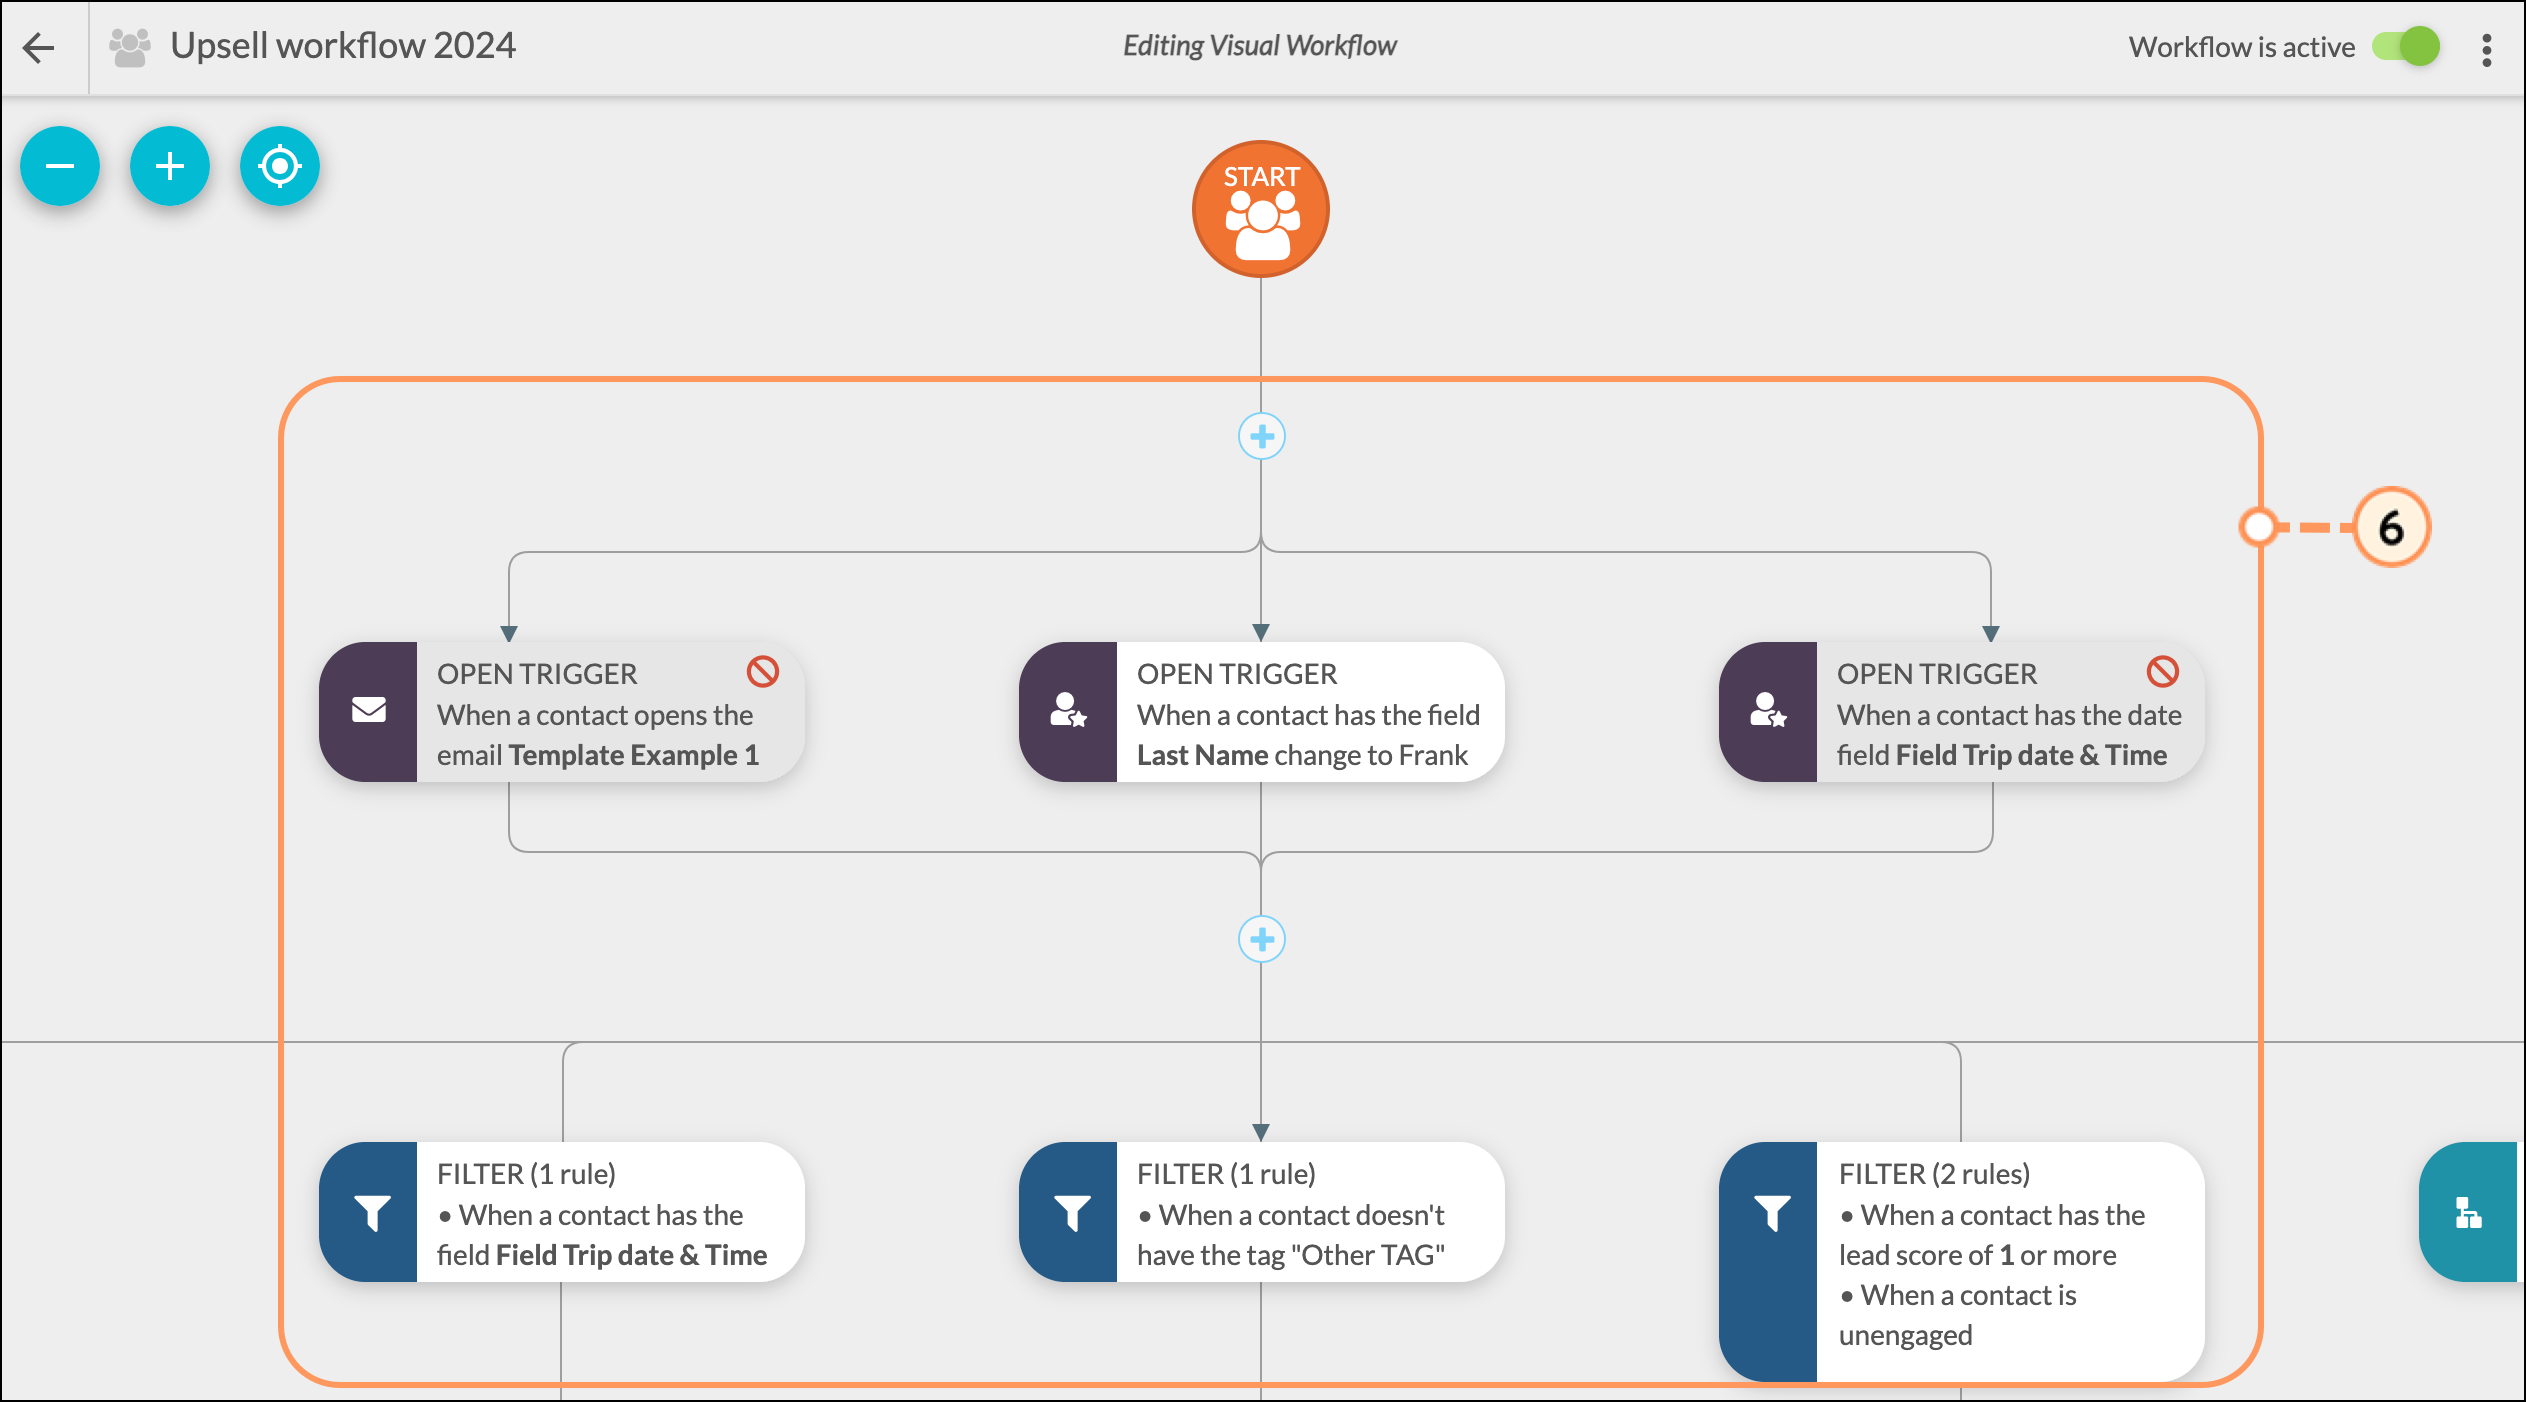
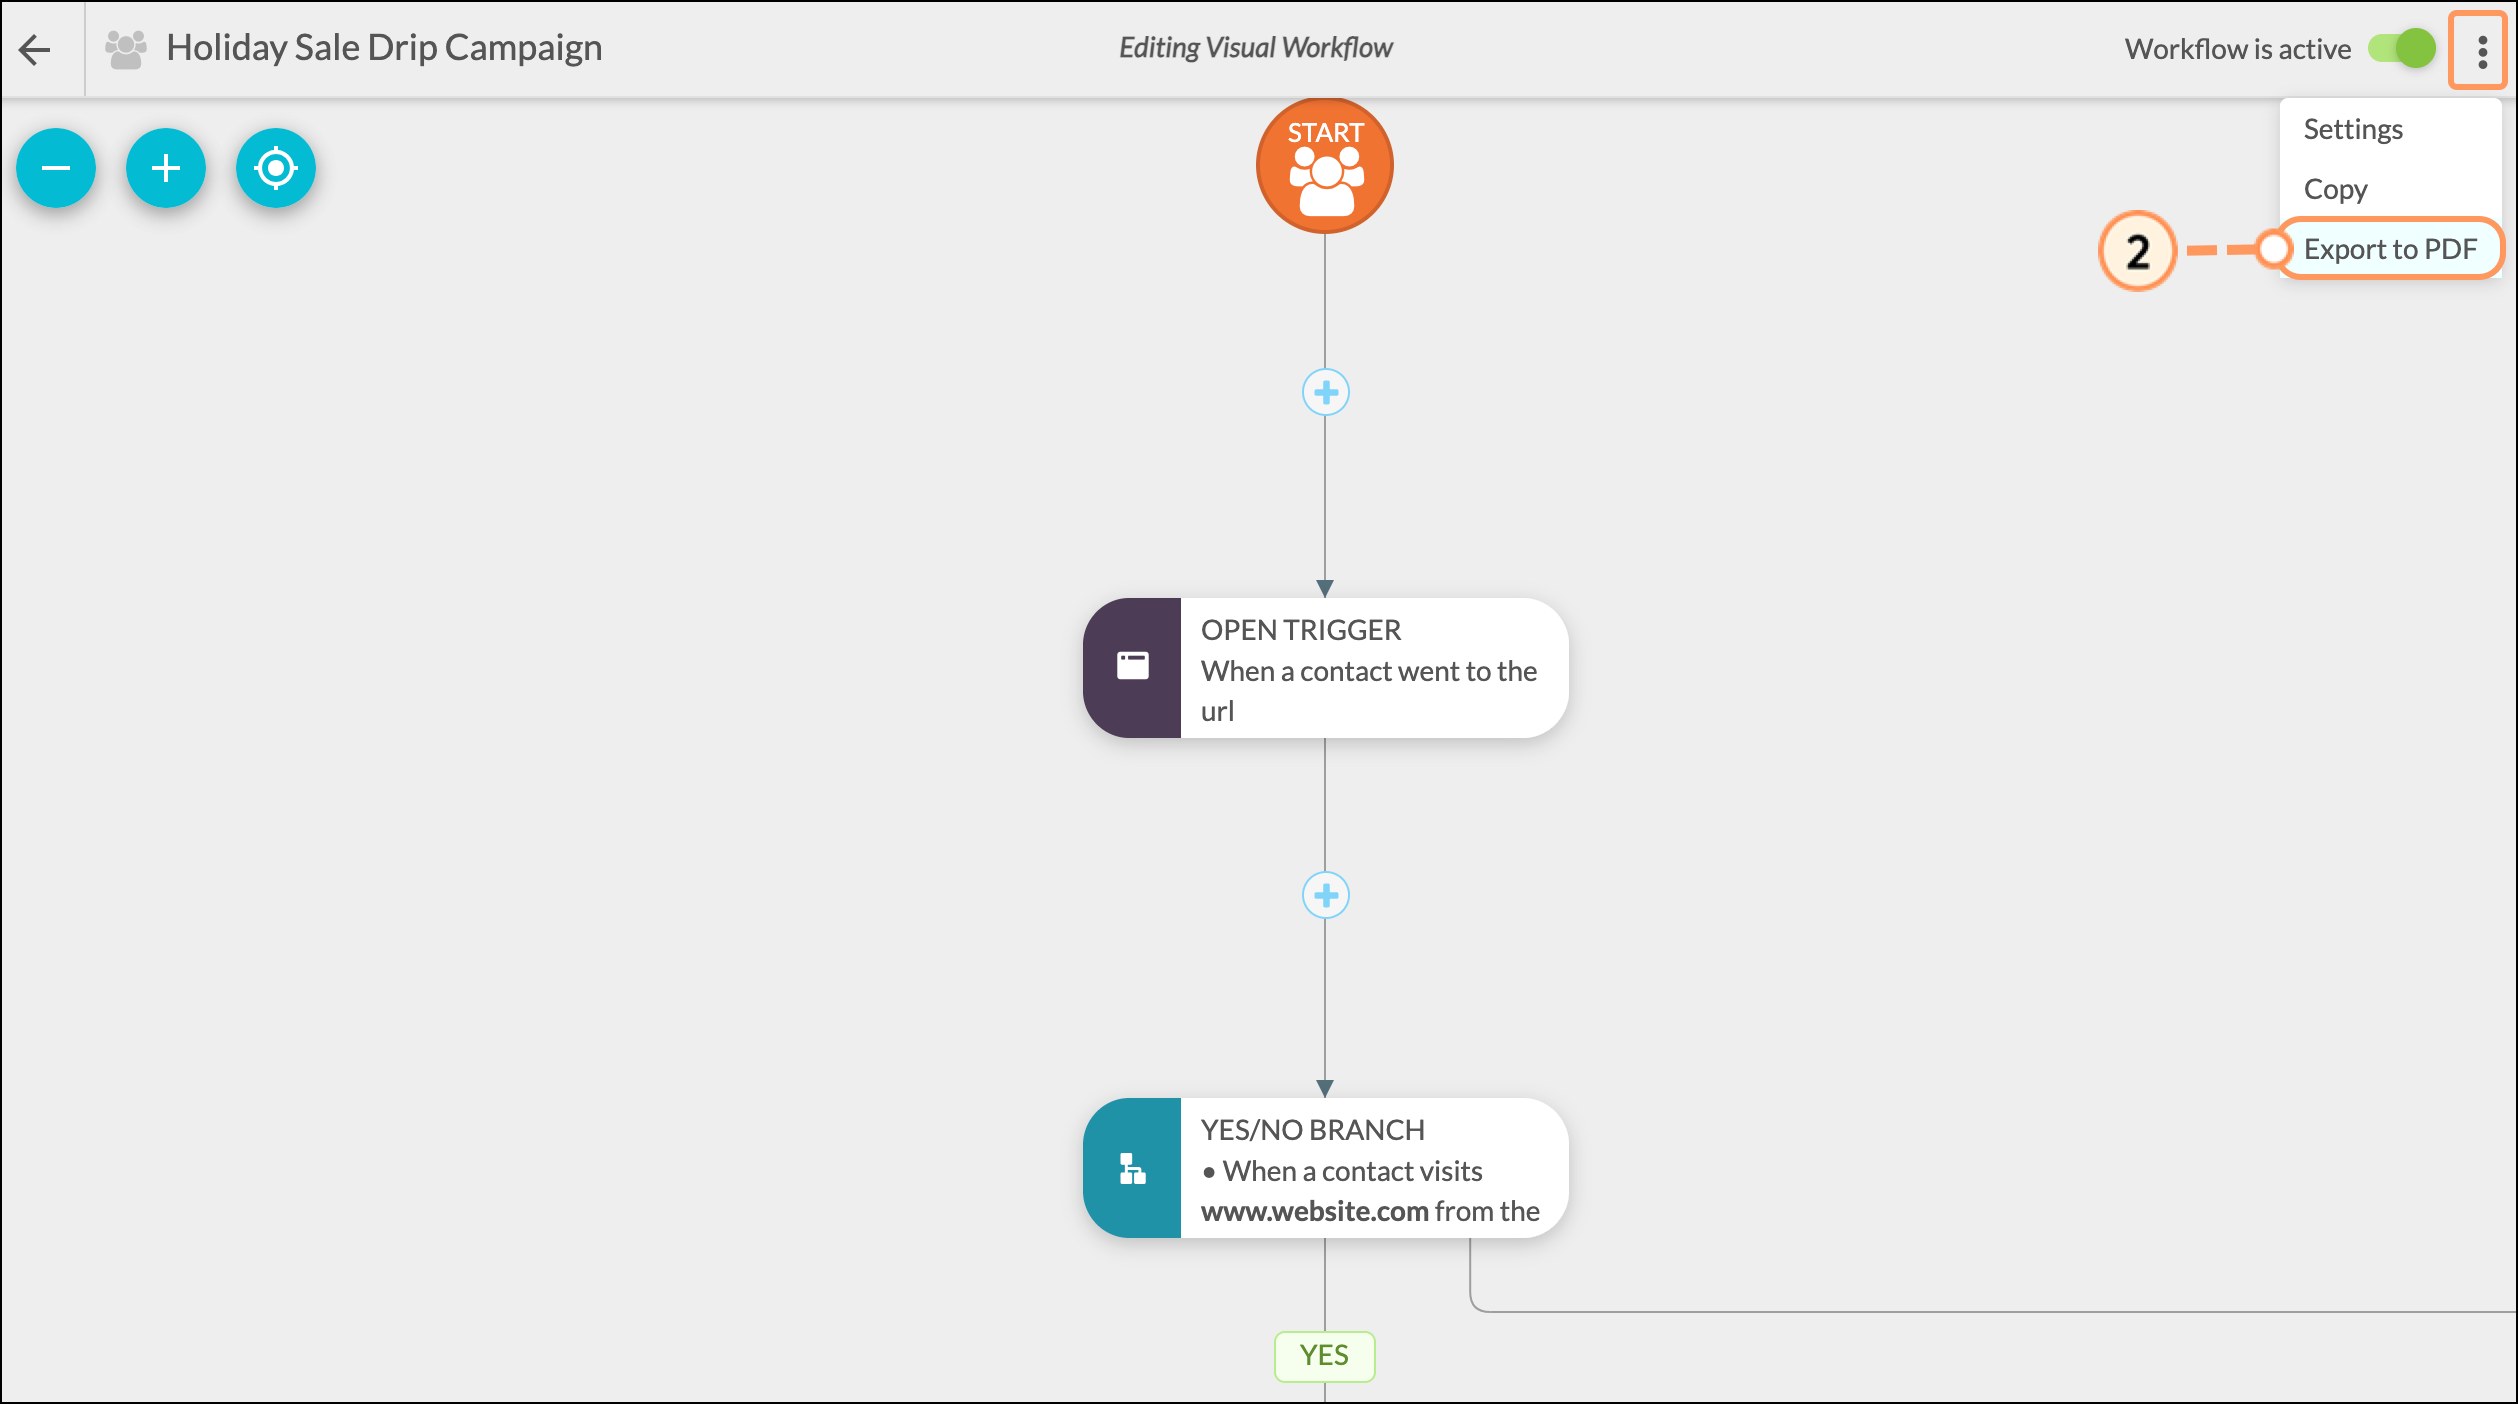
You can export visual workflow contents. To export and download a visual workflow as a .PDF file, do the following:

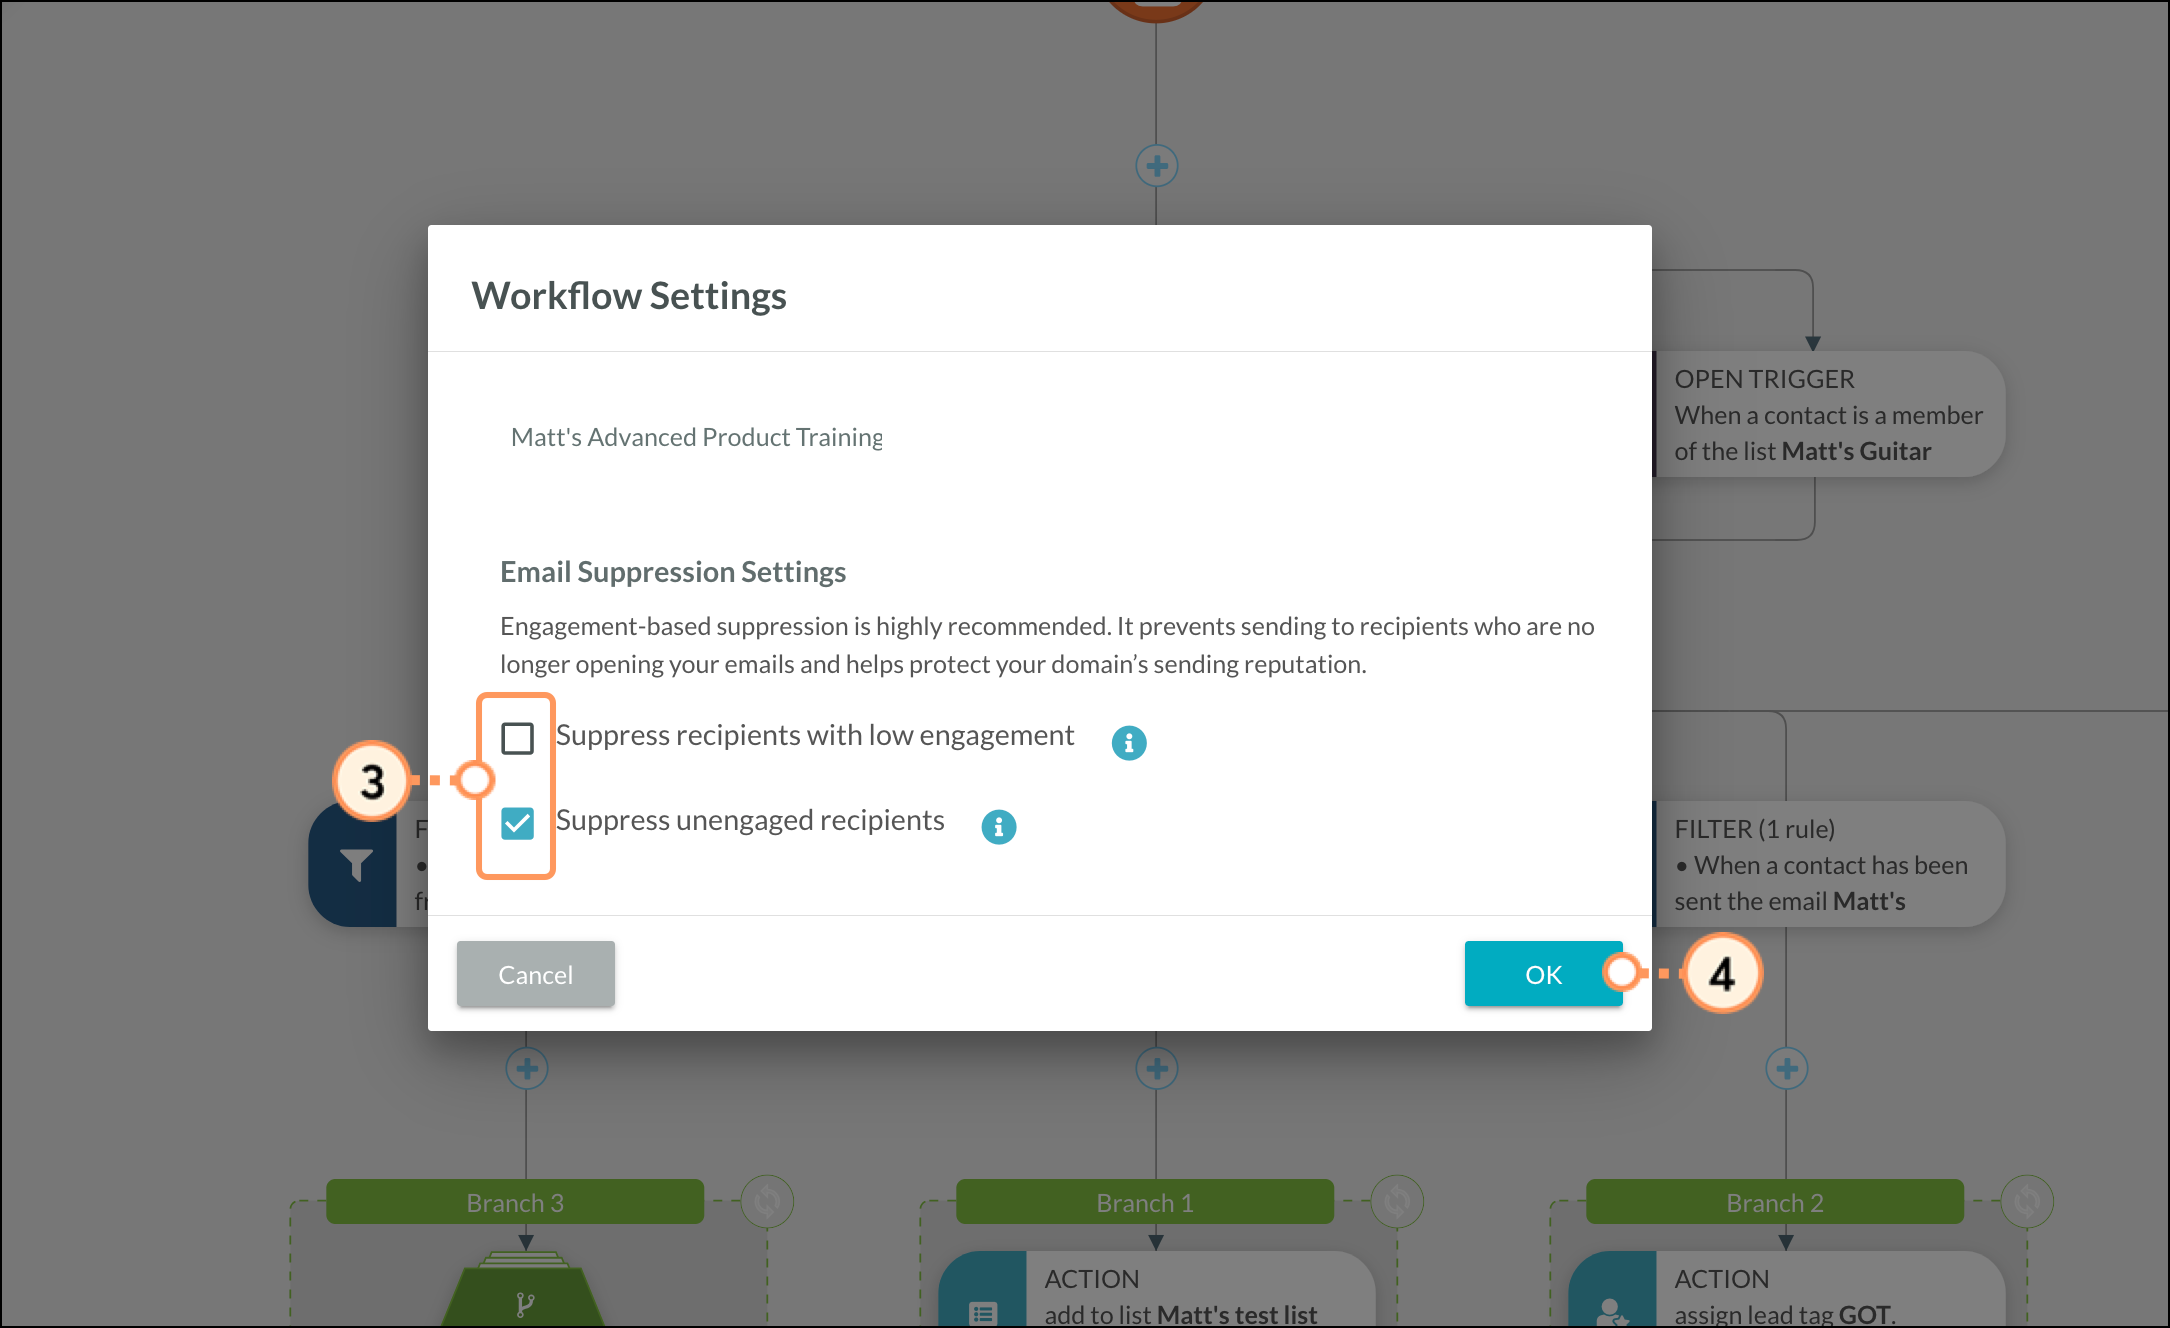
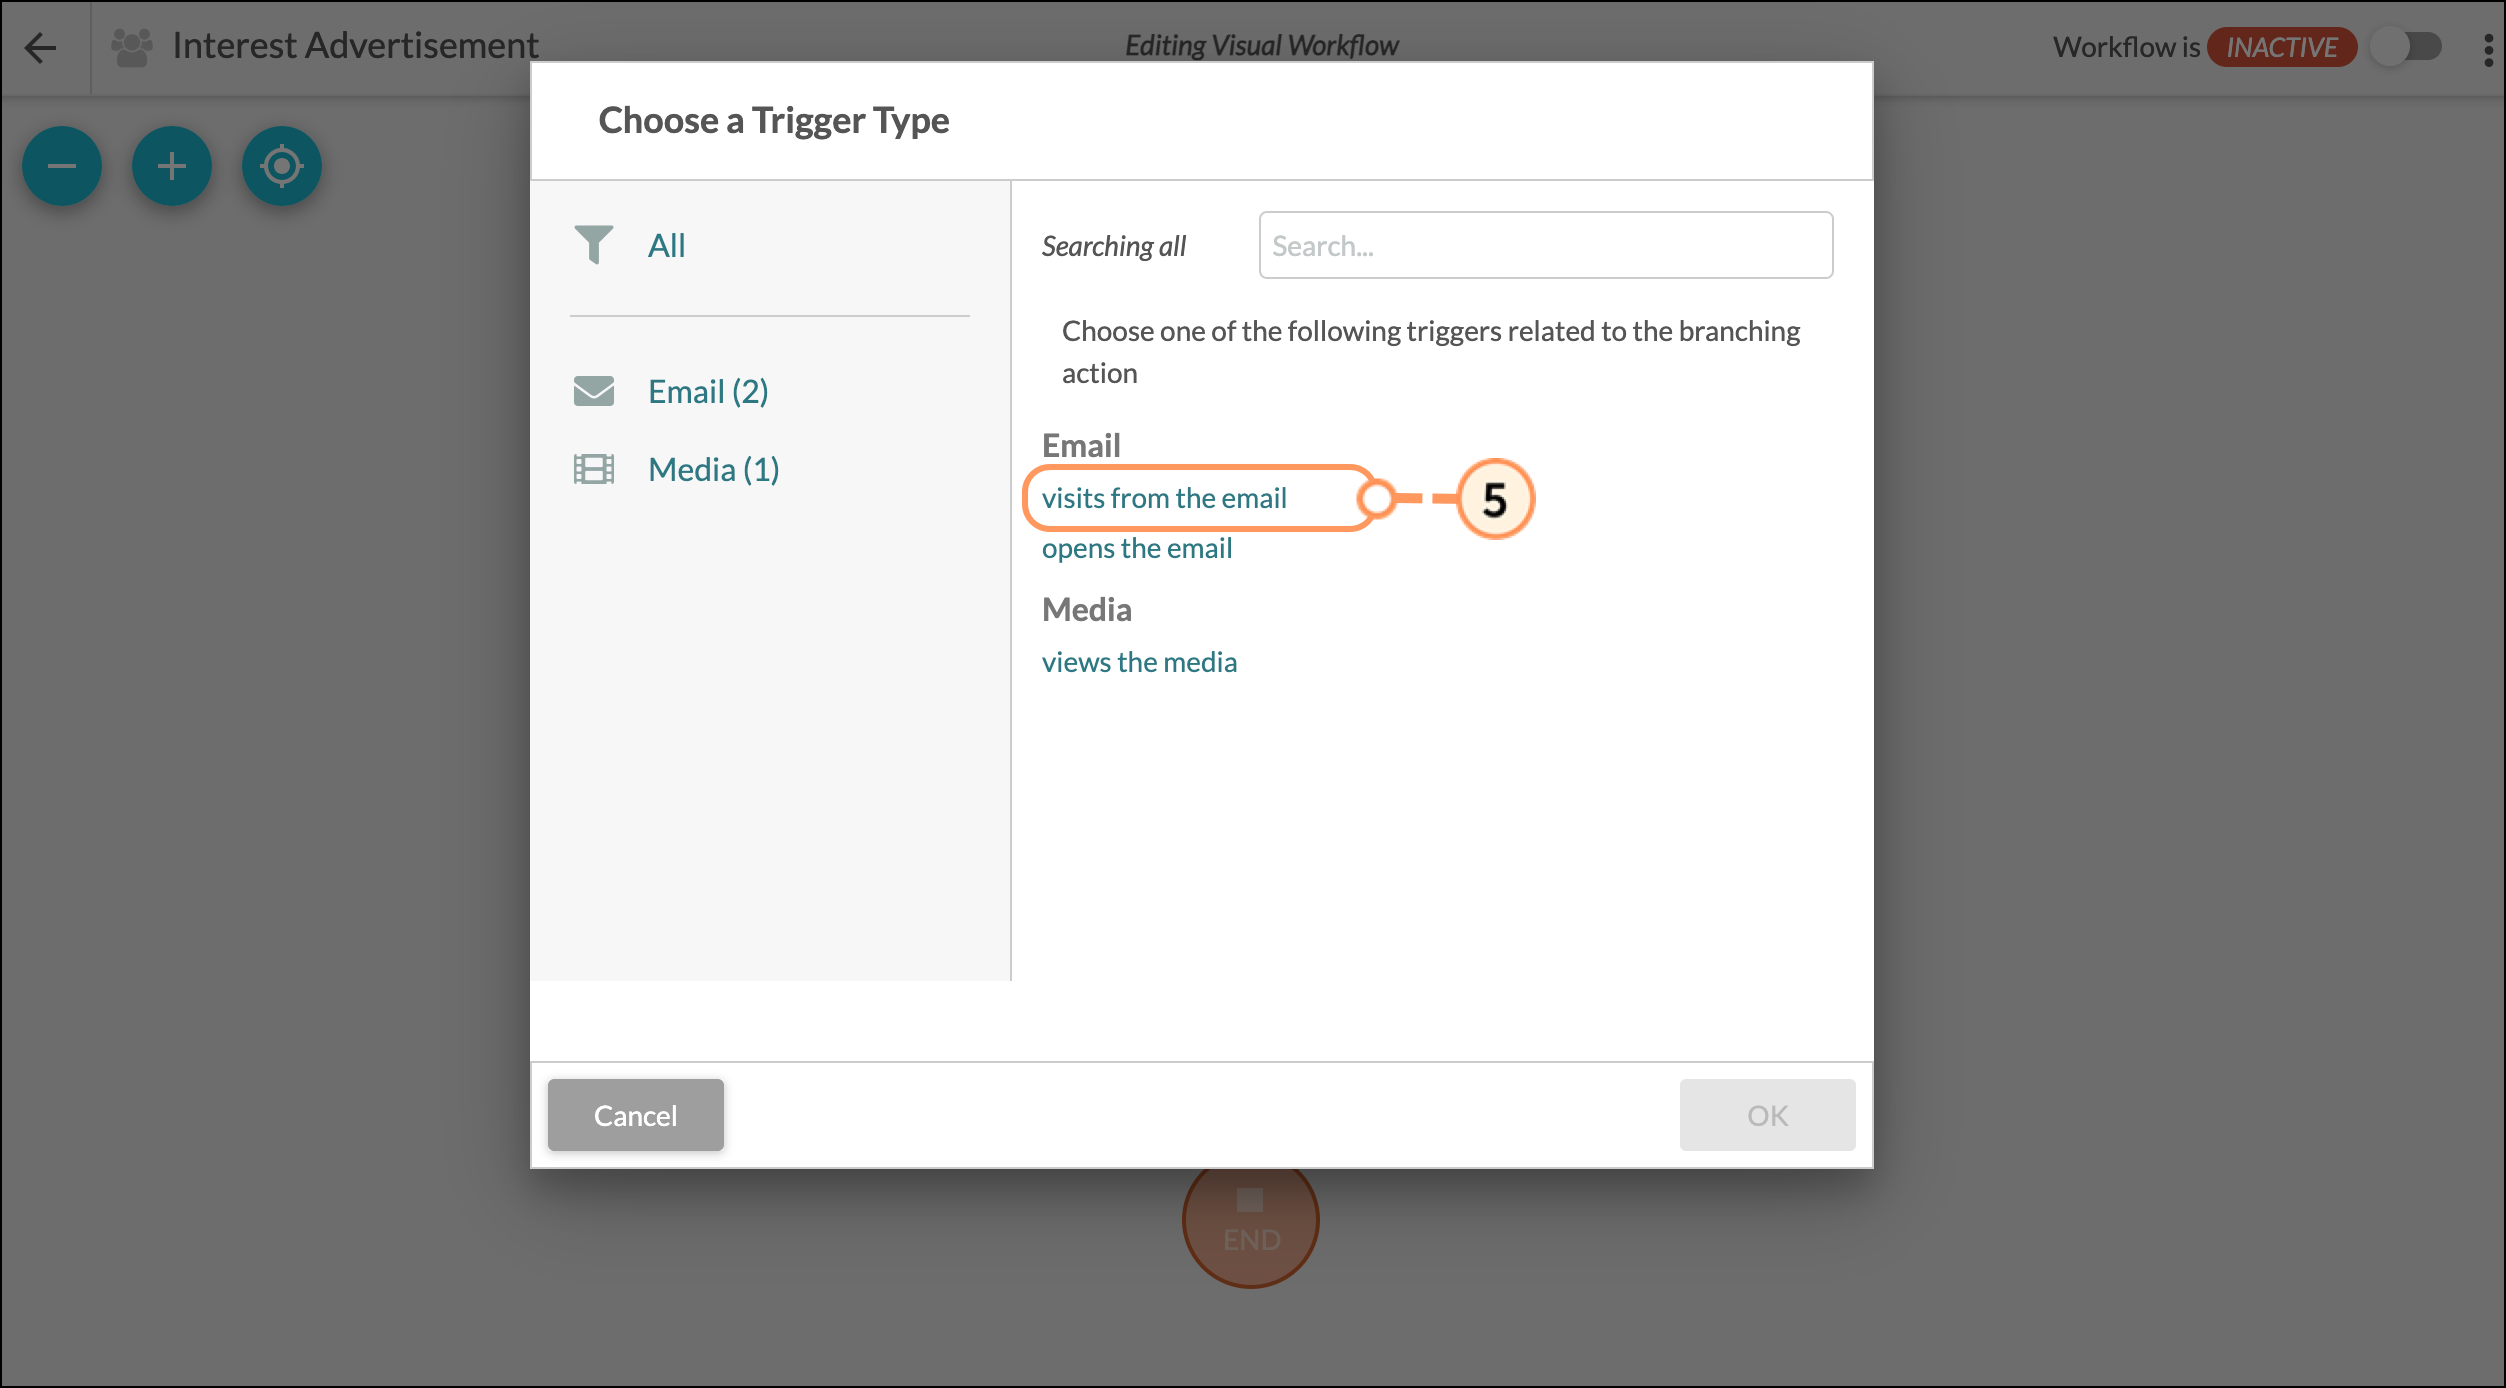
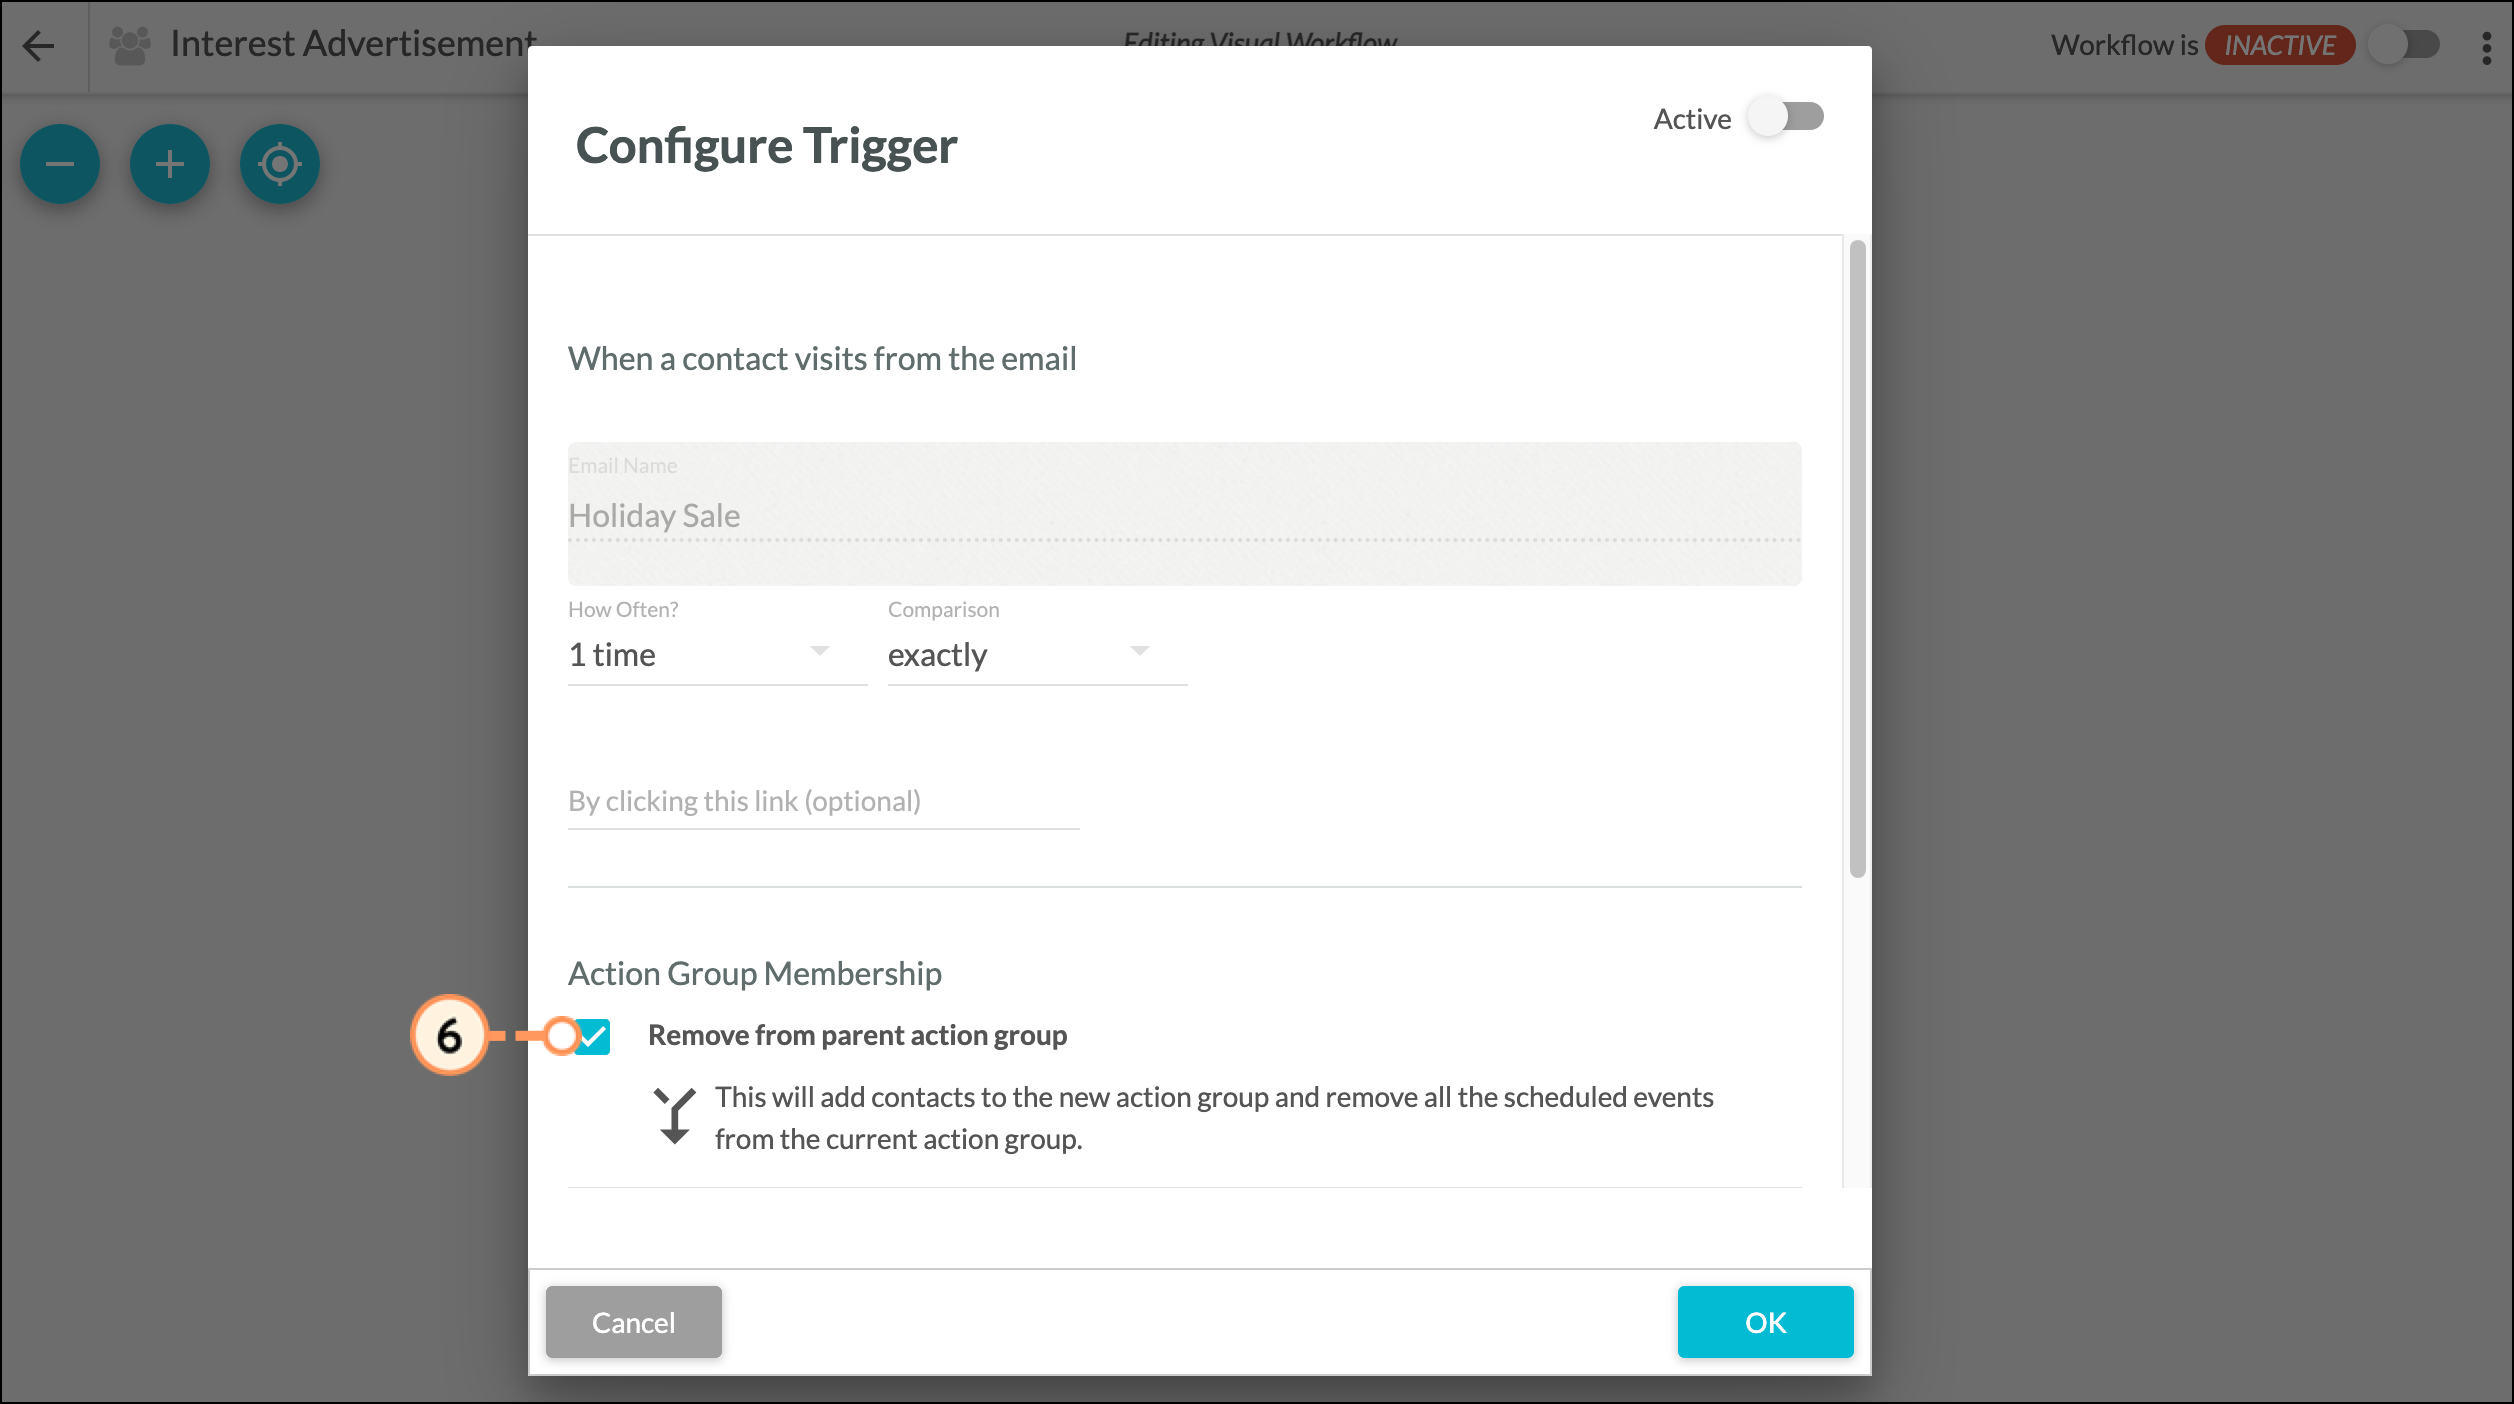
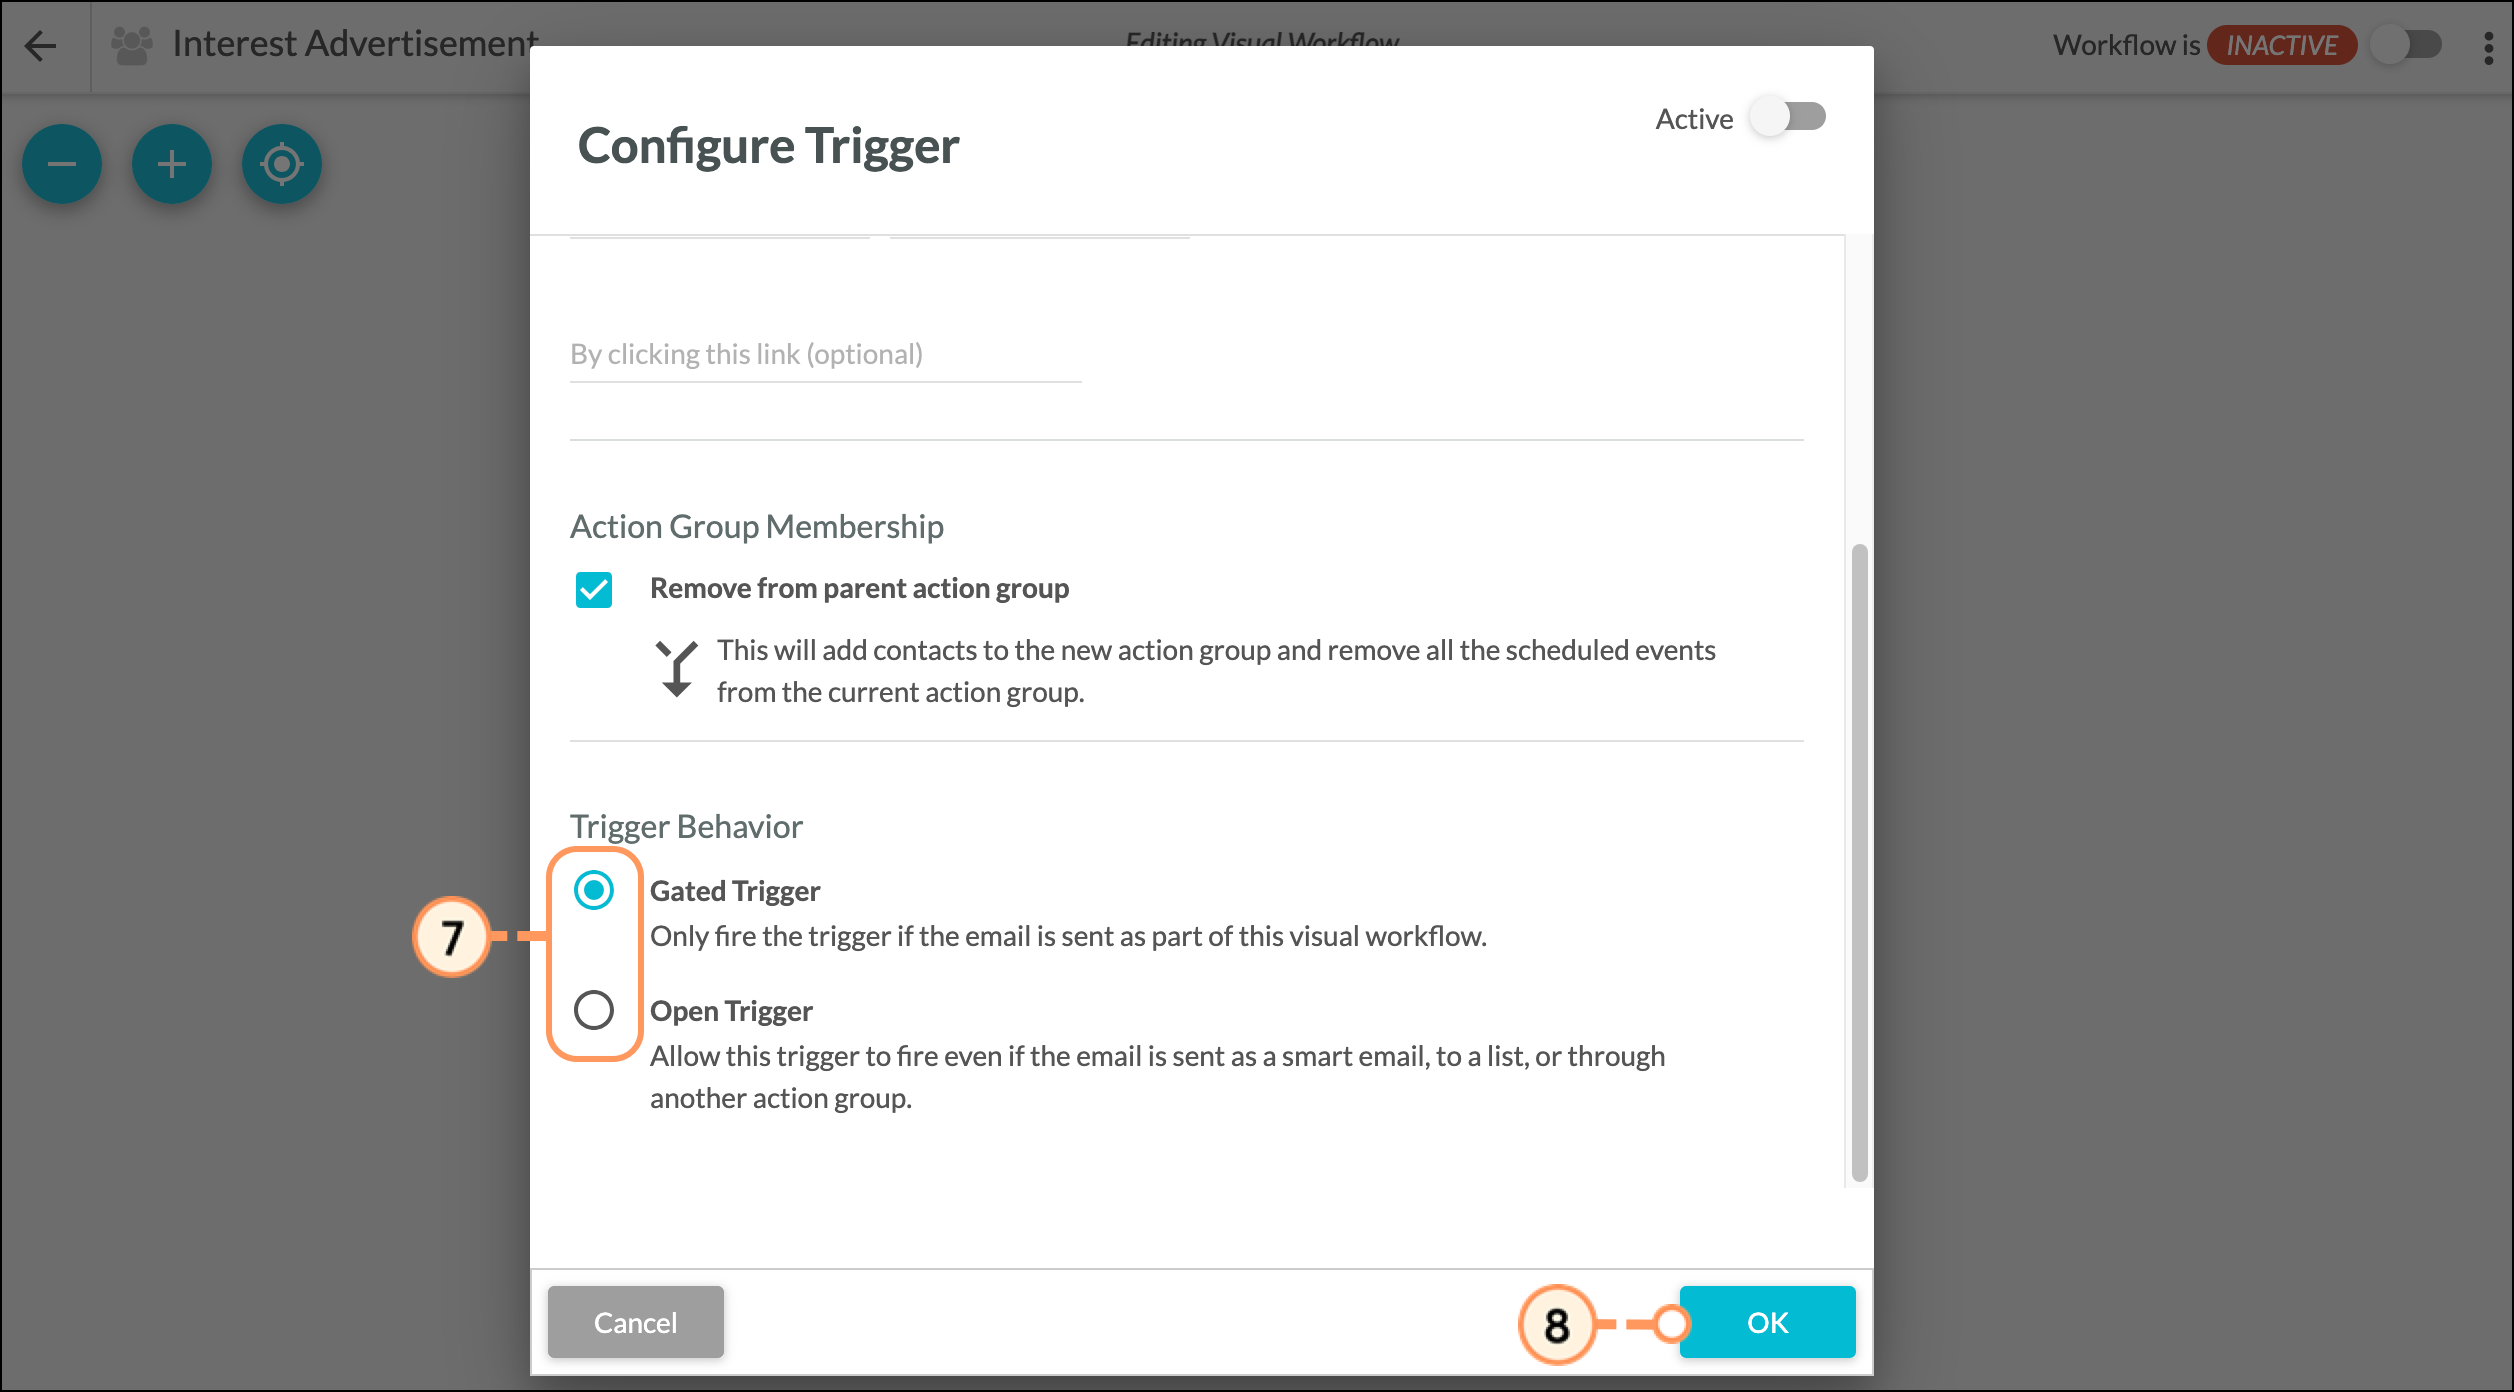
The Visual Workflow Builder includes options for triggers to have them fire if the trigger condition was met. This condition interacts with the referenced item originating in the specified workflow and action group and are available for any branching trigger.
Gated and open triggers allow you to create multiple scenarios within the same visual workflow. These triggers allow for the option, on a trigger-by-trigger basis, to choose whether conditional logic should apply, or whether any lead action that meets that condition should fire the trigger.
For example, a trigger for visits from the email with a parent action that sends that email will only fire if a visits from that email was sent from the parent action group, and will not fire if that email is sent as a Smart Mail, to a list, or through another action group.
To utilize open and gated triggers, do the following:

You can start a visual workflow with multiple triggers. However, it is important to note that these triggers will be evaluated as an or condition. This means a lead could fulfill trigger A or trigger B or trigger C, and be added to an action group. The option for and triggers is not available in the visual workflow builder. Instead, use a single, more generic trigger combined with filters to create unique communication branches.
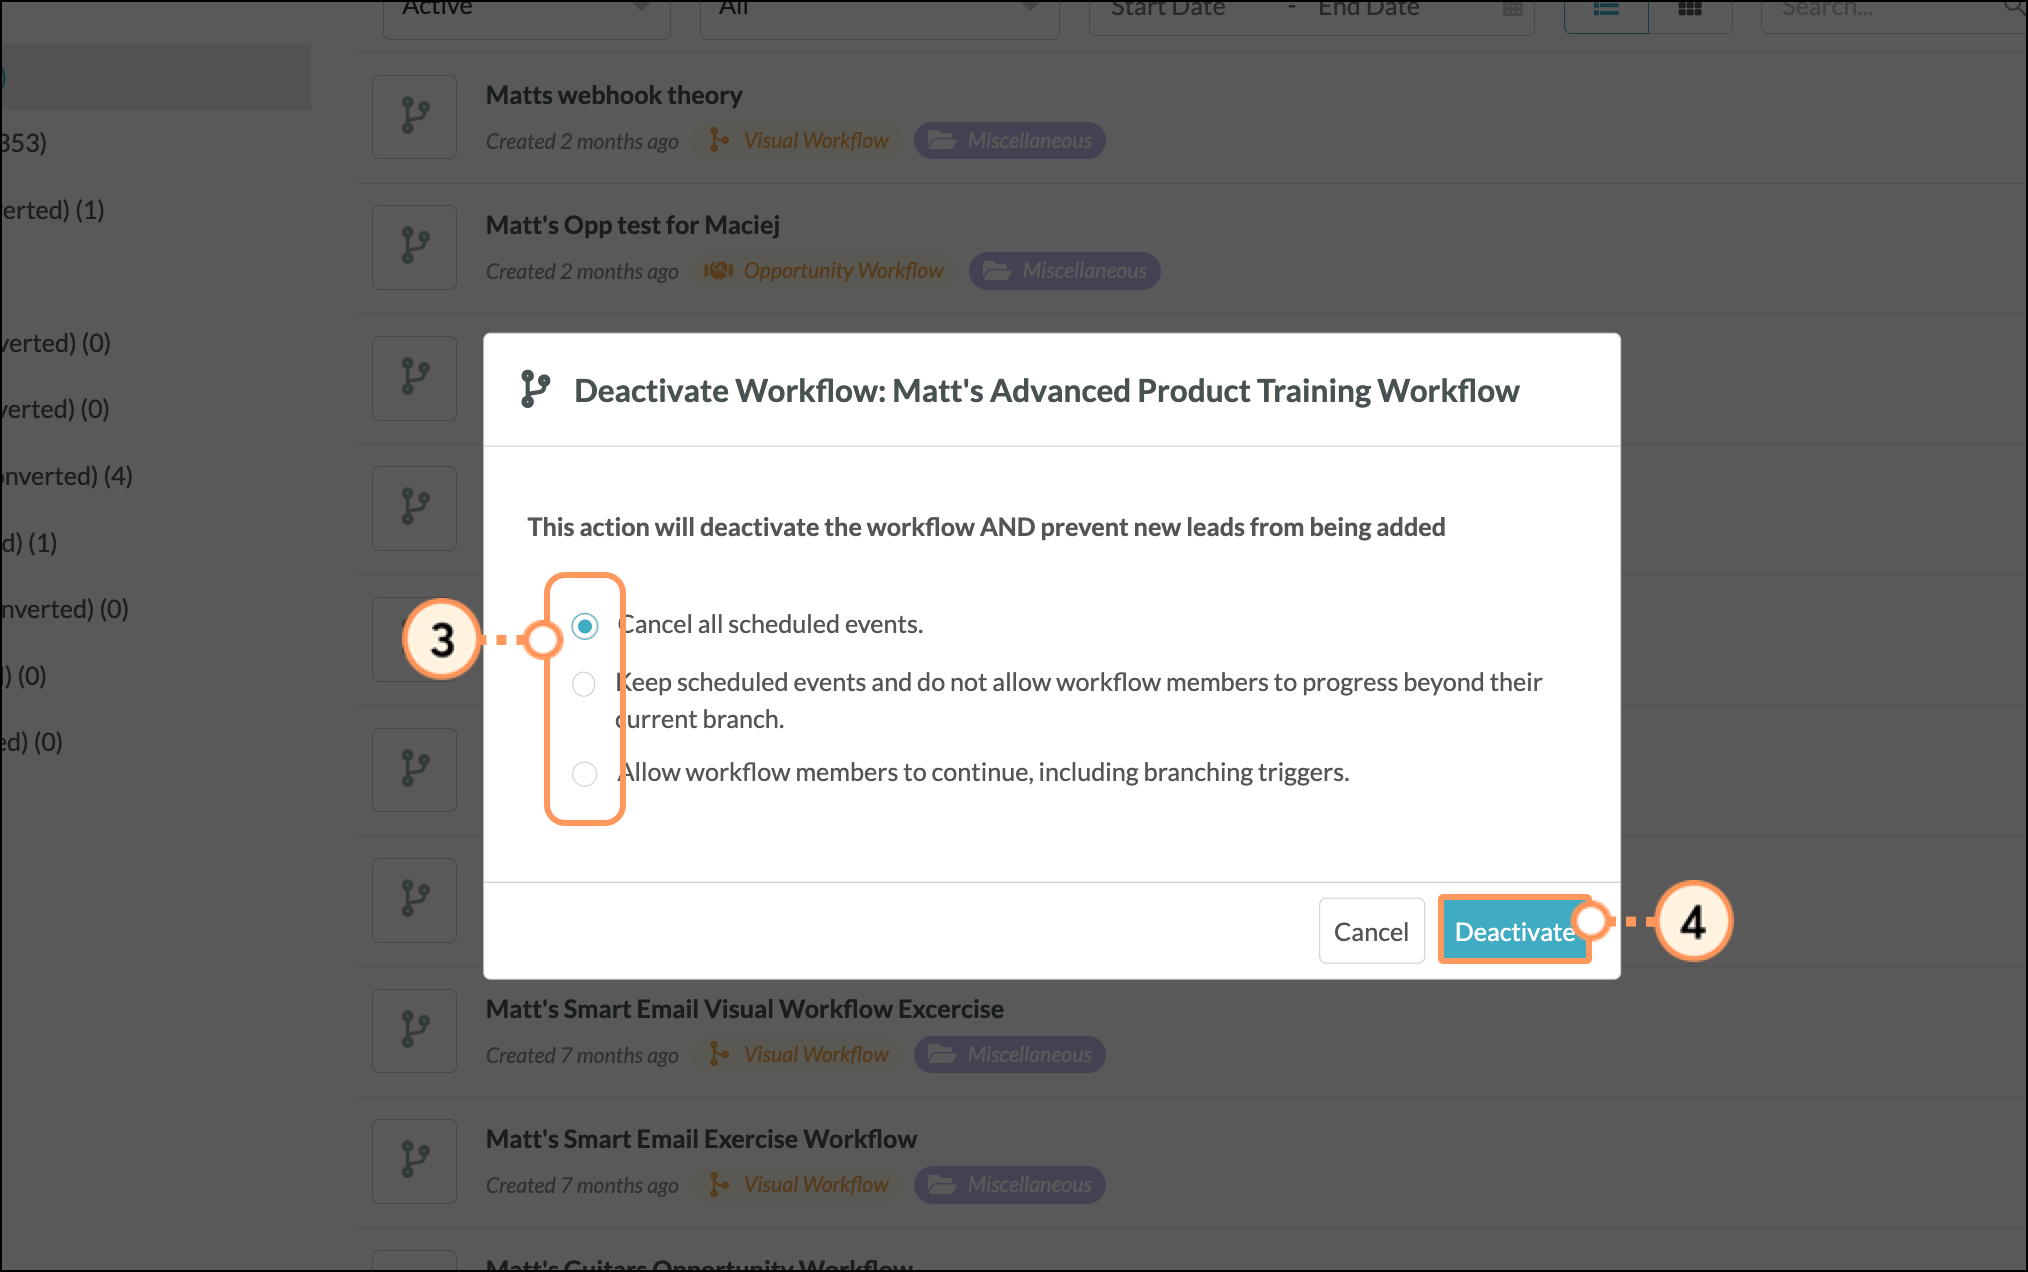
Visual workflows cannot be deleted. They can, however, be deactivated. Deactivated workflows will not fire. You can deactivate and reactivate workflows as necessary.
Note: You cannot activate visual workflows without a trigger.
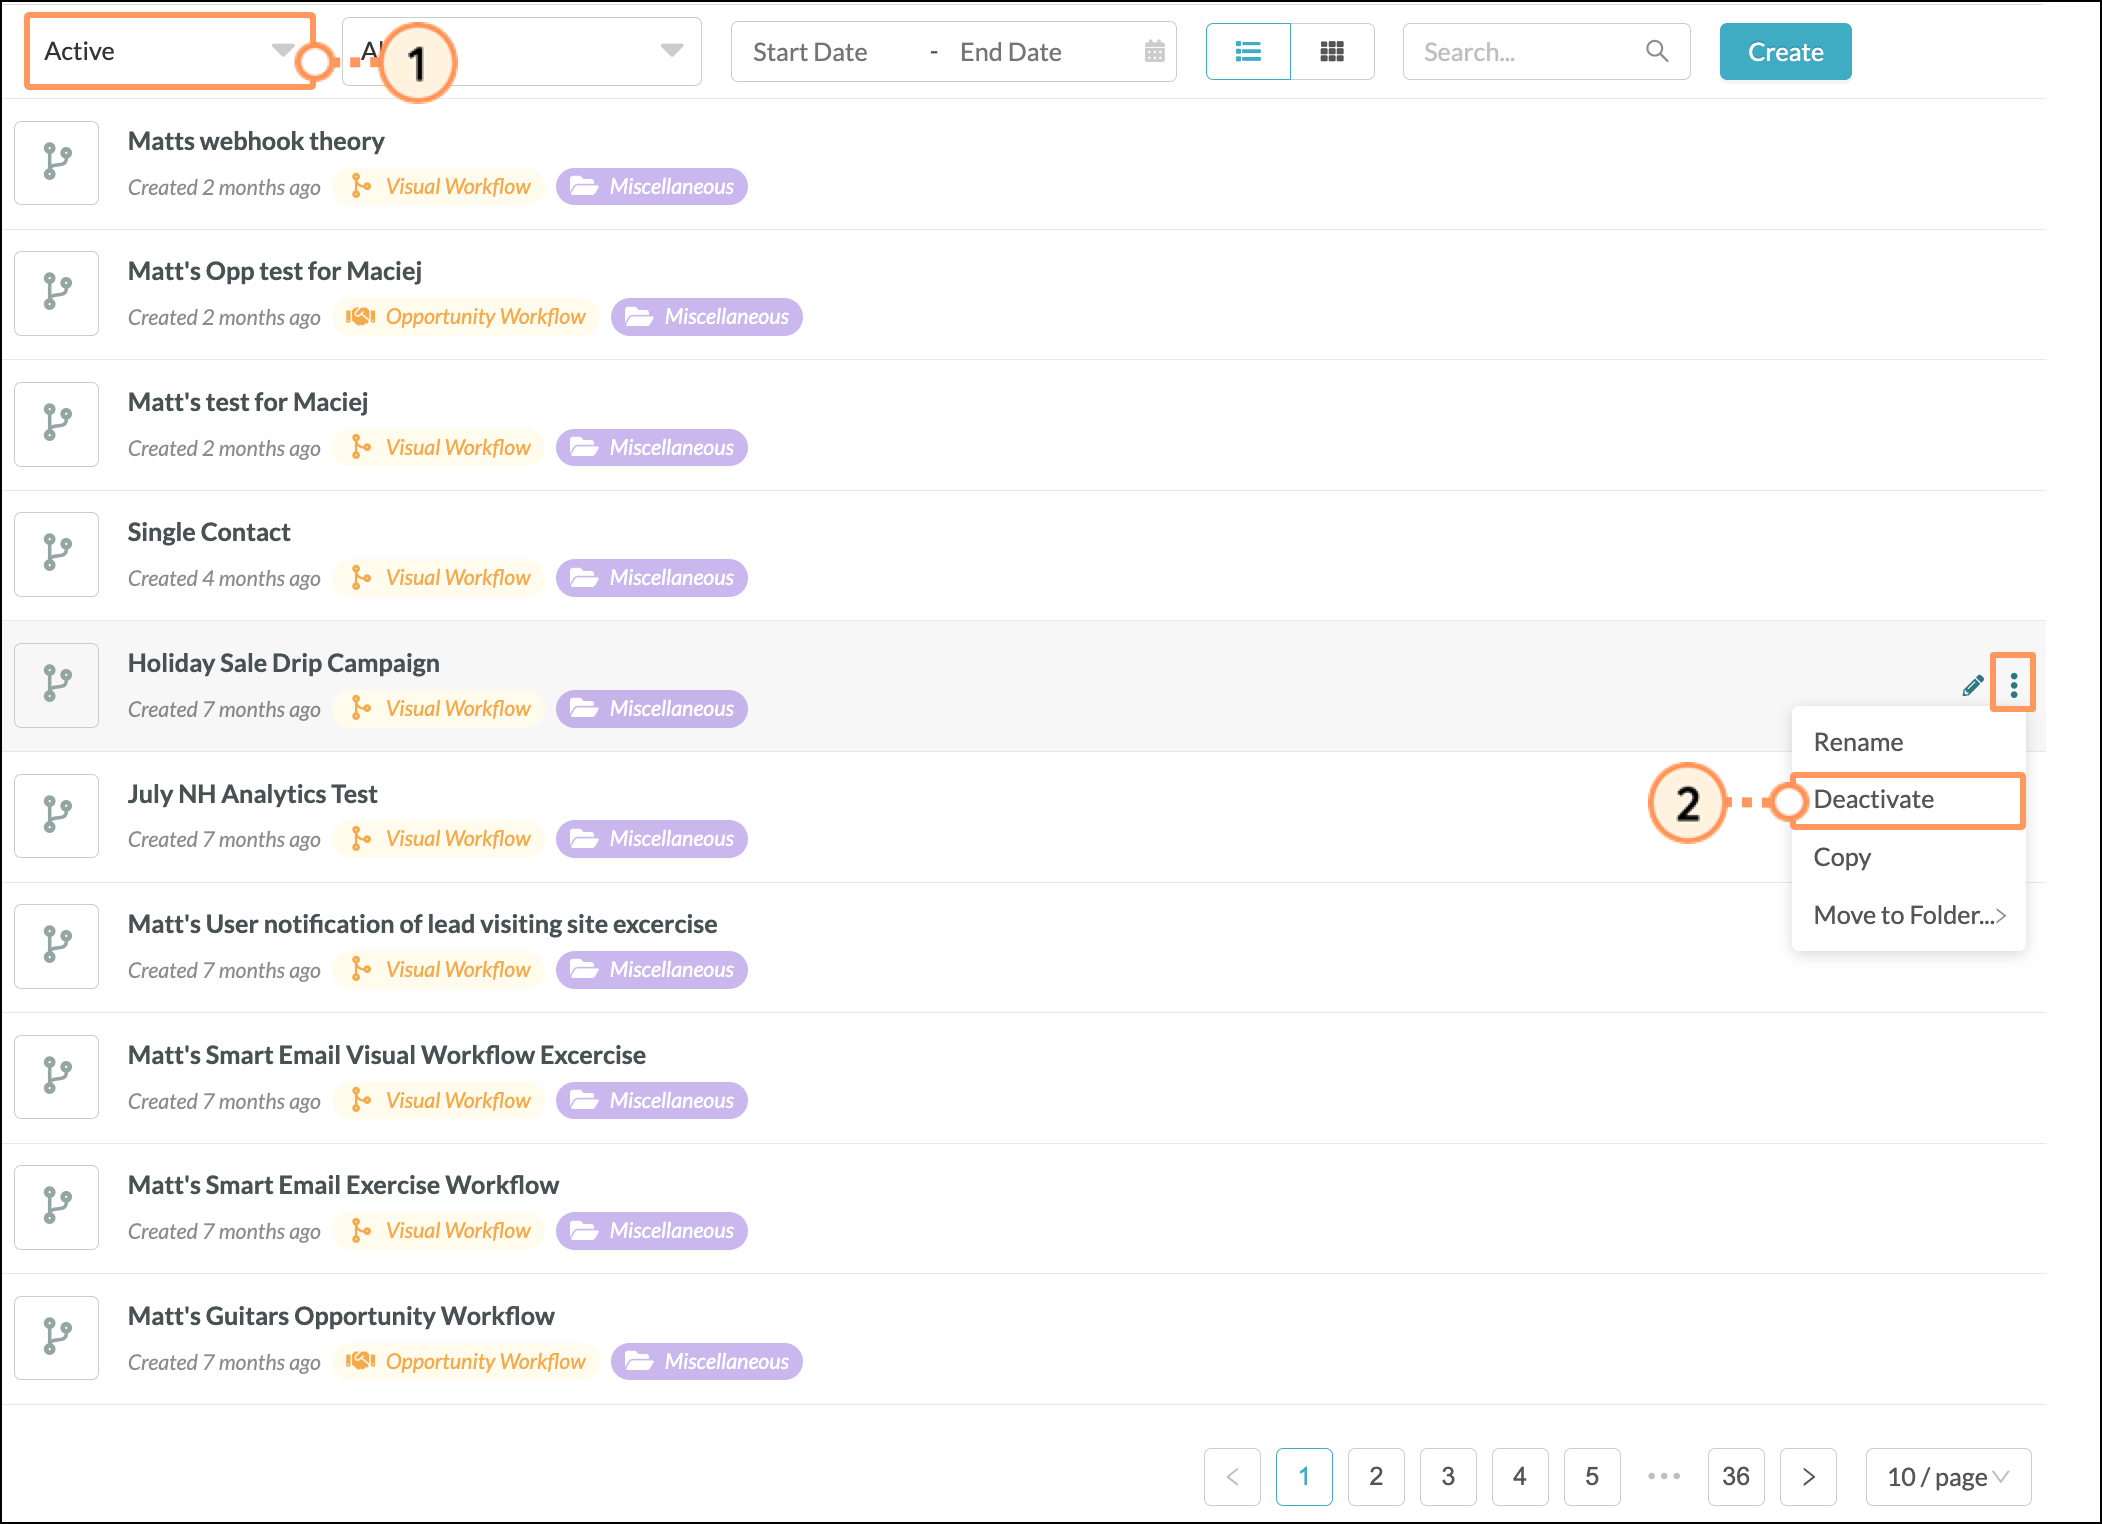
You can set a visual workflow's activity status from within an existing workflow by clicking the Workflow is toggle.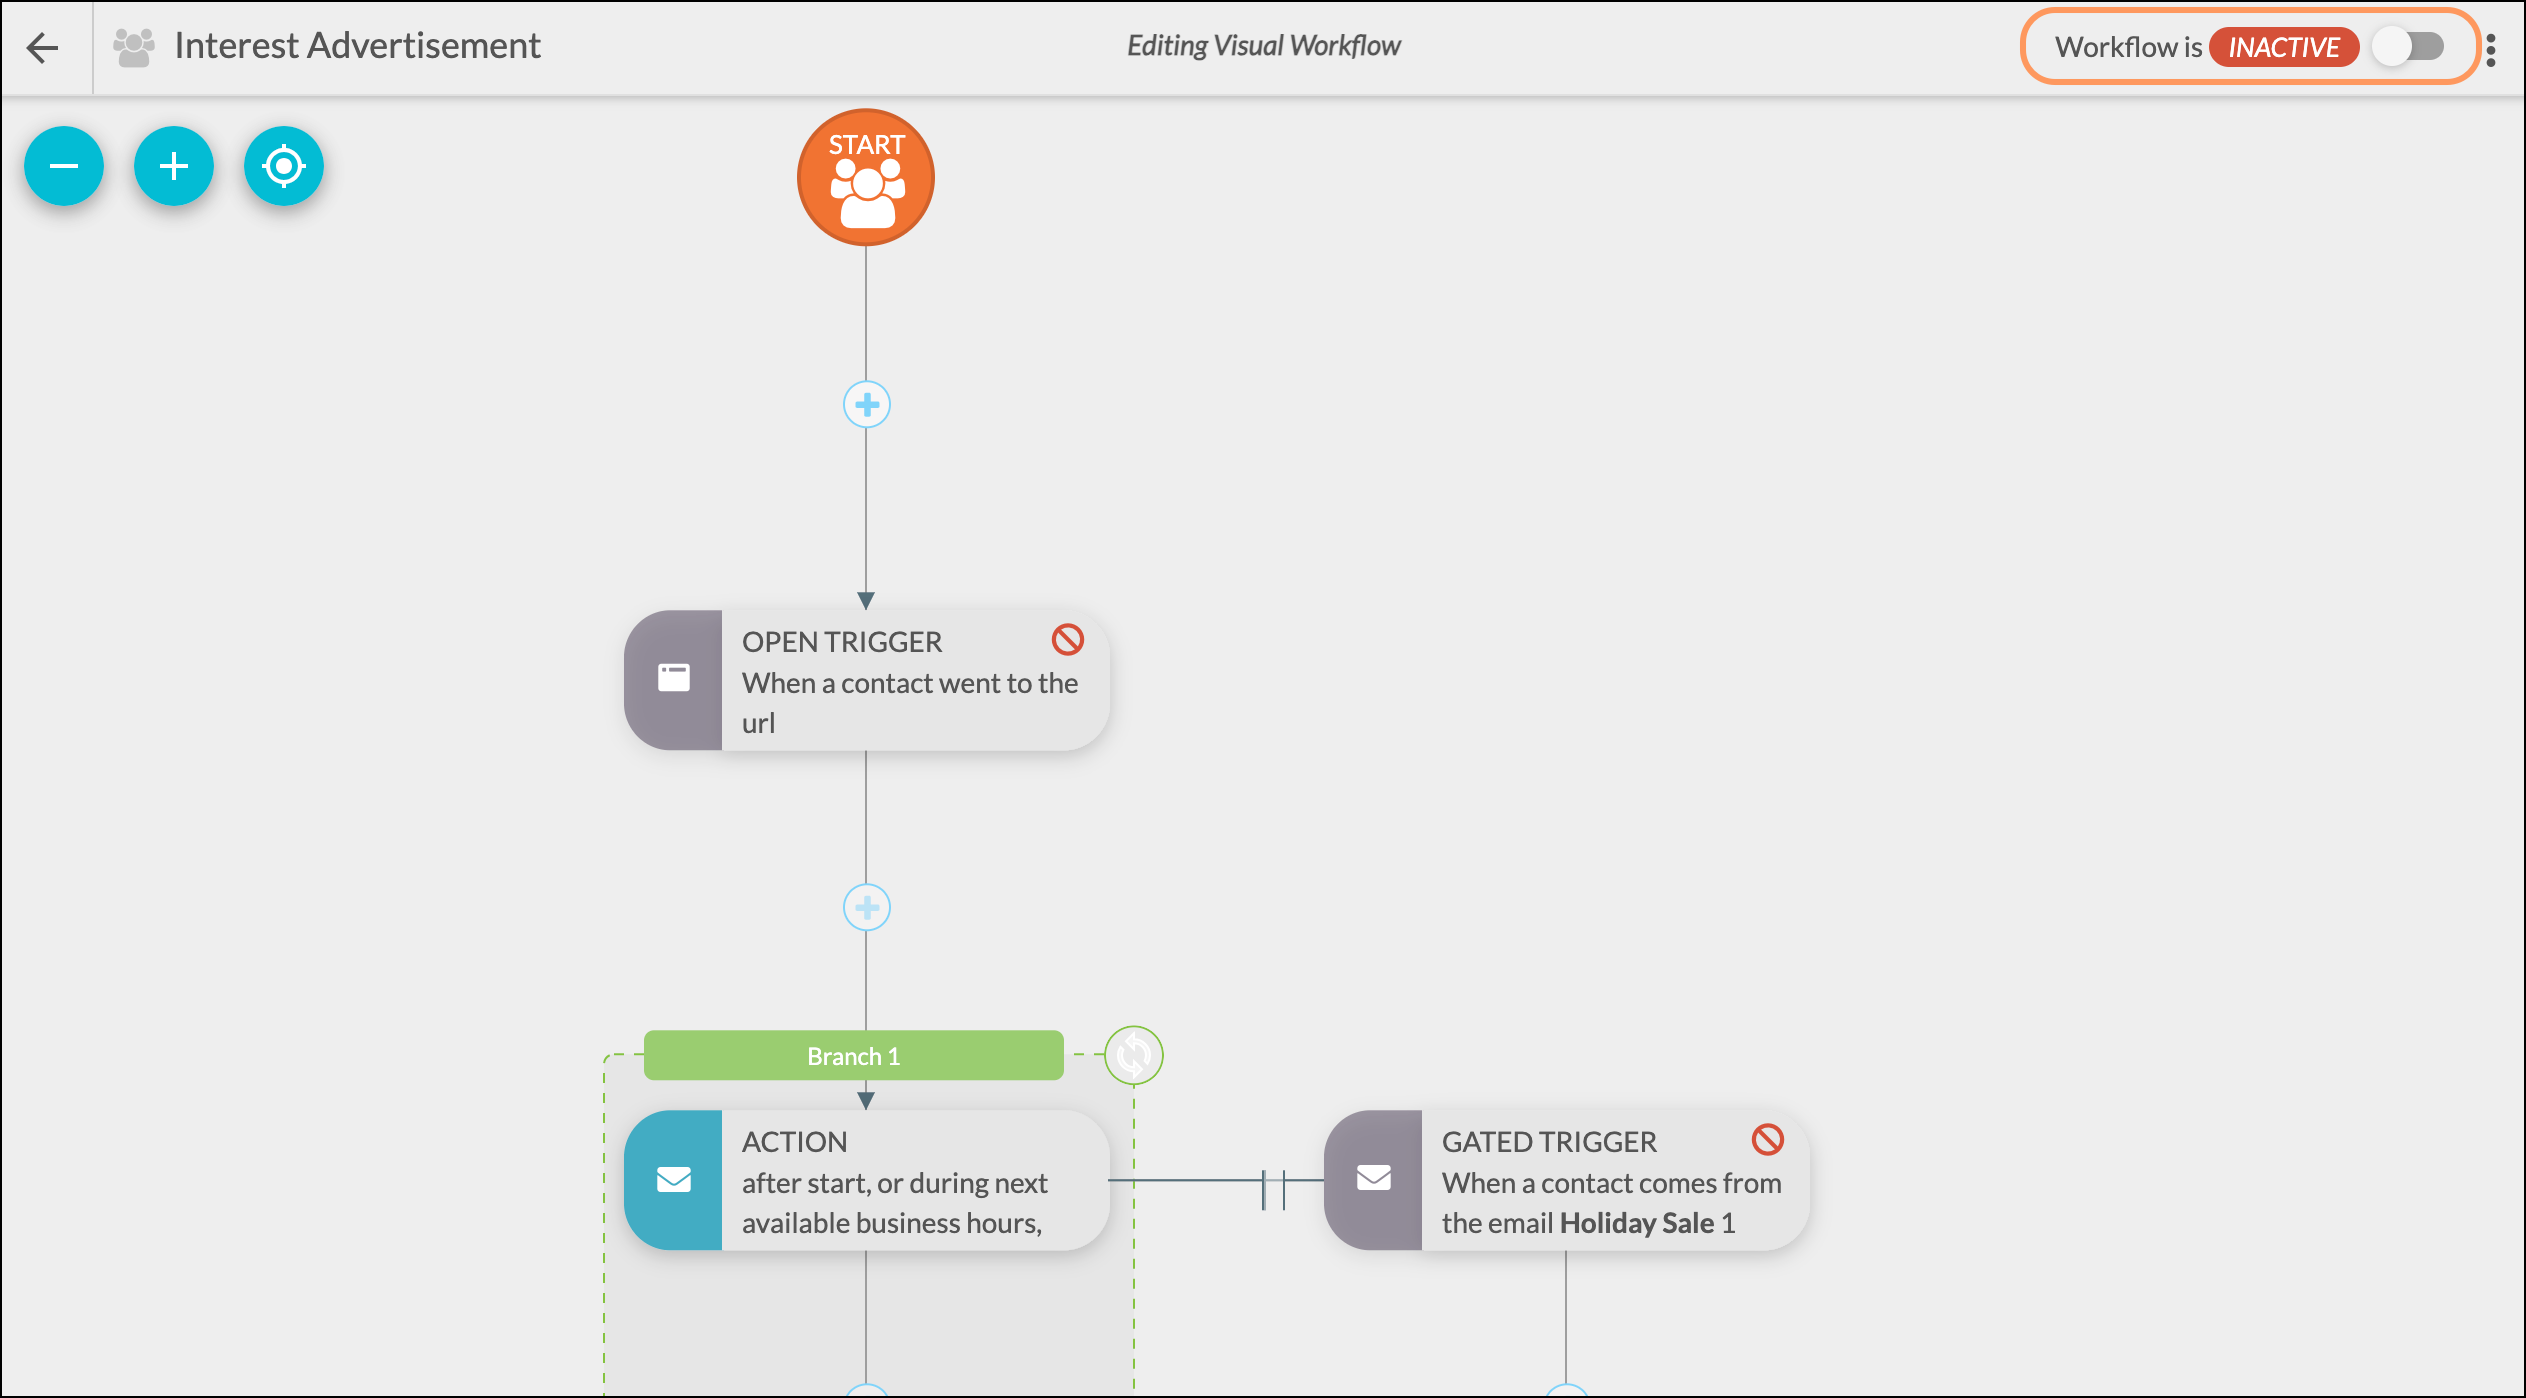
Deactivated visual workflows will have the Inactive toggle status. Activated visual workflows will have the Active toggle status.
Q: How do I save a visual workflow?
A: Triggers, filters, and action groups are saved automatically once they are added to the visual workflow.
Q: What are the differences between action groups and branches?
A: Reusable action groups are a collection of standalone events that can be referenced within a visual workflow or be manually scheduled to a list. Branches are not action groups. Branches refer to a collection of actions created for use only within a visual workflow. As the name implies, this collection of actions branch out from the action group and are dependent upon additional criteria in order to function. Branches will not be added as reusable, standalone action groups.
Q: Will my visual workflows and action groups display in the normal Action Group page, and vice versa?
A: Visual workflows will remain separate from the pre-existing action groups. These will not be accessible on the same page.
Q: Will visual workflows fire based on changes made through imports or bulk editing?
A: No. Visual workflows will not fire based on these changes.
Q. How do I make changes outside of an action group?
A: The action group must be saved prior to making any changes outside of the action group.
Q: Can I rename the branches in my visual workflow?
A: Yes. To rename the branch, simply click on the green bar above your action group and type in a new name. The name will save automatically.
Q: How can I see how far a lead is in a visual workflow?
A: On the Memberships tab of the lead record, the visual workflow name will display, followed by the name of the specific branch a lead has taken part in. You can see aggregate usage, including the last time the visual workflow ran, on the main visual workflows page.
Q: Can visual workflows be repeatable?
A: Both visual workflows and action groups can be set as repeatable. The repeatable status of the branch itself sets whether or not all content within the branch is repeatable.
Q: How do time delays work in visual workflows?
A: Time delays in the visual workflow builder are structured around the timing of the prior event. The Visual Workflow Builder does not use from start time delays. When adding time delays to a visual workflow, that delay is timing iterative from the previous event.
Q: How do time delays work when using action groups?
A: Time delays with action groups are structured around the timing of when the lead enters the action group, and not when the lead completes the action. In a workflow with a referenced standalone action group, time delays placed ahead of subsequent actions or action groups in the same branch will start before the actions or action groups.
Q: How do I know how well my visual workflows are performing?
A: You can view the performance of your visual workflow, including the total number of times the visual workflow has run, on the main visual workflows page.
Q: What happens to leads who enter automation before actions are added or removed?
A: When a lead enters a visual workflow and you add or delete actions from that action group, the changes will not reflect upon that lead. This is because when a lead enters the visual workflow, the events present at that time will write to the lead's individual contact record. Additional actions or edits will not occur for those leads.
Q: Do workflows fire retroactively?
A: No. Workflows are intended to operate from the point of creation going forward. For newly created workflows, this is to prevent both accidentally enrolling leads and, subsequently, sending unsolicited emails to those leads.
Copyright © 2026 · All Rights Reserved · Constant Contact · Privacy Center