We're making it easier to get around Constant Contact with a brand new left navigation. Not all accounts have that change yet, so if your navigation looks different from our articles, that's why–but everything from the top can now be found on the left!

Email and Digital Marketing
How can we help you?
Search our help articles, video tutorials, and quickstart guides

You've got this. You've got us. Search our Knowledge Base to quickly find answers to your questions.

Create a "link in bio" landing page to promote your web presence

Article: 000040153
Updated: April 4, 2025

Create a landing page that directs visitors to your website, social media profiles, blog, and more


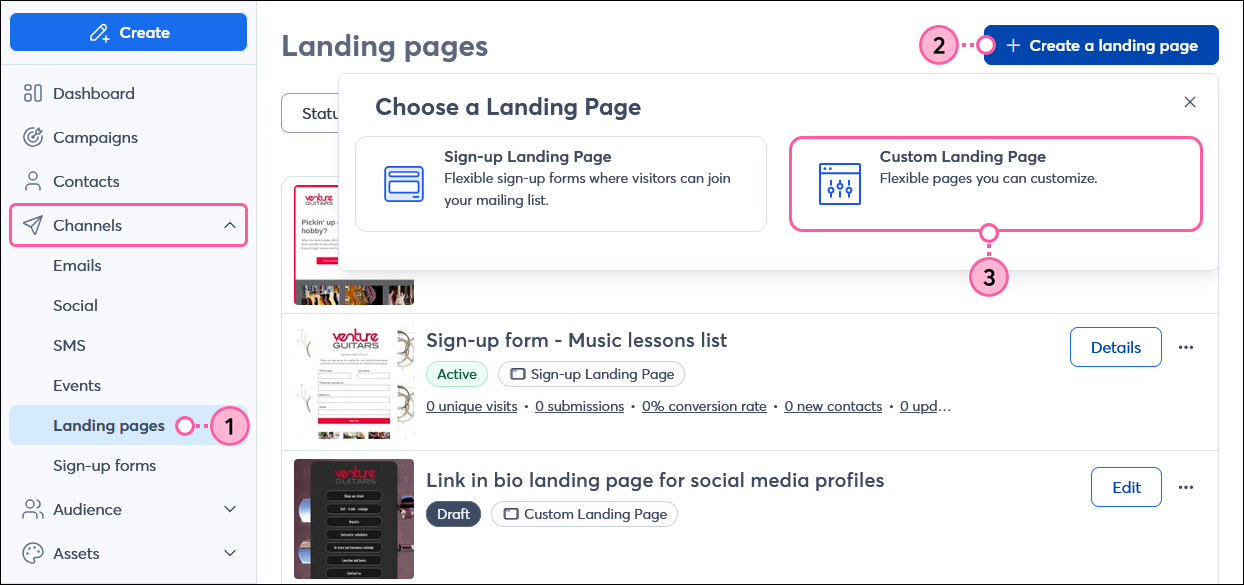
You can have a very healthy web presence without having a full website! Since the profile and bio sections of social media platforms and blogs have limited space, our "link in bio" templates help you gather all the important links you want to promote in one place, so you only have to share a single URL—it acts like a homepage of a website without all the baggage. Even if you have a webpage, you can use the "link in bio" template to point your social media audience to the parts of your website you want them to see. You can even create multiple pages customized for the different audiences for each social media platform you use!


Create a Custom Landing Page using a "Link in bio" template

  1. In the left-hand menu, click Audience Growth > Landing pages.
  2. Click the + Create a landing page. button in the upper right-hand corner of the Landing pages dashboard.
  3. Select the Custom Landing Page option.

    Audience growth menu expanded and Landing pages option selected, + Create a landing page button with Choose a Landing Page overlay and Custom Landing Page option selected

  4. Place your cursor over one of the "Link in Bio" templates, or tap on the template if you're using a touchscreen device, and click the Select button.

    Custom Landing Page template picker and Social Profile option
     
  5. Click anywhere on the landing page name to change it.
  6. In the Campaign name field, enter a unique name that you'll easily recognize in your account later. There is an 80 character limit for the name.
  7. Click the Save button.

    Custom Landing Page Rename overlay, Campaign Name field, and Save button
     

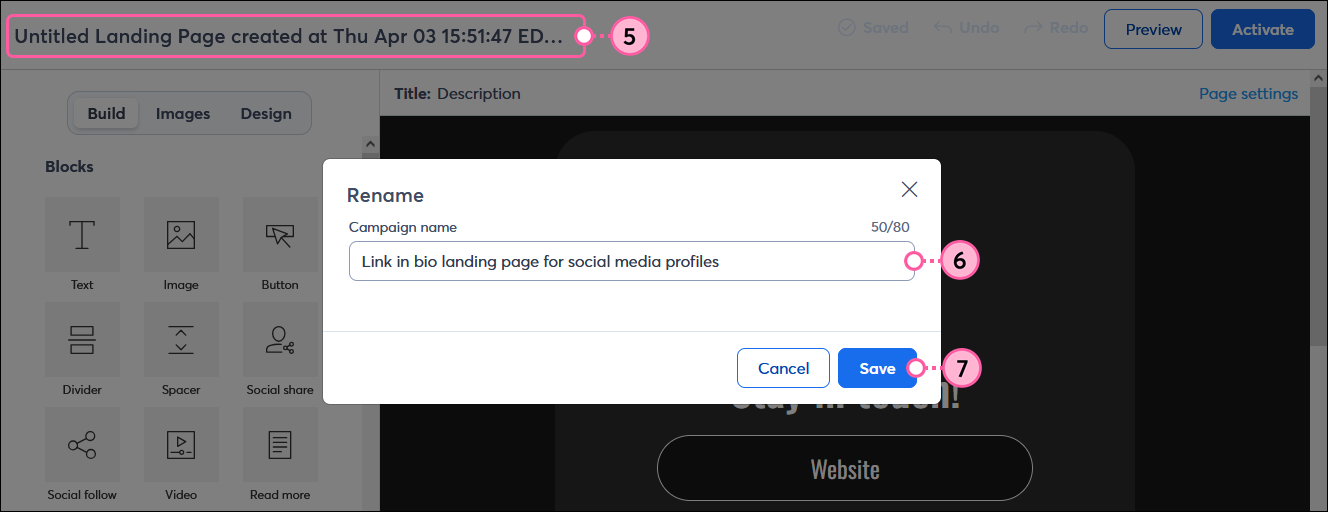
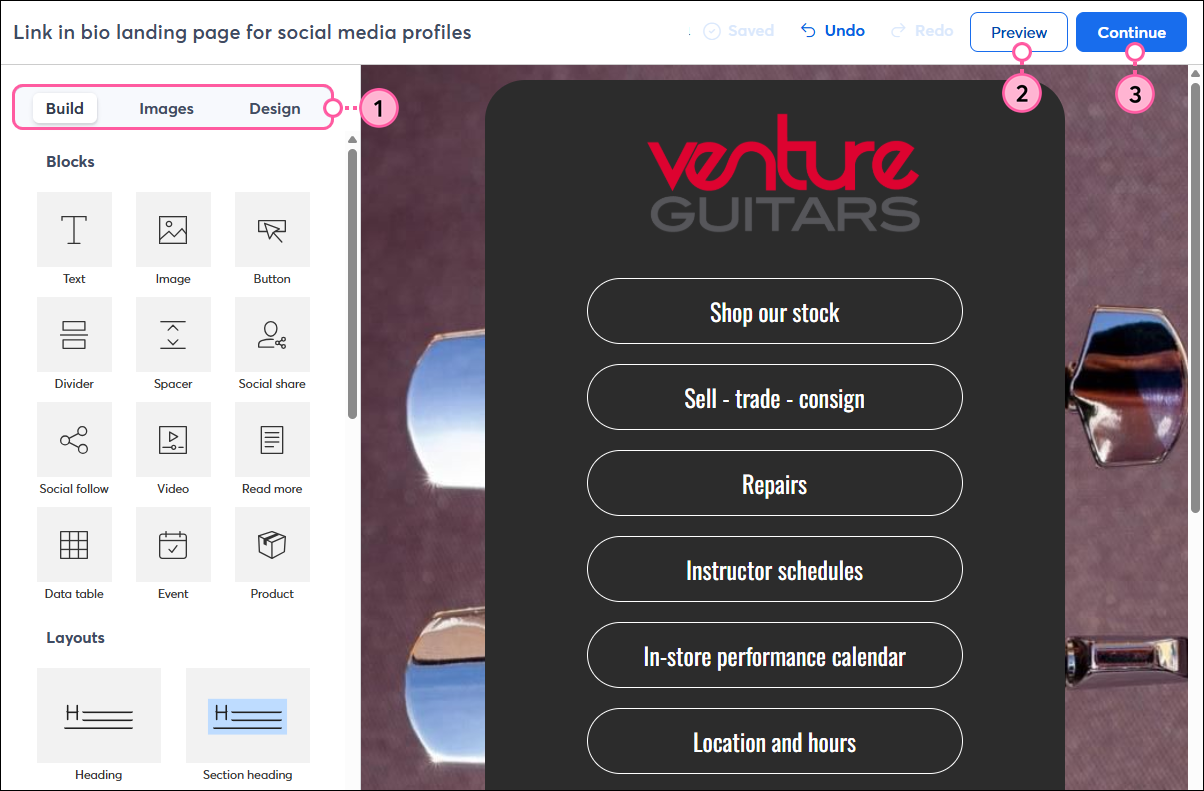
Now that your landing page is created, you can get creative by adding your branding and colors, text, and images to make it more personal for your target audience. Don't forget to include a little bit of context as to what your organization is and what it does so that people who are unfamiliar have more of a reason to engage with your landing page.
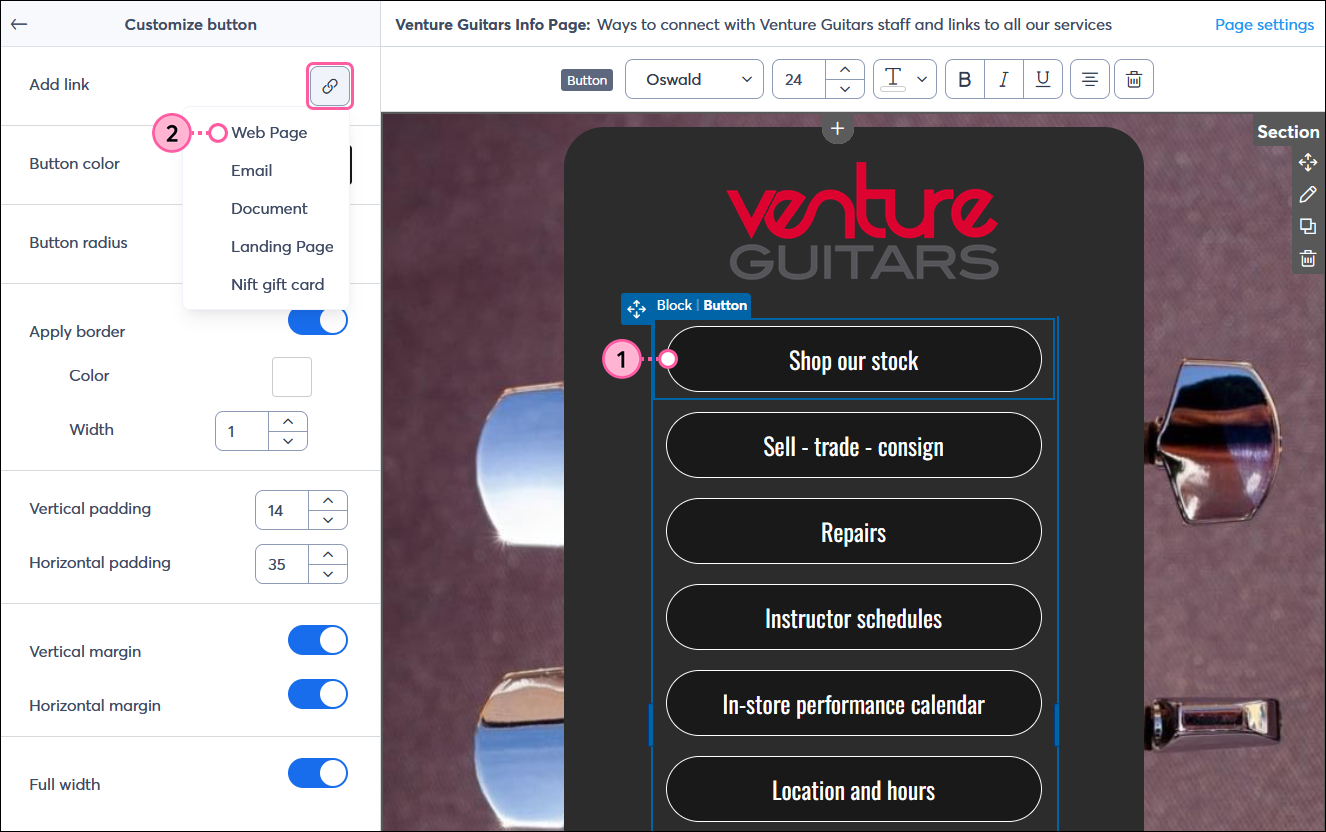
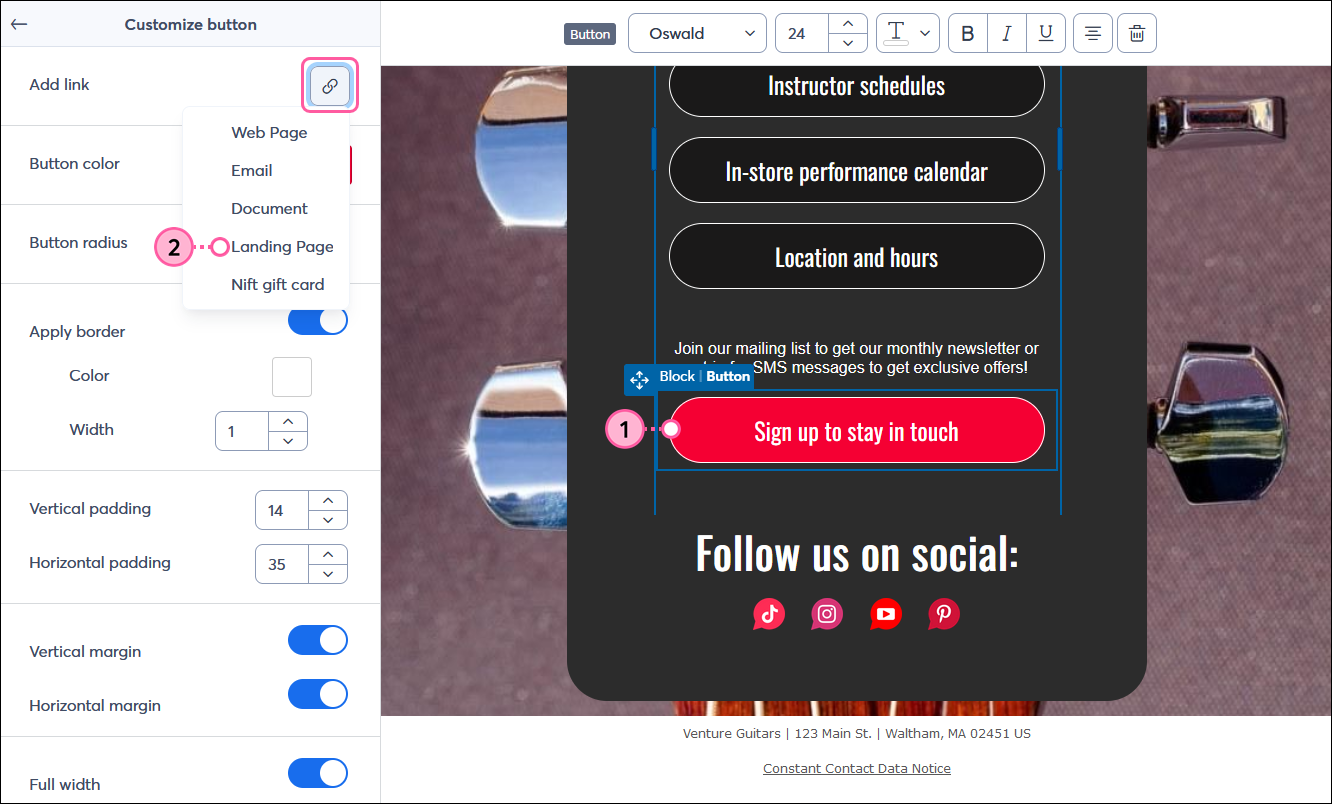
 

Add URLs to the buttons

The buttons in your template are customizable so that you can add as many as you need, or remove the ones you don't. You can link anything with a URL to a button, including your sign-up form, website, blog, social media platforms, fund raising page, event landing page or registration page, or anything else you can think of! Our editor also makes it possible to link documents like, PDFs and Excel files that are hosted in your Library, add a "mailto" address, link and even link to a Nift gift card.

Light Bulb IconDesign tip: A quick way to add more buttons that are already styled to match your existing buttons is to copy the row that includes the buttons. Next, you can drag each Button block from the new row into the original row. When you have enough buttons, delete the leftover row and continue customizing your buttons! Learn more about using blocks, rows, and sections.


  1. Click on the button you want to update.
  2. In the Customize button menu, click the Add link button (chain icon) and select the "Web Page" option. (You can select any of the options as needed!)

    Landing page editor with Button block and Customize button menu, and Add link option with Web Page option selected 
     
  3. (Optional) Update the button text in the Text to display as link field.
  4. Type or paste the desired URL into the Link URL field. (If you chose the "Email" option, enter in the email address, and if you chose the "Document" option, select a document from your Library, etc...)
  5. Click the Insert button.

    Custom Landing Page Insert Link overlay, Text to display as link field, Link URL field, and Insert button 
     
Light Bulb IconDesign tip: When you're adding links to your social media profiles, you can use a standard button, or use the branded social media icons in a Social follow block, whichever works best for your design!


Link a Sign-up Landing Page to a button

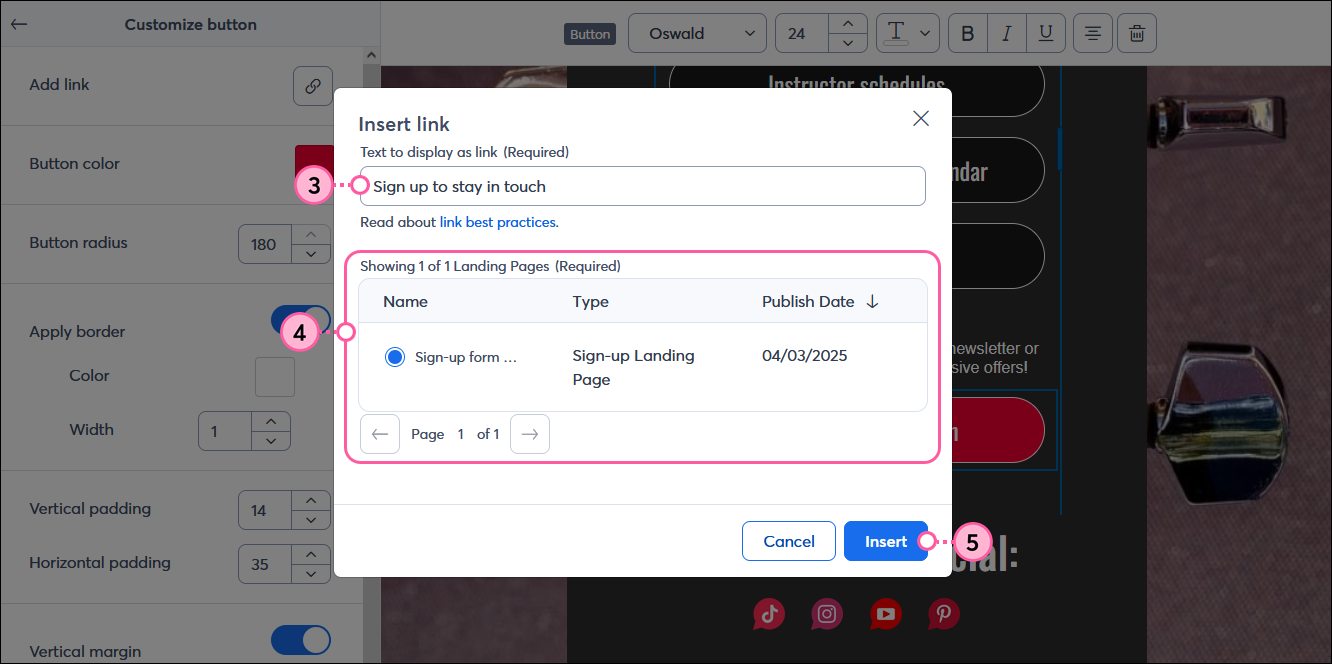
Having a way to sign up for your email or SMS marketing list is one of the most important elements of your "link in bio" landing page! Your Sign-up Landing Page must be created before you can link it to a button.

  1. Click on the button you want to link your Sign-up Landing Page to.
  2. In the Customize button menu, click the Add link button (chain icon) and select the "Landing Page" option.

    Landing page editor with Button block and Customize button menu, and Add link option with Landing Page option selected 
     
  3. (Optional) Update the button text in the Text to display as link field.
  4. Select the Sign-up Landing Page you want to use.
  5. Click the Insert button.

    Custom Landing Page Insert Link overlay, Text to display as link field, landing page options, and Insert button
     
Light Bulb IconDesign tip: Want to make your "Sign up" button stand out? There are few ways that you can mix and match! Put the button at the top of your landing page so it's not easy to miss. Make it stand out from the other buttons with an eye-catching color. Add a spacer and a little bit of explainer text to help draw the eye to the button.


Activate your "link in bio" page

  1. Finish adding the rest of your content and branding using the Build, Images, and Design tabs.
  2. Make sure your Page settings are updated—this is where you can add customization to the landing page URL too!
  3. After you've added the rest of your content and branding, give your page a preview and then click Activate.

    Landing page editor with Build, Images, and Design tabs, Page settings option, and Preview and Activate buttons 
     

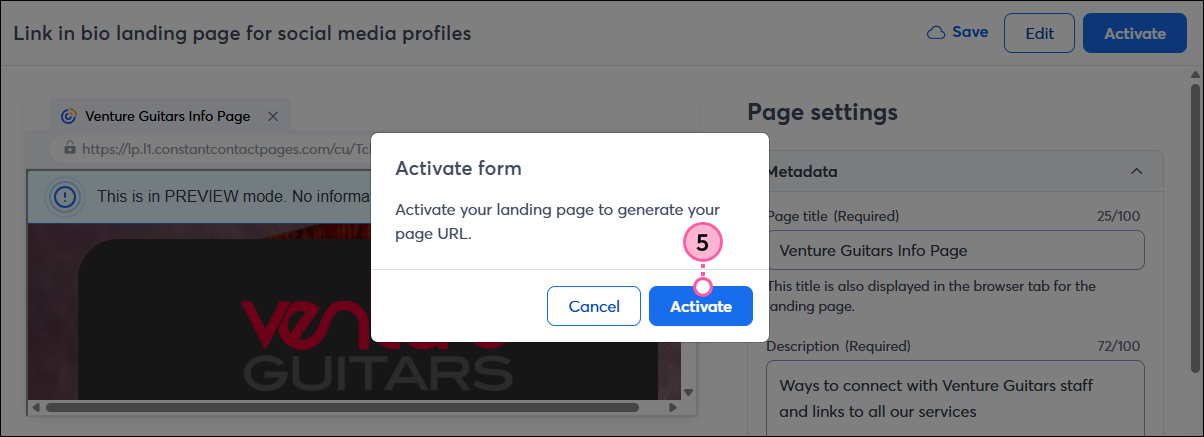
Once your landing page is published, the URL can be found on the Landing Page Details page. Copy the URL and:

The link can even be shortened by using the URL shortener in our Social Post tool. Just click Share > Share on social from the Landing Page Details Page and copy the shortened link.


Questions?

Ask the Community

Did this article answer your question?


Constant Contact Logo

Copyright © 2025 · All Rights Reserved · Constant Contact · Privacy Center