| Note: This article pertains to Starter Email customers. If you’re in our Lite, Standard, or Premium plans, please refer to this article instead. |
While you can upload images and documents to your Constant Contact Library while editing an email, you can also add and manage your files from the Library in your account.
Add files to your Library
Whether you're working with JPGs, PNGs, SVGs, GIFs, Word documents, Excel spreadsheets, PowerPoint presentations, or PDFs, you can upload multiple files at a time from your computer and store them in your Library. You'll then be able to insert the images or link to the documents in your emails later.
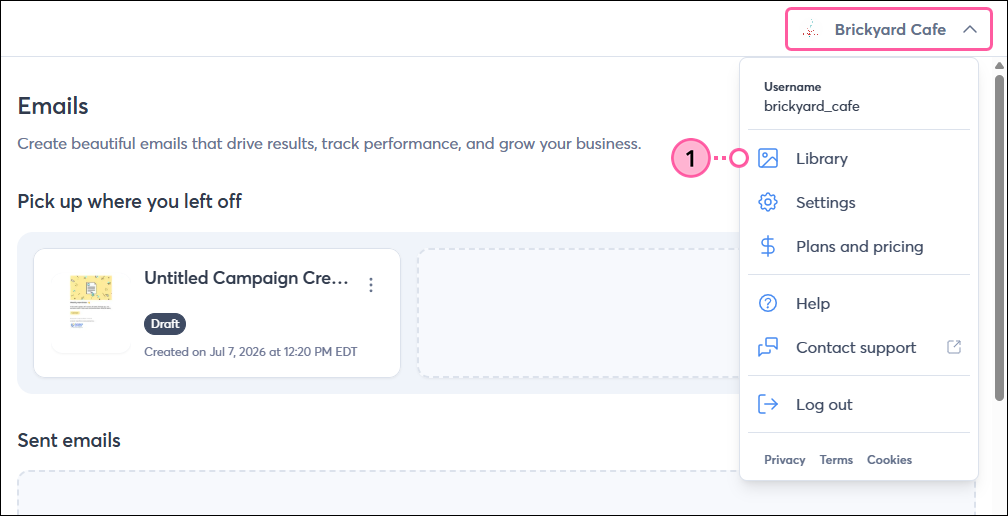
- Click the profile name in the upper-right and select Library from the drop-down.
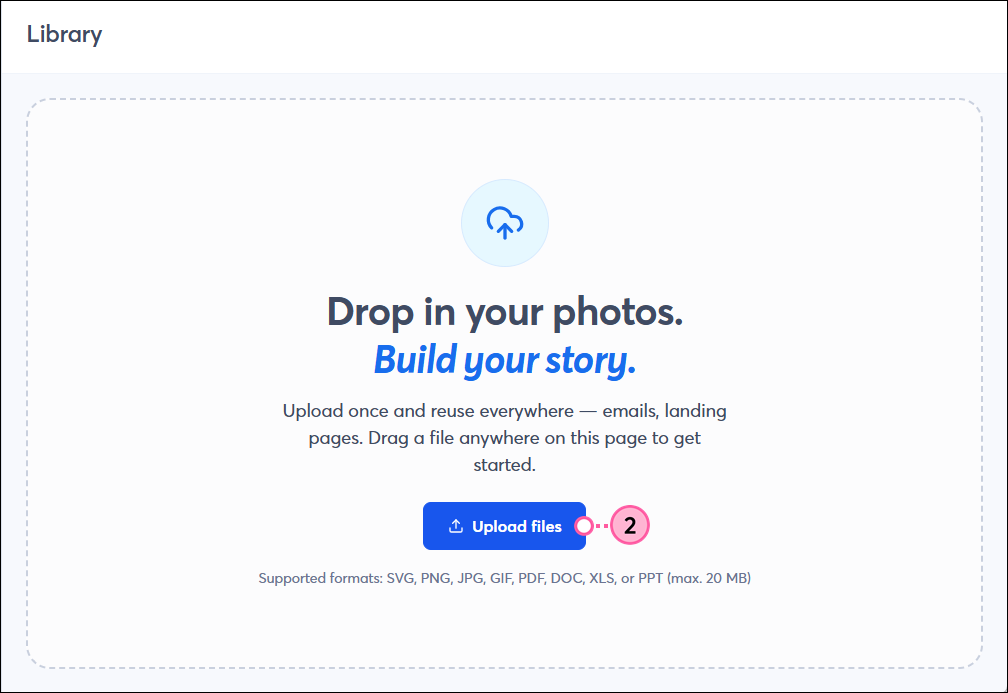
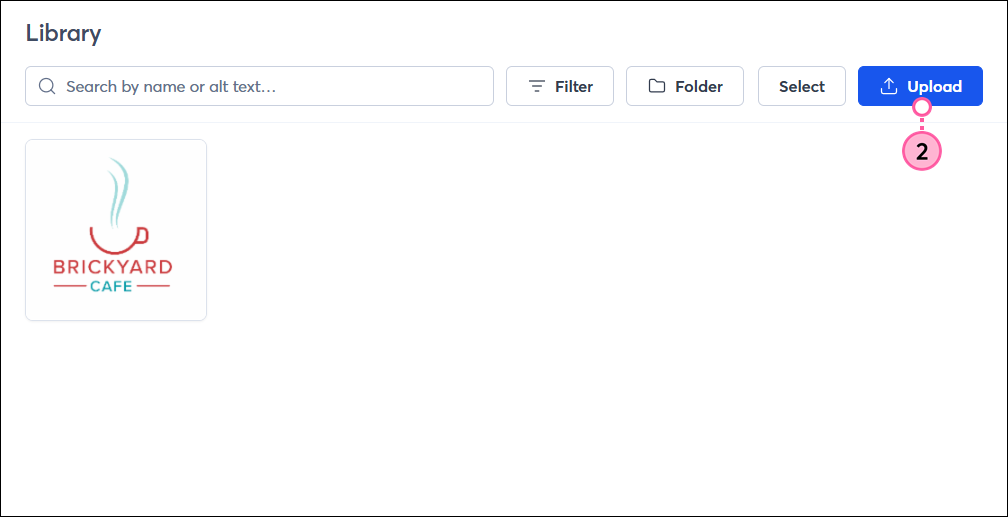
- Depending if you’ve already added files to your Library, click Upload files in the center of the screen or Upload in the upper-right.
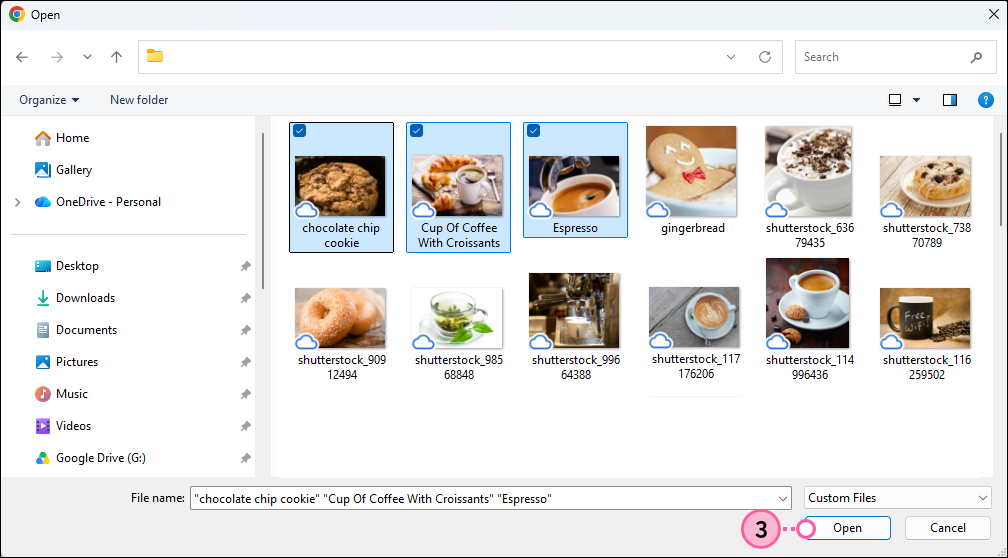
- Select the files from your computer, then click Open to add them to your Library. The maximum supported file size is 20MB.
View, edit, or delete an individual file
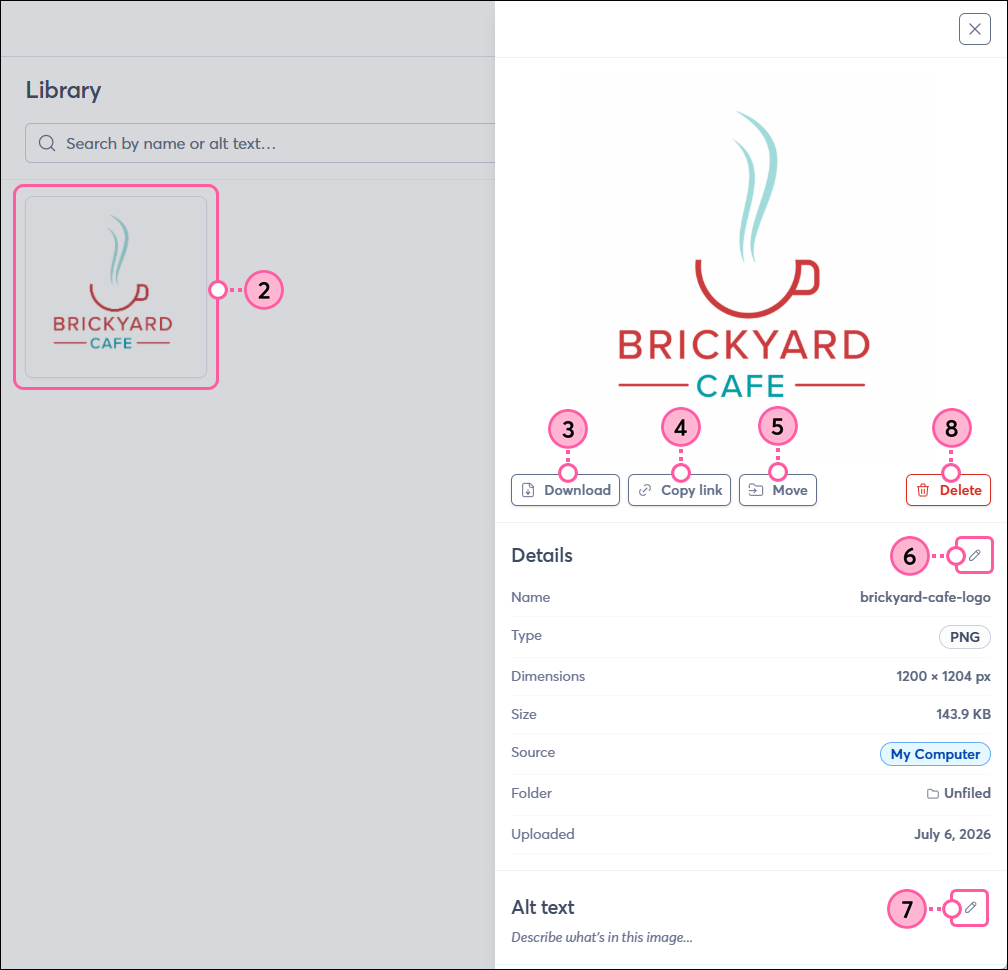
To view the details of a file in your Library, as well as edit its name, add alt text, download to your computer, move it to a folder, or remove it from your Library:
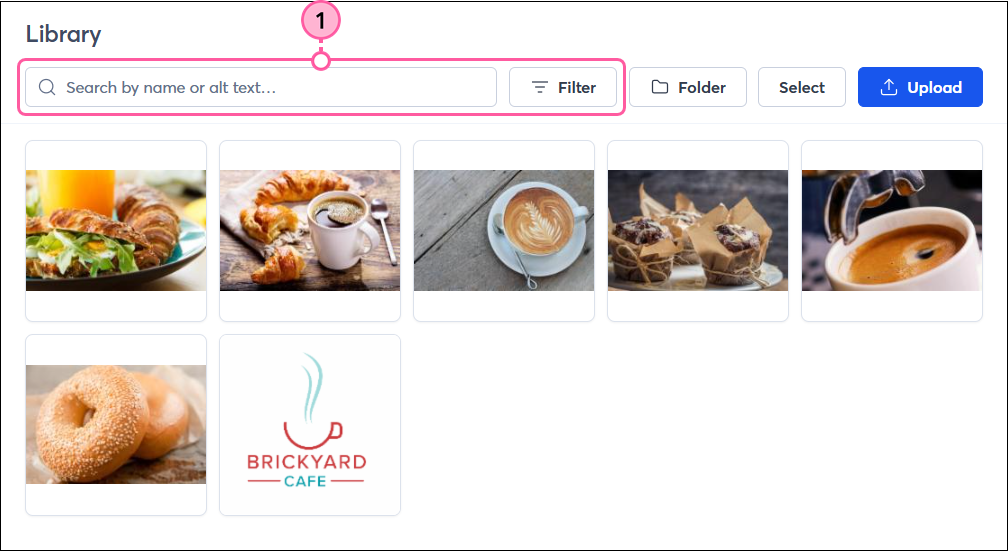
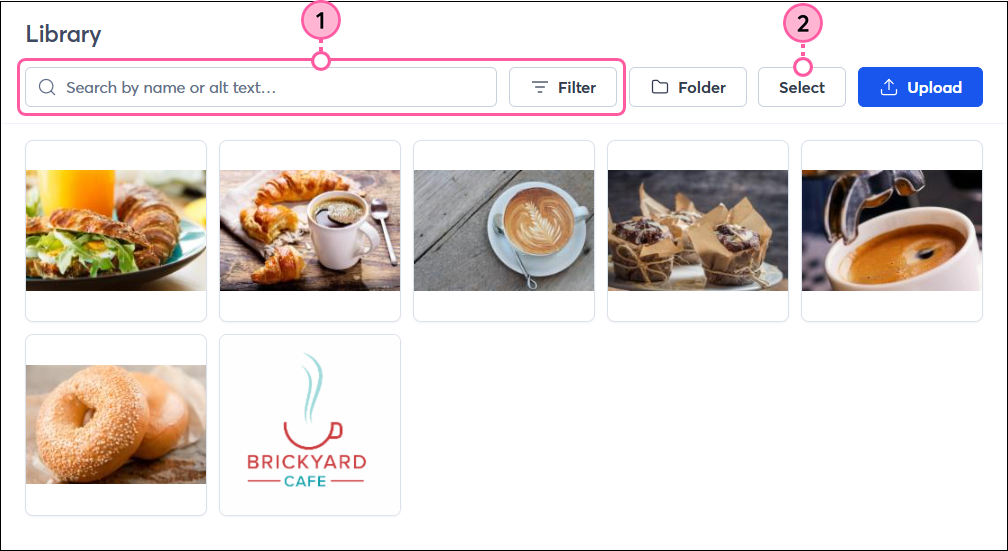
- (Optional) Use the search field or the Filter button to narrow down your Library.
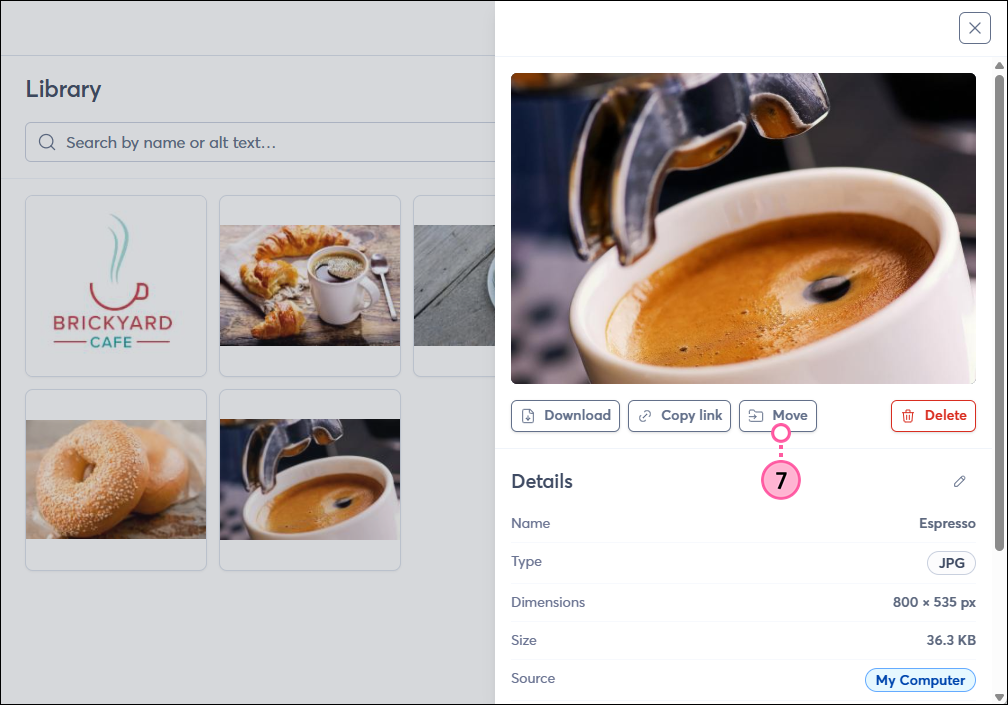
- Click on an image or document to open the details panel.
- From the panel on the right, click Download to save the file to your computer.
- Click Copy link to copy the file’s URL.
- Click Move to add the file to a folder in your Library.
- Click the pencil icon above the file name to rename it.
- Click the Alt text pencil icon to add or update the file's description, which appears when your email recipients can't see the images.
- Click Delete to remove the file from your Library and move it to the Trash. You’ll be prompted to confirm the deletion, and you can always restore it from the Trash folder later if you change your mind.
Download, organize, or delete multiple files
If you want to bulk download or delete multiple files, or add them to a folder to organize them:
- (Optional) Use the search field or the Filter button to narrow down your Library.
- Click Select.
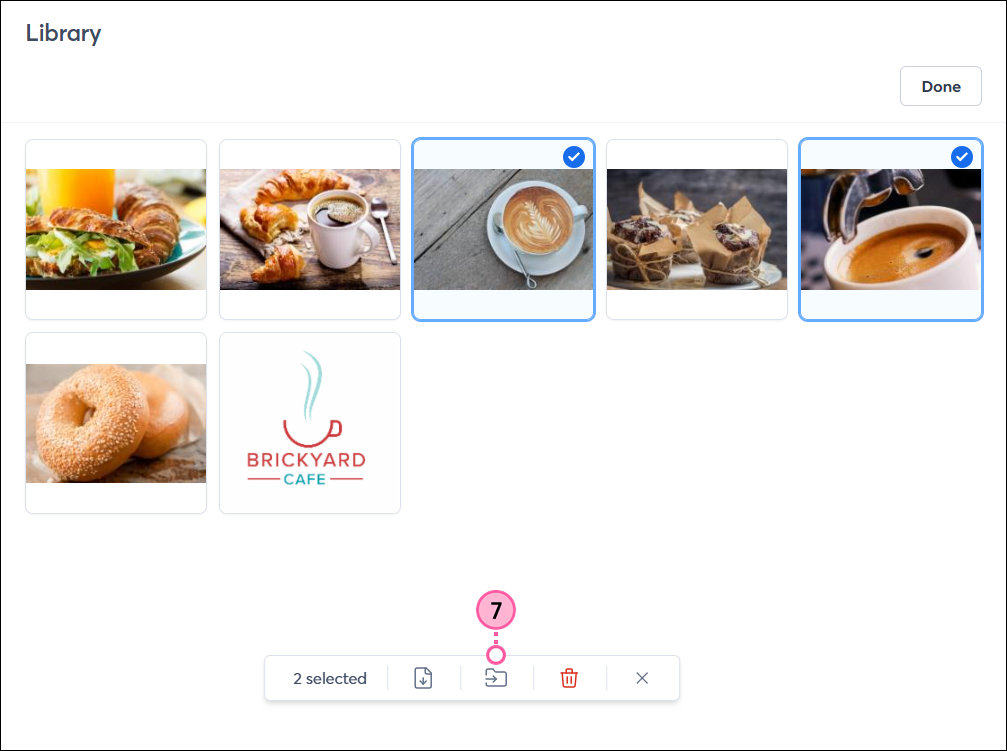
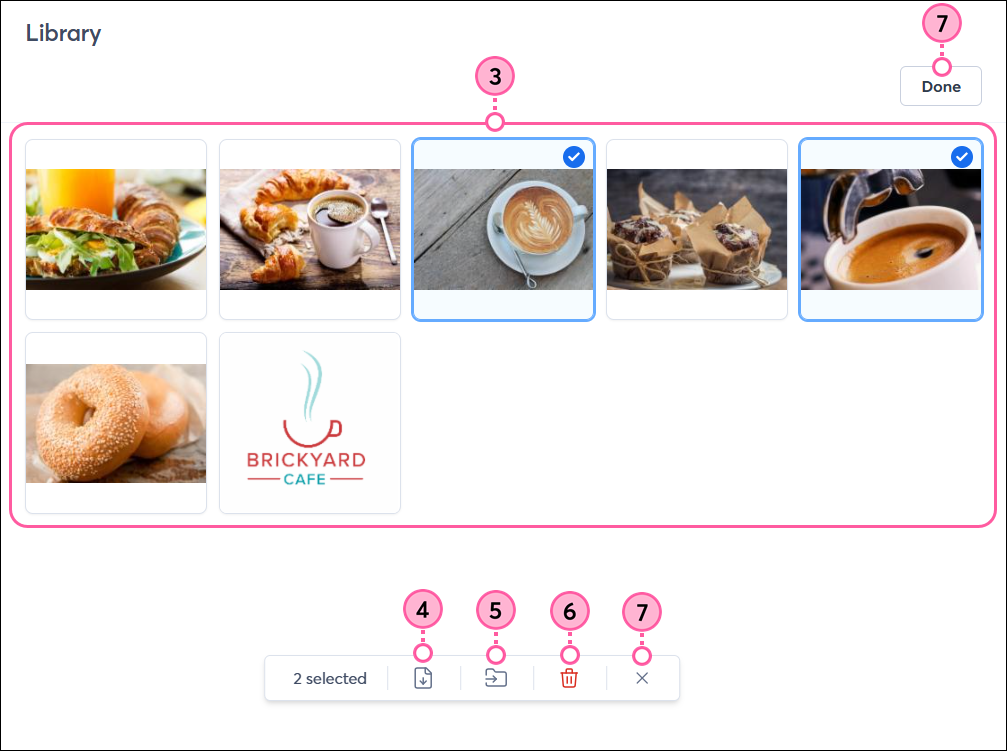
- Click on each of the files you want to manage to select them.
- Click the Download icon to save them as a zip file to your browser’s Downloads folder.
- Click the Folder icon to add the selected files to a folder in your Library.
- Click the Trash Can icon to move the files to the Trash folder in your Library. You’ll be prompted to confirm the deletion, and you can always restore the files from the Trash folder later if you change your mind.
- Click the X or Done when you’re finished.
Organize your Library using folders
If you have a large number of photos and documents saved in your Library, you can create folders to help organize them and make it easier to find a specific file later.
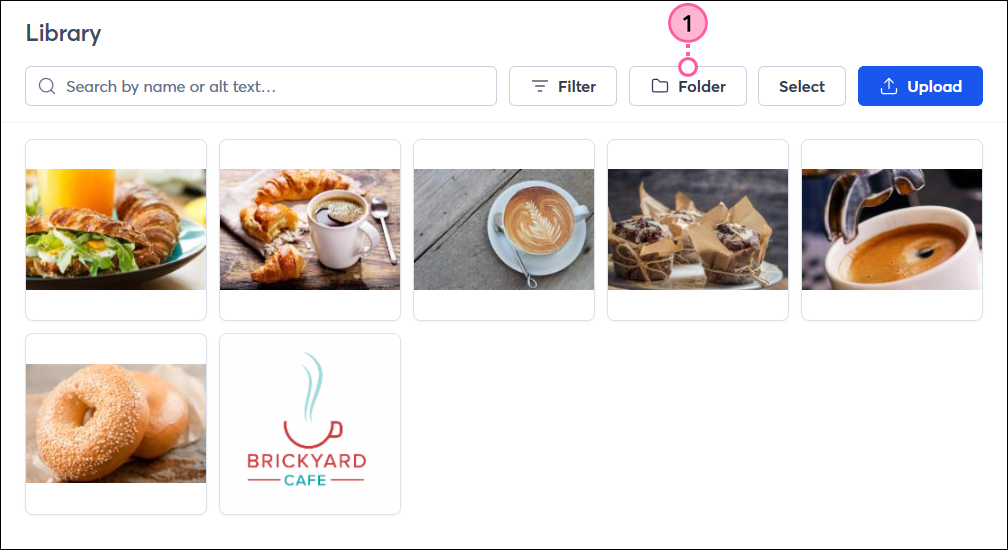
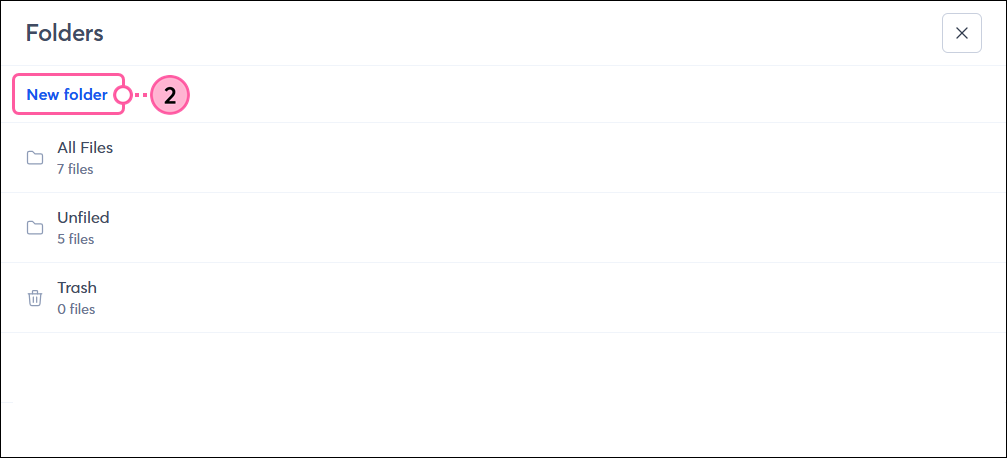
- Click Folder.
- Click New folder to create a folder.
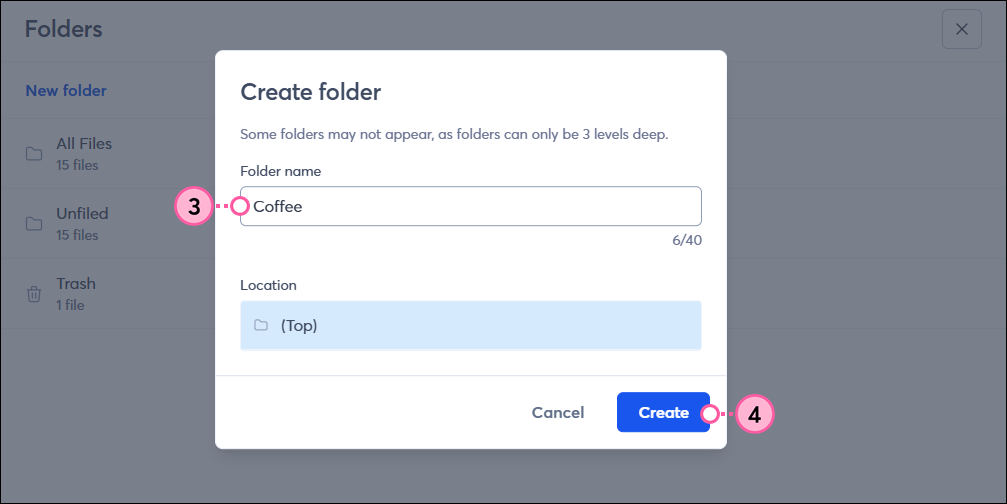
- Give your folder a name.
- Click Create.
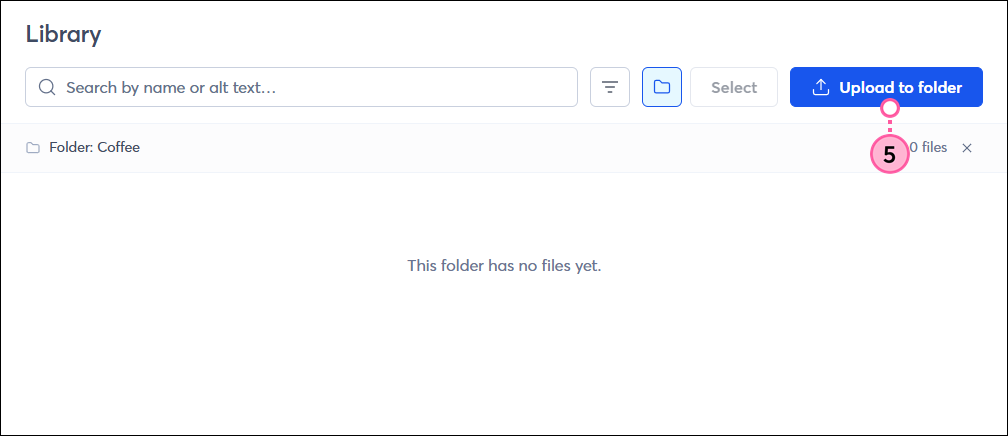
- Click Upload to folder to add new files from your computer to your Library and directly into the folder. To add existing files from your Library to the folder, skip to step 6.
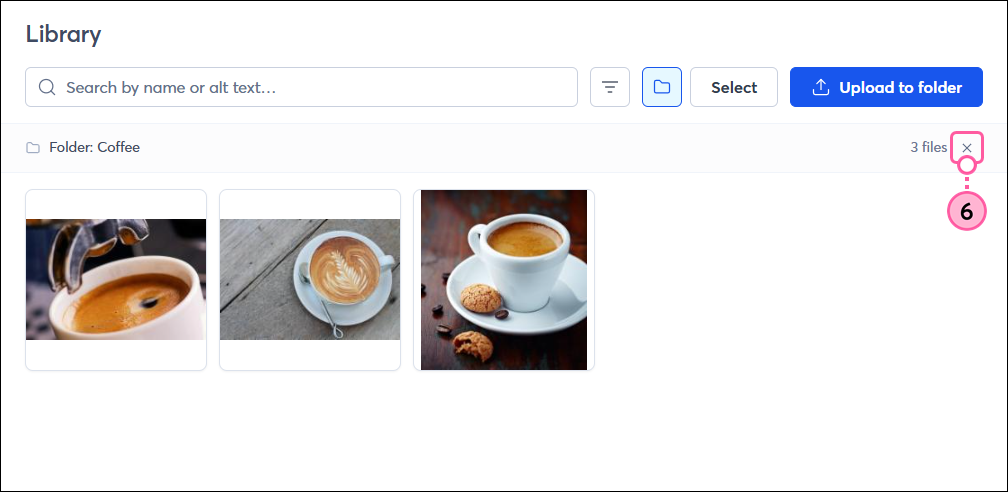
- When you’re finished, click the X to return to your Library of files.
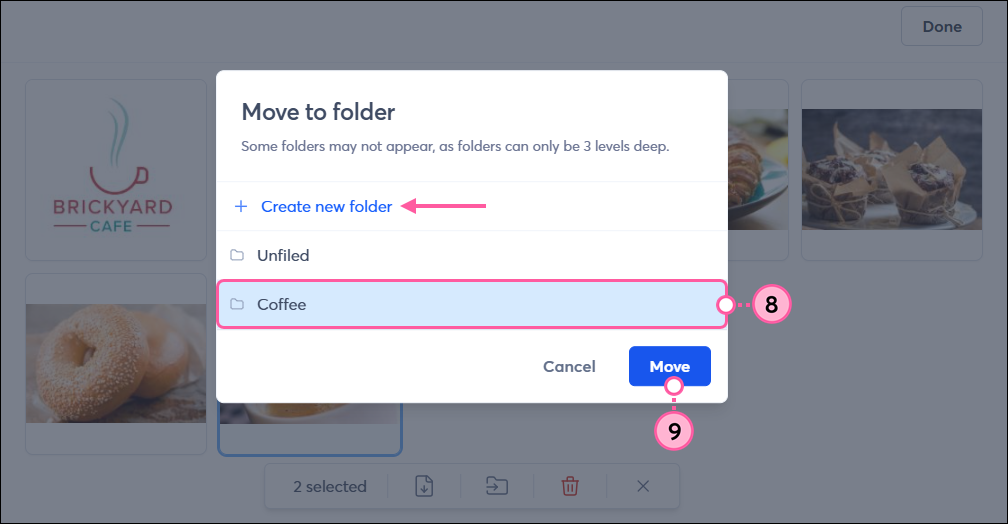
- From your Library, select an individual file and click Move, or select multiple files and click the folder icon to add them to a folder.
- Select the folder you want to move the file(s) to, or click Create new folder to create a new one.
- Click Move.