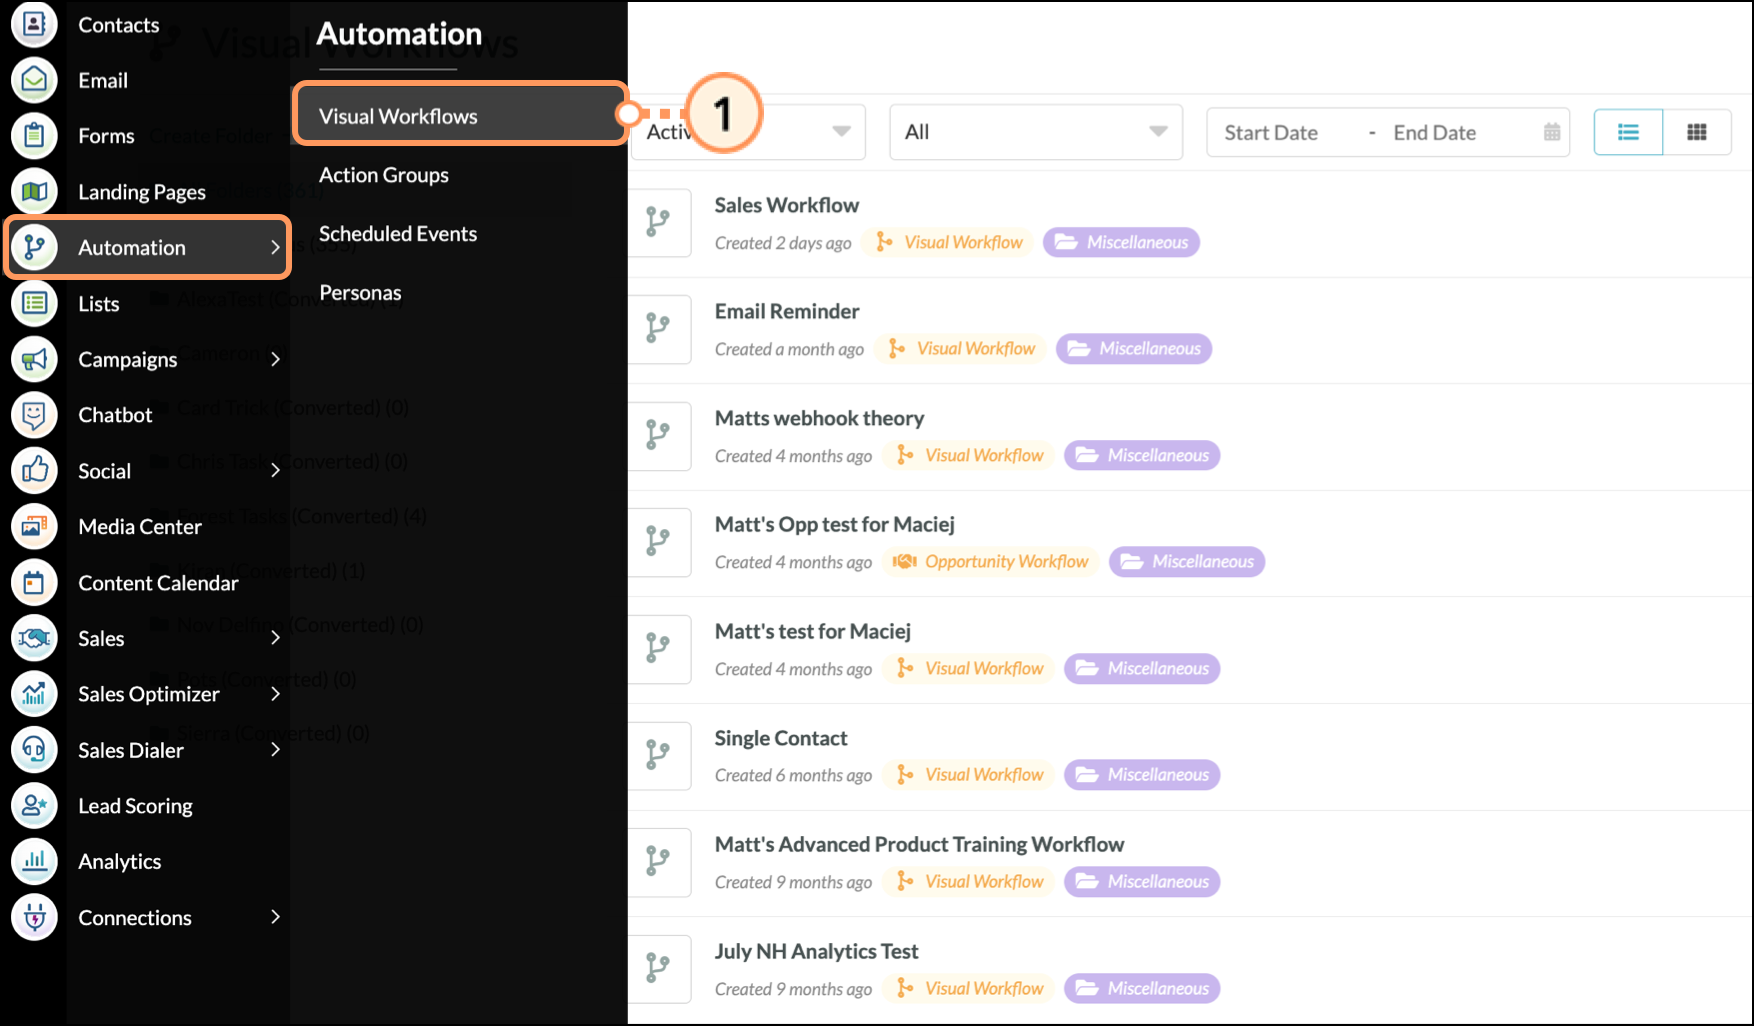
When automated via a visual workflow, you will not need to manually change a lead field to schedule the intended automation events. This article will detail how to create pipeline stage change automation.
| Administrators | ✓ | |
| Company Managers | ✓ | |
| Marketing Managers | ✓ | |
| Sales Managers | ||
| Salespersons | ||
| Jr. Salespersons |
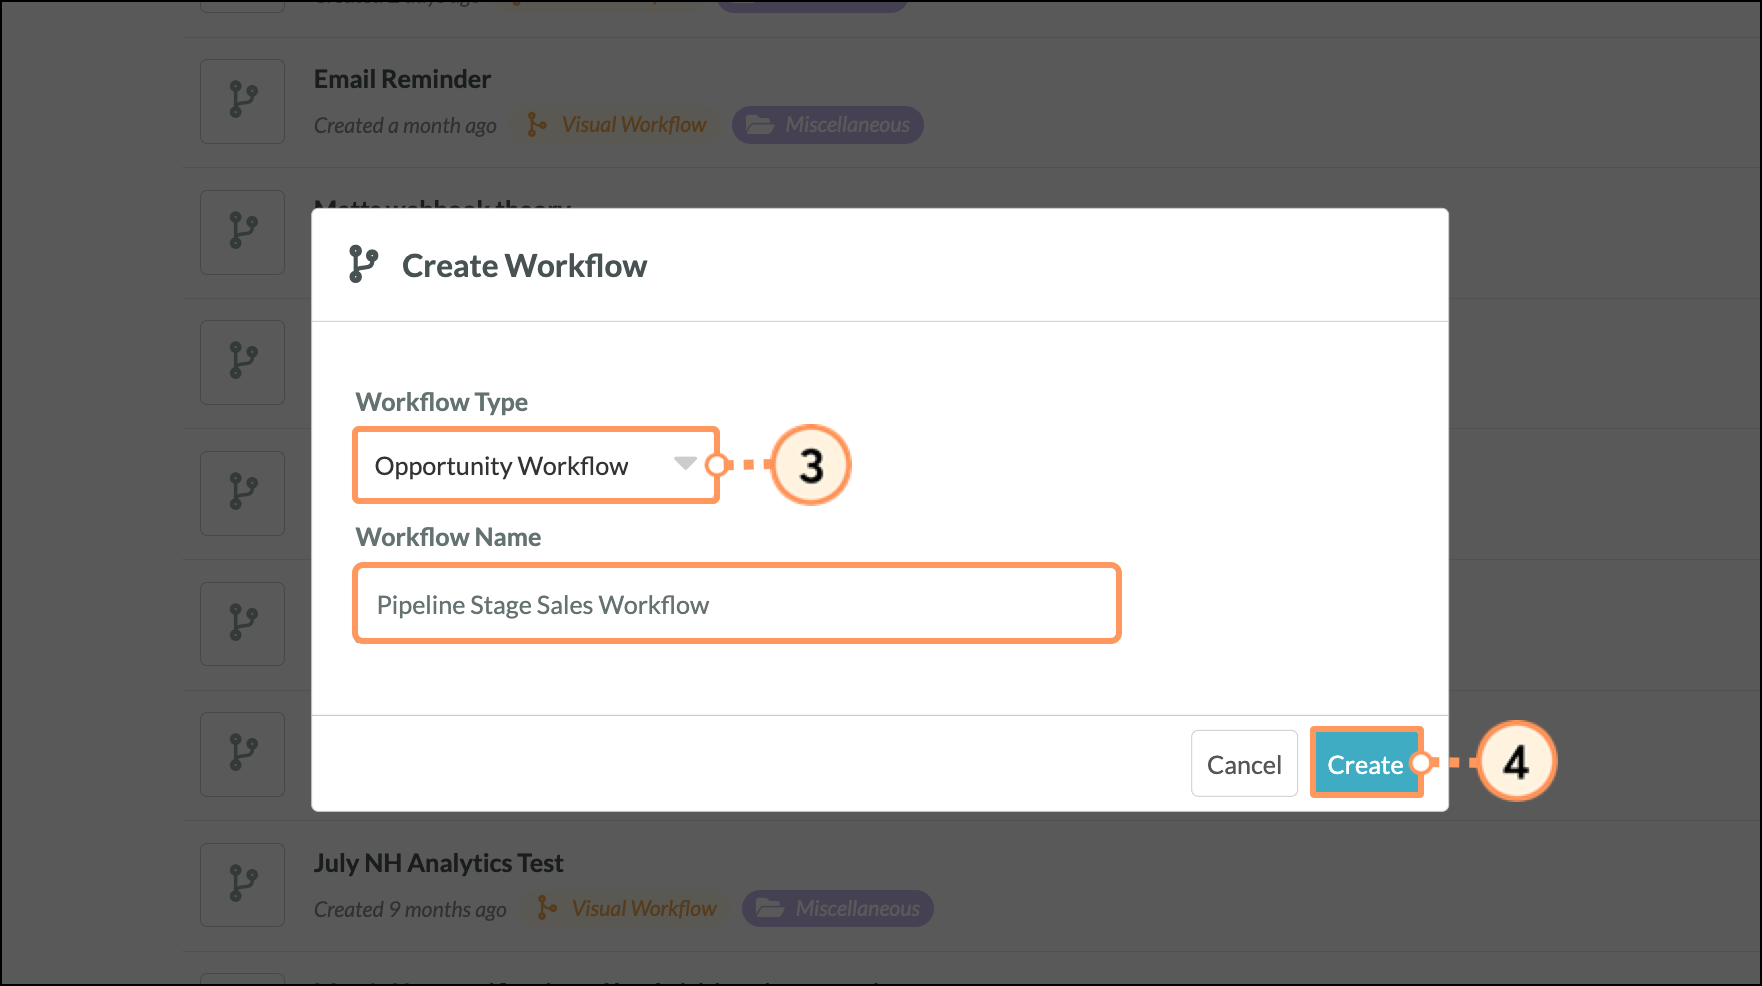
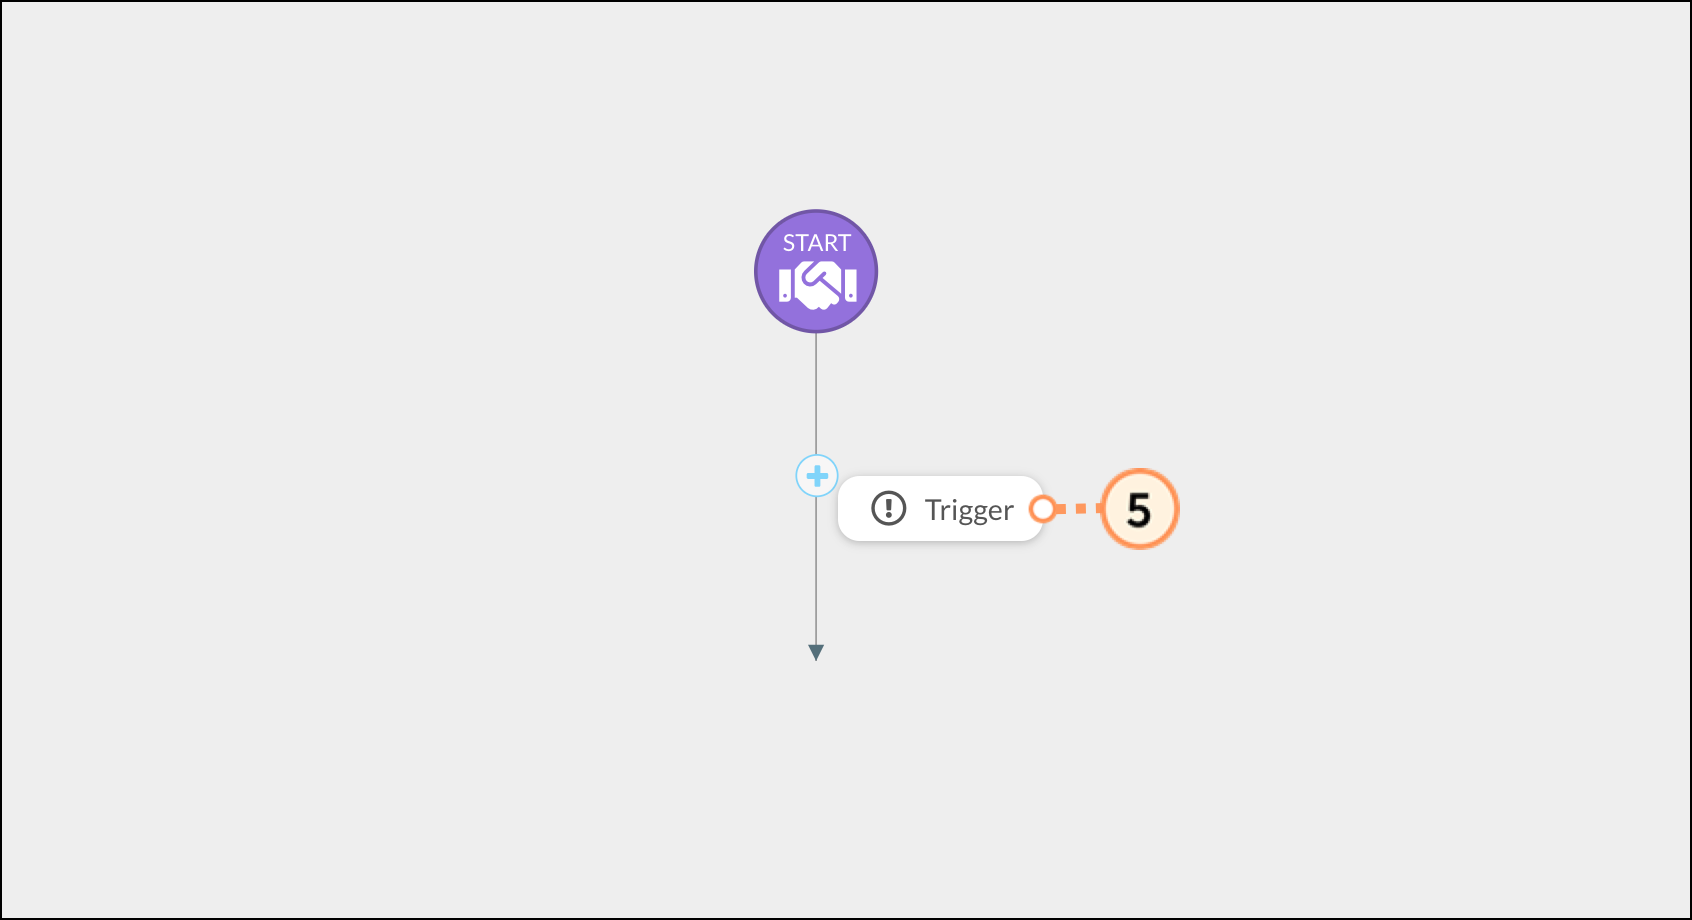
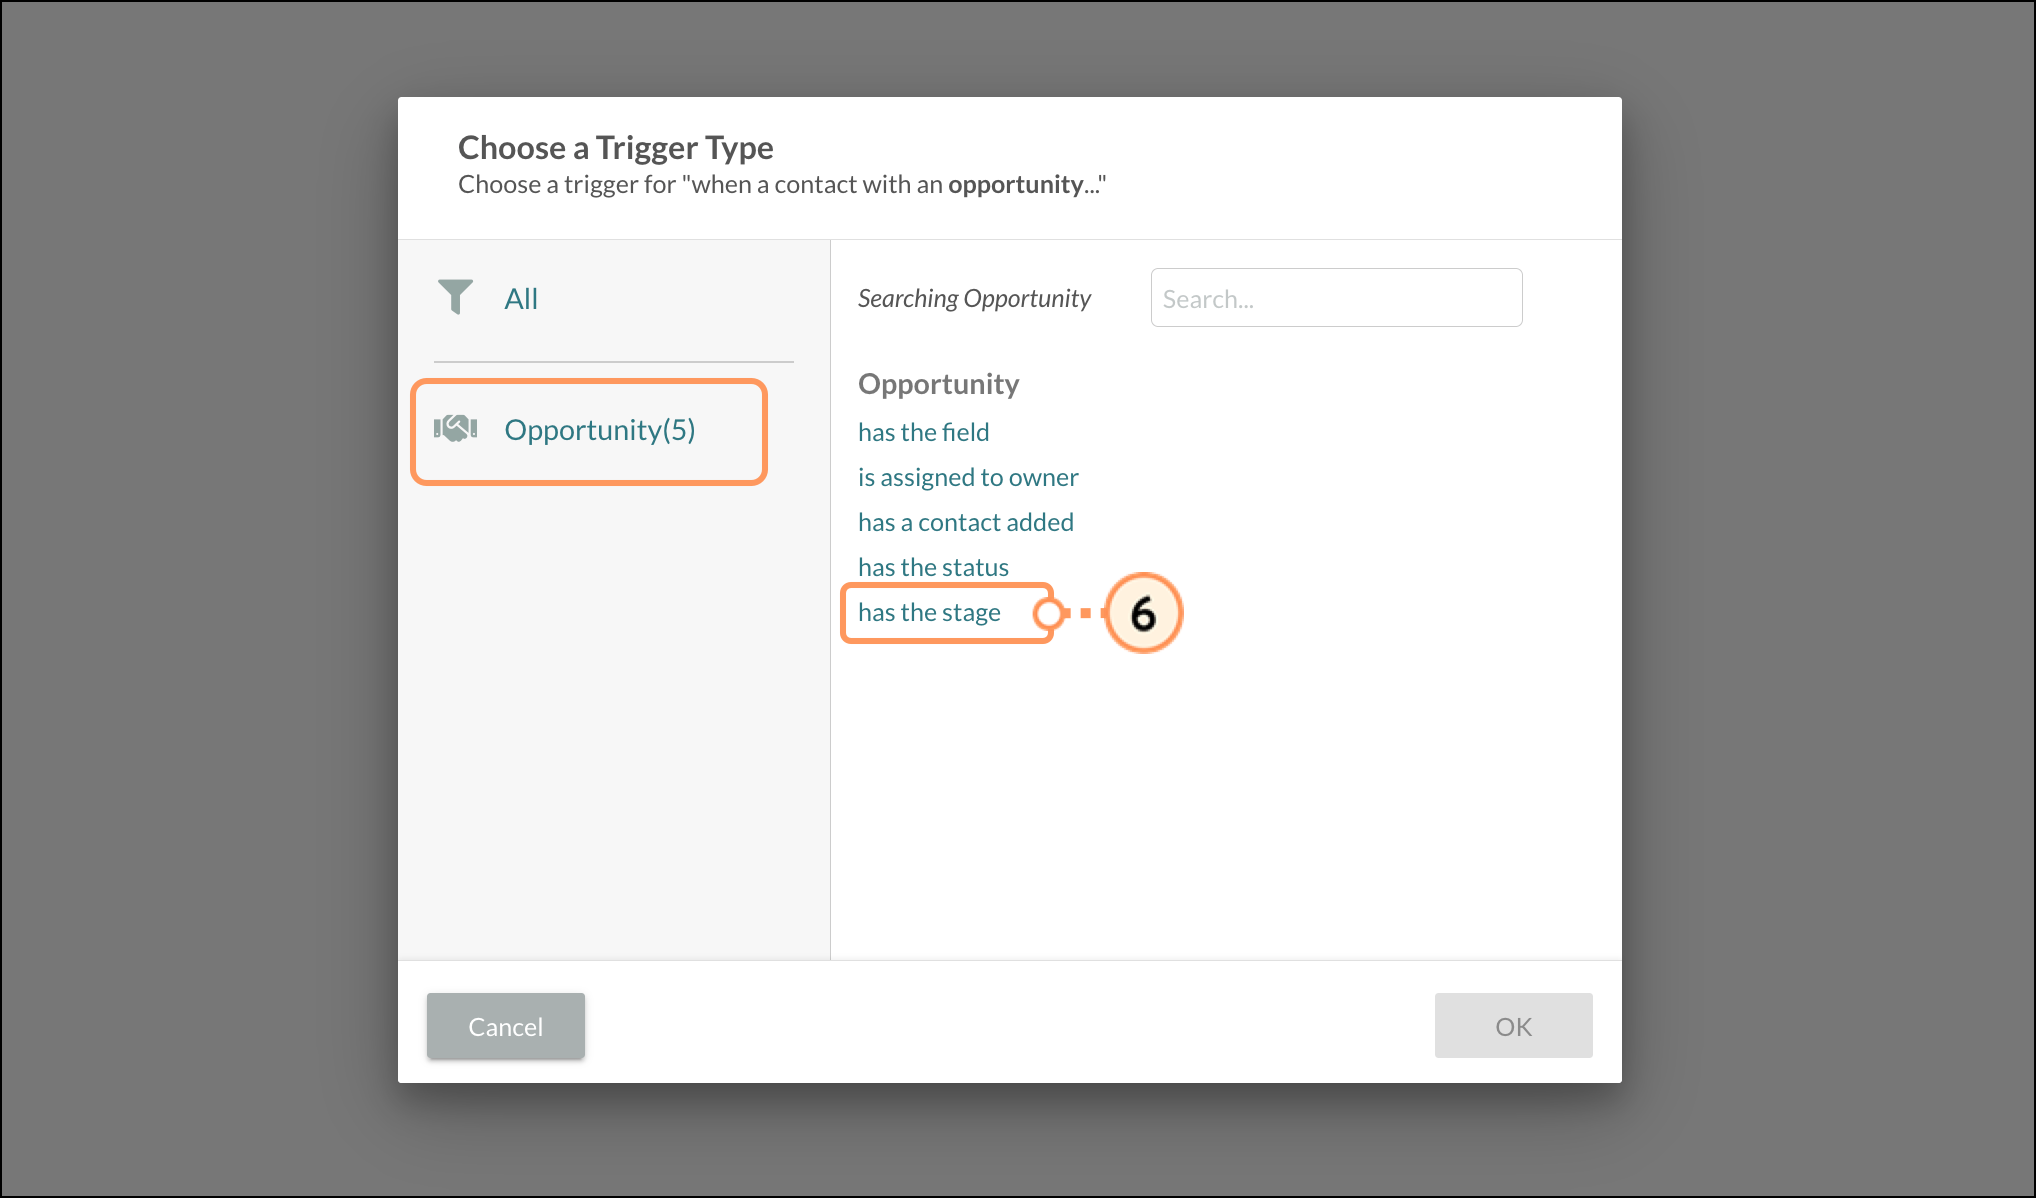
You can create pipeline automation using a visual workflow that is based on when a stage changes. To create the stage change automation:

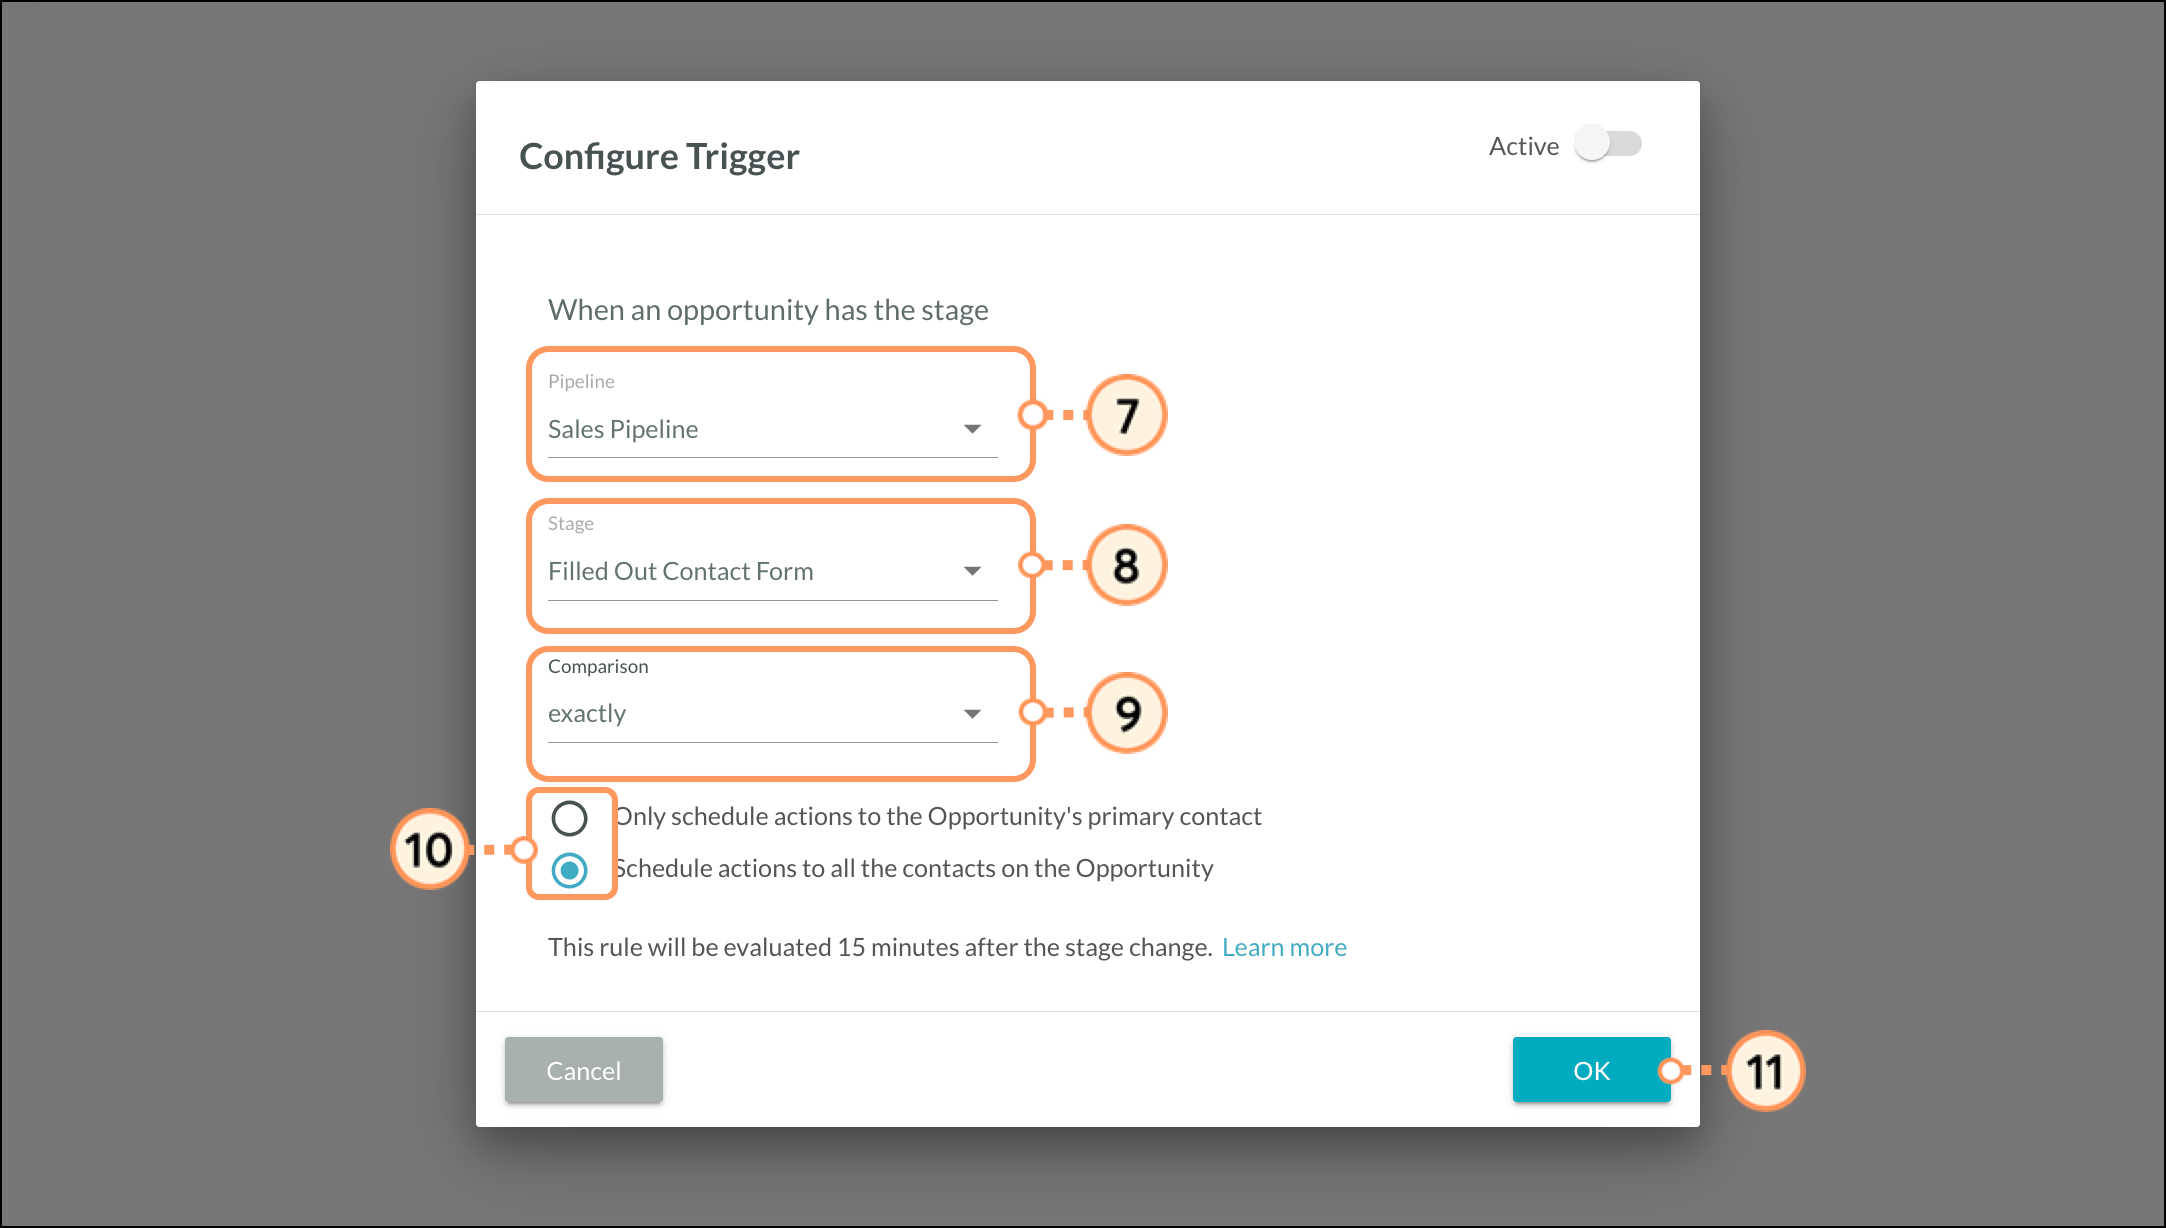
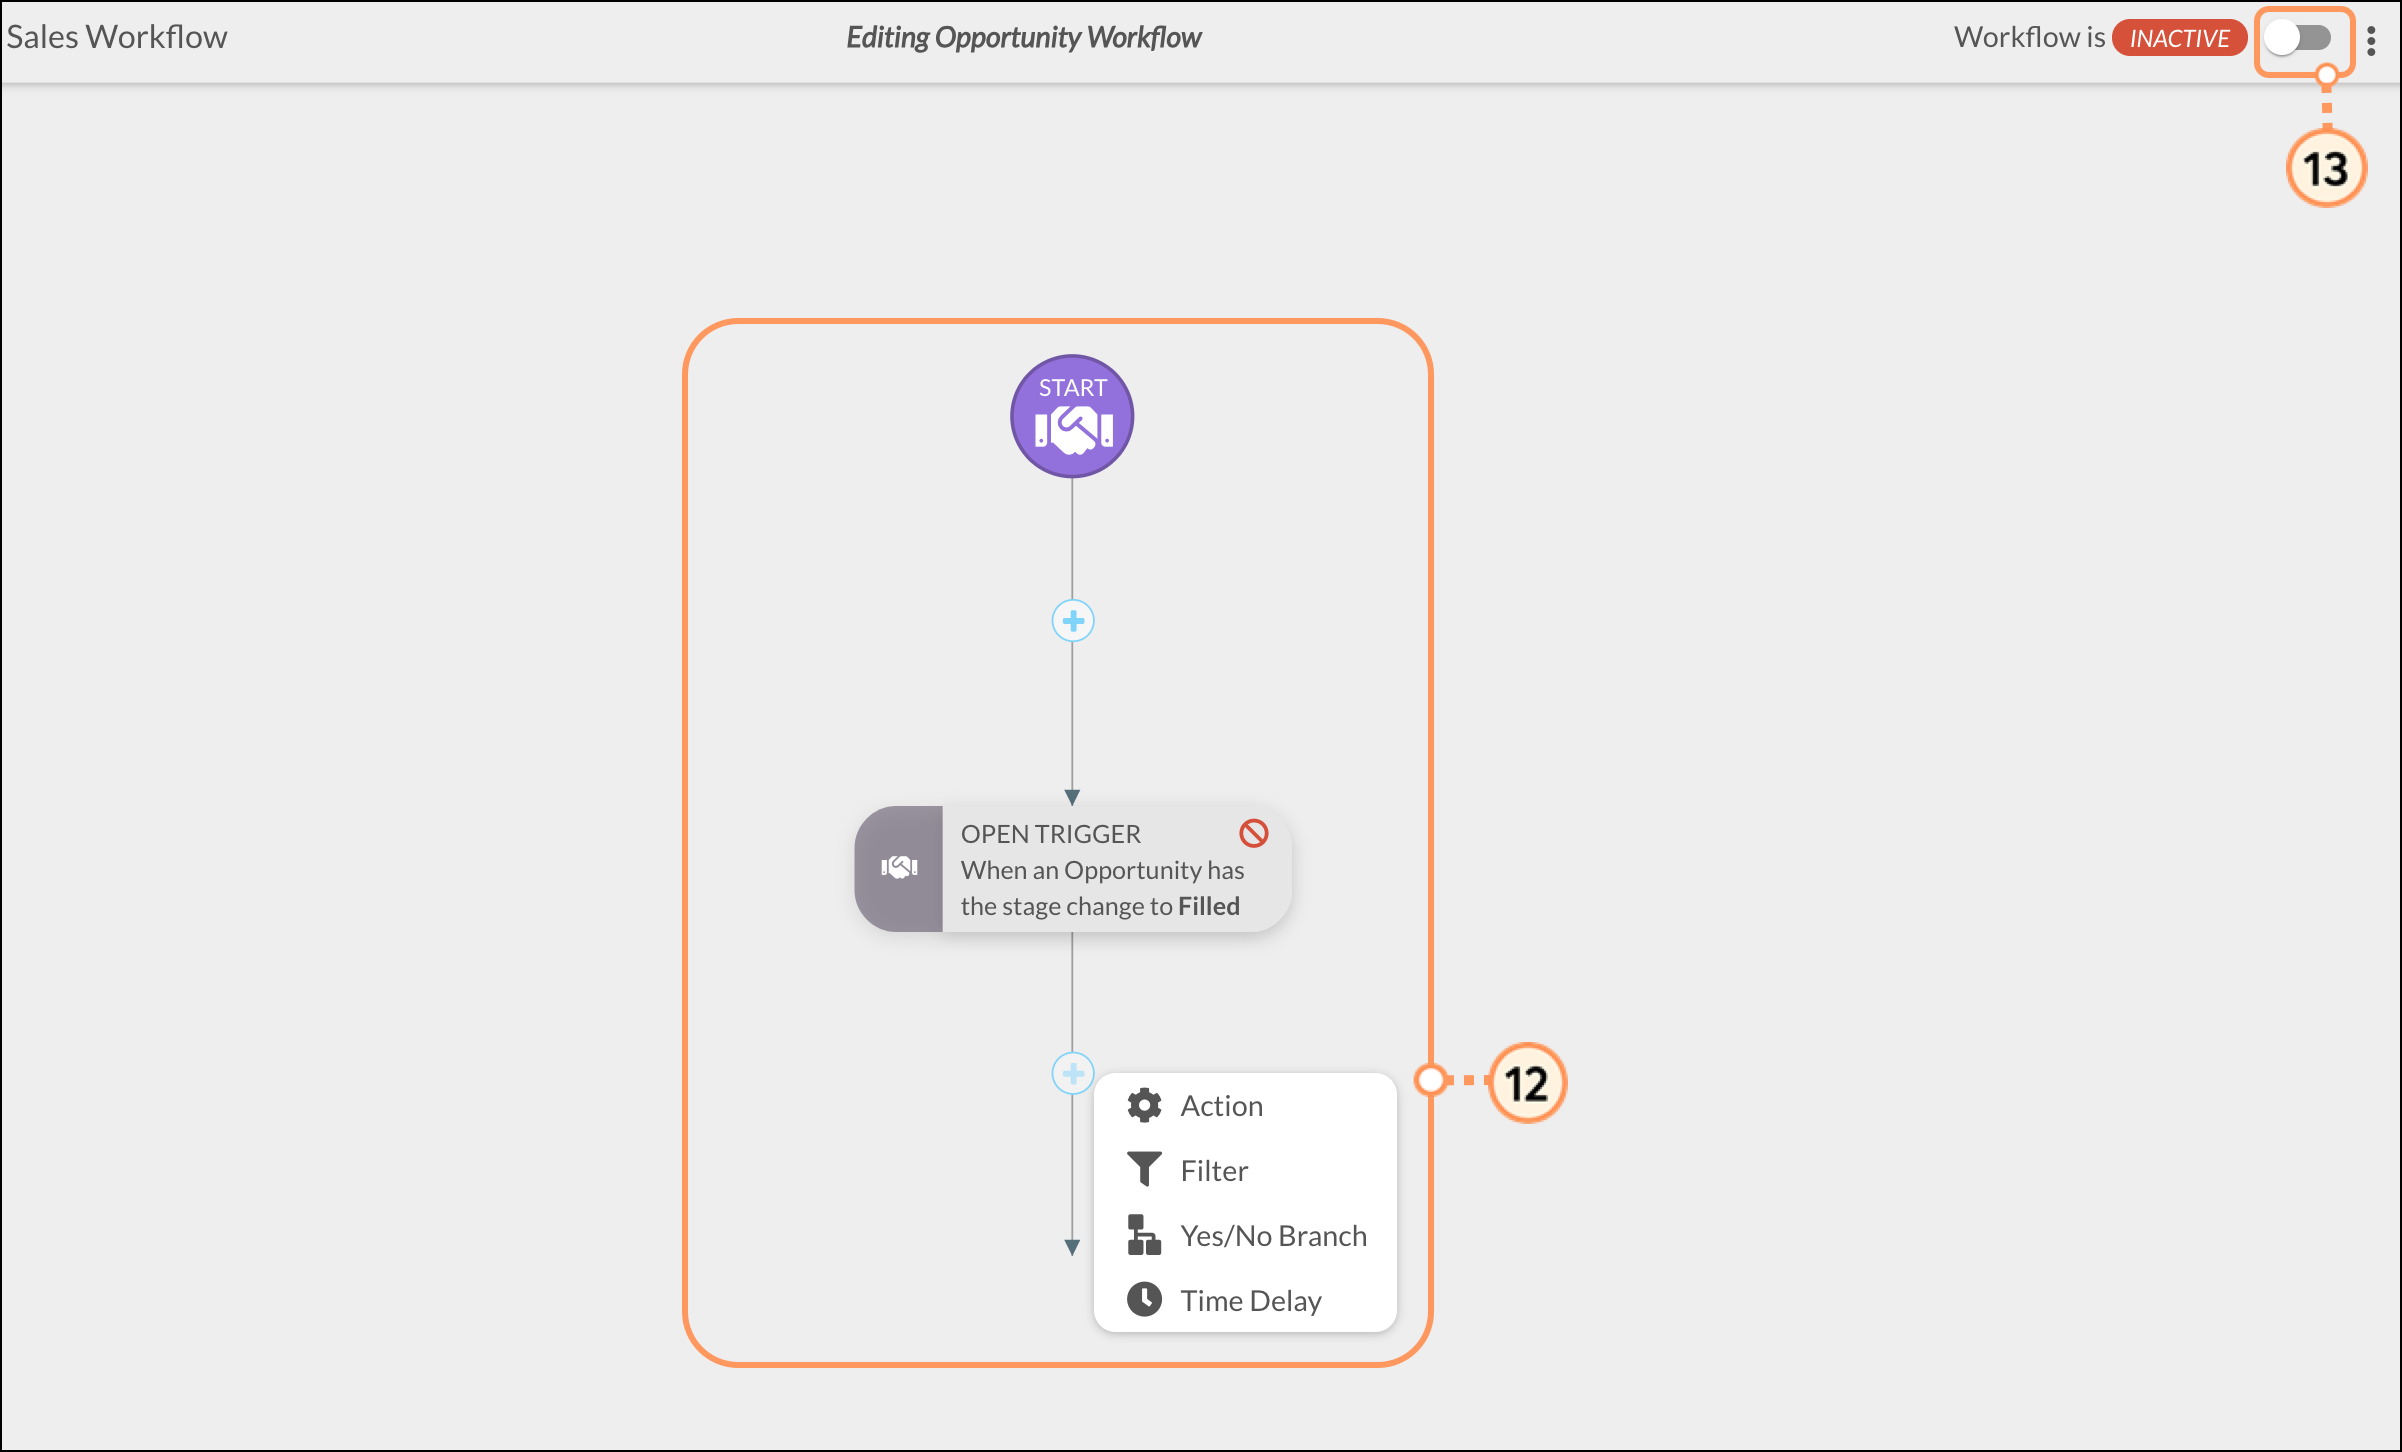
When the automation is active, the automation engine waits 15 minutes before evaluating whether the new stage differs from the previously set stage value. Refer to the following help articles for more information on actions and how to structure visual workflows:
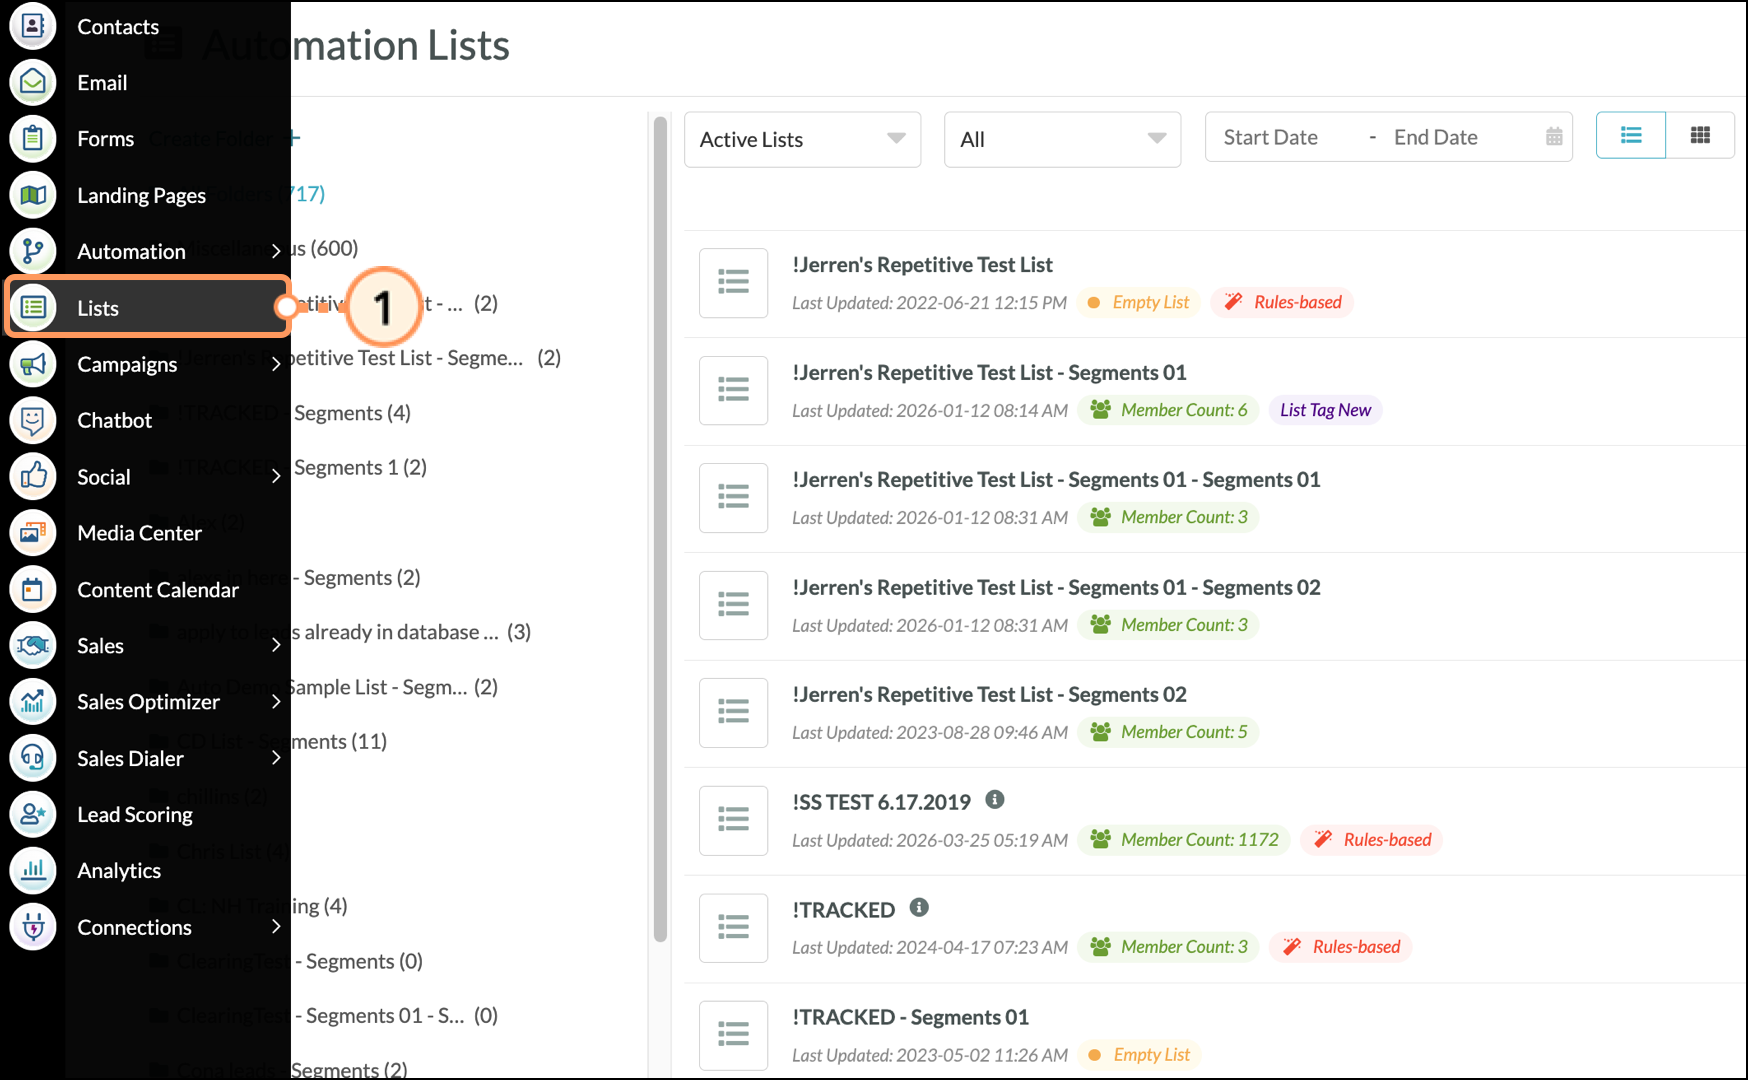
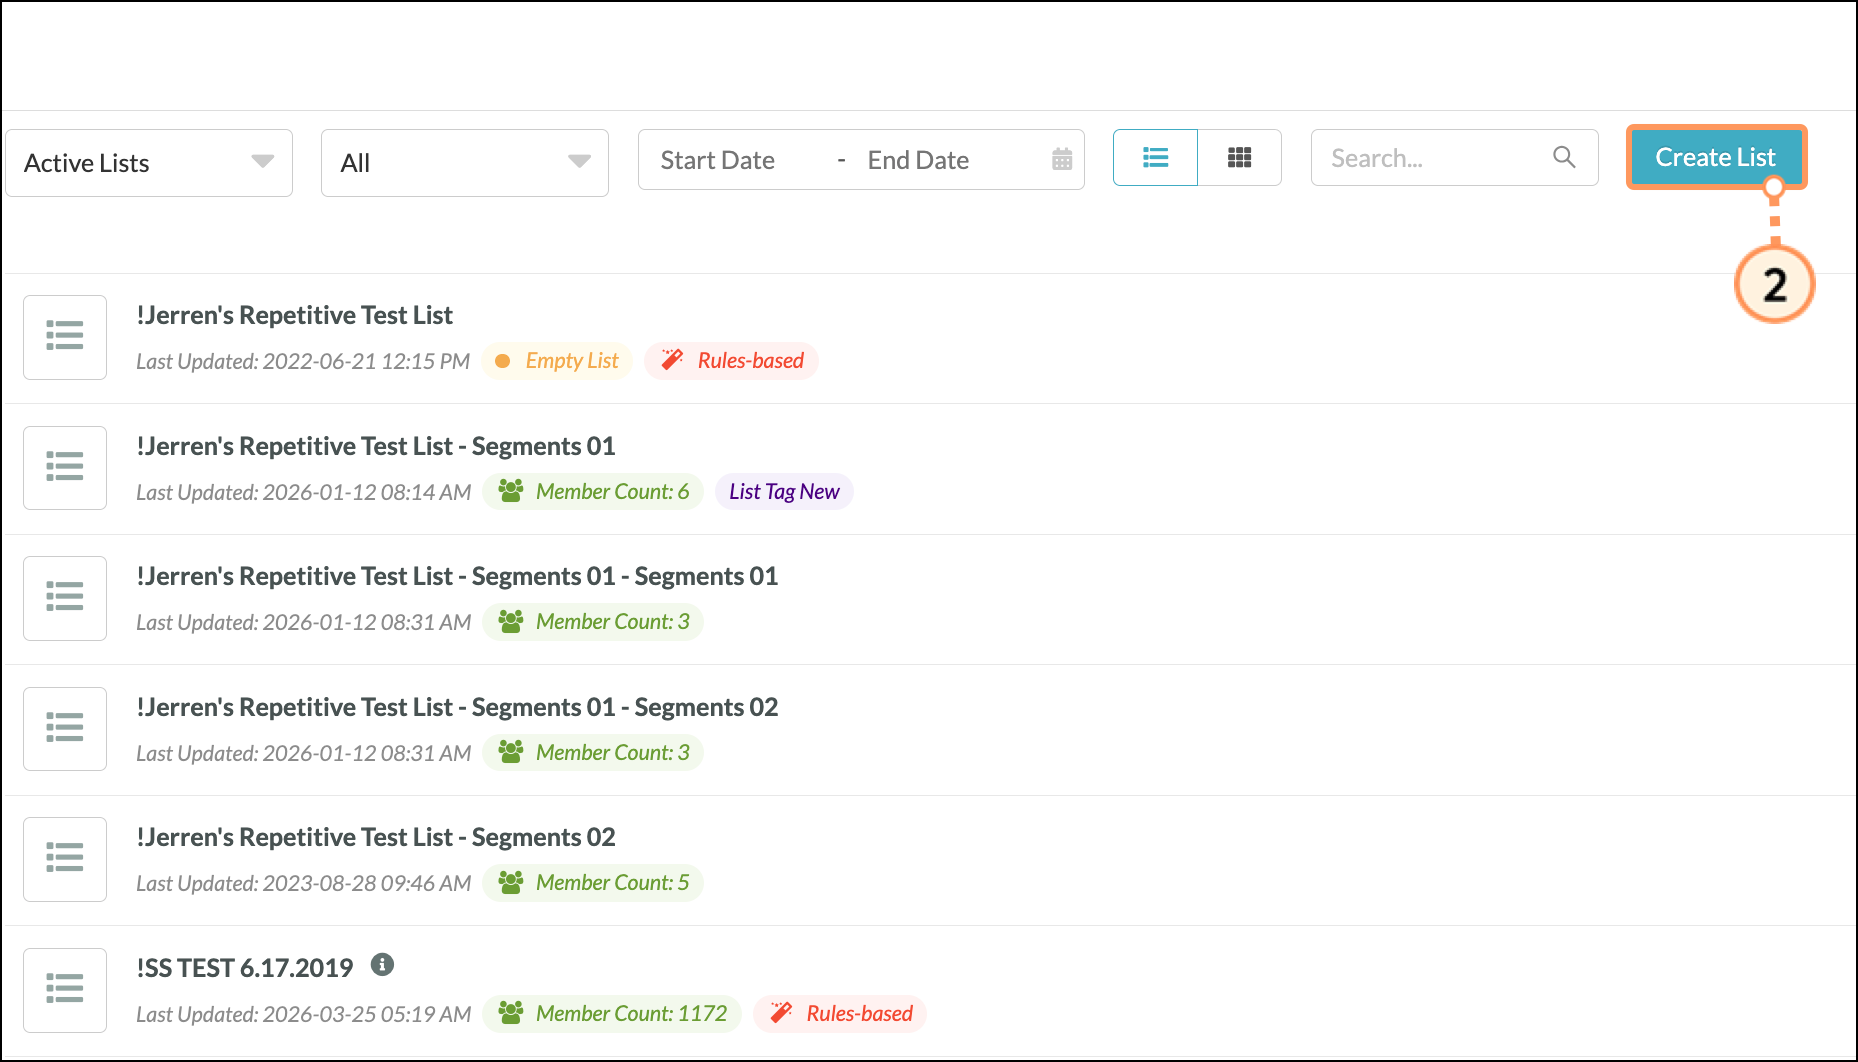
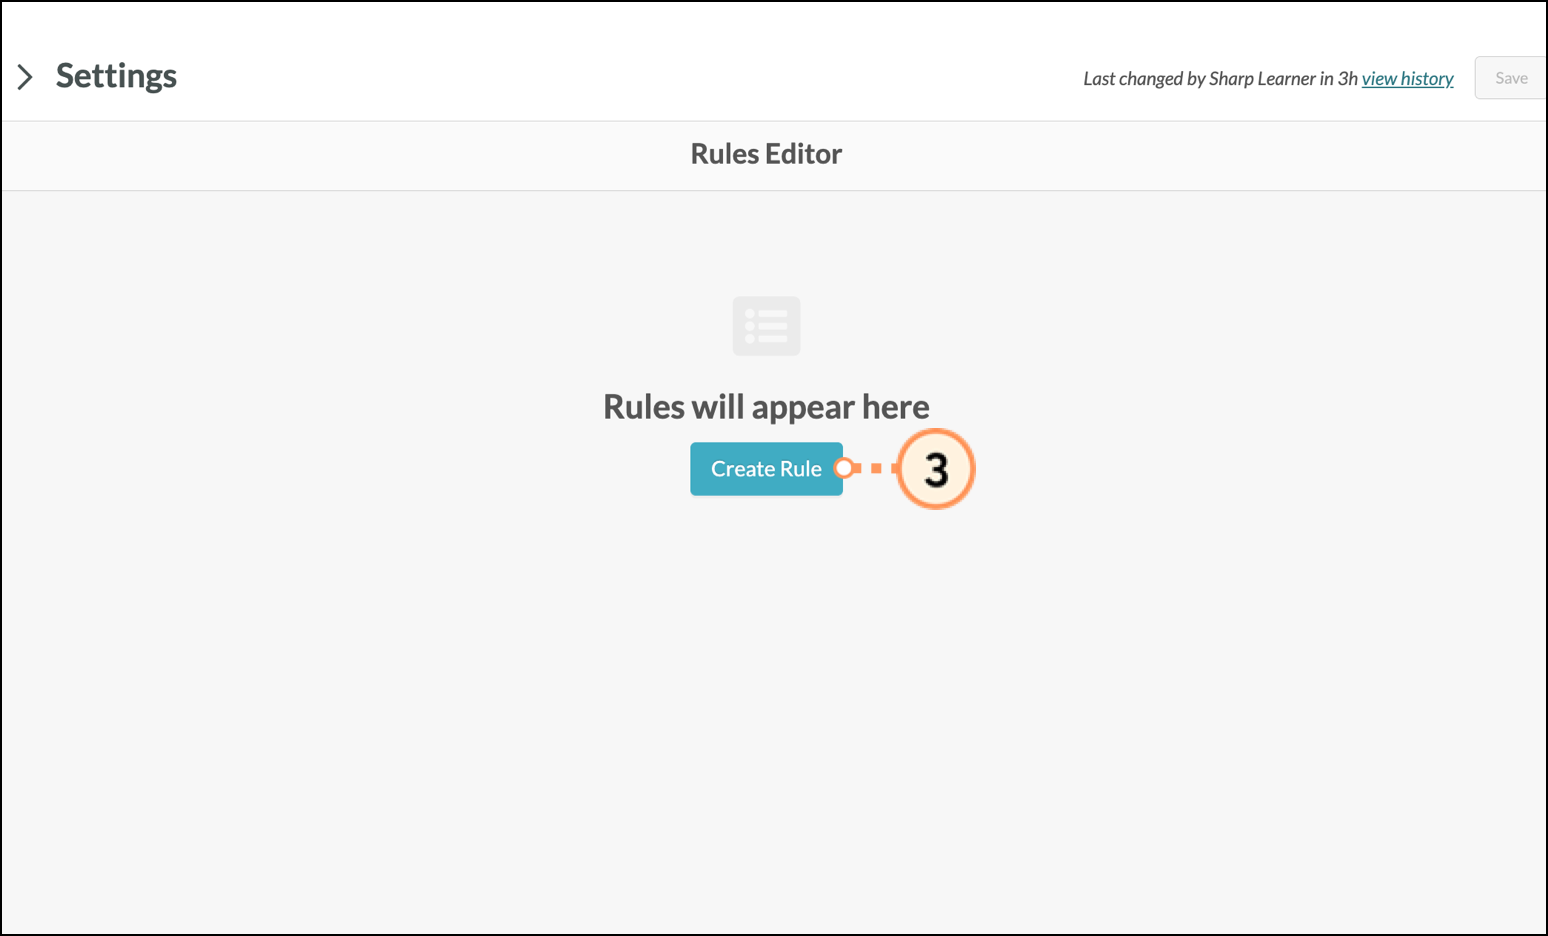
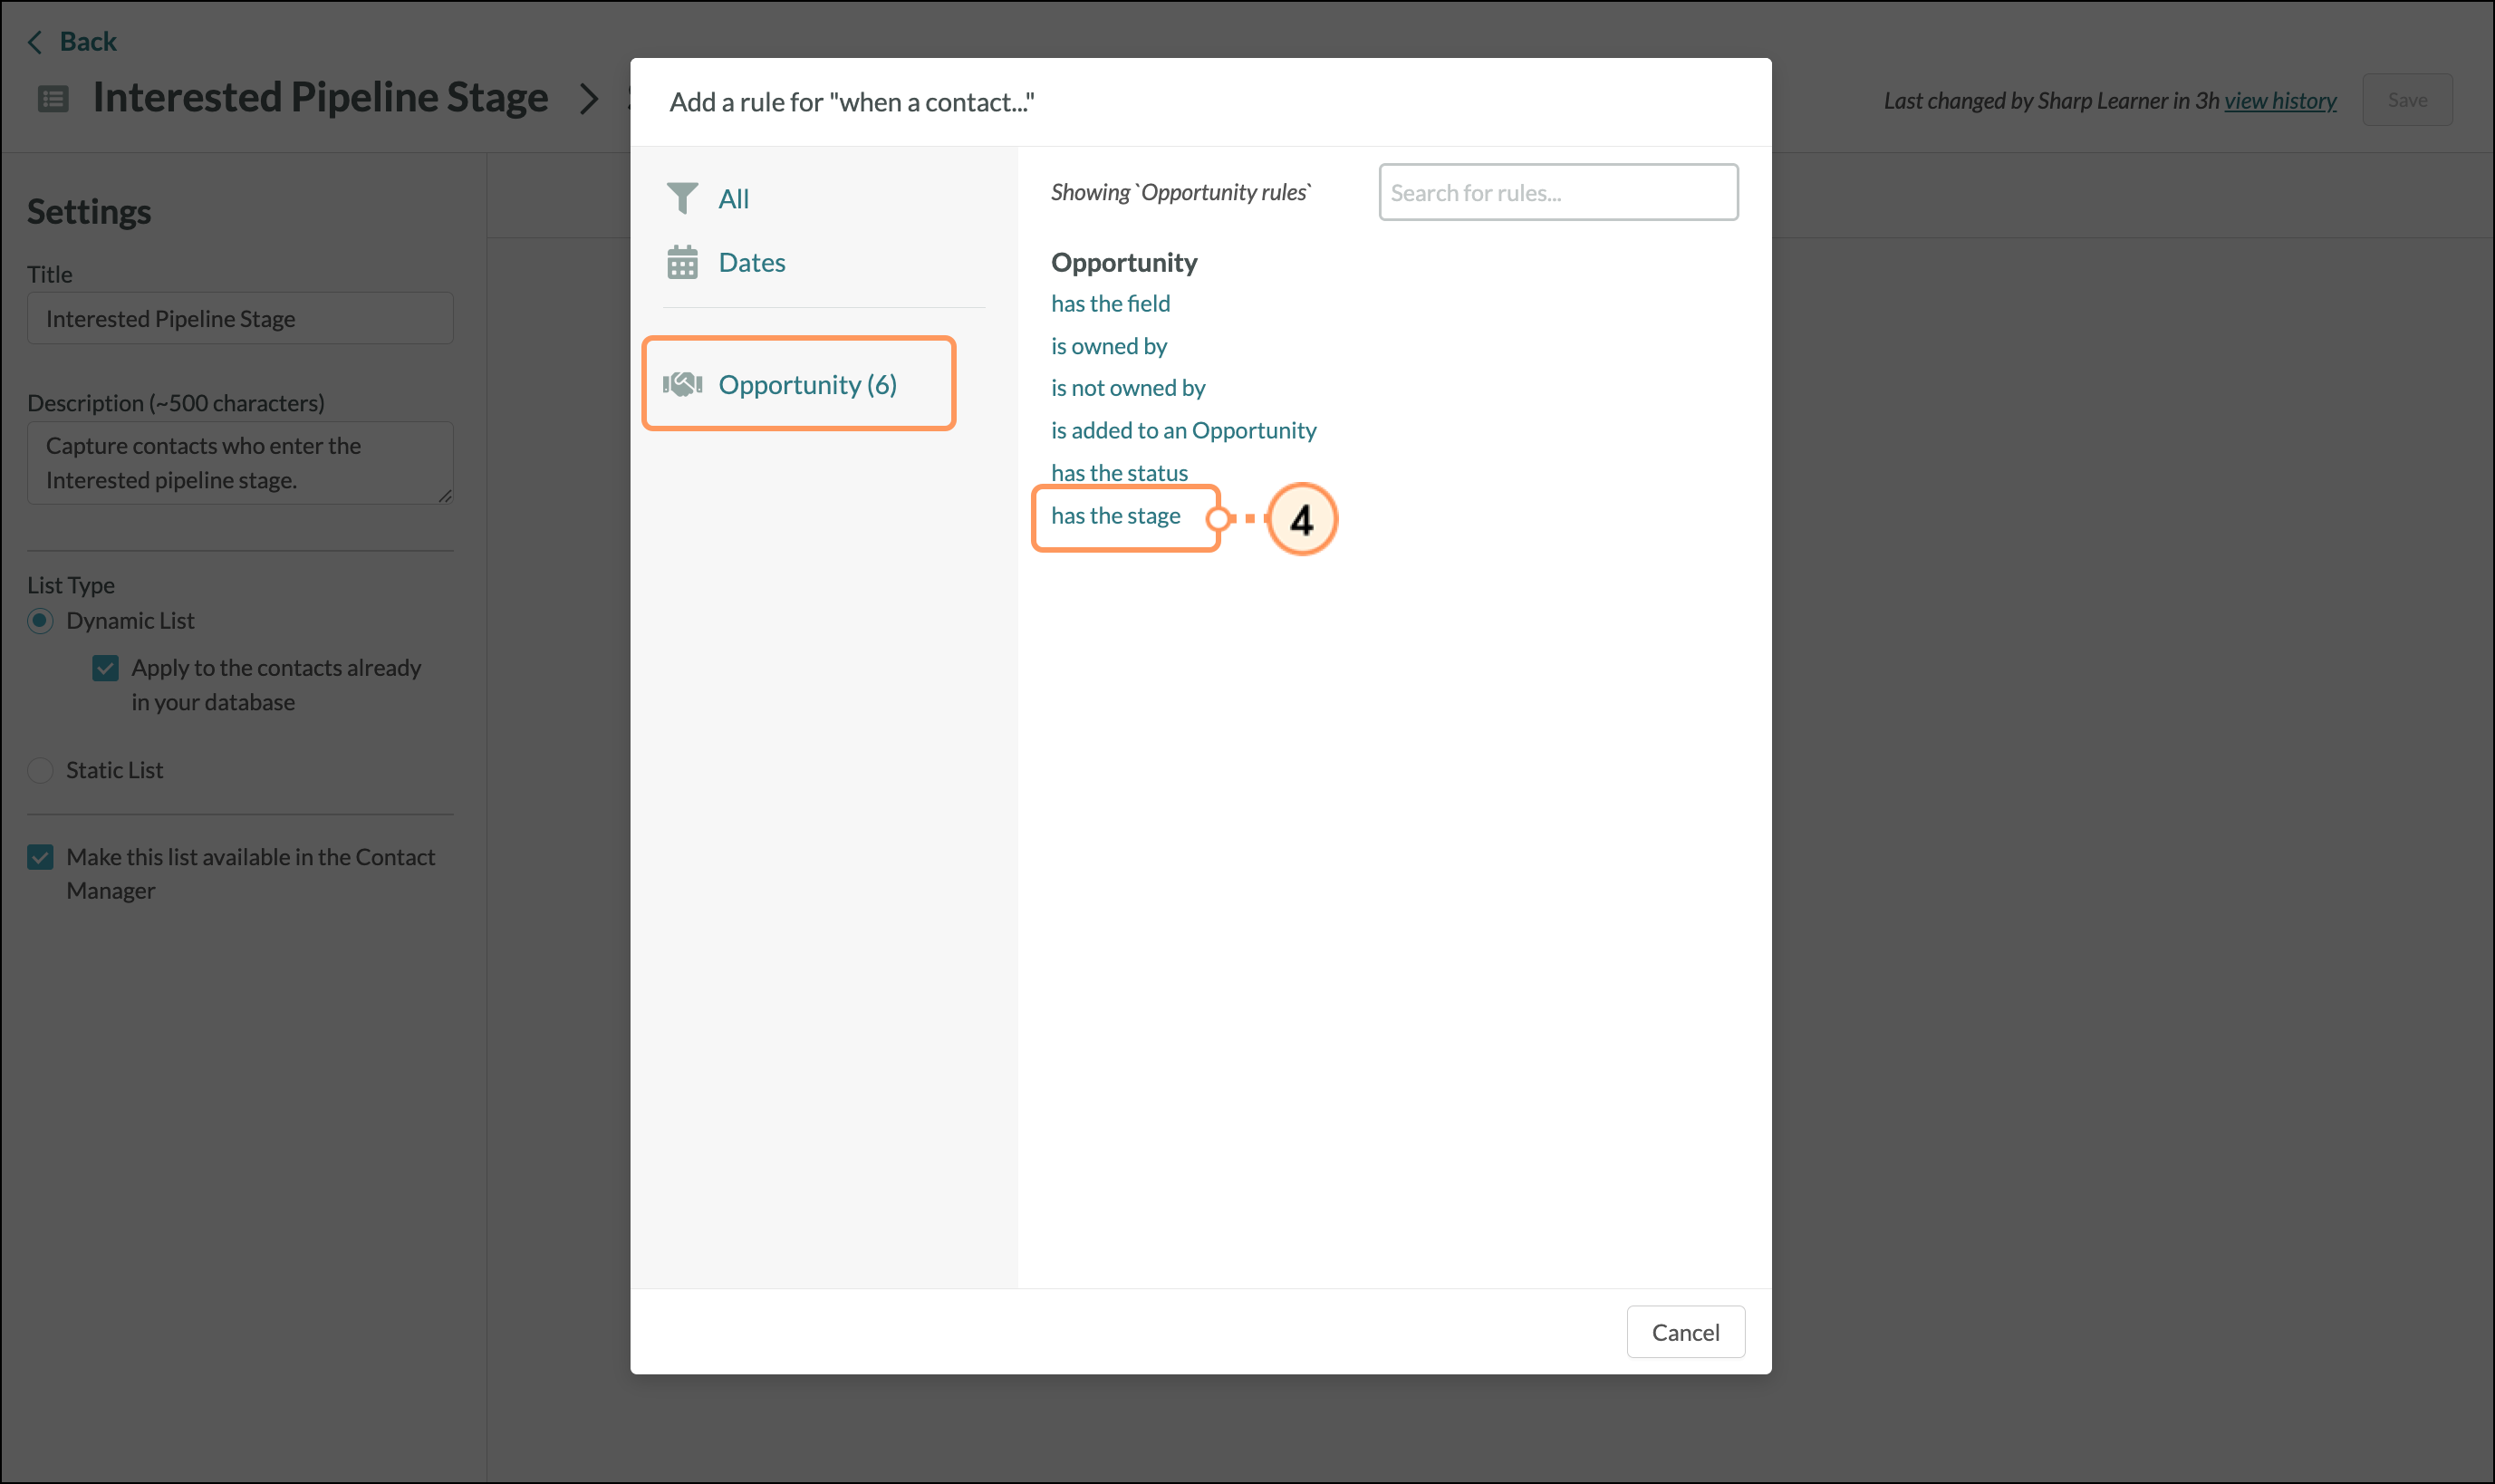
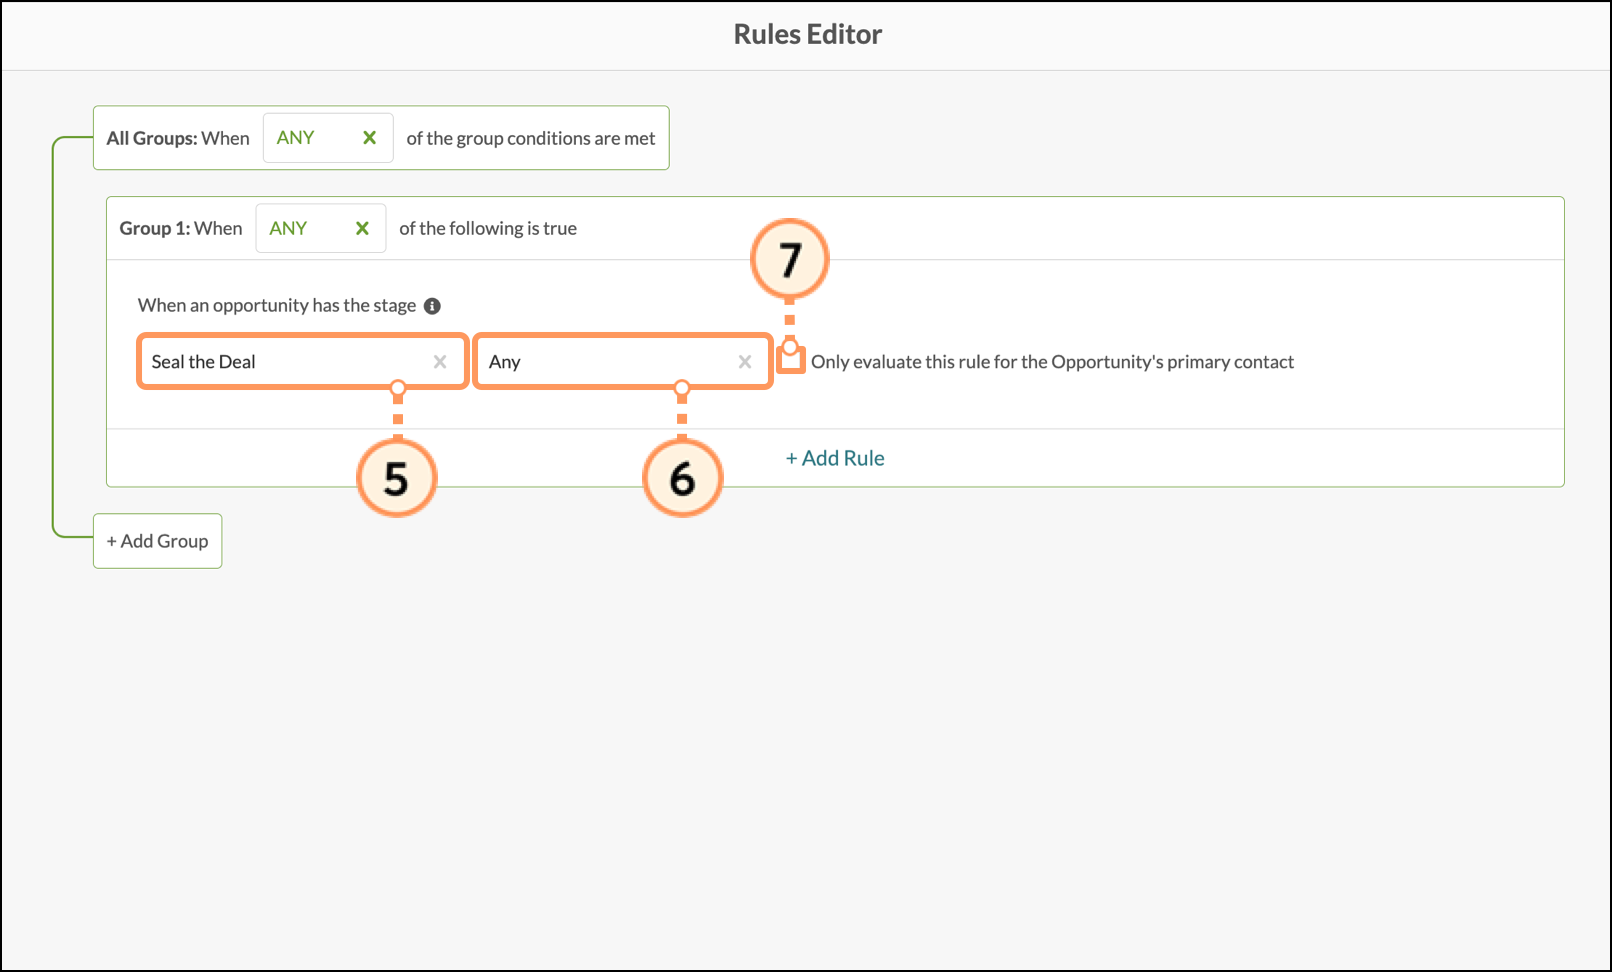
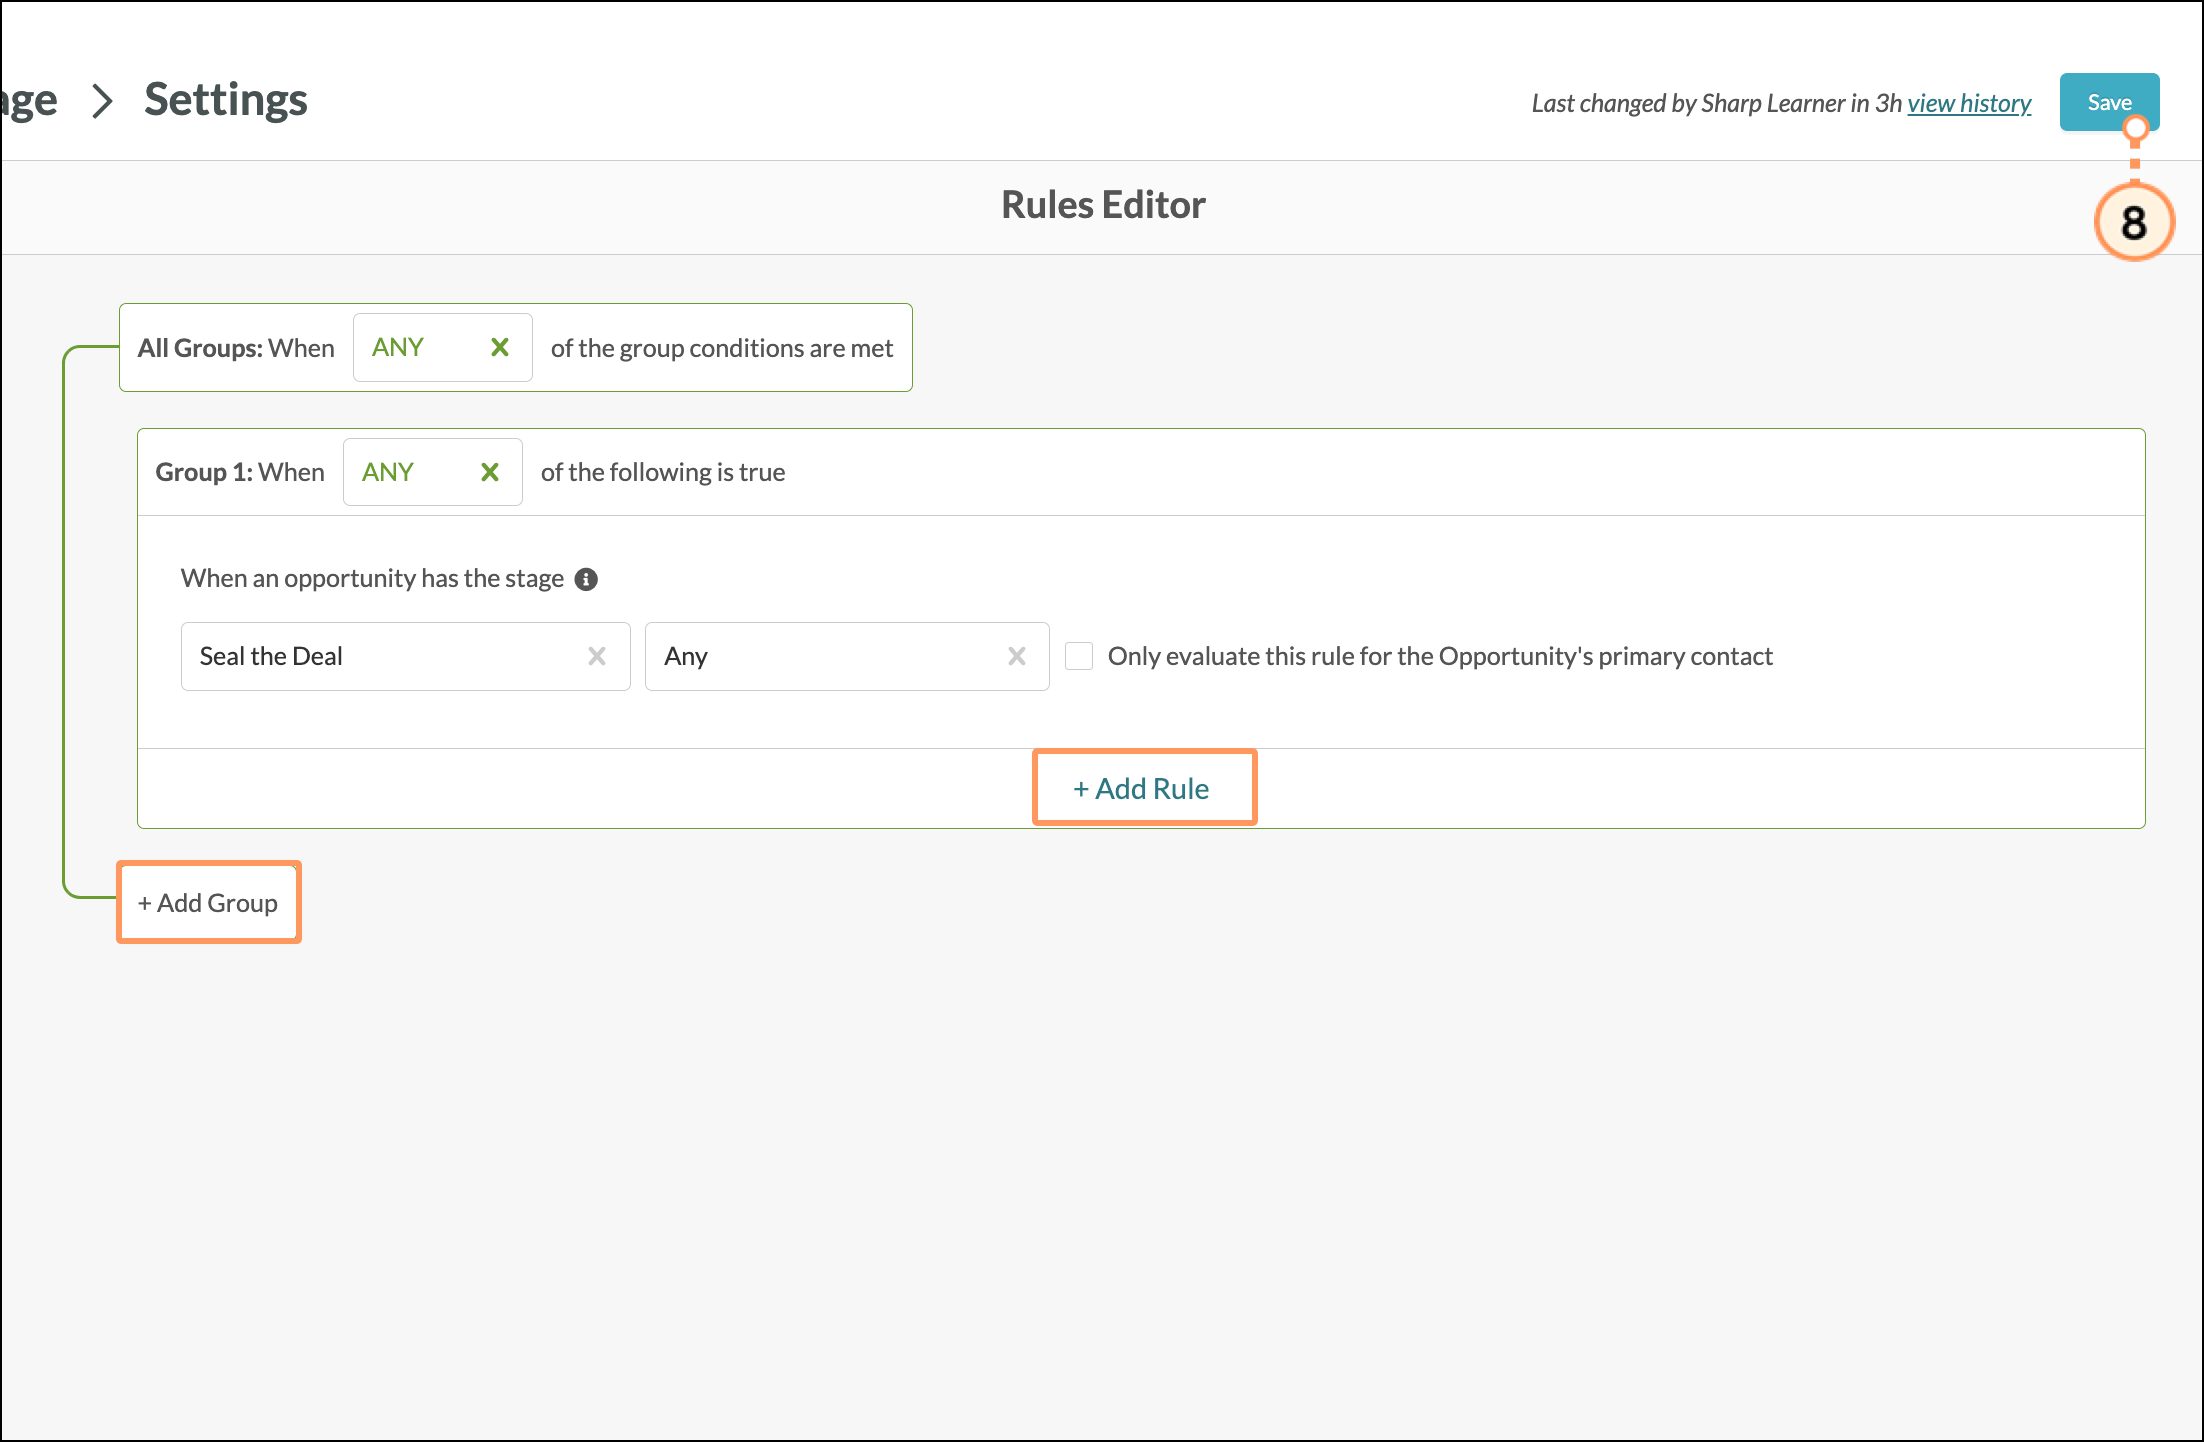
You can also create pipeline automations using a rules-based list that is based on when a stage changes. To create stage change lists, do the following:
When creating opportunity automation, be aware of the following:
Copyright © 2026 · All Rights Reserved · Constant Contact · Privacy Center