When creating your email or landing page, we have a number of individual blocks and pre-built layouts available under the Content tab that you can use to build out your template. You can also create your own layouts by connecting a group of individual blocks together, making it easier to customize, copy, and move the blocks as a single unit.
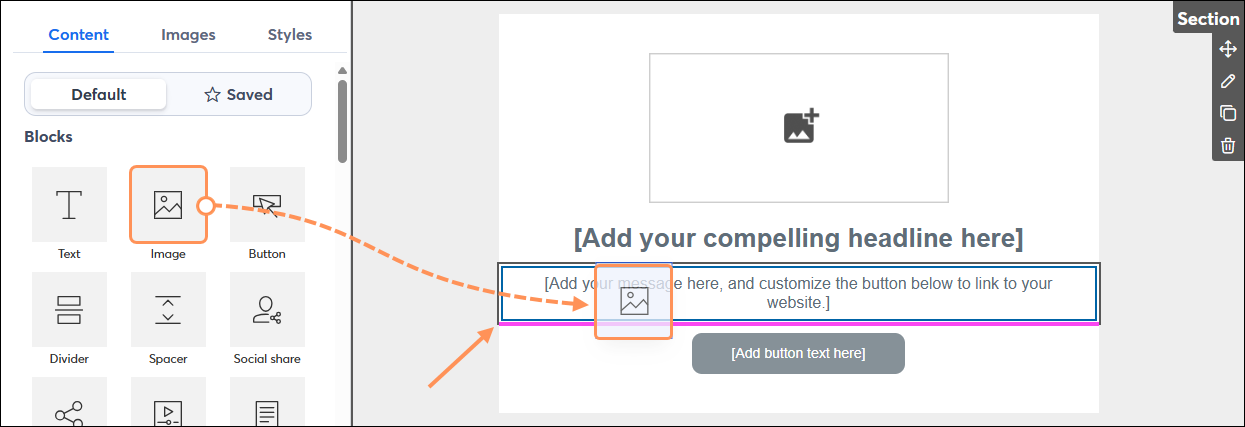
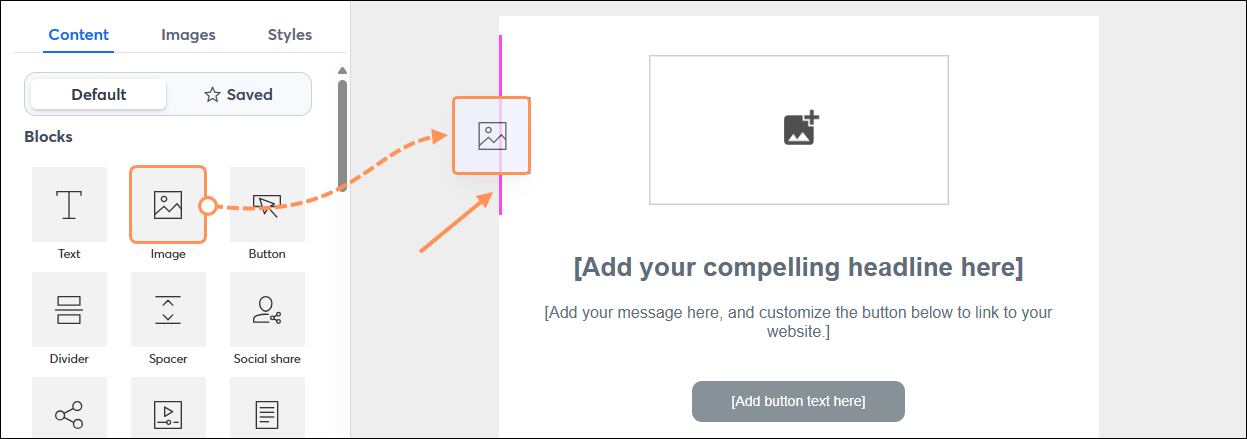
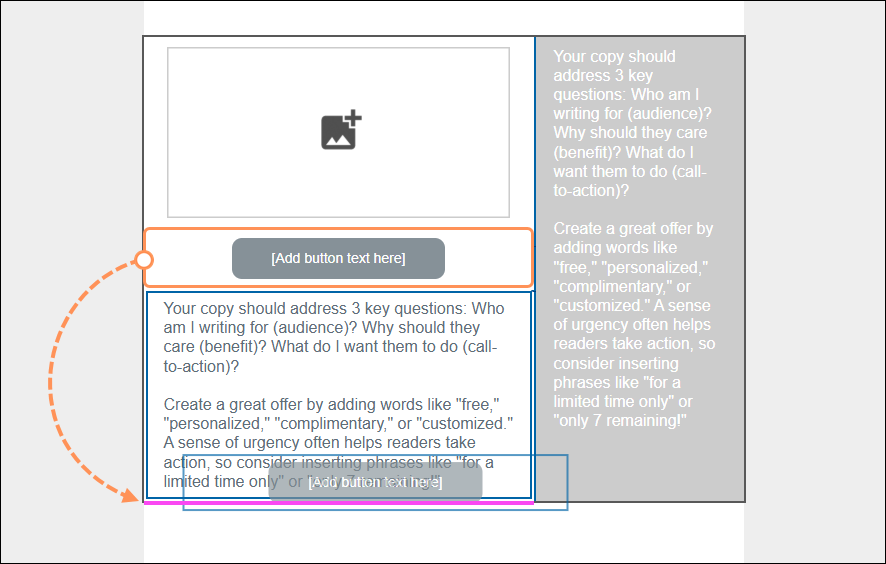
When moving or adding a block to your template, you can connect it to another block using the pink guidelines to help you position it above, below, to the left, or to the right.
 |  |
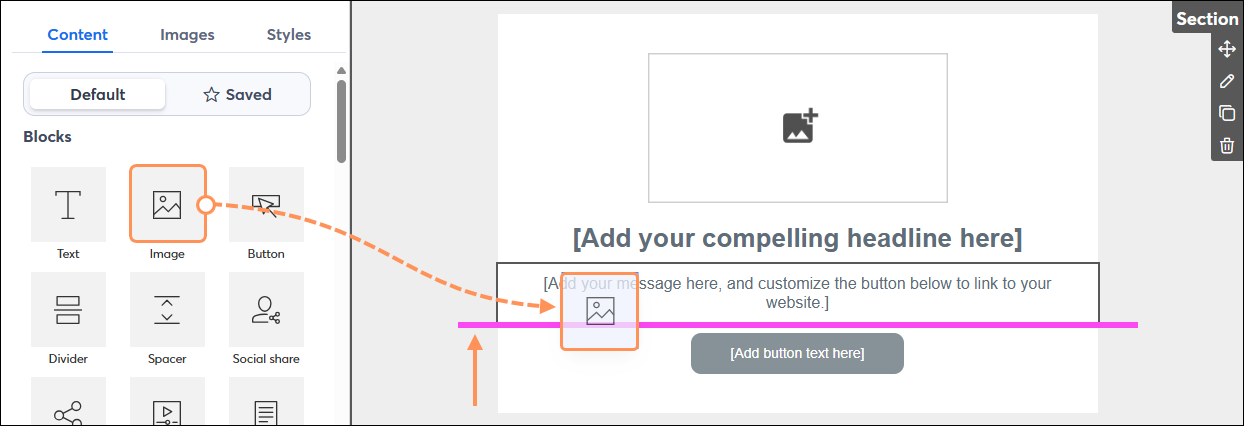 |  |
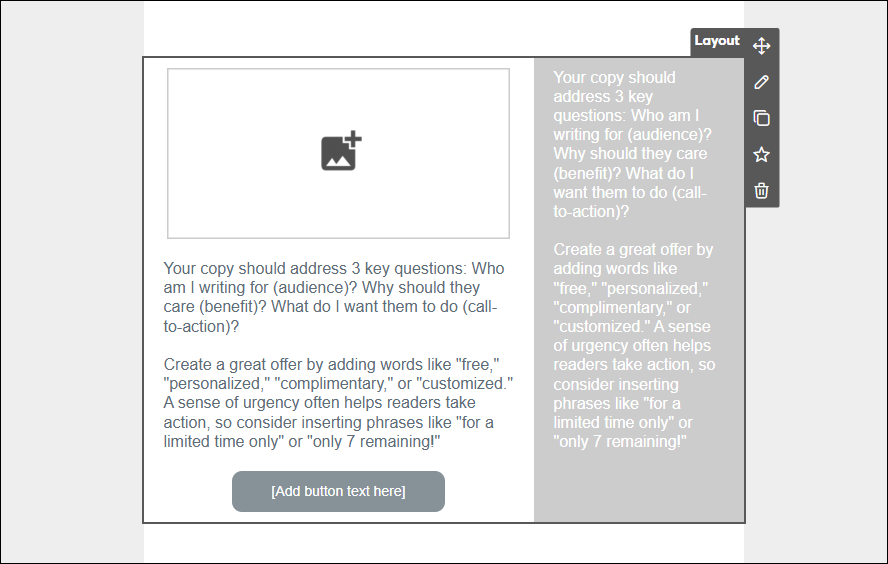
When the guideline appears on the left or right side of a block, the blocks will sit next to each other, forming a two-column Layout.
 | 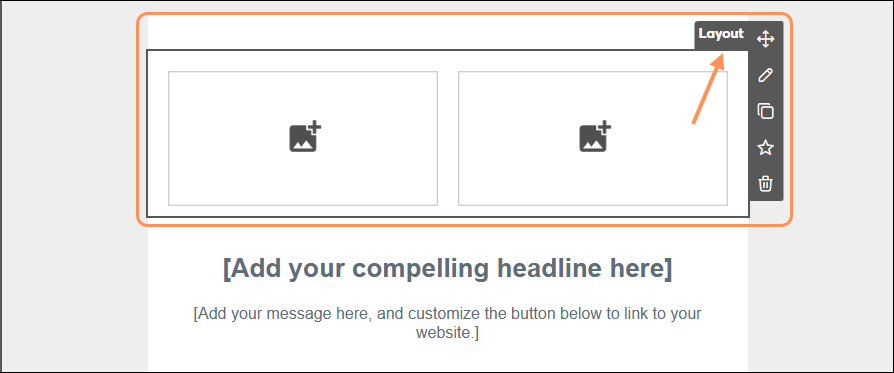 |
| Did you know? You can connect three blocks side-by-side across the width of your template, or use our pre-built layouts that have up to five columns. |
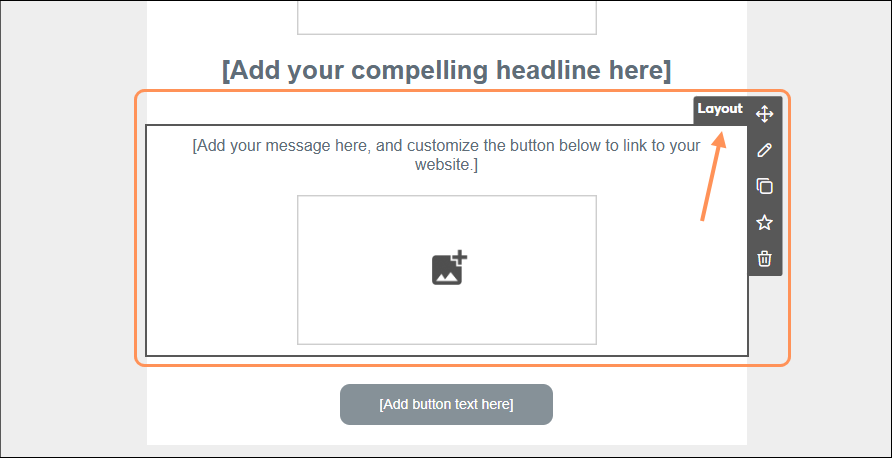
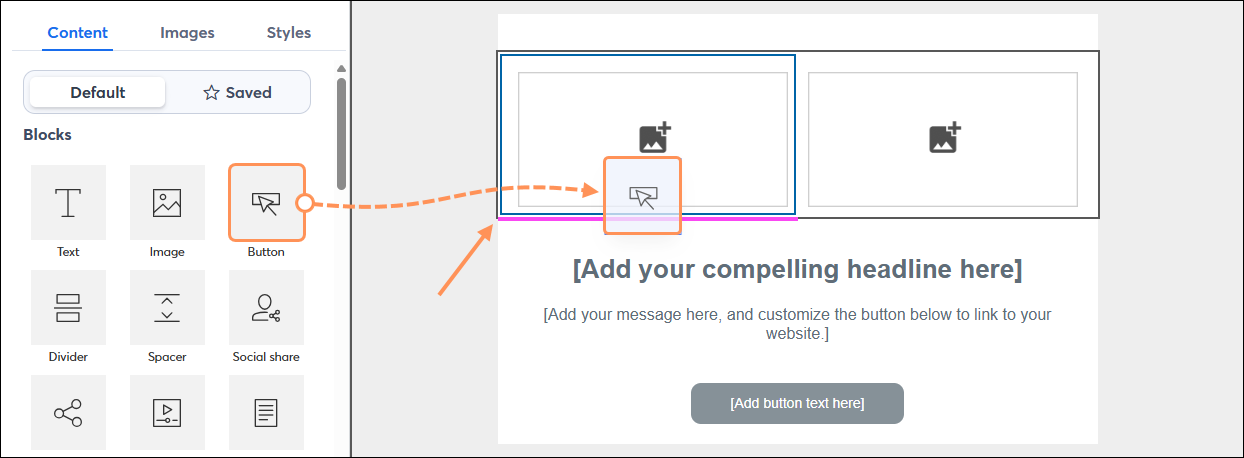
You can also insert and connect a block within a column:
 |  |
If you want to connect a Heading or Section heading to another block, you need to first insert it from the Layouts section of the Content tab into your template.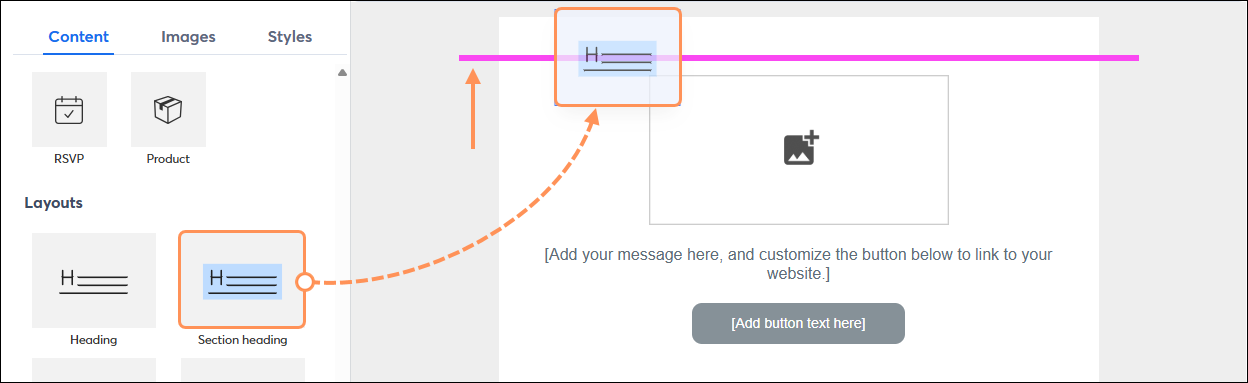
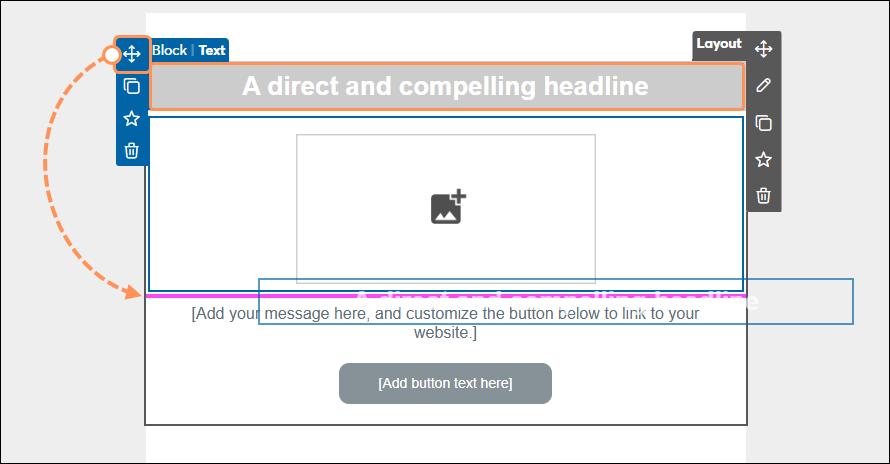
Once inserted, you can click and drag it to connect it to another block. You can move the Heading or Section heading by simply clicking on the block and dragging it, or use the directional arrows in the Block menu on the left to move it into a layout. If you use the directional arrows in the Layout menu on the right, it can only be moved above or below another layout.
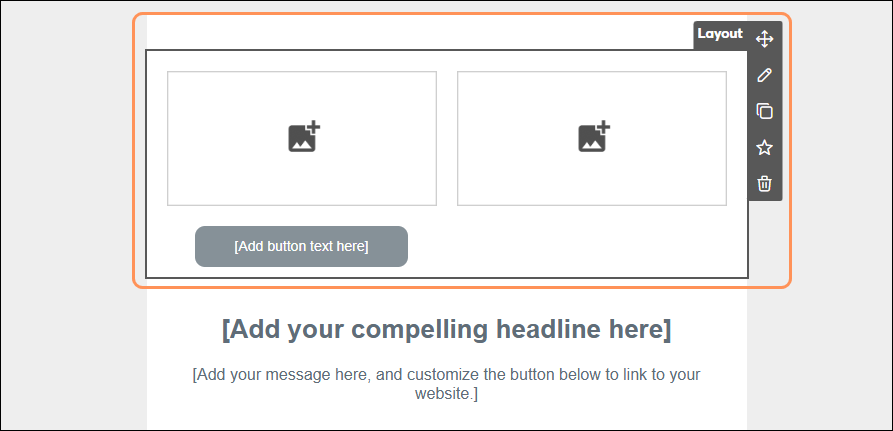
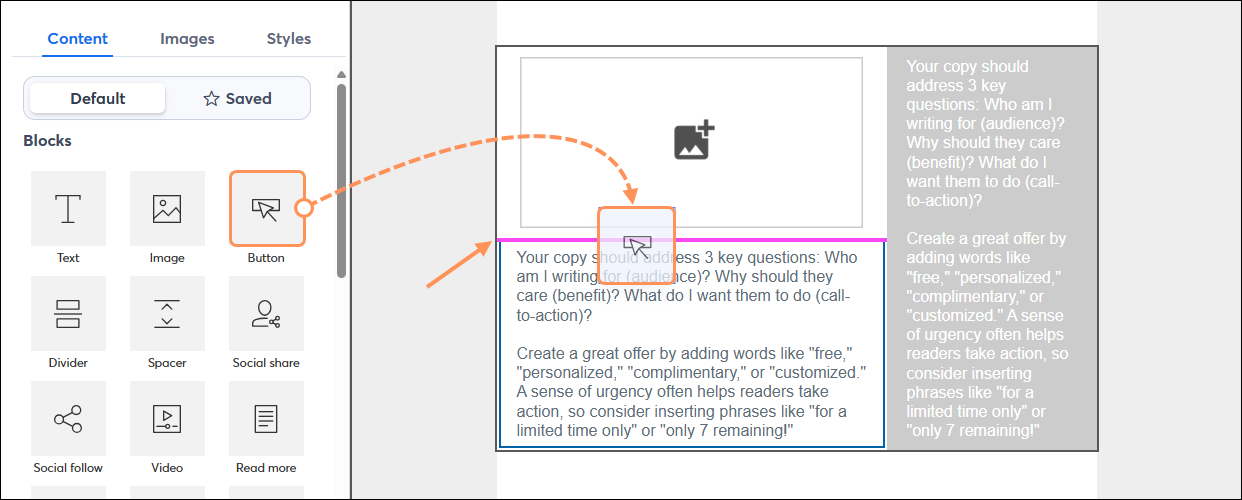
Any of the individual blocks from the Content tab can be moved into a layout to customize it further. The guideline helps you find the location within a layout where a block can be added.
Note: Pre-built two-column layouts can't be converted to a three-column layout by adding a block to the left or right-hand side. However, you can create a three-column layout using the pre-built three-column layout or by placing three individual blocks next to each other.
 | 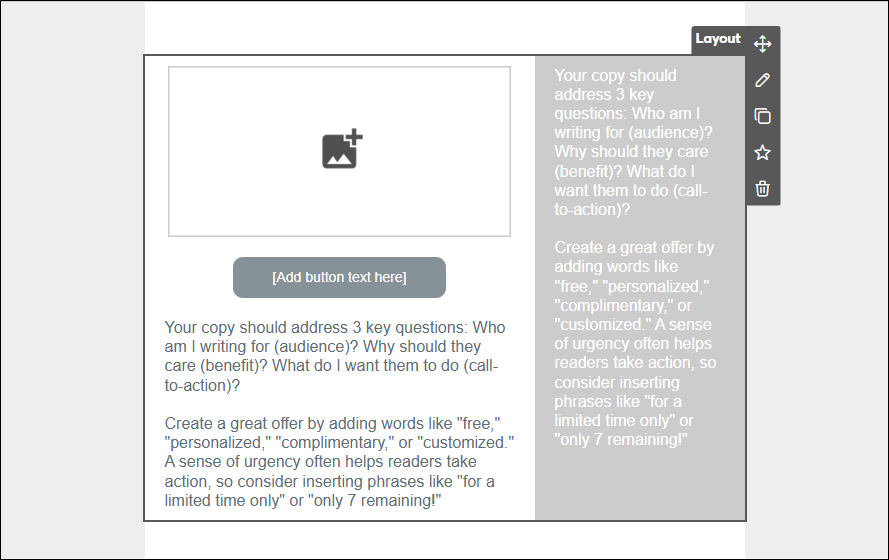 |
You can also move any of the individual blocks within the layout to rearrange it.
 |  |
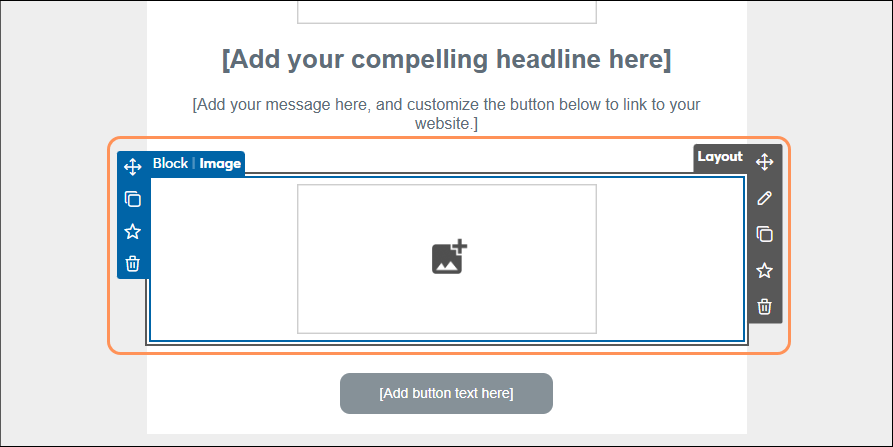
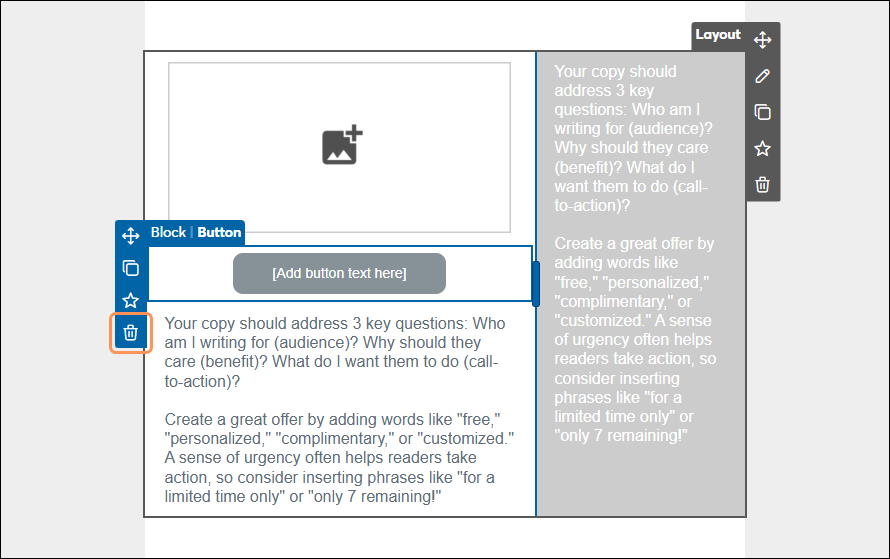
Once connected, you’ll be able to move, copy, or delete the group of blocks as a single unit, as well as change the background color of the layout.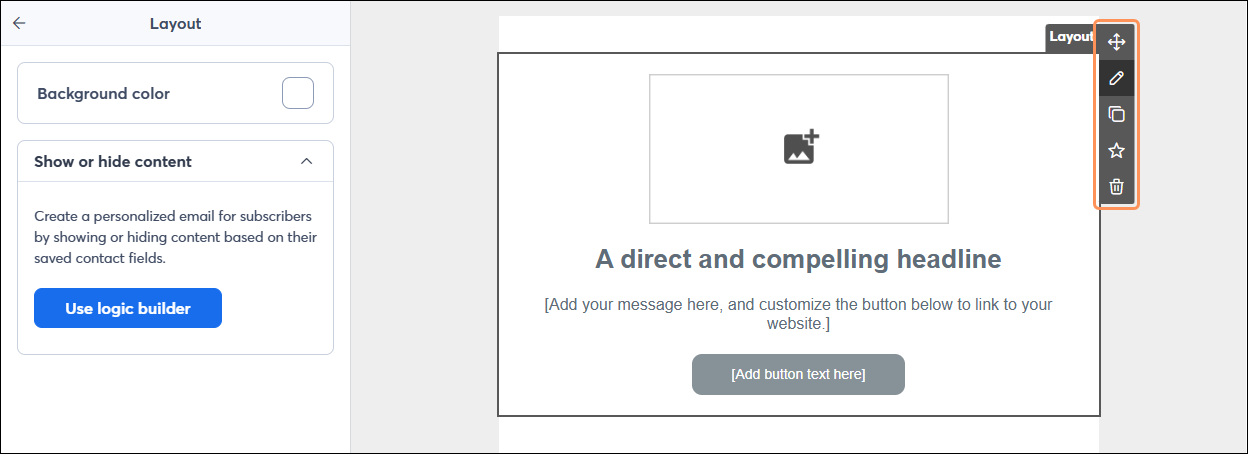
To delete an individual block in the layout, simply hover your mouse over the block and select the trash can icon from the left-hand controls.
Once a block is part of a layout, it isn't permanent. Each individual block can be moved out of the layout on its own or into a different layout.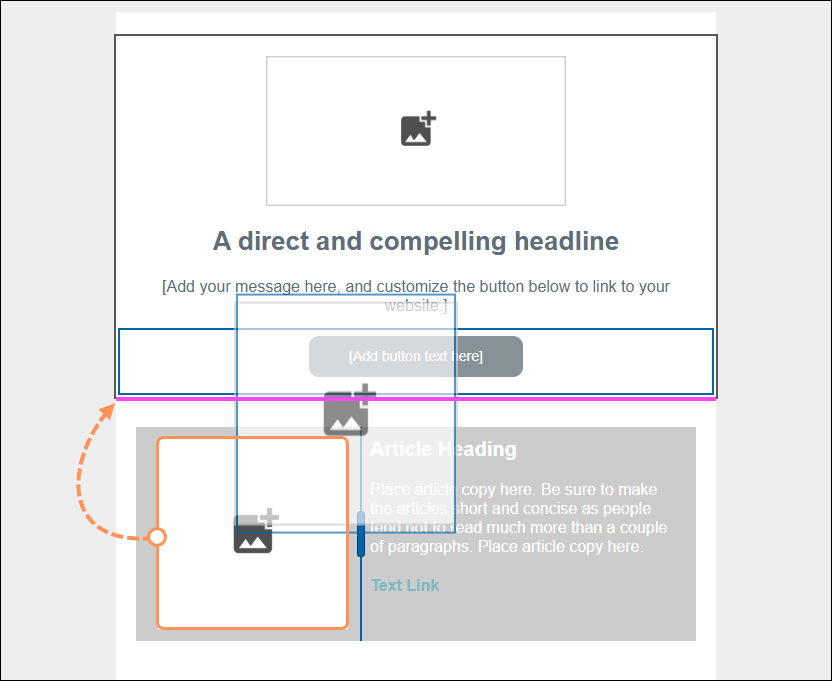
Copyright © 2026 · All Rights Reserved · Constant Contact · Privacy Center