After a lead submits the form, the form displays a thank-you page. Thank You pages are tied to individual forms, meaning each form can have its own unique Thank You page.
By default, Lead Gen & CRM provides a generic page for anyone who fills out the form. However, this page can be customized to better suit your needs. This article will provide information on the Thank You page settings available, as well as custom coding the Thank You page.
| Tip: Are you looking for information about Constant Contact’s Email and Digital Marketing product? This article is for Constant Contact’s Lead Gen & CRM product. Head on over to the Email and Digital Marketing articles by clicking here. Not sure what the difference is? Read this article. |
| Administrators | ✓ | |
| Company Managers | ✓ | |
| Marketing Managers | ✓ | |
| Sales Managers | ||
| Salespersons | ||
| Jr. Salespersons |
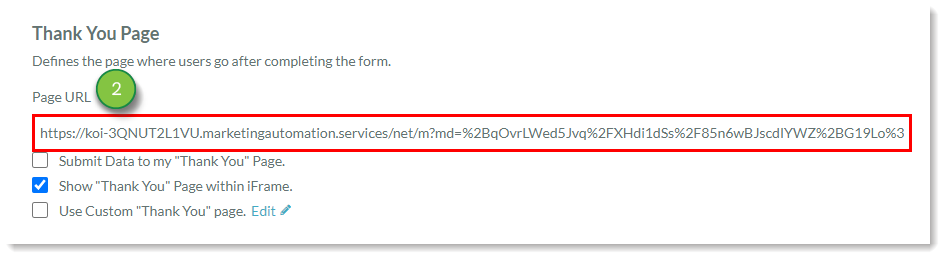
Once a user submits a form, they are redirected to a Thank You page. Though Lead Gen & CRM provides a default Thank You page, you may want to provide your own. Thank You pages are web pages, and they have their own URLs.
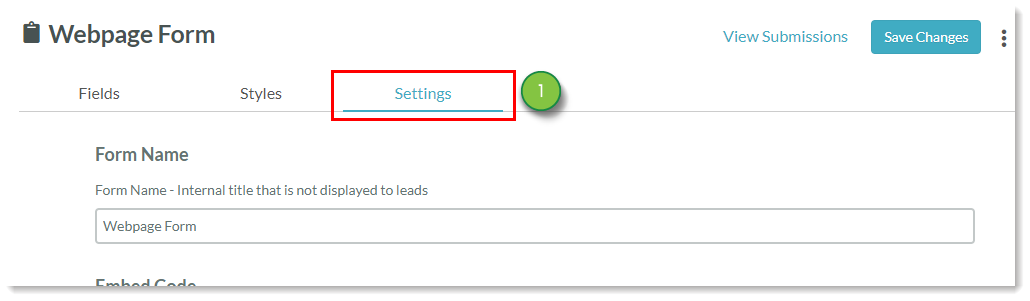
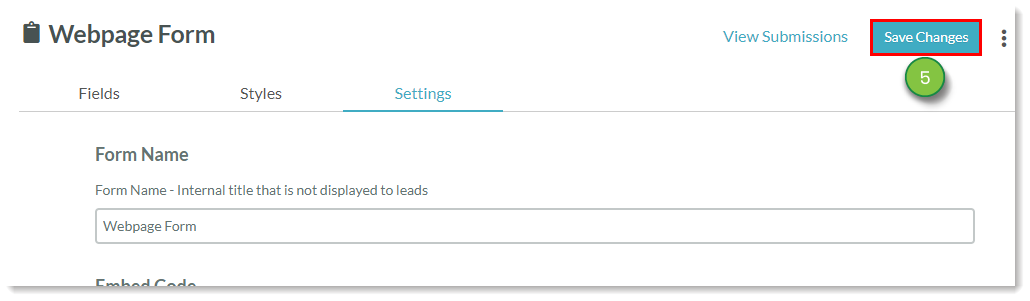
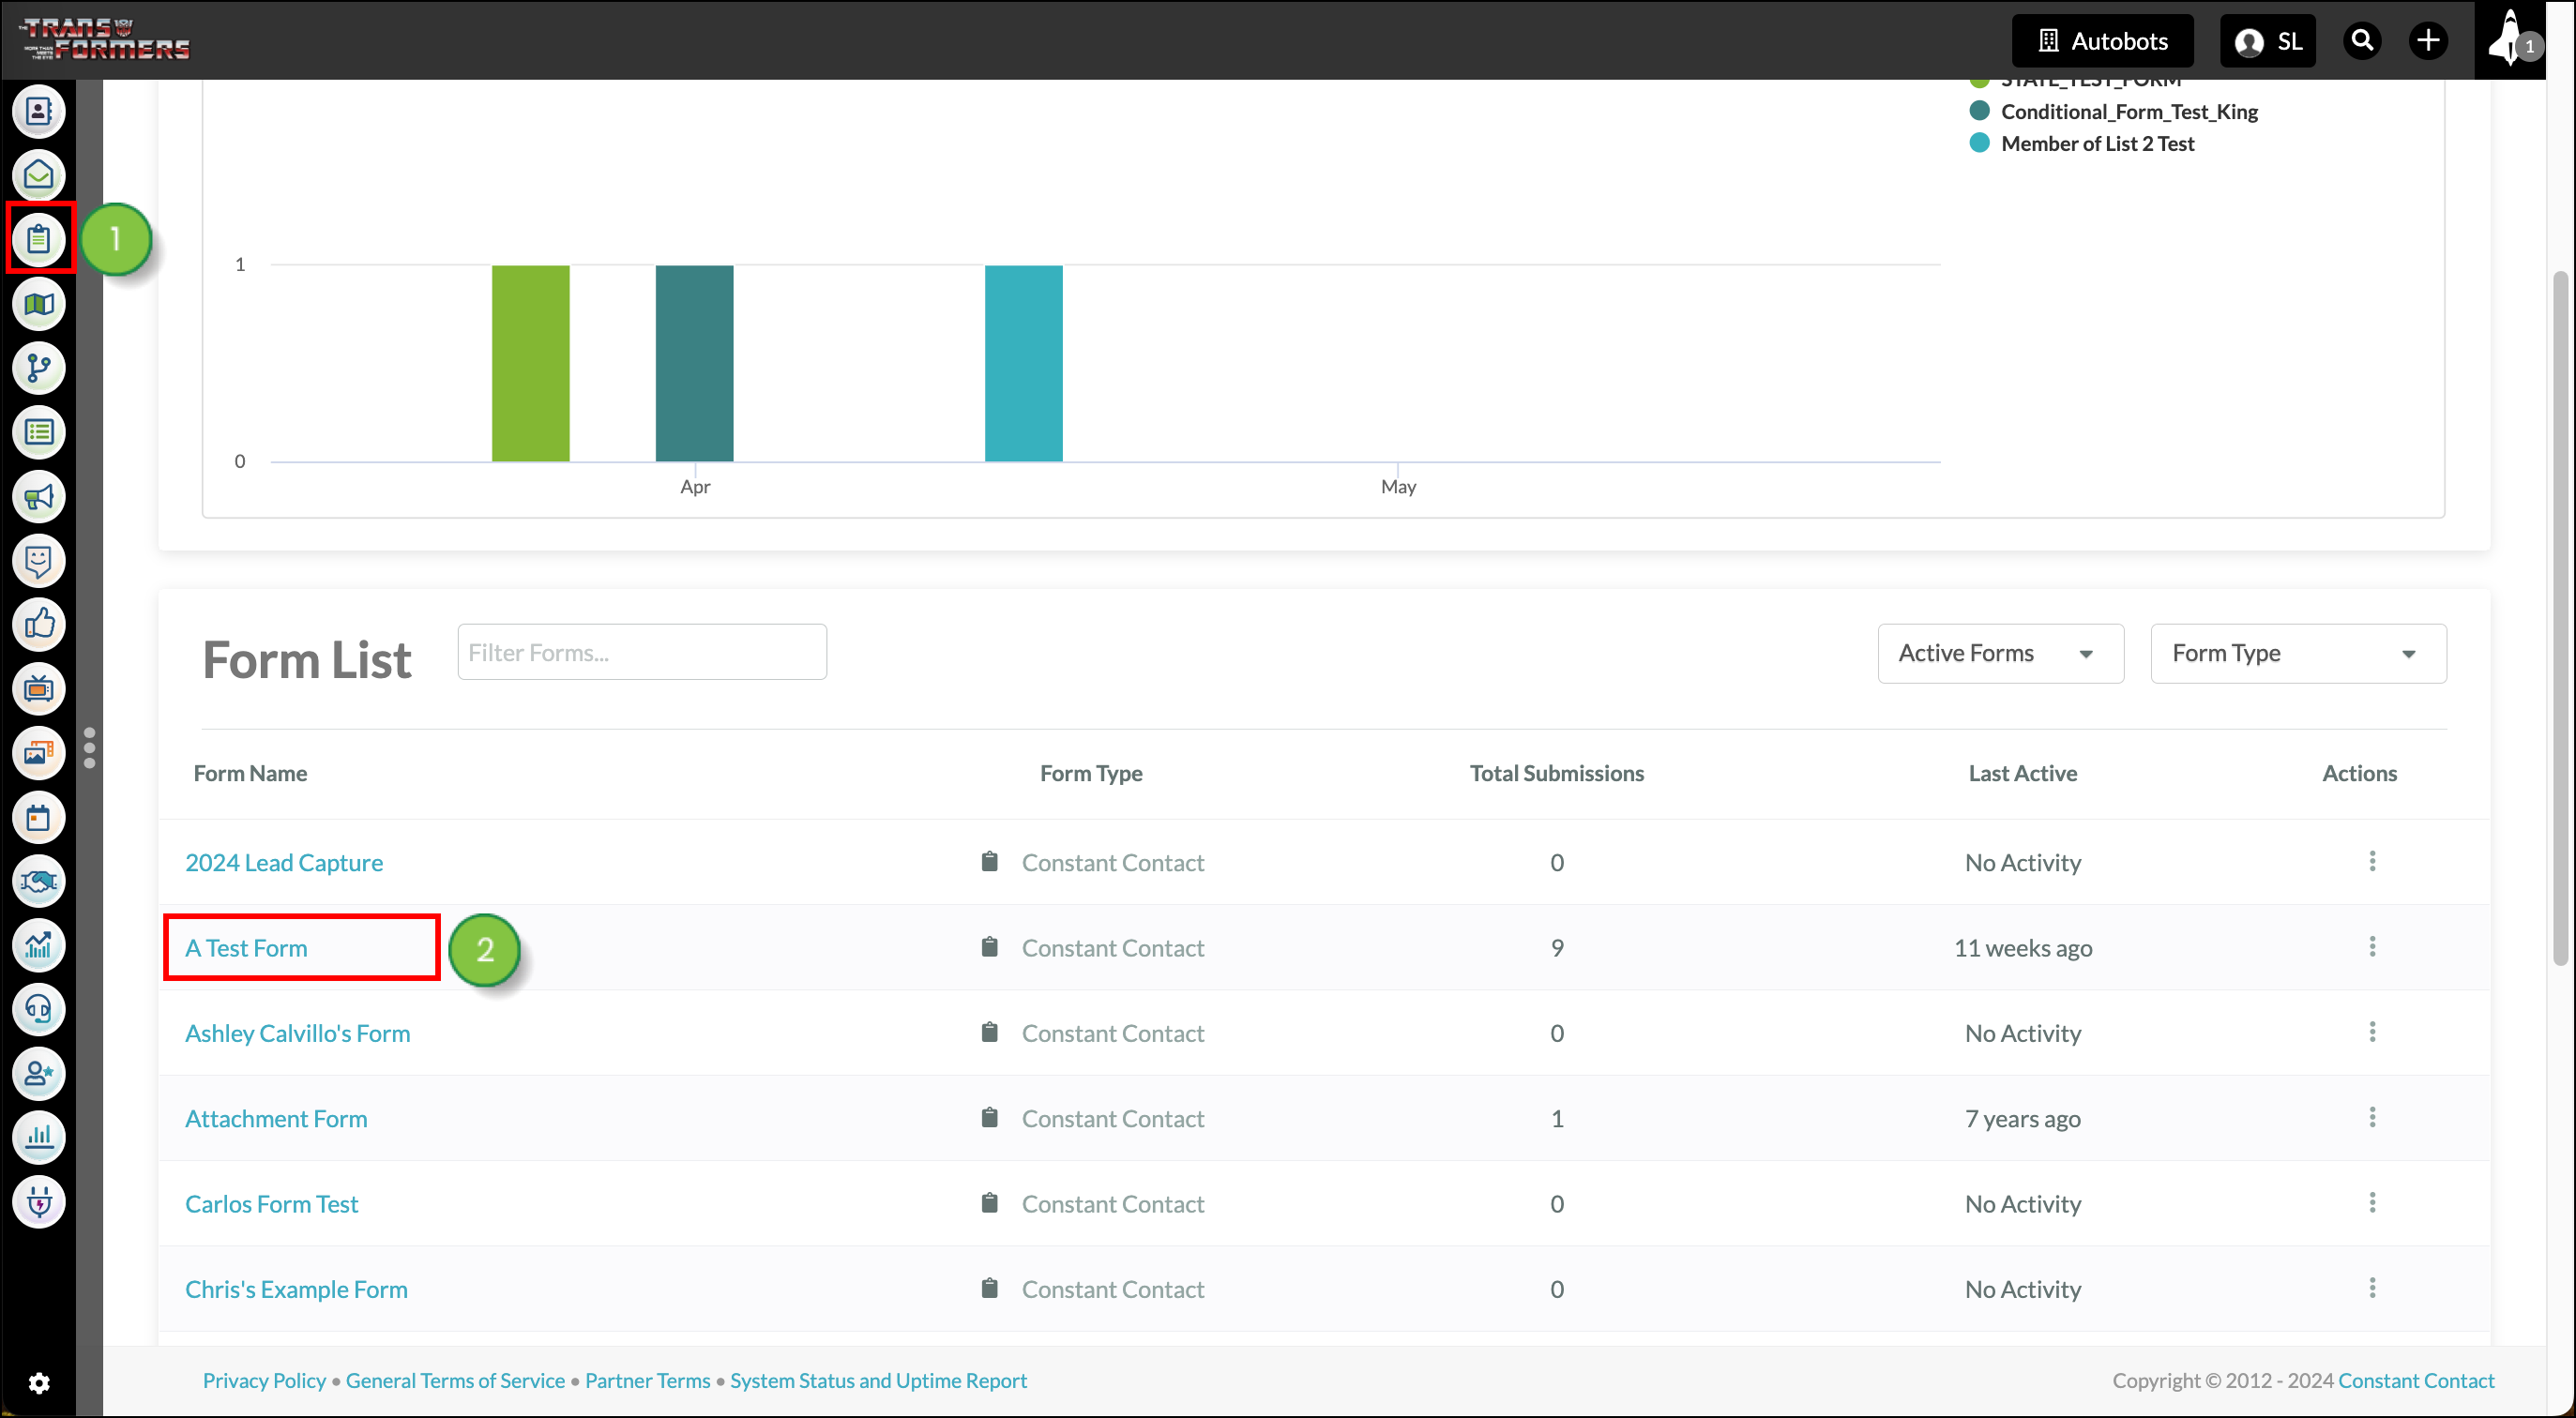
To redirect to a specific URL, create or edit the desired form:
Refer to Adding Forms to Landing Pages for additional information on form submission options and URL redirection.
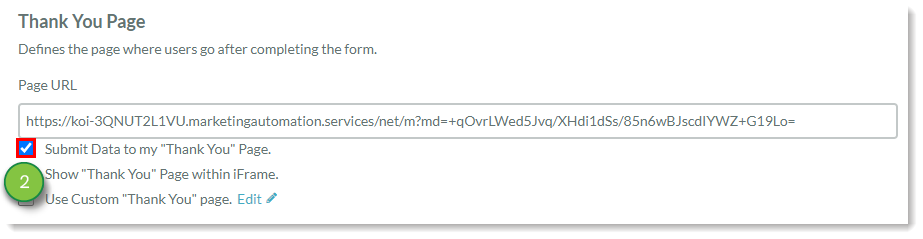
You can set your Thank You page to do something with the data collected. For example, you may have some dynamic web content that changes based on the form data, or you may have an external Thank You page that runs a script based on the data.
To set your Thank You page to submit data, create or edit the desired form:
You might not want to redirect users from your form page. Consider displaying your Thank You page on the same page as the submitted form by using Inline Frames (iFrames). An iFrame is an HTML element that allows for a document or webpage to be embedded within another webpage.
To set a Thank You page to open in an iFrame, create or edit the desired form:
This will set the Thank You page to open within an iFrame on the form page instead of opening a new tab or window to display the page. Be aware that certain ad blocking software may prevent users from seeing Thank You pages in an iFrame.
If you would like something more than the default Thank You page display, you can edit the page's HTML settings.
To set custom HTML for Thank You pages, create or edit the desired form:
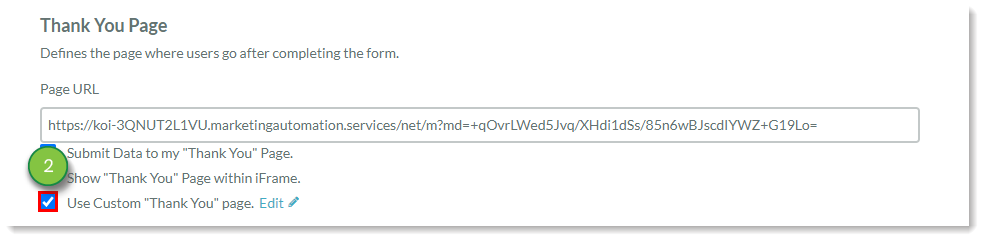

To make additional edits at a later time, click ![]() Edit next to the selected checkbox.
Edit next to the selected checkbox.
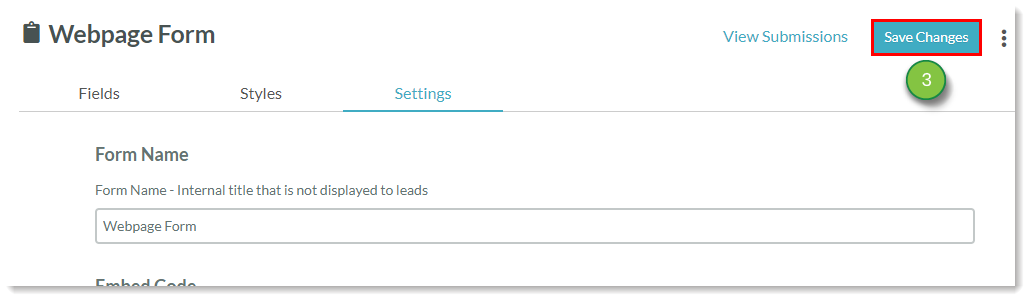
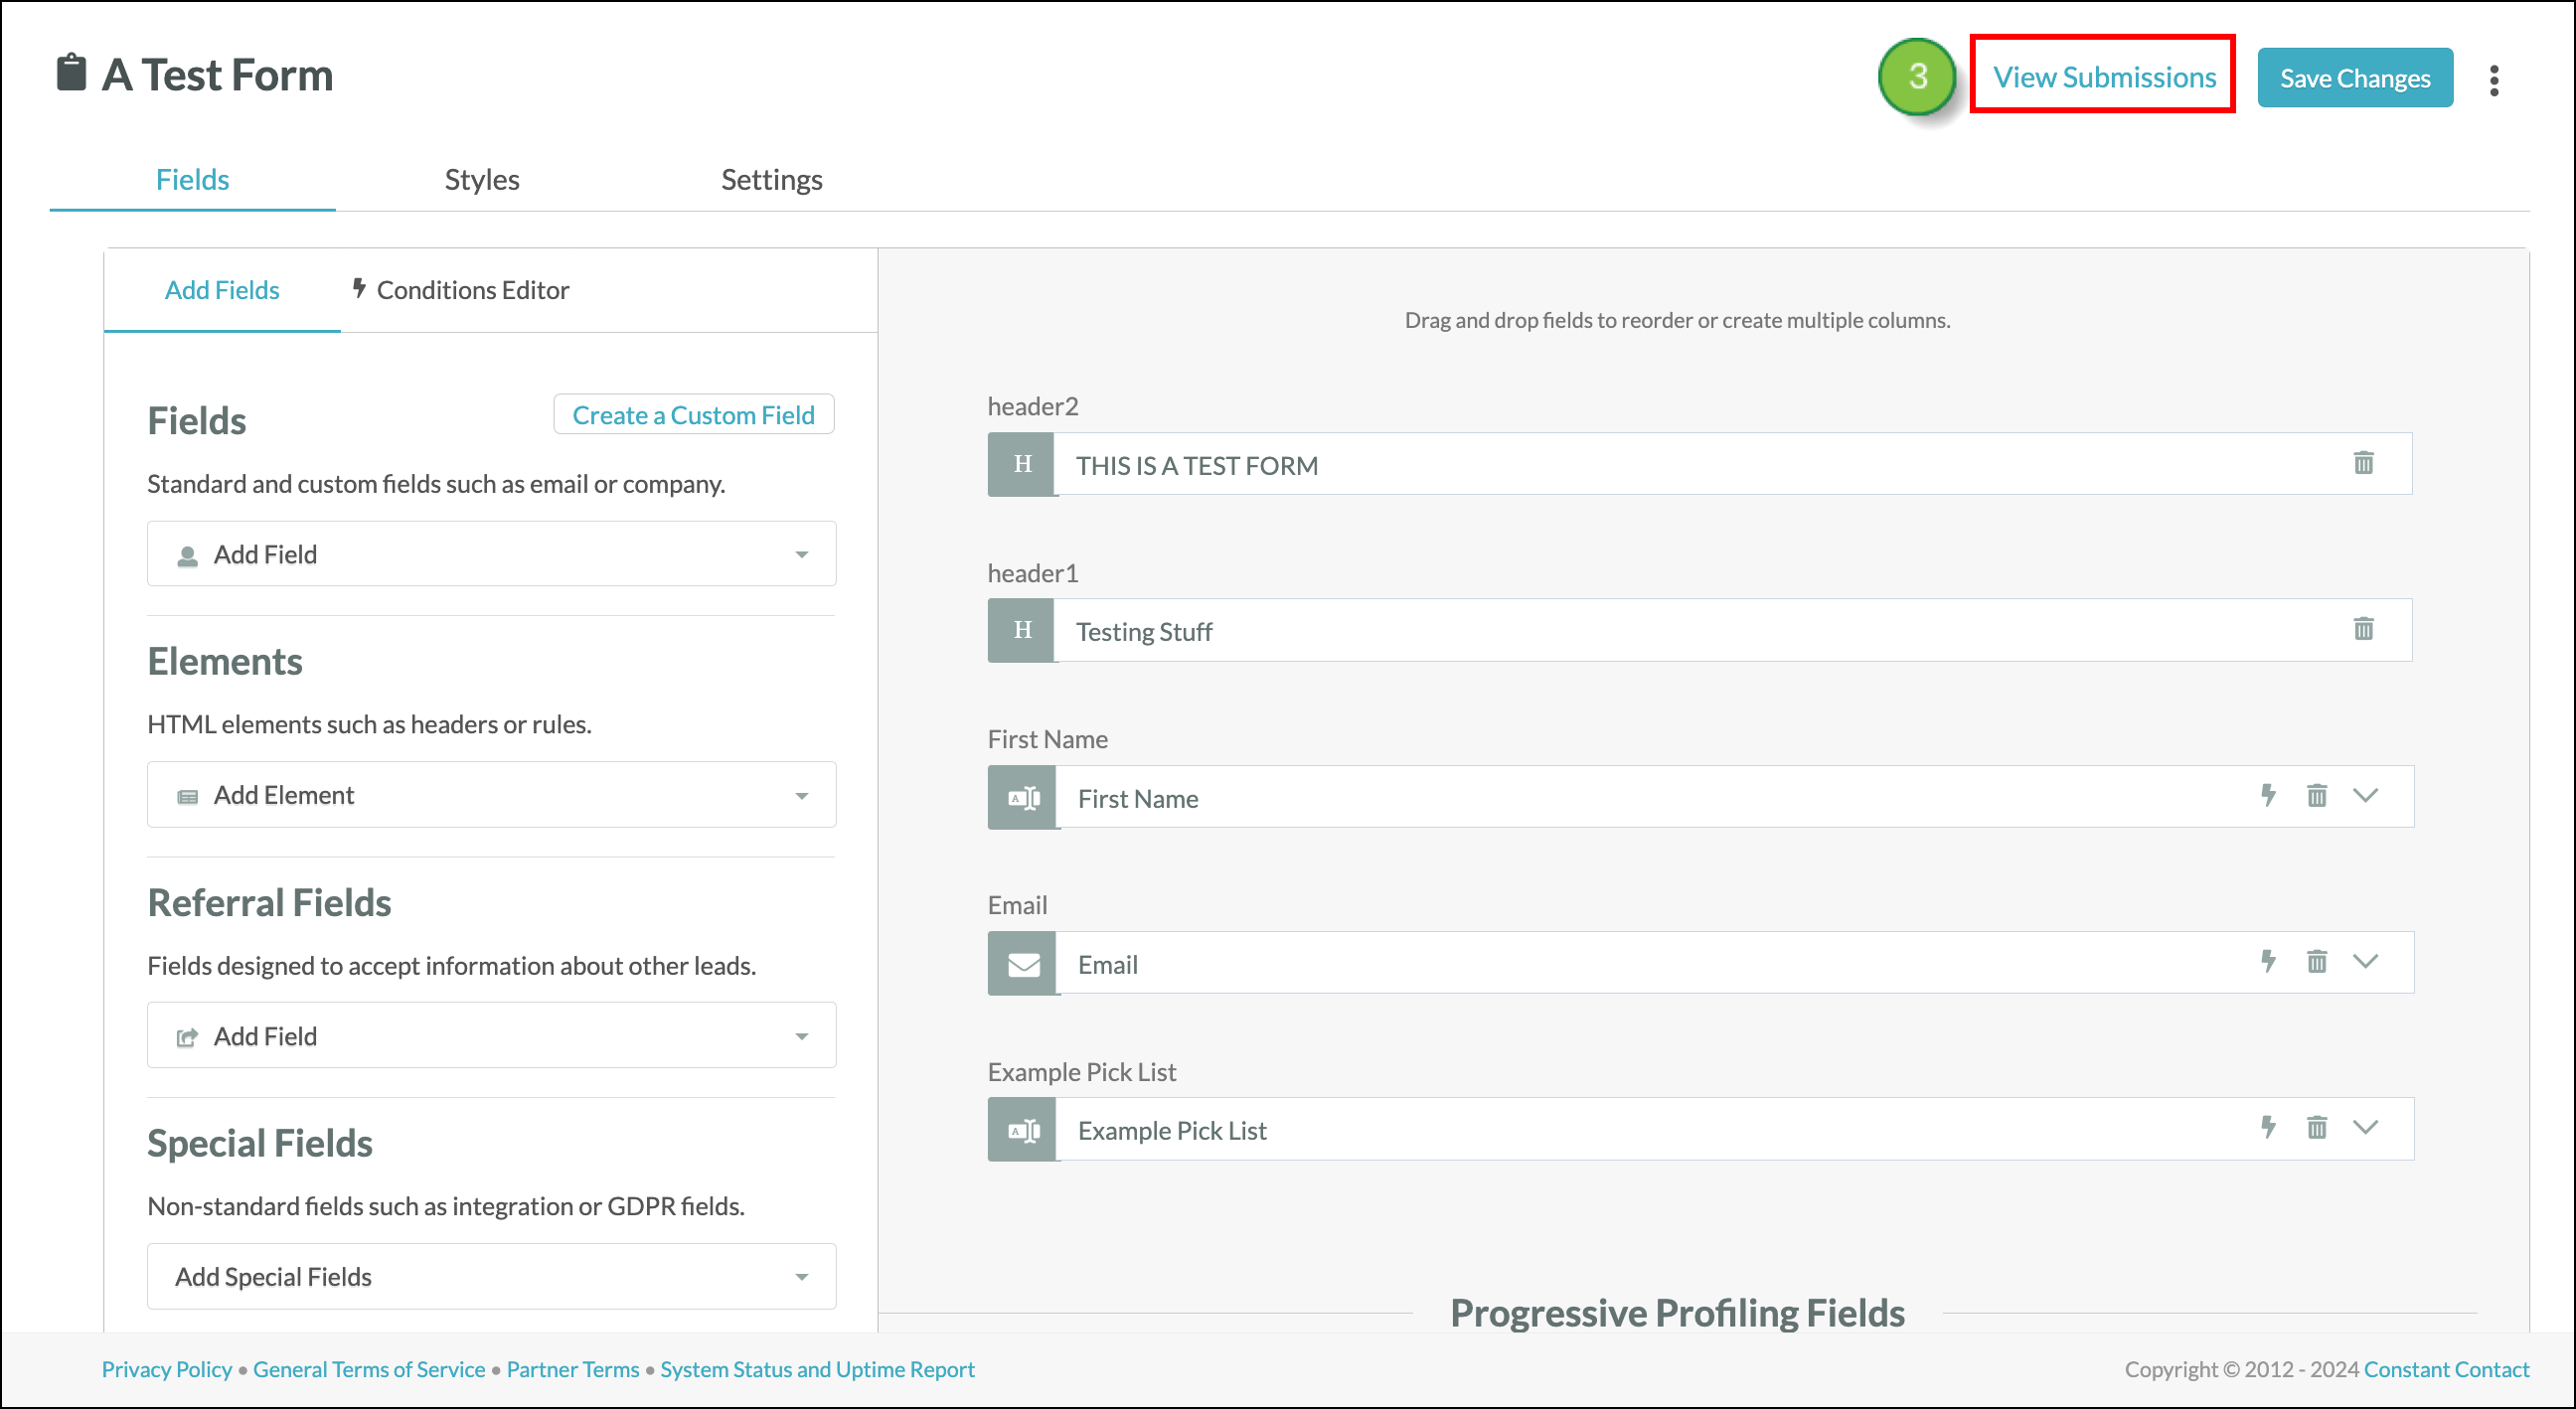
Once form data has been submitted, you can review the results by clicking on the View Submissions button from within the form.
Copyright © 2026 · All Rights Reserved · Constant Contact · Privacy Center