Insert and customize a Data Table block in your email
When you create an email, you can insert a table block to better organize your information and customize it to match the rest of your email design.
While editing your email:
- Drag the Data Table block into your email, using the pink guideline to help you find the right spot.
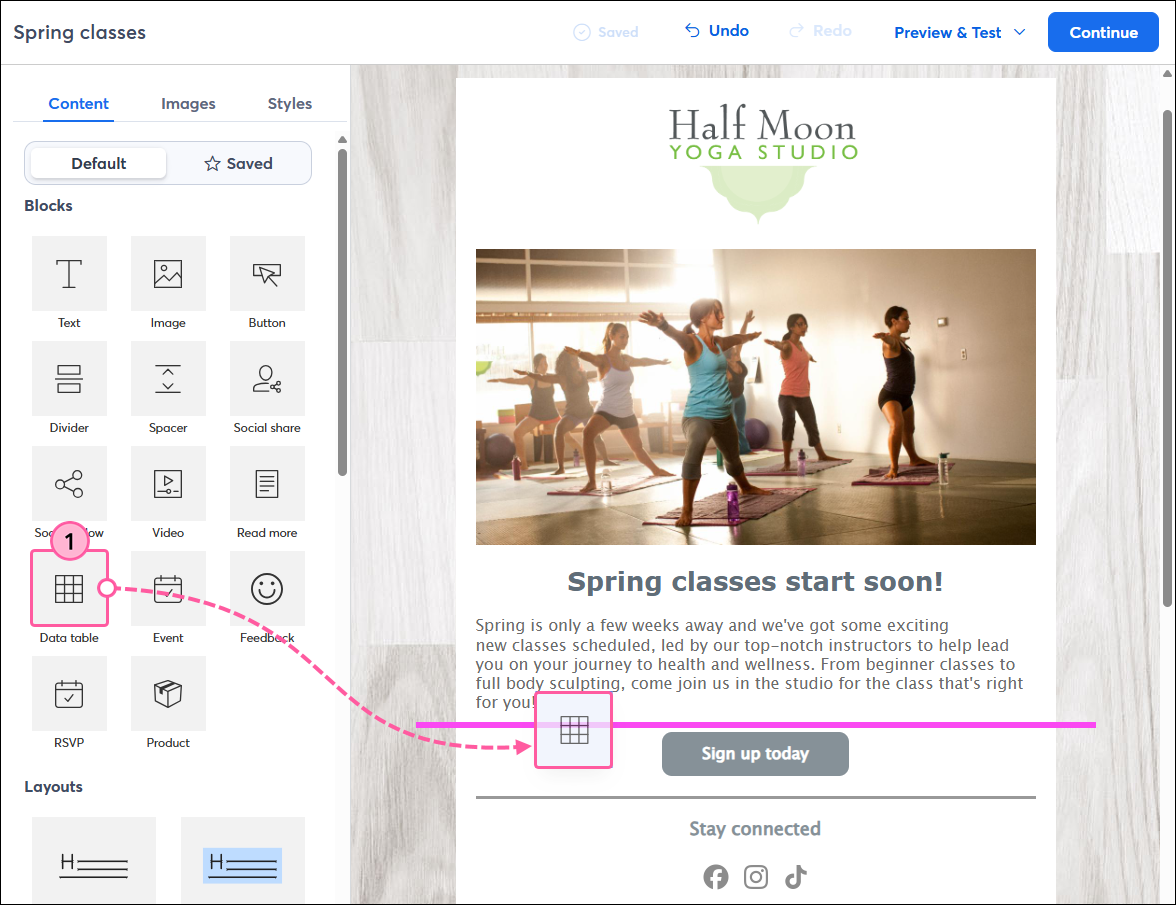
- Click on the block to edit your table.
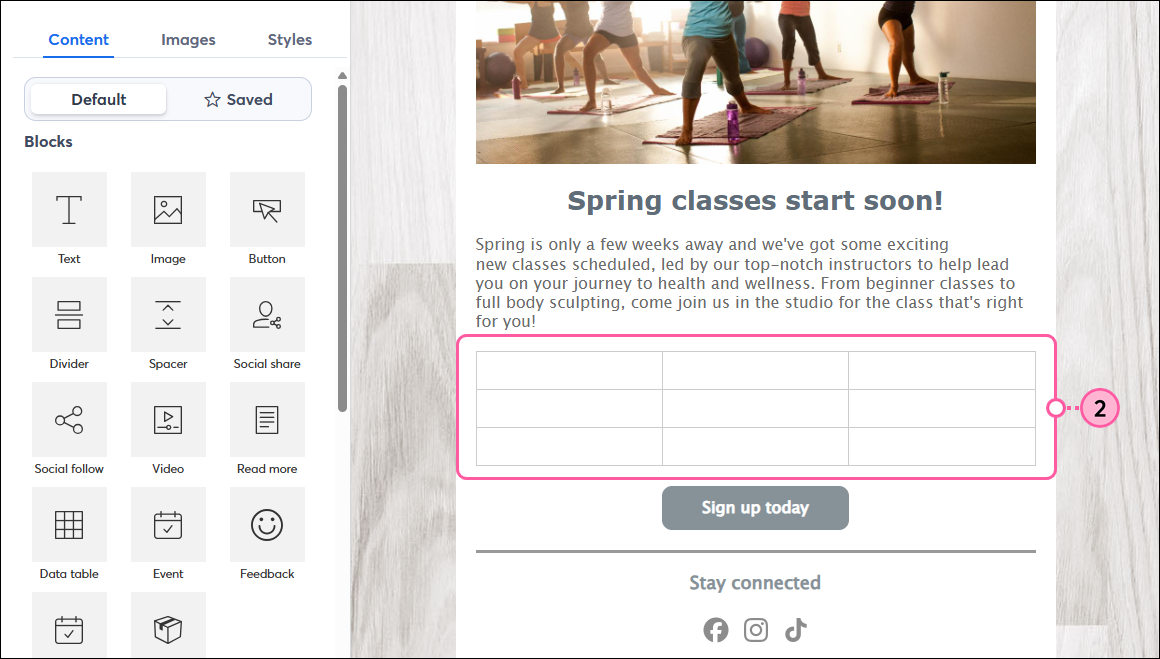
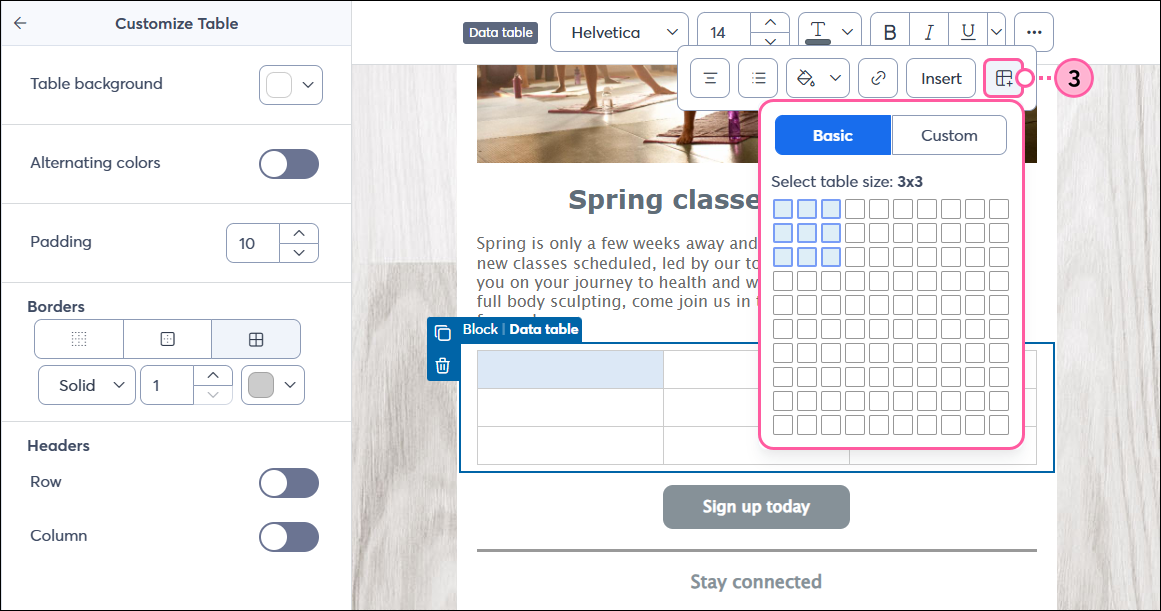
- From the toolbar at the top, click the grid symbol to highlight the number of rows and columns you want in your table, or click Custom to enter the number, up to 20 columns and 30 rows. You can also add or delete columns/rows by right-clicking on a cell and selecting the option from the drop-down.
- Click in each cell to enter your content, or copy and paste your data from a spreadsheet to fill in all the cells at once.
Note: The column widths adjust proportionally. If you only have 2 or 3 columns in your table and want to be able to adjust the widths, consider using one of our multi-column Layouts from the Content tab. - Use the toolbar to format and style your text.
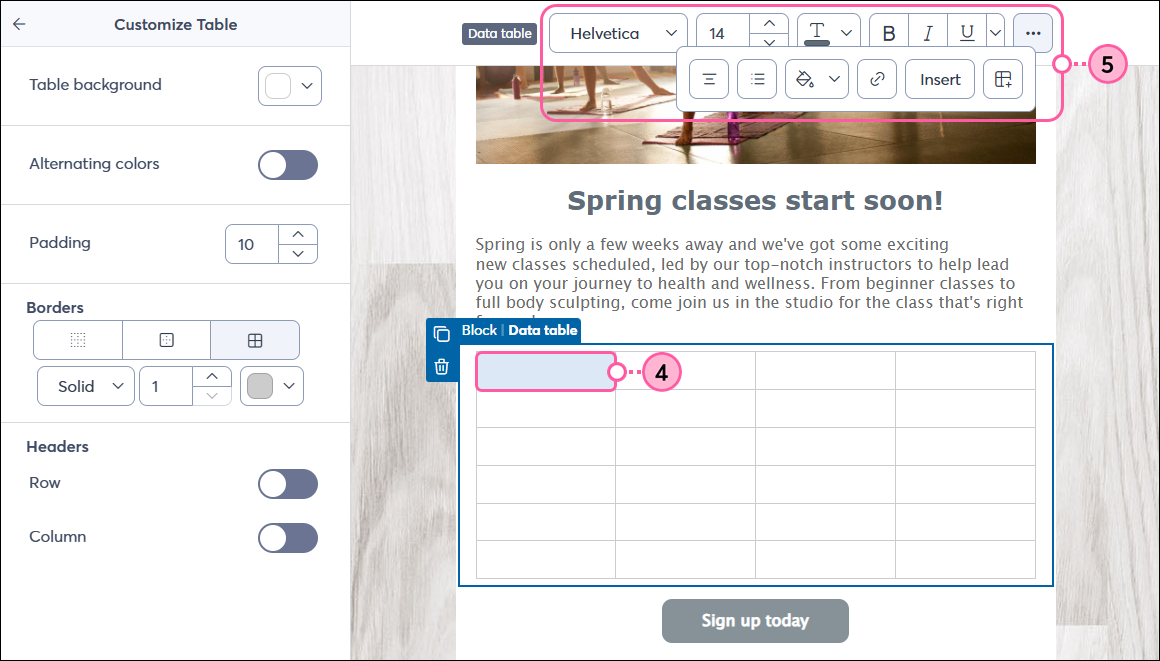
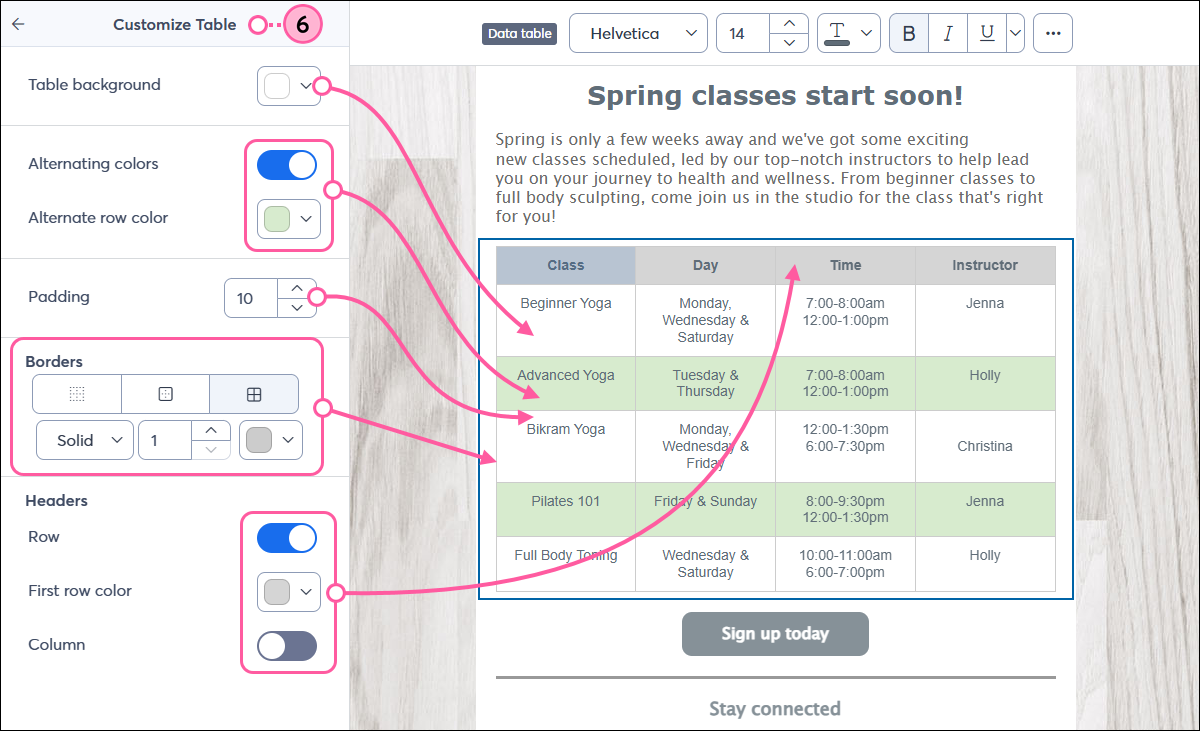
- (Optional) Use the controls on the left to customize the look of your table:
- Table background - Select a background color for your entire table.
- Alternating colors - Click the toggle, then select a color to alternate the row color in your table.
- Padding - Use the arrows to increase or decrease the space inside the table cells.
- Borders - Choose a table border style, thickness, and color.
- Headers - Click the toggle and select a color to format a row or column header.
Once you’re finished customizing your table, simply click outside of the table block to continue editing the rest of your email.
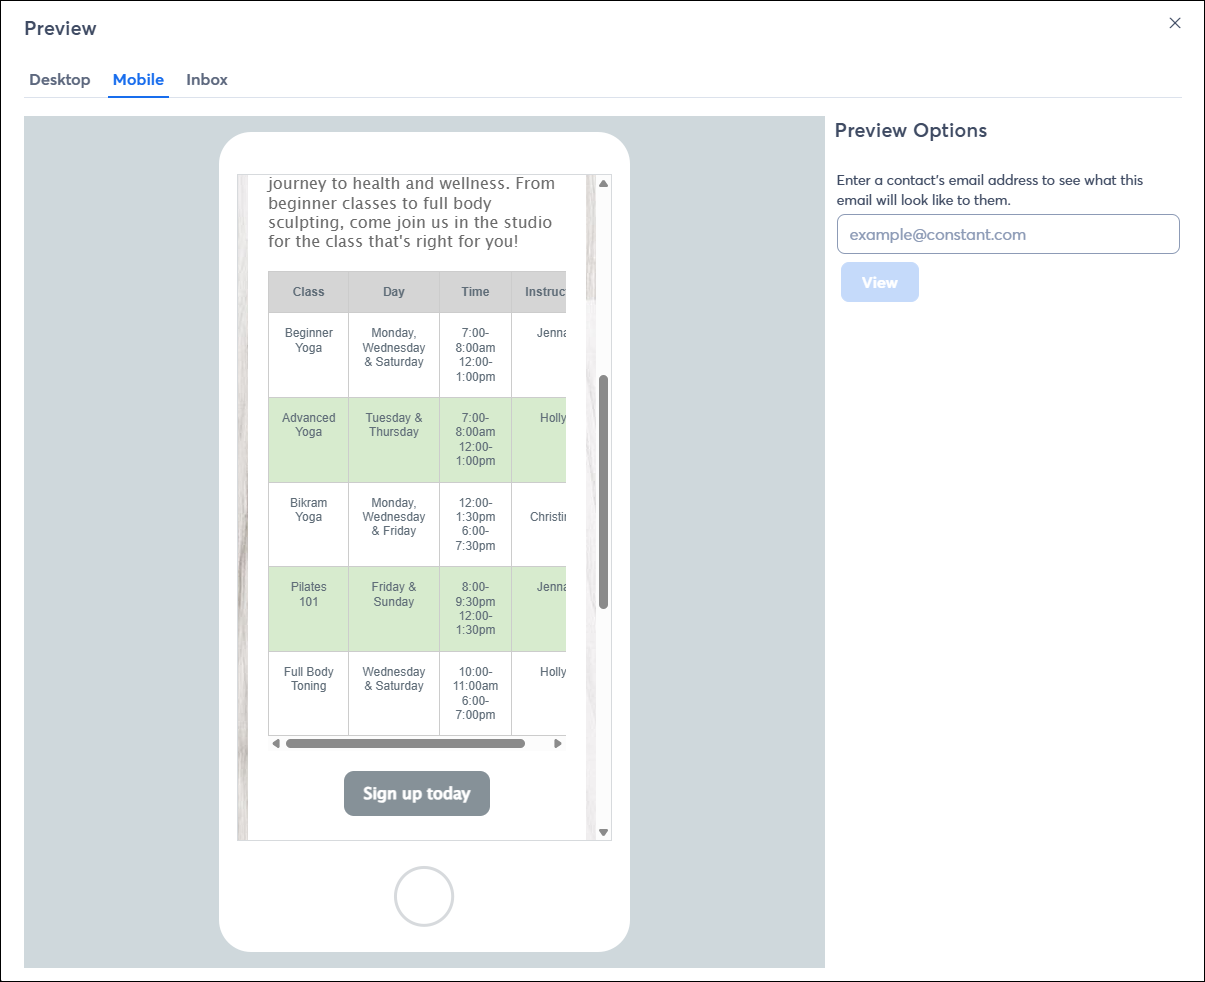
Be sure to preview and test your email before sending it to your contacts to see how your table will display on desktop and mobile. If your table doesn't look the way you intend, check out some alternatives to using tables in your email.
Note: When viewed on a mobile device, your table won’t resize to fit the screen. If your table is wider than the screen, contacts will need to scroll horizontally to see the full table.
Alternatives to using tables
Since tables can become quite complicated, and it’s best practice to keep your email short, the Data Table block may not be the best solution for every table. Luckily, you have options!
Insert a thumbnail image of the table
If you absolutely need to include your table in your email, you can create a thumbnail image of it. The image resizes to fit the screen size of a mobile device. Your contacts on smaller screens may need to pinch and zoom, but it won't have as big an impact on your overall design as not having the table would. The table thumbnail can also be turned into a clickable image, or you can include a button with directional text that links to the full version of your table.
 | Did you know? When you create an email from a PDF, a thumbnail image of the first page is added to the email, and it automatically includes a button that links to the PDF document stored in your Library. If you can save your table as a PDF, this might be a quick and easy way to make it visible. |
Insert a button that links to the URL for your full table
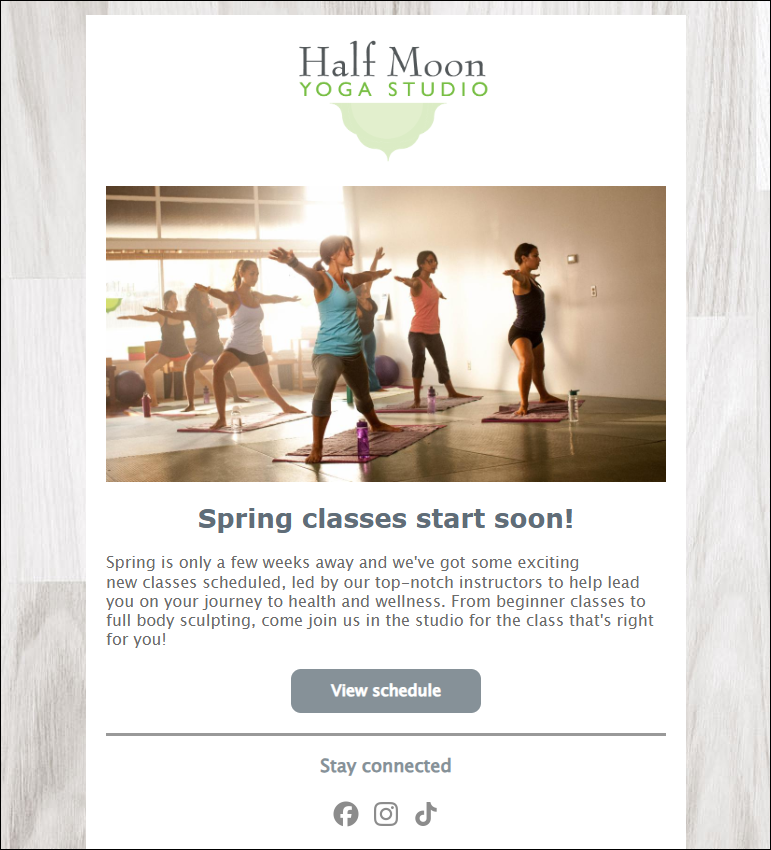
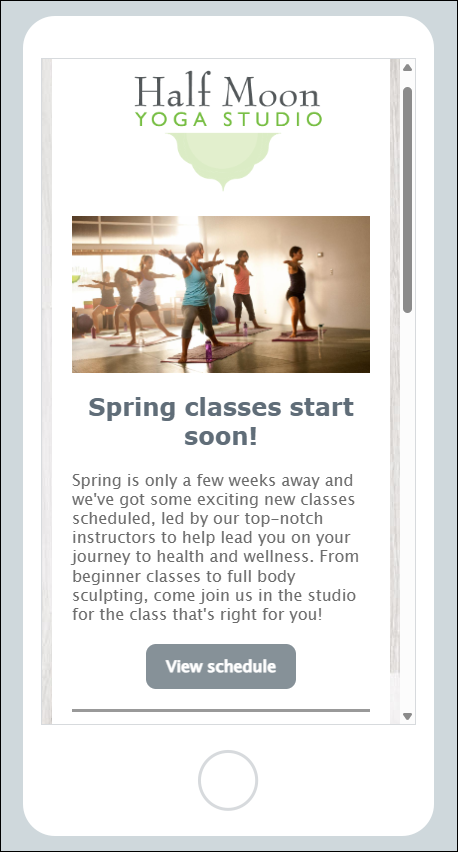
When you have a simple call-to-action, we recommend using a button in your email and linking to the full table content. A button offers the added benefit of giving your contacts a chance to engage with your content rather than just scroll through it.
- Link to a website - If you already have the full table details displayed somewhere on your website, simply link the button to that page. This option has the added benefit of driving traffic to your site!
- Link to a PDF or Excel spreadsheet hosted in your Library - If you don't have all of the information already listed on your website, you can create the table in Excel, customize its appearance, and upload it into your Library. Then, when you create your email, just link the button to the document! When contacts click the button, they'll be able to view the full table as you intended.
- Link to a Google sheet - You can also create your table in a program like Google Sheets. It's free to use and lets you customize how the table looks. You can even make the sheet "view-only," or give editing access for collaboration. When you create your email, copy the shareable link, then paste the link into your button!
| Desktop view | Mobile view |
 |  |
Any links we provide from non-Constant Contact sites or information about non-Constant Contact products or services are provided as a courtesy and should not be construed as an endorsement by Constant Contact.