 | Important: Your video must be hosted on a third-party platform, such as Vimeo or YouTube, before you can add it to your email. Currently, there is no way to upload and host a video directly in Constant Contact. |
Videos are one of the most engaging types of content you can share with your audience. When you create an email, a Custom Landing Page, or a Survey Page, you can easily insert a video from your Vimeo account, or you can add a video link from YouTube, Wistia, or another media platform.
When your contacts click on the video thumbnail in your email, a new web browser tab opens to play the video. When they click to watch the video from your landing page, it'll play right within the landing page.
 | Did you know? Most email providers don't support embedded videos and cannot play them directly in an email. This restriction helps to prevent malware and emails from being marked as spam. This is why we add videos to your emails using clickable thumbnails so they only appear embedded instead. |
Use videos to demonstrate a product, give a customer testimonial, interview a guest, make an announcement, educate on a topic, or even share a personal holiday greeting. Keep your videos short, under three minutes long. If your video is longer, consider breaking it into parts and creating a series of campaigns to share it all.
 | Tip: If you’re just looking to promote a video to your audience, we have a “Featured Video” Custom Landing Page template you can use to make it easy! |
Insert a video hosted on Vimeo
- If your video isn’t already, be sure to upload it to your Vimeo account.
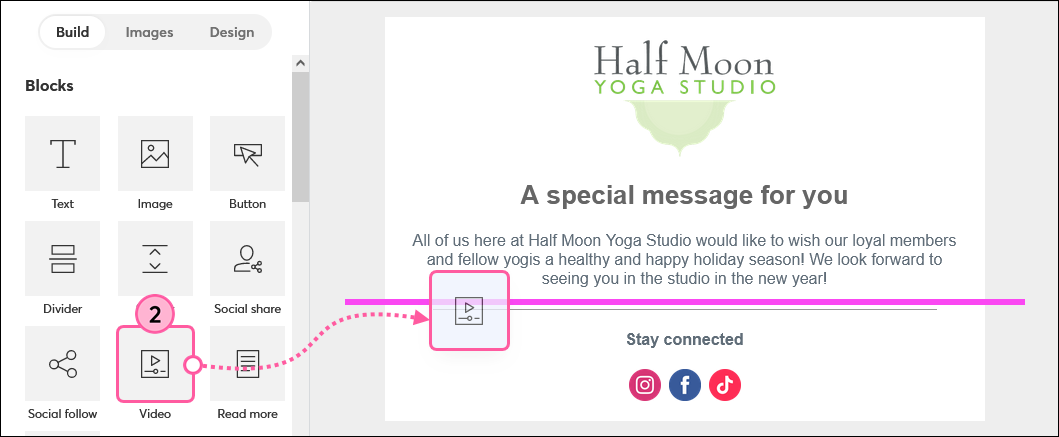
- While editing your email or landing page, drag the Video block into your template. Use the pink guideline to help you find the right spot. It can stretch across the width of the template or be used in a column.
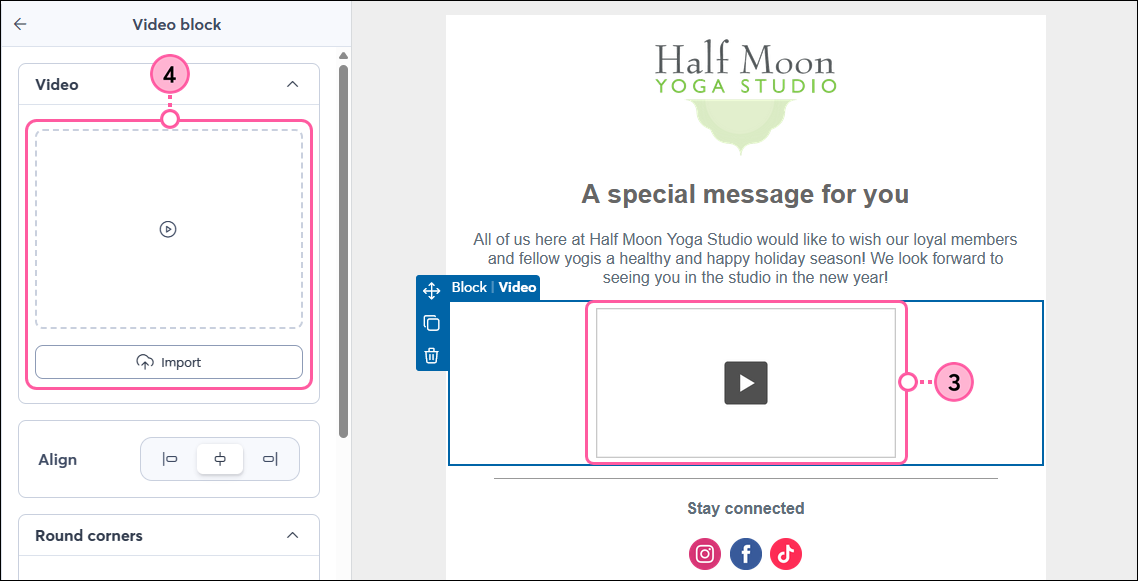
- Click anywhere on the Video block.
- From the panel on the left, click the empty video player or the Import button.
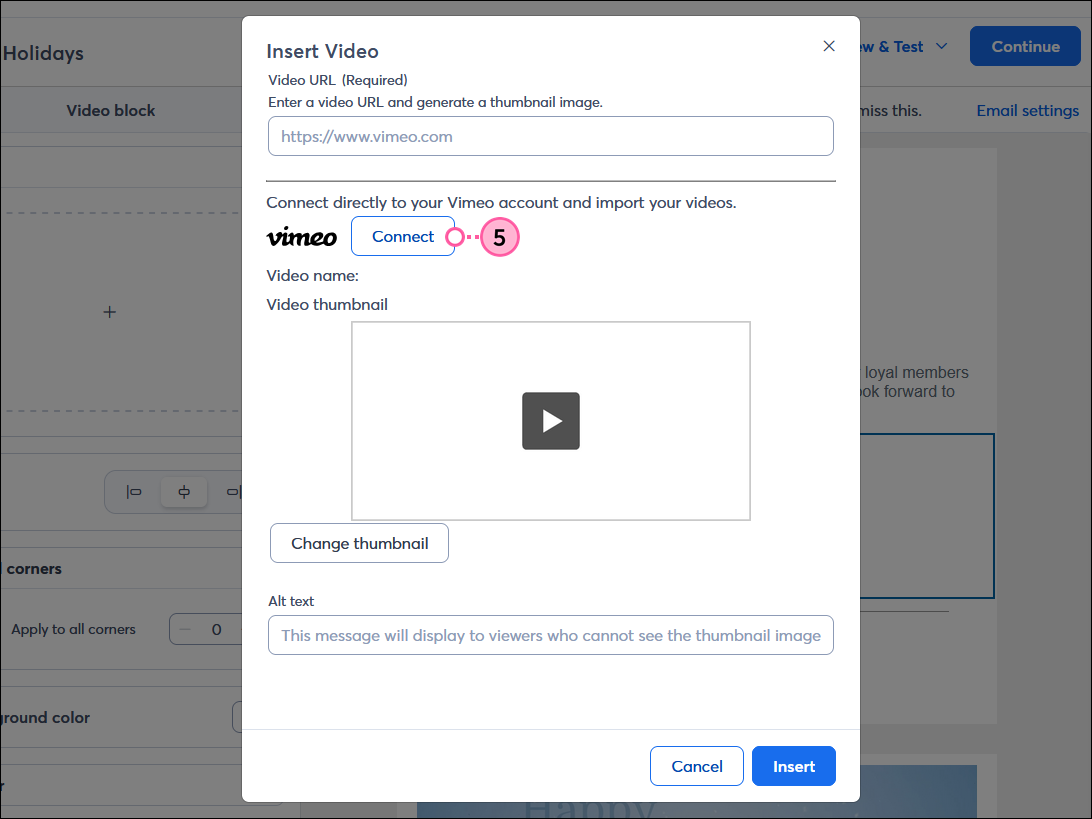
- Click Connect to integrate your Constant Contact account with Vimeo. If your account is already connected, skip to step 9.
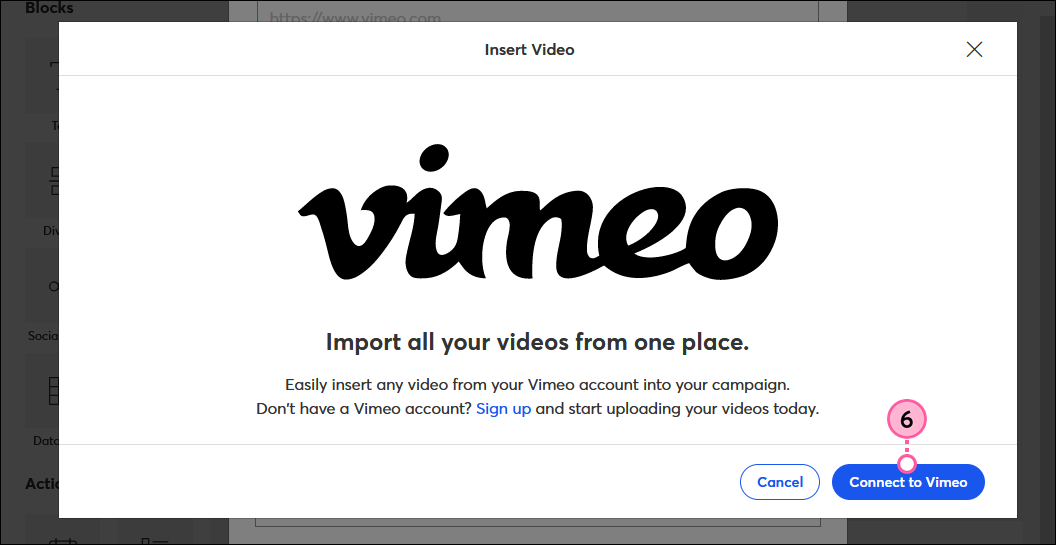
- Click Connect to Vimeo.
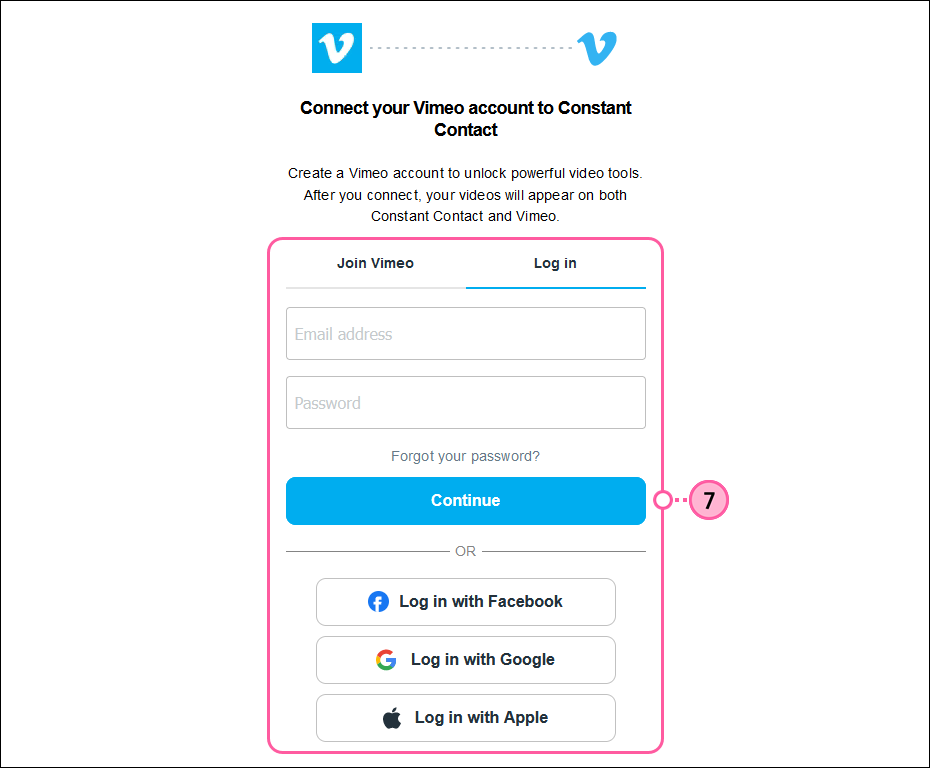
- Log in to your Vimeo account.
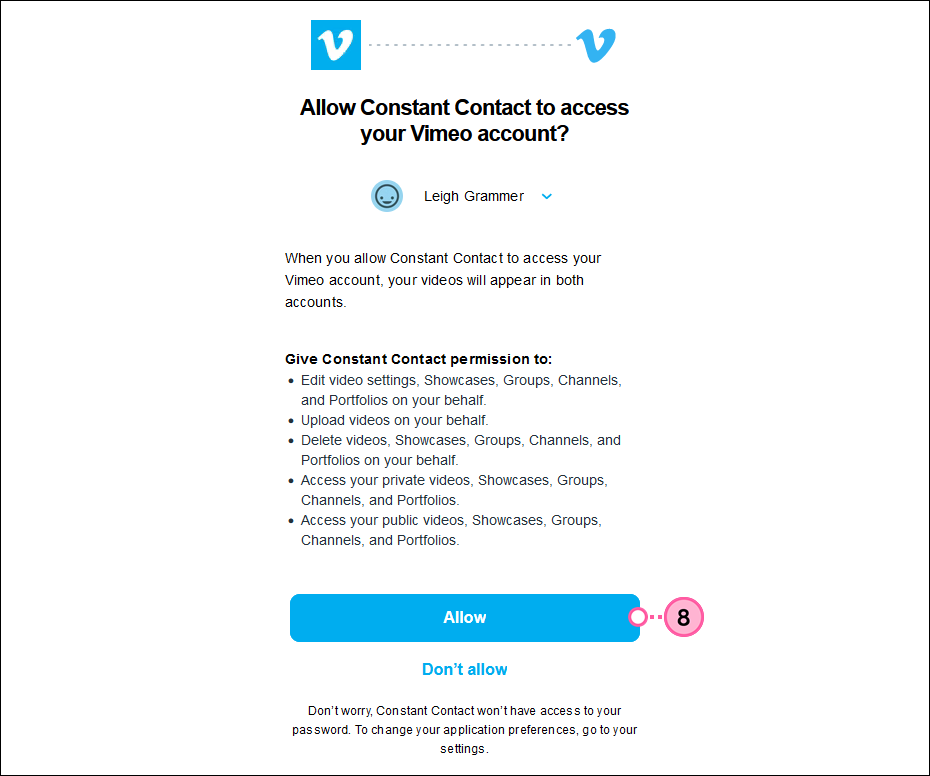
- Click Allow. You'll then be returned to Constant Contact.
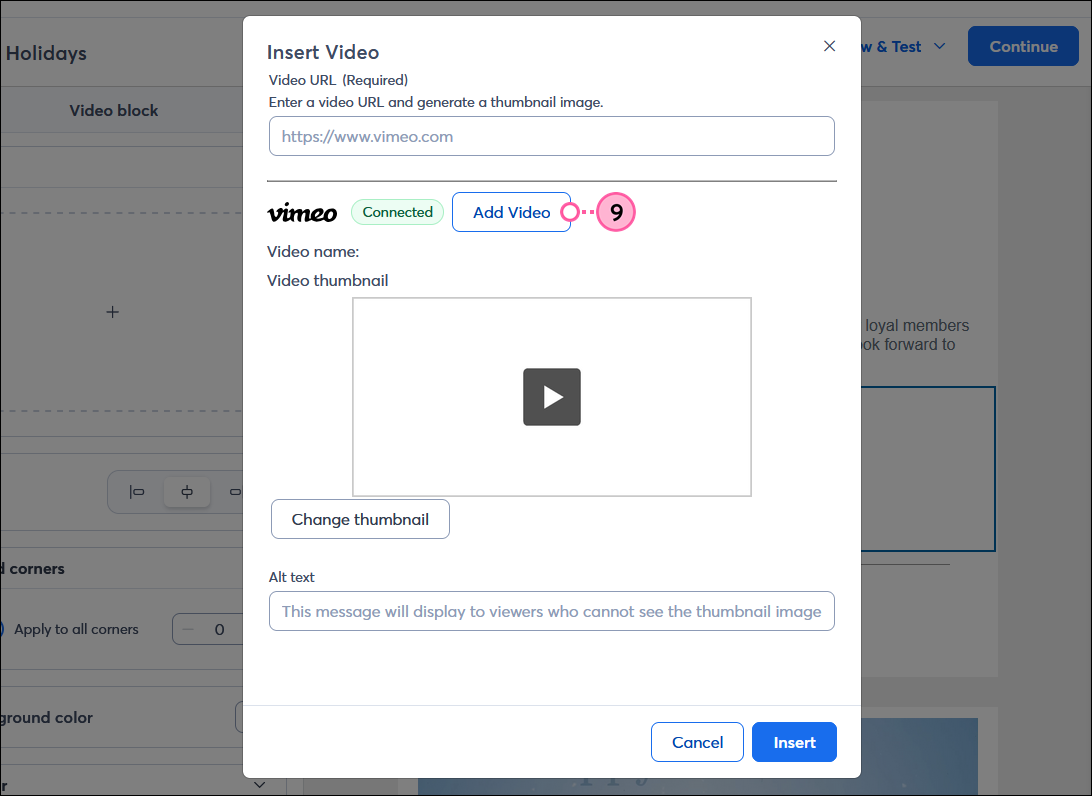
- Open the Video block again and click Add Video.
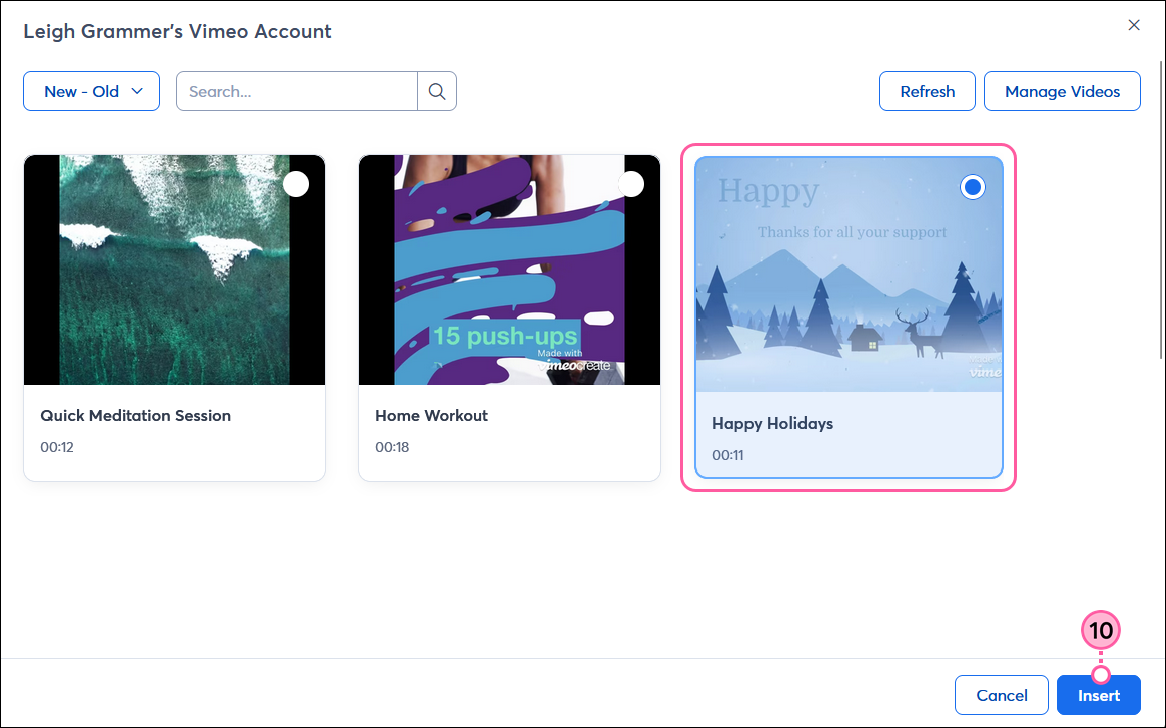
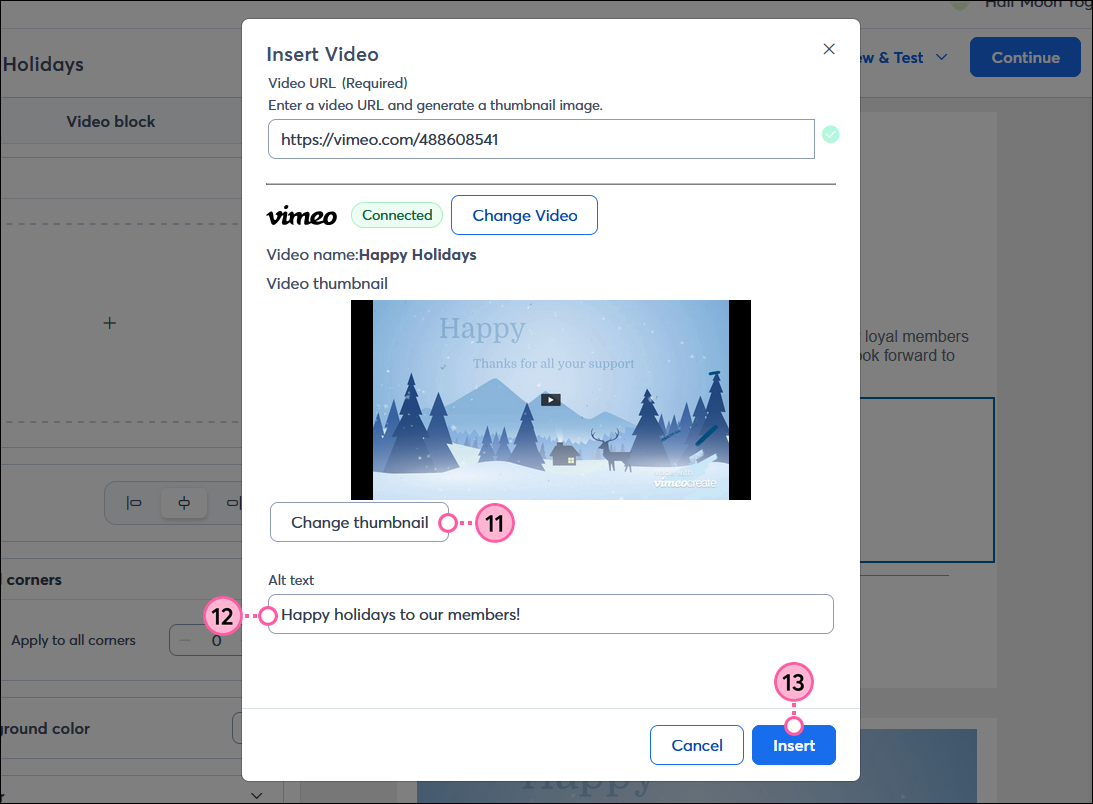
- Select a video and then click Insert.
Note: If you have videos set as “Private” in your Vimeo account, you won’t be able to select them to insert. Learn more about changing the privacy settings of your videos in Vimeo.
- (Optional) Click Change thumbnail to choose a different image or gif to display as the video thumbnail in your campaign.
| Did you know? You can create a gif from your Vimeo video and use it as the thumbnail in your email. Just look for the thumbnails with “Animated” in the file name. |
- (Optional) Add alt text to display to viewers who cannot see the video in your email.
- Click Insert.
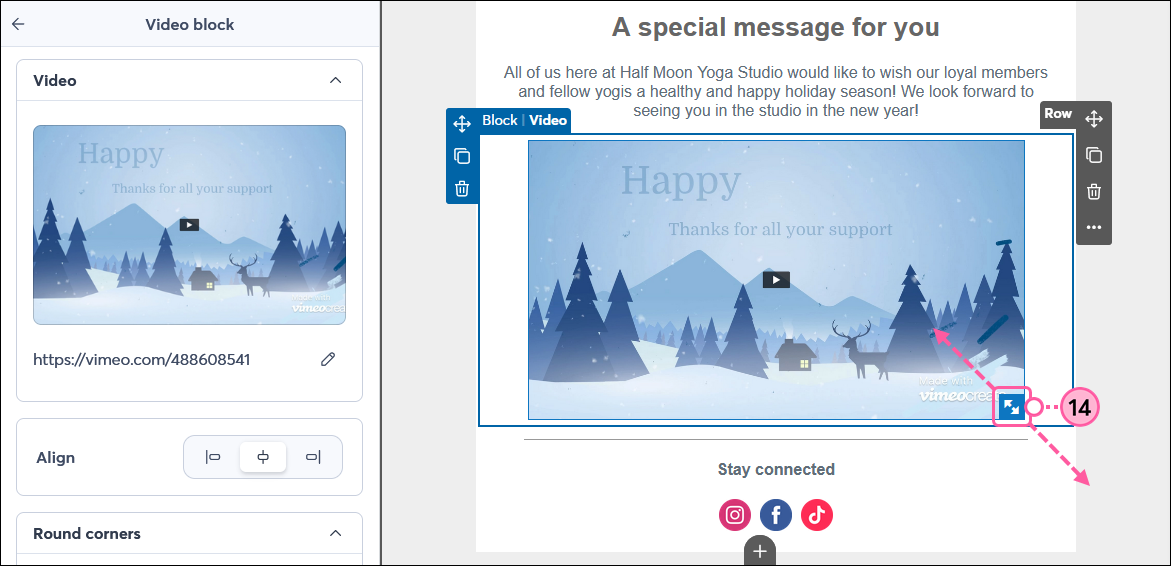
- (Optional) Place your cursor over the video thumbnail and drag the arrows in the lower-right corner to resize it. Once you’re finished, simply click outside of the block to continue editing your email.
Once you send your email or share your landing page, give your contacts some time, and then check the reporting to see how many views your video is getting.
Insert a video hosted on YouTube, Wistia, or other media platform
If you have the URL for your video, you can paste it into the Video block. Our email editor supports many media platforms.
- If it isn’t already, be sure to host your video on a third-party media platform, such as YouTube or Wistia.
- Drag the Video block into your template. Use the pink guideline to help you find the right spot. It can stretch across the width of the template or be used in a column.
- Click anywhere on the Video block.
- From the panel on the left, click the empty video player or the Import button.
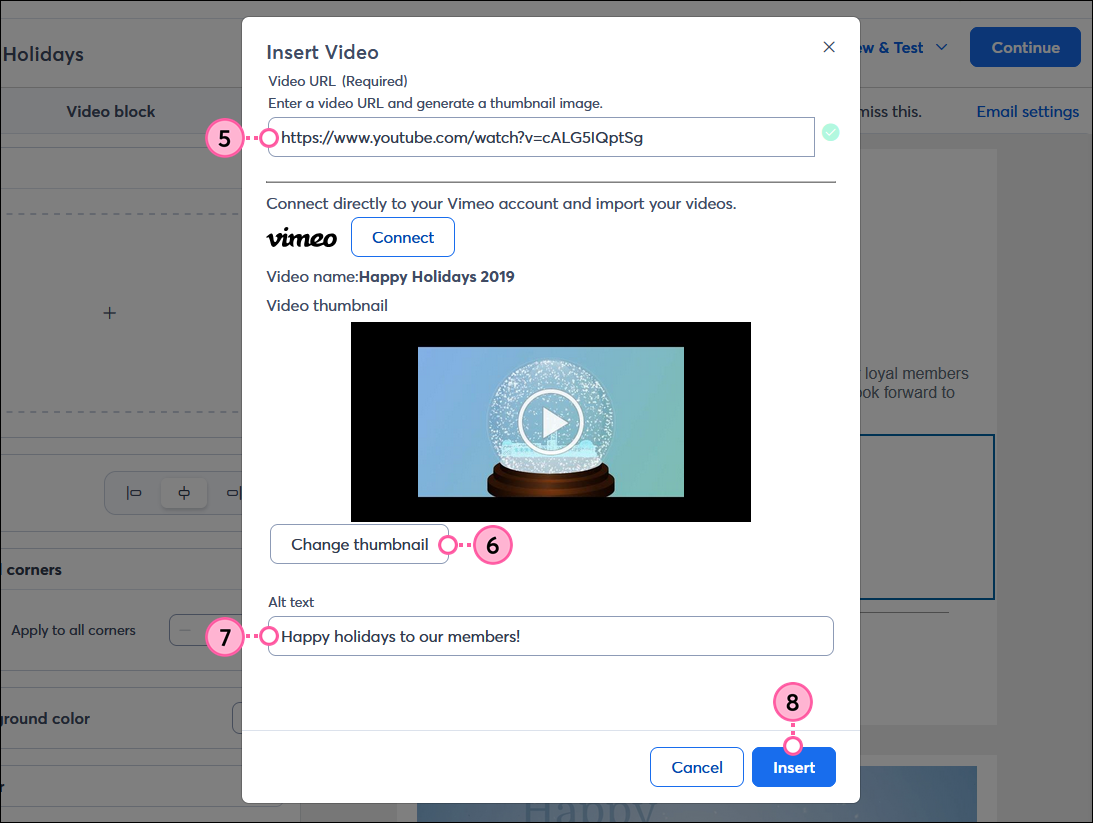
- Paste the video's URL into the Video URL field.
- (Optional) Click Change thumbnail to select an image from your Library to display as the thumbnail in your campaign.
- (Optional) Enter text in the Alt text field to display for viewers who can't see the video in your email.
- Click Insert.
- (Optional) Place your cursor over the video thumbnail and drag the arrows in the lower-right corner to resize it. Once you’re finished, simply click outside of the block to continue editing your email.

Customize the design of your Video block
You can customize the look of your Video block by changing the alignment, rounding the corners of your video, adding a background color and border, and adjusting the padding and margins around your video!
After clicking on the Video block:
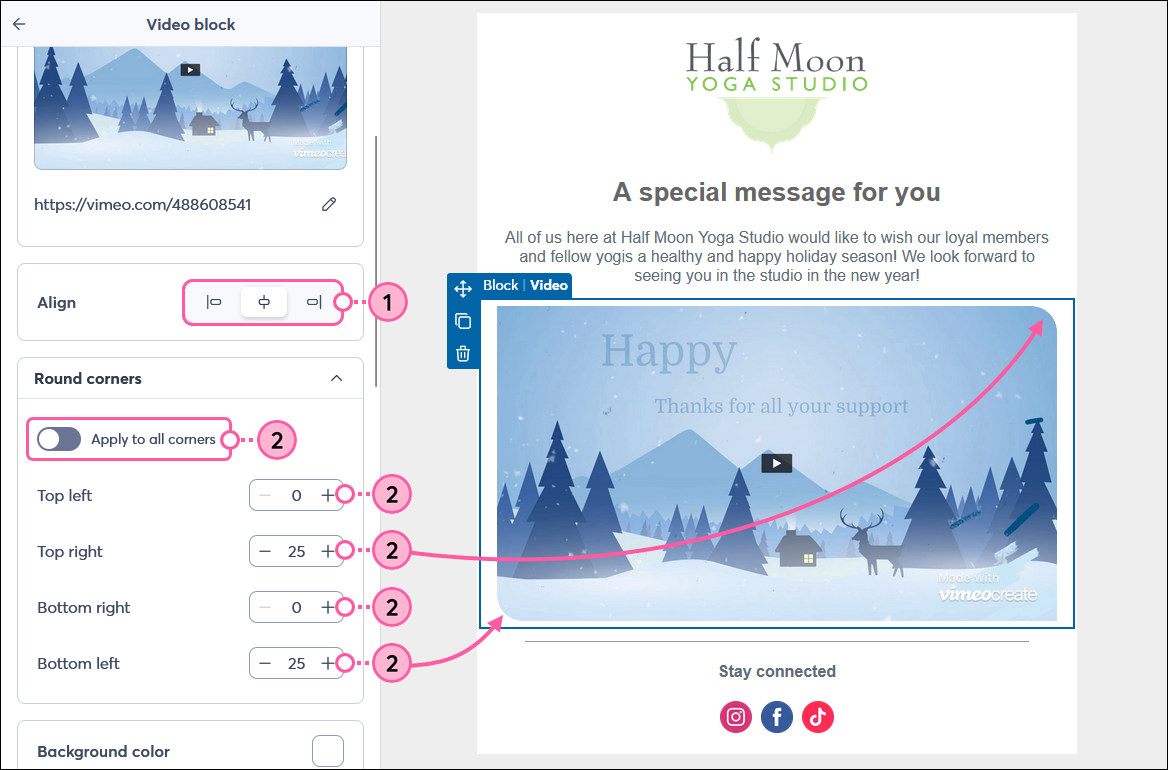
- Align the video to the left, center, or right side of the email.
- Adjust the Rounded corners to change the shape of the video thumbnail. The higher the number, the more rounded the corners become. Click the toggle to apply the same amount of rounding to all corners and choose the amount you want, or adjust the rounding for the top, bottom, left, and right of the video.
- Click the Background color swatch to choose a color for the background of the Video block.
- If needed, click to expand the Border section.
- Adjust the thickness if you want to add a border around your video.
- Click the color swatch to select a color for your border.
- Use the Style drop-down to select if you want a solid, dashed, or dotted border.

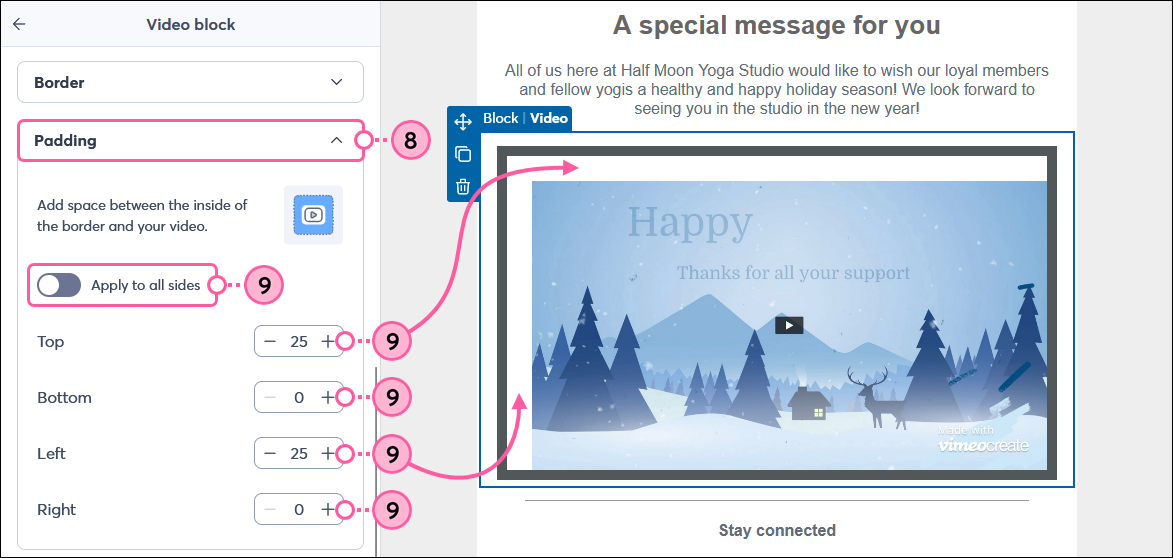
- If needed, click to expand the Padding section.
- Click the toggle to apply the same amount of padding inside all sides of the video border, and choose the amount of padding you want, or adjust the padding inside the top, bottom, left, and right of the border.
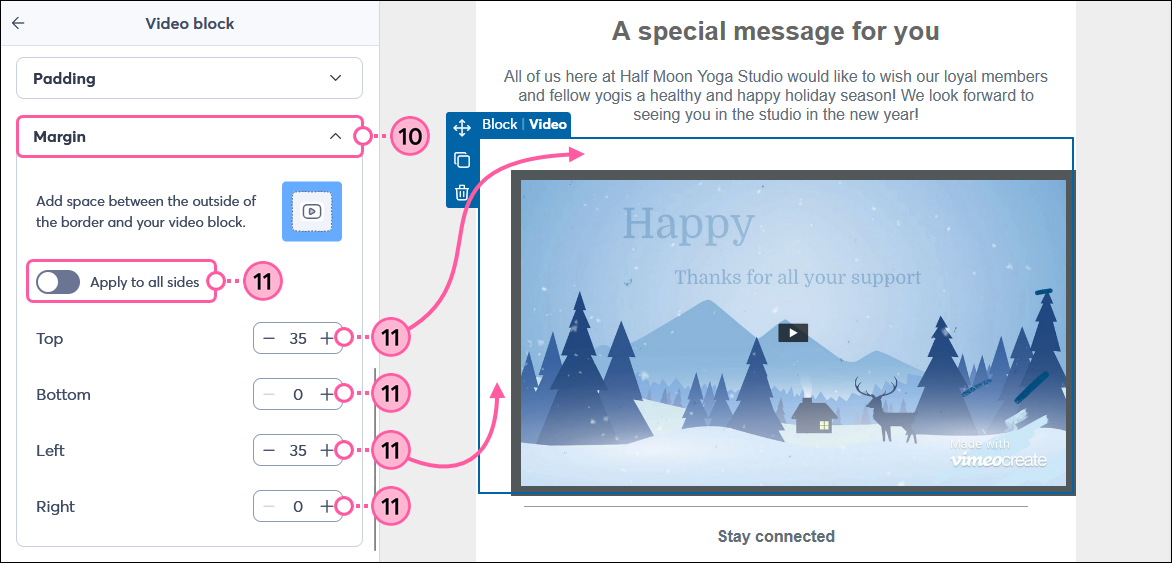
- If needed, click to expand the Margin section.
- Click the toggle to apply the same margins around all sides of your video block border and choose the amount of space you want, or adjust the margin for the top, bottom, left, and right of the border.
Any links we provide from non-Constant Contact sites or information about non-Constant Contact products or services are provided as a courtesy and should not be construed as an endorsement by Constant Contact.