Share updates to your social media pages right from the Constant Contact mobile app and keep track of the performance of your posts. You can connect and post to multiple social media pages on Facebook, Instagram, and LinkedIn. Create posts with text, images, and video, and copy and paste posts between your social platforms right from the application.
Note: Short-form video posting is limited in Trial, Lite, and Legacy accounts. Upgrade to Standard or Premium for unlimited social video posting.
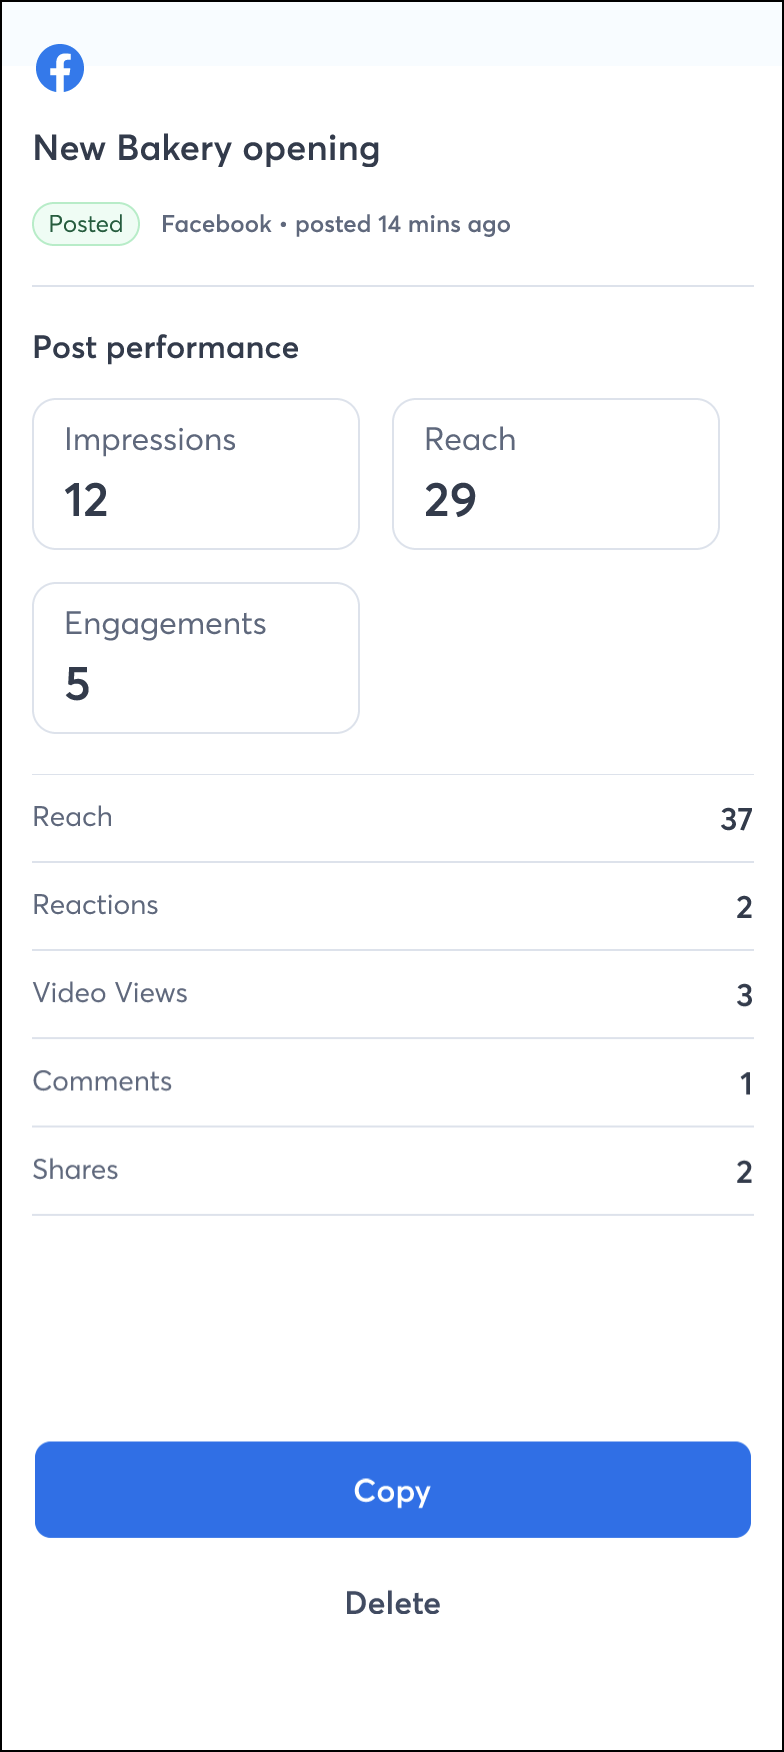
When drafting social posts, you can save them for later if needed. Drafts can be resumed from the app or the web. Preview social posts to see how they look before publishing, and share an email from the Constant Contact mobile app on your social accounts. After publishing, Constant Contact tracks impressions, reach, engagement, saves, likes, watch time, video views, comments, and shares of your social posts.
Connect social accounts on iOS
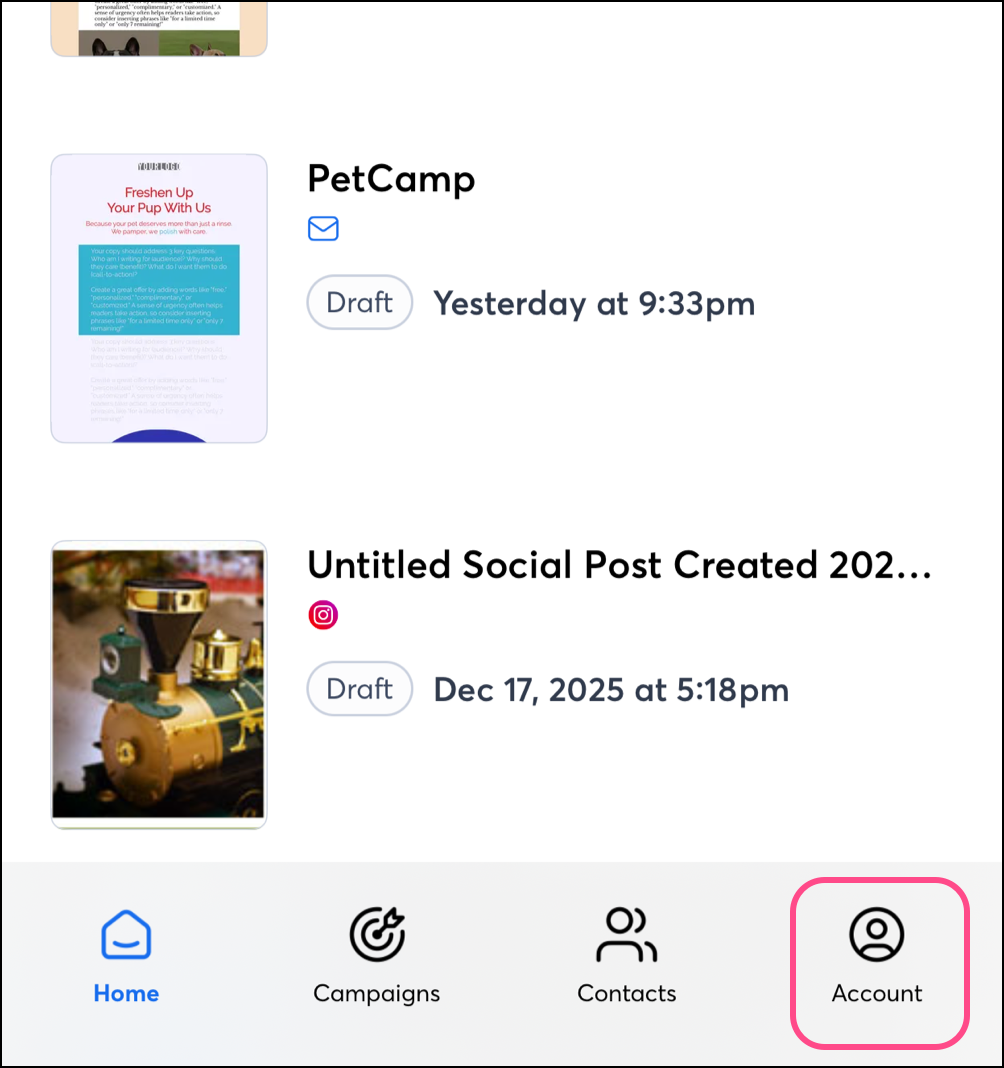
In the app, tap on Account.
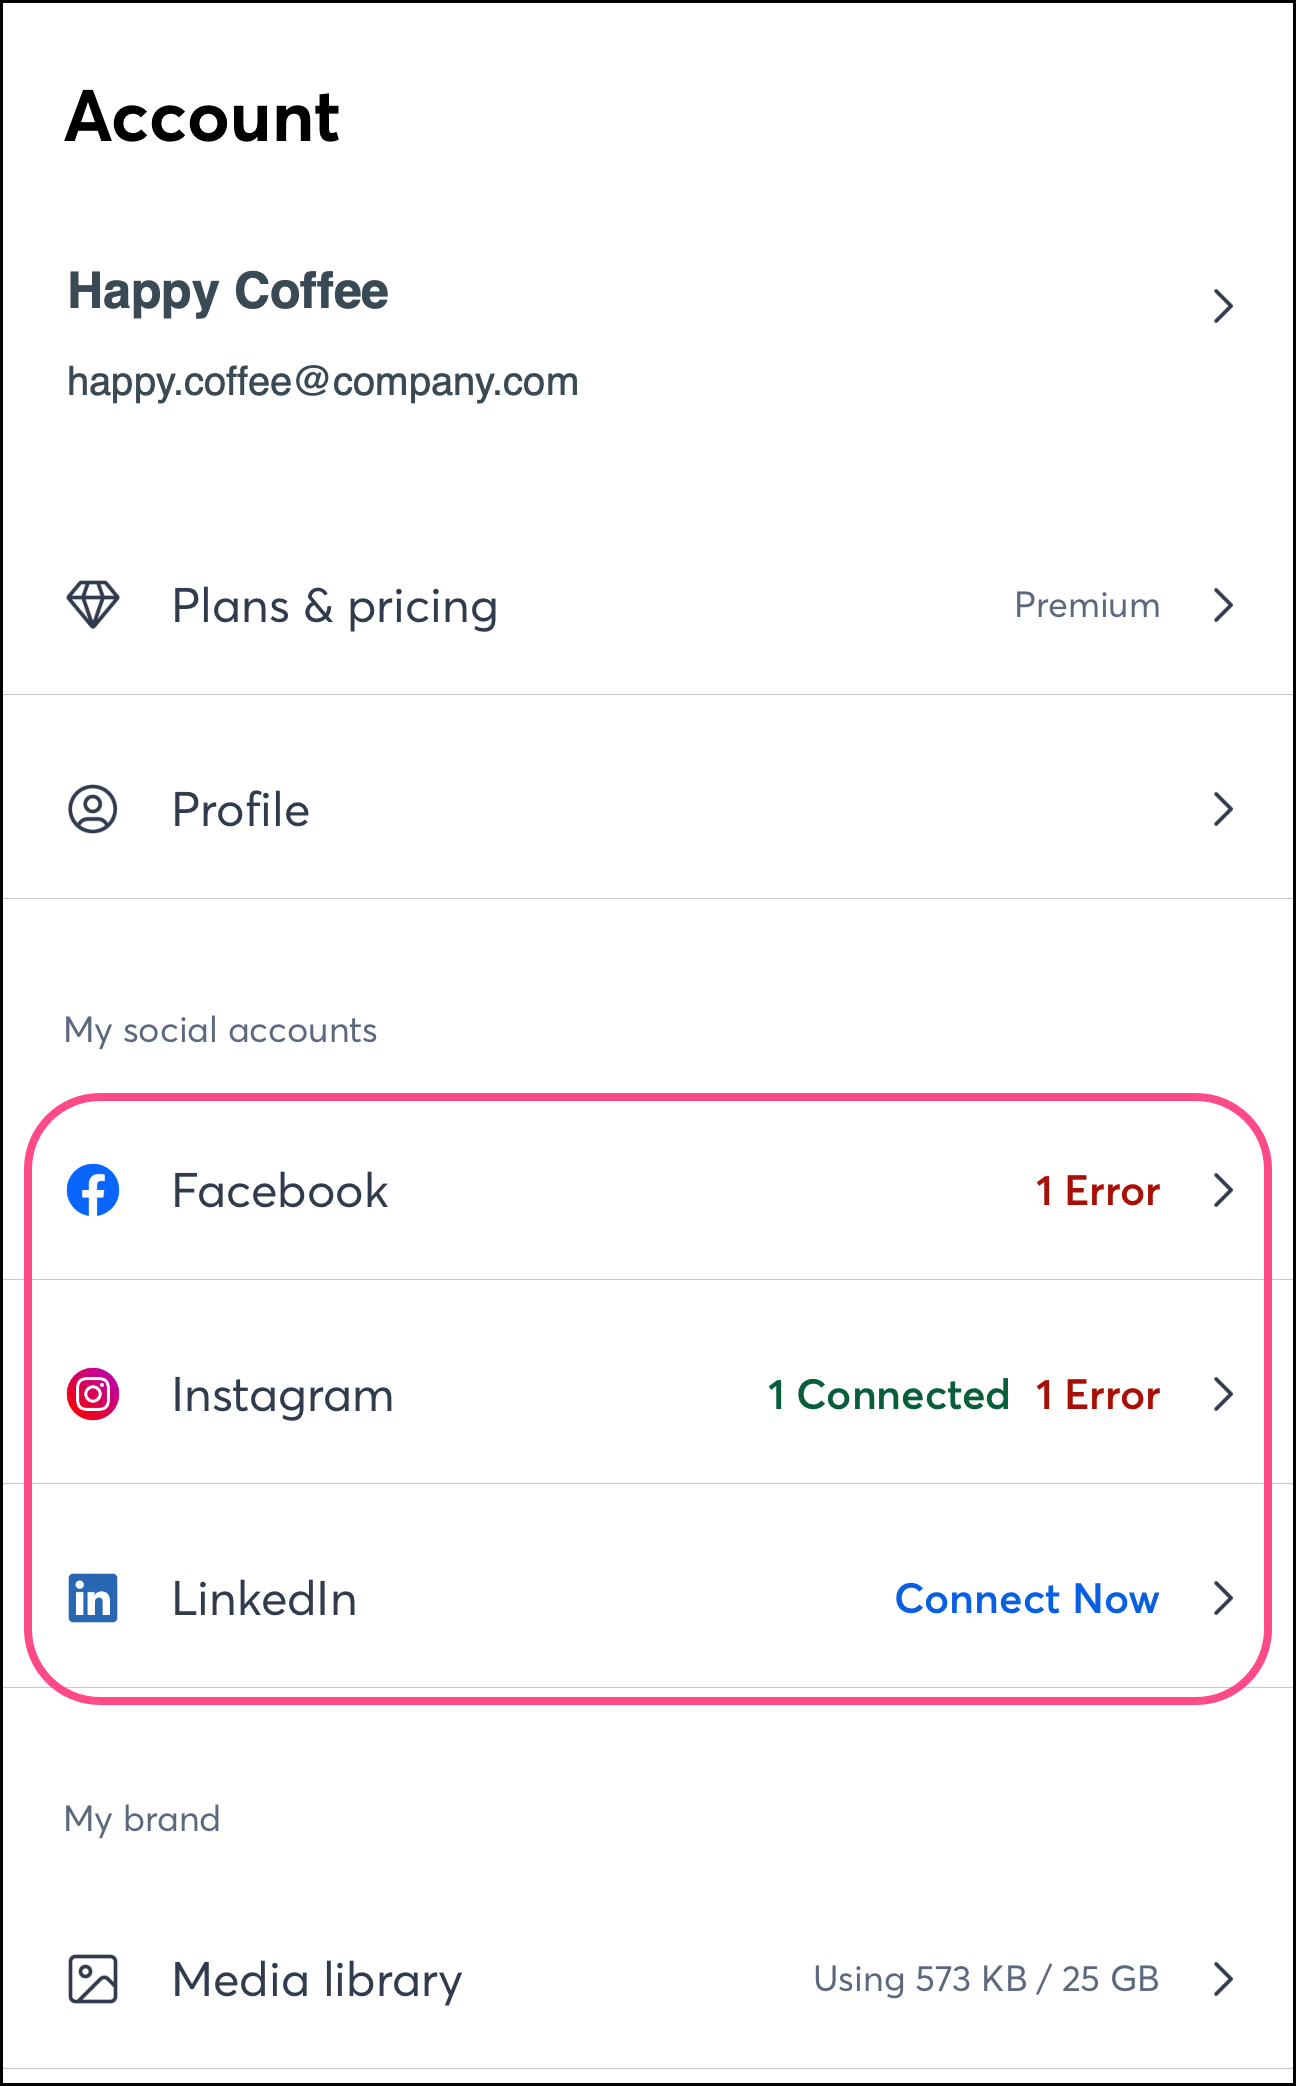
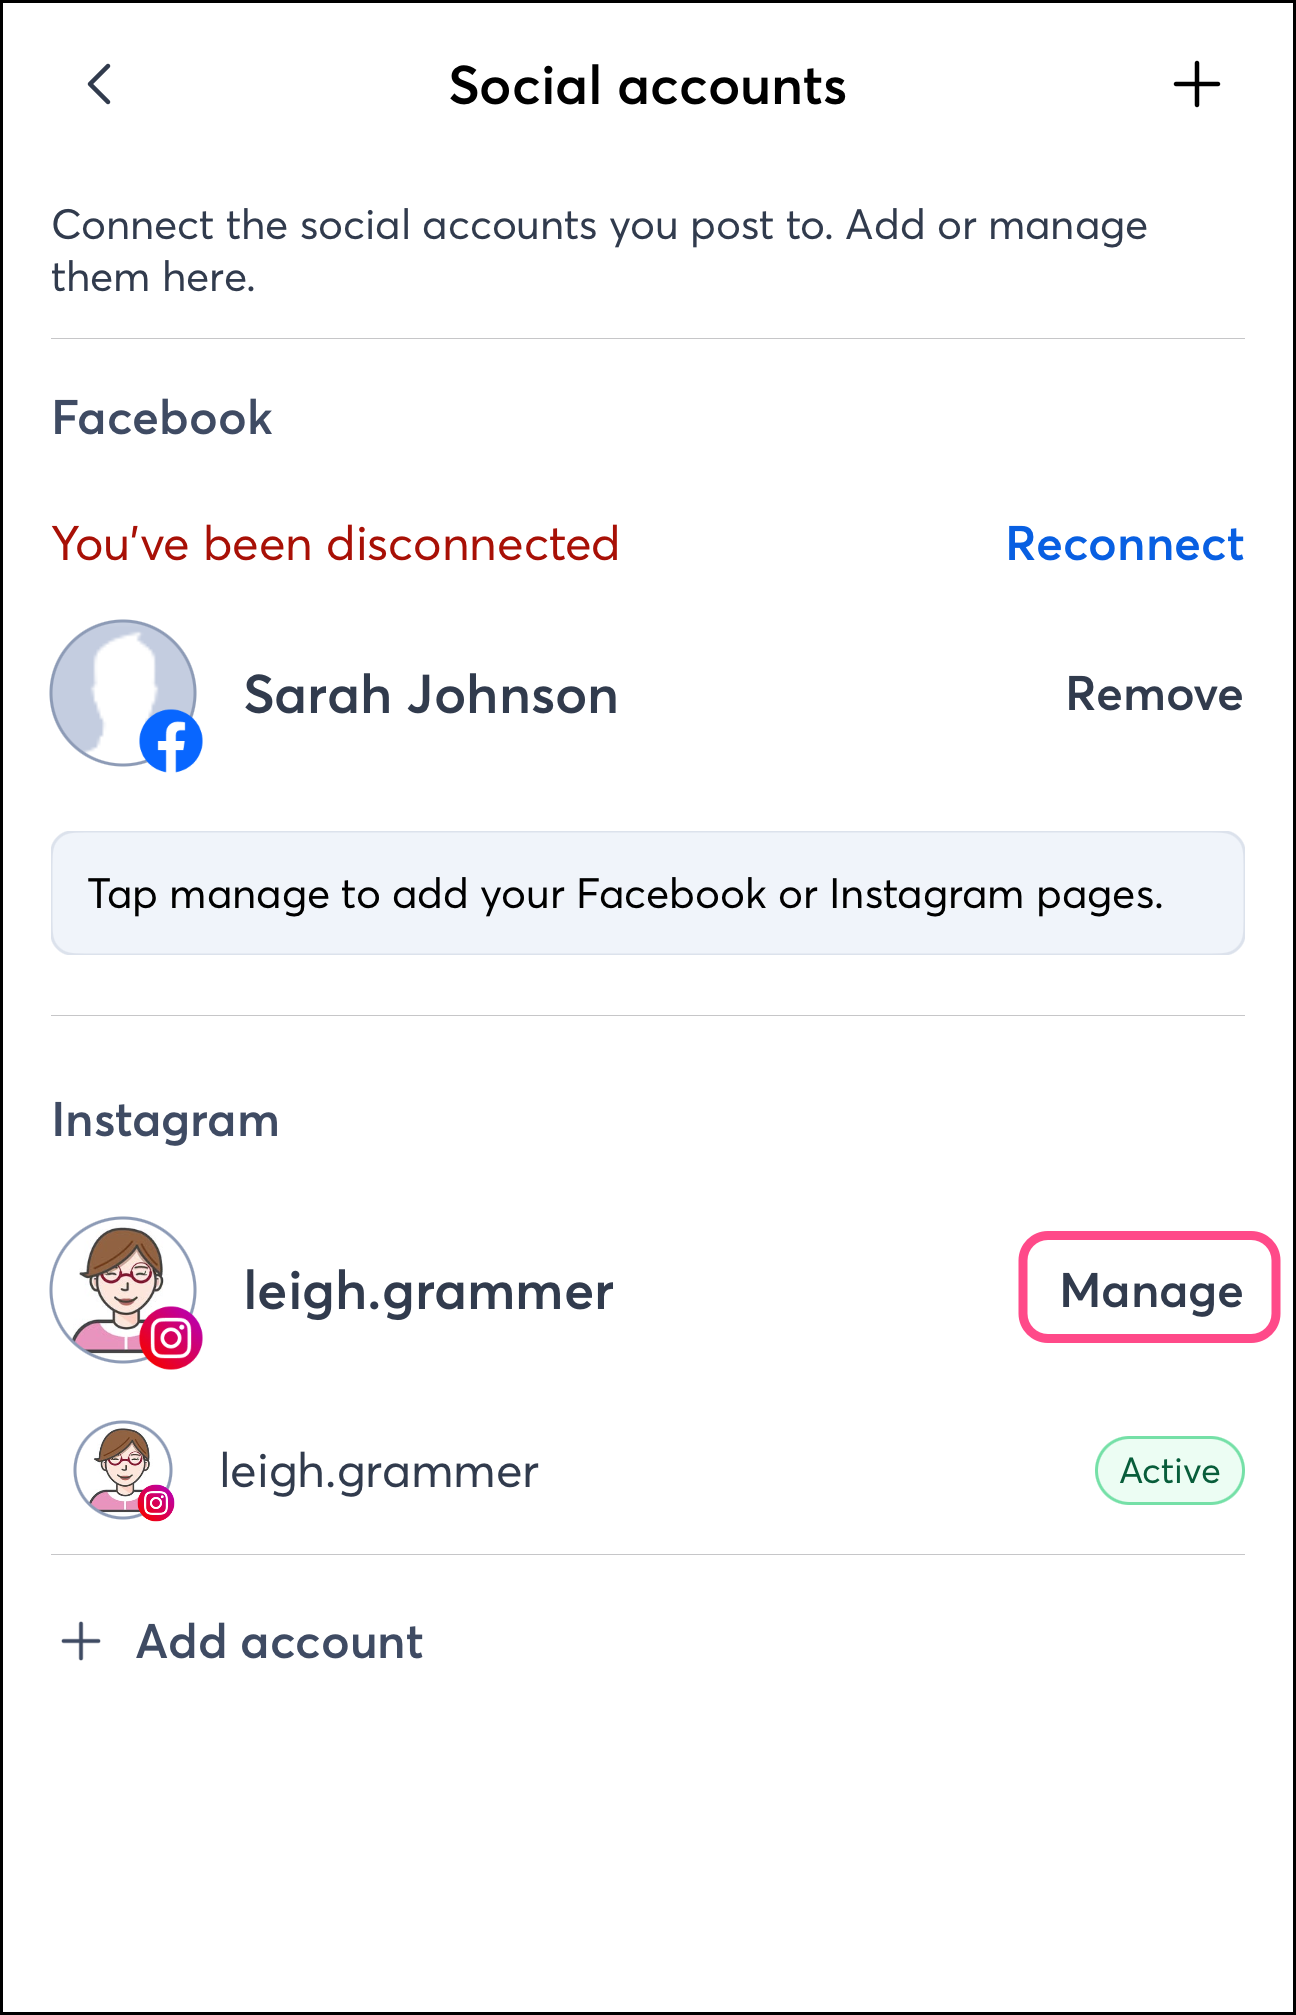
Tap on one of your Social Accounts. 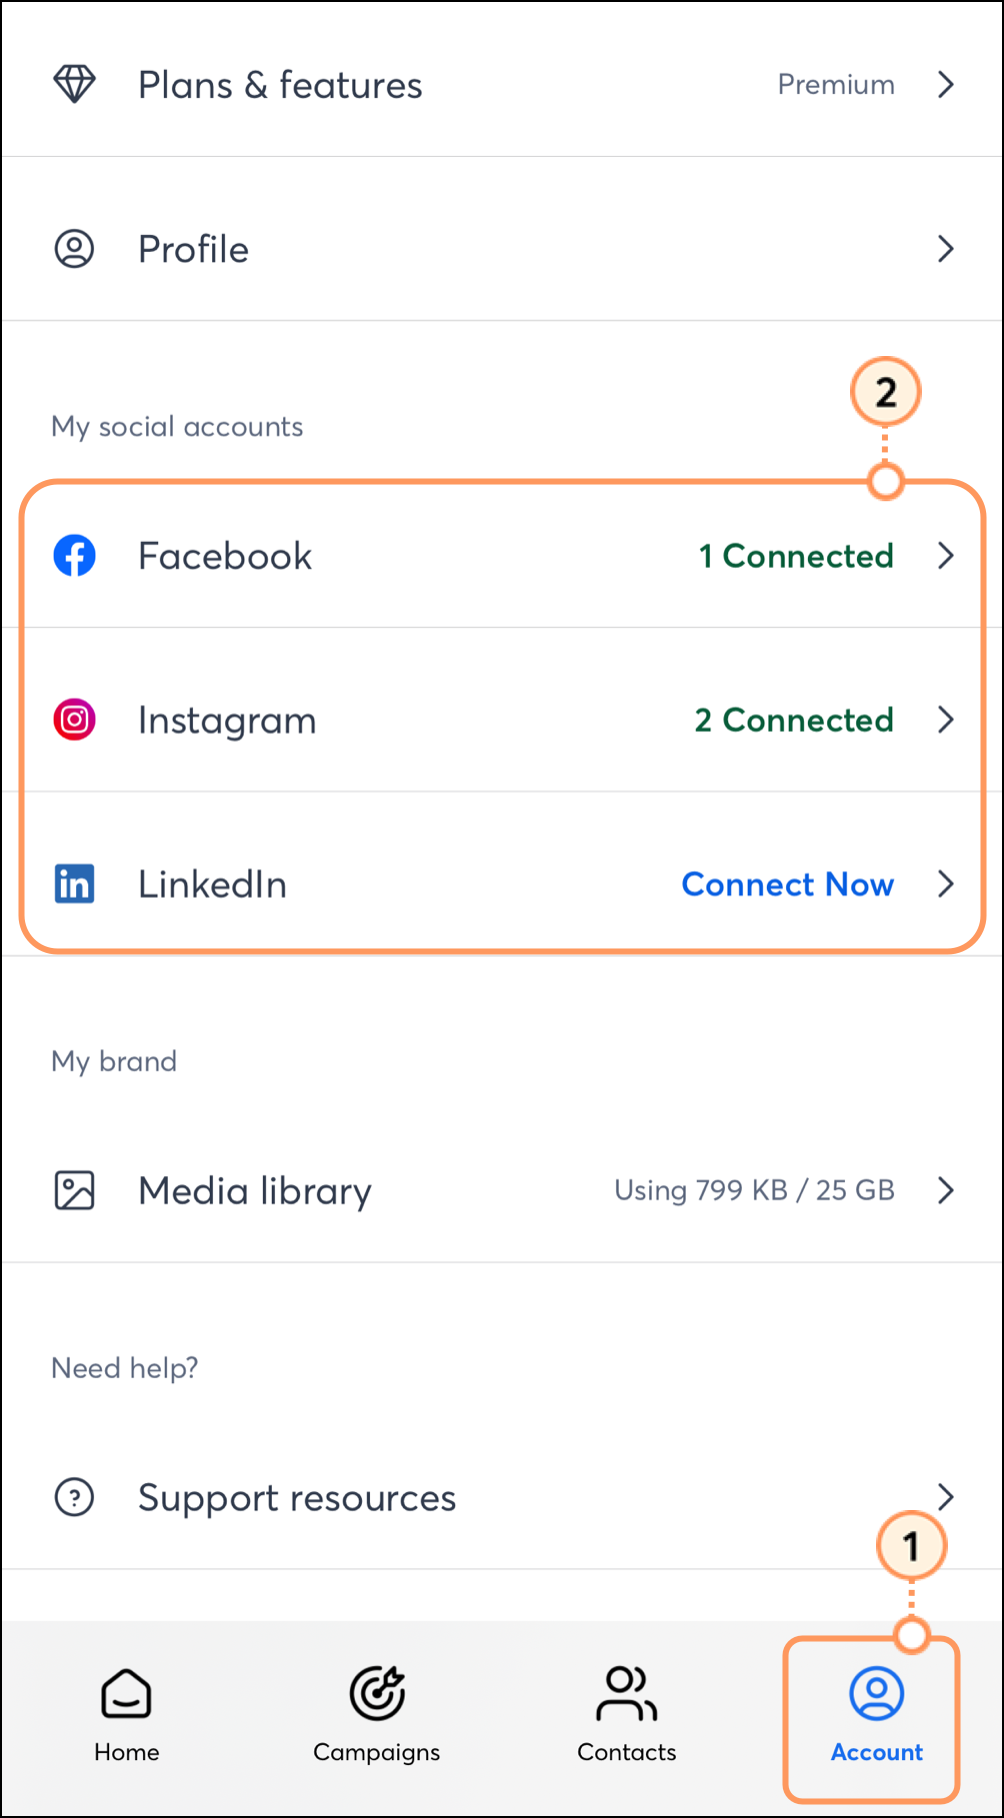
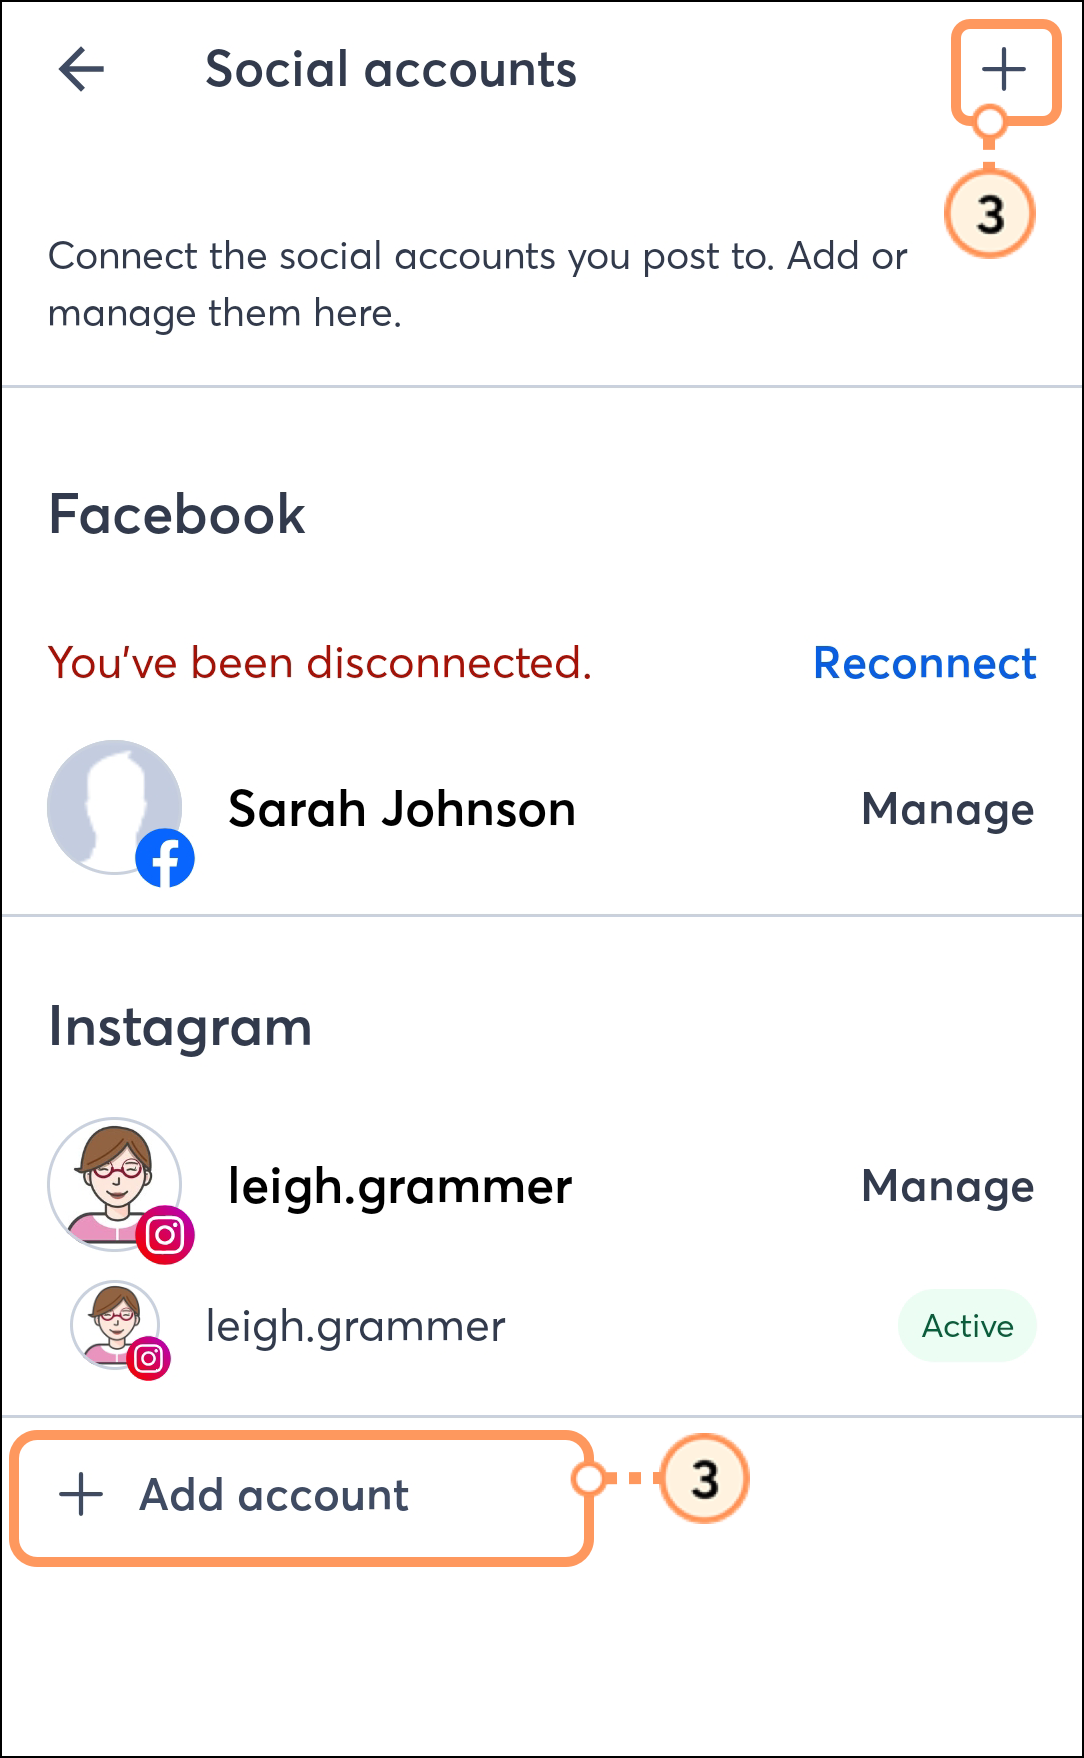
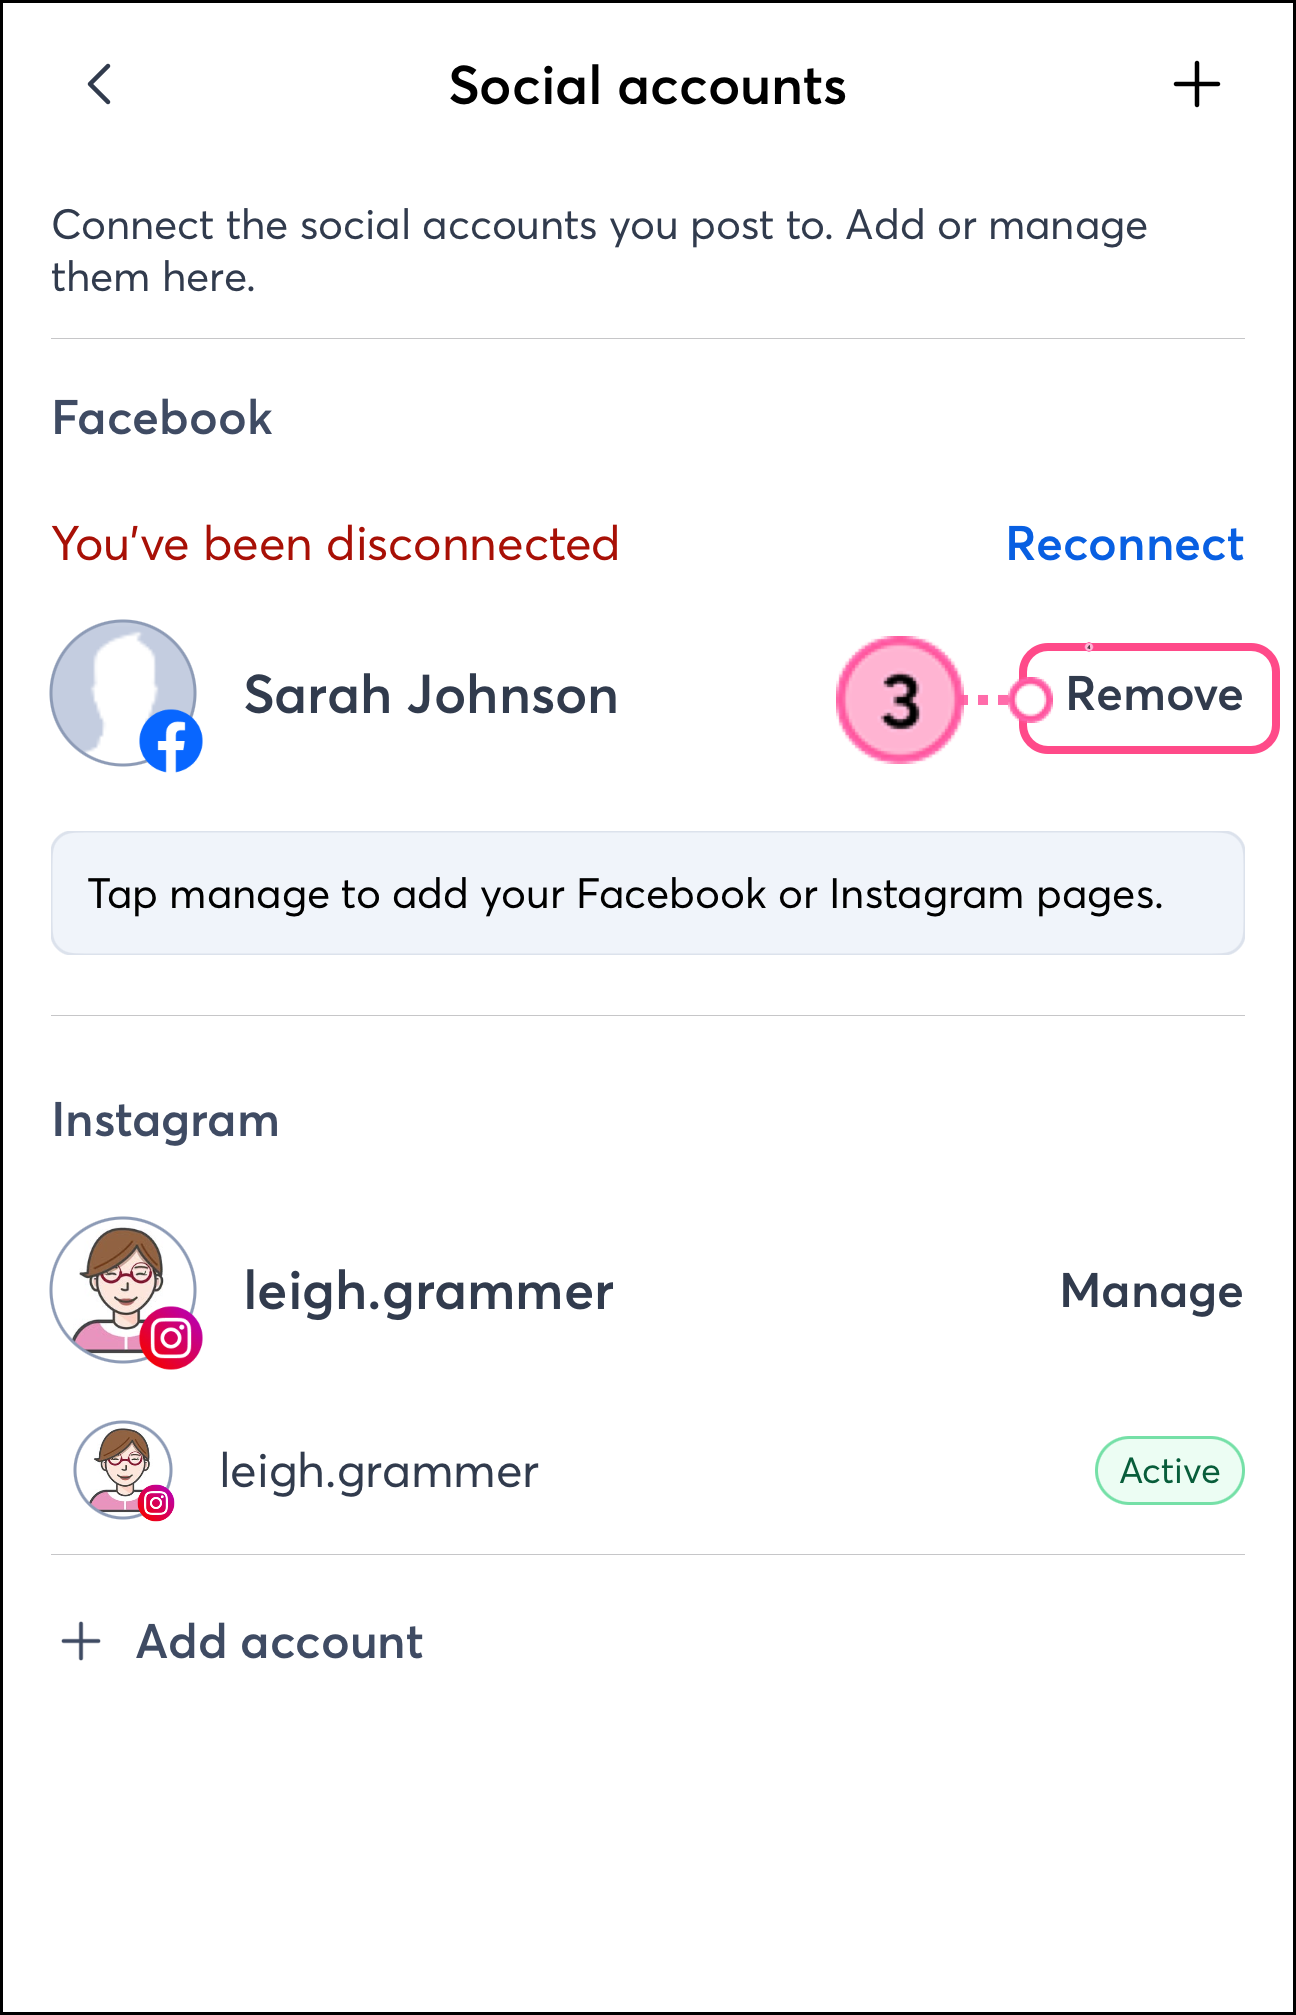
Tap the + sign in the top right corner or + Add Account at the bottom of the page.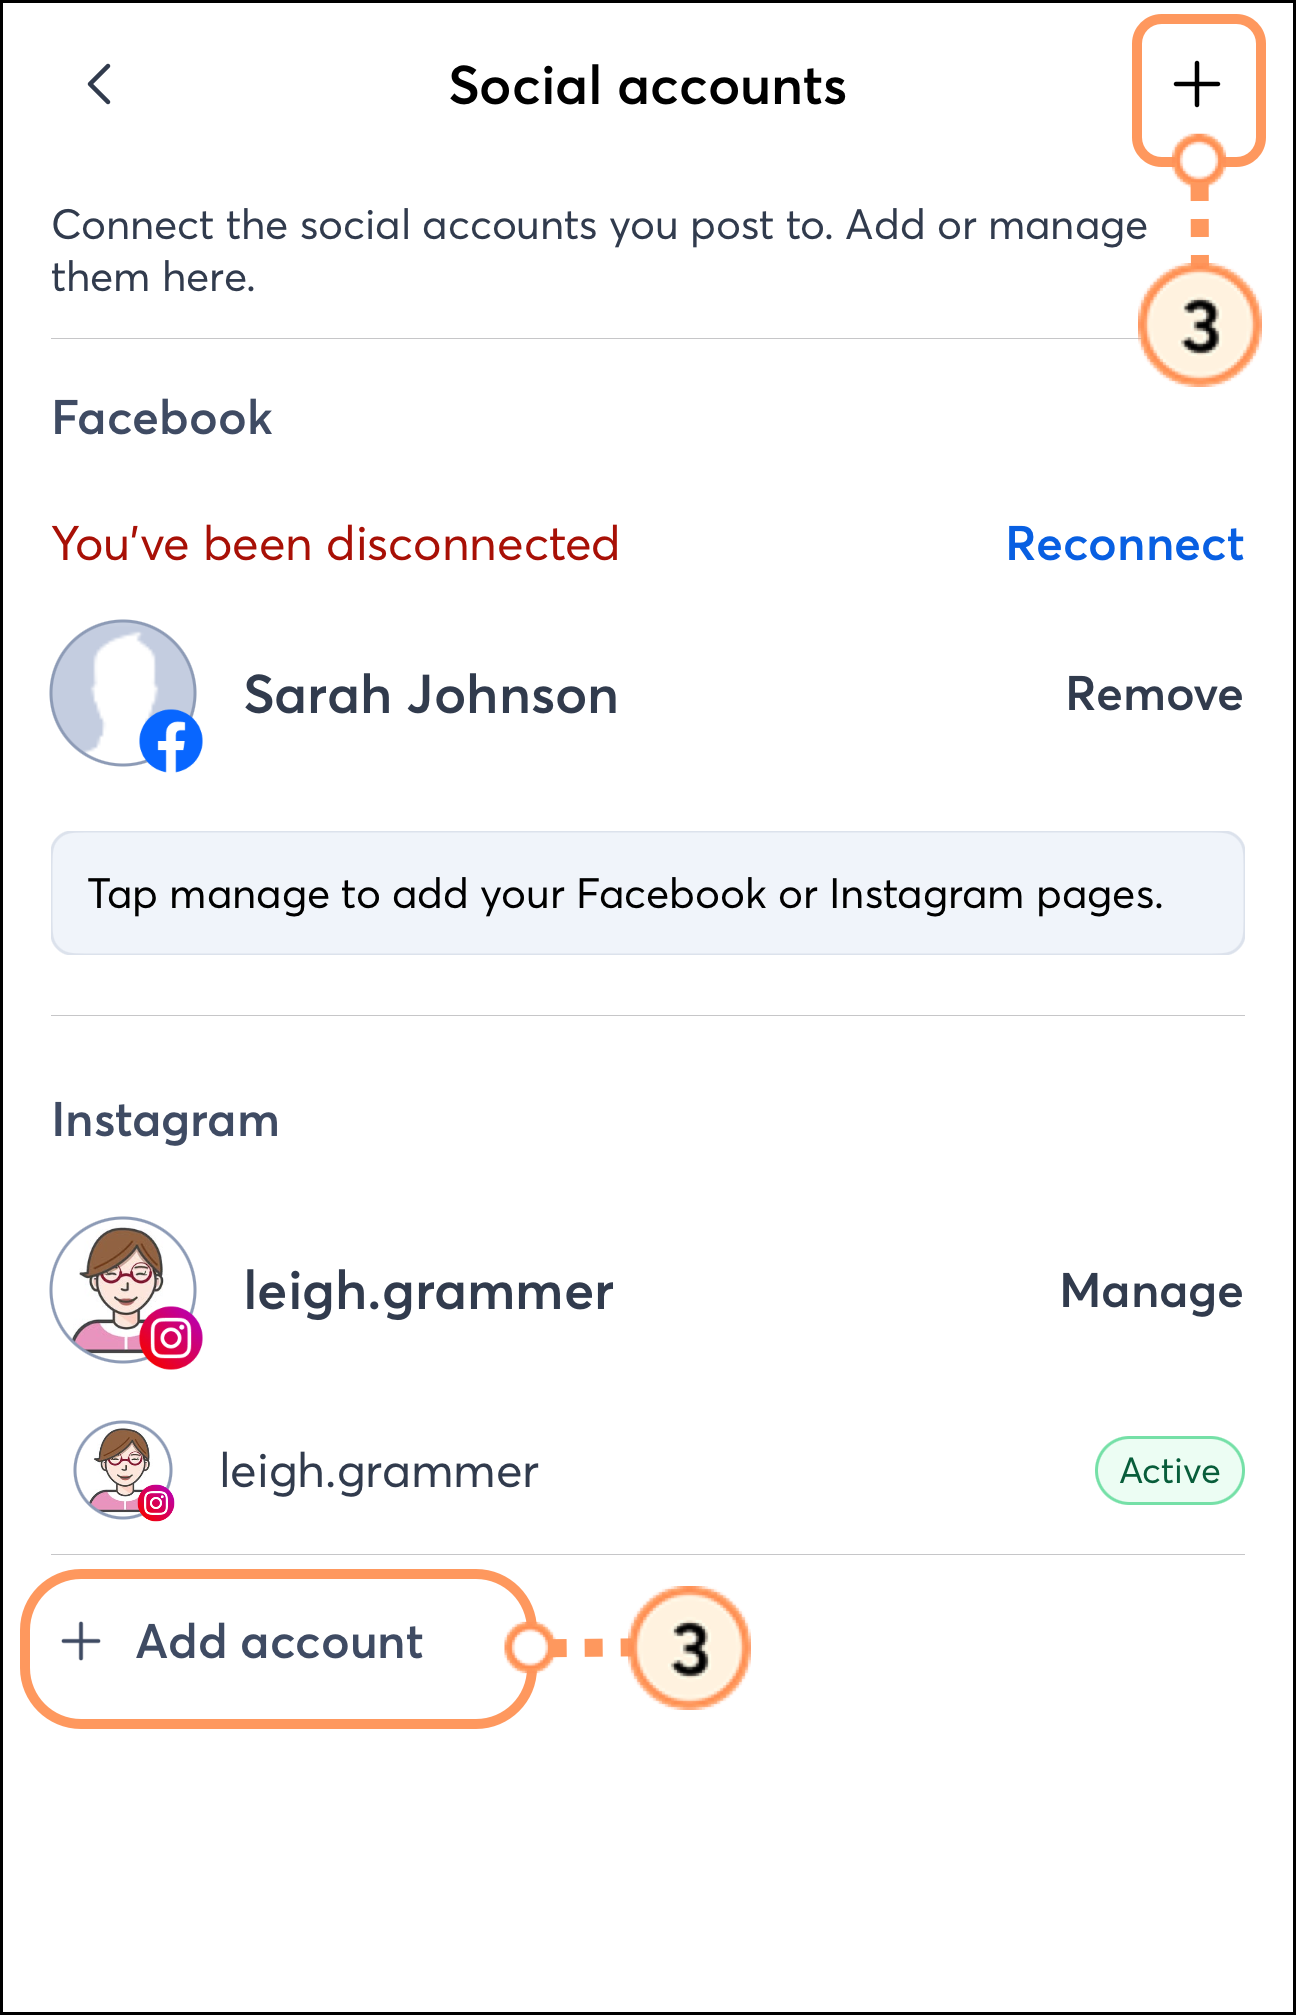
| Tip: Direct authentication of Instagram credentials (for Business and Creator profiles) is now supported. You no longer need to link your Instagram account to your Facebook Business Page first. |
Note: Many social media platforms allow you to have multiple pages or accounts under the same login. With Constant Contact, you can manage posts for all of these pages or accounts.
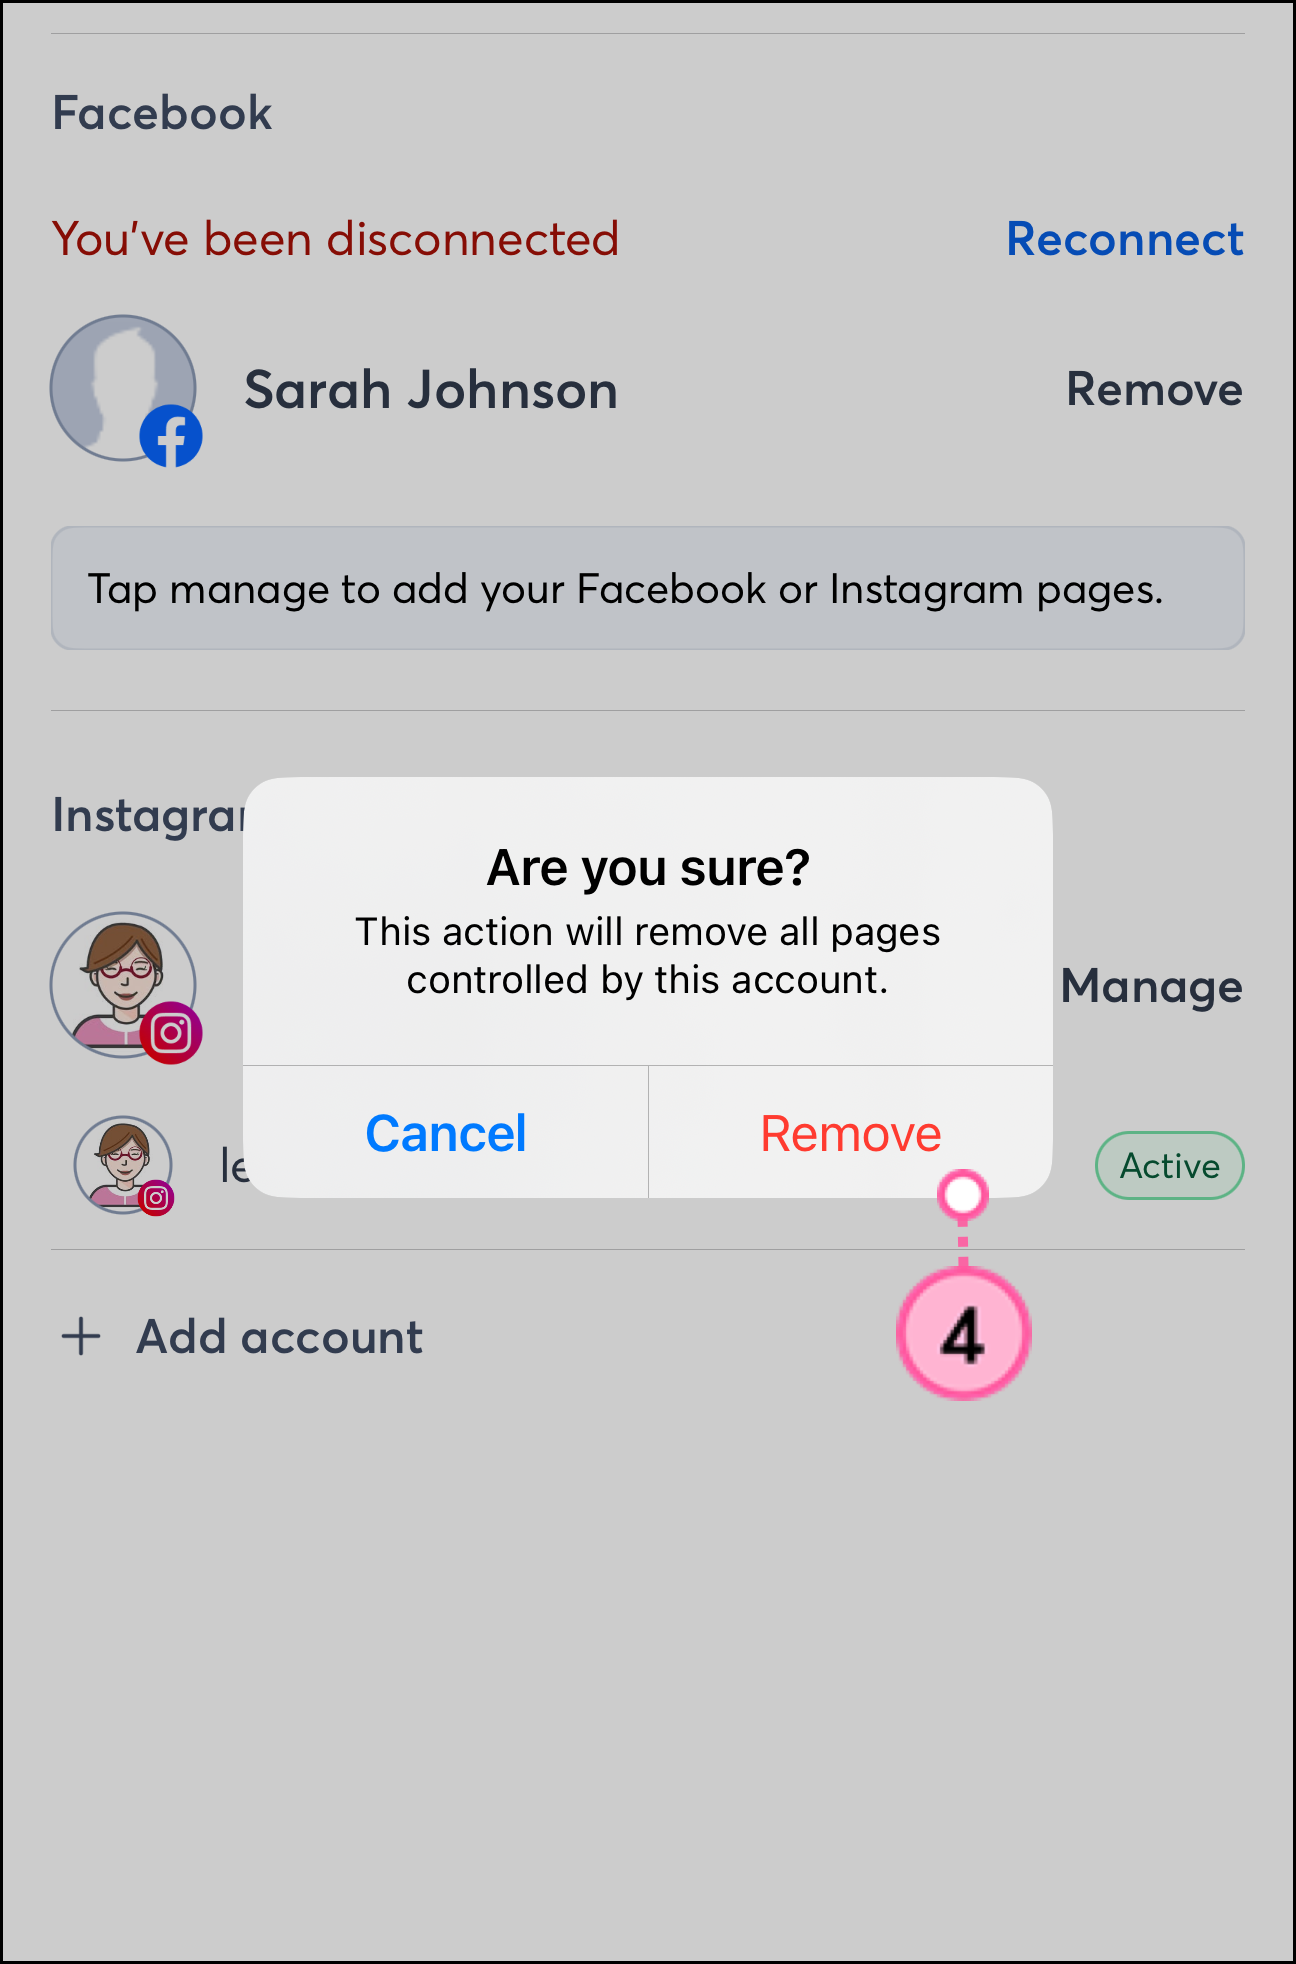
Once connected, you can see the status of your connected social media accounts from your profile page. If there are any errors with your social media connections, you’ll see an alert informing you to take the necessary steps to resolve the error.
Connect social accounts on Android
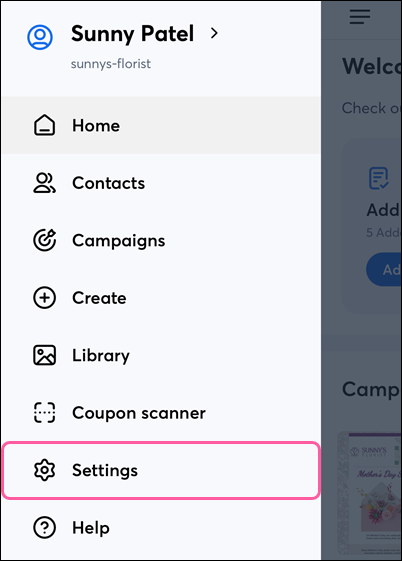
On Android, tap the ![]() Menu icon, then tap Settings.
Menu icon, then tap Settings.

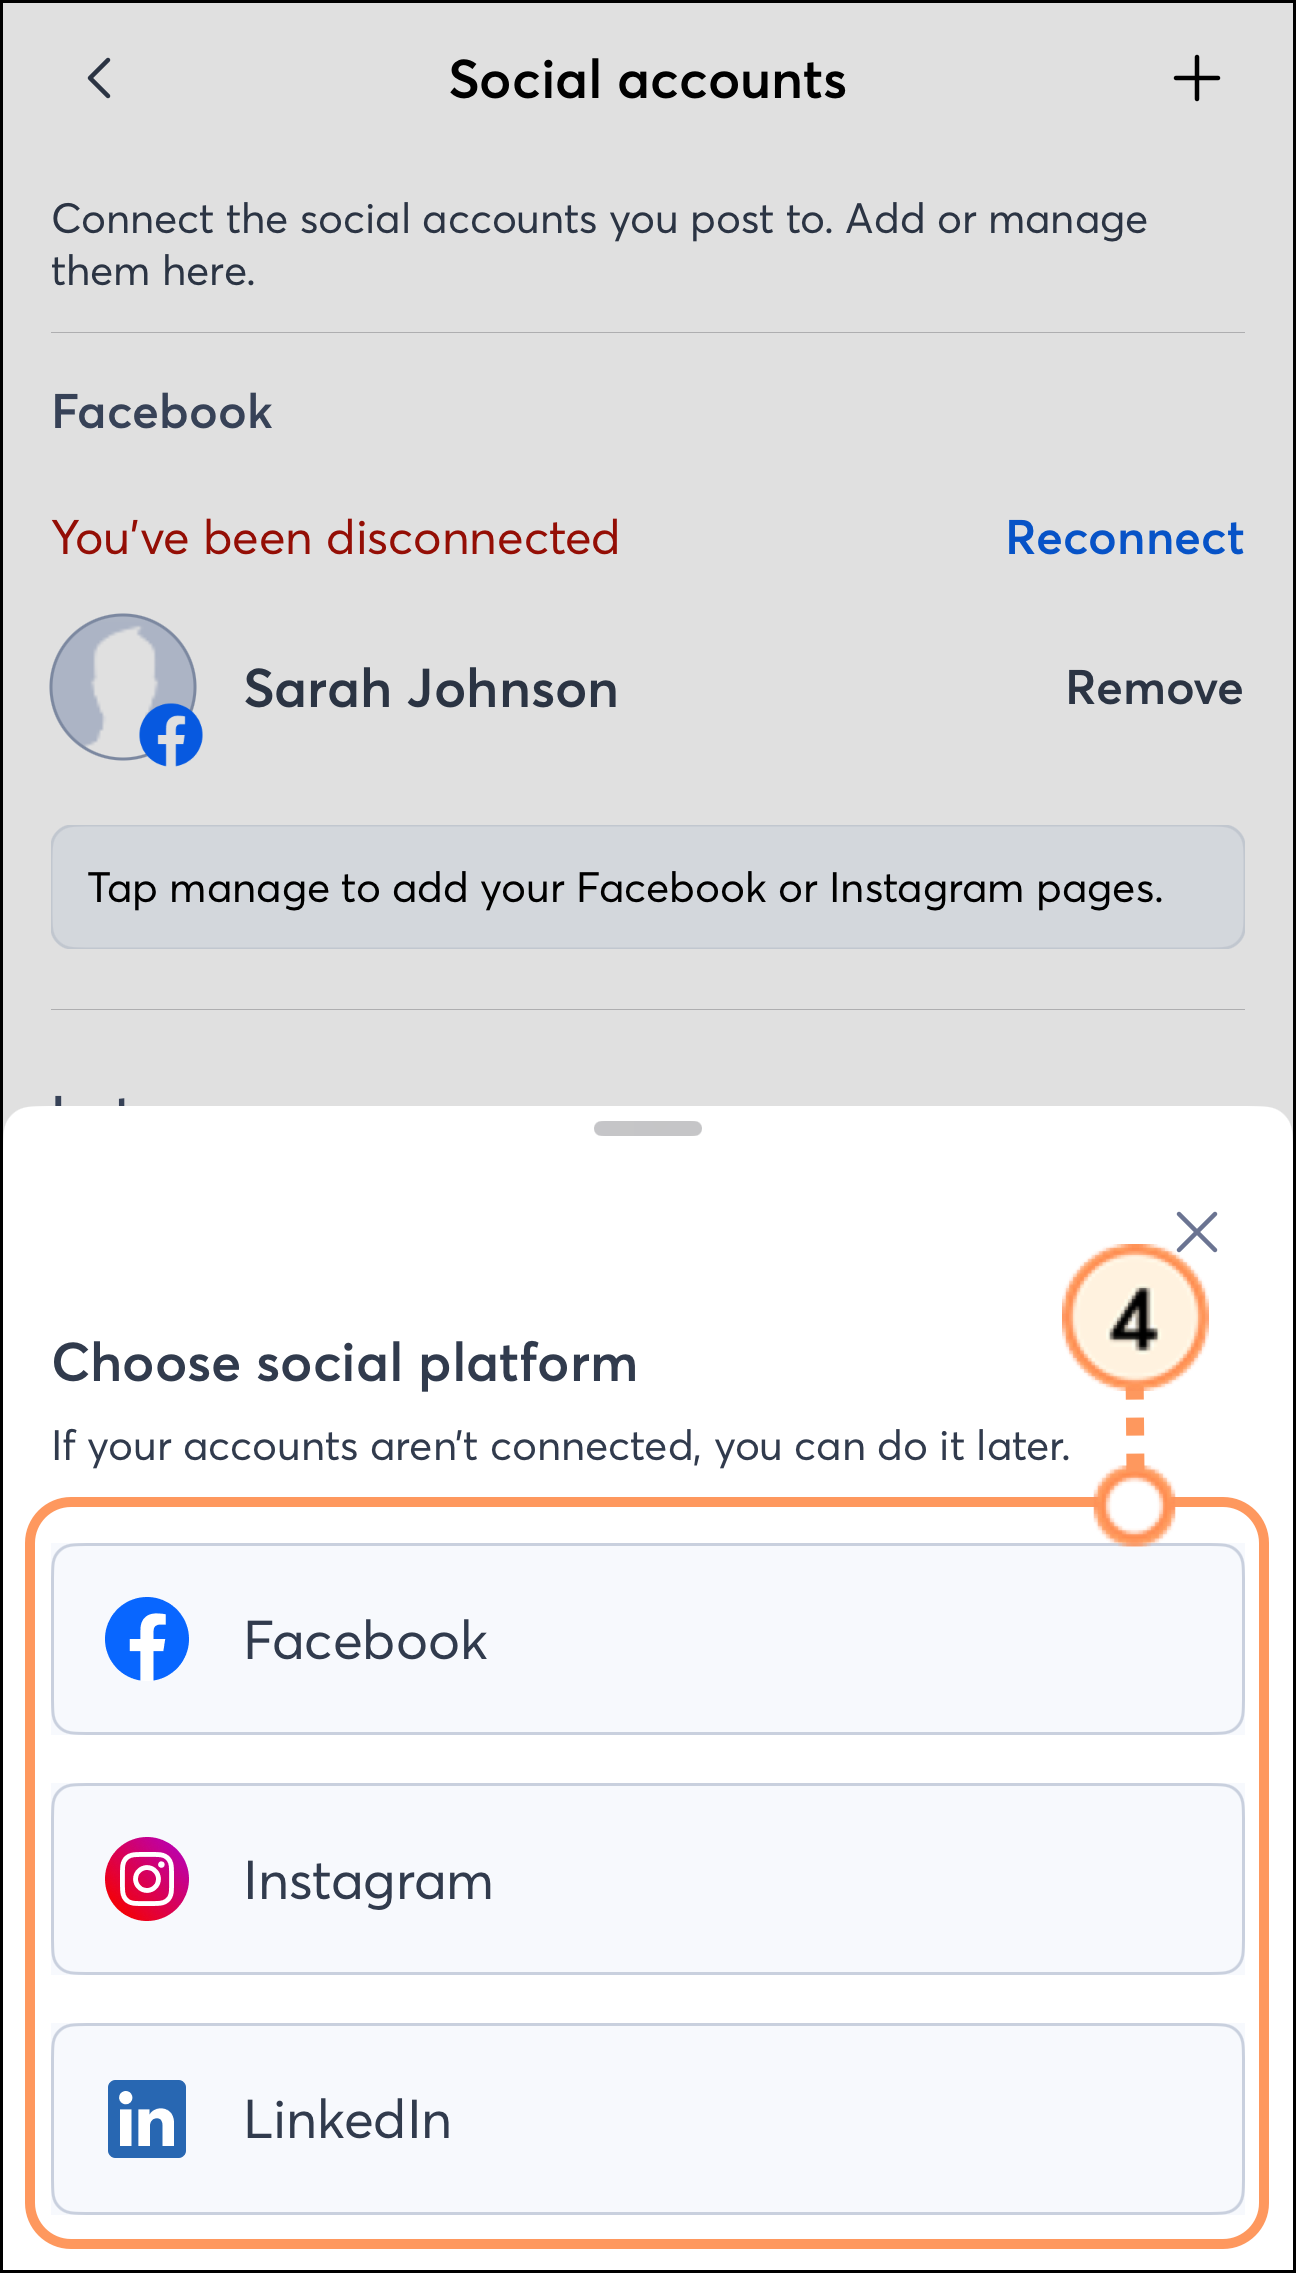
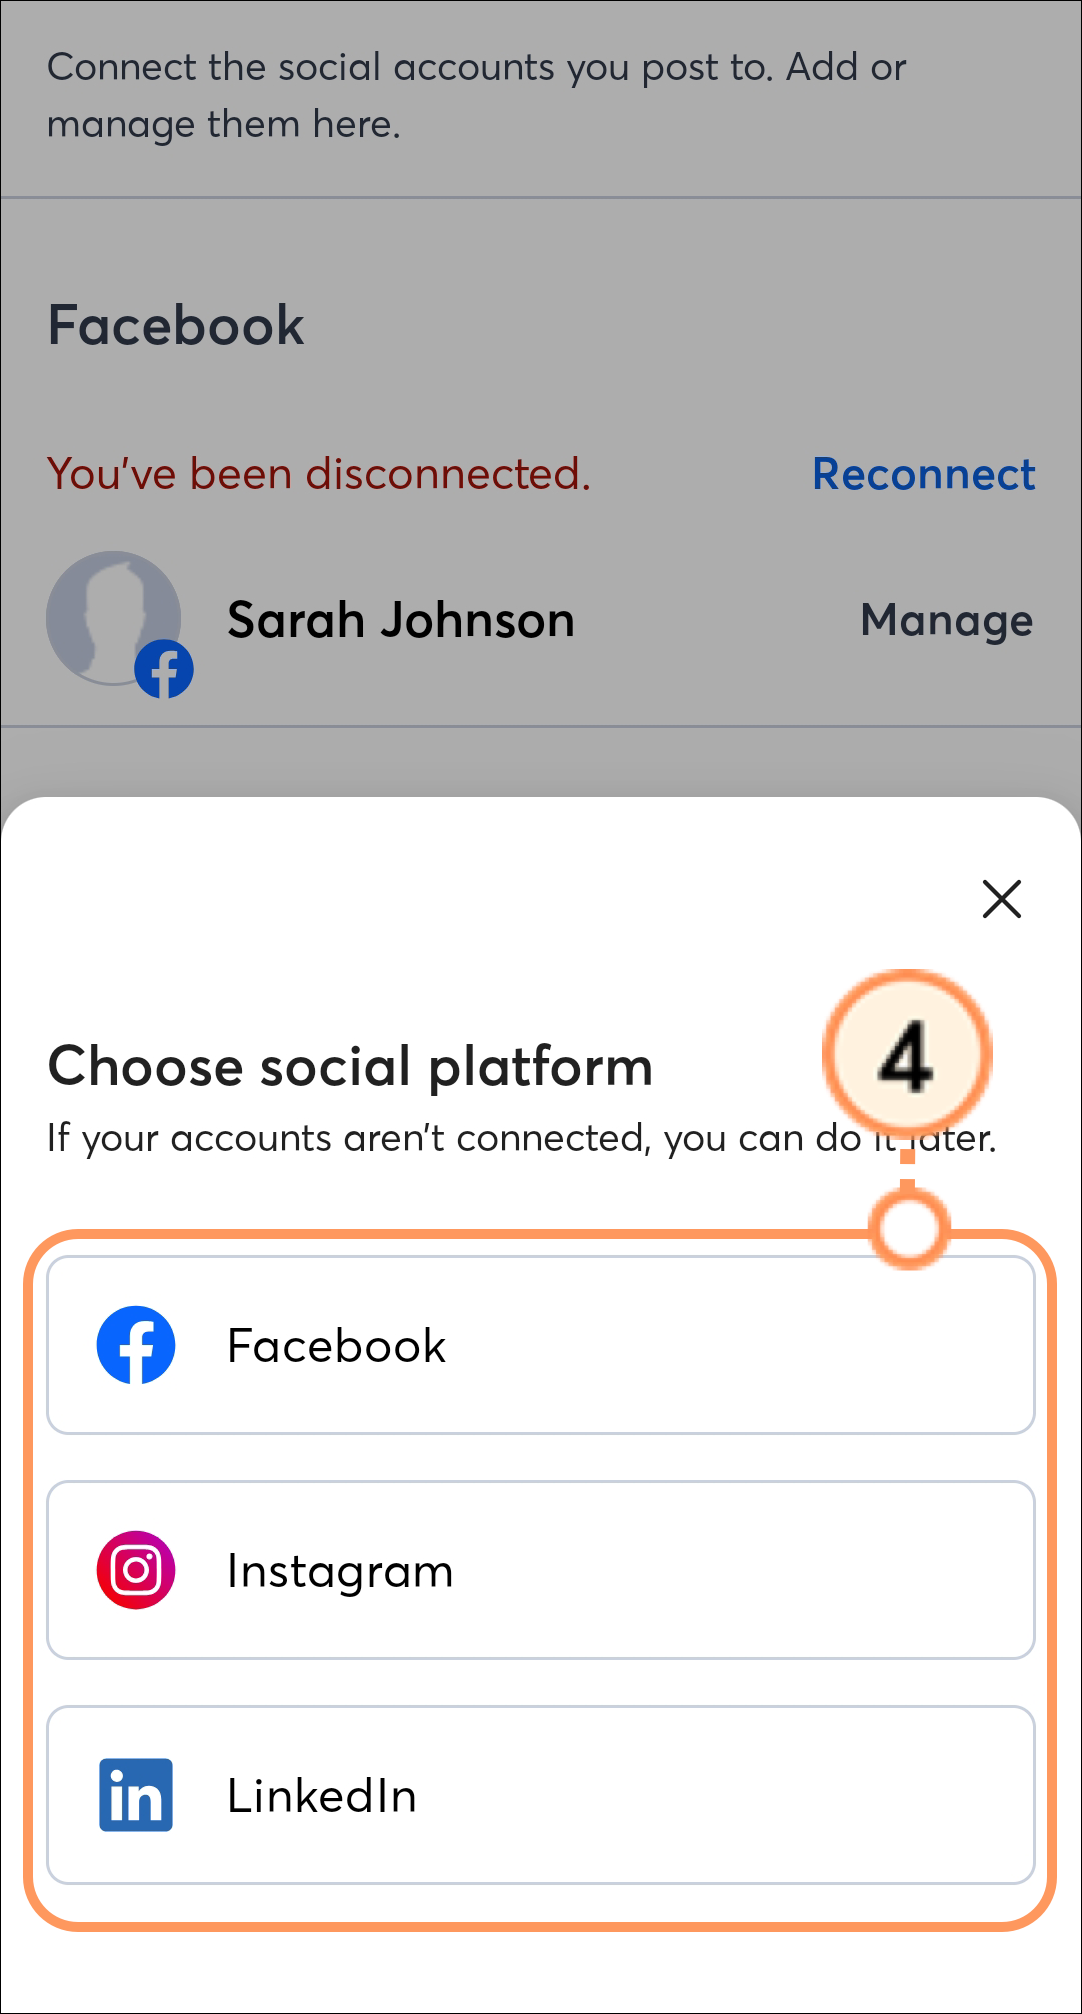
Select the social media platform you’d like to connect to.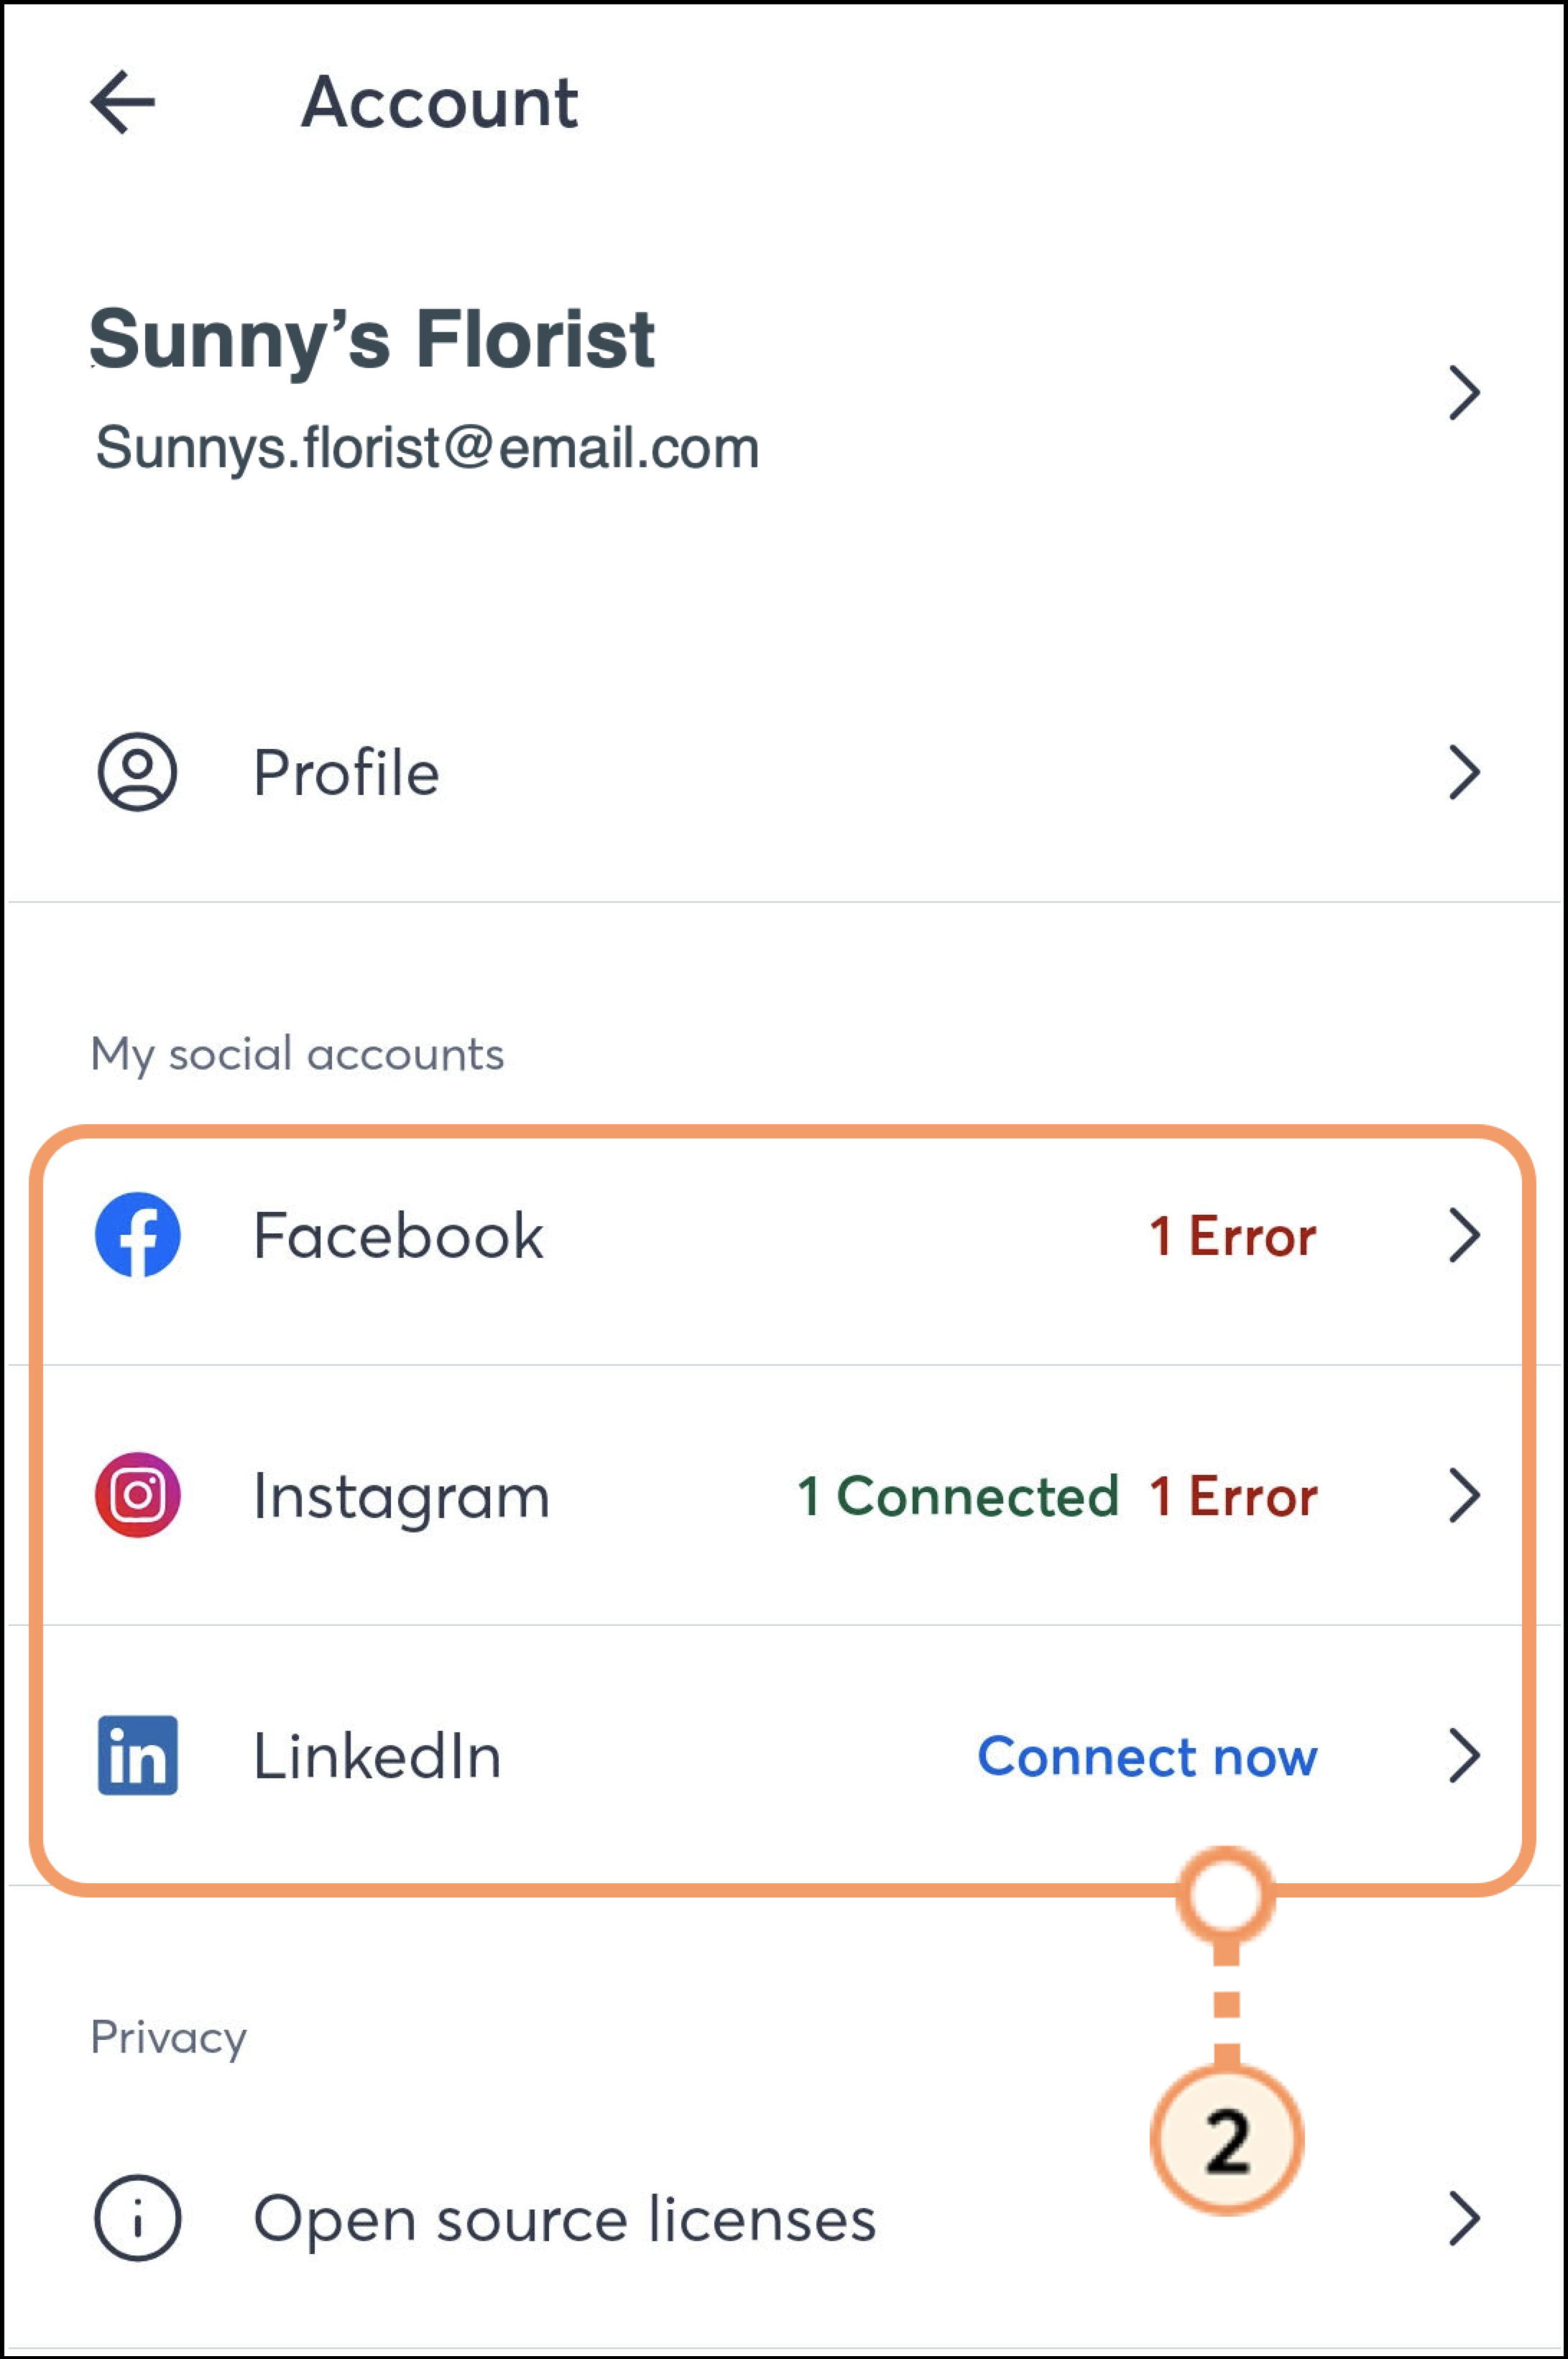
| Tip: Direct authentication of Instagram credentials (for Business and Creator profiles) is now supported. You no longer need to link your Instagram account to your Facebook Business Page first. |
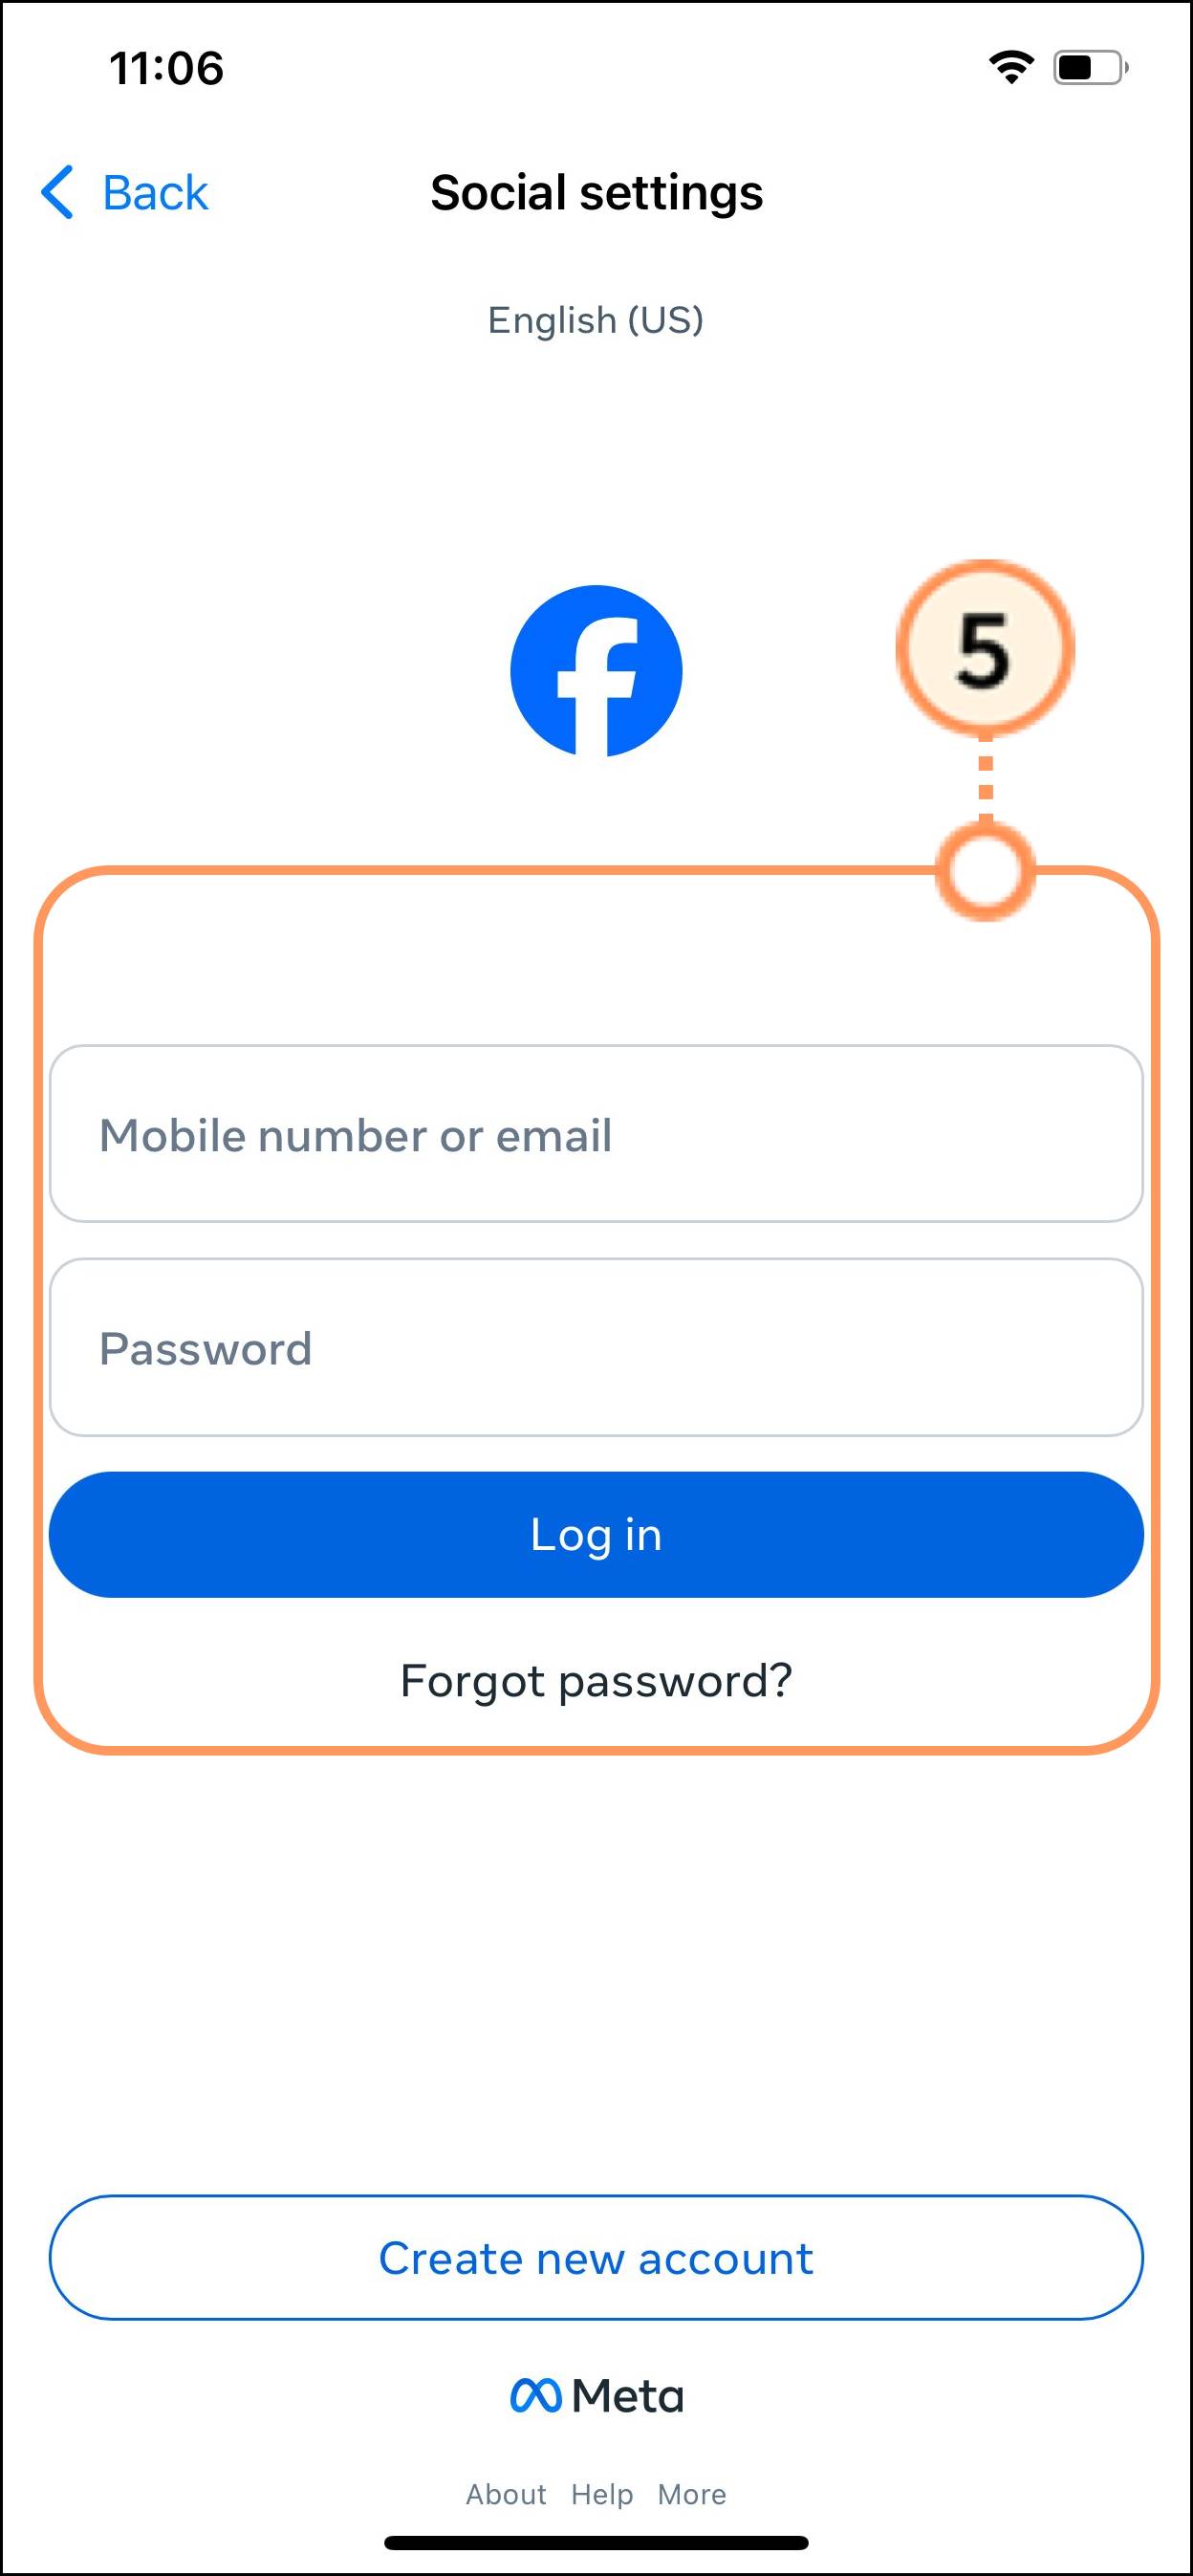
Log in to your account. 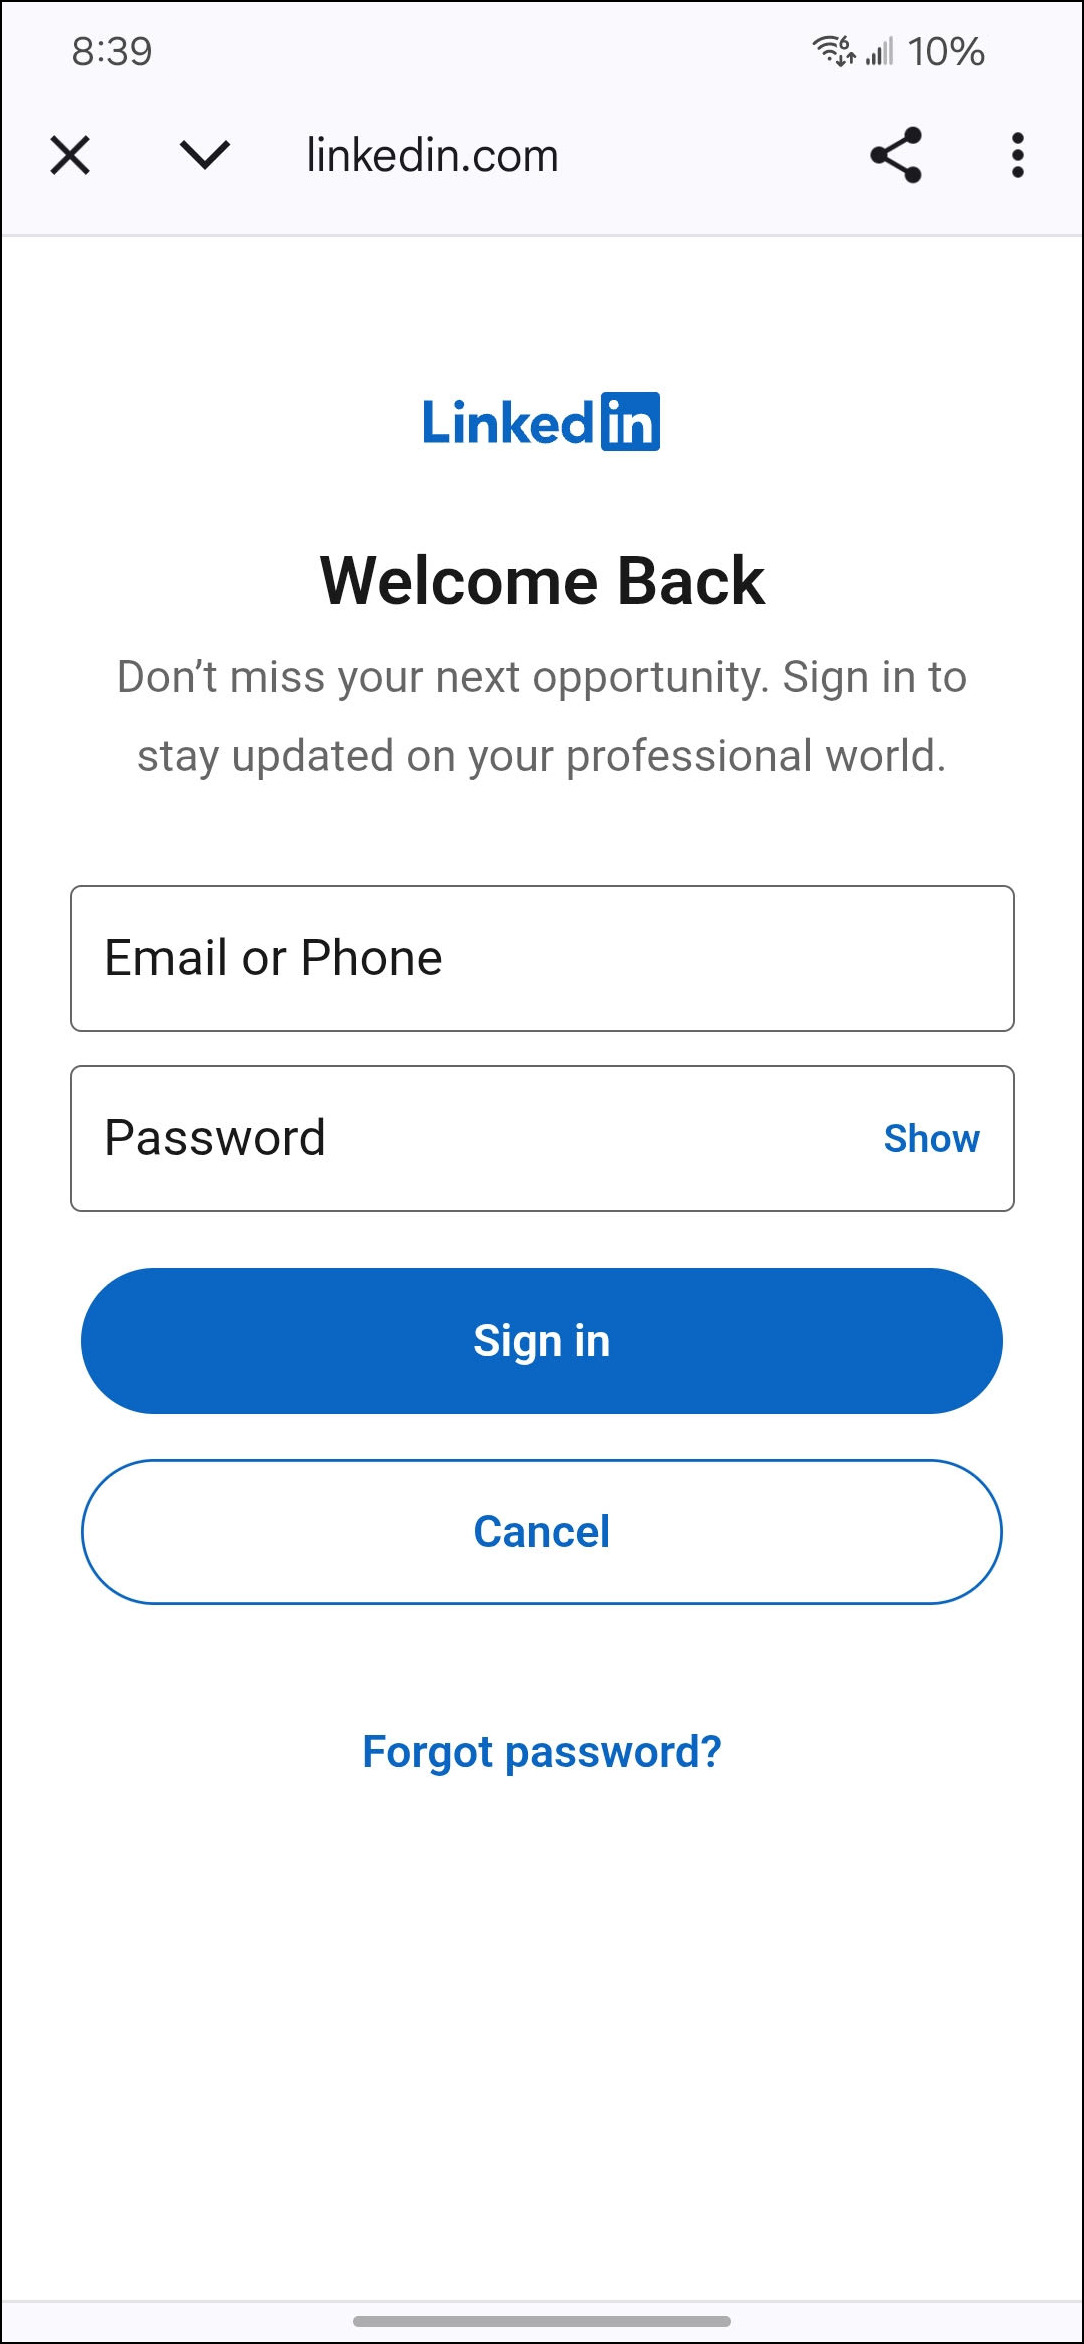
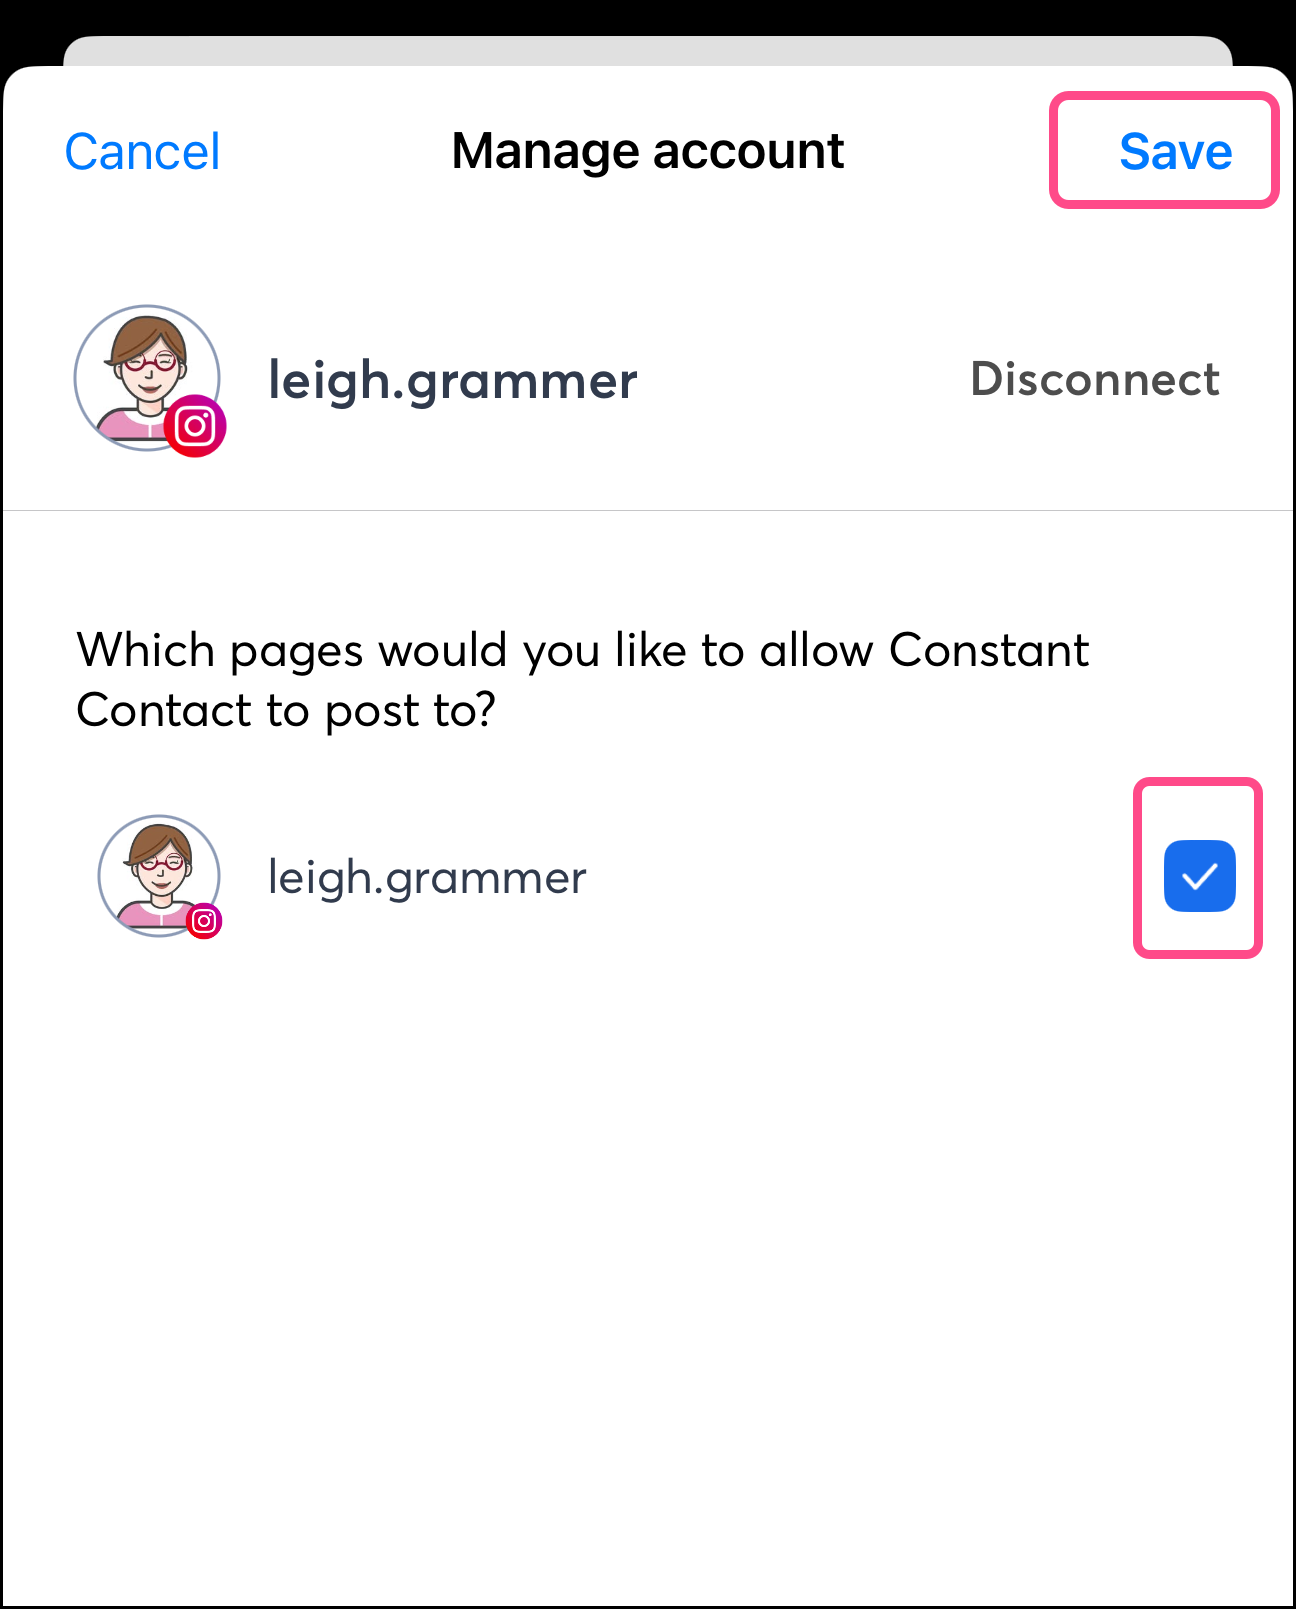
Select the pages or various accounts that you’d like to connect.
Note: Many social media platforms allow you to have multiple pages or accounts under the same login. With Constant Contact, you can manage posts for all these pages or accounts.
Once connected, you can see the status of your connected social media accounts from your profile page. If there are any errors with your social media connections, you’ll see an alert informing you to take the necessary steps to resolve the error.
Tap the + Add icon.
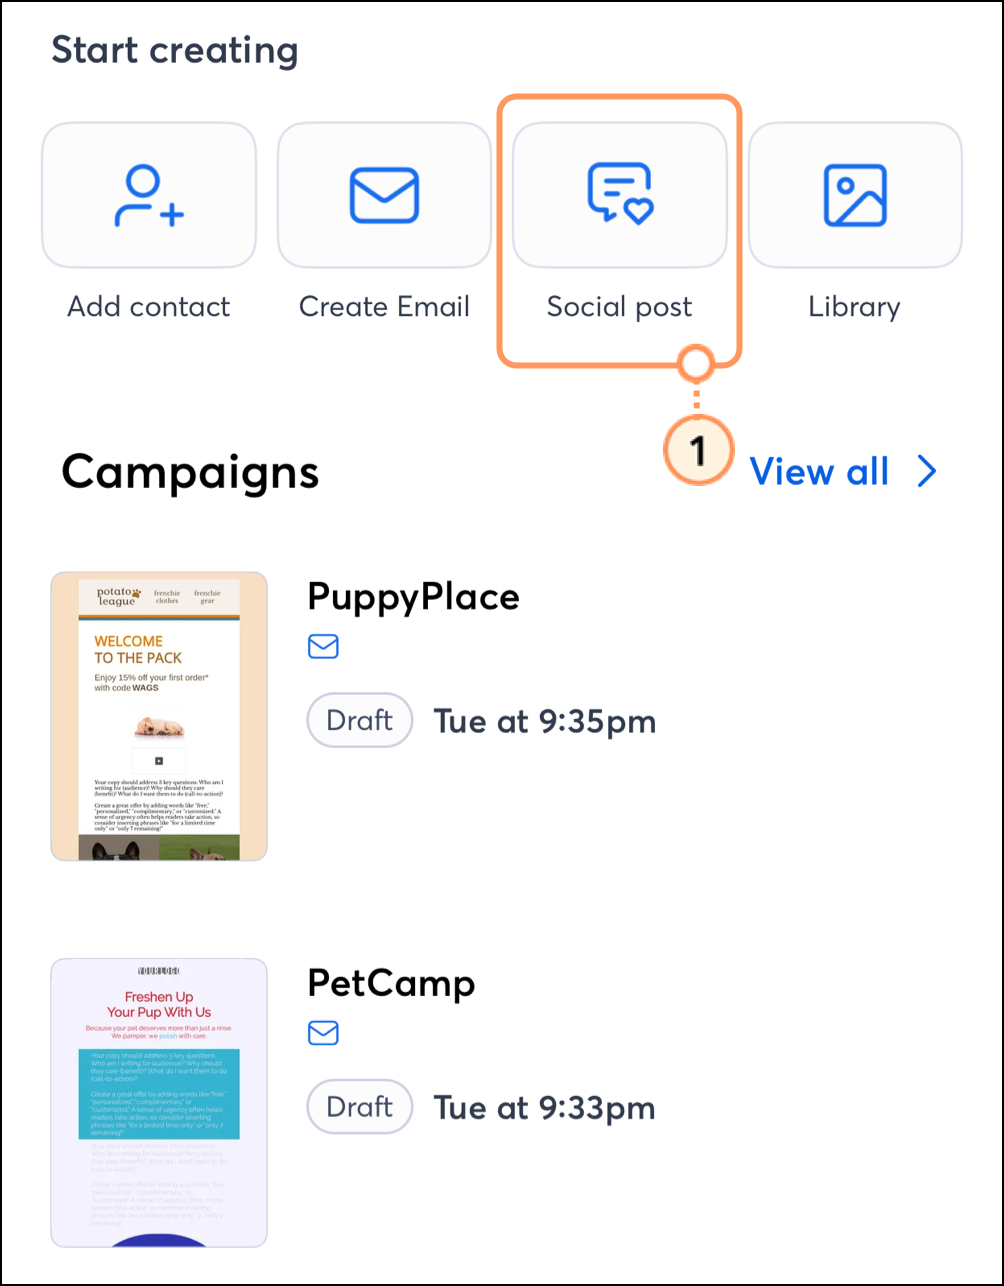
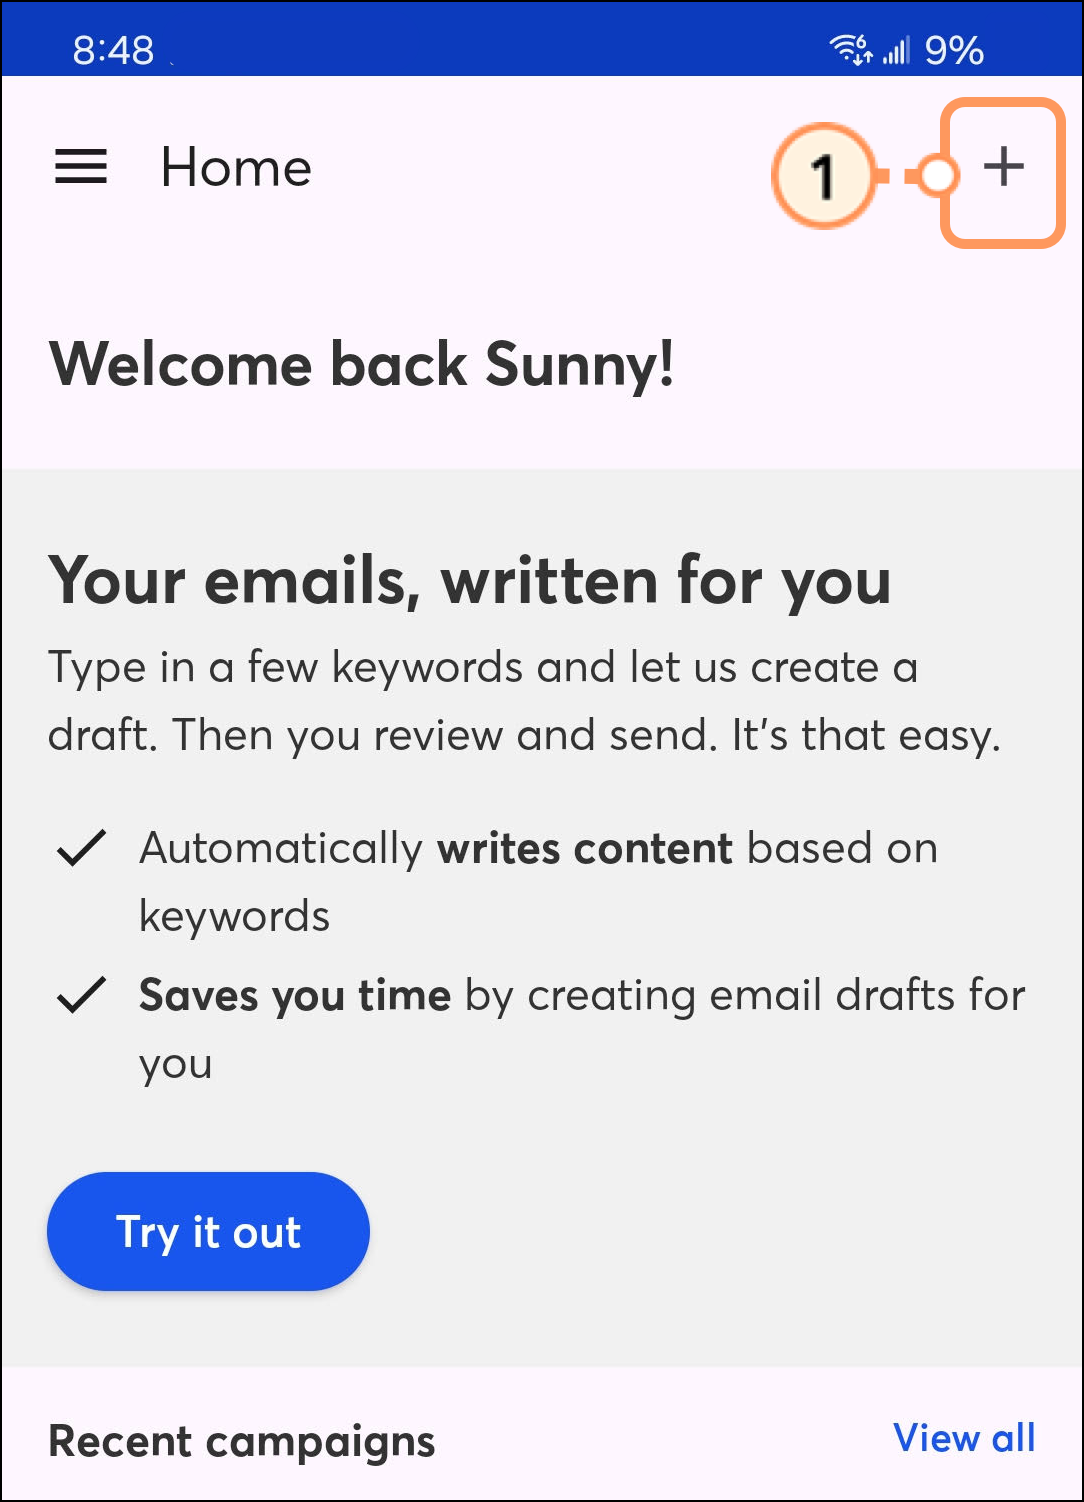
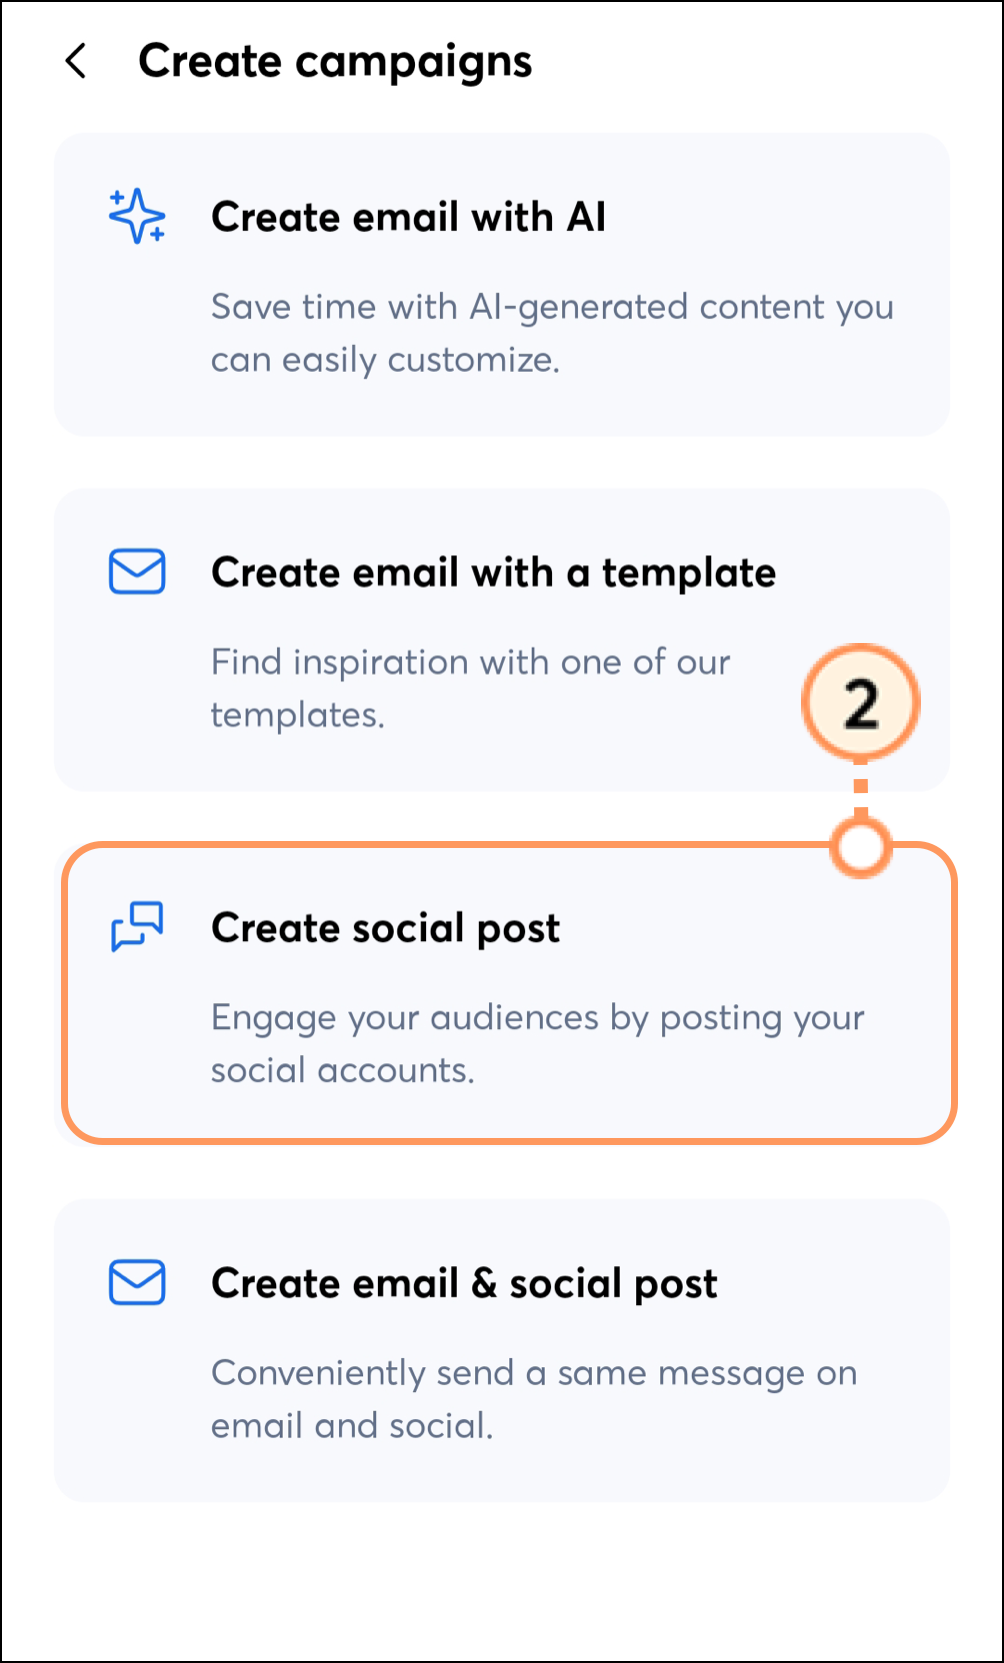
Choose the Social Platform you'd like to post to.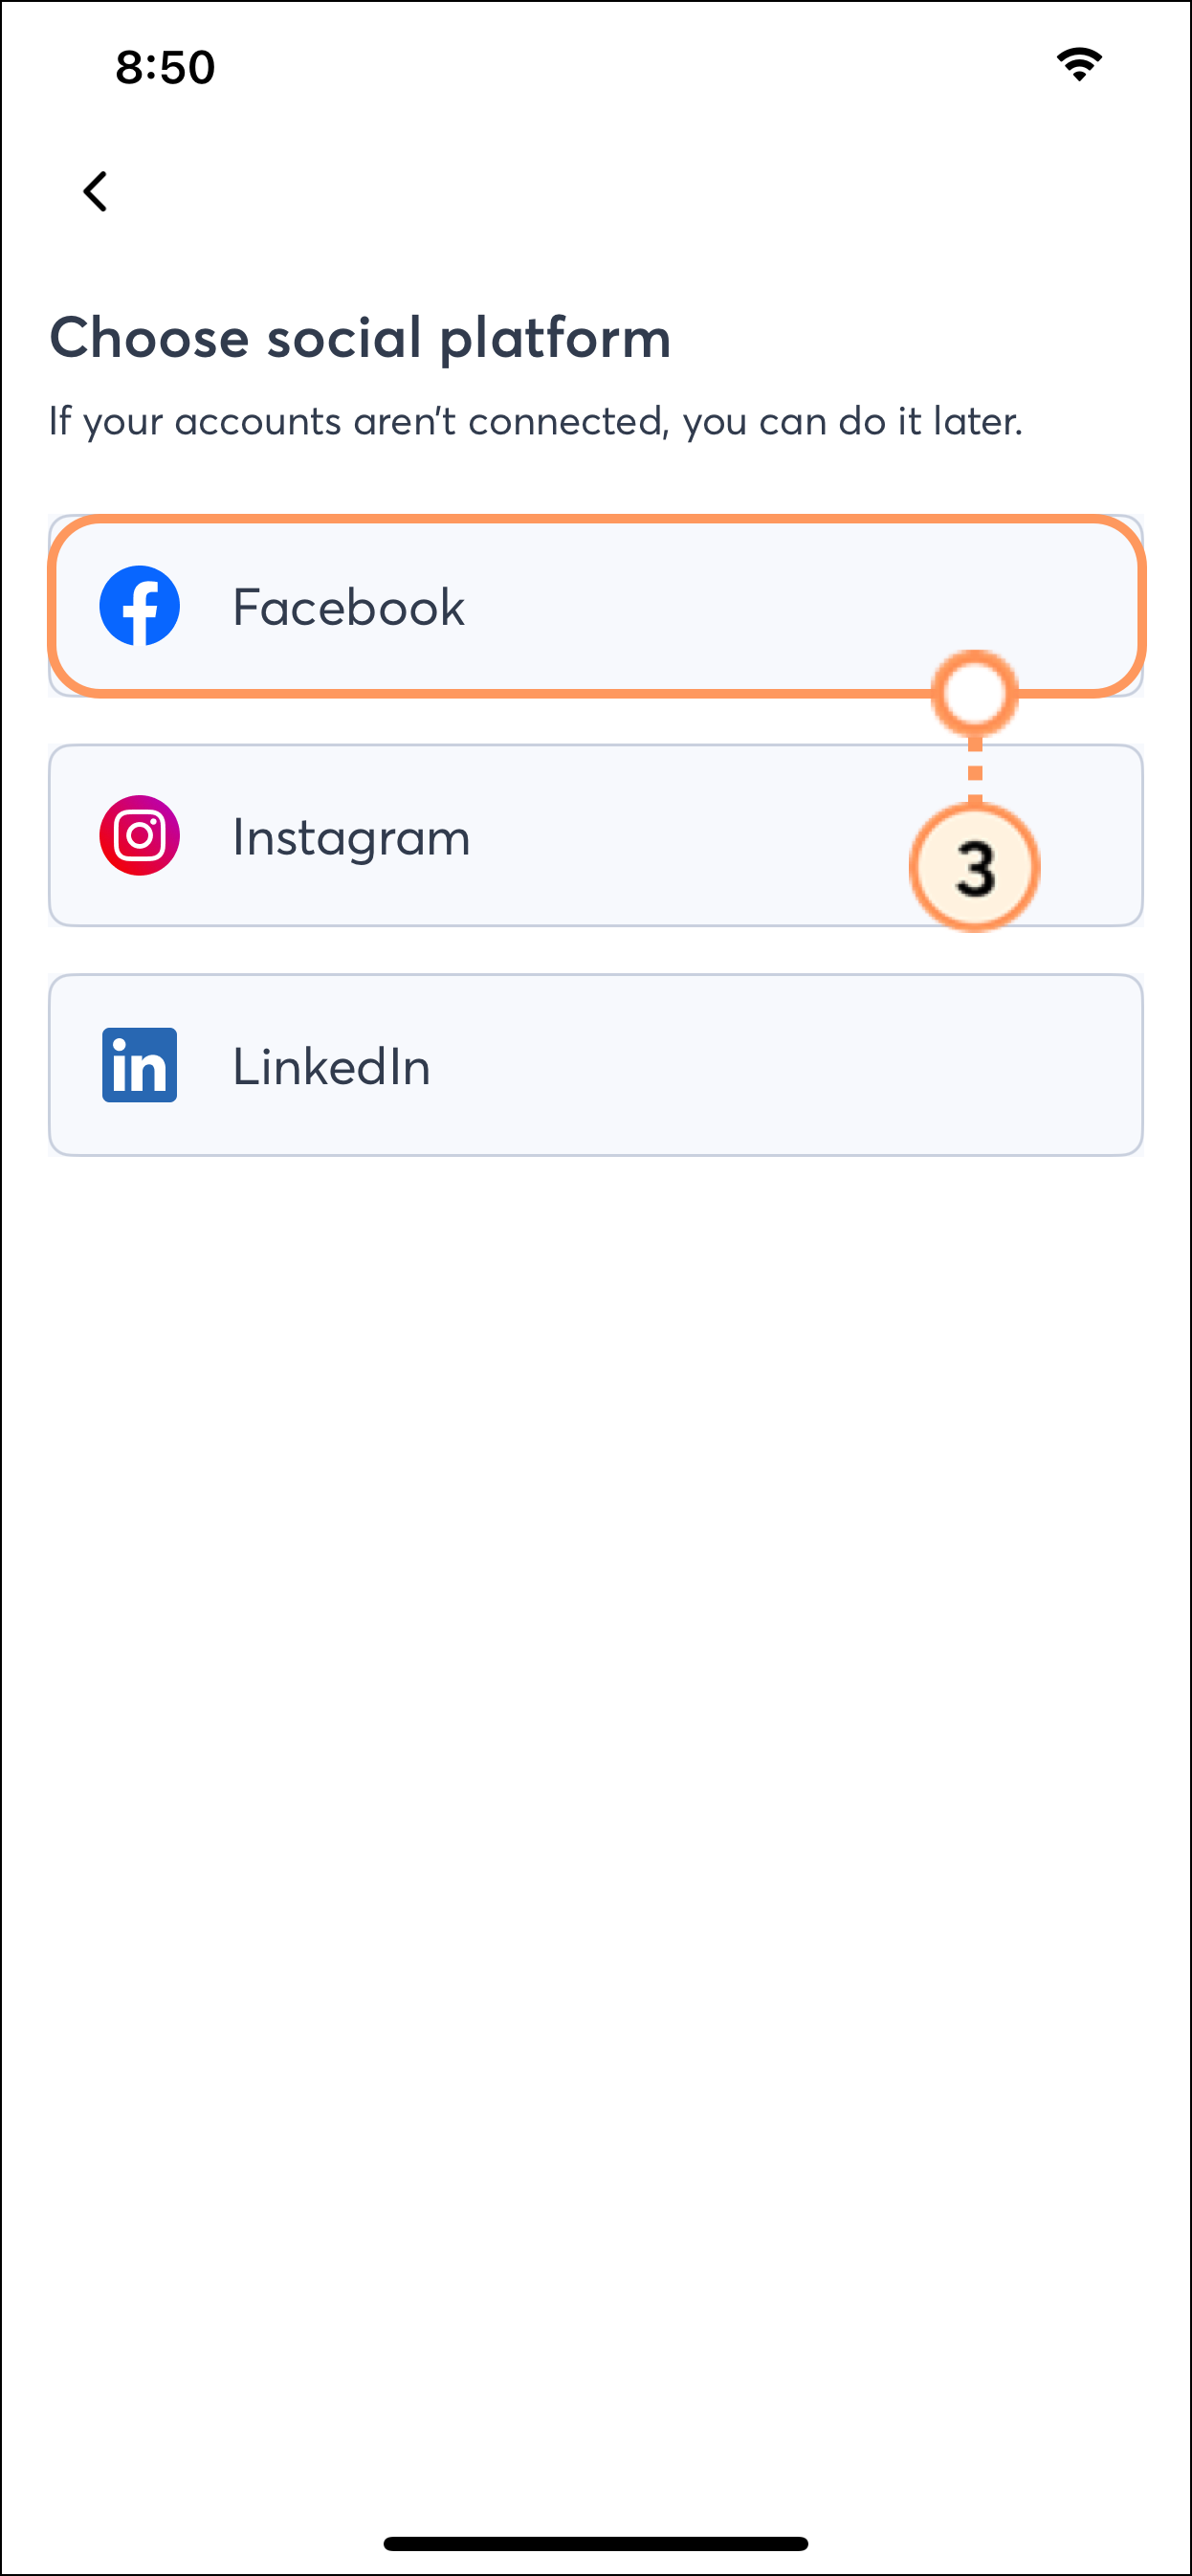
Type your post.
Tap the Image or Video icon to add media content.
Consider the following requirements for your post, based on the platform:
|
|
|
|
|
Character limit of 63,206 30 images max Video length between 0:05 and 15:00 Video upload size max 4GB |
Character limit of 2,200 20 images maximum Video length between 0:05 and 15:00 Video upload size max 4GB Note: Instagram requires an image or video to post |
Character limit of 1,300 20 images max Video length between 0:05 and 15:00 Video upload size max 4GB |

Select the images or short-form videos to include in your post.
For Images: Choose from your Constant Contact Media Library or your phone’s Camera Roll, take a photo, or use the Image Playground to generate an image using Apple Intelligence.
Note: Apple Intelligence’s Image Playground generates AI images and is only available on compatible iOS devices. Image Playground is not available on Android devices. Read our How to use Apple Intelligence in the Constant Contact mobile app article to learn more.
For Video: Choose from your phone’s Camera Roll, or record a video using your phone.

Once content and images have been added, you can use the eye icon in the top-right corner of the screen to preview your post and see how it will look when published on the social platform.
Click Continue once you have finished drafting your post. 
Click the social media page or account you’d like to post to.
Note: Many social media platforms allow you to have multiple pages or accounts under the same login. With Constant Contact, you can manage posts for all these pages or accounts.
On compatible iOS devices, the Constant Contact app connects directly to Apple Intelligence to leverage new Writing Tools and the Apple Intelligence Image Playground – helping you find just the right words virtually everywhere you write, and create beautiful images instantly.
Note: Apple Intelligence is compatible with any iPhone 16 model, the iPhone 15 Pro, or the iPhone 15 Pro Max, as well as any iPad with A17 Pro or M1. Devices must be running iOS 18.1 or later, or iPadOS 18.1 or later. Finally, your device must have 7 GB of storage space available.
To learn how to use Apple Intelligence, read our How to use Apple Intelligence in the Constant Contact mobile app article.
Once an email has been sent to a contact list segment, you can share a link on your social media accounts. This will allow your social followers to view the email as if they’ve received it in their inbox, helping you expand the reach of your offers or notifications.
Read the Share an email in the Constant Contact mobile app article to learn how to create and share a link to your emails.
Copyright © 2026 · All Rights Reserved · Constant Contact · Privacy Center