| Tip: If you're seeing something different than what's shown in this article, you may not have the latest version of the mobile app. To get the latest, head back to the App Store and complete an update! |
Create a new email in the Constant Contact mobile application. Edit it and schedule it for sending—all from within the app. You can also start an email on a desktop and continue editing and scheduling it in the mobile application.
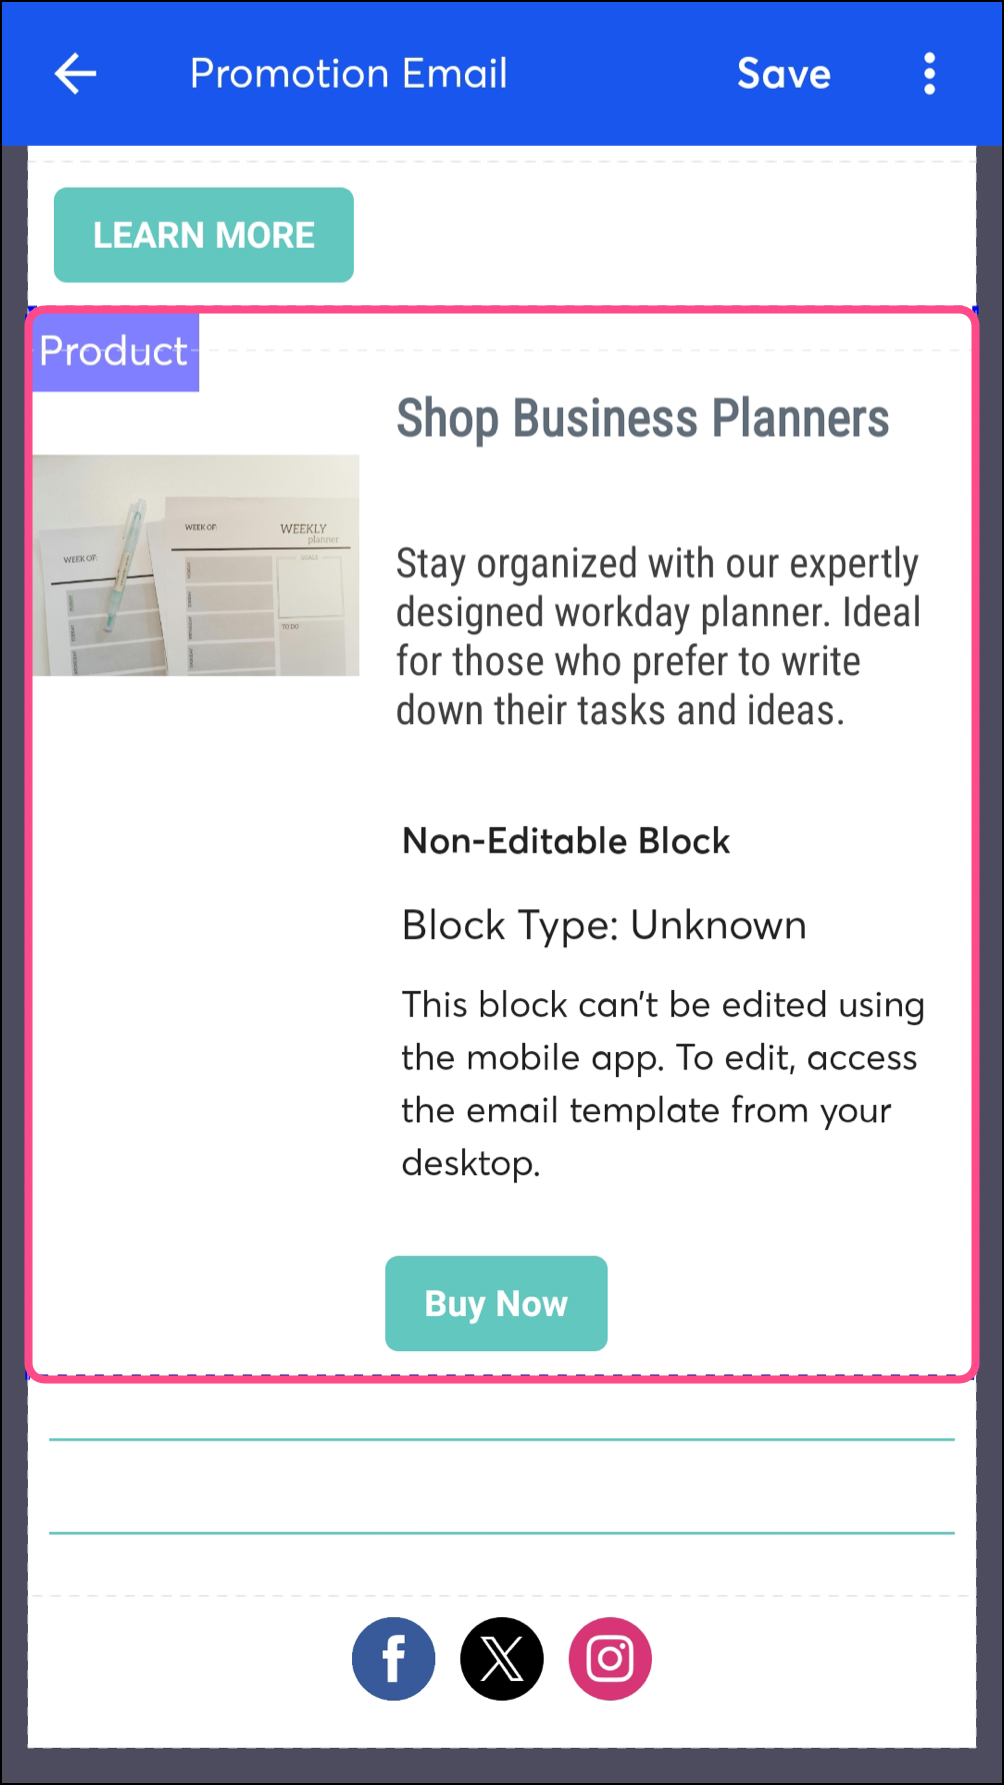
Non-Editable Blocks
Some blocks, such as the shoppable product blocks, cannot be modified within the mobile application. This is because the content is too large to be optimally modified on a smaller screen. They will still be included in your email template and displayed in your preview in the mobile app, but you will need to open your email on a desktop to make changes. The shoppable product block, the ecommerce product block, the table block, poll blocks, RSVP blocks, and the compliance footer must be edited on desktop.
Here's an example of a shoppable product block, which can be added to your email and modified on desktop.

Blocks that cannot be edited in the mobile app will be designated as a "Non-Editable Block".
Open an email draft to make edits
On Android, complete the following steps to modify your emails:
- From the
 menu, tap Campaigns.
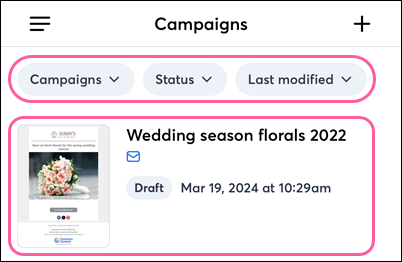
- (Optional) Use the filters at the top of the screen to narrow your campaign list.
- Tap on the campaign you want to edit.
- Tap Edit.
Note: Only campaigns created in the mobile app or using the Cross Device Editor on a desktop can be edited.
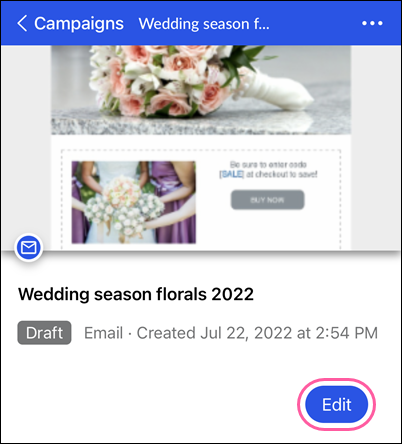
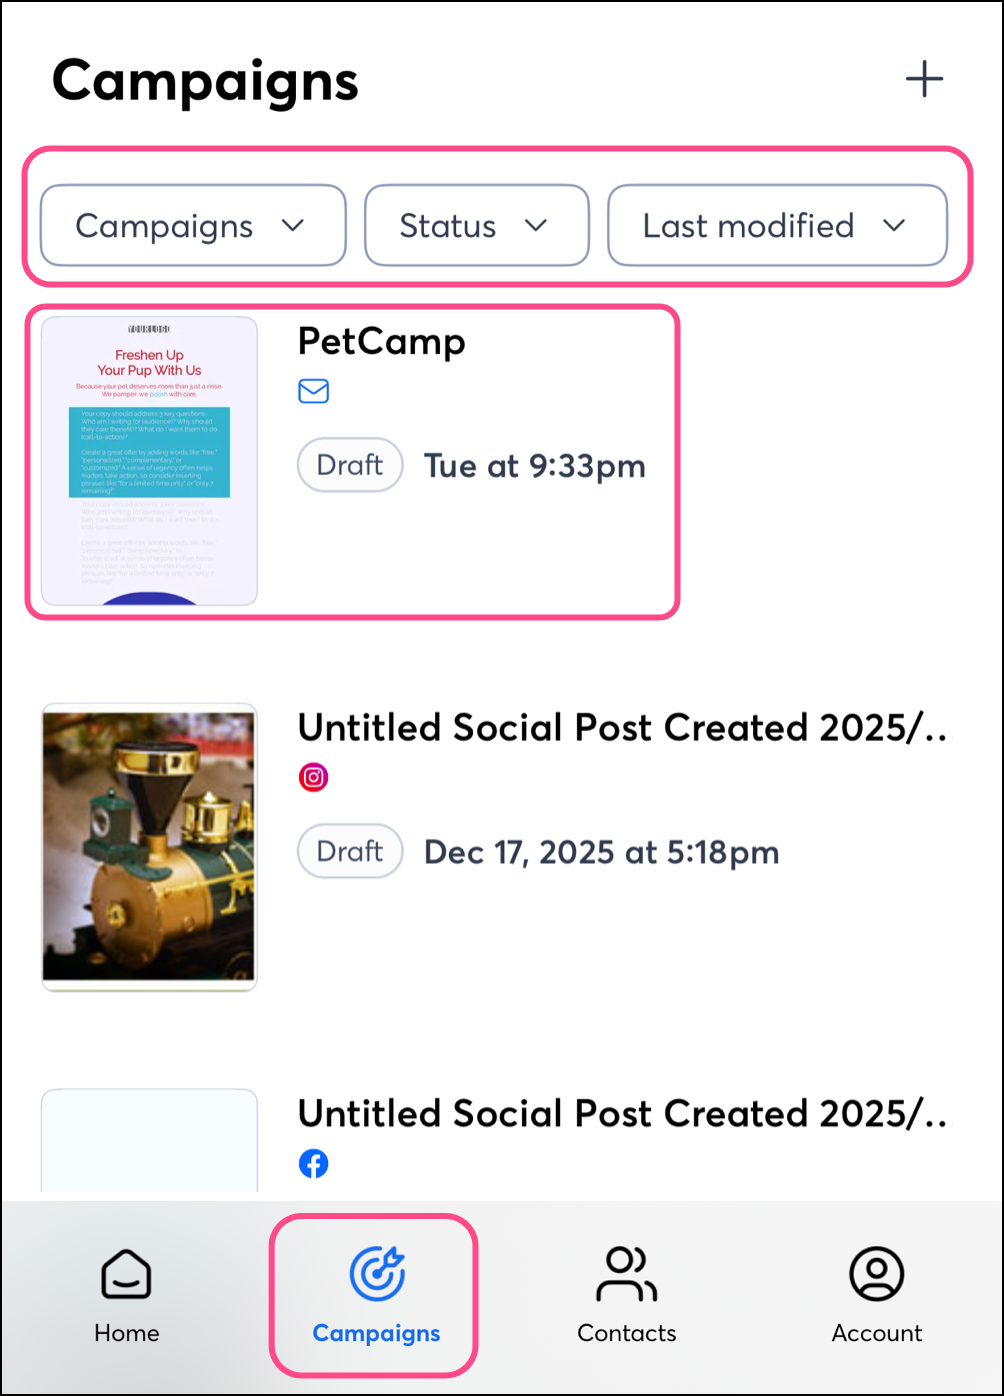
On iOS, complete the following steps to modify your emails:
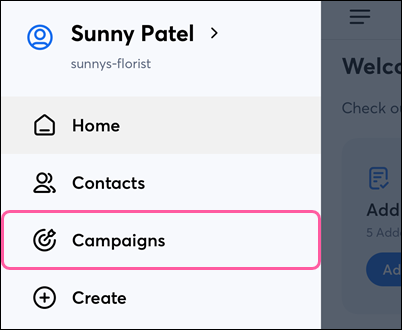
- Tap Campaigns in the navigation menu.
- (Optional) Use the filters at the top of the screen to narrow your campaign list.
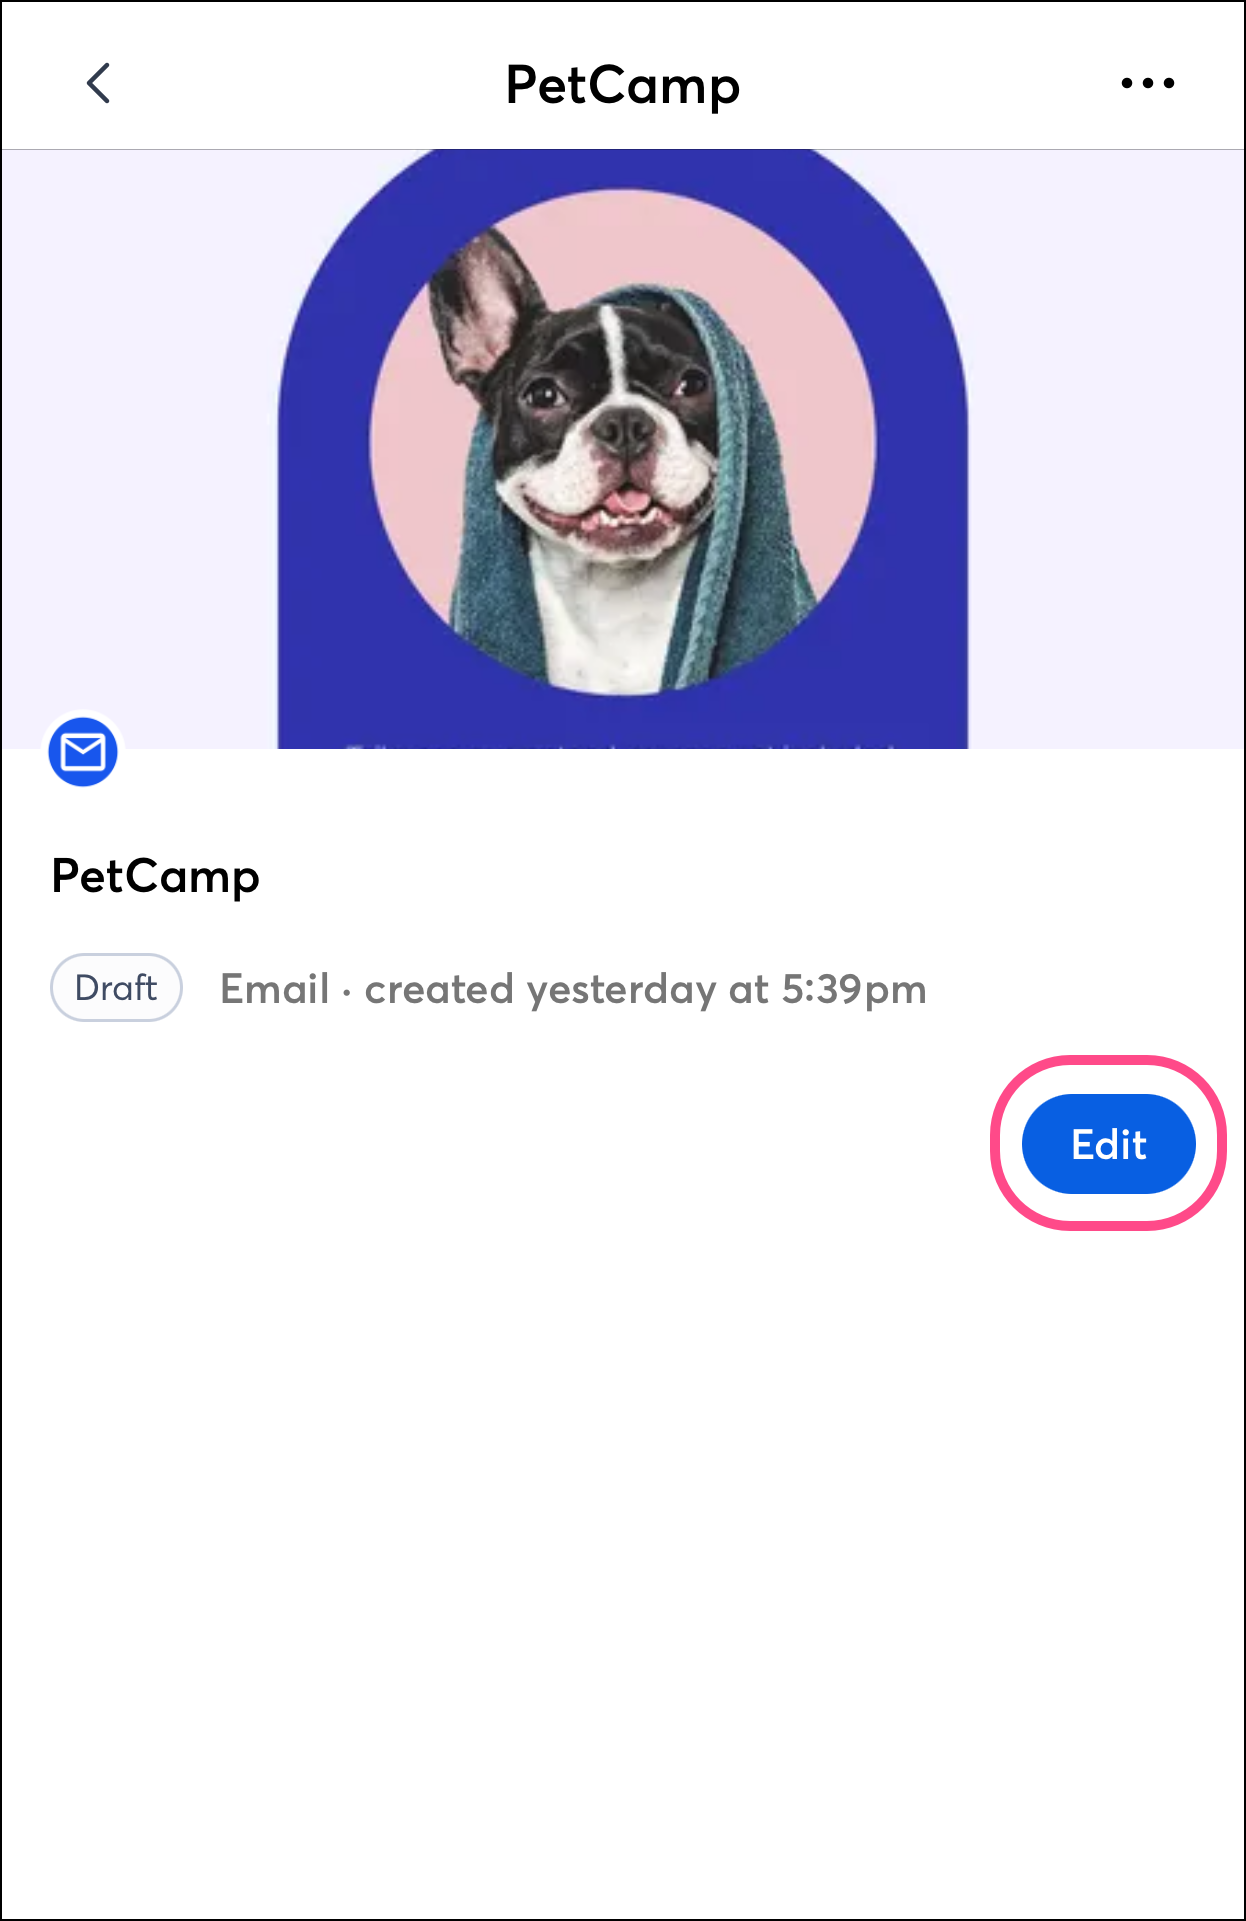
- Tap on the campaign you want to edit.
Note: Only campaigns created in the mobile app or using the Cross Device Editor on a desktop can be edited.
- Tap Edit.
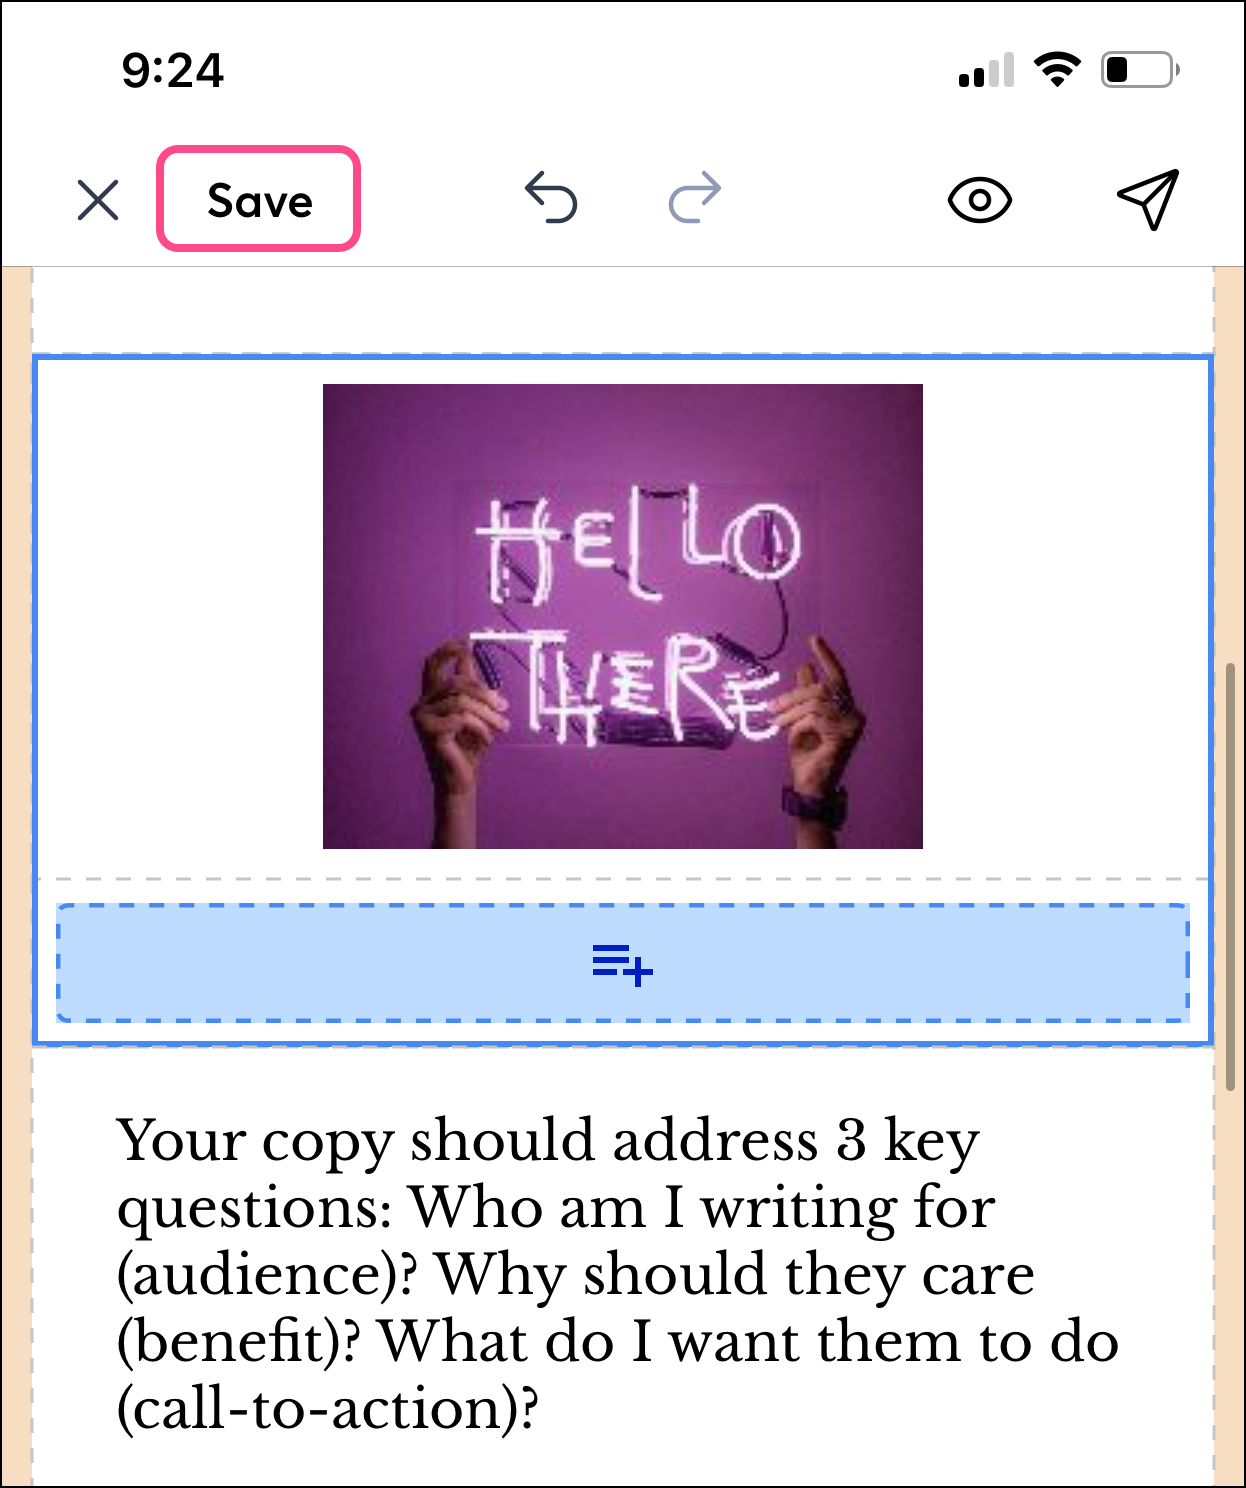
Once in edit mode, you can add different types of blocks, including images and text blocks. You can also edit, move, copy, and delete existing blocks. When you're done editing your email, tap the X in the top-left of the screen and tap Save.
Autosaving changes
On iOS, changes you make to emails in the mobile application's email editor are automatically saved as you work.
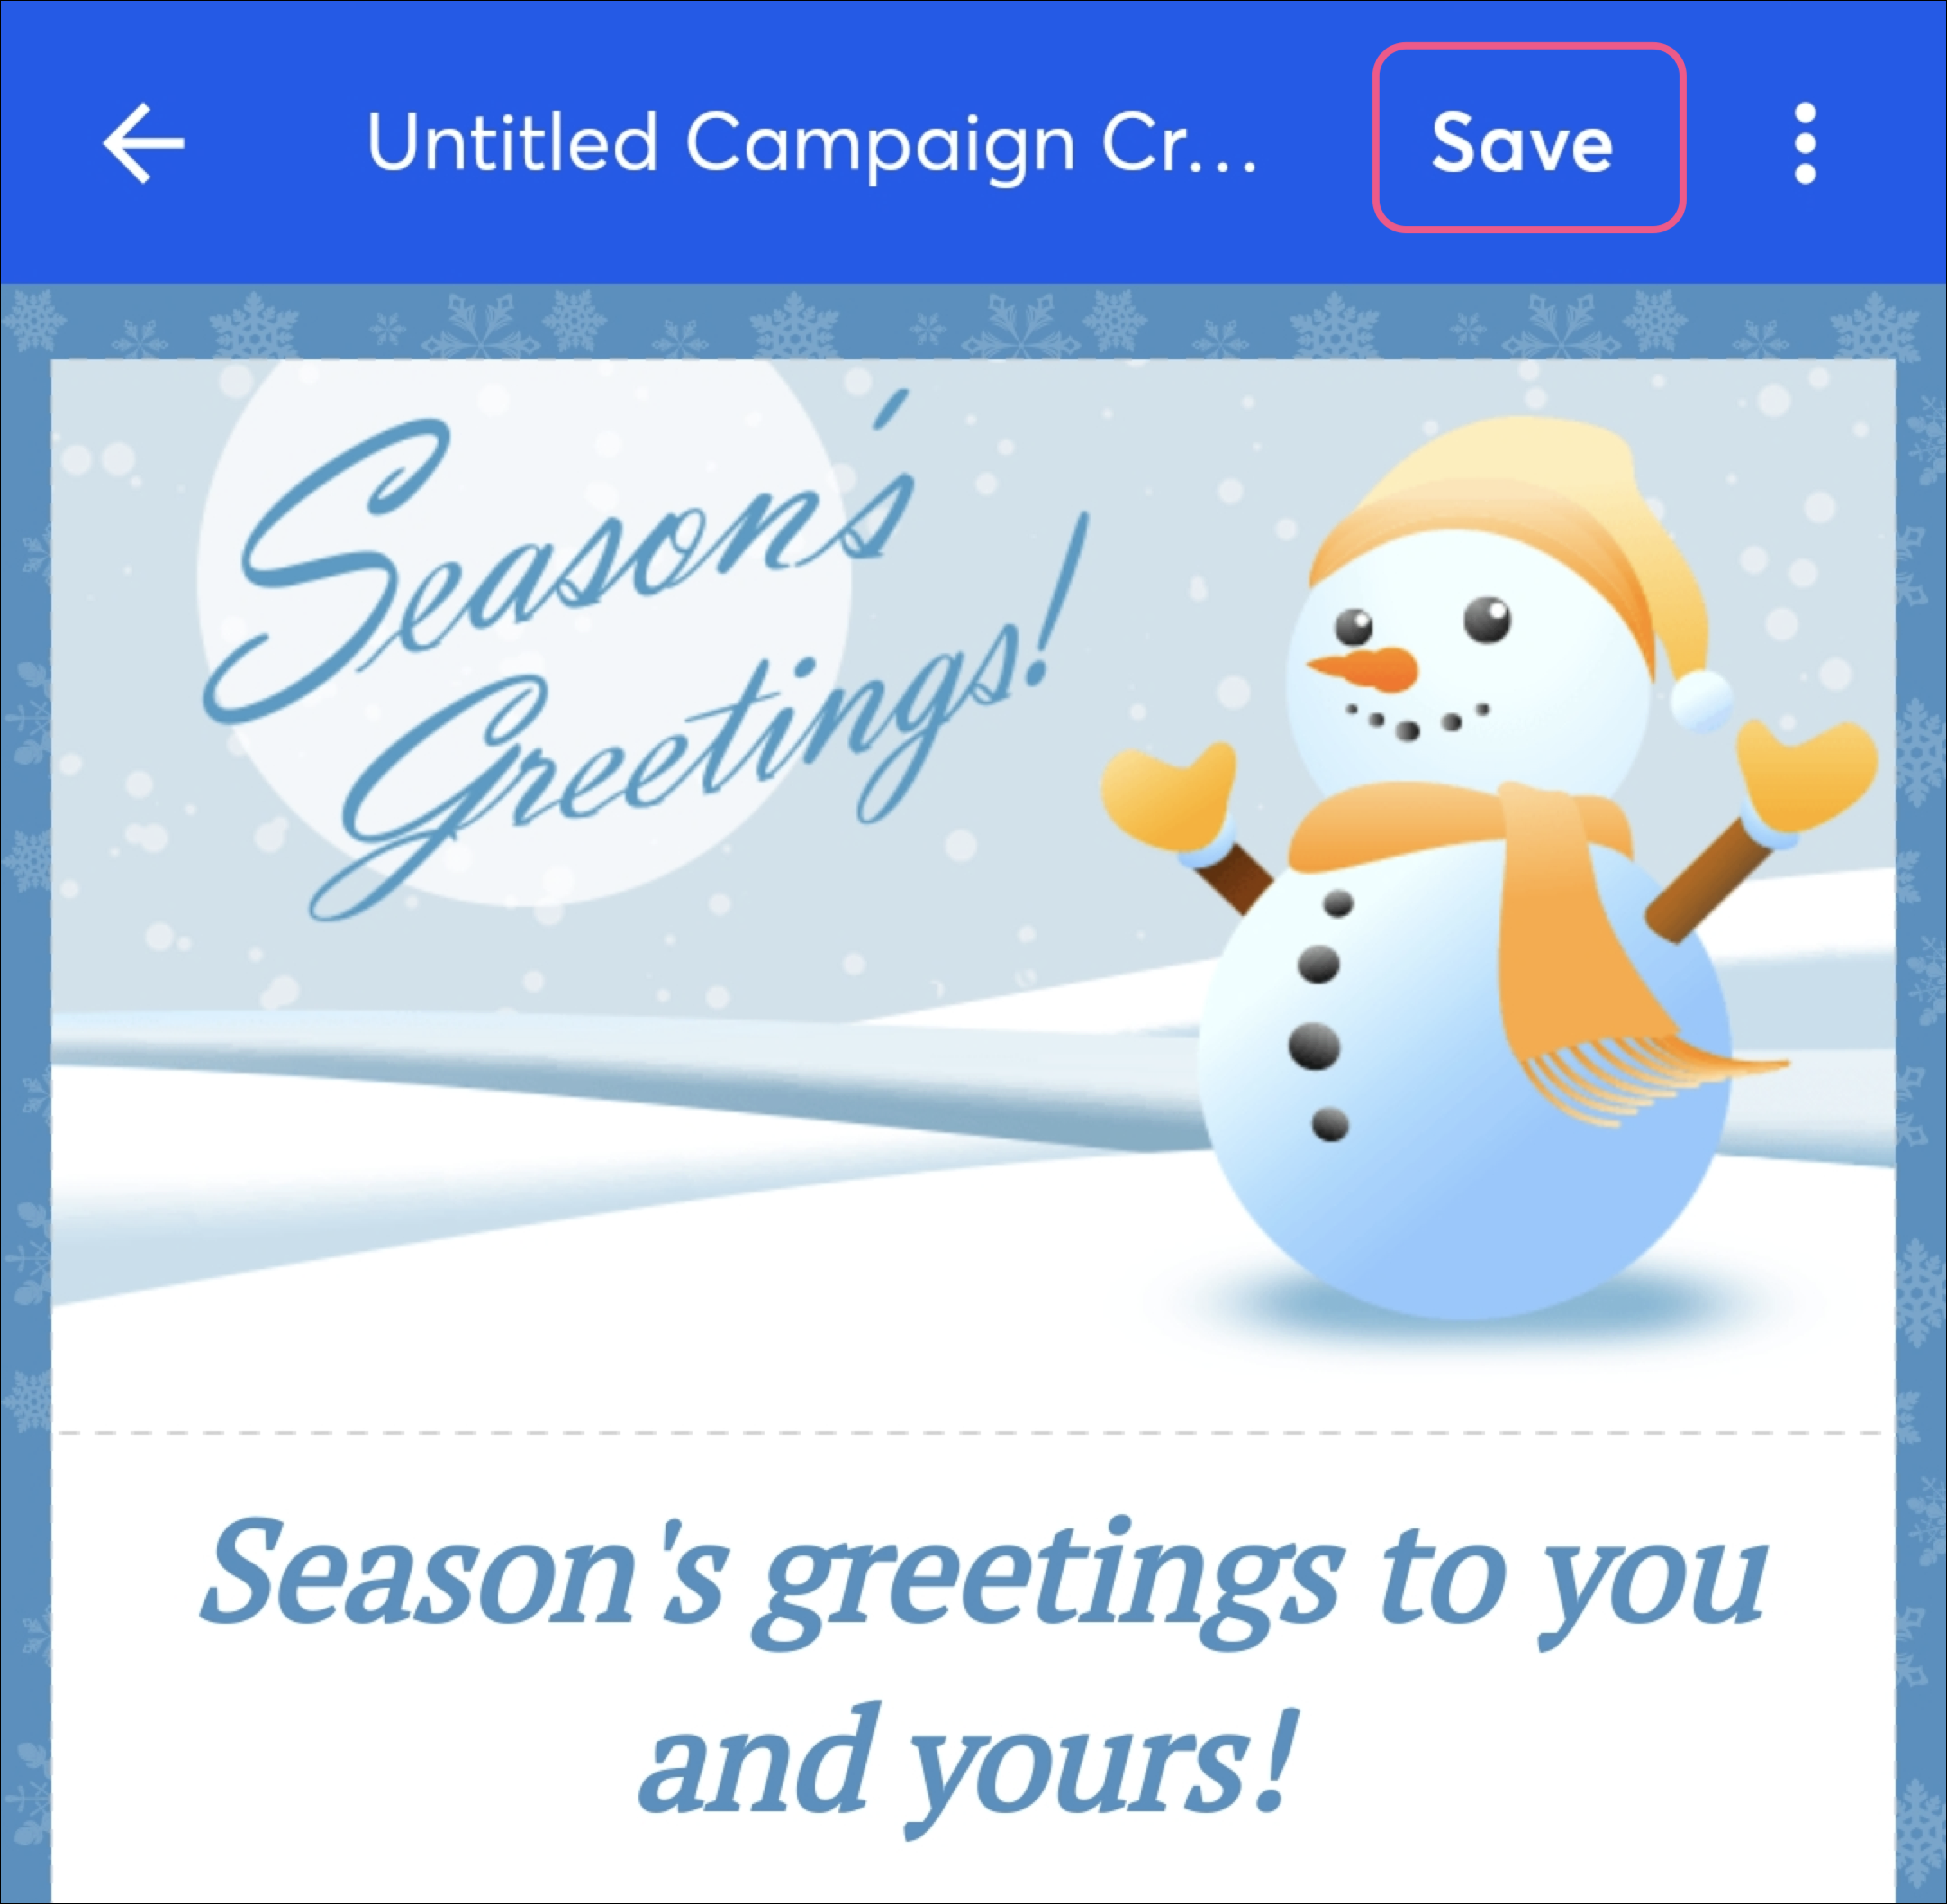
On Android, tap the Save button in the top-right corner of the application regularly to save your work. It's a good idea to save your progress after every major change.
If you leave the email or the mobile application altogether, you can return to the email draft to continue from your last save point.
Add blocks
These steps are the same for Android and iOS.
- Tap on a block and click the + plus symbol to add a new block that'll be connected to the selected row, or tap the + icon at the bottom of your screen to add a new block below the selected row.

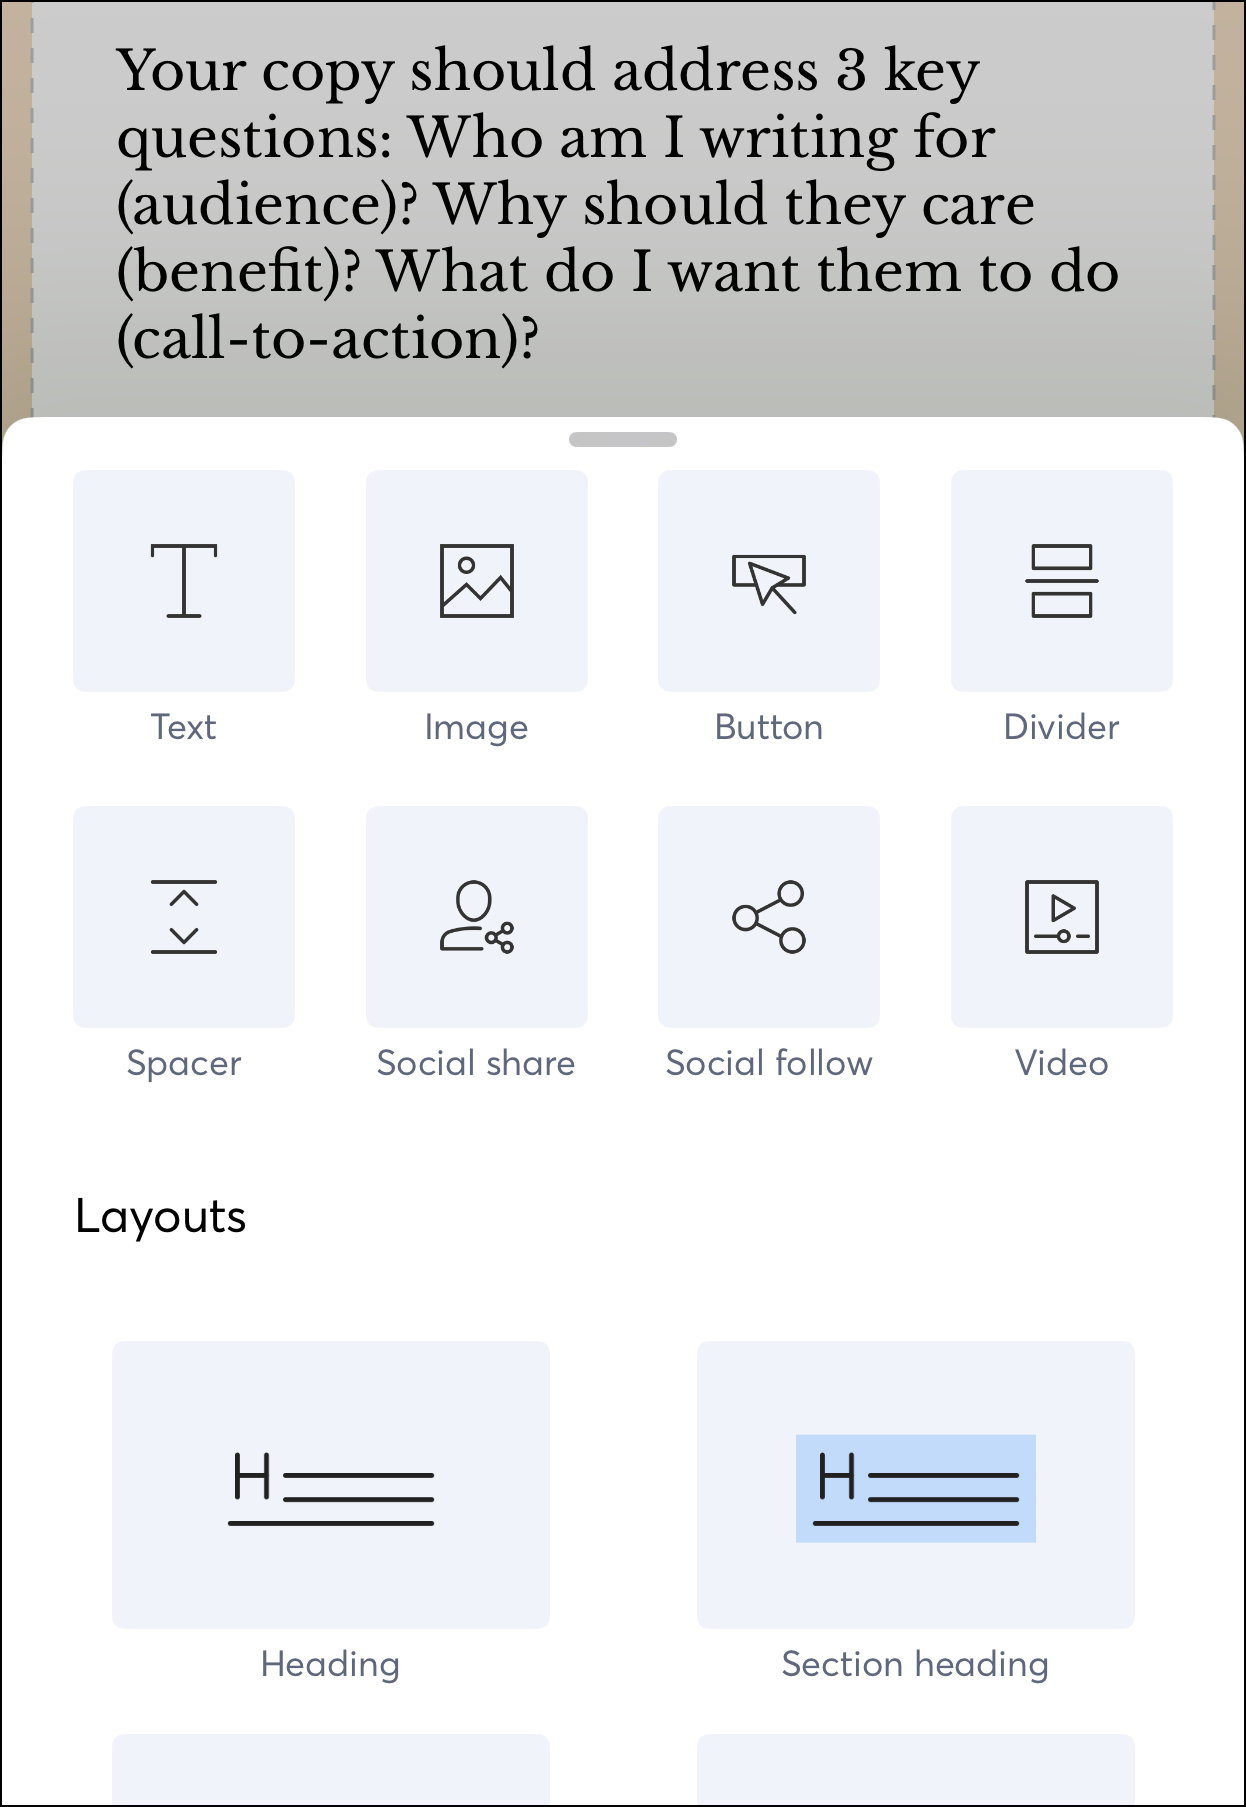
- Select the block you'd like to insert. Swipe up to view all available blocks and layouts.
Edit block text
These steps are the same for Android and iOS. However, toolbar options vary.
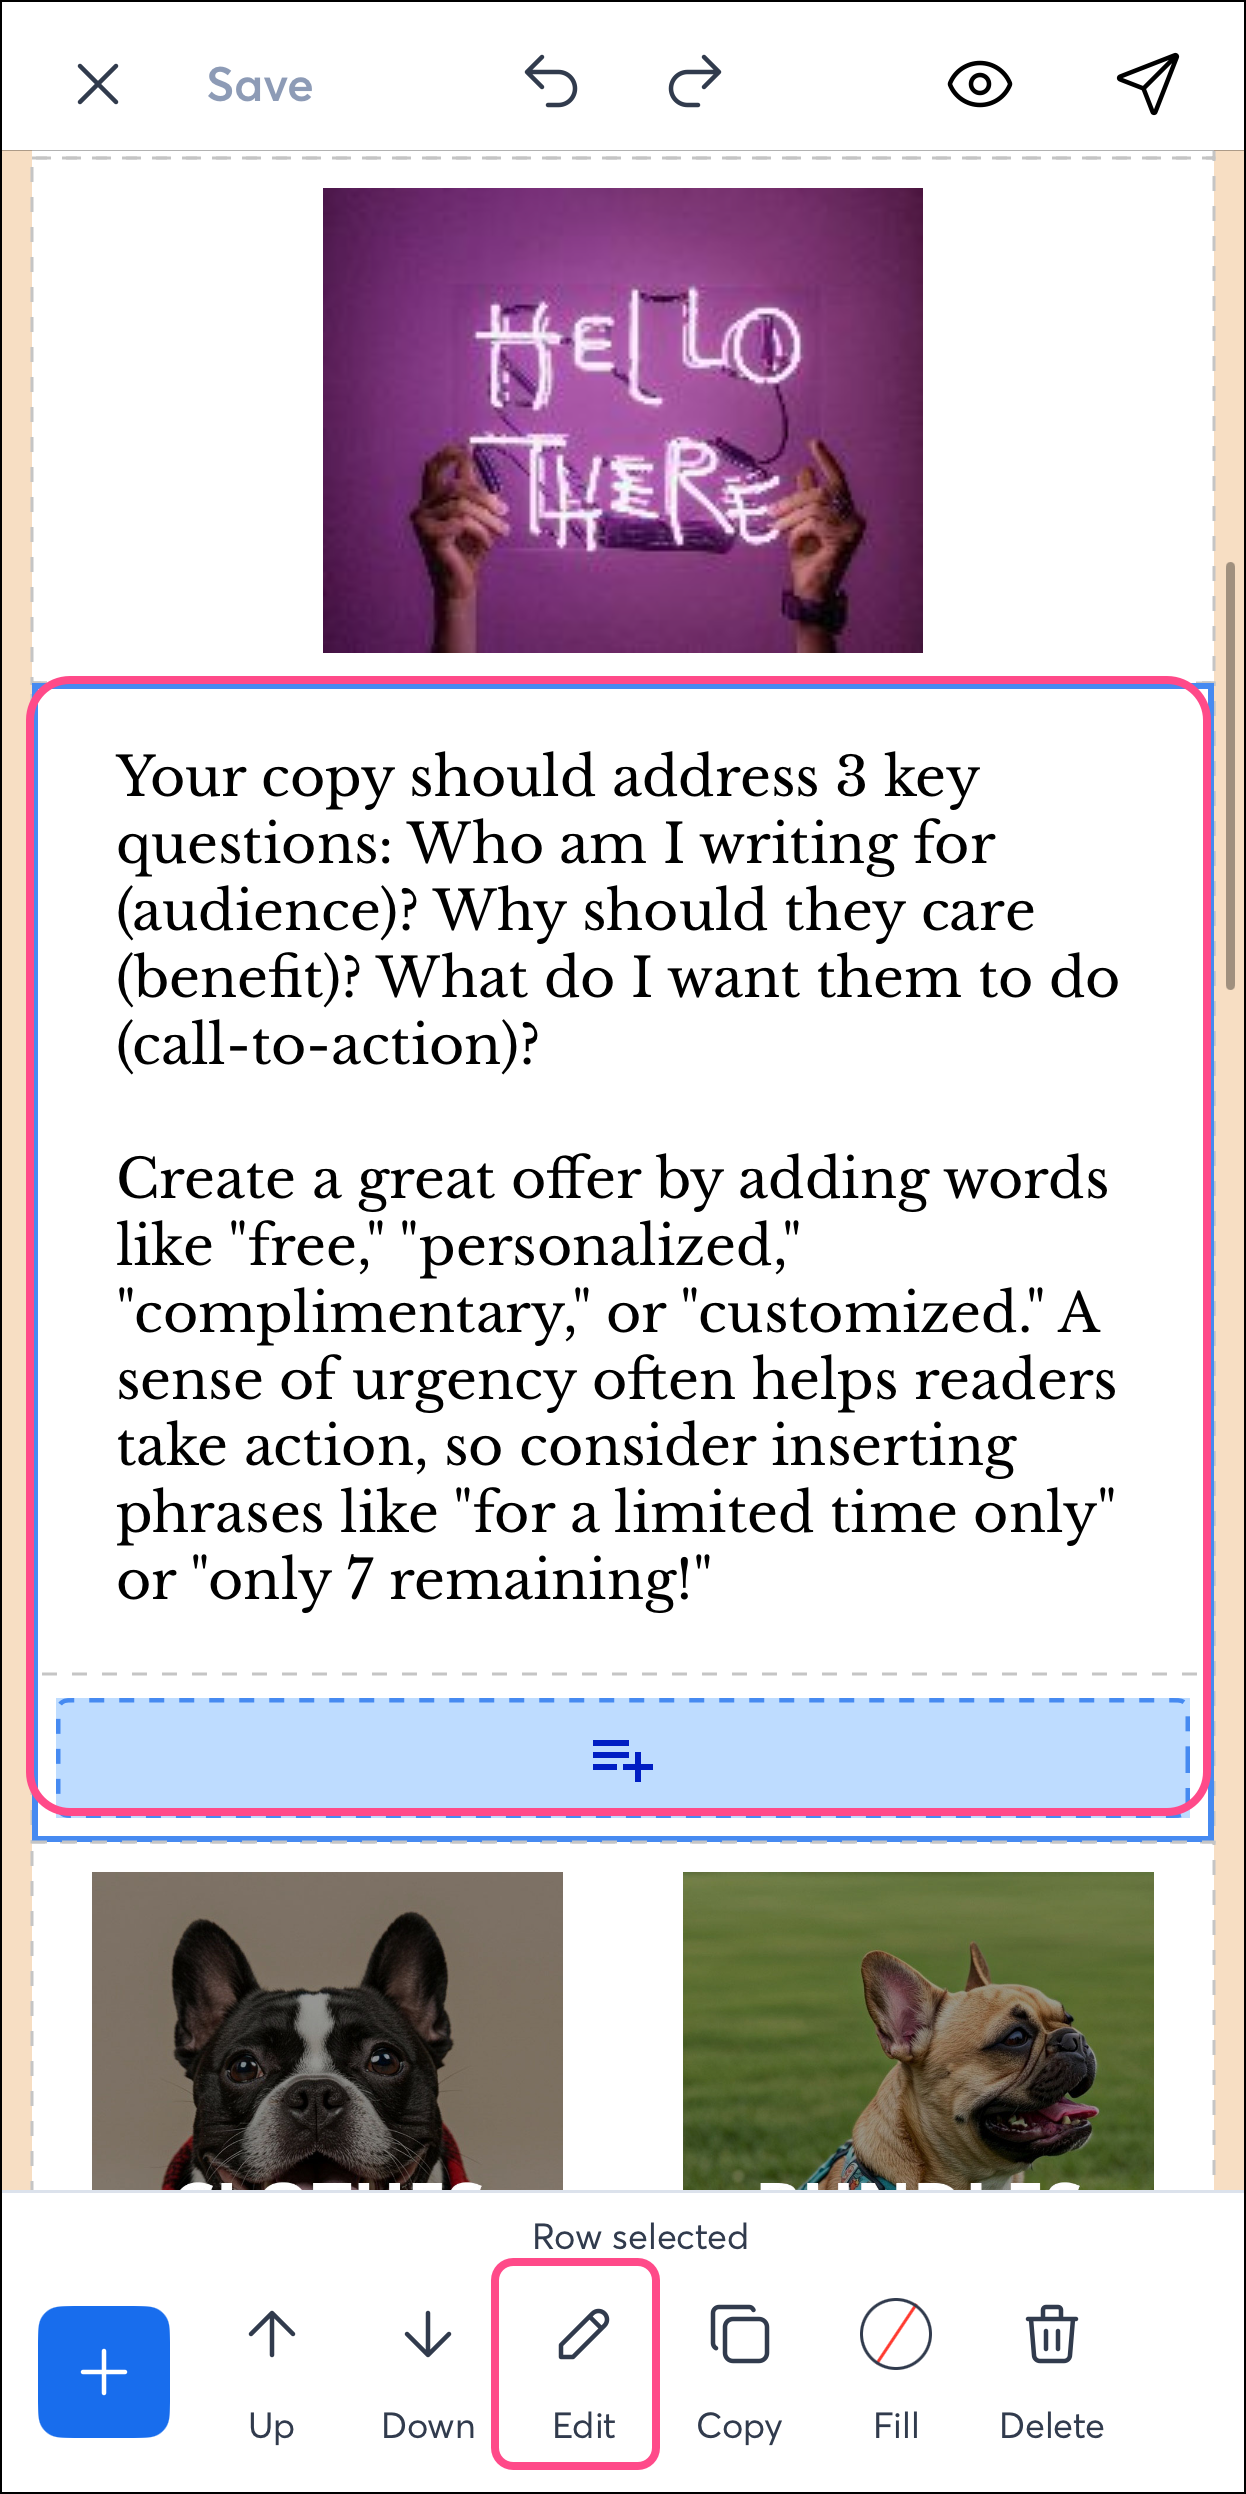
- Tap the block you want to edit.
- Tap
 Edit at the bottom of your screen.
Note: Be sure to tap the block as many times as needed to select the text you want to edit. If the text block is contained within another block, you’d need to tap on it twice.
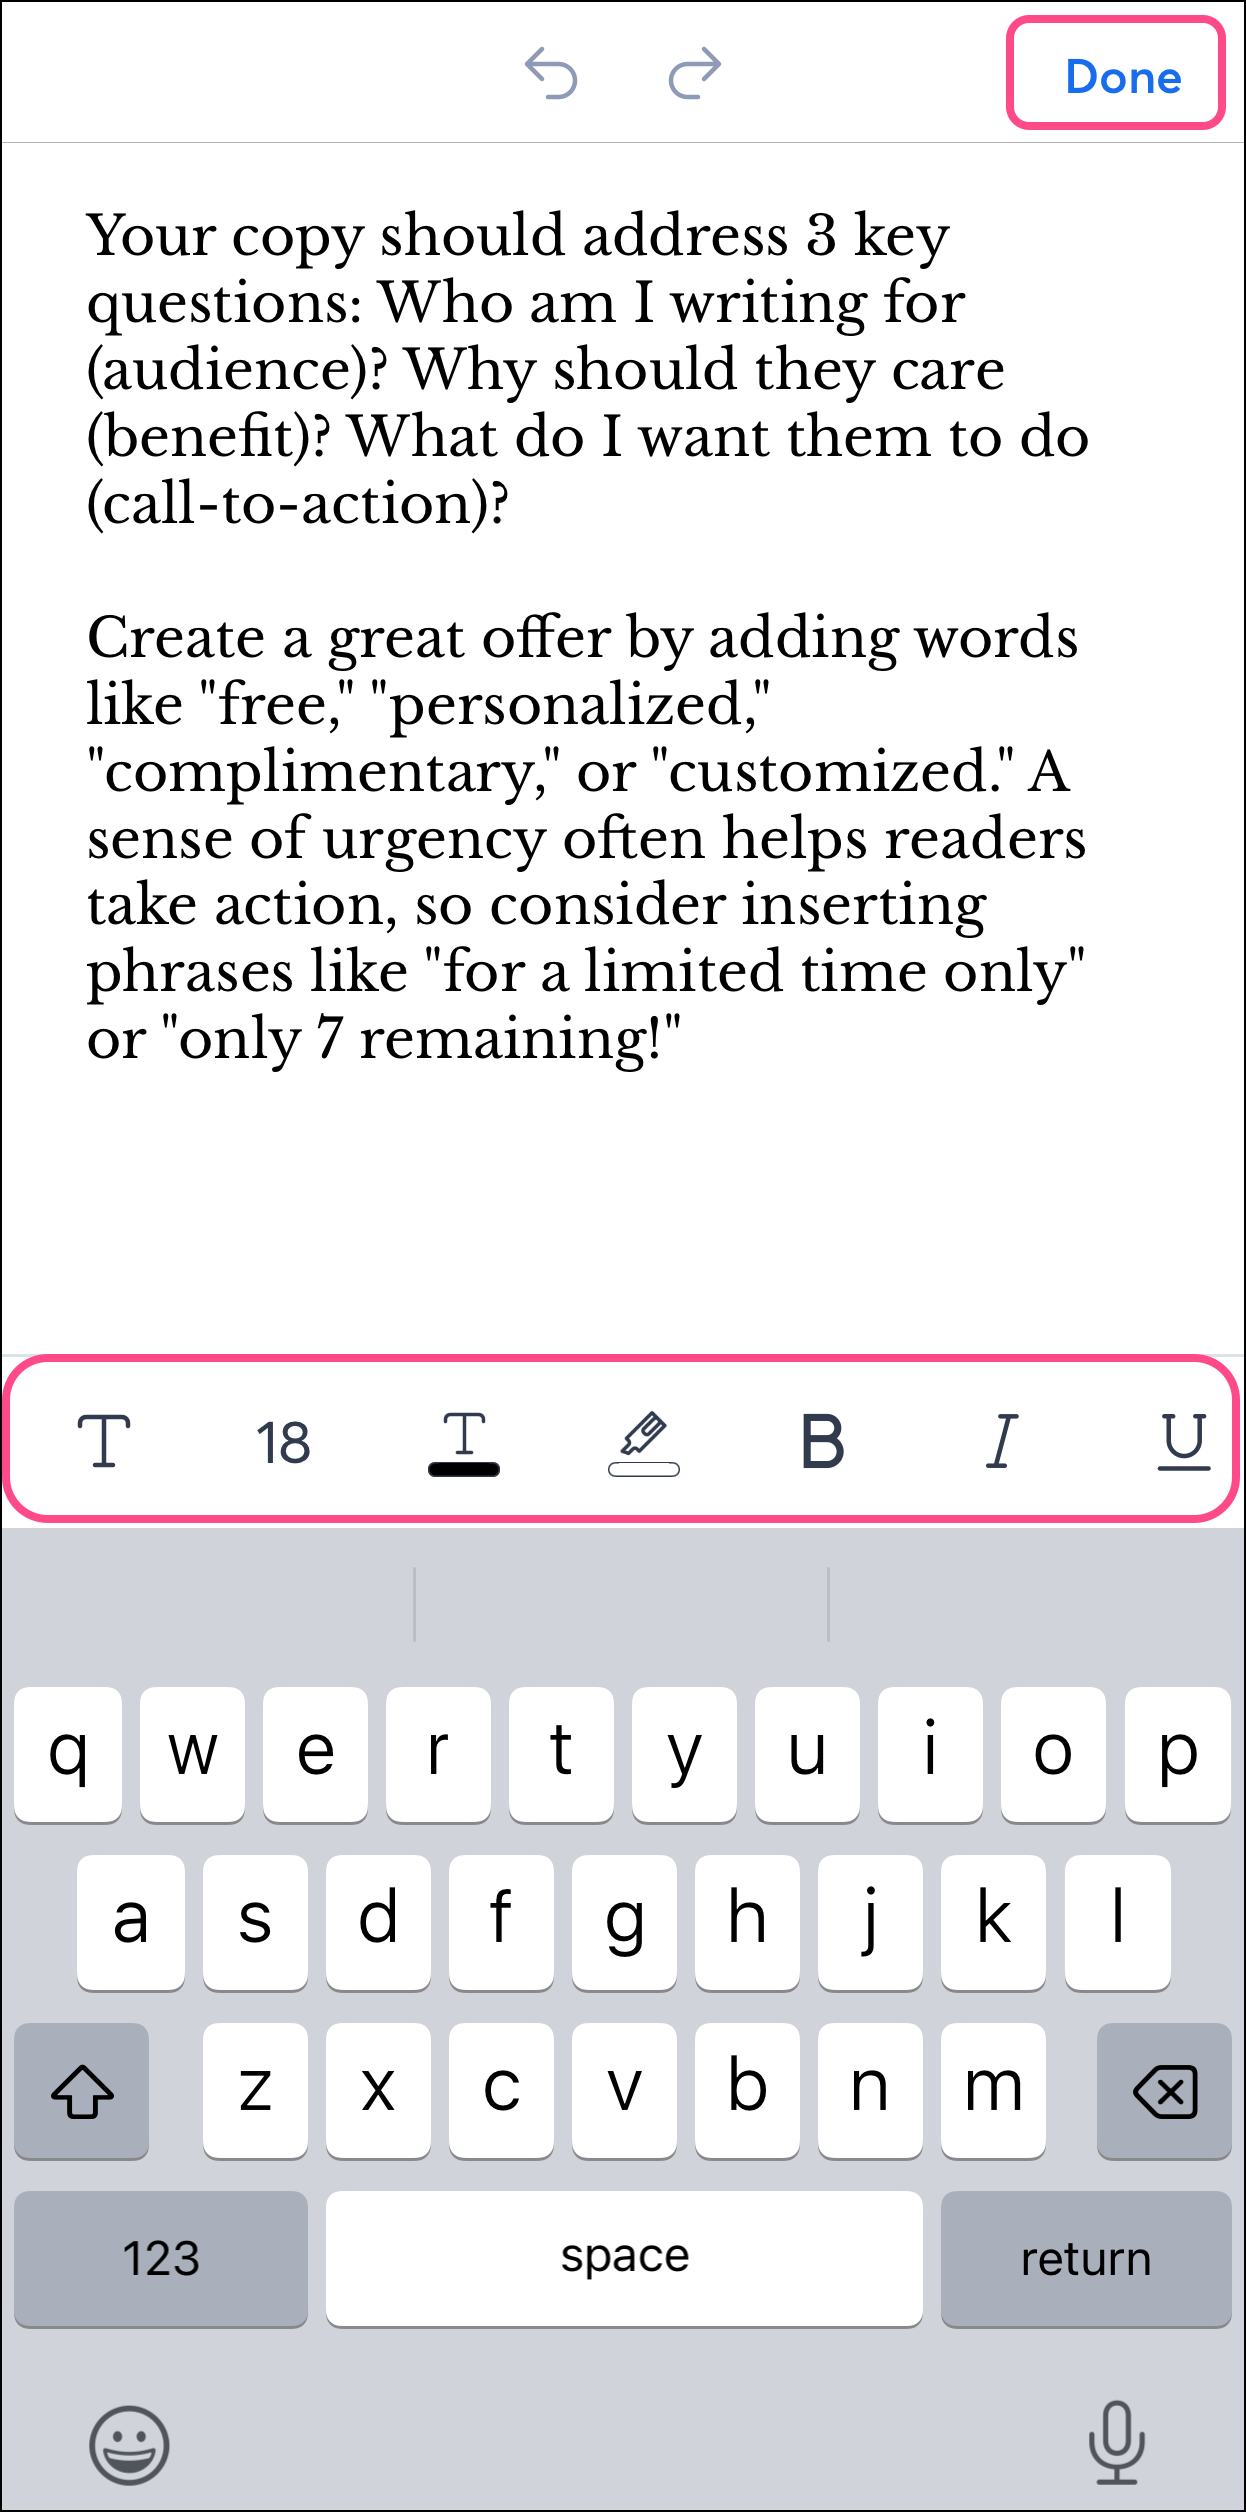
- Scroll horizontally to access all the editing options.
-
- Modify font
- Modify text size
- Modify text color
- Modify text highlight and highlight color (on iOS)
- Select or unselect bold weight
- Select or unselect Italics
- Add or remove an underline
- Align the text left, center, or right
- Add or edit a link
- Modify text height (on Android)
- Modify text highlight and highlight color (on Android)
- Modify text numbering
- Modify text bullet points
- Add or remove text strikethrough
- Add or remove superscript
- Add or remove a subscript
- Modify web header size
- Adjust padding on top and bottom or left and right (0 to 99 pt)
- Adjust margin top, bottom, left, or right (0 to 99 pts)
- Tap Done on iOS or the checkmark on Android, at the top-right of the screen when you're finished editing.
Edit buttons
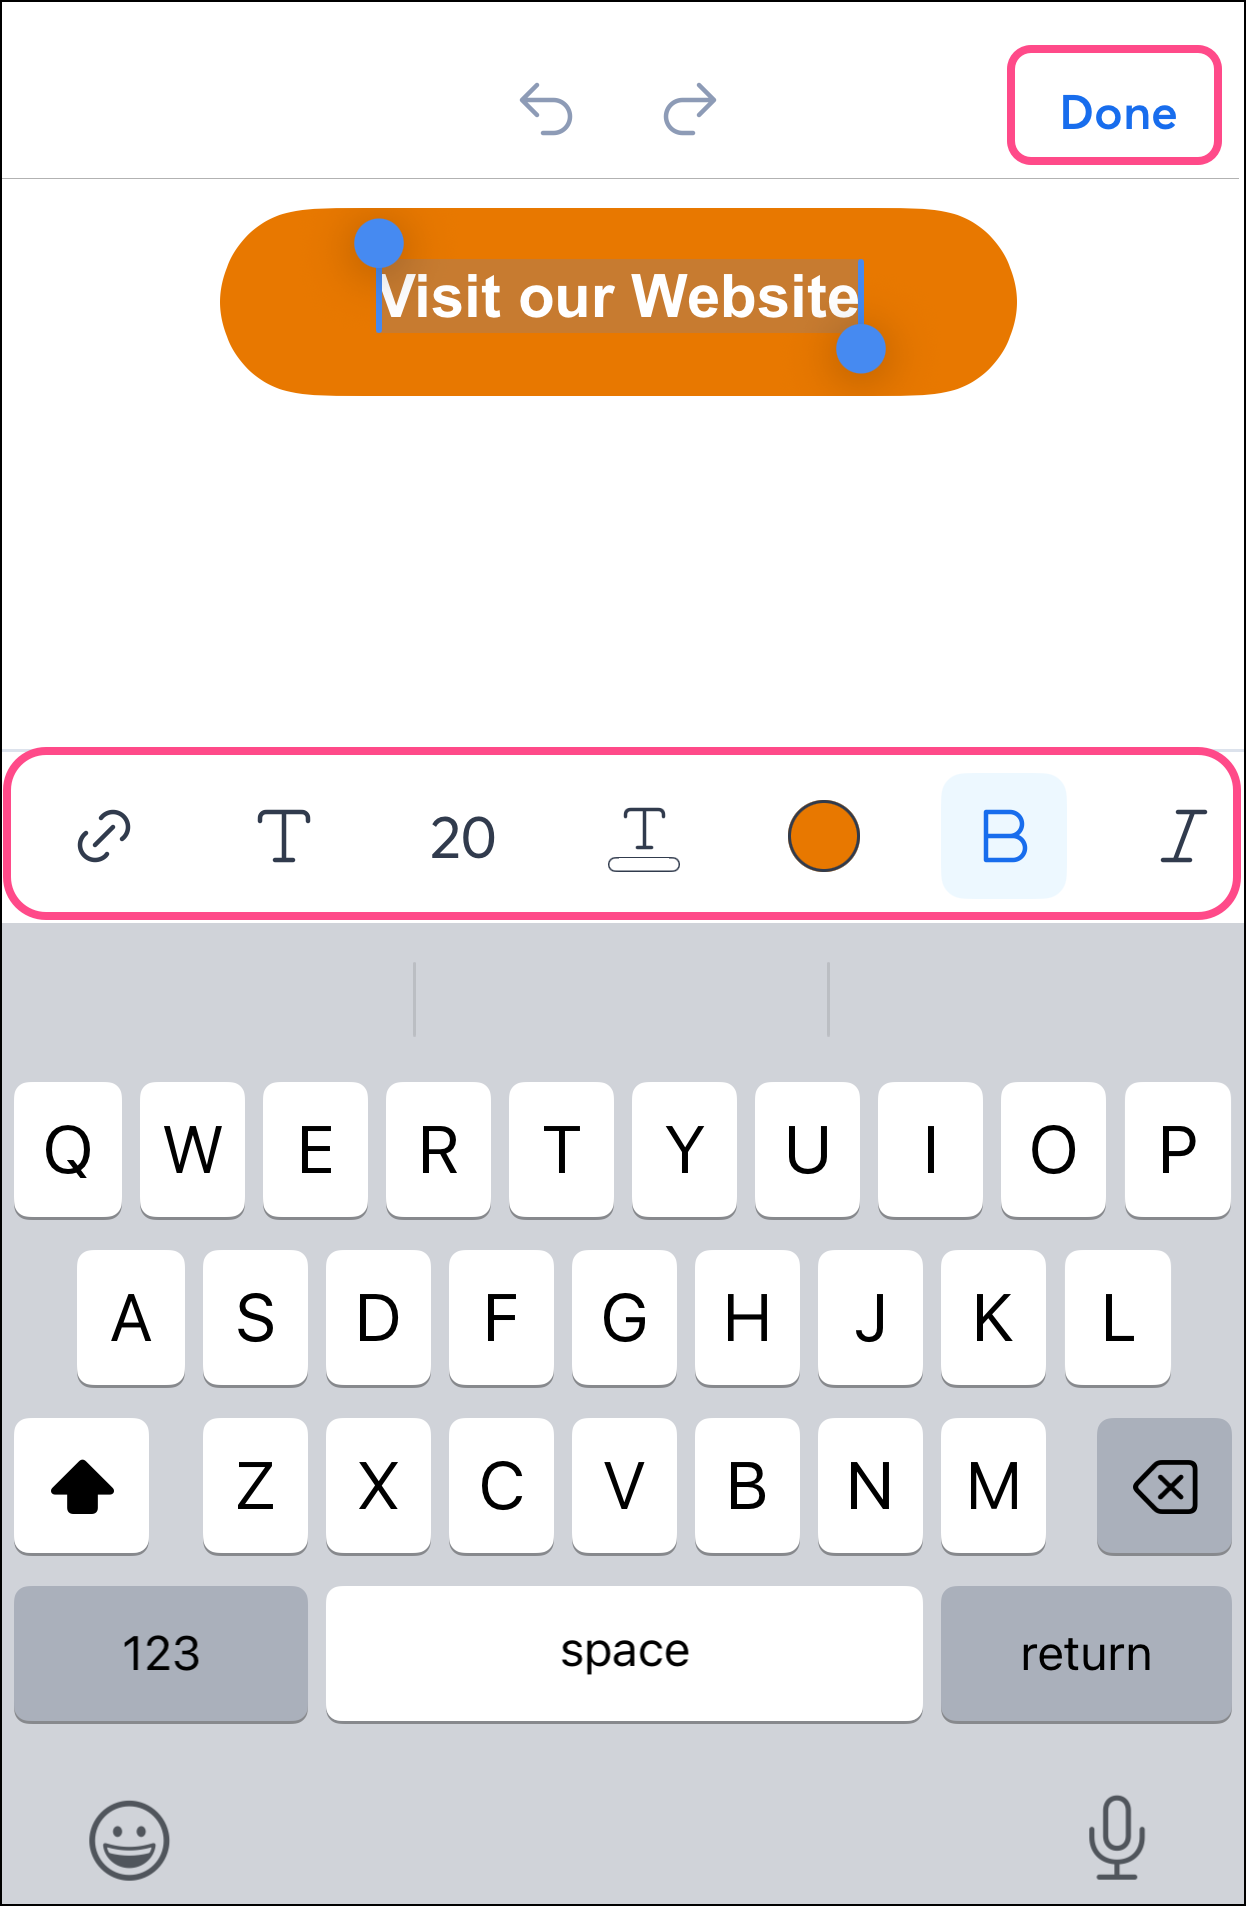
Buttons are one of the many blocks you can insert, modify, and style in your email. These steps are the same for Android and iOS. However, toolbar options vary.
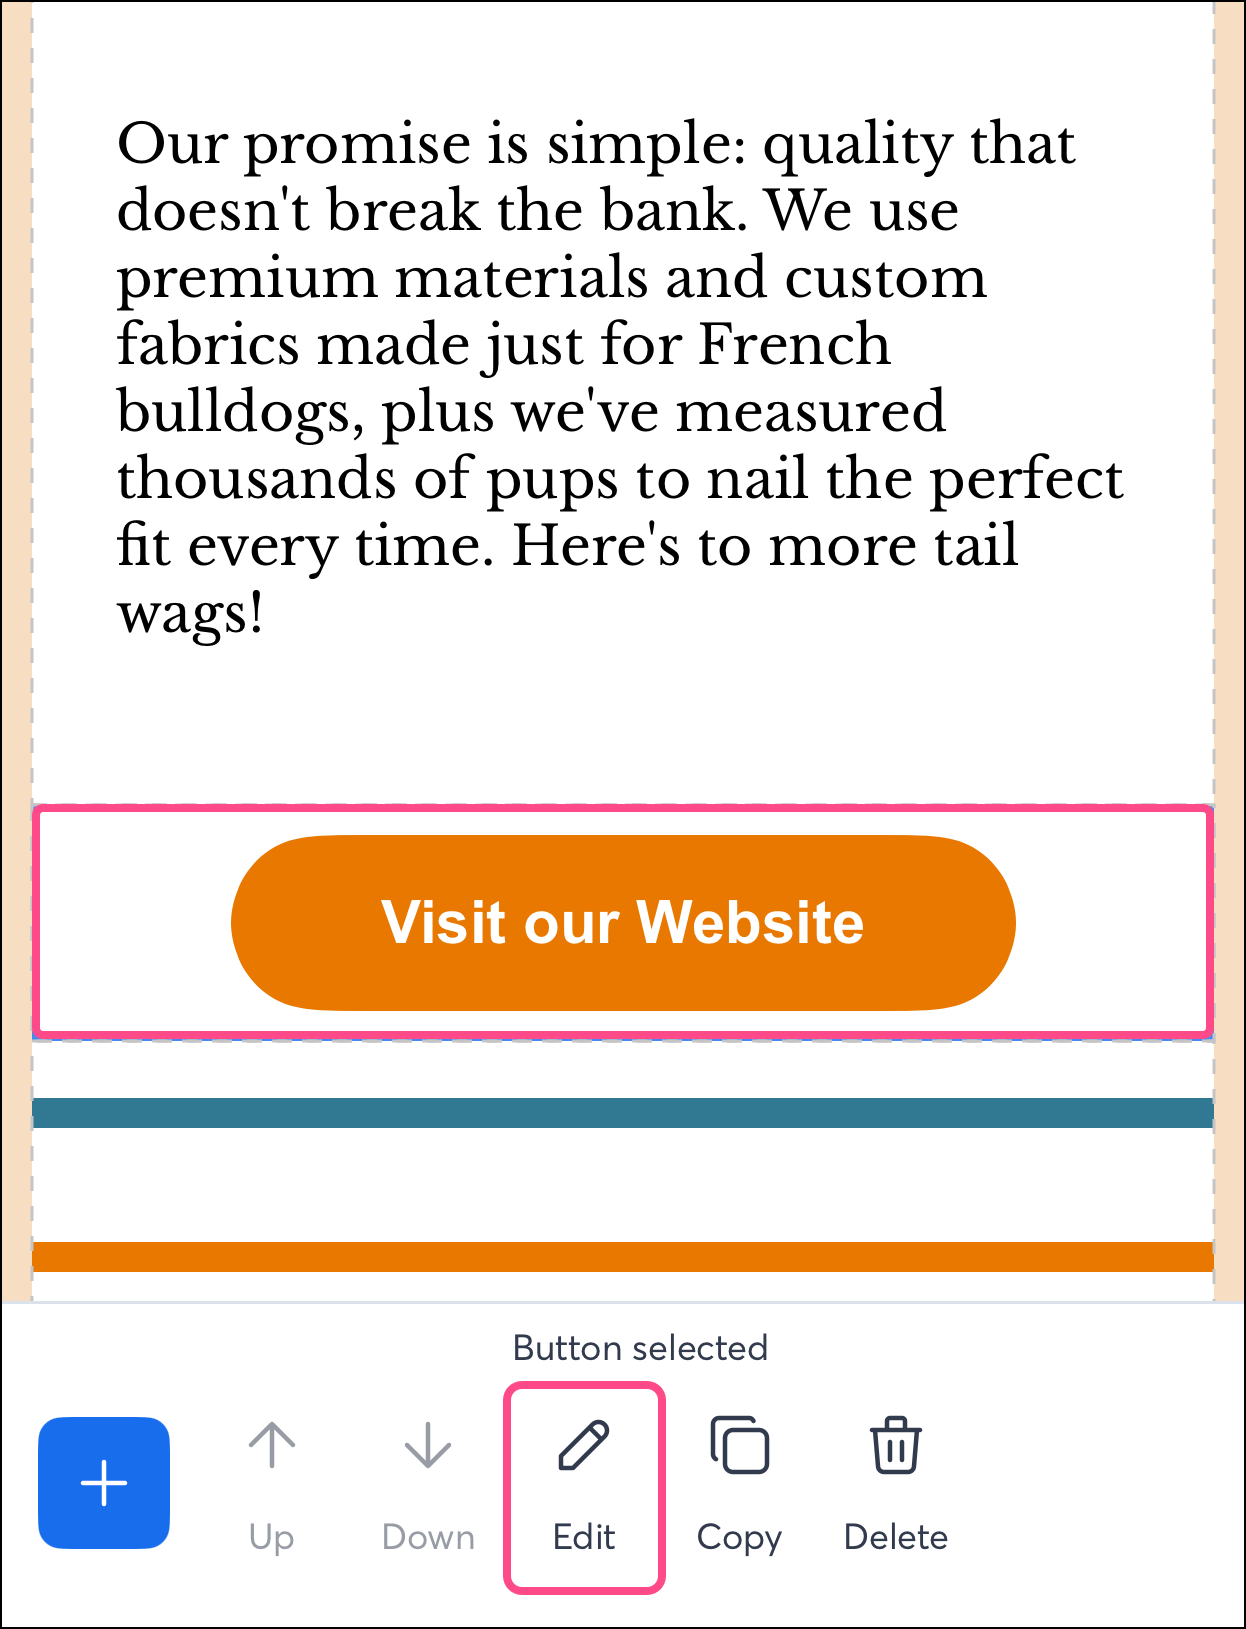
- Tap the button block.
Note: When you tap on your button, you may select the row it is in. To modify the button without changing the row, tap the button again, and check that you see "Button Selected" at the bottom of the screen.
- Tap Edit.
- Use the slider to select the type of modification you'd like to make:
- Modify button link
- Modify font
- Modify text size
- Modify text color
- Modify the button's background color (on iOS)
- Select or unselect bold weight
- Select or unselect Italics
- Add or remove an underline
- Align the text left, center, or right
- Adjust padding on top and bottom or left and right (0 to 99 pt)
- Adjust margin top, bottom, left, or right (0 to 99 pts)
- Tap Done on iOS or the checkmark on Android to save your changes.
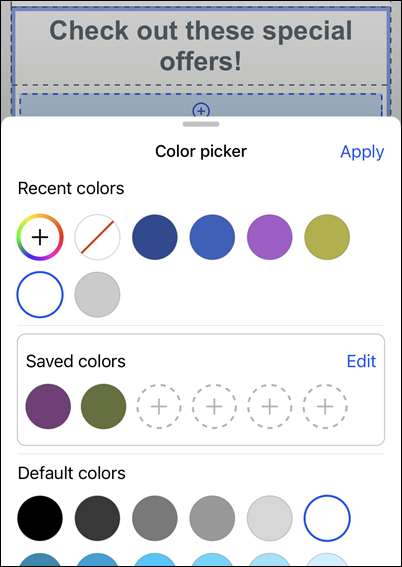
Change a block's background color
These steps are the same for Android and iOS:
- Tap the block you want to edit.
- Tap Fill at the bottom of your screen.
- Select a color from your Recent, Saved, or Default colors, or tap the plus sign to select a different color or to use a hex #.
- Tap Apply when you're done.
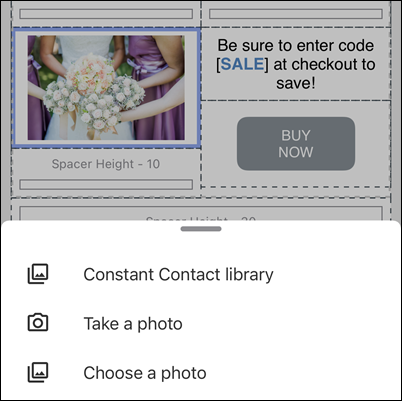
Replace an image
These steps are the same for Android and iOS:
- Tap the image you want to replace. If the image block is within a layout, tap the image again to outline only the image.
- Tap
 Replace at the bottom of your screen.
 - Choose how to replace your image:
- Constant Contact library - Select an existing image stored in your account.
- Take a photo - Use your device’s camera to take a picture.
- Choose a photo - Use an image stored on your device.
Edit an image
These steps are the same for Android and iOS. However, toolbar options vary.
- Use the options to edit the image.
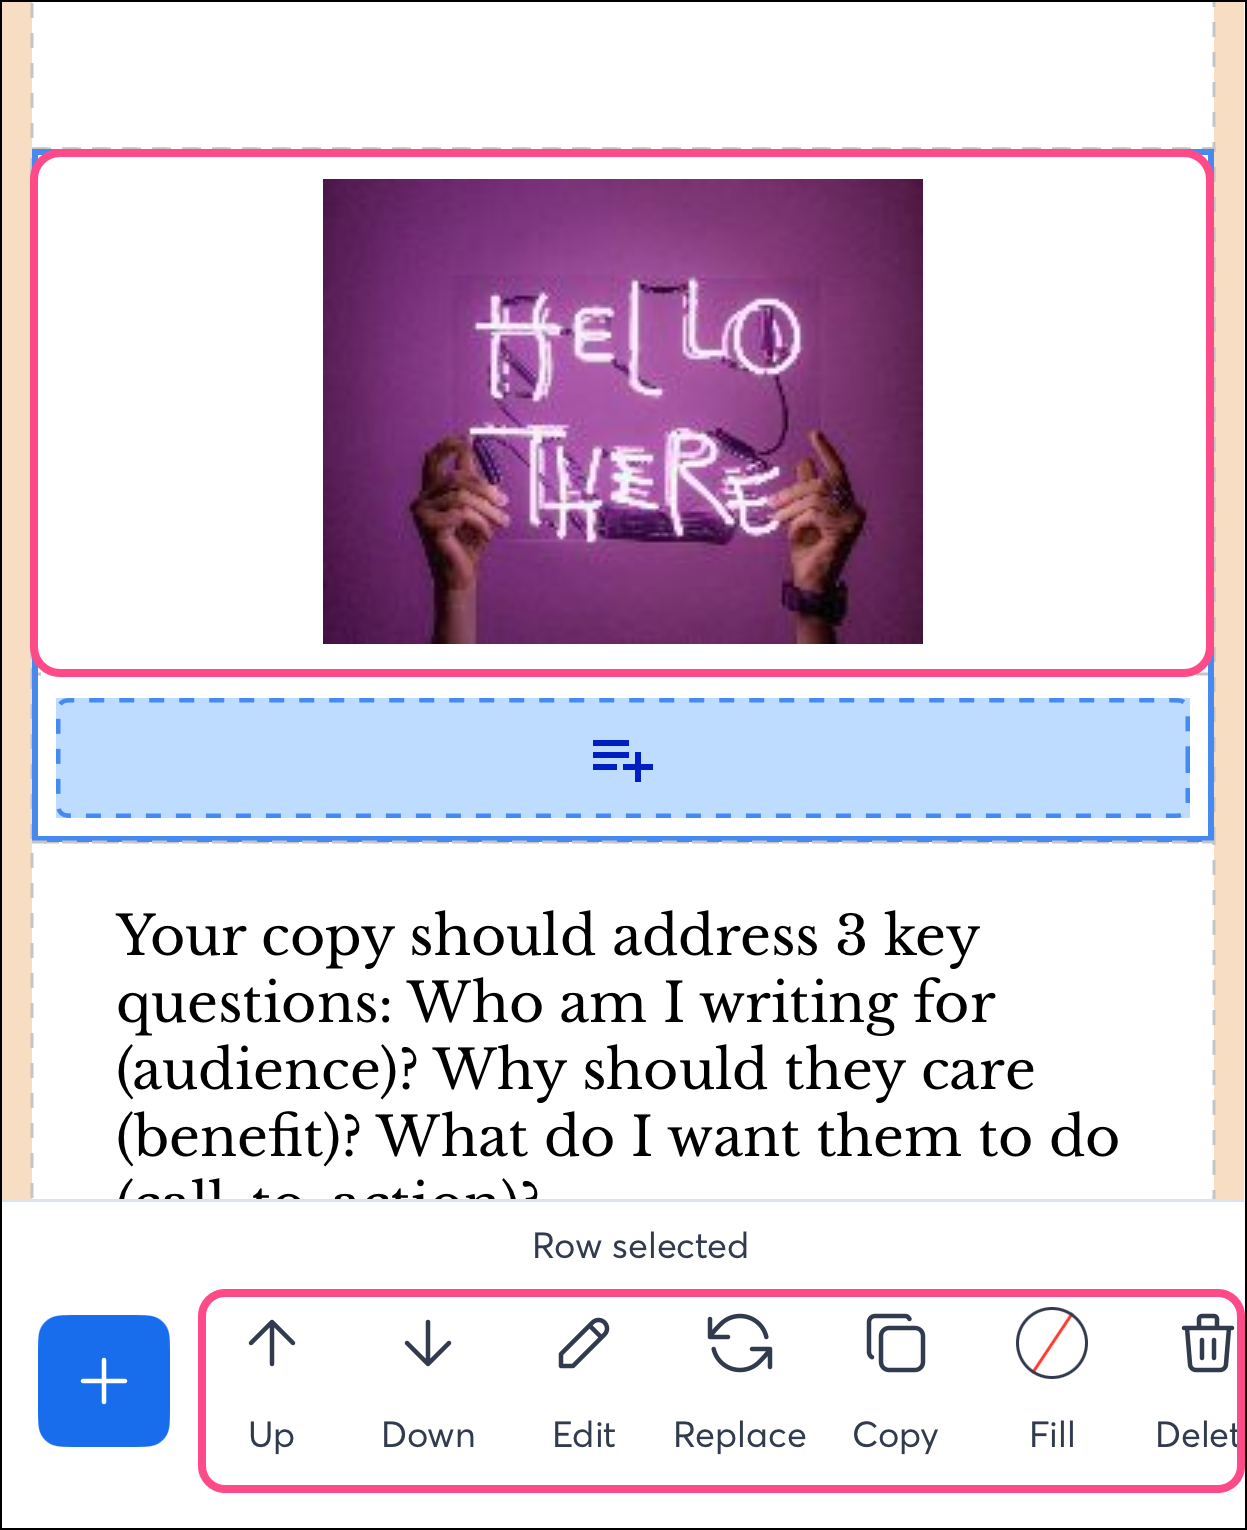
You have the following options to edit your email images:
- Up - Move the image up within the layout block. You won't be able to tap on this button if there are no images above.
- Down - Move the image down within the layout block. You won't be able to tap on this button if there are no images below.
- Edit - Tap Edit to further modify the image style and alignment. For more information, see the list of edit options in the section below.
- Replace - Replace the image with one from your Constant Contact Library, your phone’s photo gallery, or take a new photo.
- Copy - Duplicate the image in your email, then add a copy right below it.
- Fill - Modify the block's background color. (on iOS)
- Delete - Remove the image from your email.
- Tap the image you want to edit.
Note: When you tap on your image, you may select the row it is in. To modify the image without changing the row, tap the image again and confirm that "Image Selected" appears at the bottom of the screen.
- Tap Save to save your changes.
When you tap  , you’ll see additional options:
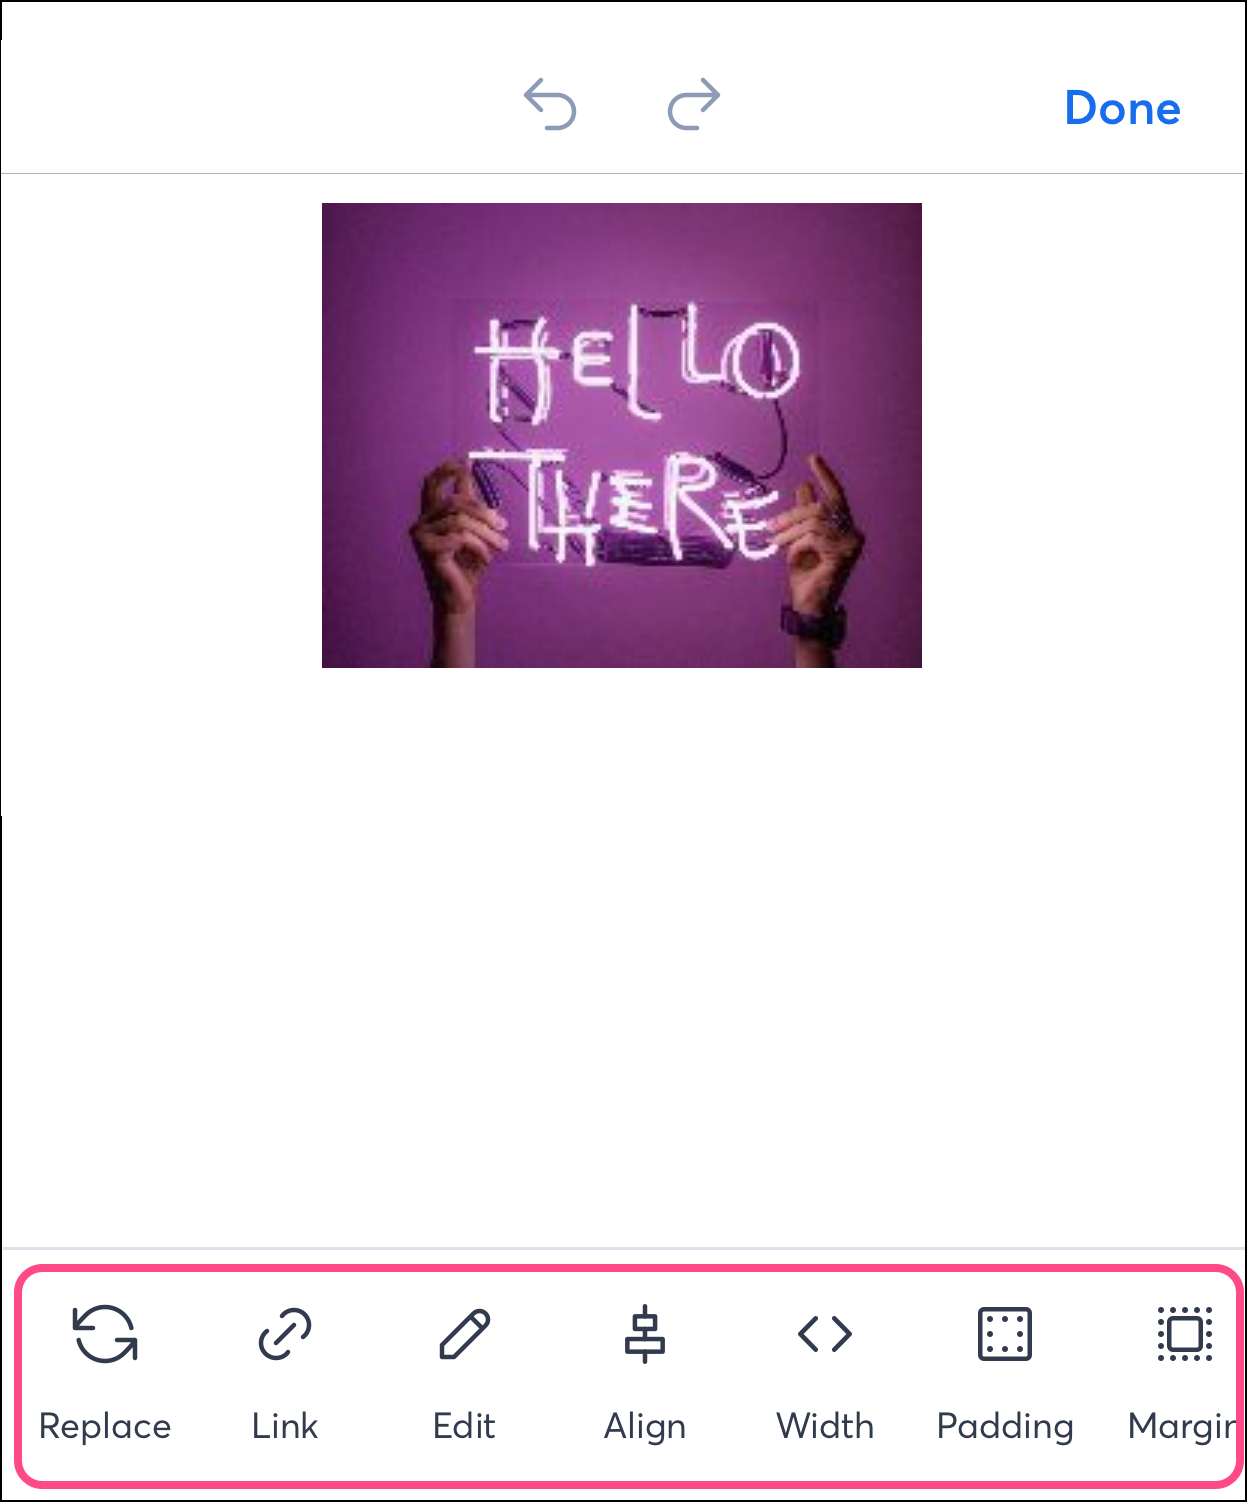
- Replace the image with one from your Library or your phone’s photo gallery, or take a new photo.
- Link: enter a link that opens when a contact clicks the image.
- Edit - enhance the image further using the image editor.
Note: If you tap on this button, you'll access the image editor. Here, you can crop the image, apply filters, modify saturation, add stickers, and draw freehand with the brush tool. You can also download the image from your email to your phone's gallery or files folder.
- Alignment - align the image to the left, right, or center of the block.
- Width - Modify the width size from 10 to 600 px. Height will adjust automatically at the existing ratio.
- Padding - Modify the space around the image's edges.
- Margin - Modify the size of the space on the top, bottom, left, and right sides of the outside of the image.
Edit a video
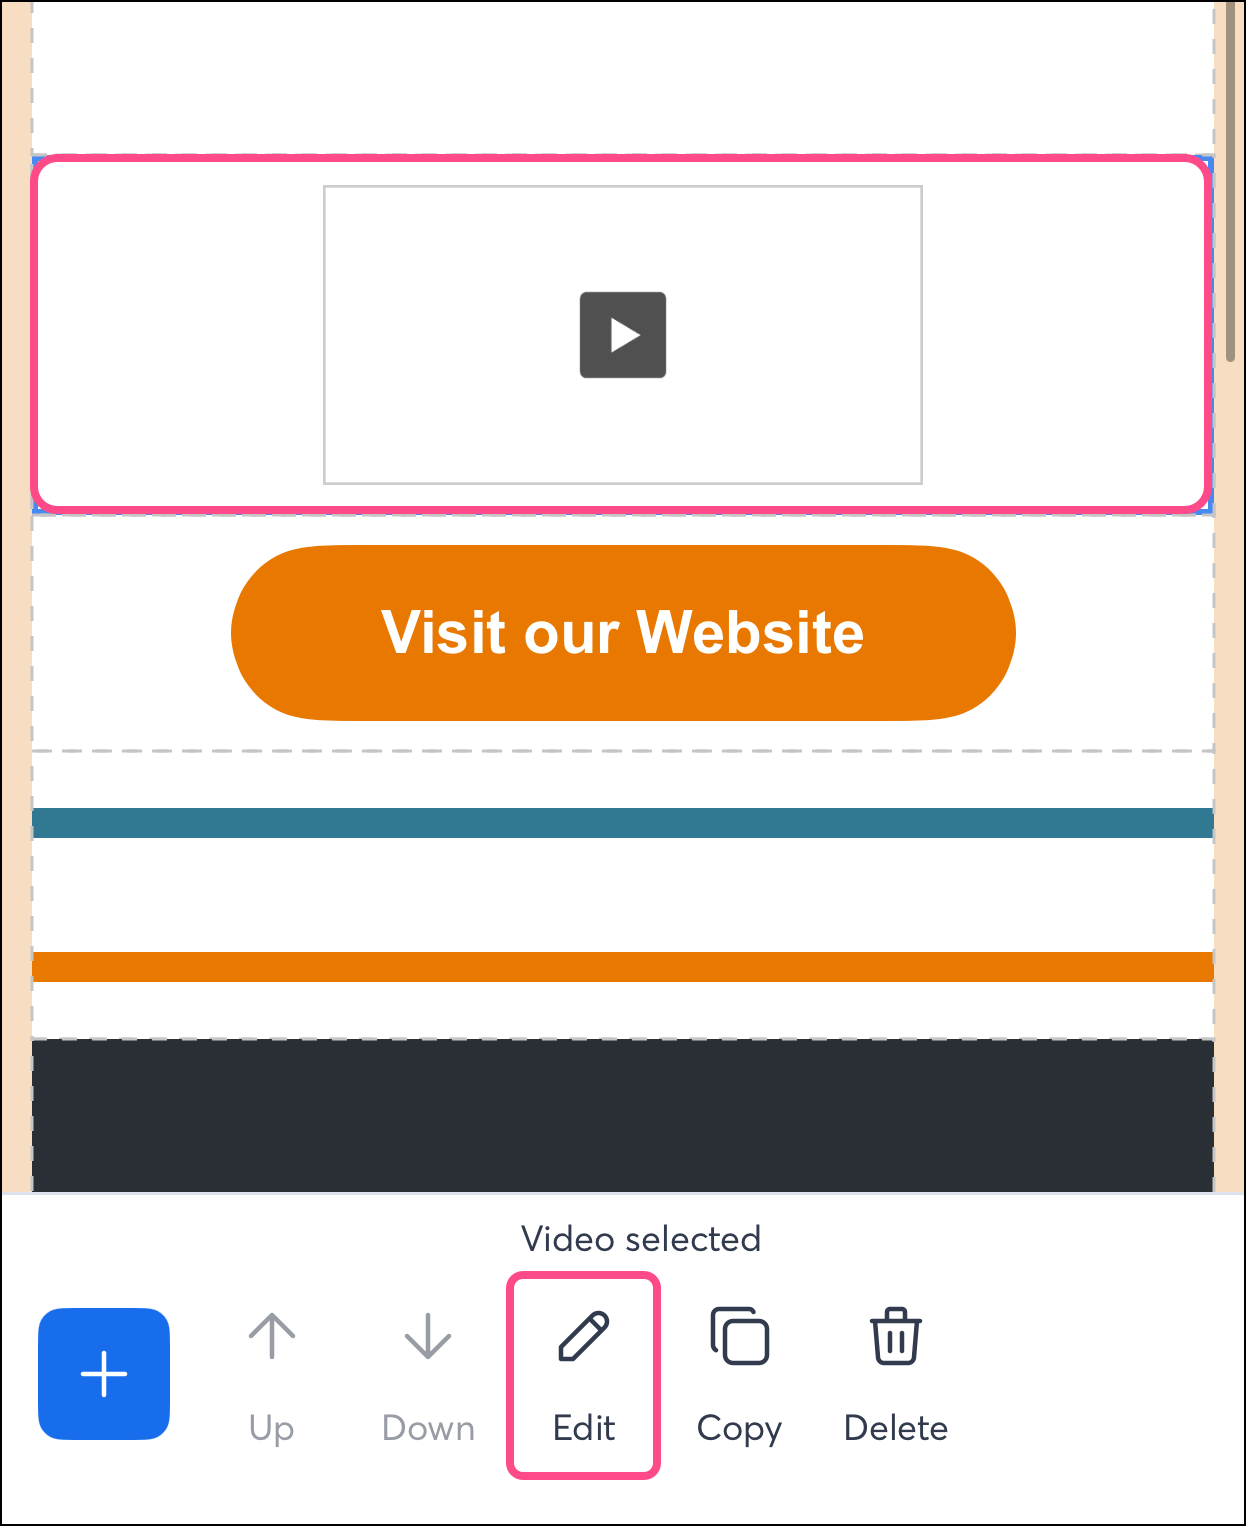
You can include a video link in your emails. Based on the video link you enter, a preview image will be generated. Contacts cannot watch the video in your email; they must click the preview image to open the video. These steps are the same for Android and iOS. However, toolbar options vary.
- To start, tap the video block you want to edit.
Note: When you tap on your video, you may select the row it is in. To modify the video without changing the row, tap the video again and check that you see "Video Selected" at the bottom of the screen.
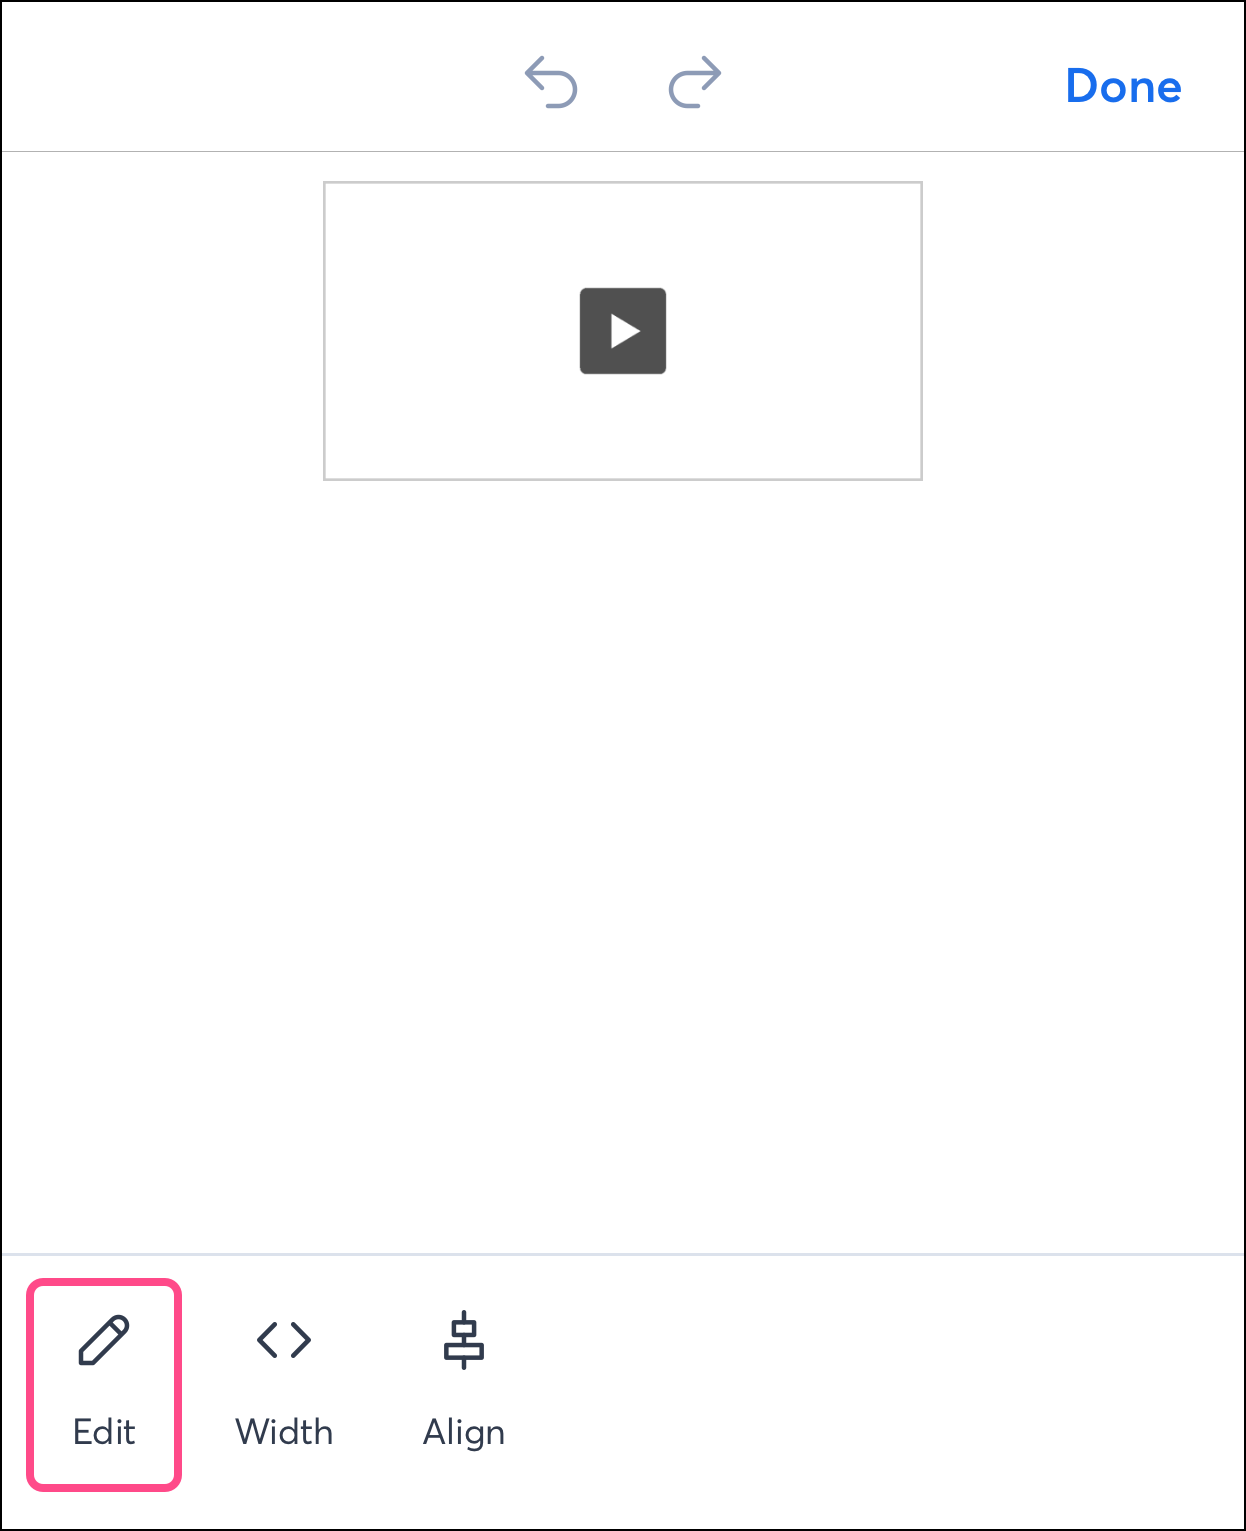
- Tap Edit.
- Tap Edit to add a video.
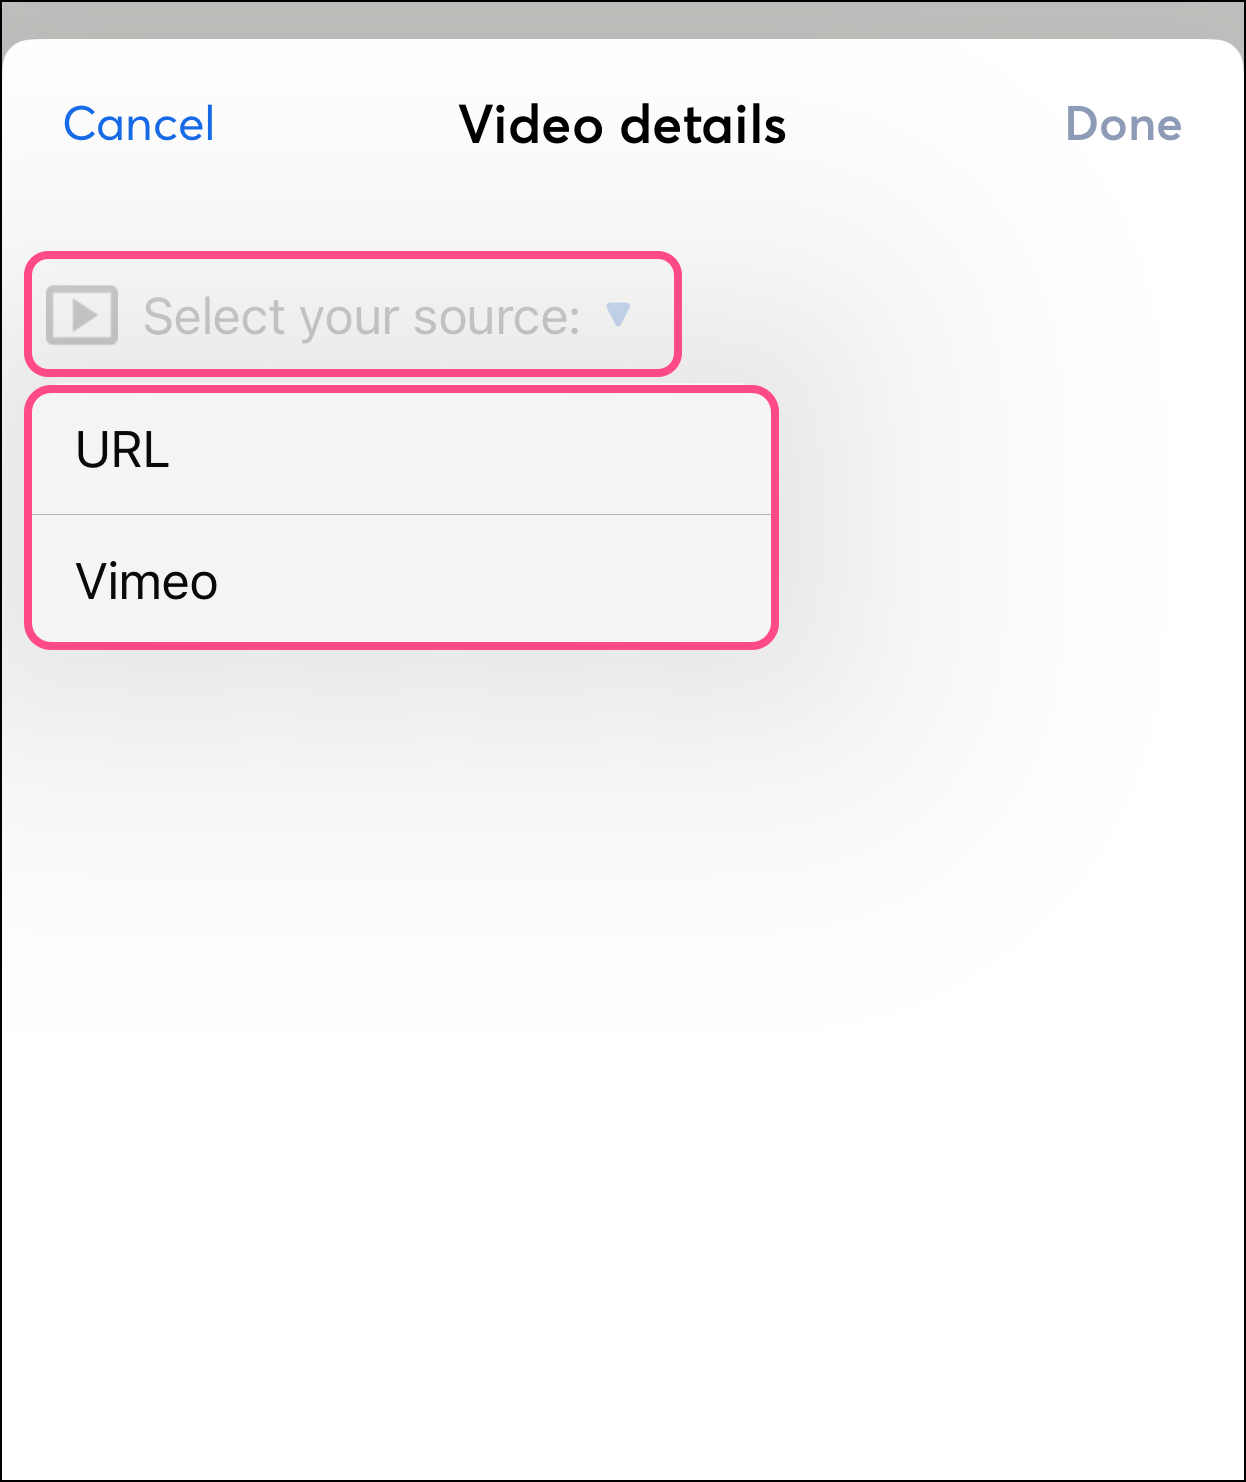
- Tap the Select your source dropdown menu and choose how you'd like to link a video in your email:
- URL - tap this option to enter the web address where your video is hosted.
- Vimeo - tap this option if you have connected a Vimeo account to your Constant Contact account. If connected, you can search your Vimeo library for a video.
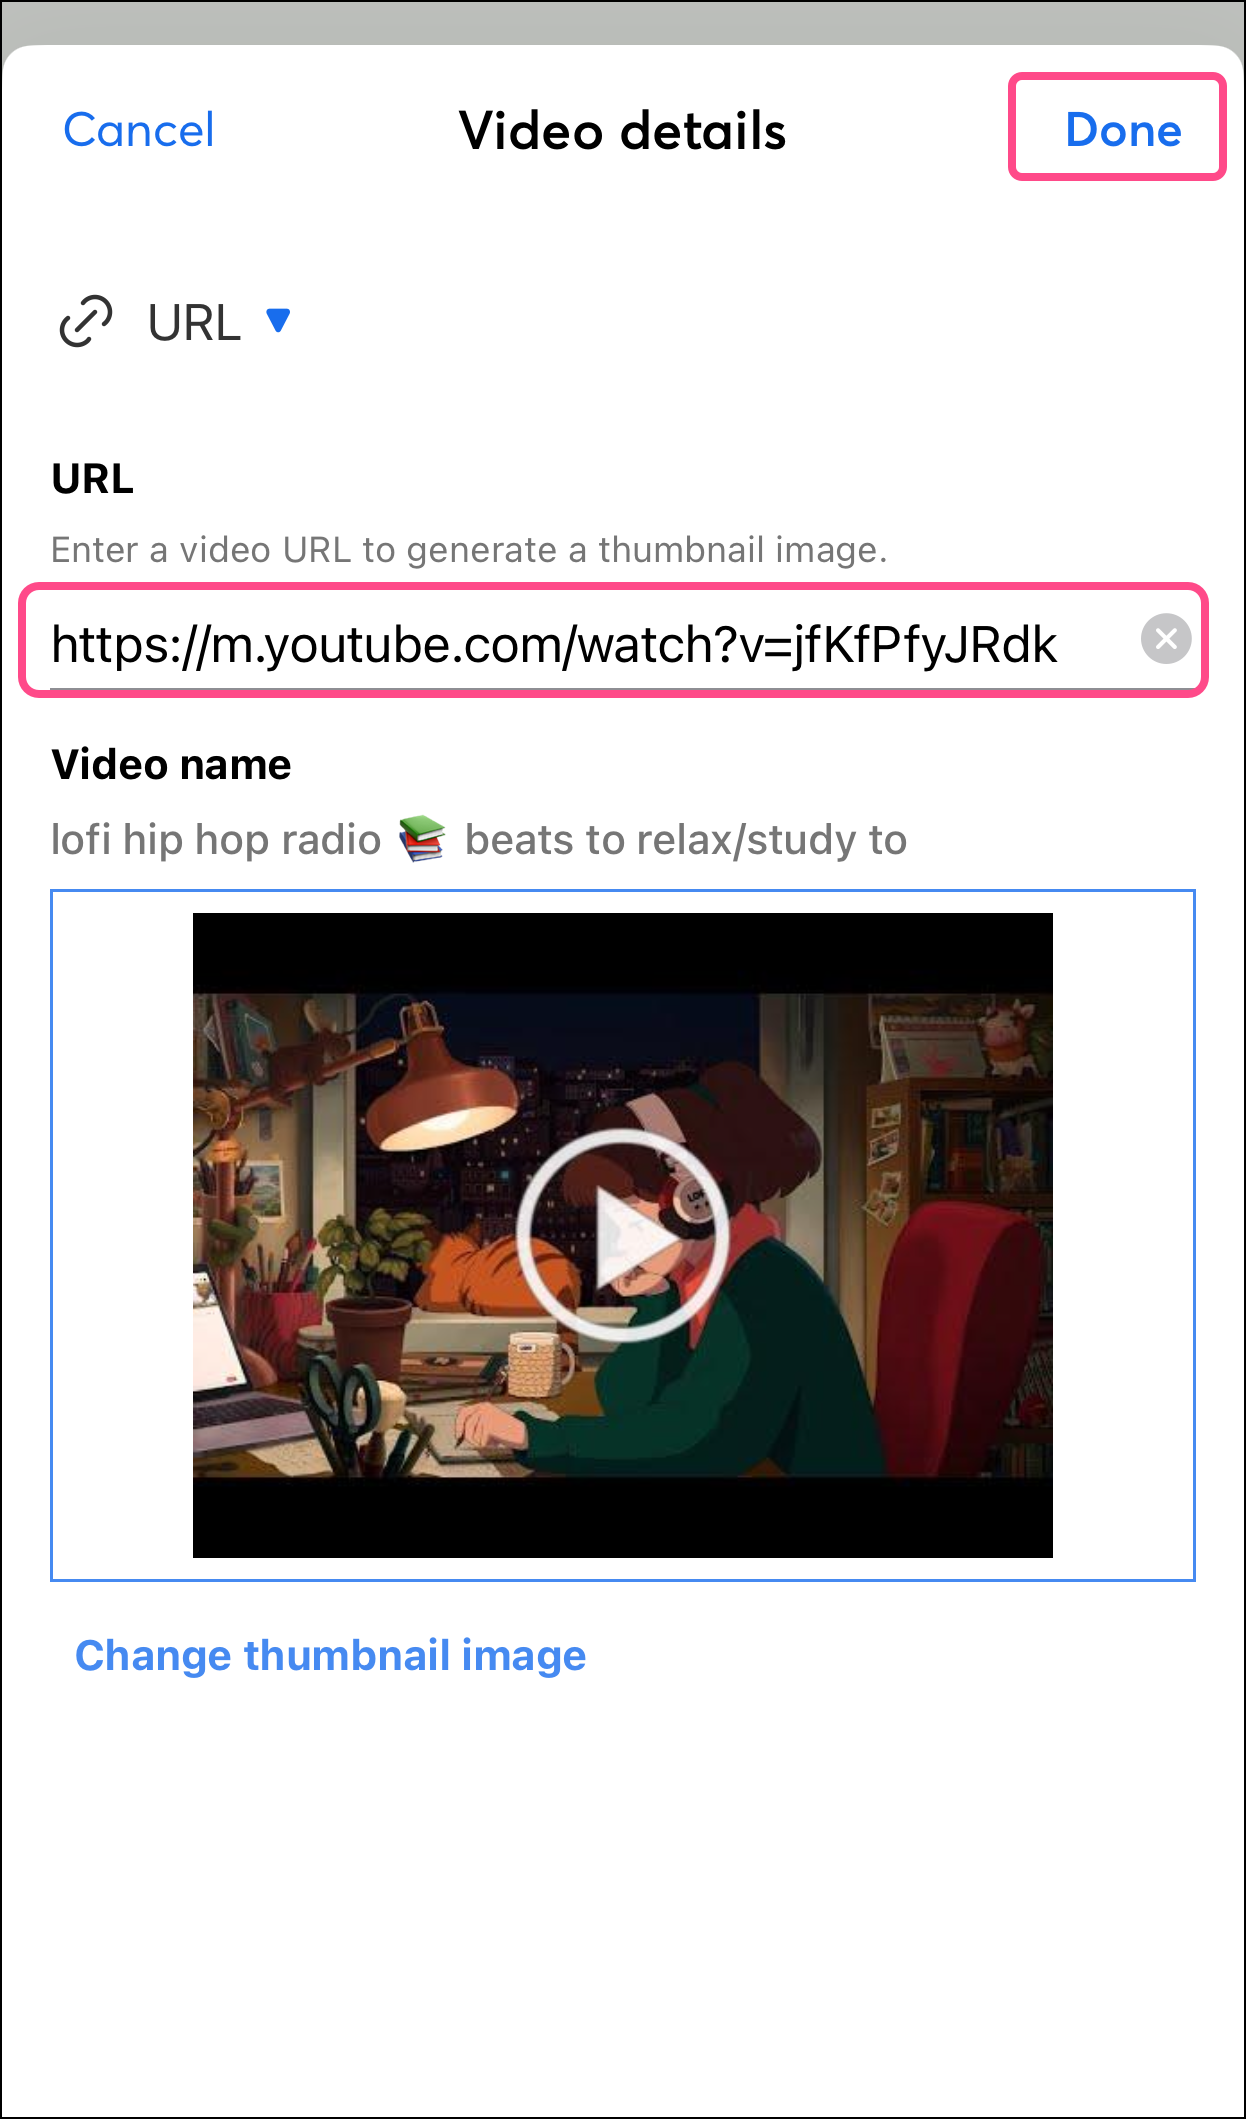
- Enter the address of your video.
- Tap Done or the checkmark in the top right corner to save your changes.
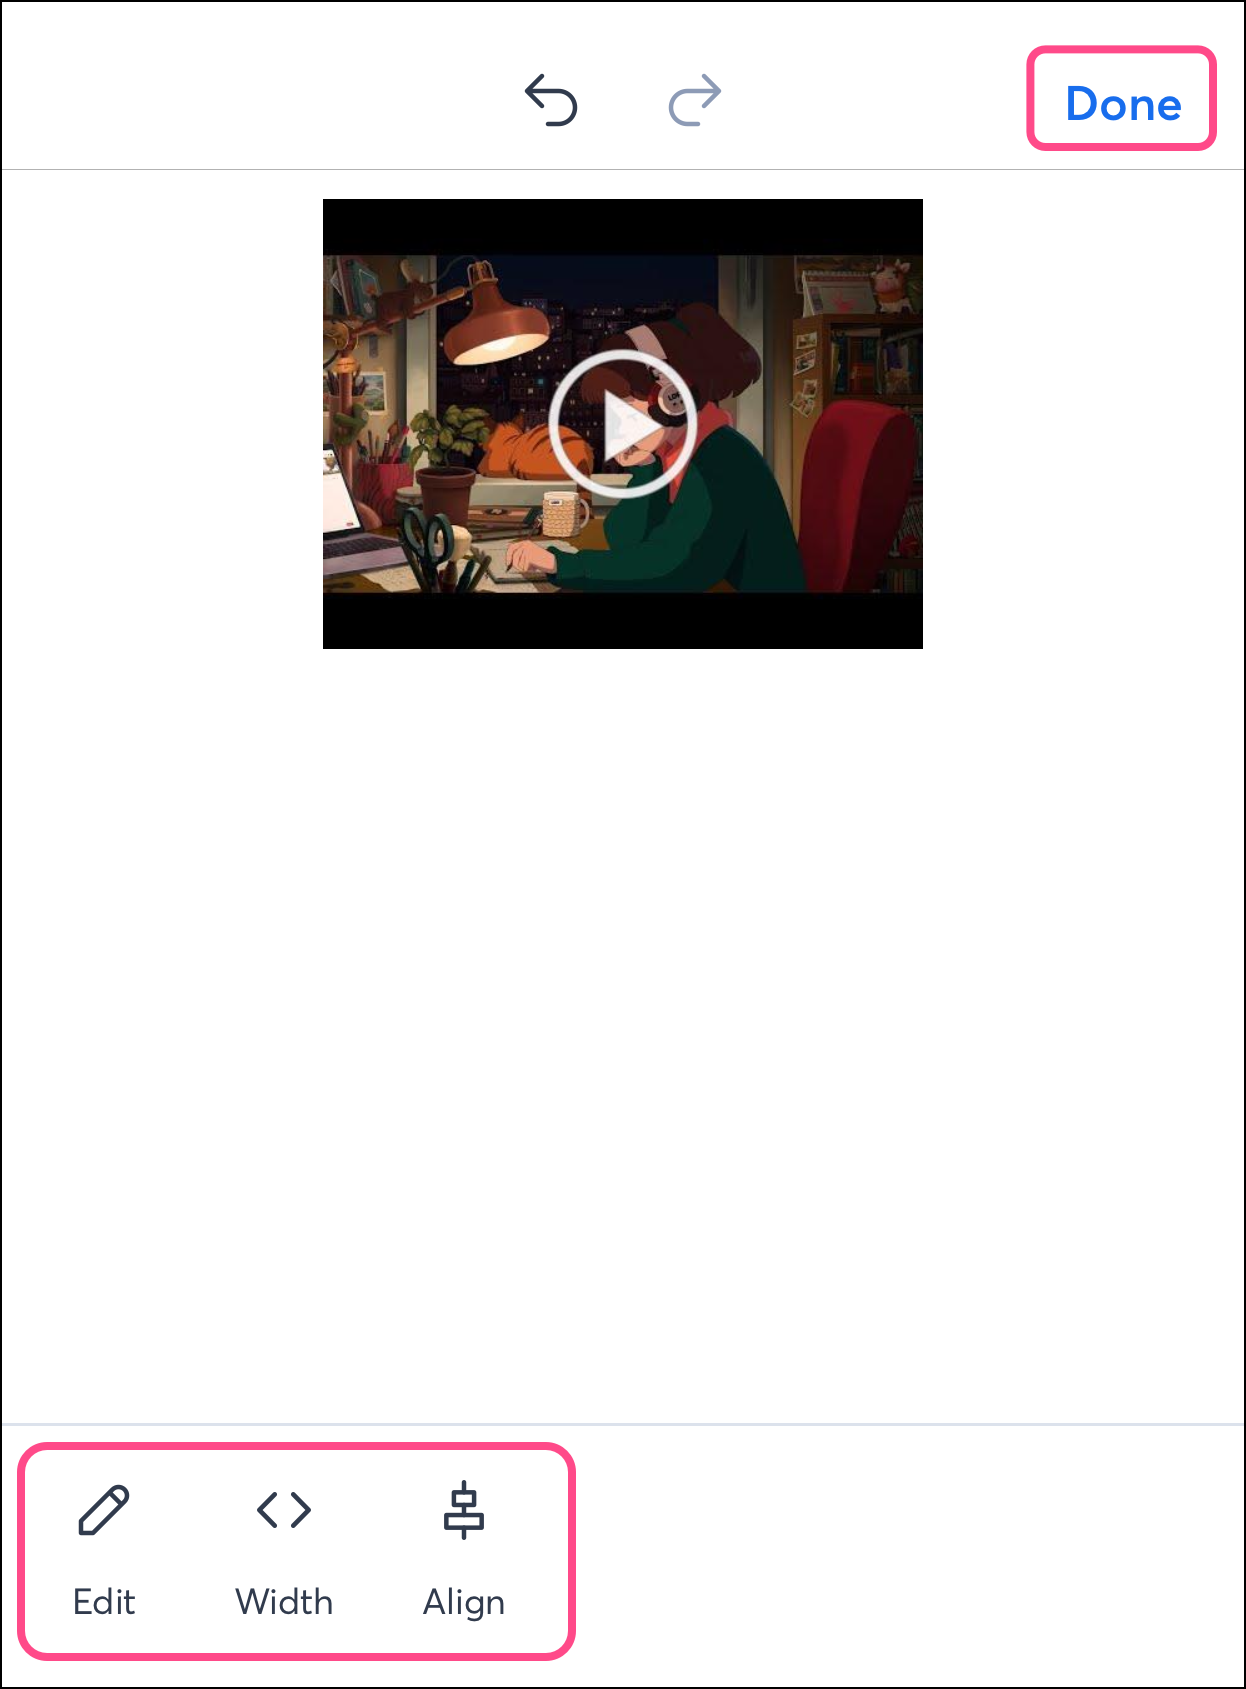
- Make any additional edits as needed:
- Edit - Update the video source URL.
- Width - adjust the preview image's width (between 10 and 600 pixels). The height will automatically adjust proportionally.
- Align - align the preview image to the left, right, or center of the row.
- Horz - center your video horizontally in the middle of the row. (on Android)
- Vert - align your video vertically in the middle of the row. (on Android)
- Tap Done on iOS or the checkmark on Android in the top right corner to save your changes.
Edit dividers
Dividers allow you to structure your email and separate content for better readability. To add a divider block to your email, complete the following steps:
- Tap a section of the email. The new block you add will be inserted underneath the selected section.
Note: If no section is selected, the inserted blocks will be inserted at the top of the email template. You can use the up or down arrows to move blocks around in your template.
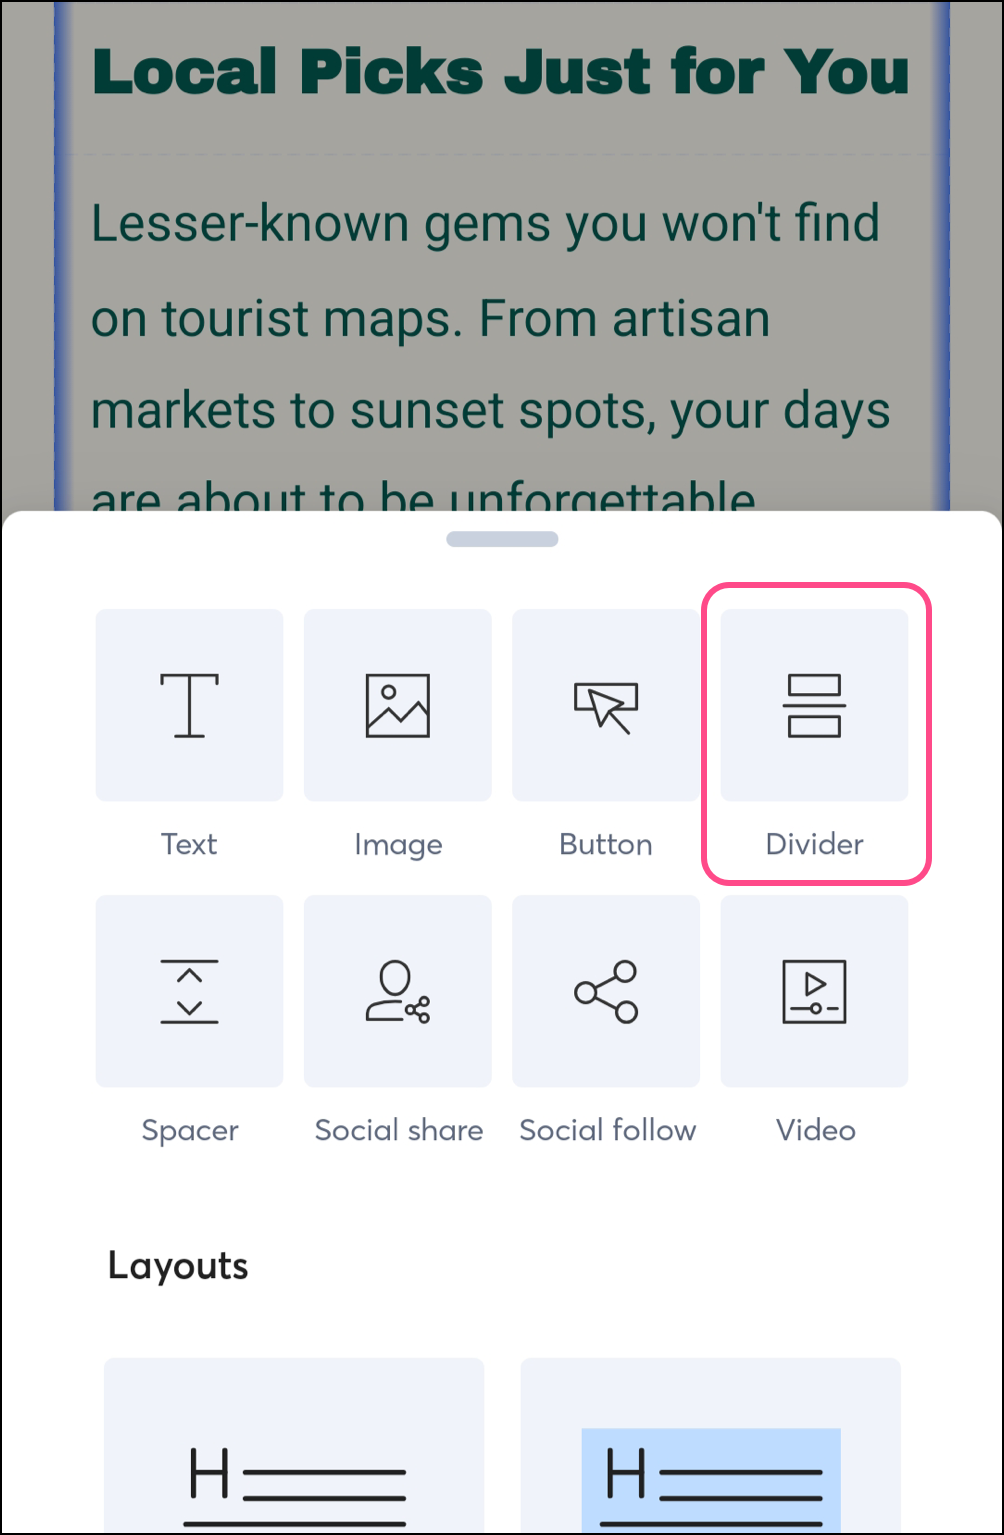
- Tap the plus sign to add a block to your email.
- Tap the divider block.
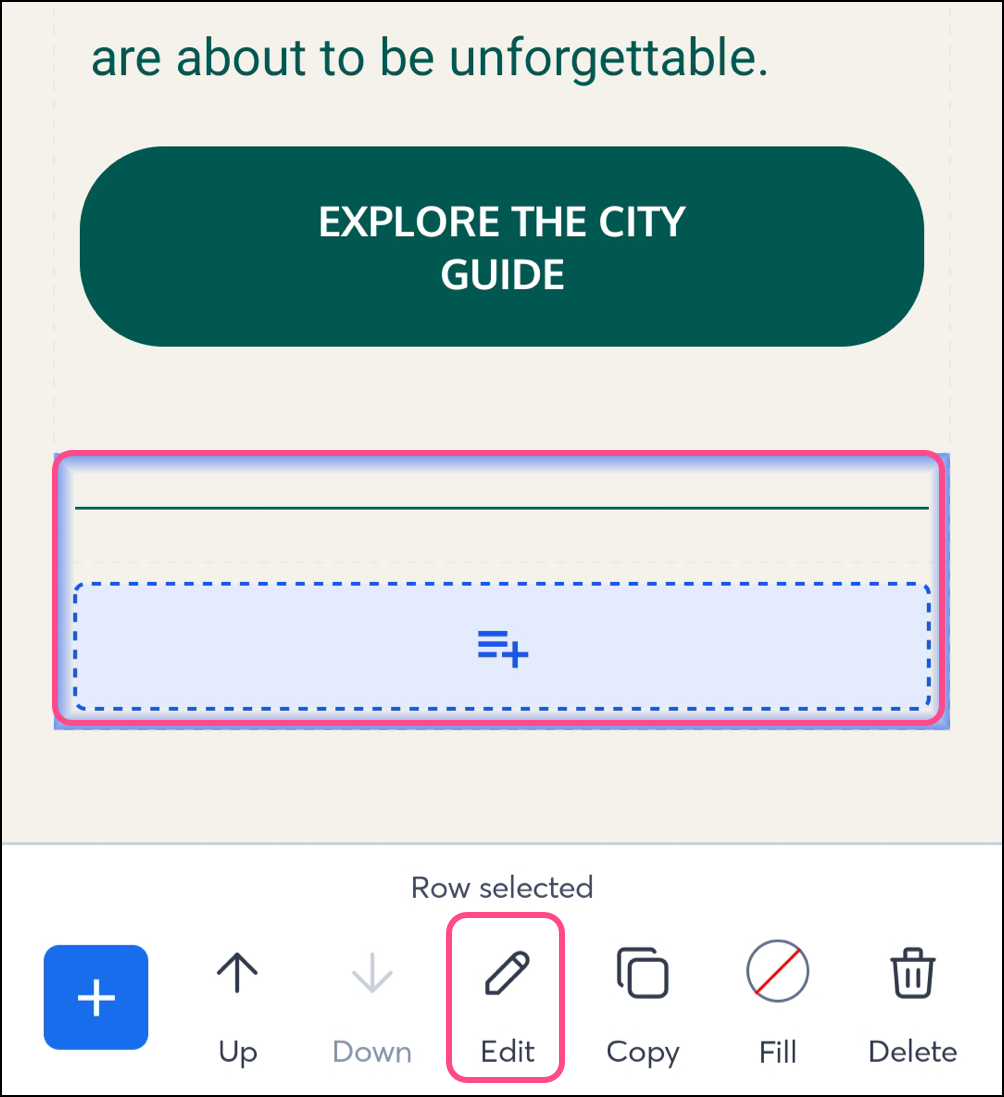
- With the divider selected, tap Edit.
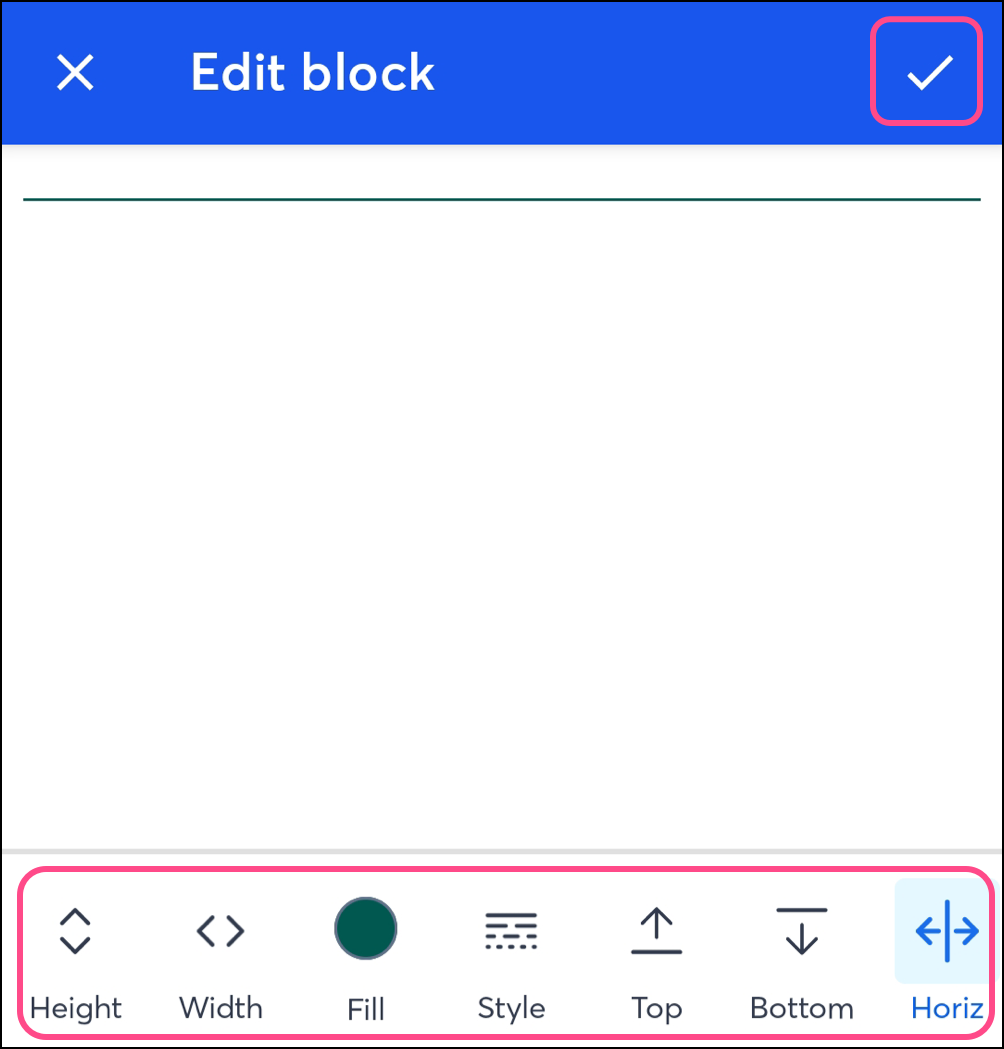
- Use the editing tools to modify your divider:
- Height - adjust the dividers' thickness (between 10 and 100 pixels).
- Width - adjust the divider's width (between 10 and 100 pixels).
- Fill - adjust the color of the divider.
- Style - Change the style of the divider; solid line, dashed line, or dotted line.
- Top - add padding to the top of the divider (between 0 and 100 pixels).
- Bottom - add padding to the bottom of the divider (between 0 to 100 pixels).
- Horiz - expand the line to the edges of the email width, or leave some space on the right and left.
- Align - adjust the alignment of the divider; right, left, or center.
- Check the checkmark to save changes.
Edit spacers
Spacers help the readability of your email by adding space between blocks. To add a spacer to your email, complete the following steps:
- Tap a section of the email. The new block you add will be inserted underneath the selected section.
Note: If no section is selected, the inserted blocks will be inserted at the top of the email template. You can use the up or down arrows to move blocks around in your template.
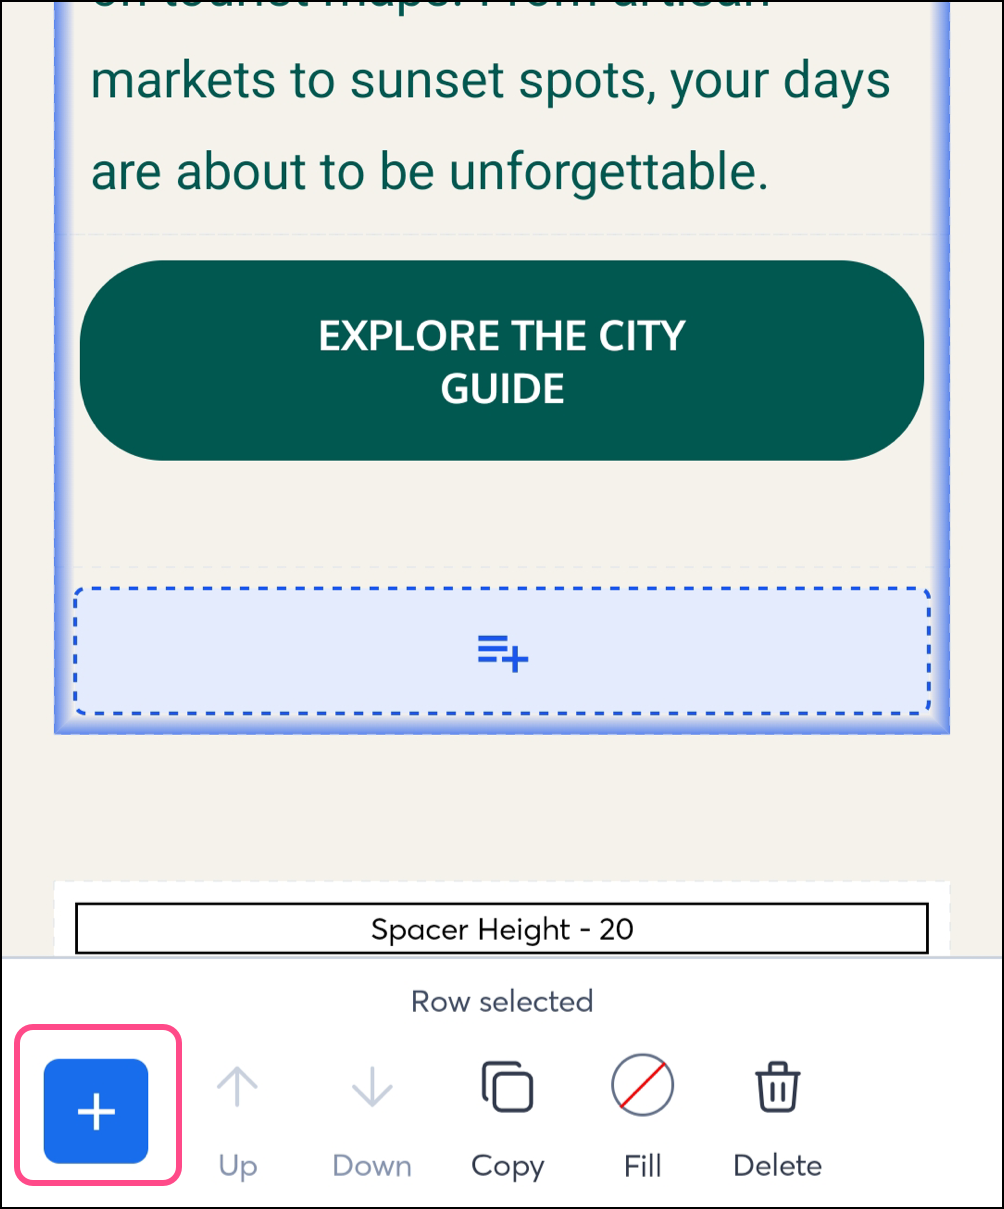
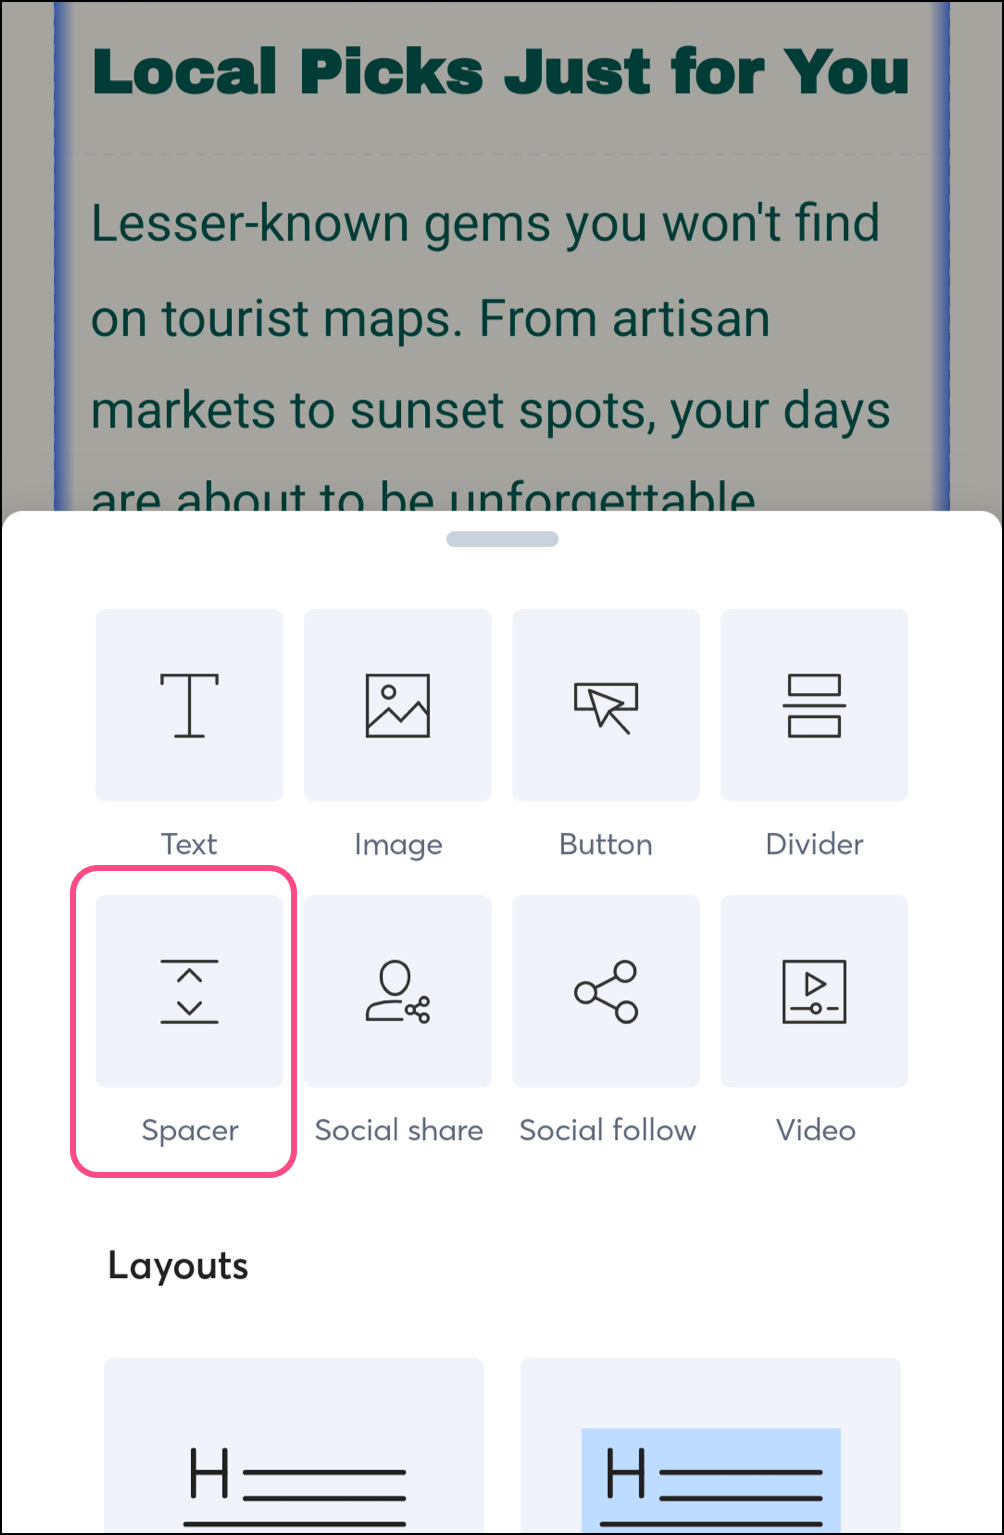
- Tap the plus sign to add a block to your email.
- Select the Spacer block.
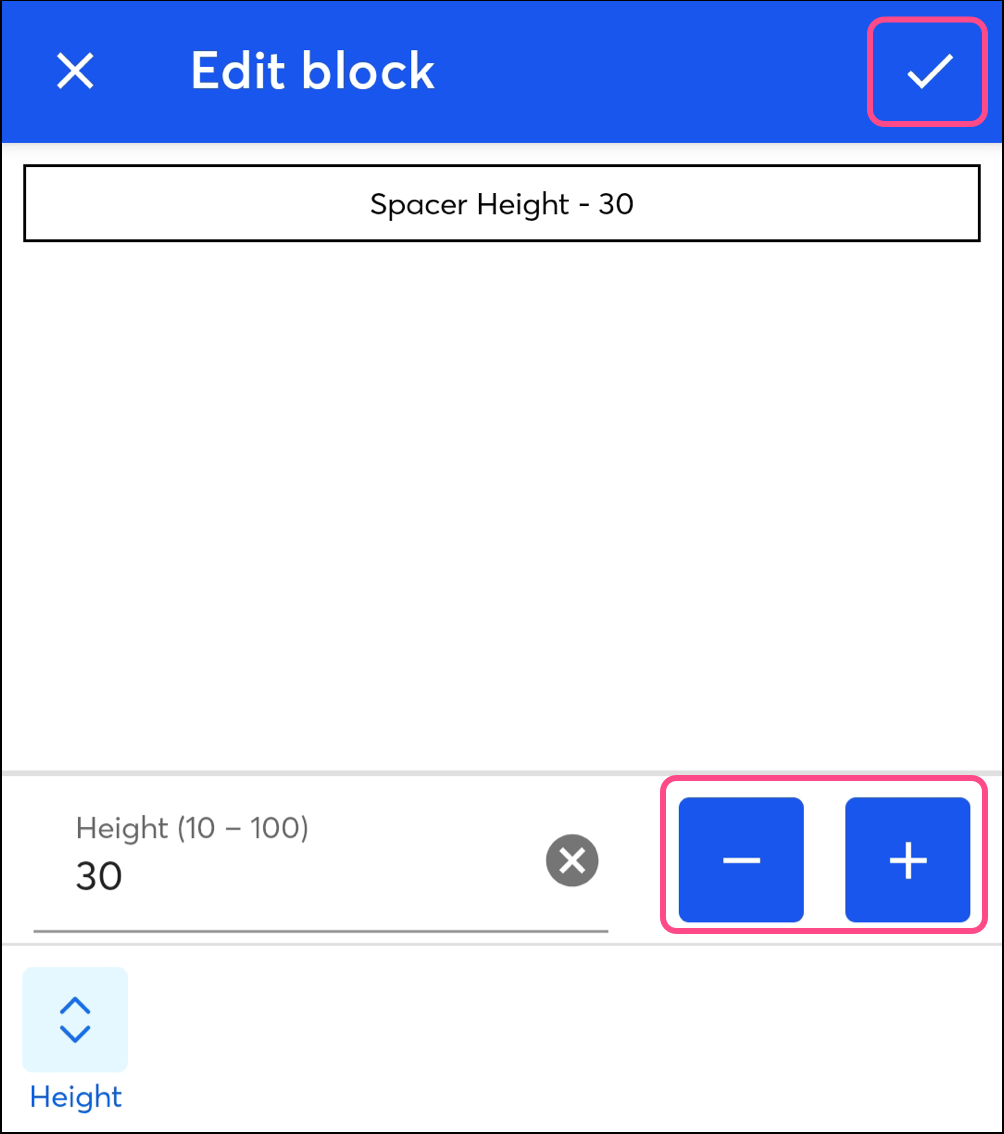
- Tap Edit.
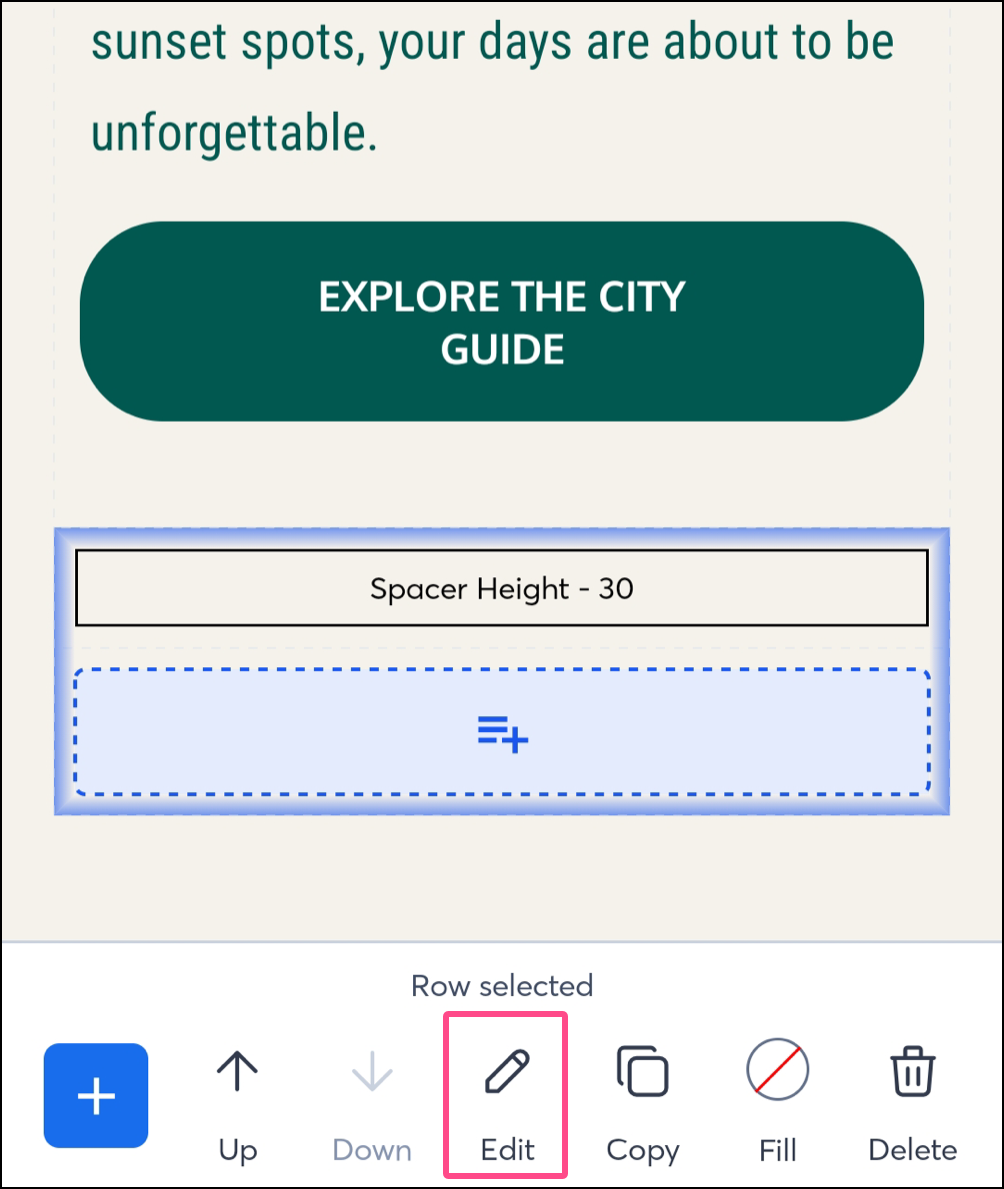
- Tap the height + or - signs to adjust the spacer thickness (between 10 and 100 pixels).
- Tap the checkmark to save changes.
Move blocks
These steps are the same for Android and iOS.
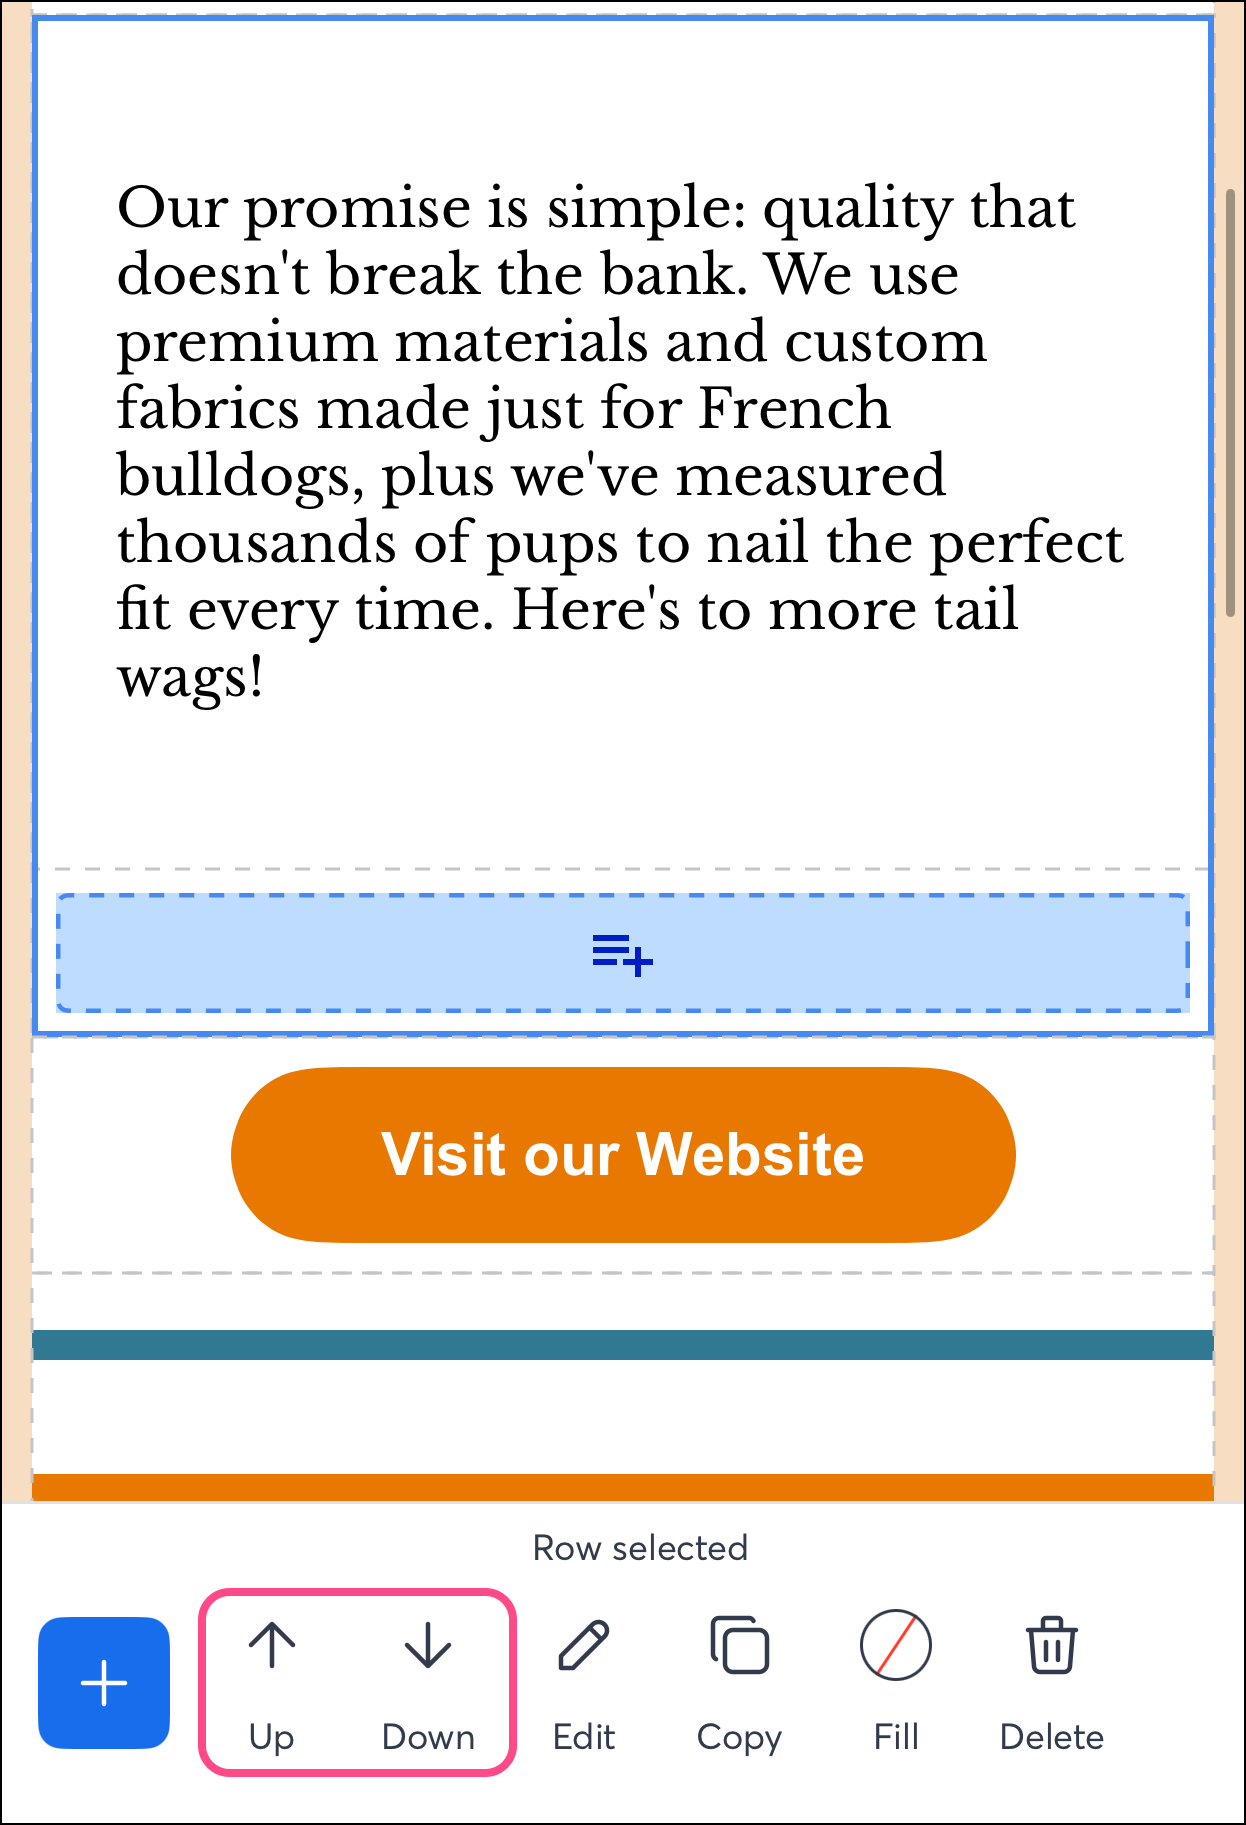
- Tap the block you want to move.
- Tap the up or down arrow to move the block.
Copy blocks
These steps are the same for Android and iOS.
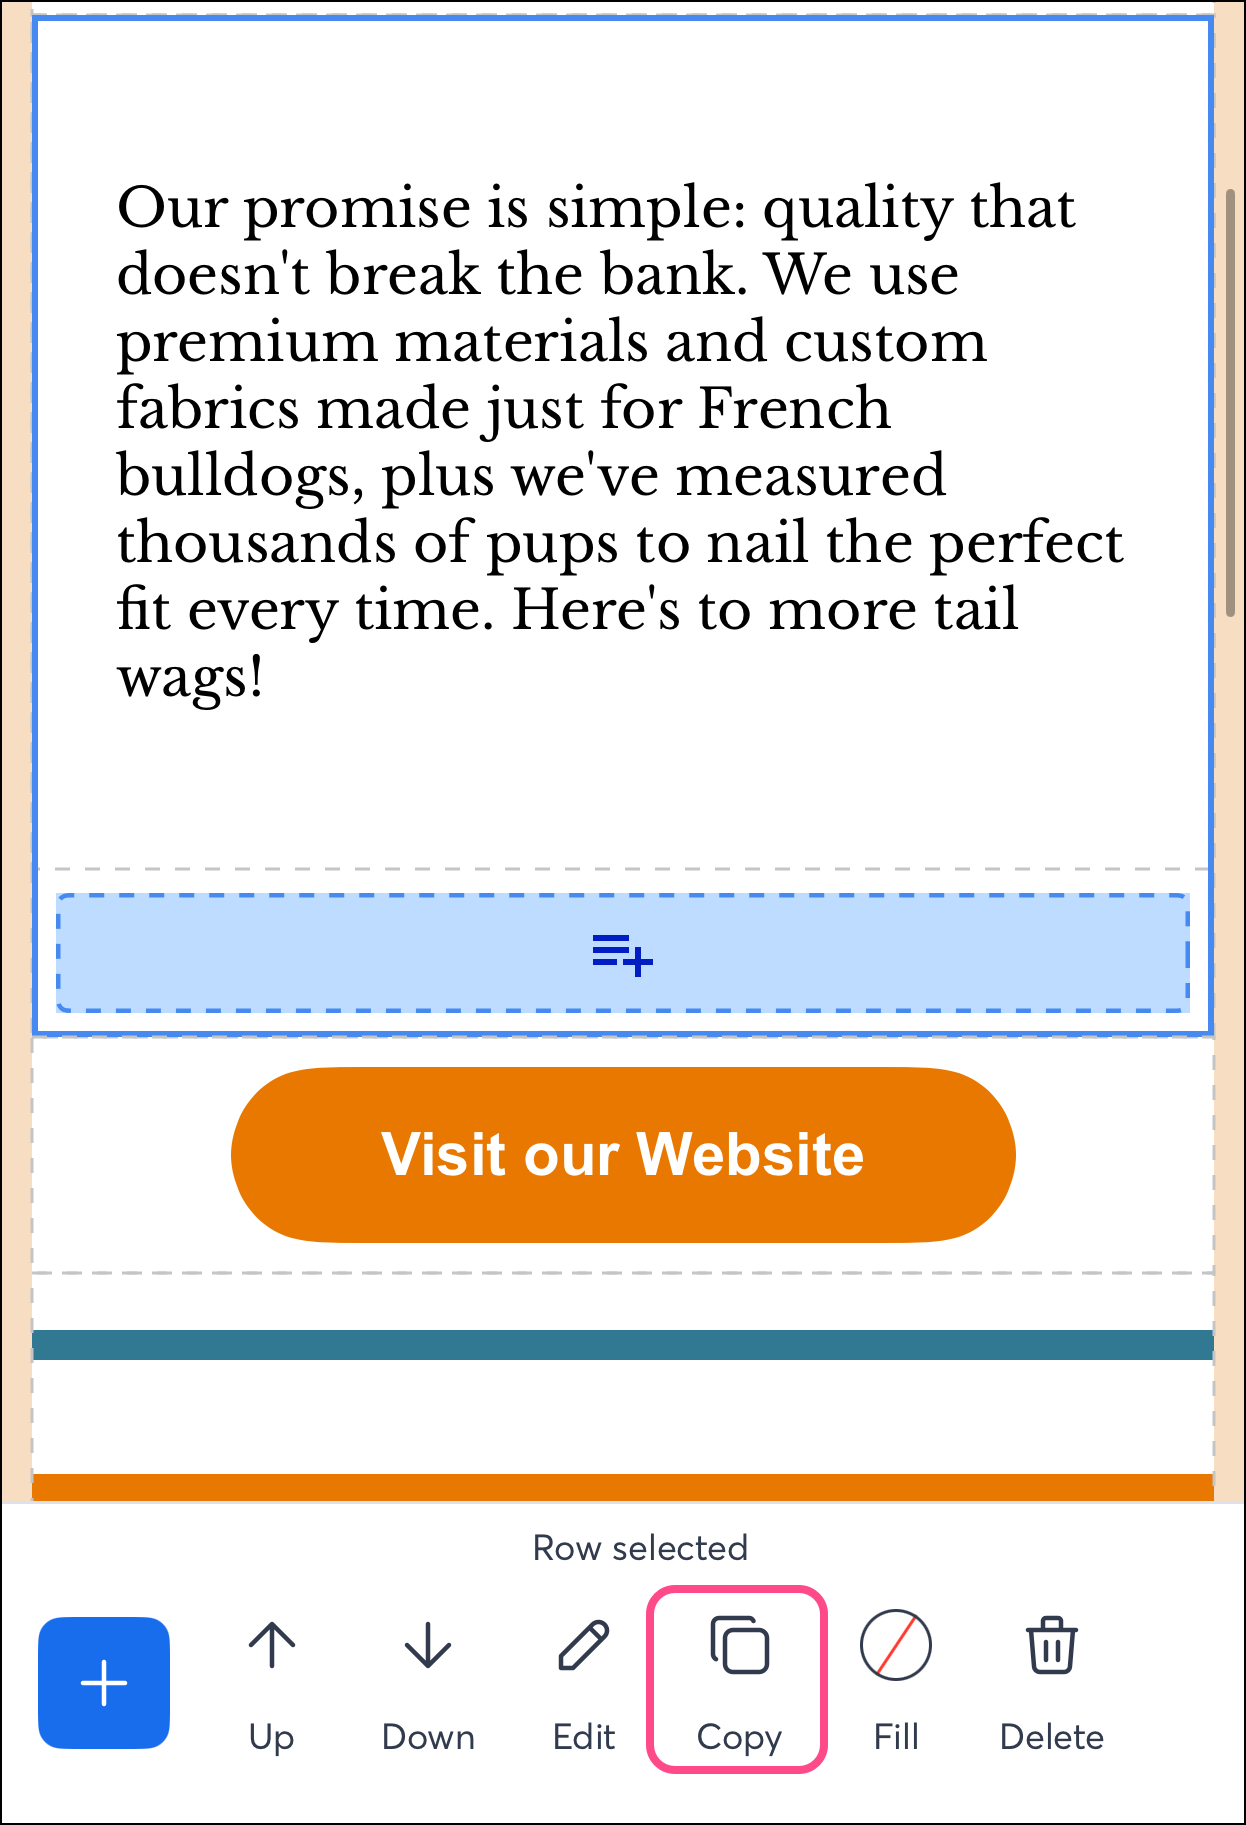
- Tap the block you want to copy. You can select an entire layout or a single block within it by tapping the block again.
- Tap Copy at the bottom of the screen.
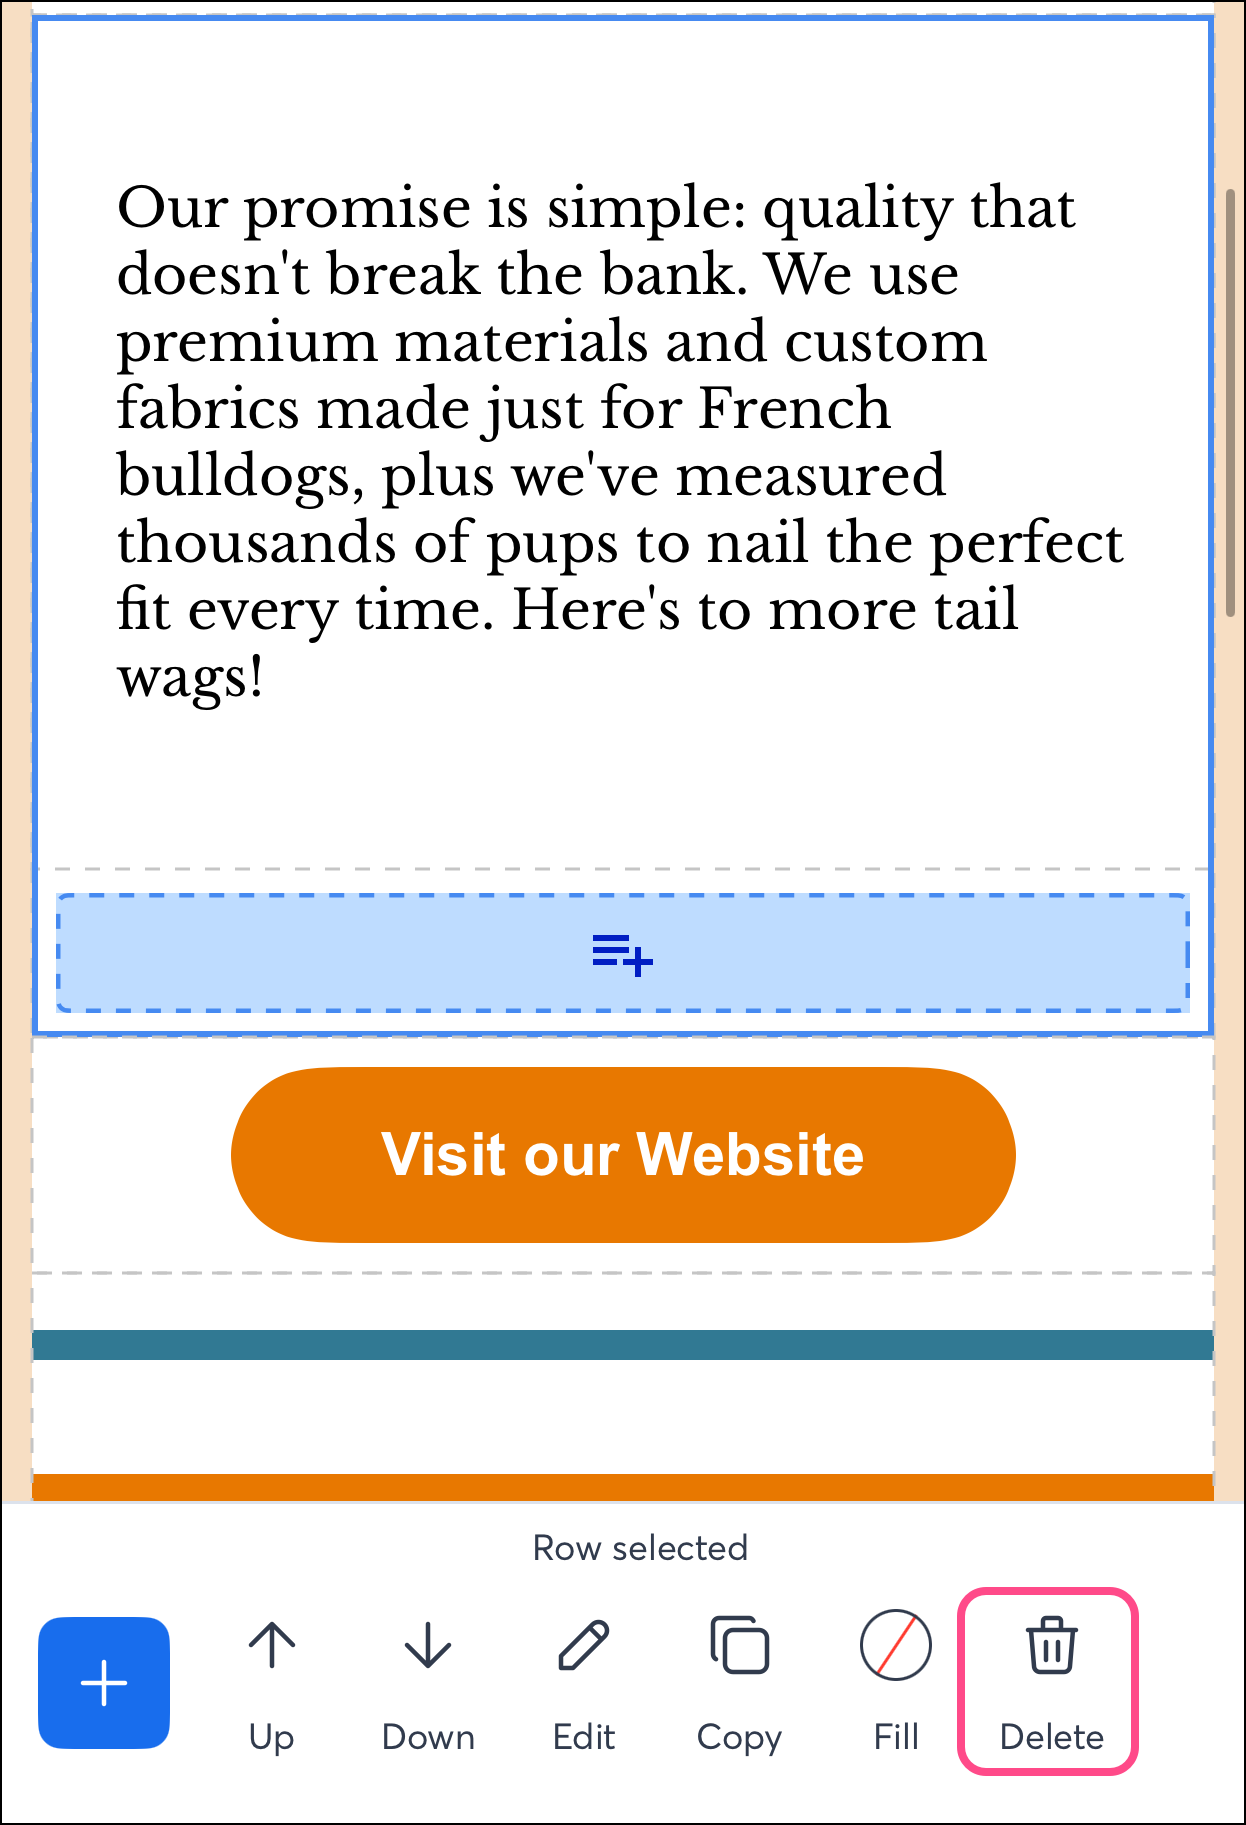
Delete blocks
These steps are the same for Android and iOS.
- Tap the block you want to delete.
- Tap Delete at the bottom of the screen.
Undo a change
Use the Undo button to undo the changes made during your current session. If you've changed your email, left the app or editor, and then returned to the app or editor, you will not be able to undo those previously made changes. These steps are the same for Android and iOS.
Tap the Undo button located at the top of the email editor.
Note: The Undo arrow is an option on iOS devices. For Android, you'll need to manually undo your changes.

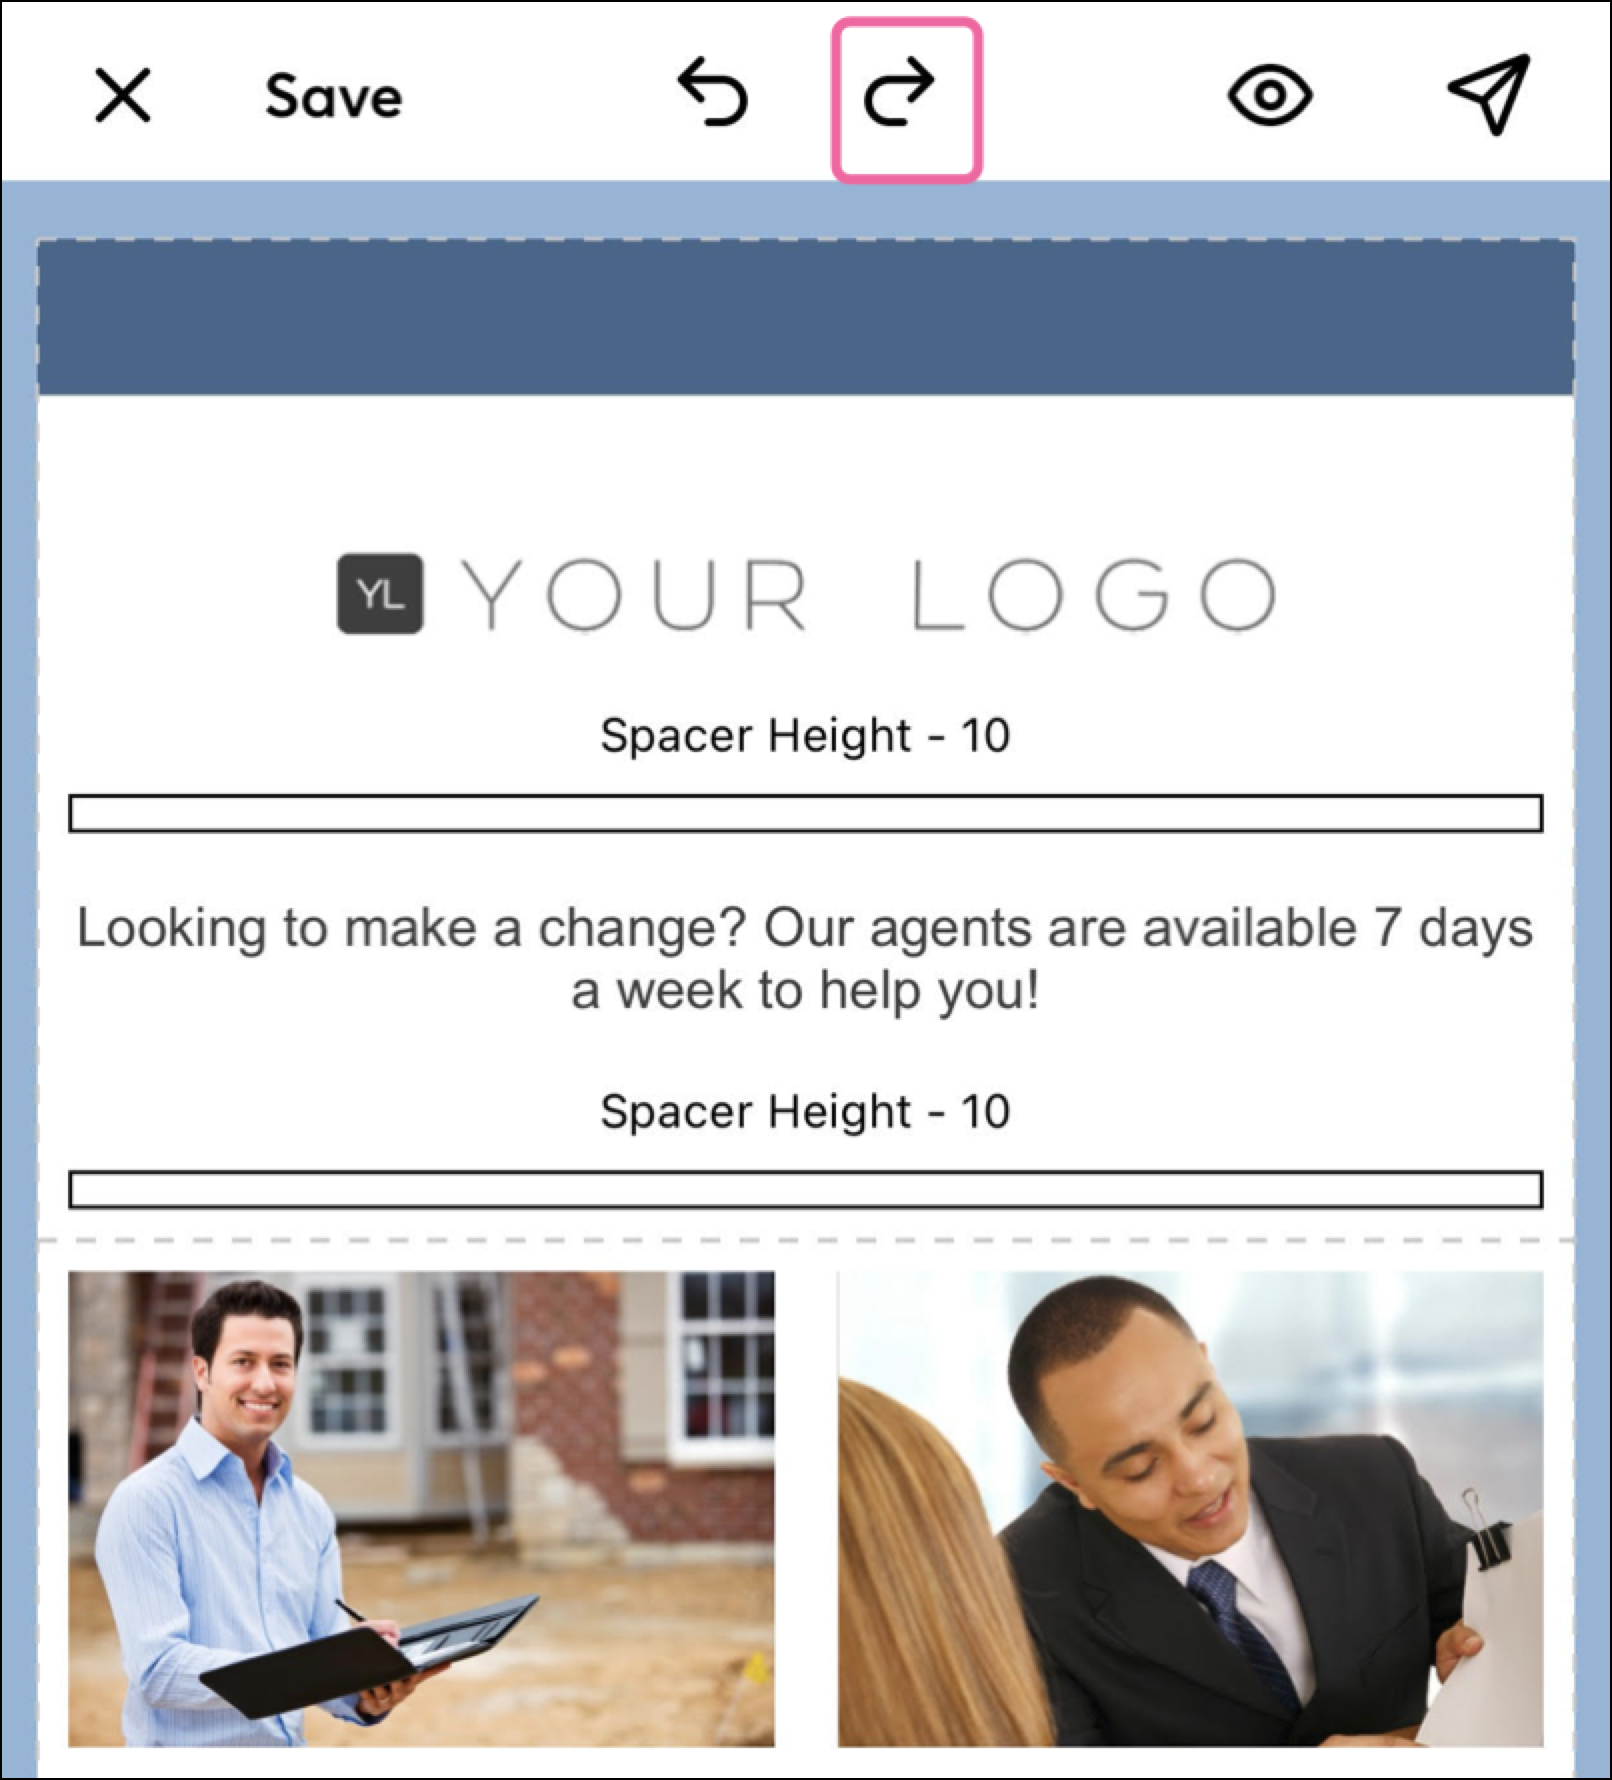
Redo a change
If you've undone something but changed your mind, use the Redo button. The Redo button can reapply changes made during your current session. Meaning, if you've undone something, left the app or editor, and then returned to the app or editor, you will not be able to use the Redo button to reapply those previously made changes. These steps are the same for Android and iOS.
Tap the Redo button located at the top of the email editor.
Note: The Redo arrow is an option on iOS devices. For Android, you'll need to manually redo your changes.