We're making it easier to get around Constant Contact with a brand new left navigation. Not all accounts have that change yet, so if your navigation looks different from our articles, that's why–but everything from the top can now be found on the left!

Email and Digital Marketing
How can we help you?
Search our help articles, video tutorials, and quickstart guides

You've got this. You've got us. Search our Knowledge Base to quickly find answers to your questions.

Create an event invitation email

Article: 000049478
Updated: June 11, 2025

Promote your event by sending your contacts an email inviting them to RSVP


Once you've created your event and activated it, it's time to send an email invitation to your contacts. Spread the word about your event and provide a link directly in your email for contacts to register. After you've sent your invitation, you can review the reporting, such as opens and clicks, from the event dashboard.


Create an invitation

Preview and/or send a test invitation

Download and print your invitation

View the reporting for your email invitation

View accepted and declined invitations


Light Bulb IconDid you know? You can also create a custom event landing page that highlights your event details, entices people to attend, and includes a registration link. Once the landing page is activated, you can copy the URL and share it in an email, on your social media pages, in a Facebook and Instagram Ad, or anywhere else you can think of to share the link

Create an invitation


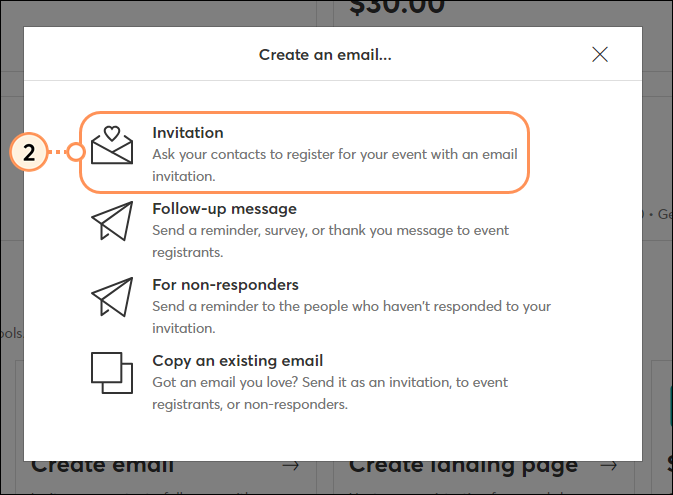
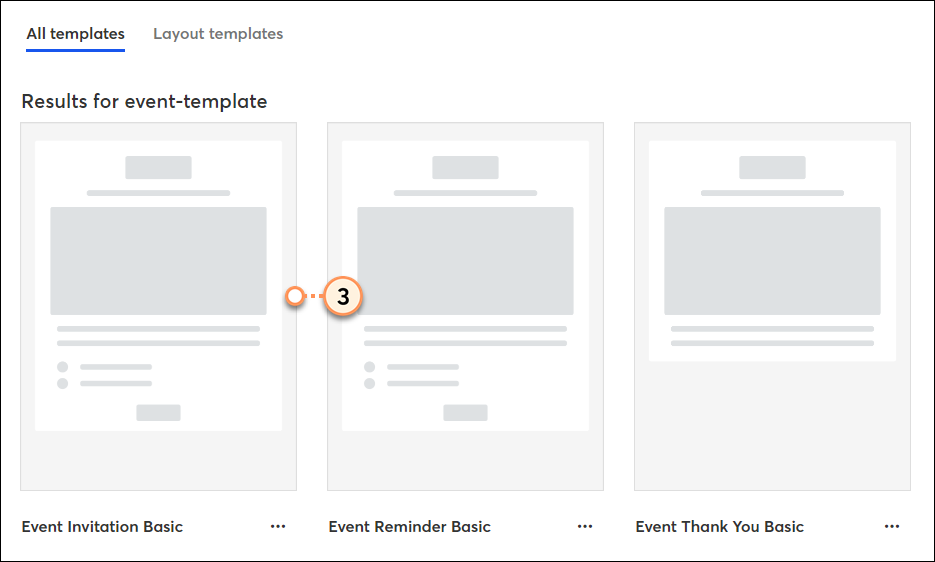
Before sending out an invitation, activate your event, which will allow contacts to register. Once activated, access the event dashboard. To create an email invitation:

  1. On the "Overview" tab of the dashboard, scroll down to the "Event Tools" section. Click the Emails card.

    Event Tools create email 
     
  2. Select Invitation from the list of available options.

    Create an invitation
     
  3. Select the “Event Invitation Basic” template.

    Select event invitation template
     
  4. Once you're in the editor, you’ll notice that the invitation is already connected to your event and displays your event details, including image, title, description, and more. Select the event block by clicking anywhere within the section of the email containing the event details. This will open the Event Settings panel on the left side of the screen. 

    Select event block
     
  5. Synced and/or standard blocks can be added to your email template. Use the guidelines to help you find the right spot. Synced blocks will pull the appropriate information from your event.
    Note: To edit the content within a synced block, you cannot edit it within the email itself. Instead, edit that piece of information within the event editor. That will then update the content within the synced block in the email. Additionally, text style/formatting within synced blocks cannot be updated within the email.

    Click Event block and add synced and standard blocks
     
  6. If you added any Standard blocks (text, image, divider, spacer), click on them to make desired edits.

    Edit standard block
     
  7. If you would like to remove any of the synced/standard blocks, click on it and then click the trash can icon. 

    delete synced event elements
     
  8. Click anywhere outside the event block to return to the main event editor. Use the Build, Images, and Design tabs to build and customize the rest of your email.
  9. When ready, click the Continue button to choose the contact lists you want to send to and schedule your email to send.

    Customize invitation and continue 


To see a list of all email invitations associated to an event, on the "Overview" tab of the event dashboard, scroll down to the "Event-related campaigns" section. To edit a draft email, click Edit

List of Event-Related Campaigns


Image Description
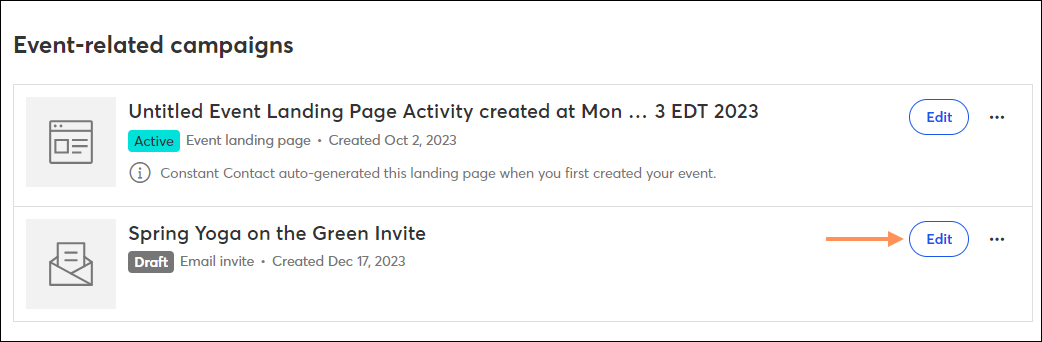
Save time: If you have an existing email invitation that you'd like to re-use, instead of recreating it from scratch, you can copy it.


Preview and/or send a test invitation


Previewing an email and sending yourself a test version of your draft not only gives you a chance to proofread and make edits, but it also gives you an idea of what your email will look like to your contacts when you send the final version. You can send a test version to yourself, or to the people you trust to review your content for you. On the "Overview" tab, scroll to the "Event-related campaigns" section.

  1. To the right of the event invitation, click the three dots and then click Preview.

    Preview event email 

  2. Select each of the tabs to preview the way your email looks on a desktop, a mobile device, or within different email clients using Inbox Preview.
  3. If you'd like to send a test email, type in the email address you want to send your test email to. You can add up to 5 email addresses.
  4. Optionally, type a personal note to give instructions to your proofreaders. This note is only visible on the test send and won’t display on the live send to your contacts.
  5. Click Send test.

    Preview and send a test email of your event invitation 


Download and print your invitation


To download and/or print a copy of your email invitation, on the "Overview" tab, scroll to the "Event-related campaigns" section:

  1. To the right of the event invitation, click the three dots and then click Download & print.

    Download and print your email invitation  

  2. Select your desired options, and then click Download. Click the printer icon to print a physical copy.

    Download or print your invitation 


View the reporting for your email invitation

After you send out an email invitation, your reporting can easily be accessed within the event dashboard. On the "Overview" tab, scroll to the "Event-related campaigns" section. Here you can see the sends, opens, clicks, bounces, and unsubscribes for your event invitation email:


Reporting for event invitation email

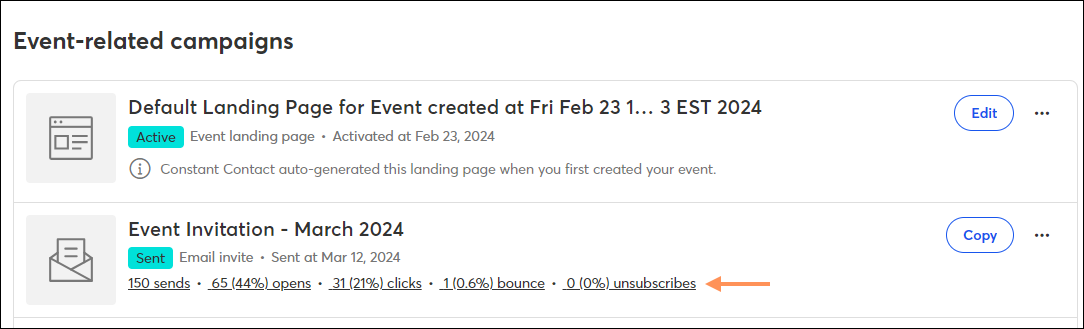
 Each piece of reporting is hyperlinked. Click on it to view more detailed information.


View accepted and declined invitations

When you send your event invitation email, your contacts have the option to register for your event, or to decline.

Register for an event or decline


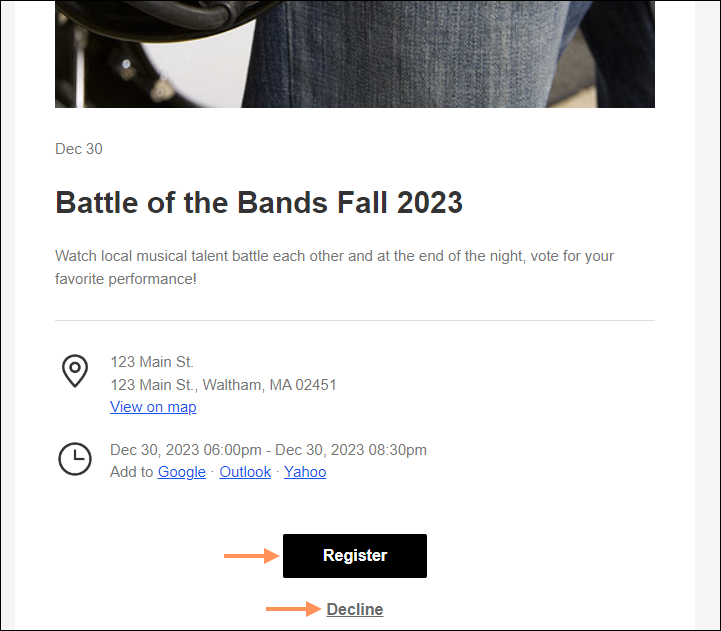
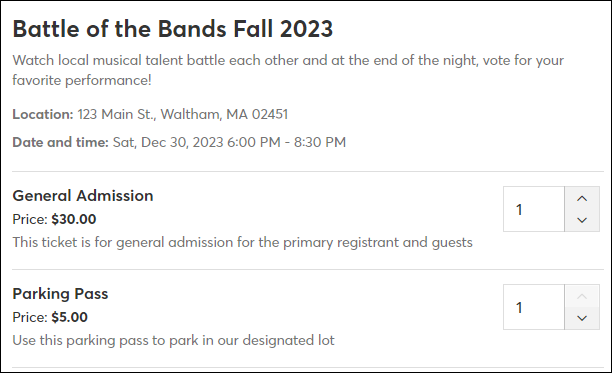
When an invited guest clicks the Register button, they'll go through the flow of selecting tickets, filling out your registration form, and then providing payment, if applicable.


Ticket SelectionRegistration FormPayment
Ticket SelectionRegistration FormPayment Page


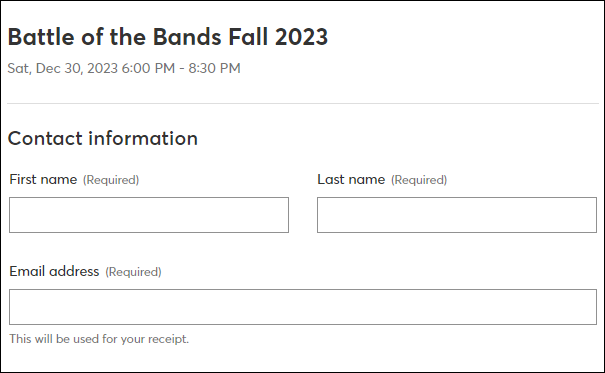
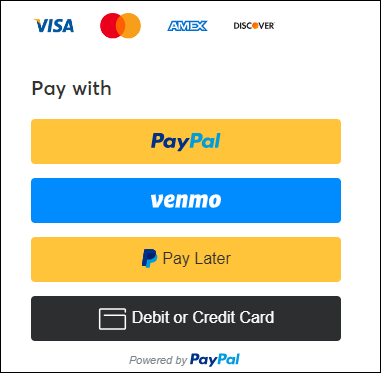
To see who has registered, under the Reporting tab of the event dashboard, scroll to the Registrants section: 


View list of registrants
 

Light Bulb Icon
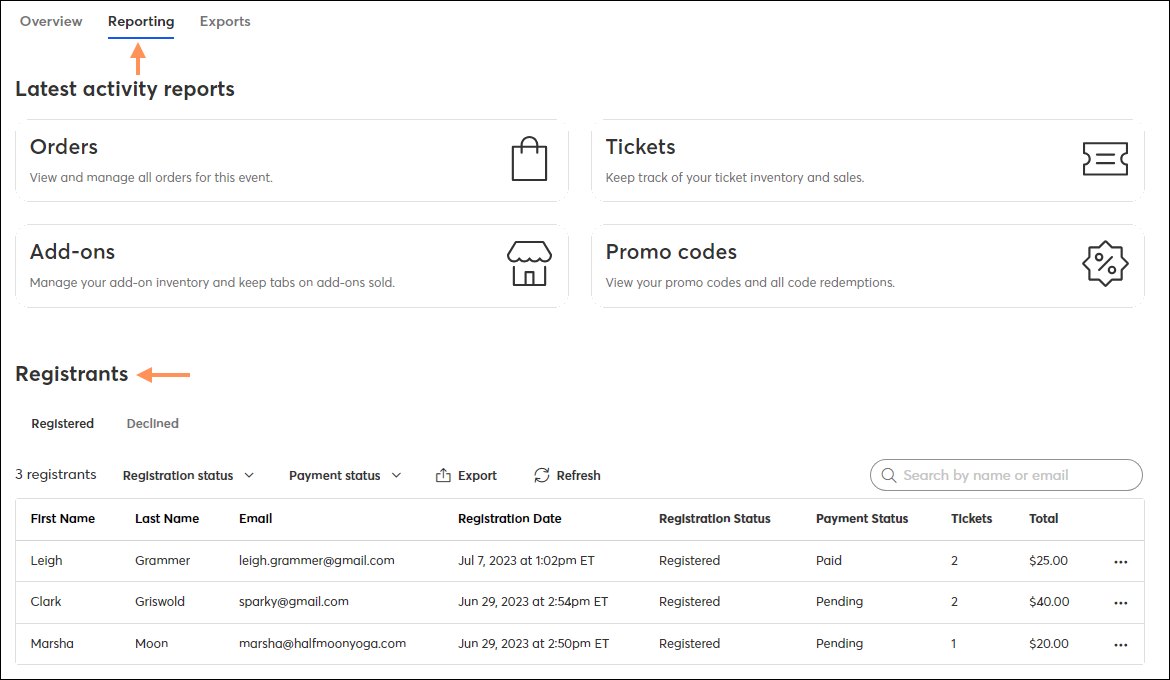
Tip: While building your event, switch on the setting to be be notified via email when someone new registers for your event.


If the invitee is unable to attend your event, and they select the Decline option, they’ll be brought to the following page:


Decline an event


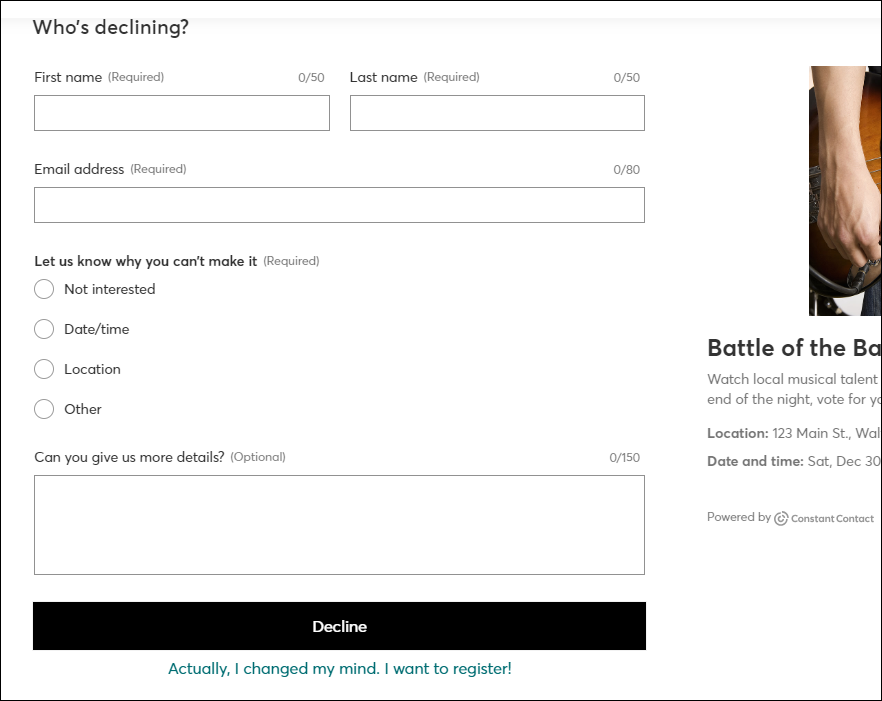
To see all those who have declined the invitation, under the Reporting tab of the event dashboard, scroll to the Registrants section and switch the toggle to "Declined":


List of declined invitations


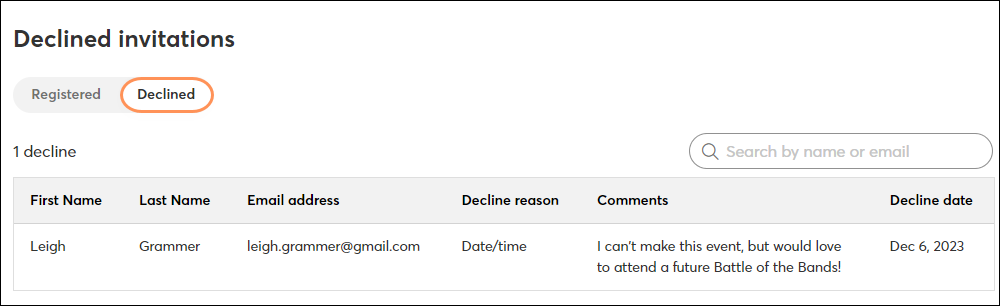
If you have contacts who have not yet registered, you can send an email specifically to those non-respondents. If you have contacts that declined your invitation, you're prevented from sending additional event-related emails to them.


Questions?

Ask the Community

Did this article answer your question?


Constant Contact Logo

Copyright © 2025 · All Rights Reserved · Constant Contact · Privacy Center