When you create an event, an event landing page is automatically generated for you. To make edits and further customize this default landing page, access it via the Events dashboard. Additionally, you can create your own custom landing page to promote your event. When activated, both the default landing page and any custom landing pages you create can be shared with your contacts.
| Did you know? When you create an event invitation email, the register button in the email will point to the default landing page. If you choose to deactivate the default landing page, the register button will instead point directly to the event registration form. |
Note: Landing pages have a width of 1000px for the page itself and 920px for the content.
Upon the creation of a new event, an auto-generated event landing page will appear on the Event dashboard. While your event is in draft status, the landing page will remain in draft status. When your event is activated, the landing page will also be activated.
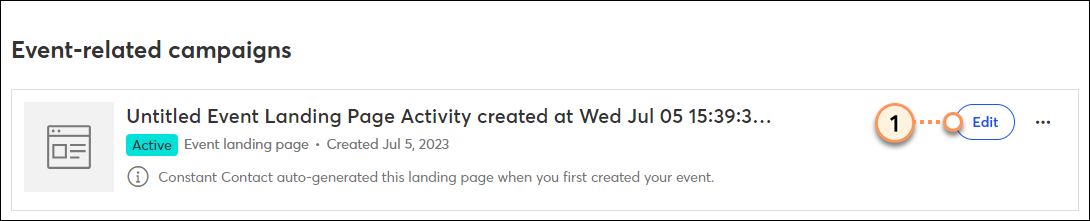
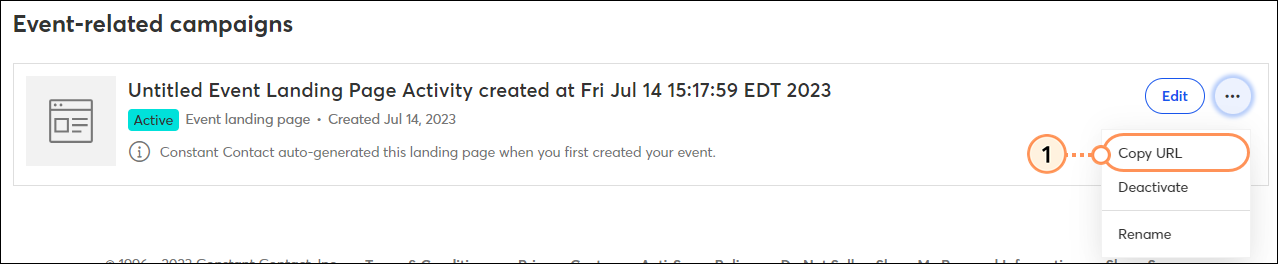
To access this landing page, go to the "Overview" tab of the Event dashboard, and scroll down to the "Event-related campaigns". You have the ability to edit, copy the URL, rename, or deactivate the landing page campaign.
To edit the landing page campaign:

To copy the URL for the landing page:
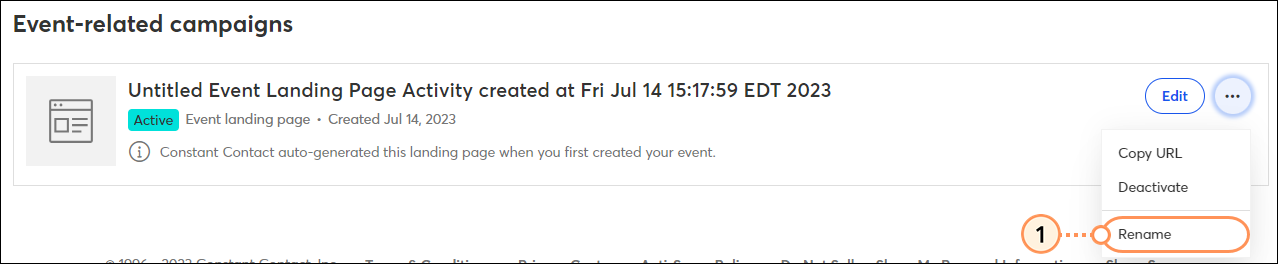
To rename the landing page campaign:

To deactivate, click the three dots and then click Deactivate. When this landing page is deactivated, the Register button in the event email invitation will point to the event registration page instead of this landing page. If you would like to reactivate the deactivated campaign, click the three dots and click Reactivate.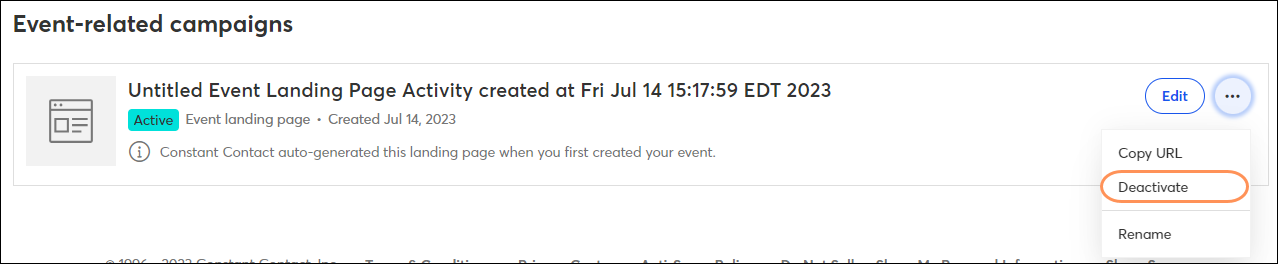
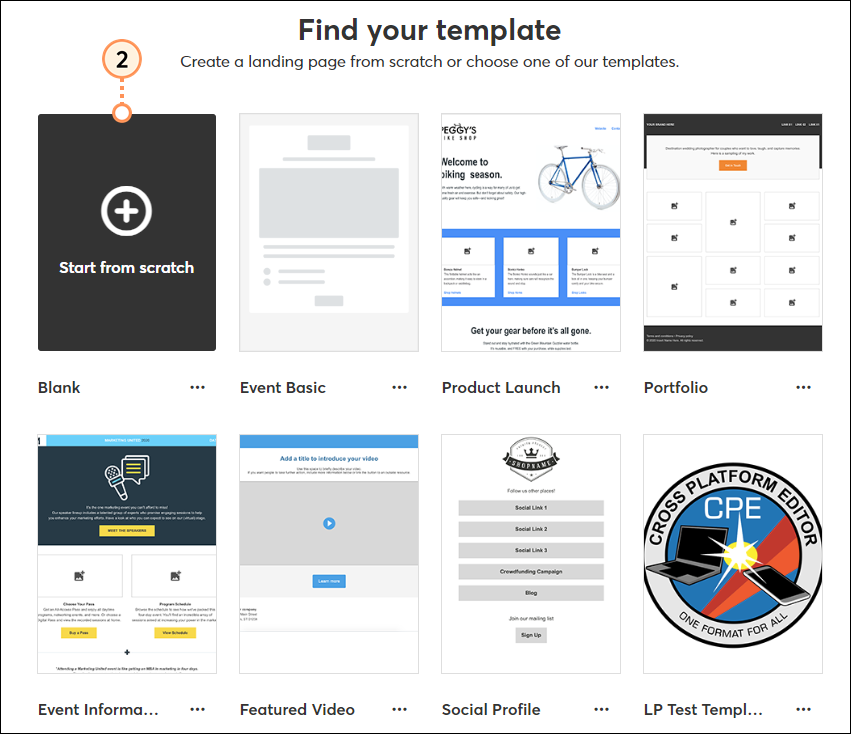
In addition to using the default event landing page created for you, you can create and customize your own landing page to promote your event. Use this space to share:
| Be a better marketer: Successful event management means getting the right information in front of prospective attendees. Learn which event details are important to include in your landing page. |
From the "Overview" tab of the event dashboard:

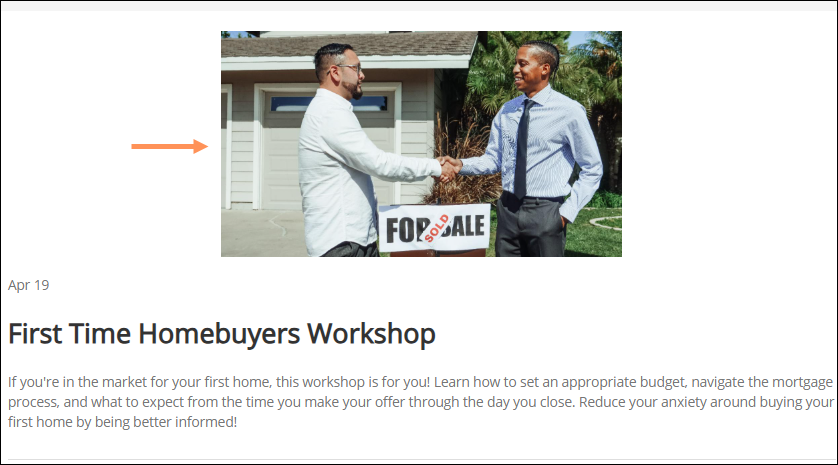
| Important: Synced Event blocks will pull in the selected information directly from the chosen event. For this reason, they are not editable. For example, the synced event image block will always pull the image set for the event itself. If you wanted to change this image within the landing page, you should delete the synced image and replace it with the Standard image block. |
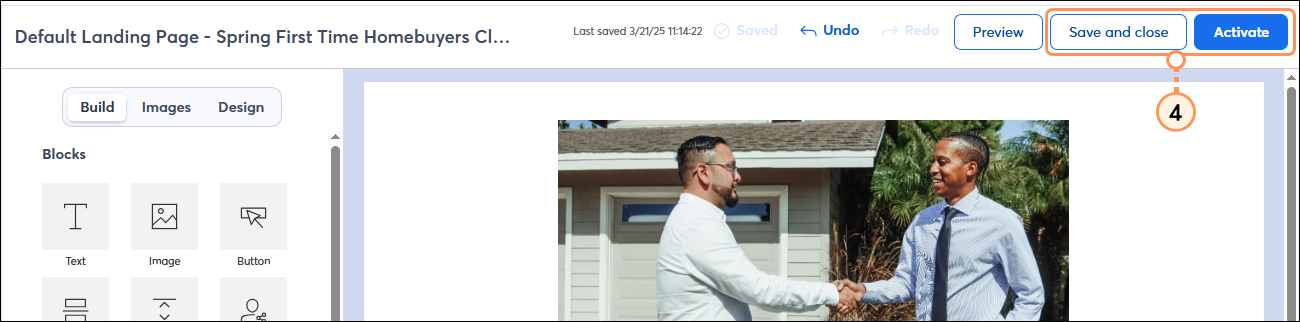
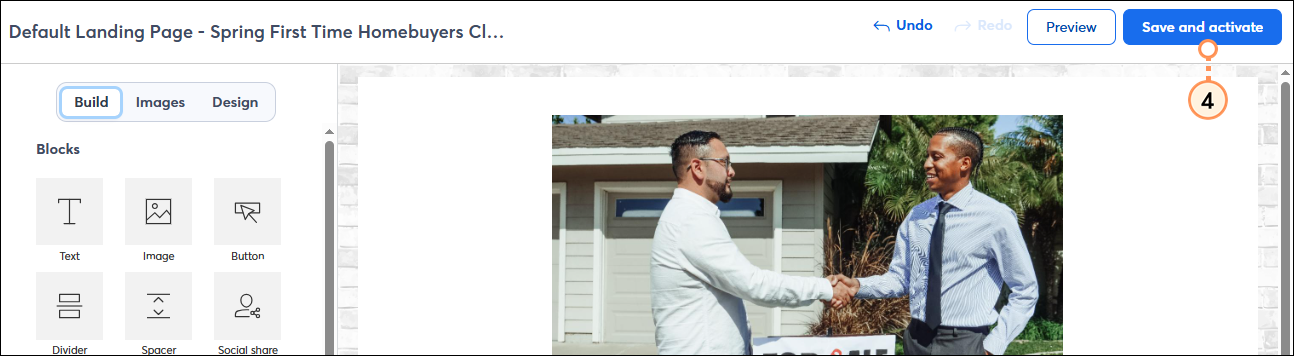
Next, activate your custom landing page and share it in an email, on your social media pages, in a Facebook and Instagram Ad, or anywhere else you can think of to share the link.
Follow our best practices when customizing your event landing page to ensure that the right information is presented to your contacts.
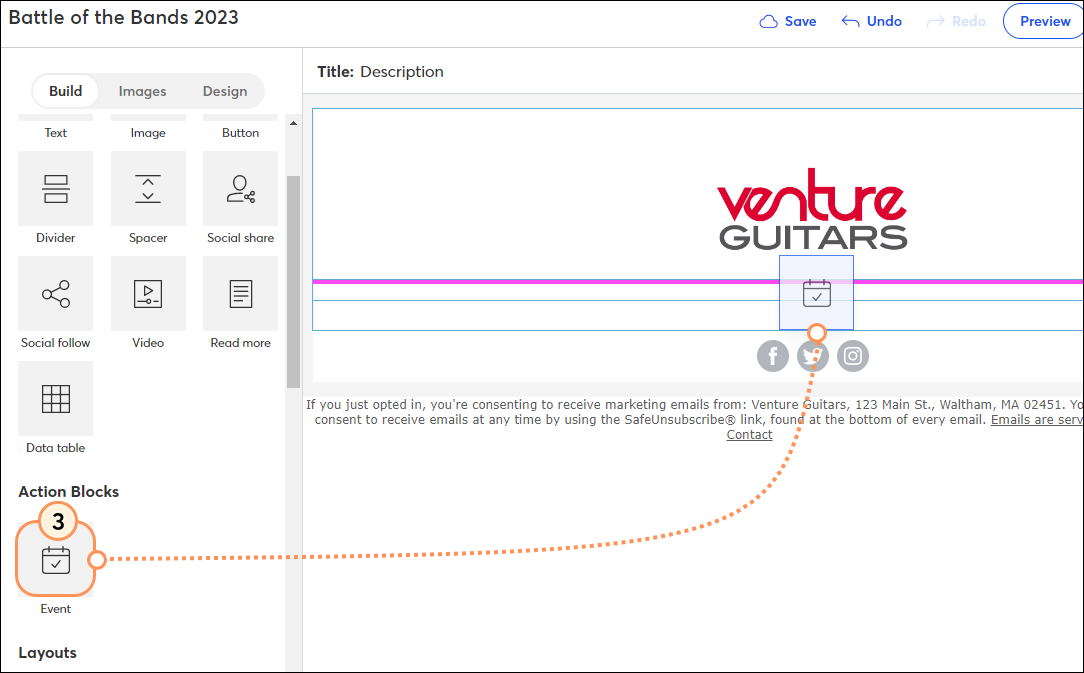
Customizing the Event Block
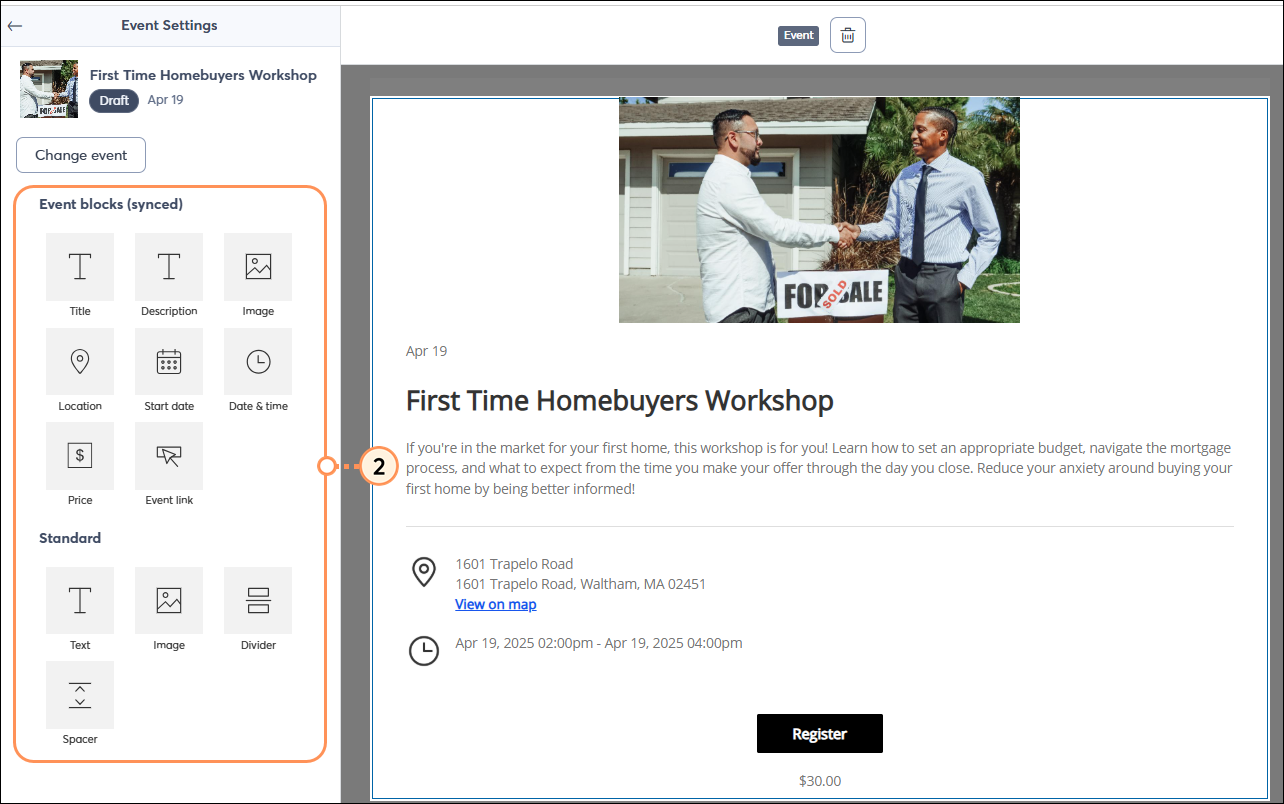
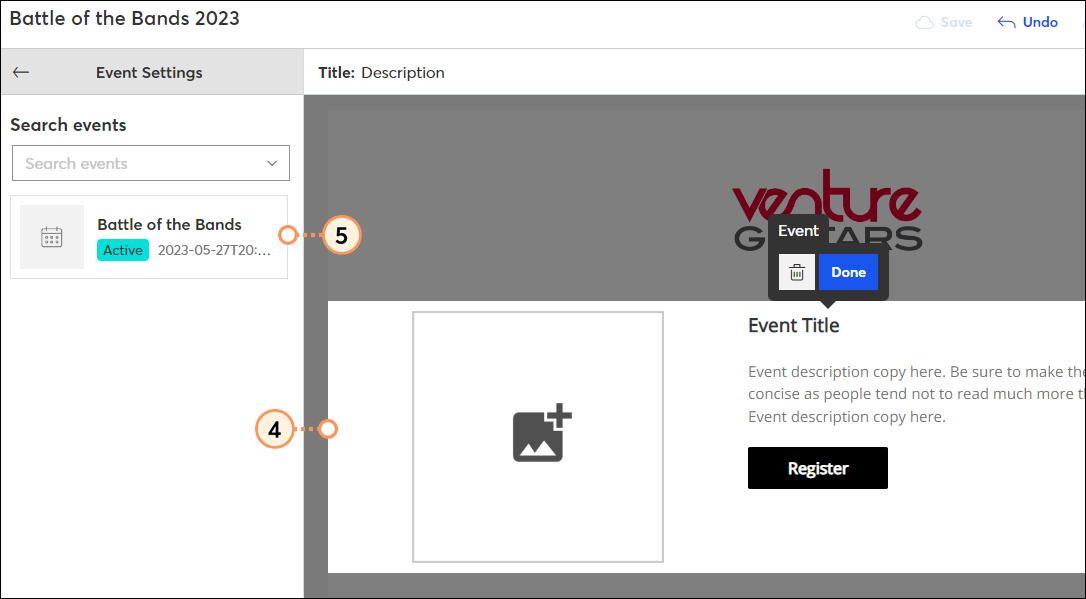
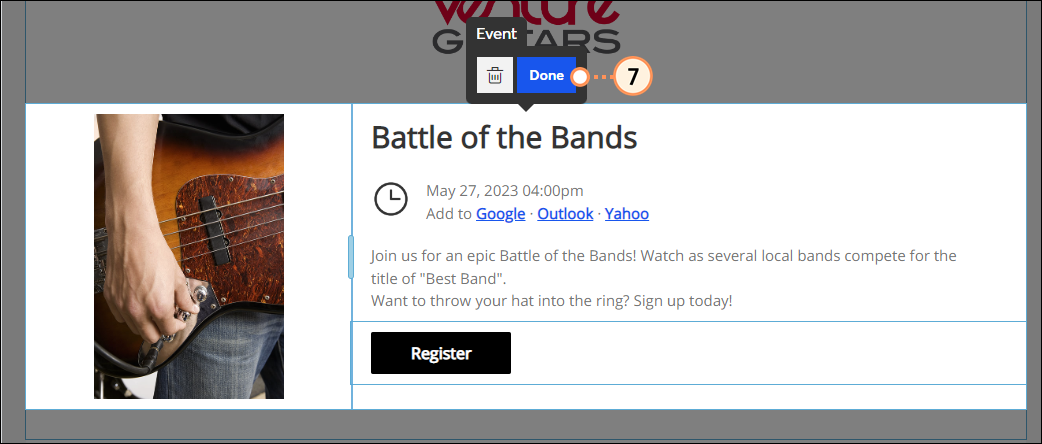
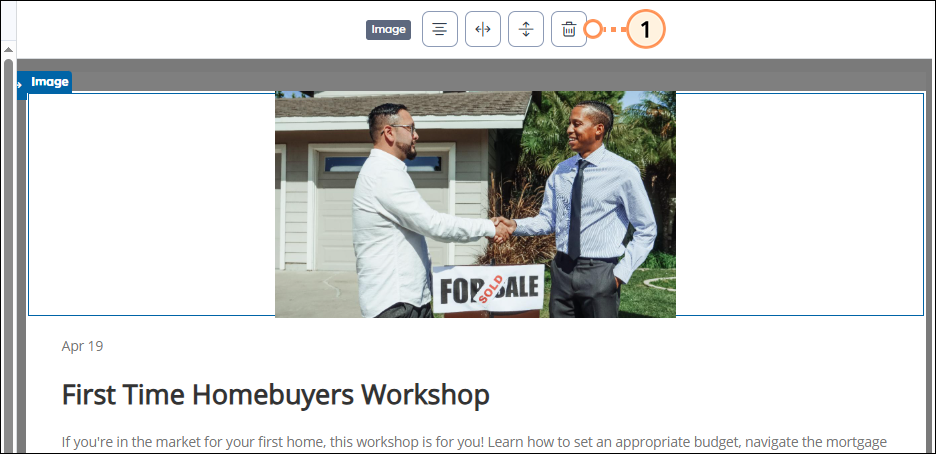
The default event landing page contains a dedicated event block. This block can also be added to any custom event landing page you create. It contains several elements pertaining to the selected event: the event image, start date, title, description, location, date & time, registration link, and price. The selected event appears in the top-left corner. Ensure the correct event displays here.
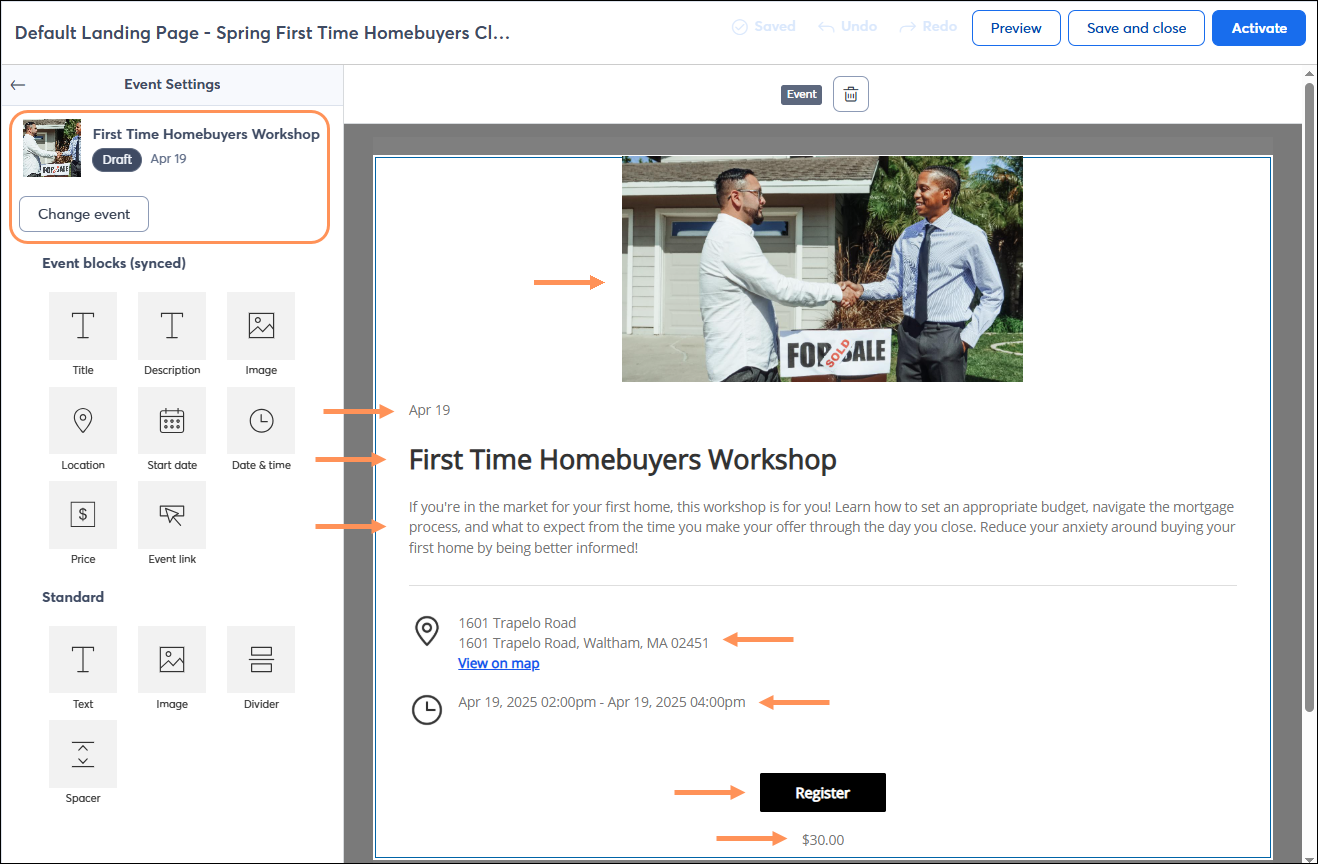
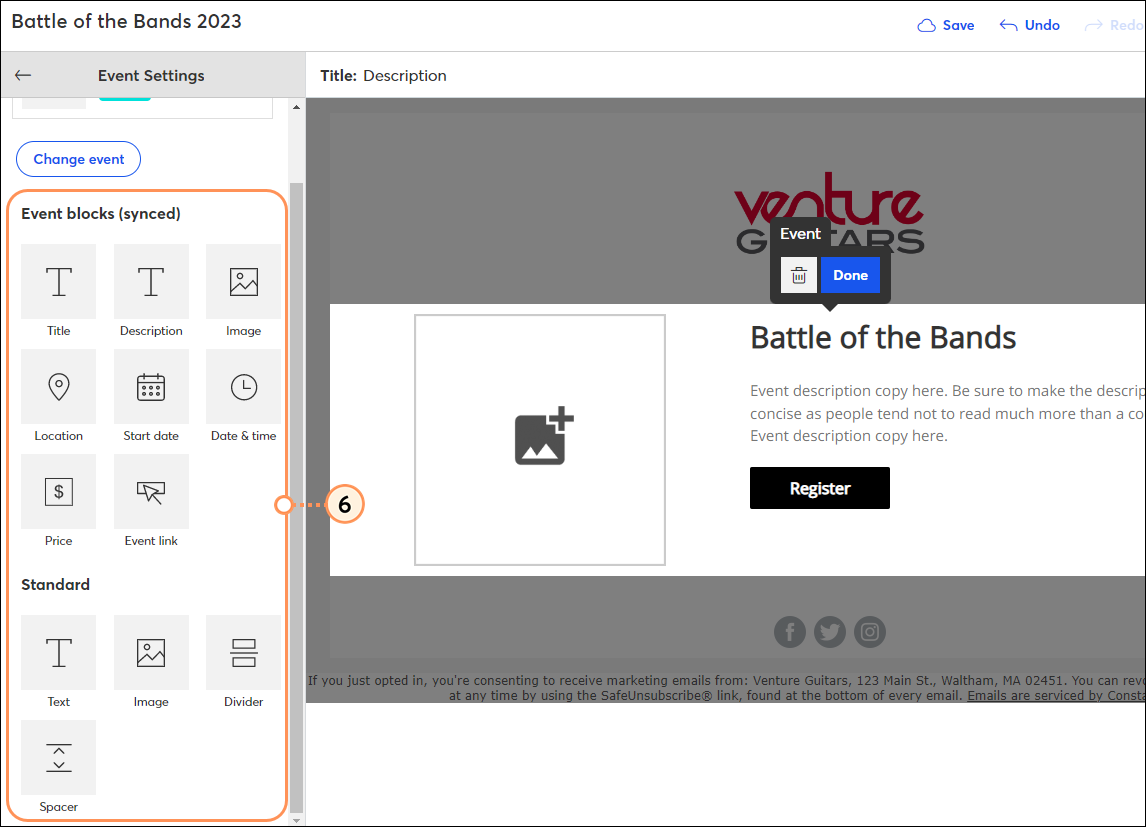
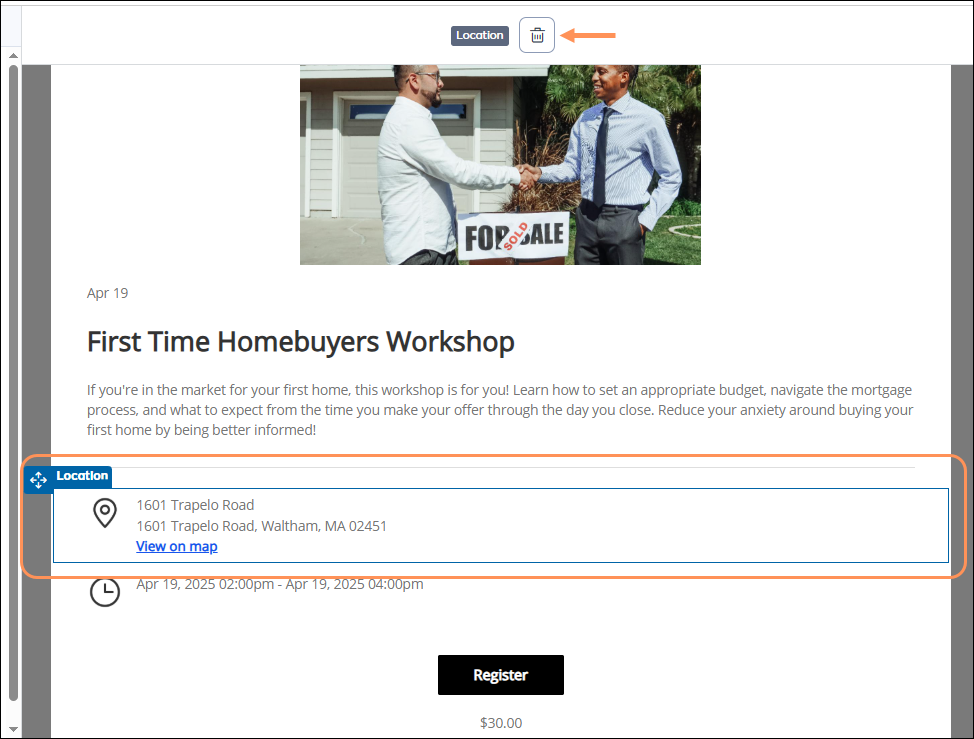
You can customize the event block by removing any unwanted elements. For example, you could remove all but the “Register” button by clicking on the event block, hovering over each unwanted element, and clicking on the trash icon.
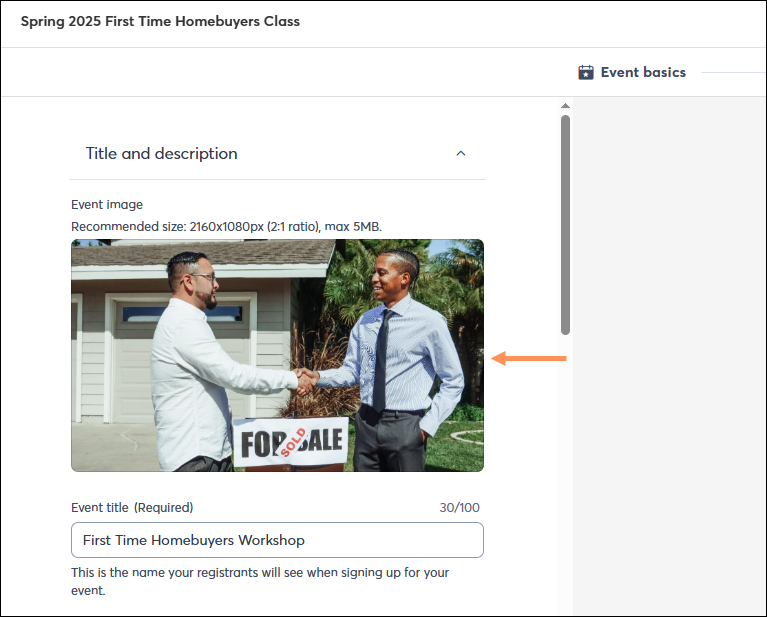
The elements within the event block are synced, meaning they pull in the corresponding information directly from the chosen event. For this reason, they are not editable. For example, the synced event image block will always pull the image set for the event itself.
| Image set within Event Editor | Synced Image Block within Event Landing Page |
 |  |
Adding Standard Blocks to the Event Landing Page
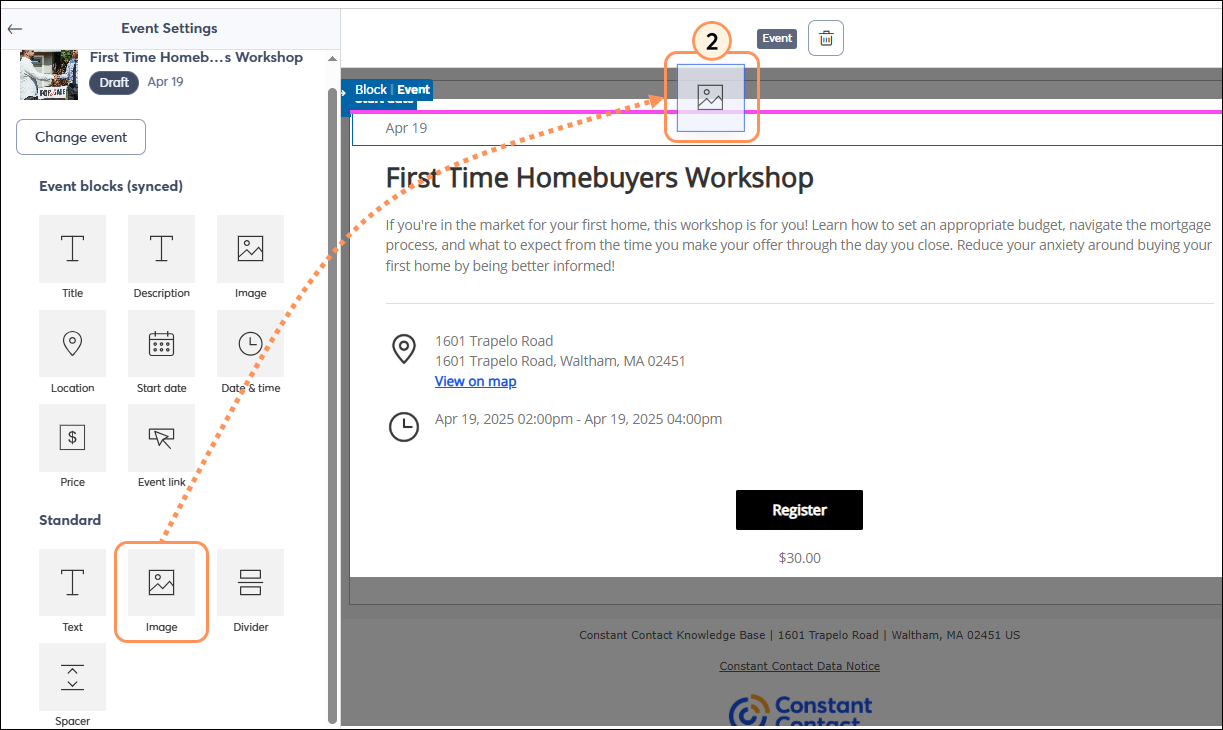
Standard blocks can also be added to your landing page - in addition to the event block or to replace elements of the event block if you wish. For example, if you want to swap out the synced event image within your landing page:
Synced Blocks vs Standard Blocks
Keep in mind that standard blocks within the event landing page will not automatically update if you change information for your event. For example, if you add a standard text block and use it for the event description in your landing page, it will not update if you change your event description within the event editor - only the synced event description block will.
Additionally, if you copy an existing event landing page to use for a new event, standard blocks will not dynamically update based on the new event selected, but synced blocks will. For example, if you have the synced “event link” block in an existing landing page, and you copy the landing page to use for another event, the event link block will automatically point to the registration URL for the new event. If you notice that the registration button is pointing to the wrong event, it may be that a standard button block was used in the landing page, which would not update to point to the new event. Therefore, we recommend using synced blocks, particularly if you plan to re-use an existing landing page for multiple events.
| Synced Event Blocks - Event Block selected | Standard Event Blocks - Event Block selected | Standard Blocks - from Build menu |
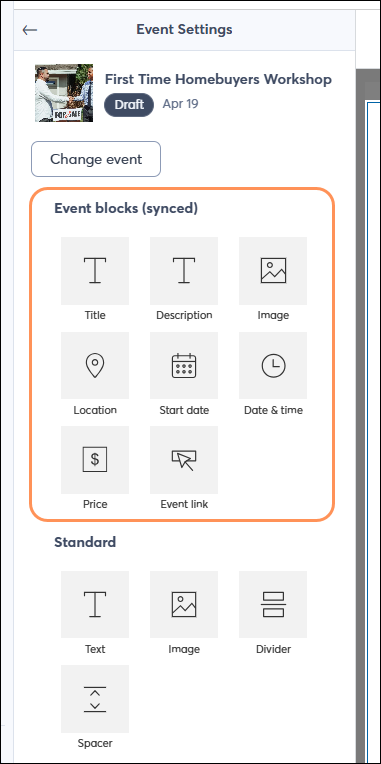 | 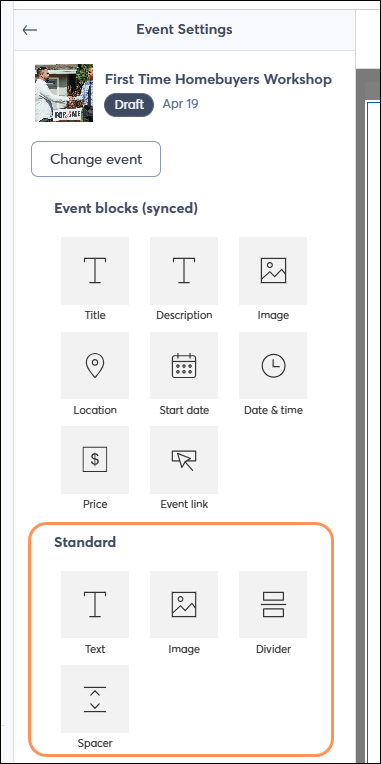 | 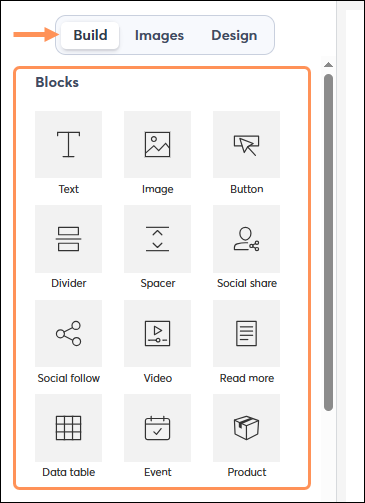 |
Copyright © 2026 · All Rights Reserved · Constant Contact · Privacy Center