Add contacts
On Android, complete the following steps:
- Tap the
 Menu icon.
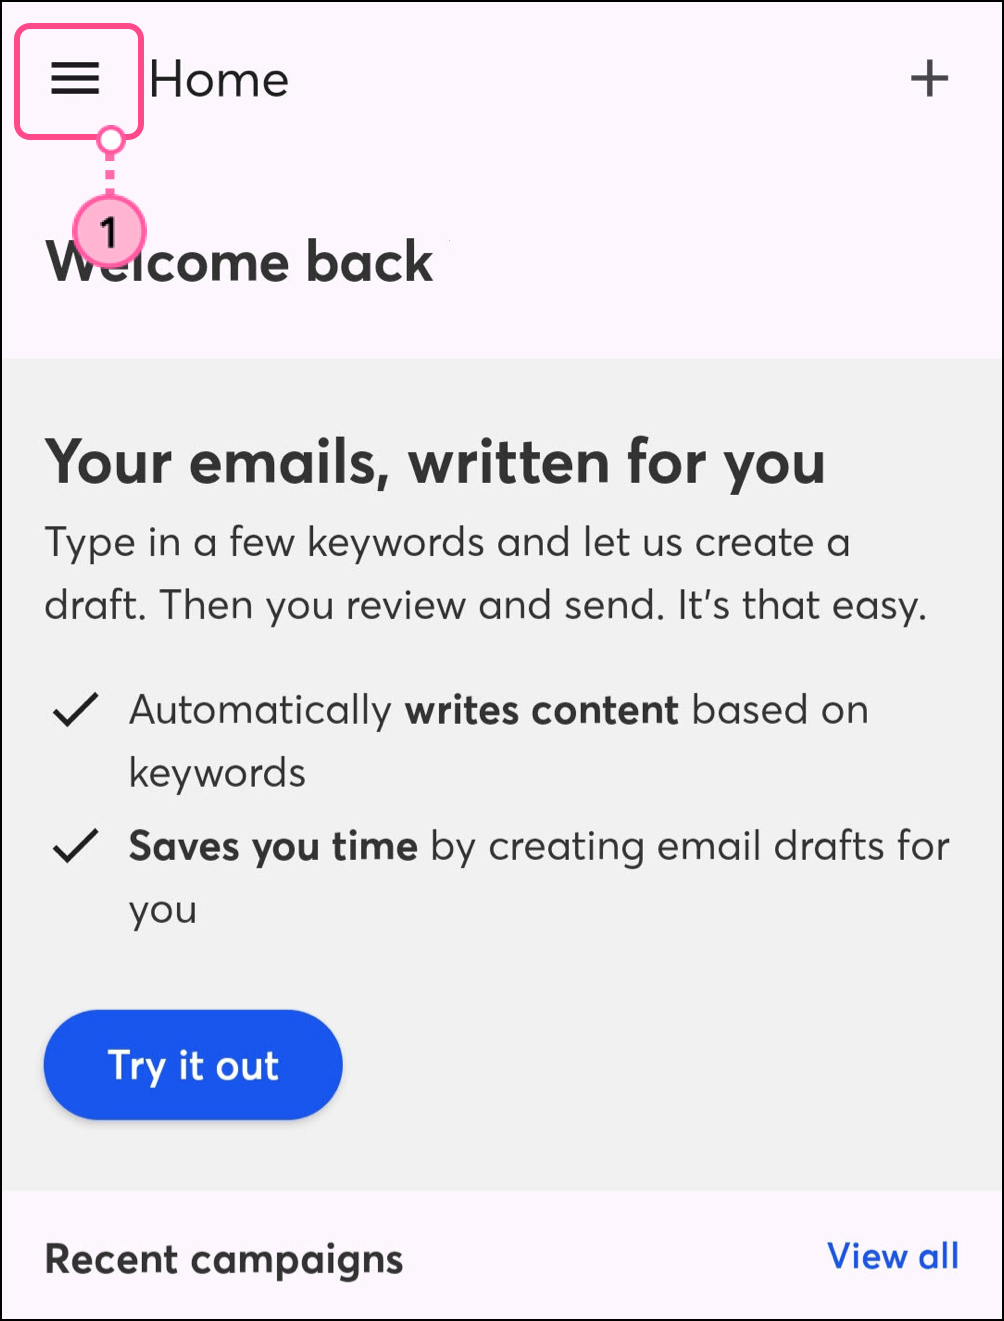
- Select Contacts.
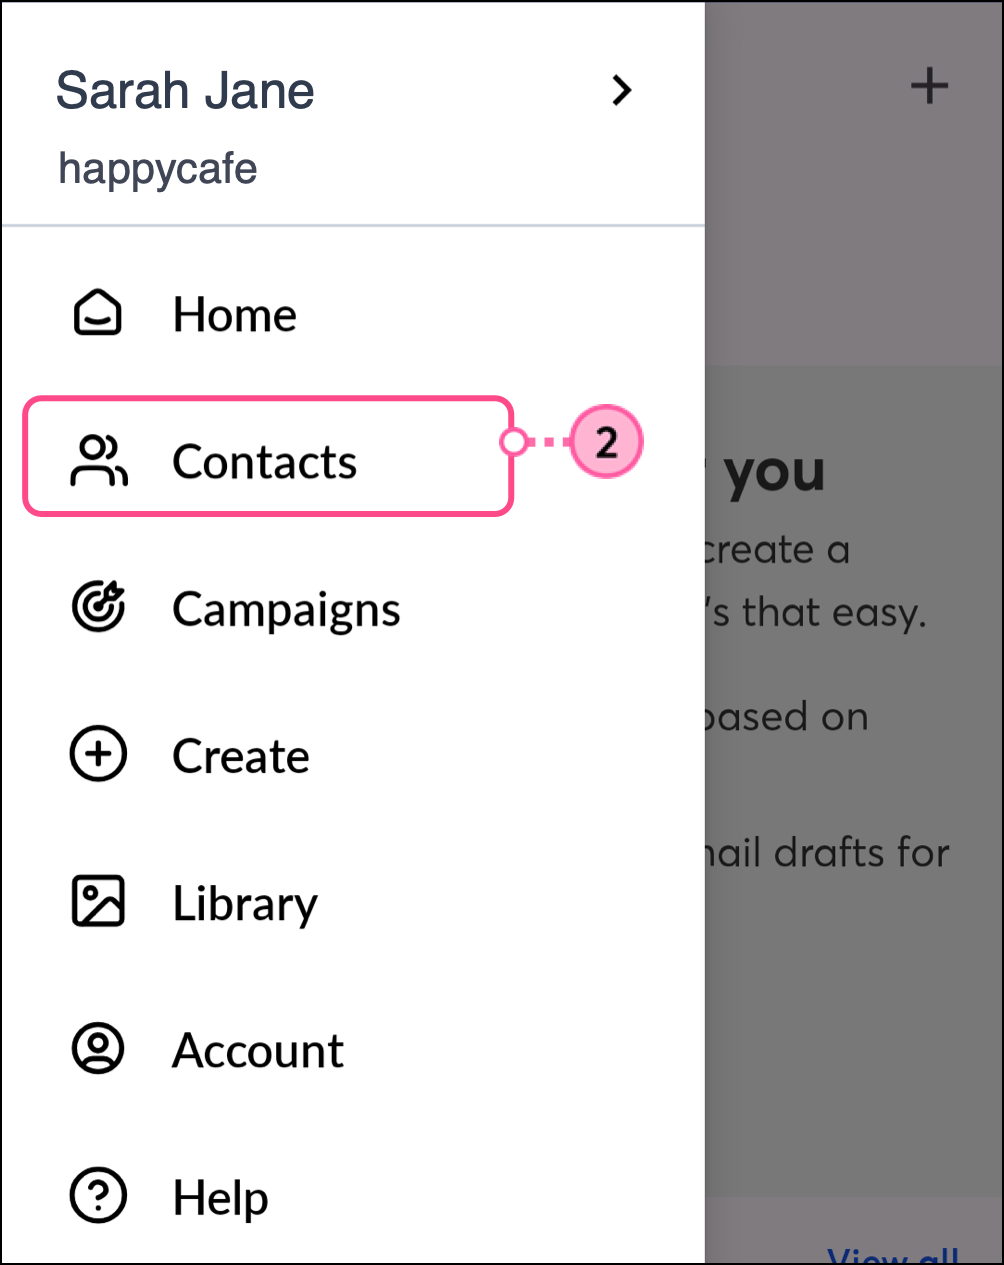
- Tap the
 plus icon in the bottom-right corner of the screen.
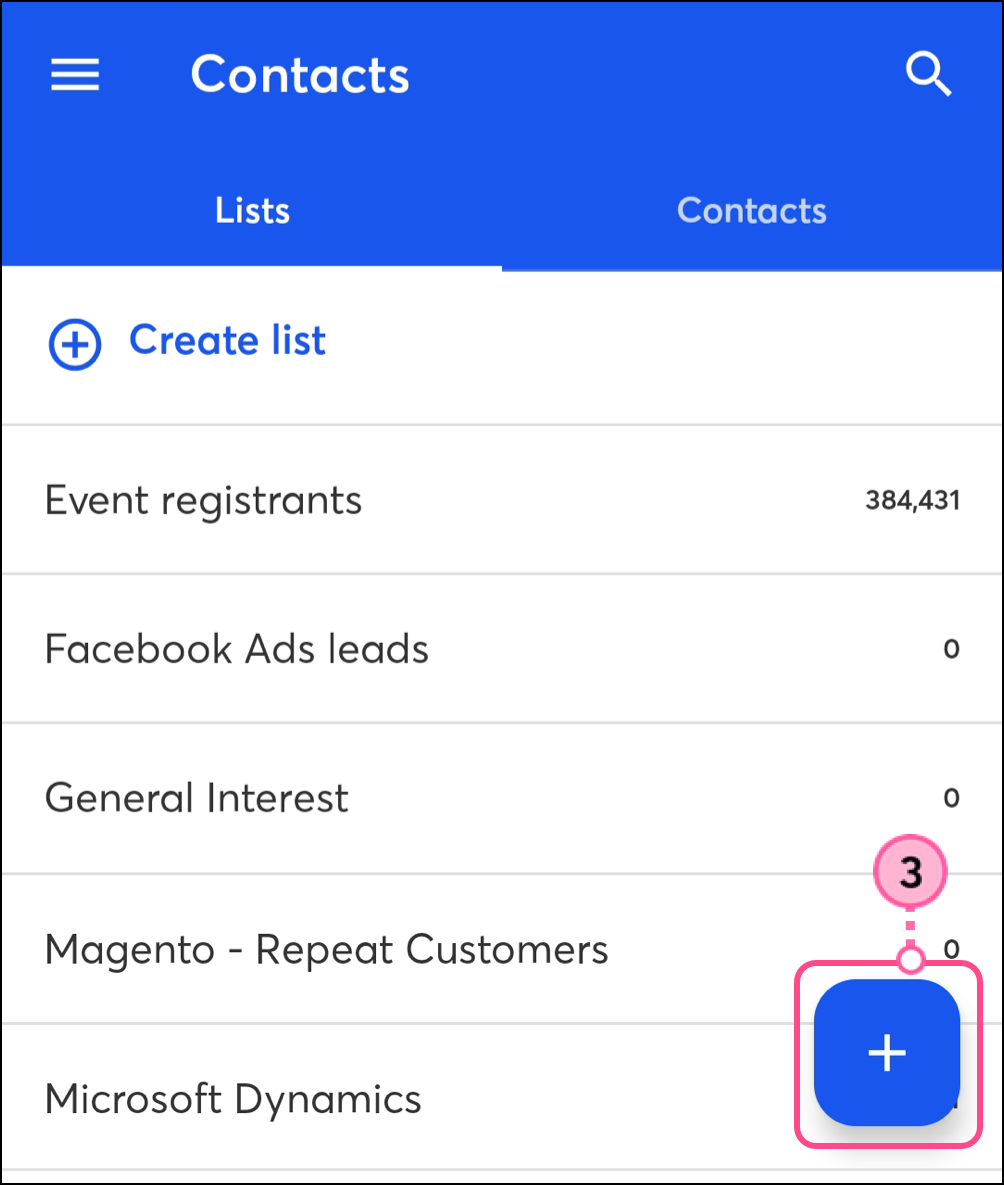
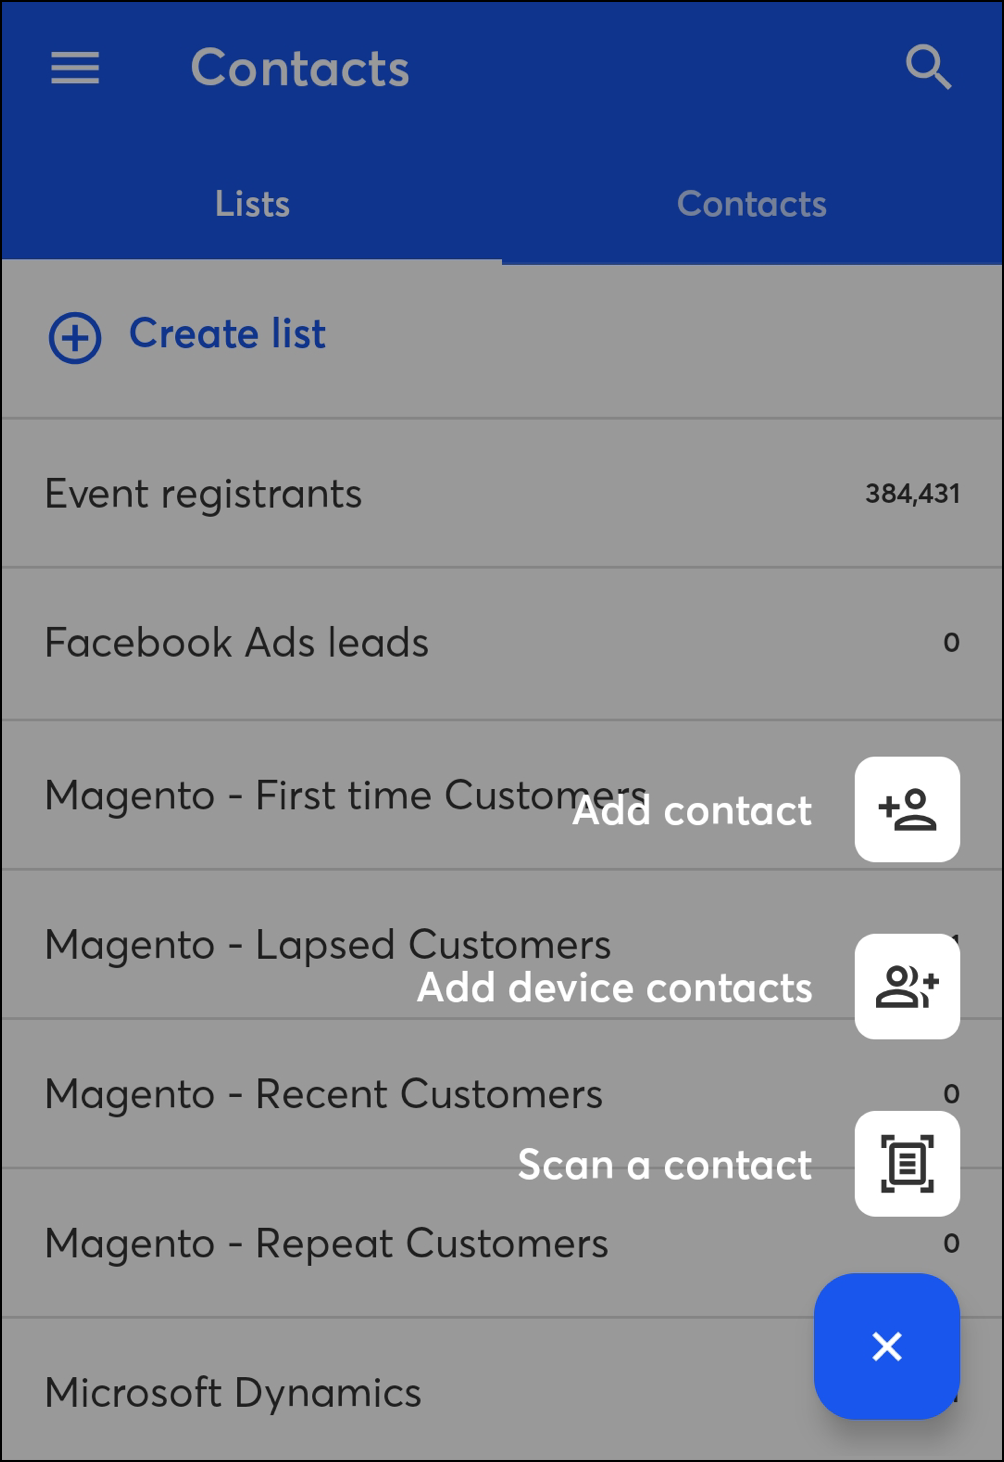
- Choose how you'd like to add your contact:
- Add contact - Manually add a single contact to your account.
- Add device contacts - Import multiple contacts that are stored on your mobile device.
- Scan a contact - Add a contact to your account by taking a photo of a business card or other physical material with the contact's email address on it.
On iOS, complete the following steps:
- Tap the Add contact button on the home screen and choose your method to add a new contact, or tap Contacts from the navigation menu.
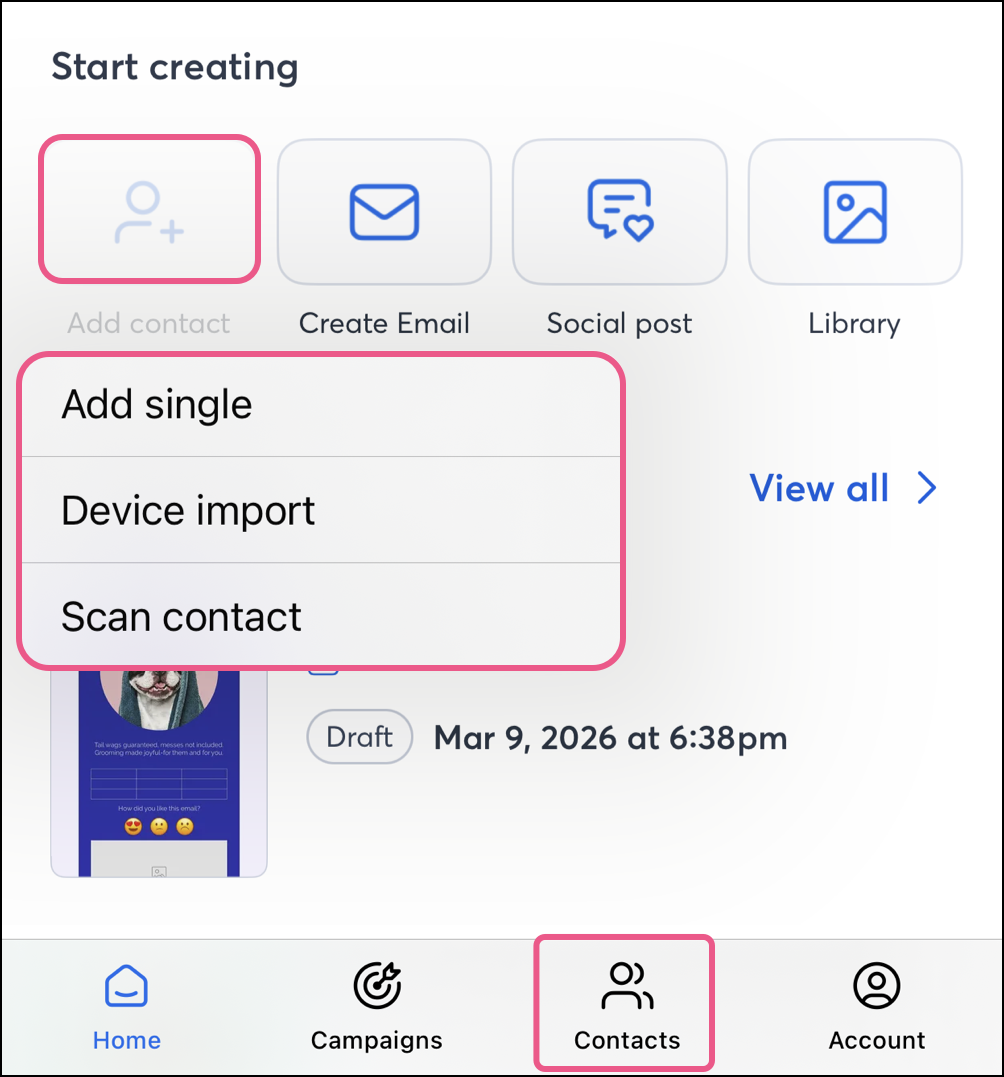
- If you've navigated to the Contact tab, choose how you'd like to add your contact:
- Manually add a single contact to your account.
- Import multiple contacts that are stored on your mobile device.
- Add a contact to your account by taking a photo of a business card or other physical material with the contact's email address on it.
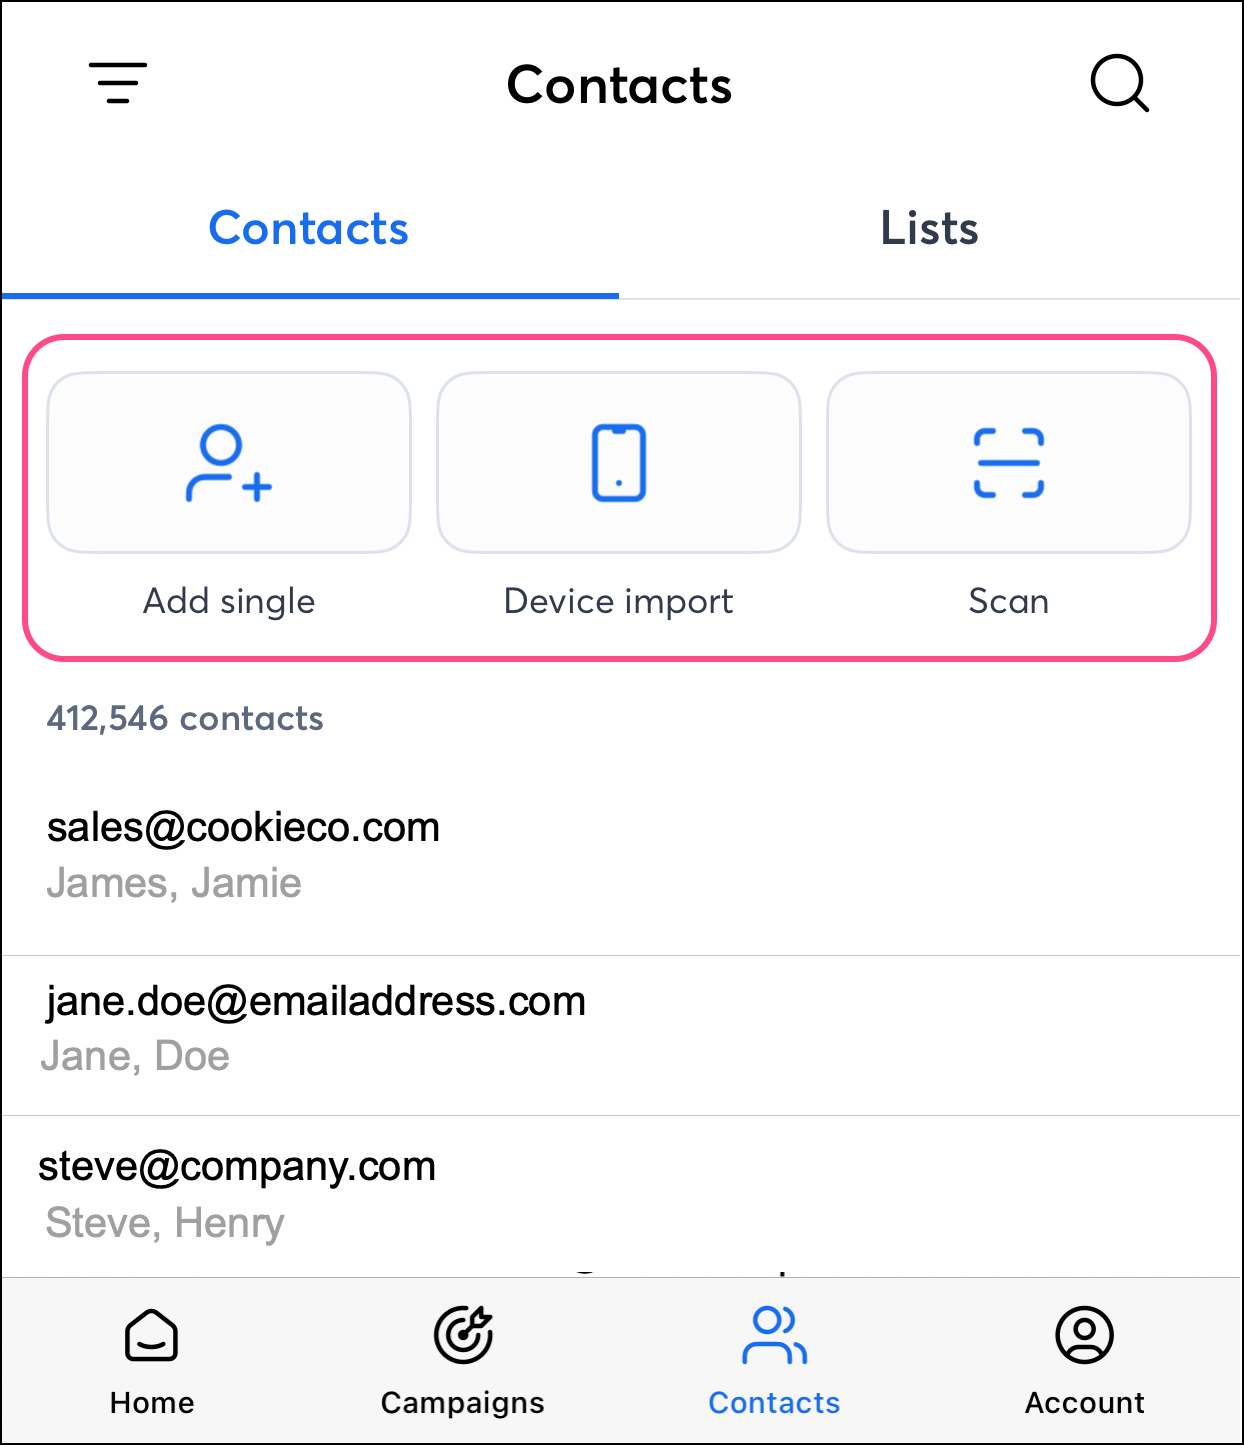
Add a single contact:
On Android and iOS, complete the following steps to add a single contact in the mobile application:
- Tap Add Contact on Android, or Add Single on iOS.
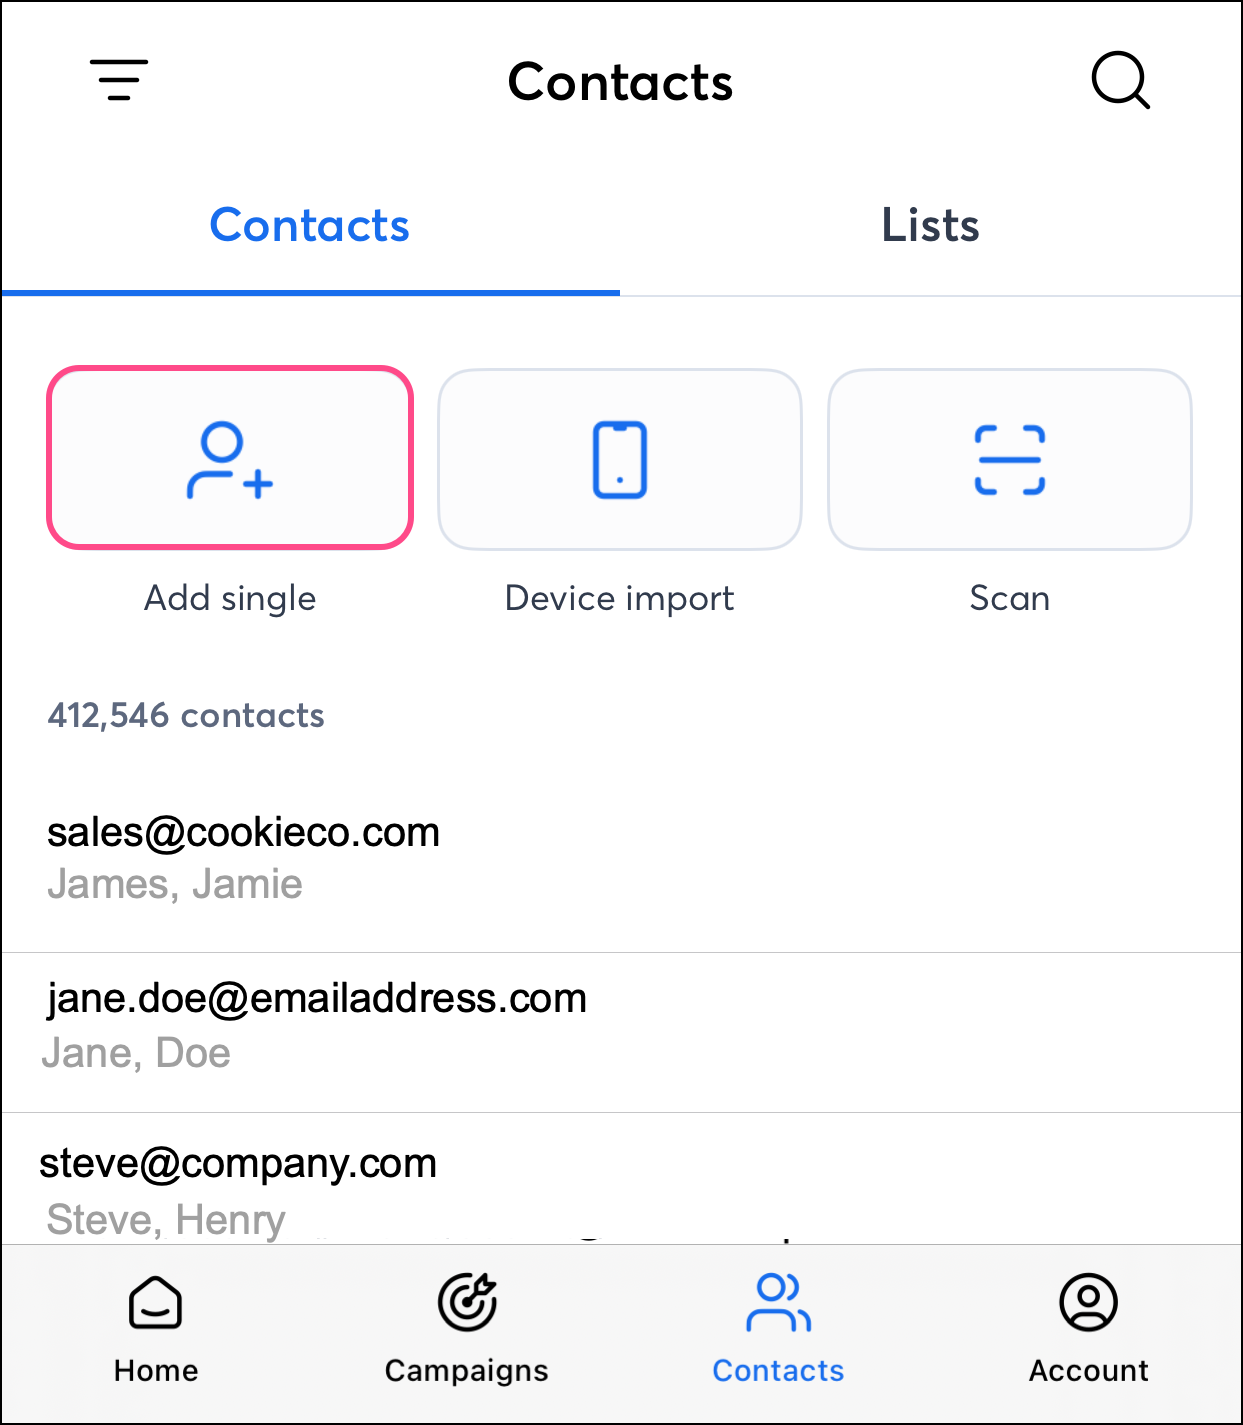
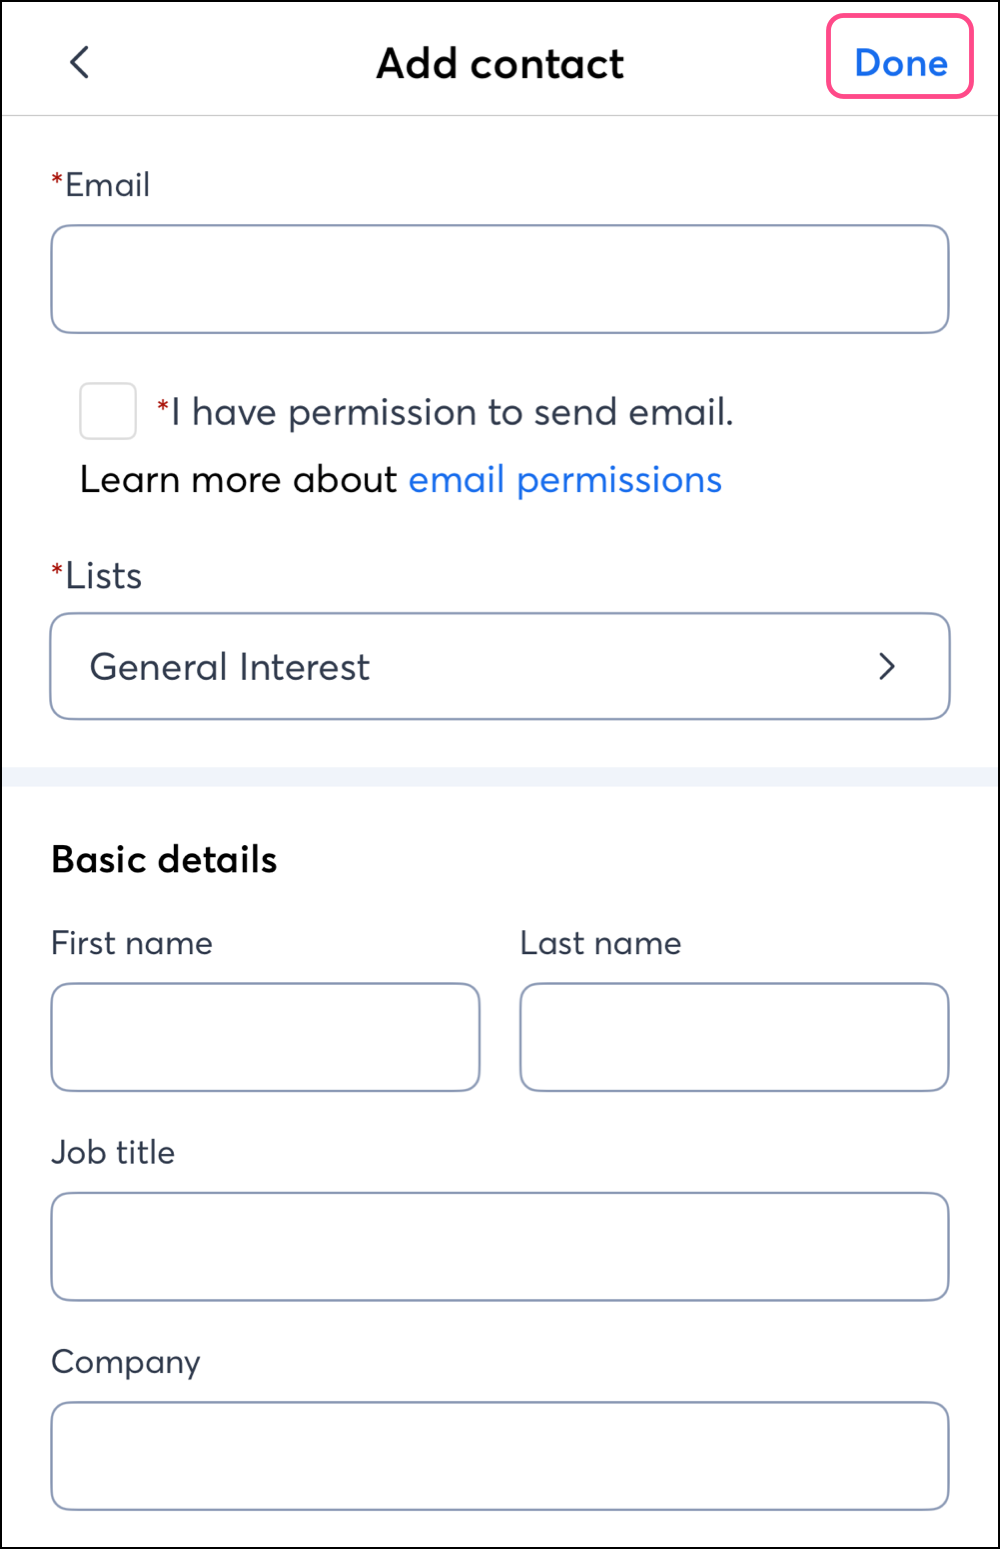
- Fill out the new contact details:
- Enter an email address for your contact.
- Tap to confirm that you have permission to send the contact email.
- Select the email list(s) you'd like to add the contact to and then tap Done.
- Optionally, enter your contact's first and last name, job title, company, phone number(s), and physical address(es).
- Tap Save on Android, or Done on iOS.
Add device contacts
On Android and iOS, complete the following steps to import your phone contacts:
- Tap Add device contacts on Android, or Device import on iOS.
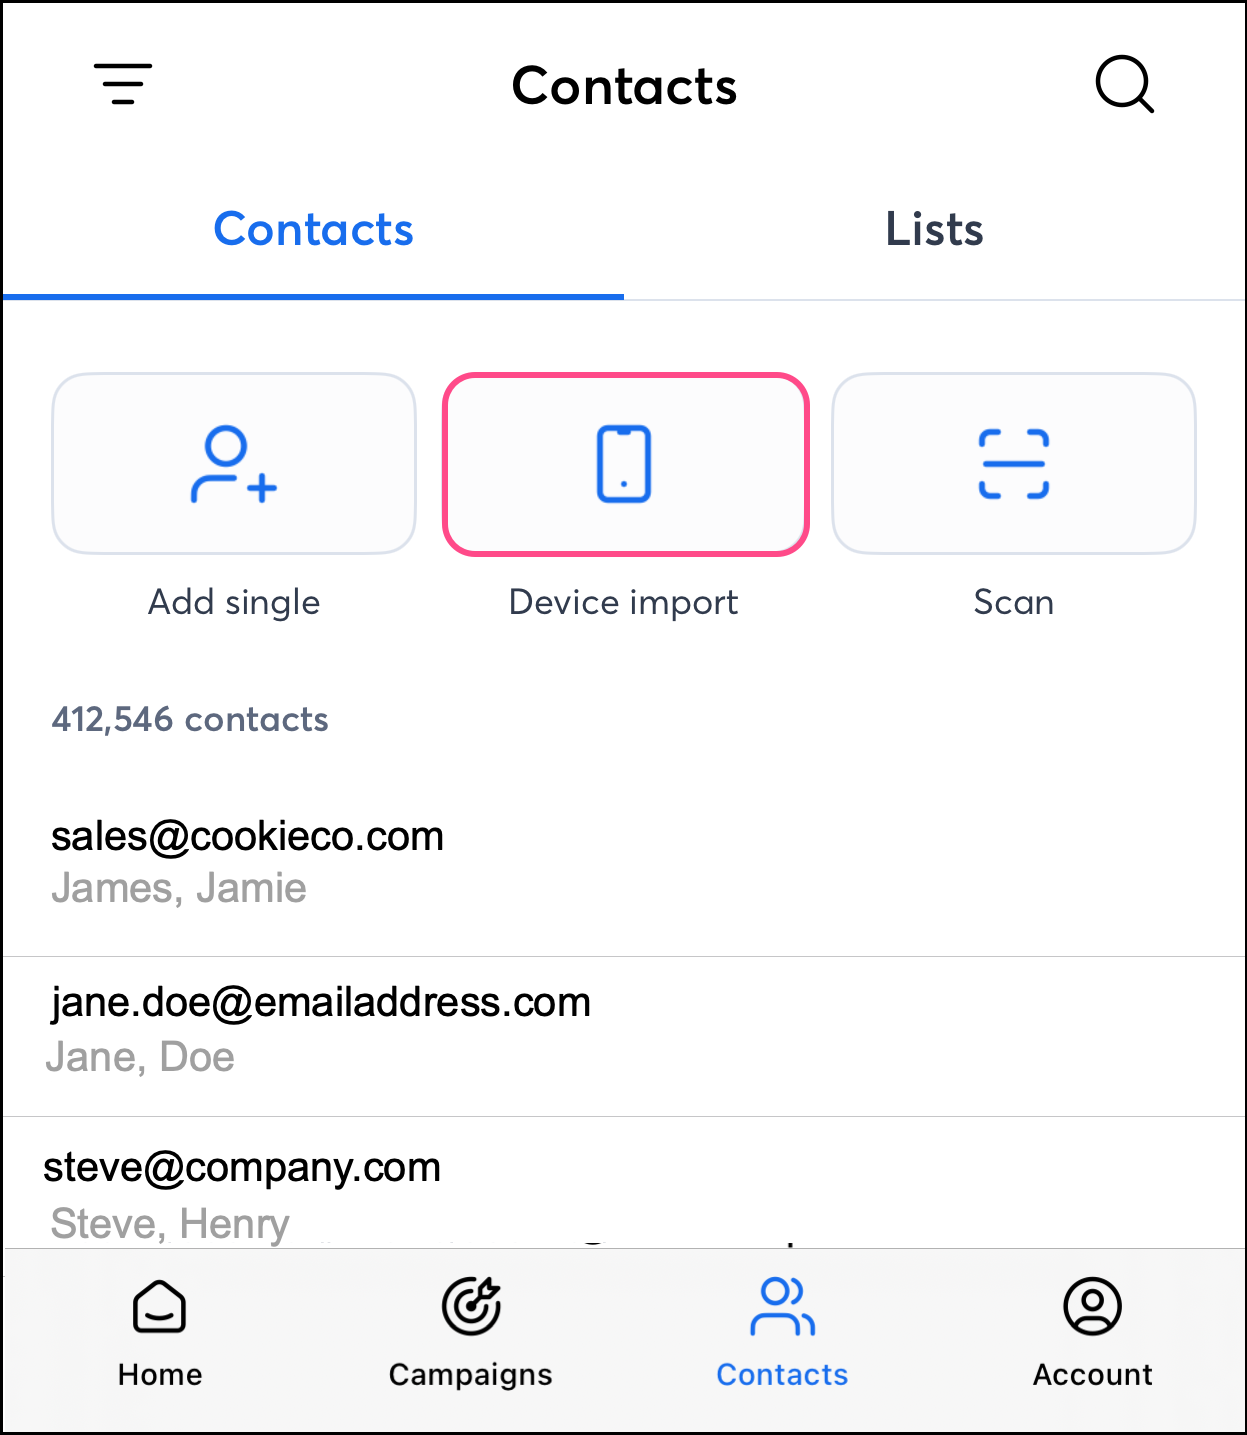
Note: You'll need to grant Constant Contact permission to access your phone's contacts first. If you have previously declined permissions, you'll need to go to your phone's settings to manage them.
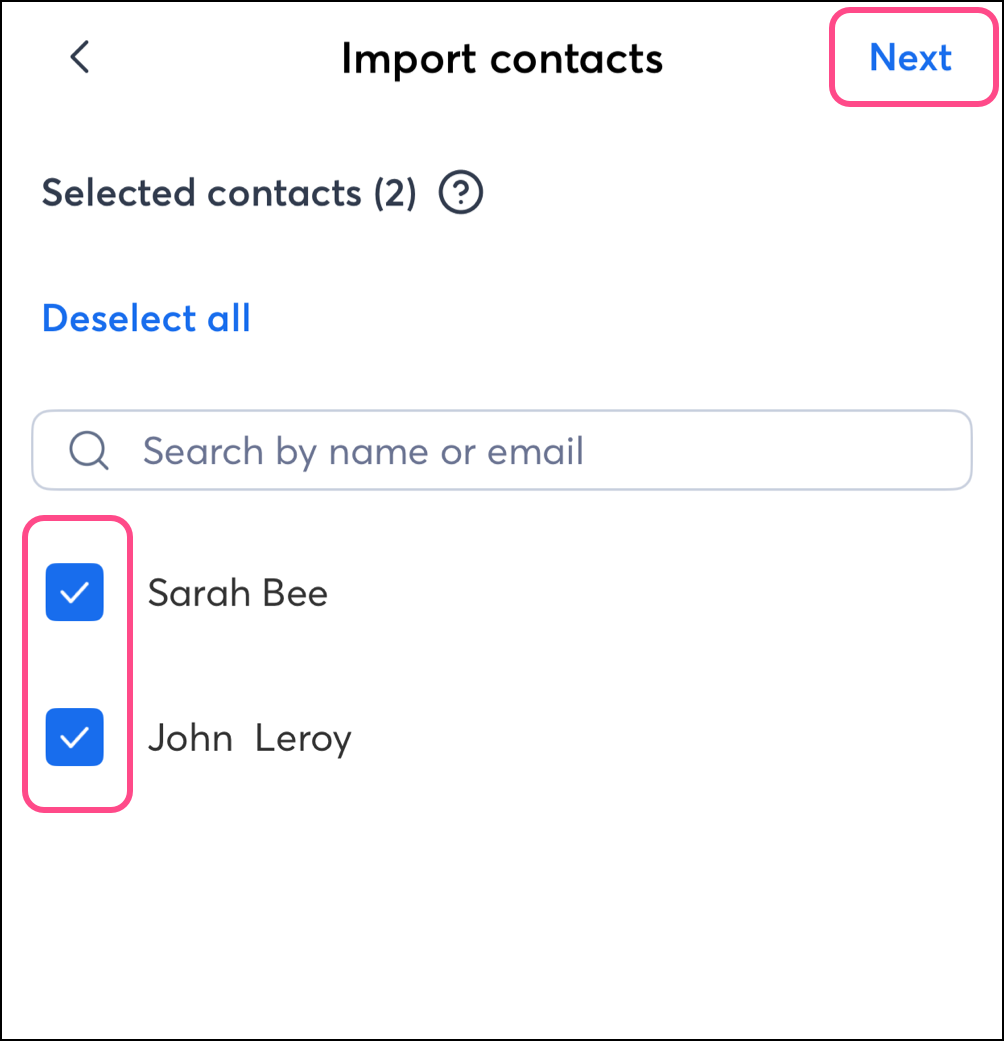
- Deselect any contacts you don't want to import from your device.
- Tap Next.
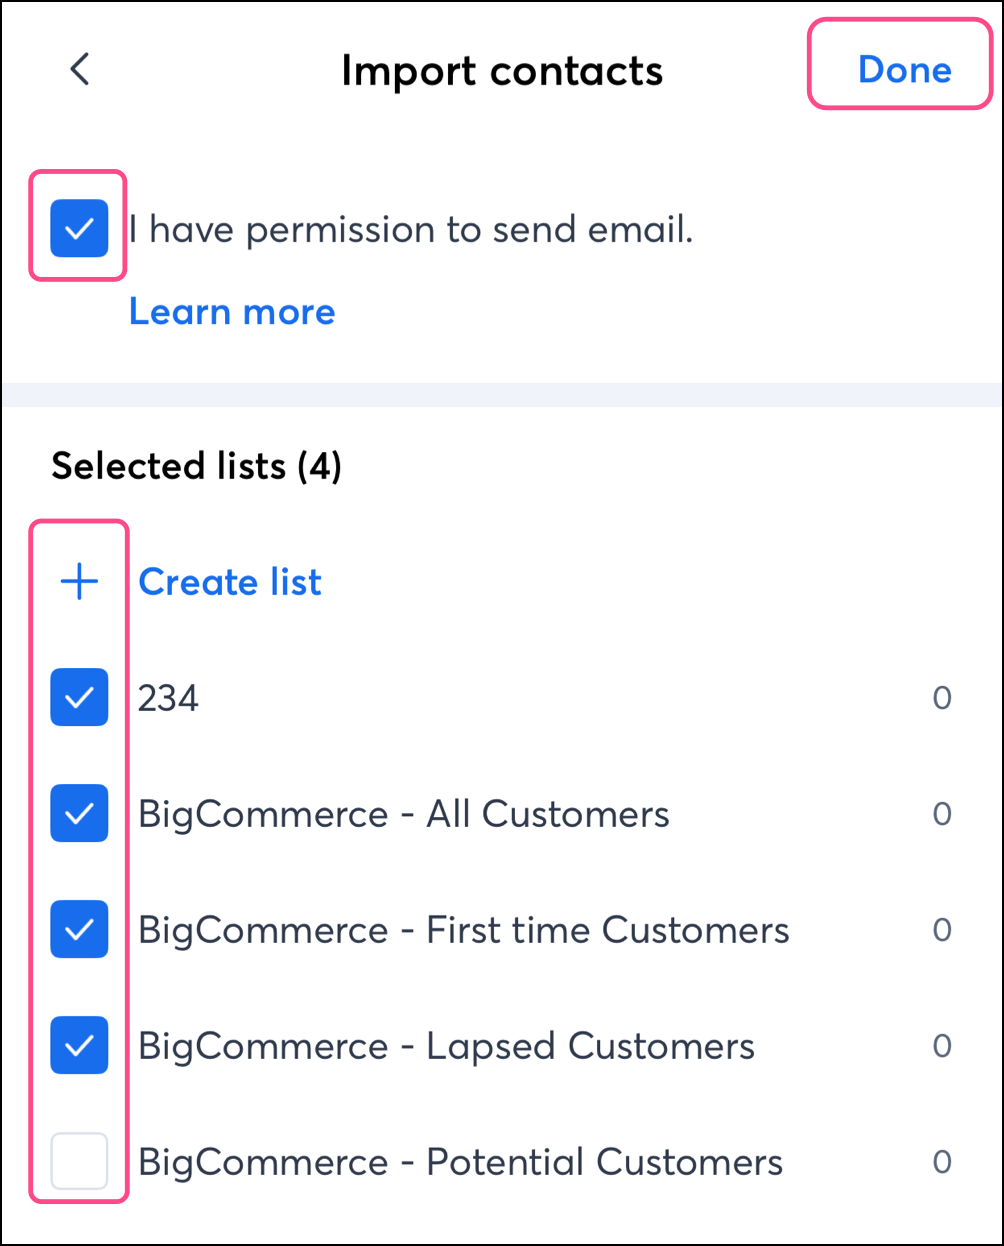
- Check the box to confirm that you have permission to email these contacts.
- Choose the email lists you want to add the contacts to.
Note: To create a new list, tap + Create list. Enter a name for your list and tap Create.
- Tap Done.
Scan a contact
On Android and iOS, complete the following steps to scan a physical item (such as a business card or flyer) to import a contact's information:
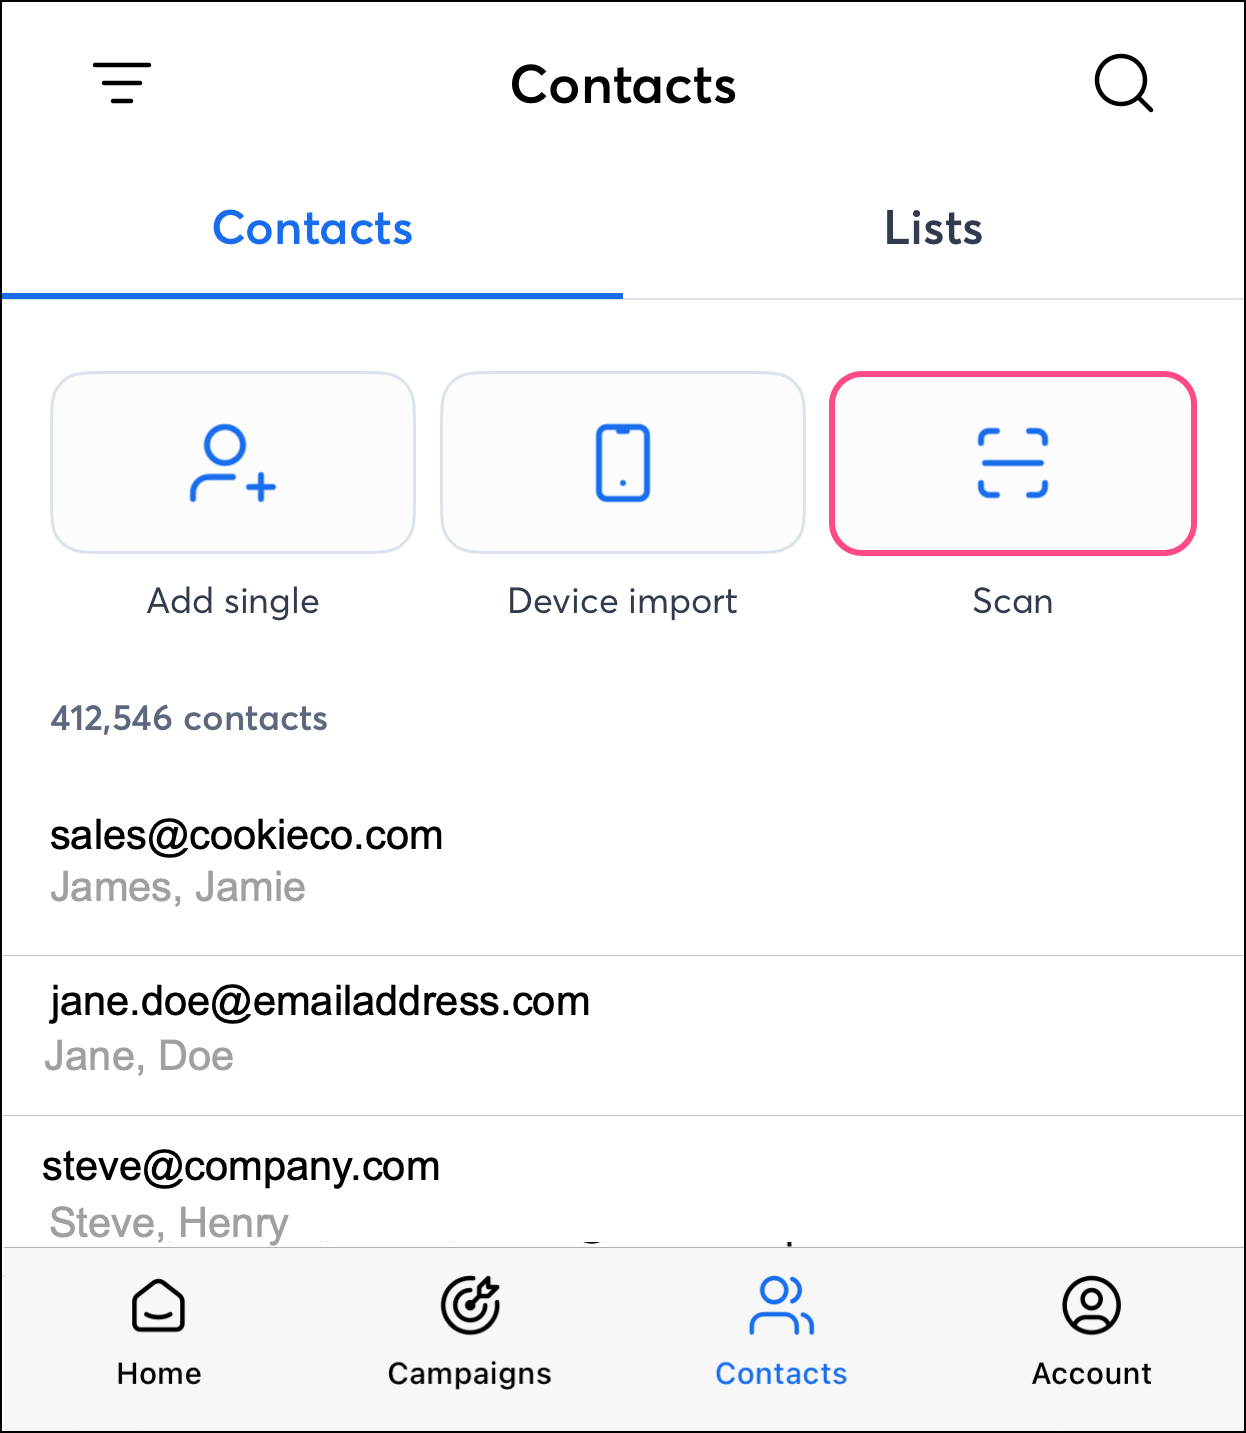
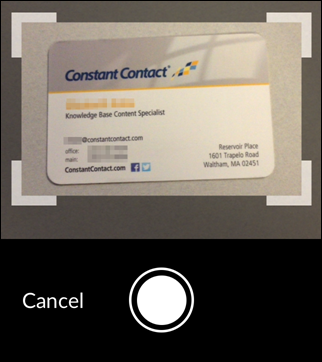
- Tap Scan a contact on Android, or tap Scan on iOS.
Note: Only the email address will be scanned into the contact info. If you haven't done so before, you'll need to grant Constant Contact access to the camera app to complete the scan.
- Place the card on a flat surface so that the text is horizontal, and center the viewfinder window over the card. Focus the image by tapping on your screen, and then tap the shutter button to take the image.
- Fill out any additional details that were not pre-filled from the scan:
- Tap to confirm that you have permission to send the contact email.
- Select the email list(s) you'd like to add the contact to and then tap Done.
- Optionally, enter your contact's first and last name, job title, company, phone number(s), and physical address(es).
- Tap Save on Android, or Done on iOS.
Search, sort, and view contacts
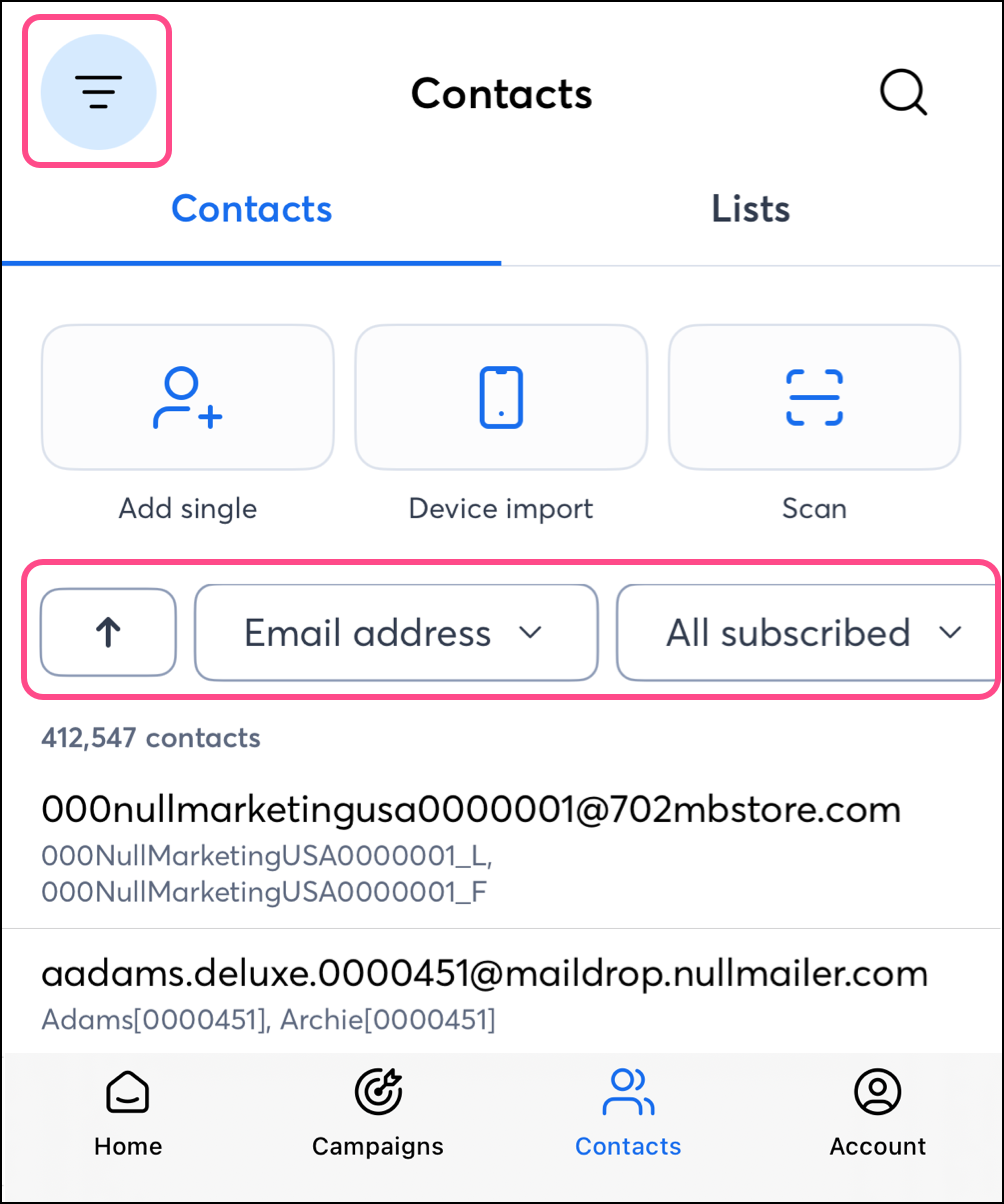
From the Contacts page, you can search through and filter your contacts. Use the Sort button to expand various available sort options, changing how your content is displayed:
- Ascending/Descending order arrow - Choose to display the newest created contact first or the oldest created contact first.
- Contact field - Choose to prominently display the Email, First name, Last name, Company name, or the Date added fields.
- Contact subscription status - Choose to display contacts regardless of subscription status, only subscribed contacts, only subscribed and confirmed contacts, only awaiting confirmation contacts, only temporary hold contacts, no permission set contacts, or unsubscribed contacts.
- List status - Choose to display contacts regardless of list statuses, contacts that are on a list, or contacts that are not on any lists.
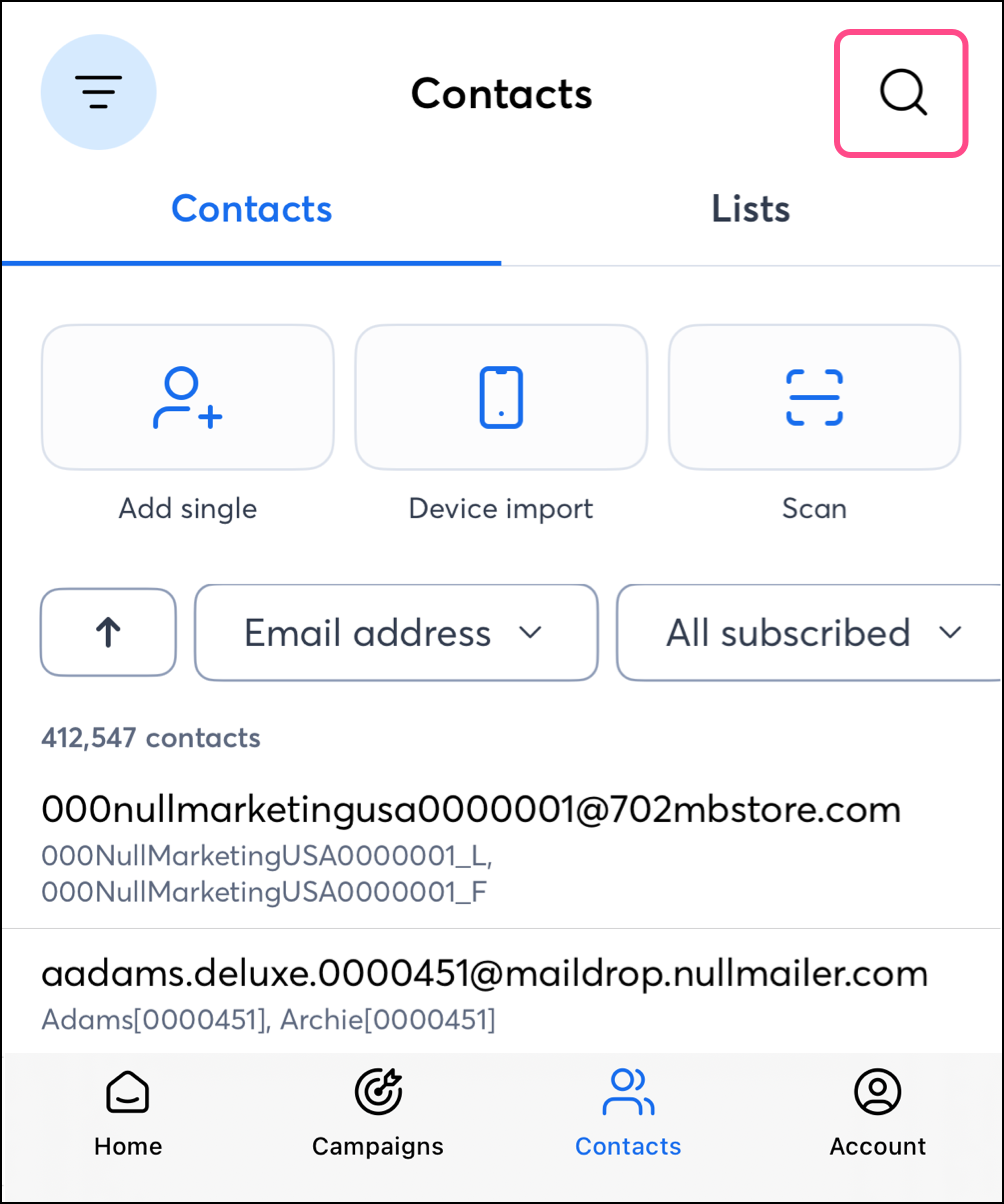
Use the search button to switch from creating new contacts to searching existing contacts.
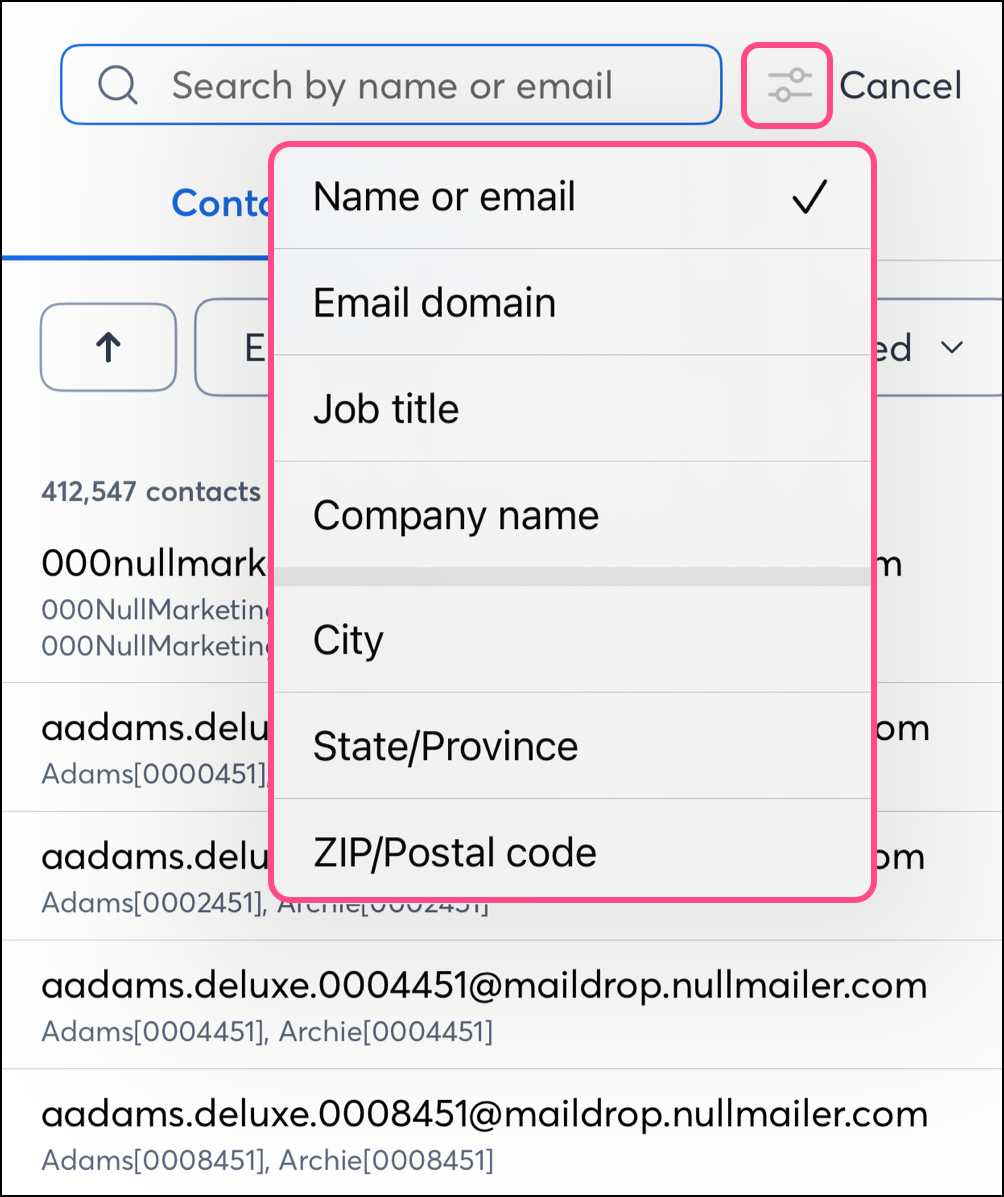
The Filter button lets you switch from searching by the contact's Name or email (default), to searching by:
- Email domain
- Job title
- Company name
- City
- State/Province
- Zip/Postal Code
This affects the results of the details entered in the search bar.
Once you've filtered or searched for your contact, tap on a contact to view their details.
Manage contacts on tablets
On tablet devices, tap the Add contact button on the home screen and choose your preferred method to add a new contact, or tap Contacts in the navigation menu at the top of the screen.
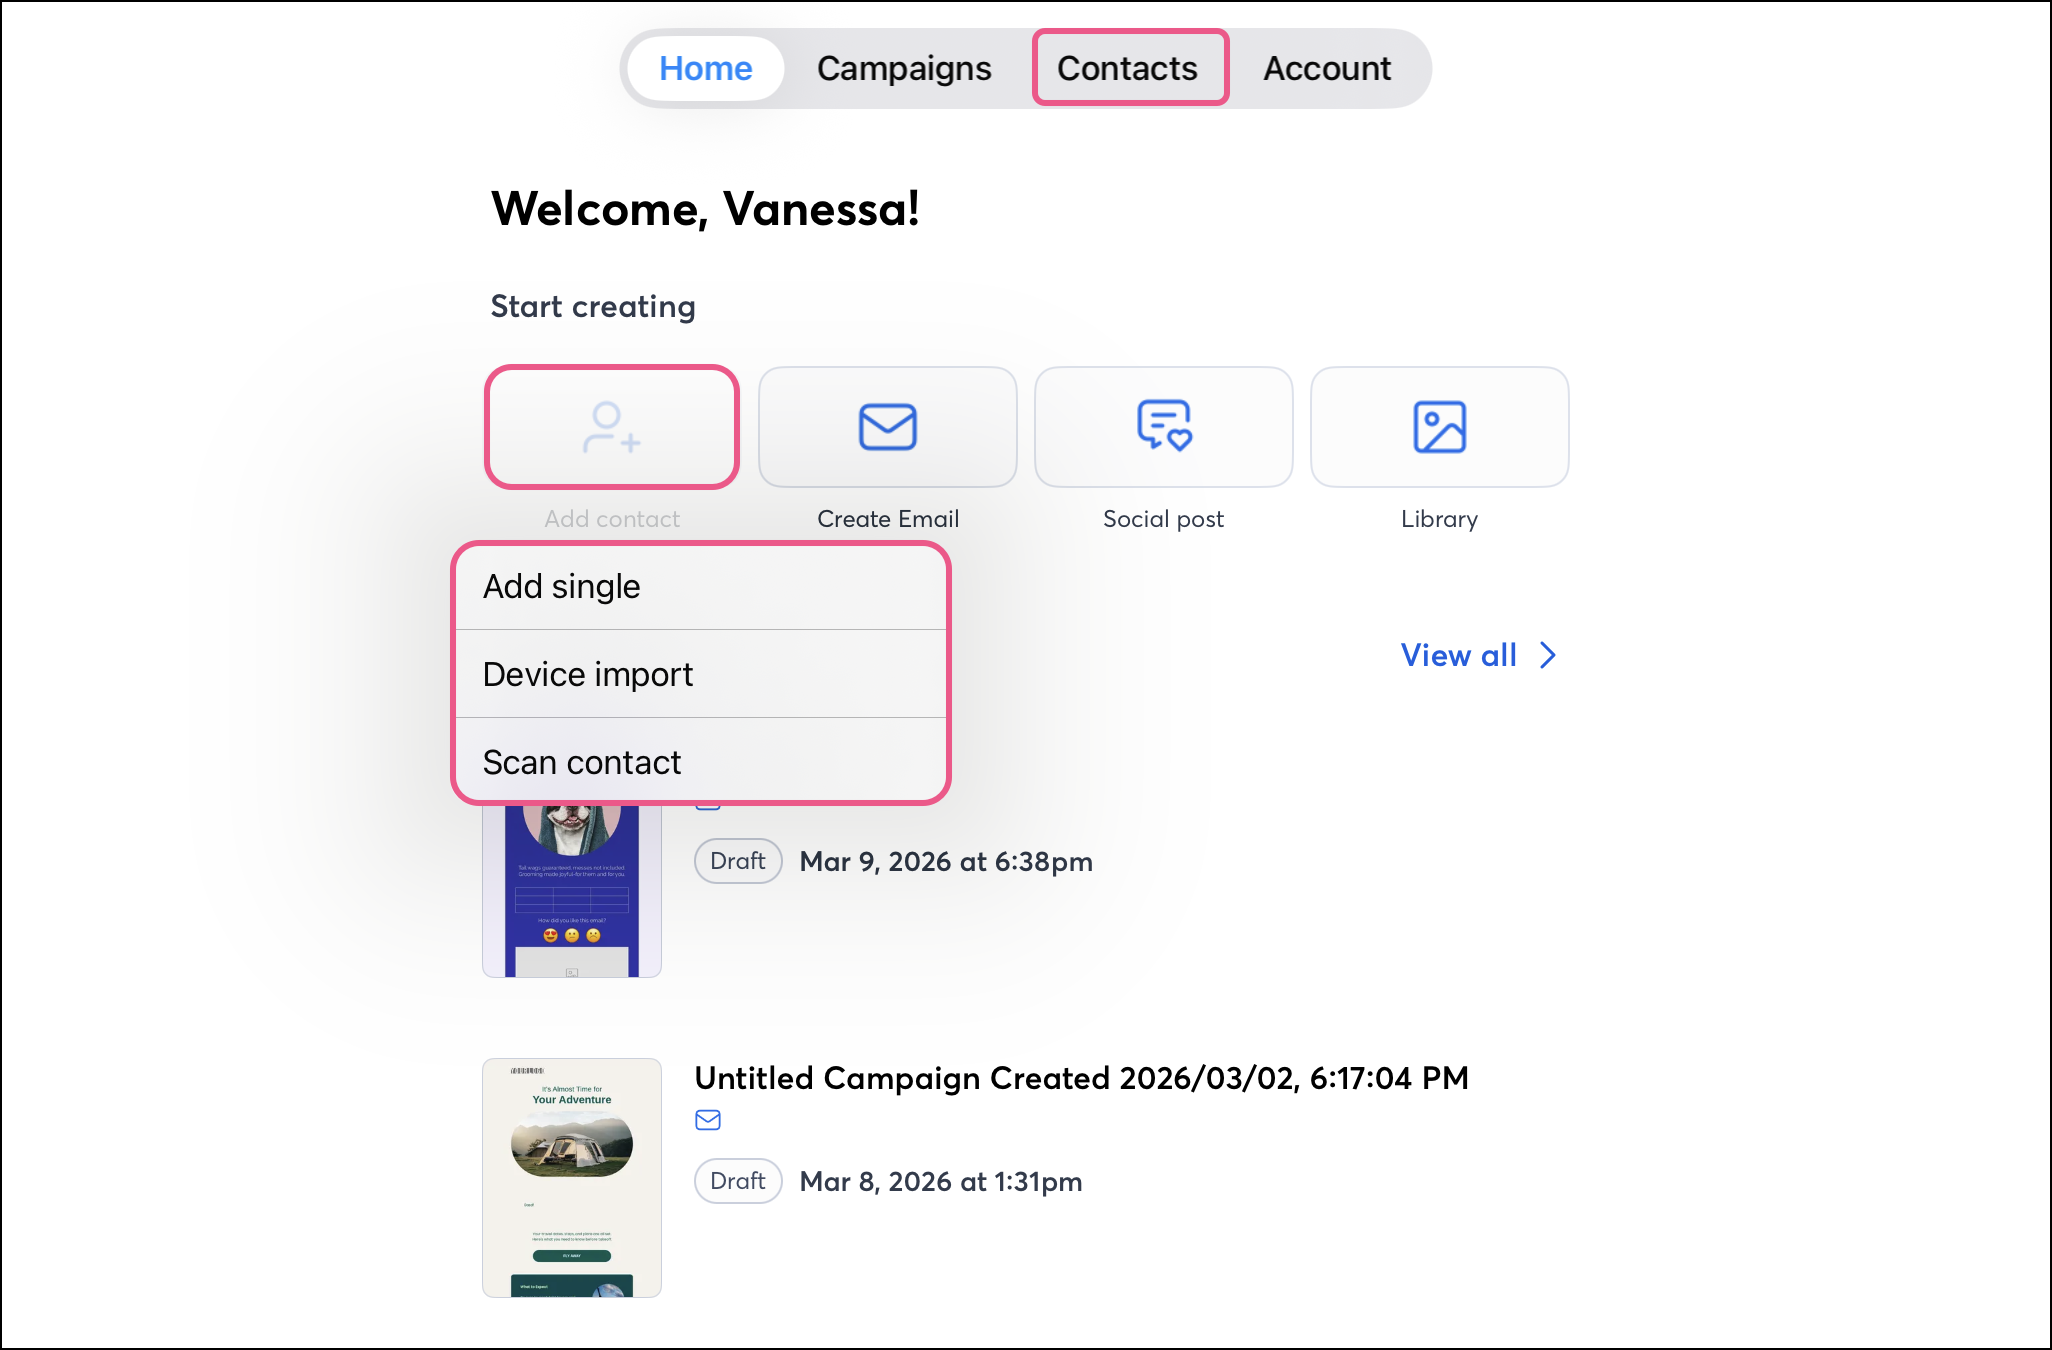
From the Contacts tab, the side-by-side layout optimizes the available screen space to make managing your contacts easier. Easily view or navigate through your Lists on the left while also managing your Contacts on the right.
To create new contacts, choose how you'd like to add your contact:
-
- Manually add a single contact to your account.
- Import multiple contacts that are stored on your mobile device.
- Add a contact to your account by taking a photo of a business card or other physical material with the contact's email address on it.
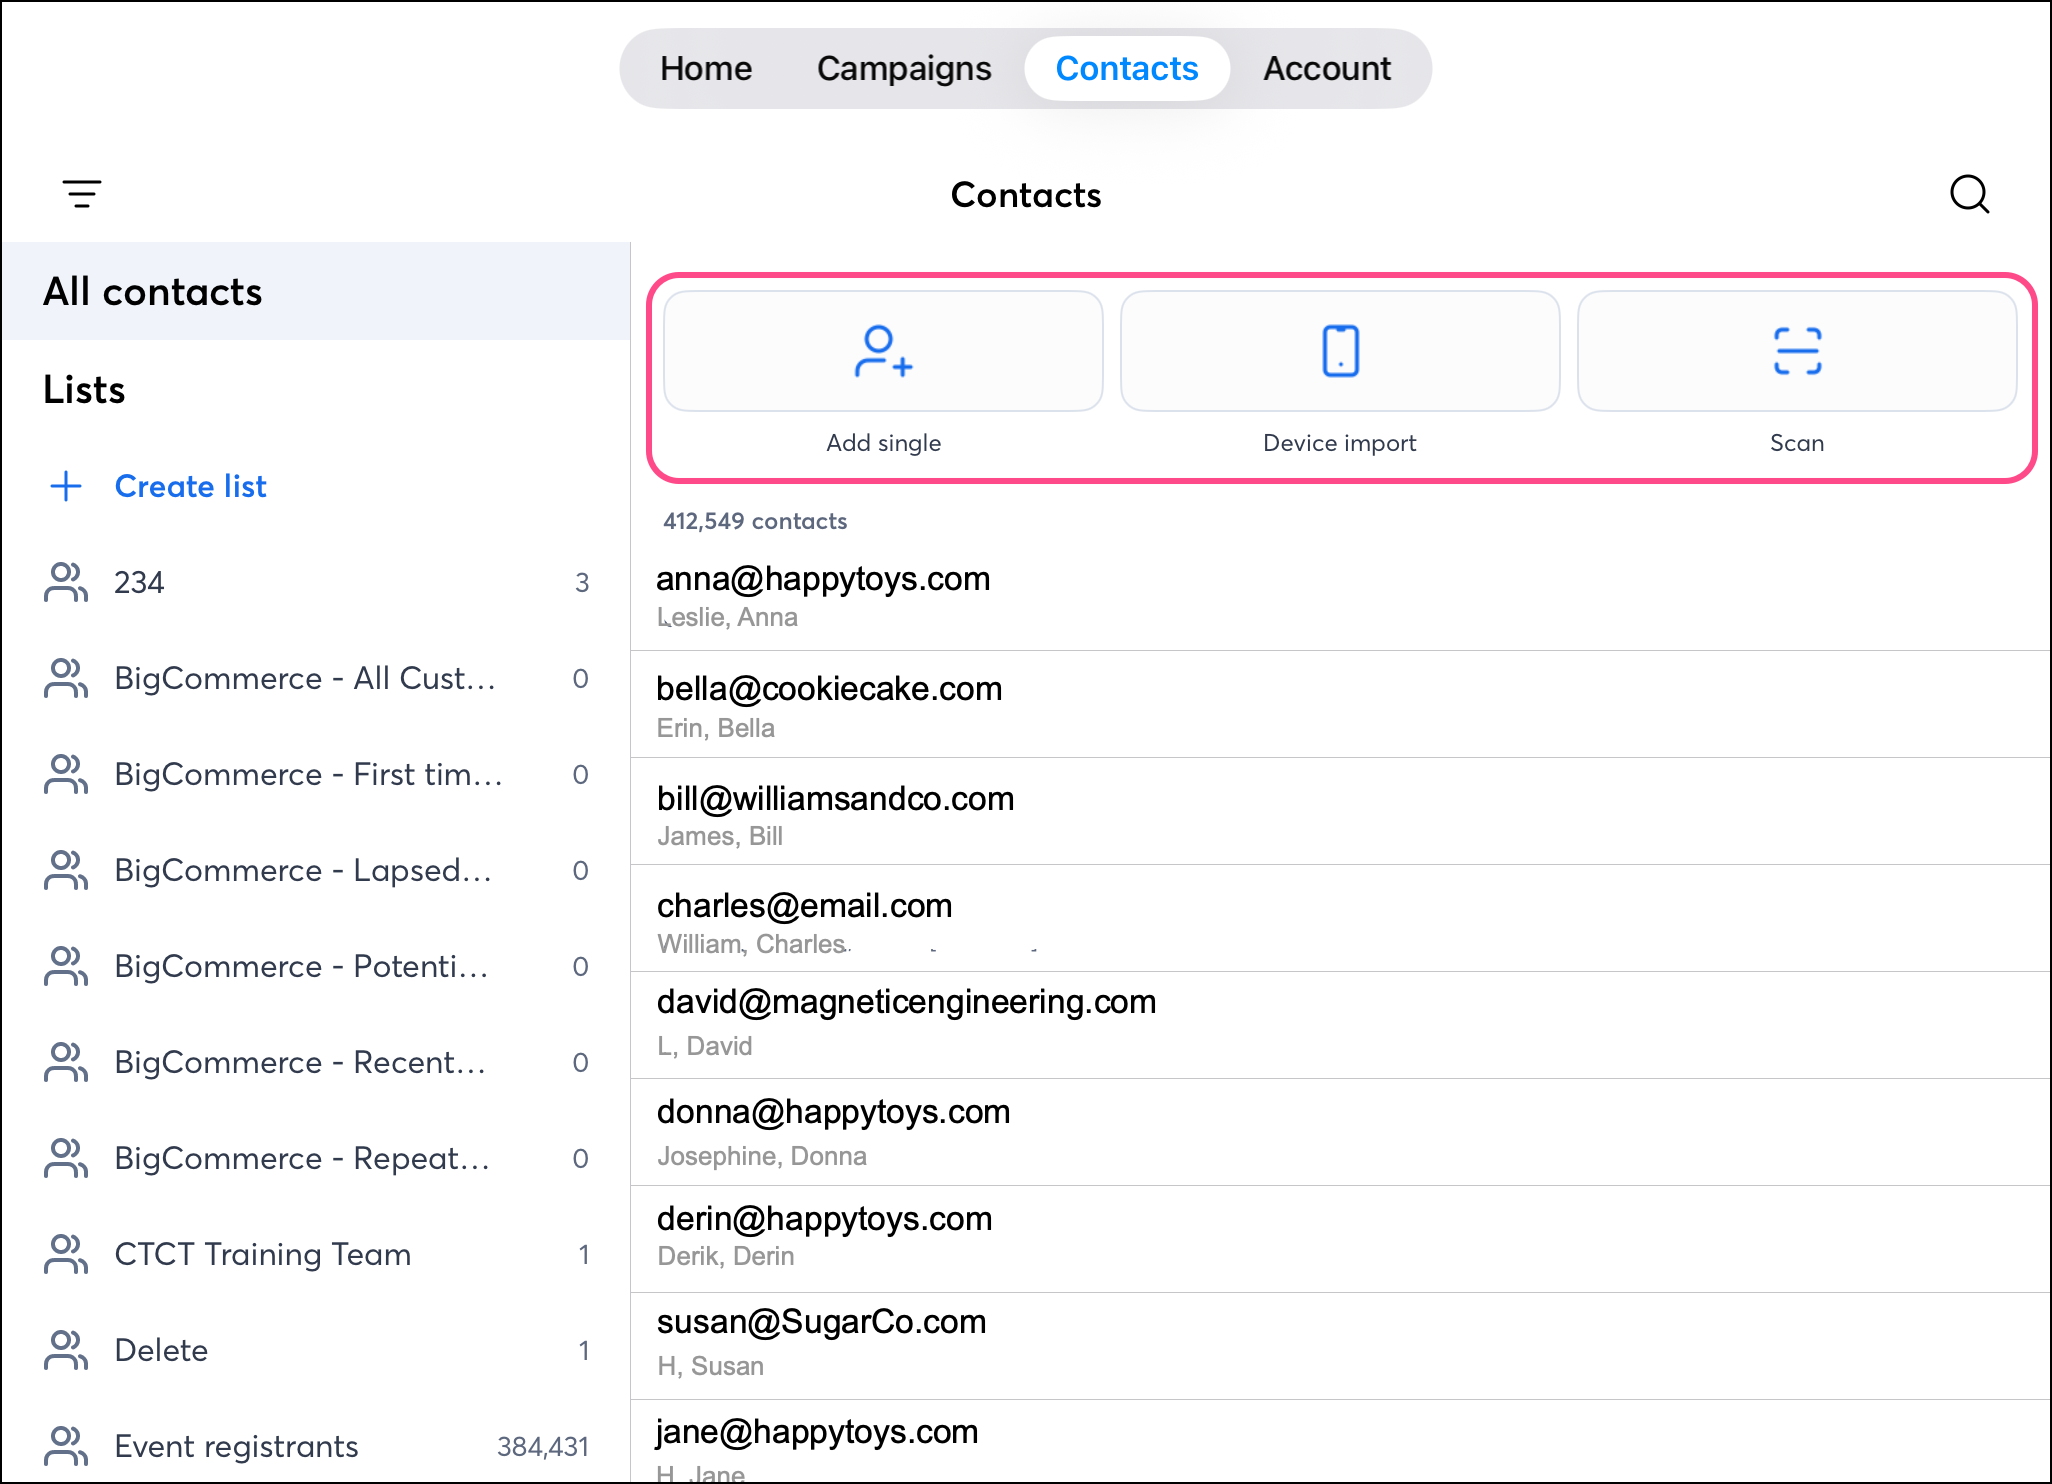
Tap the  Search icon to switch from adding contacts to the search field.
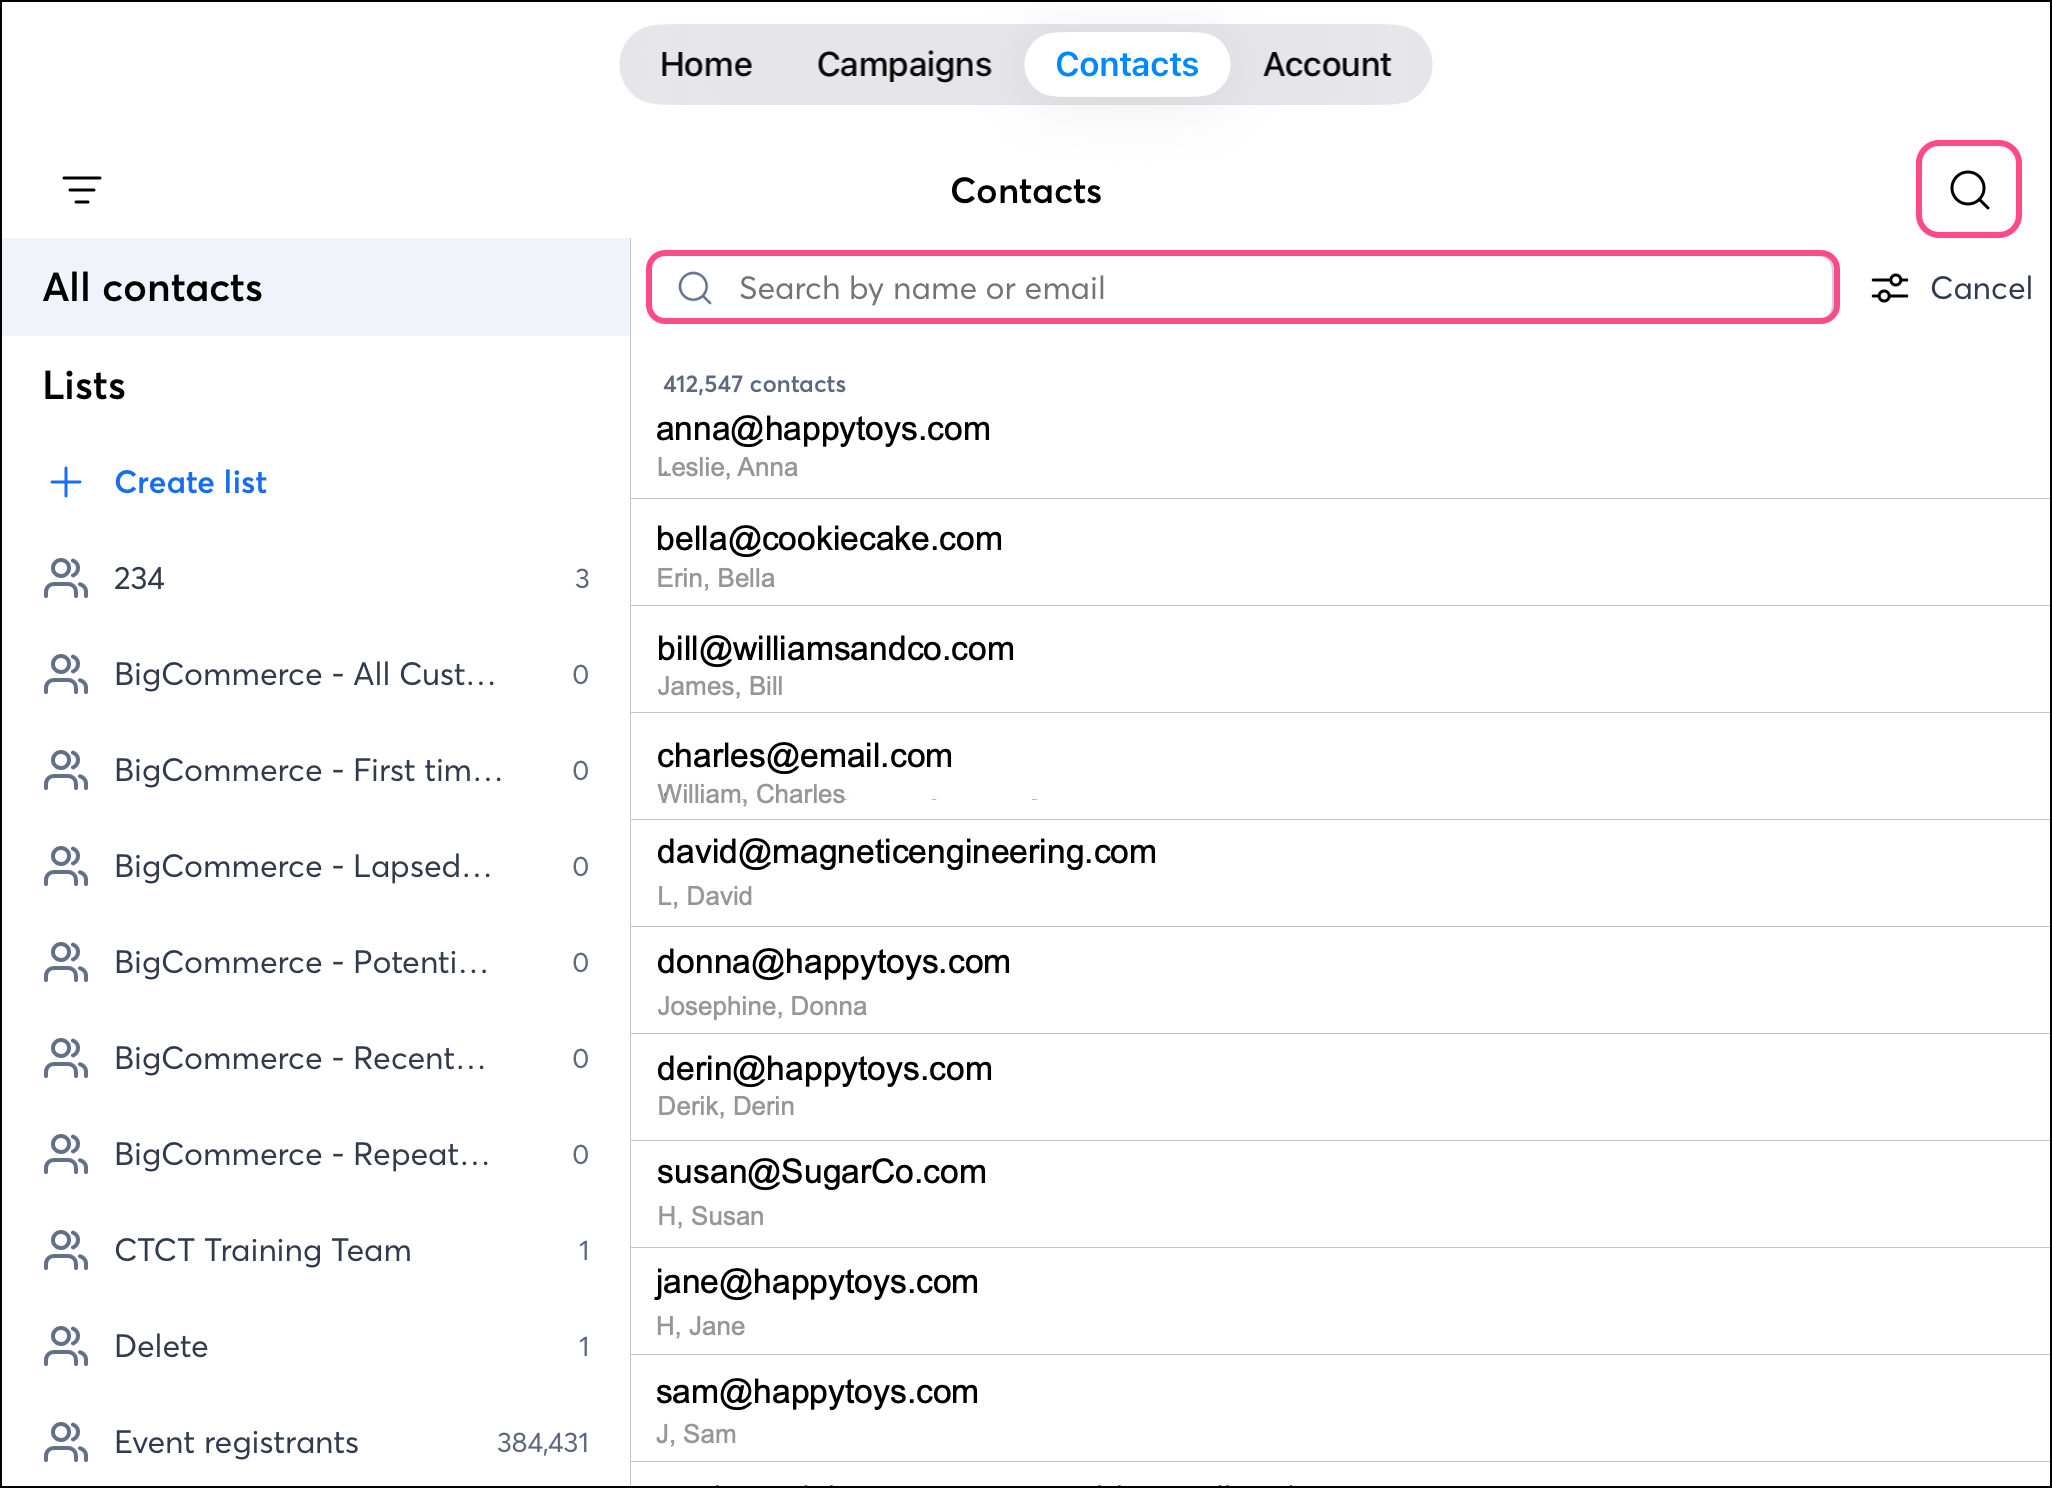
Use the Sort button to expand various available sort options, changing how your content is displayed:
- Ascending/Descending order arrow - Choose to display the newest created contact first or the oldest created contact first.
- Contact field - Choose to prominently display the Email, First name, Last name, Company name, or the Date added fields.
- Contact subscription status - Choose to display contacts regardless of subscription status, only subscribed contacts, only subscribed and confirmed contacts, only awaiting confirmation contacts, only temporary hold contacts, no permission set contacts, or unsubscribed contacts.
- List status - Choose to display contacts regardless of list statuses, contacts that are on a list, or contacts that are not on any lists.
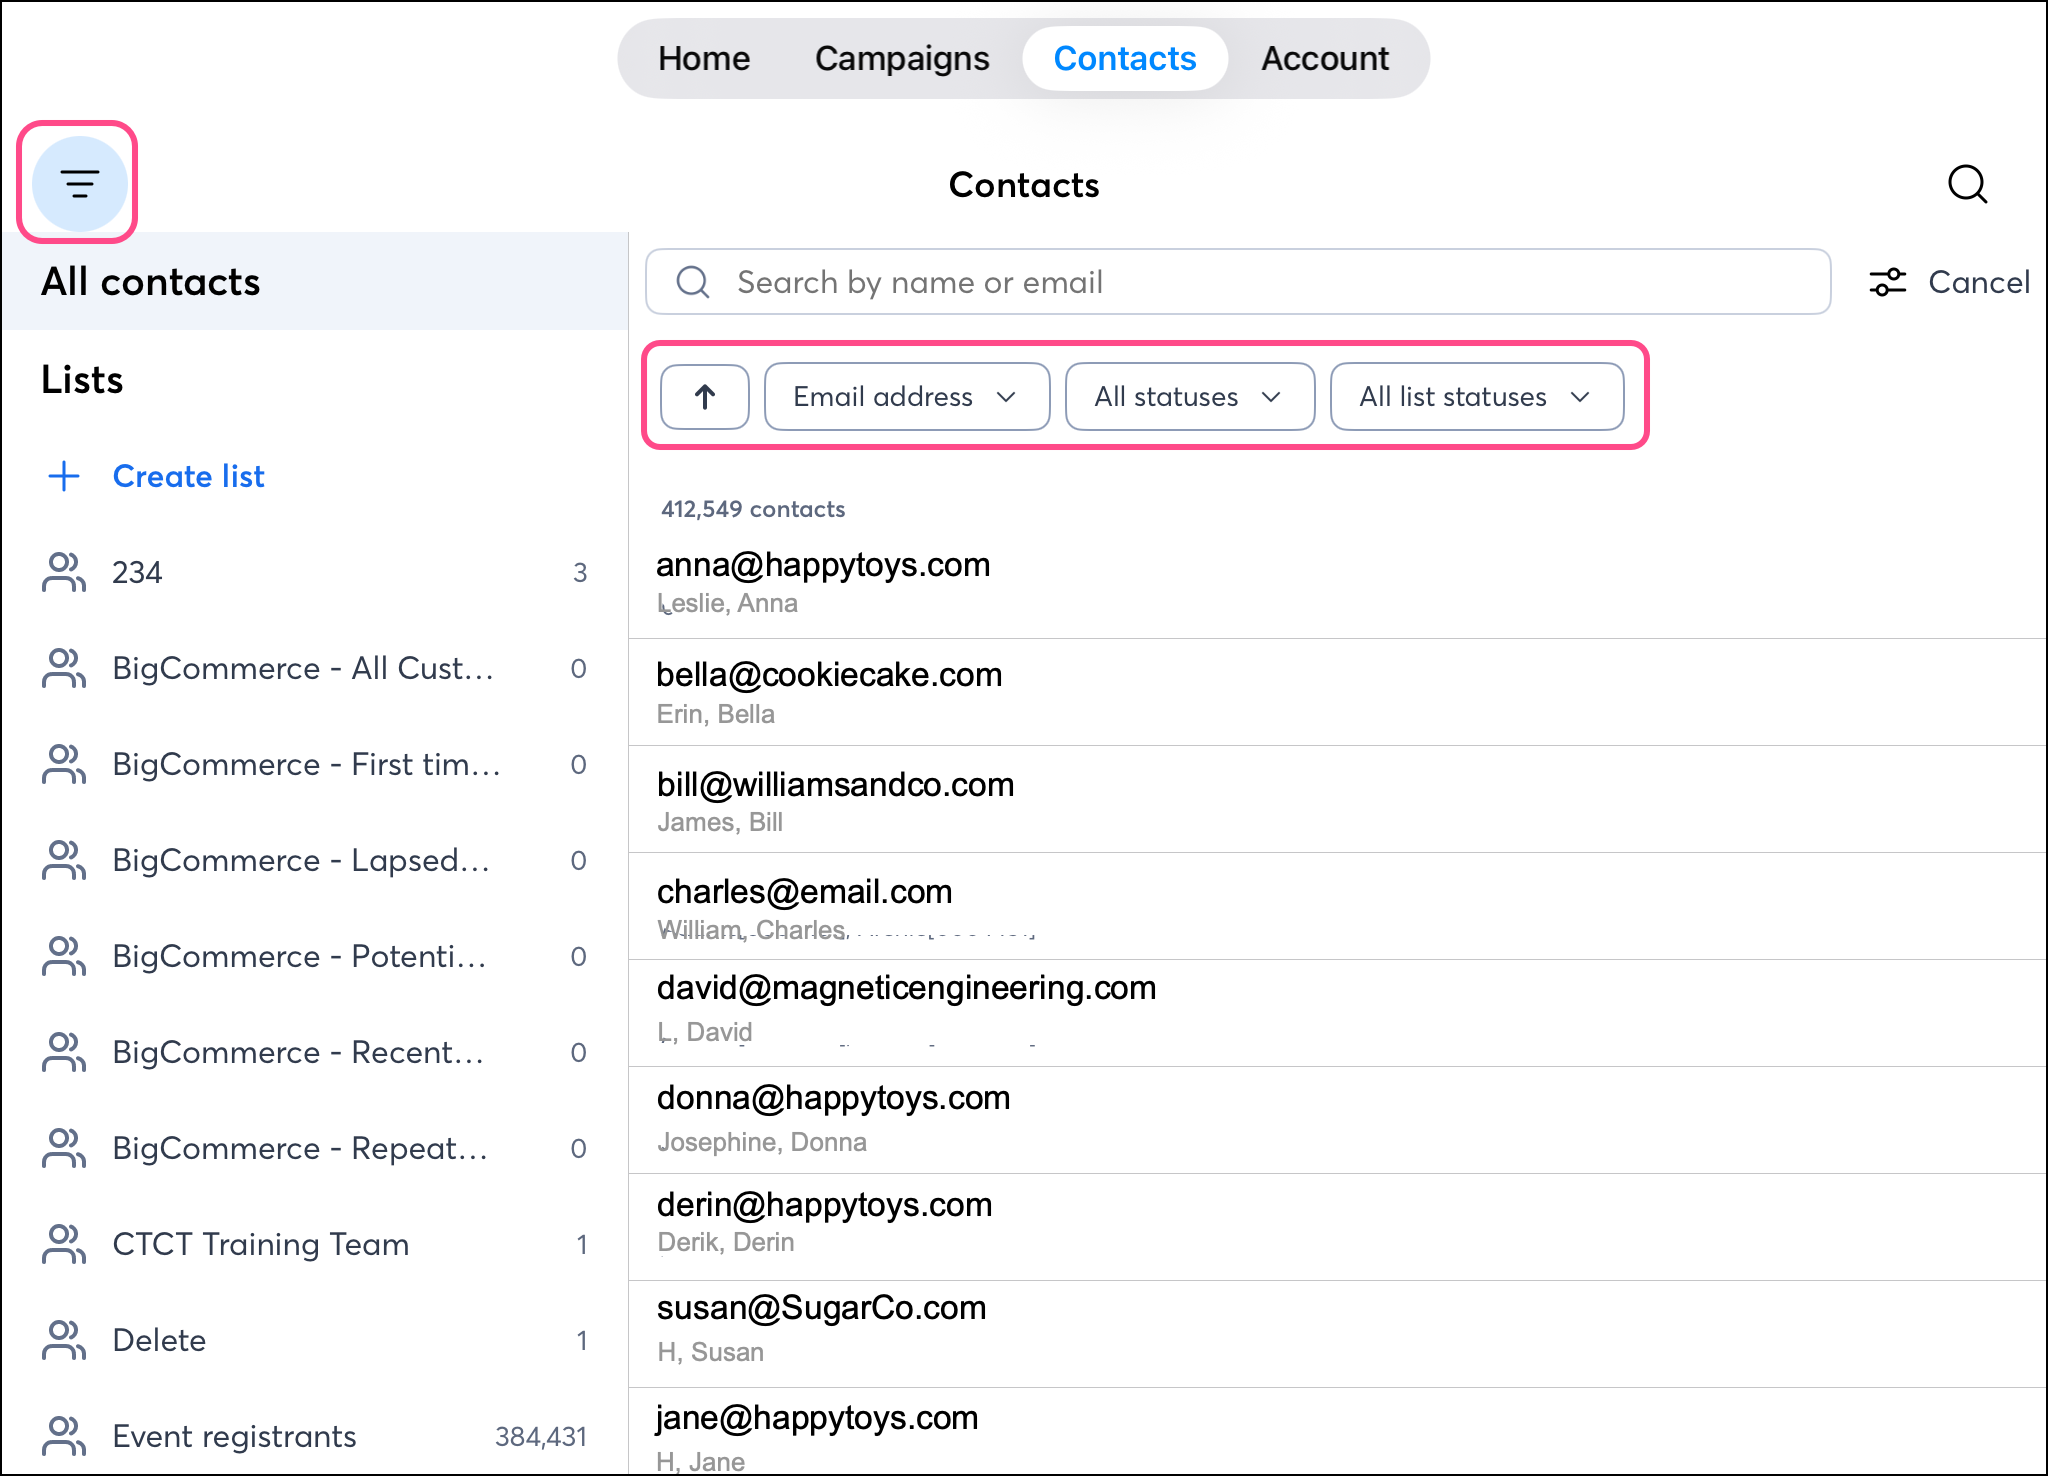
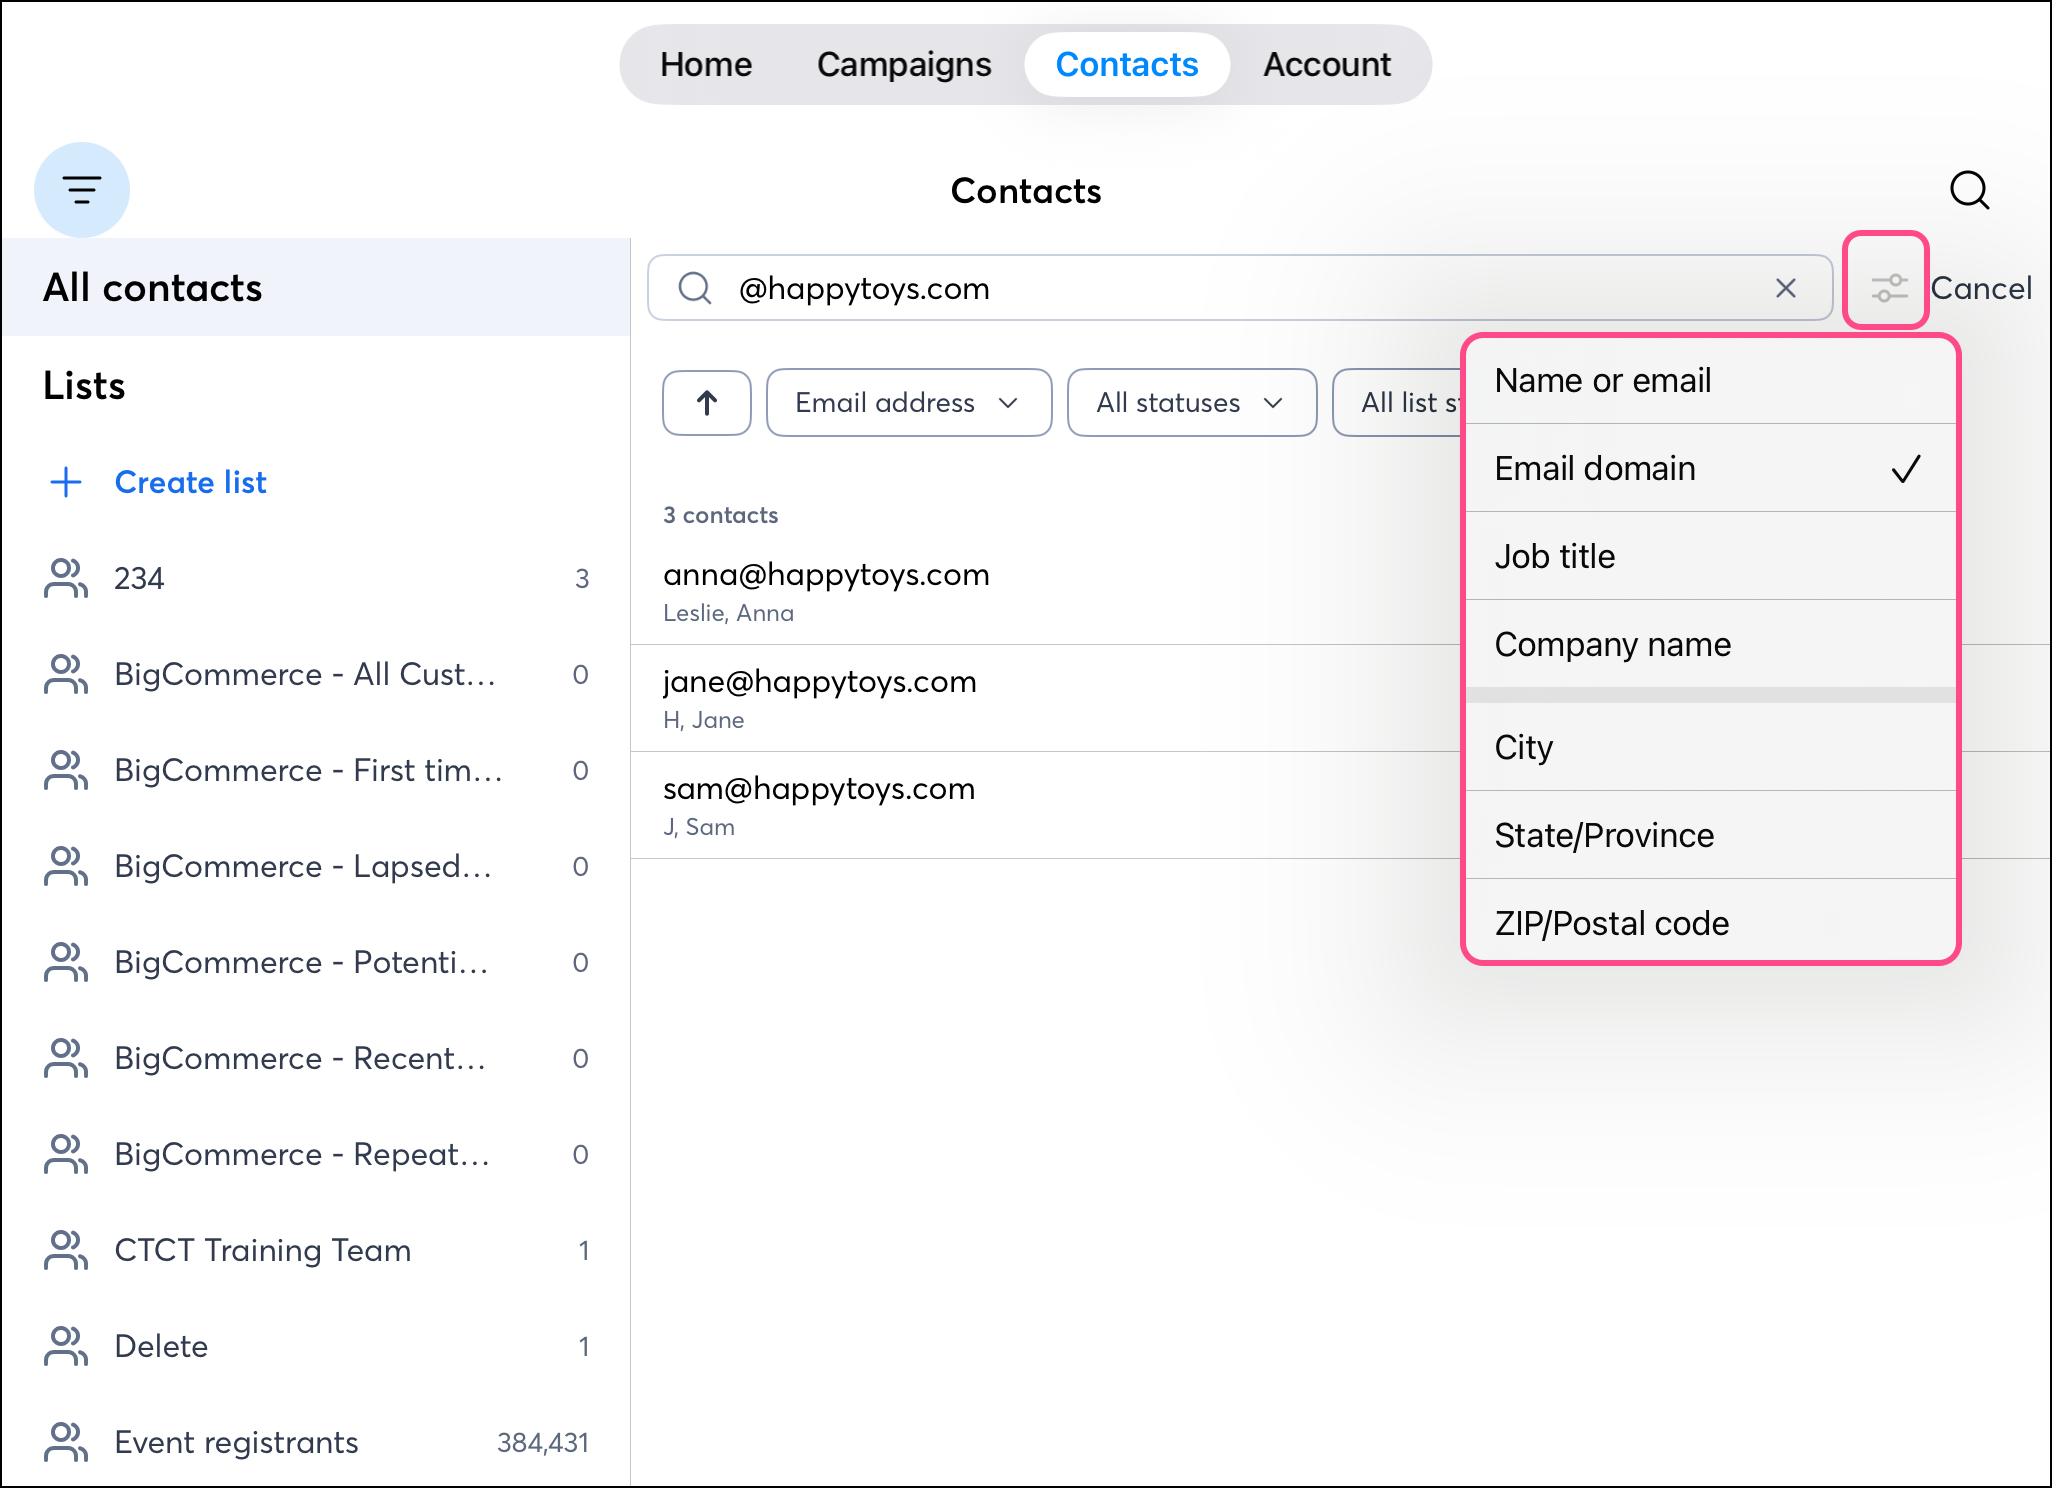
The Filter button lets you switch from searching by the contact's Name or email (default), to searching by:
- Email domain
- Job title
- Company name
- City
- State/Province
- Zip/Postal code
This affects the results of the details entered in the search bar.
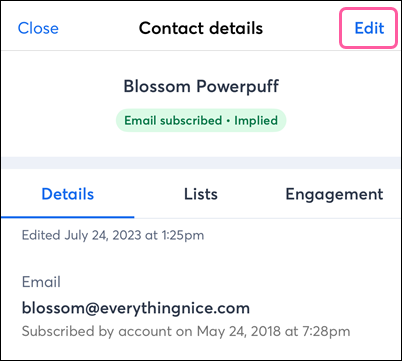
Edit a contact's details
- While viewing a contact's details, tap Edit.
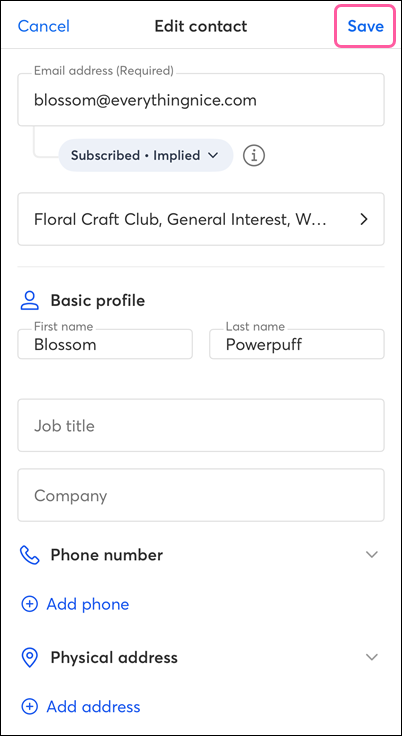
- Tap to add or remove an email list.
- Update the contact's email address, first name, last name, job title, company, phone number, or physical address.
- Tap Save when you're finished.
Delete a contact
When you delete contacts from your account, the action can't be undone; however, the contacts can rejoin your list at any time through a sign-up form.
Important: You worked hard to create a list of contacts who gave you permission to send email or SMS messages. With a little TLC, you can earn their attention back, so before you delete your disengaged contacts, check out ways to reengage them!
- While viewing a contact's details, tap Edit.
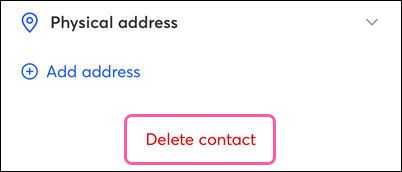
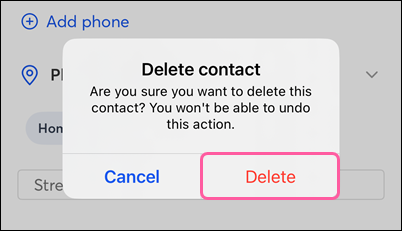
- Scroll to the bottom and tap Delete contact.
- Tap Delete to confirm the removal.
Information that's retained:
- The email status of the contact (can be exported)
- Contact information and custom fields (can be exported)
- Notes within the contact record (can be exported)
- Open and click reporting information within your email reporting (can be exported)
Information that's lost:
- List assignments (can be exported)
- Tag assignments (can be exported)
- Insights for the past 30 days within the contact record (export unavailable, but can be saved by taking a screenshot)
- Activity within the contact record (export unavailable, but it can be saved by taking a screenshot)