Email and Digital Marketing
How can we help you?
Search our help articles, video tutorials, and quickstart guides

You've got this. You've got us. Search our Knowledge Base to quickly find answers to your questions.

Schedule and send an email

Article: 000005824
Updated: January 7, 2026

Schedule an email to send to contacts now or at a later date

Email Plus Icon
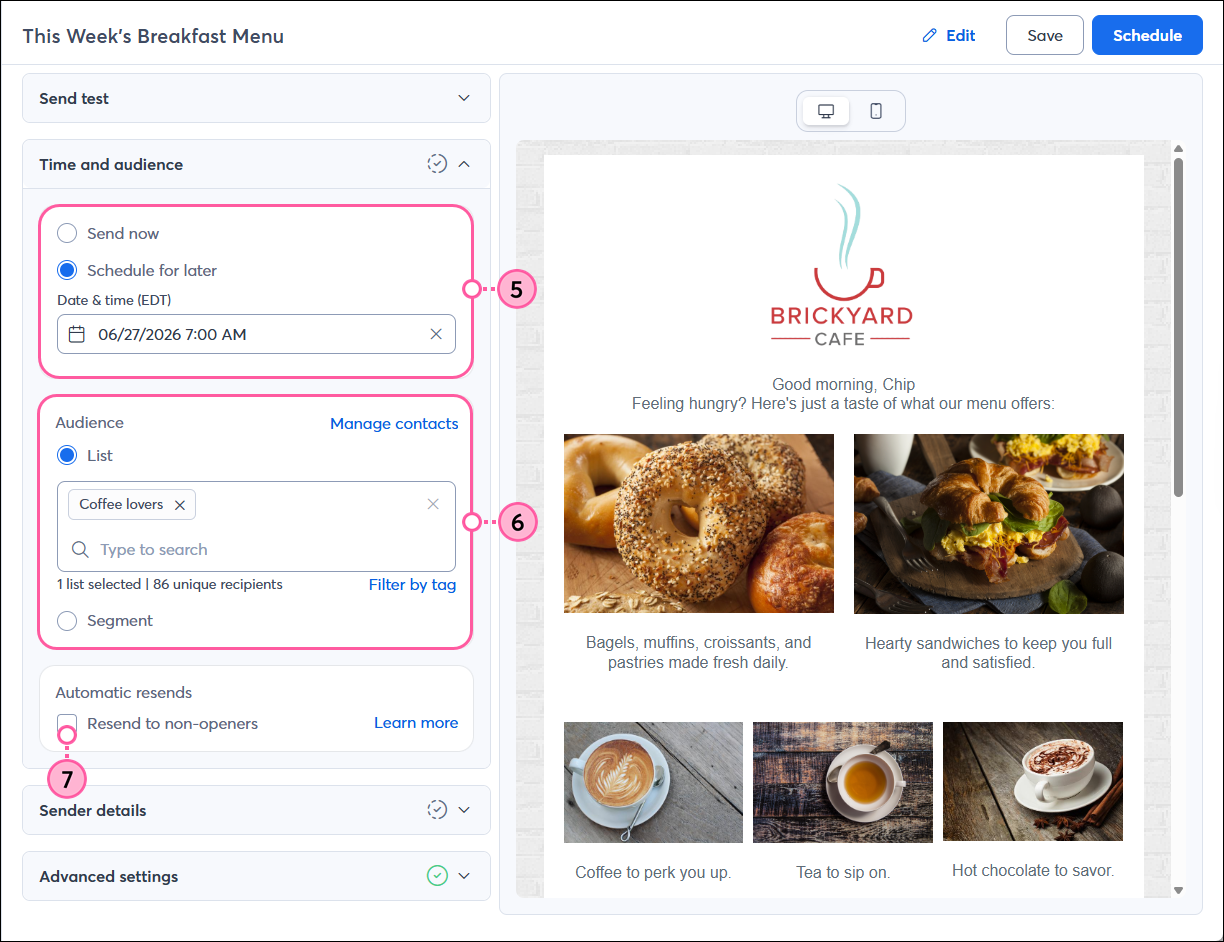
Review your plan: Some features, such as scheduling for later and resending to non-openers, are not available in all Constant Contact plans. If you don’t have full access, you may need to upgrade your plan.


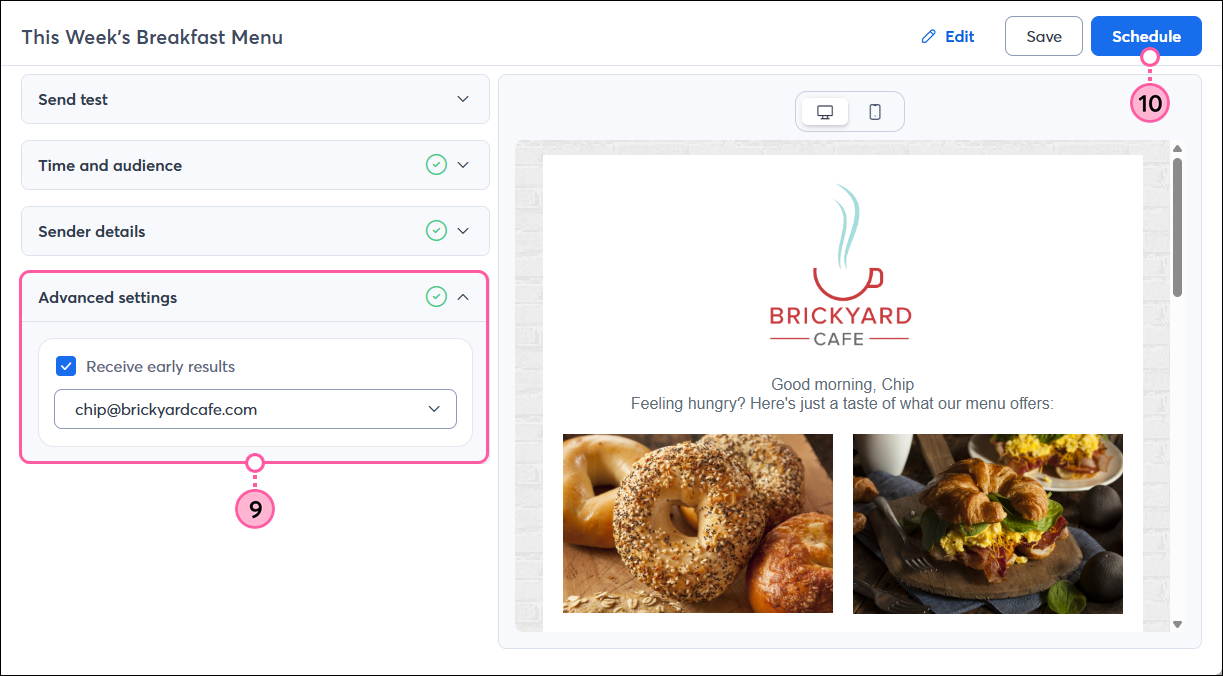
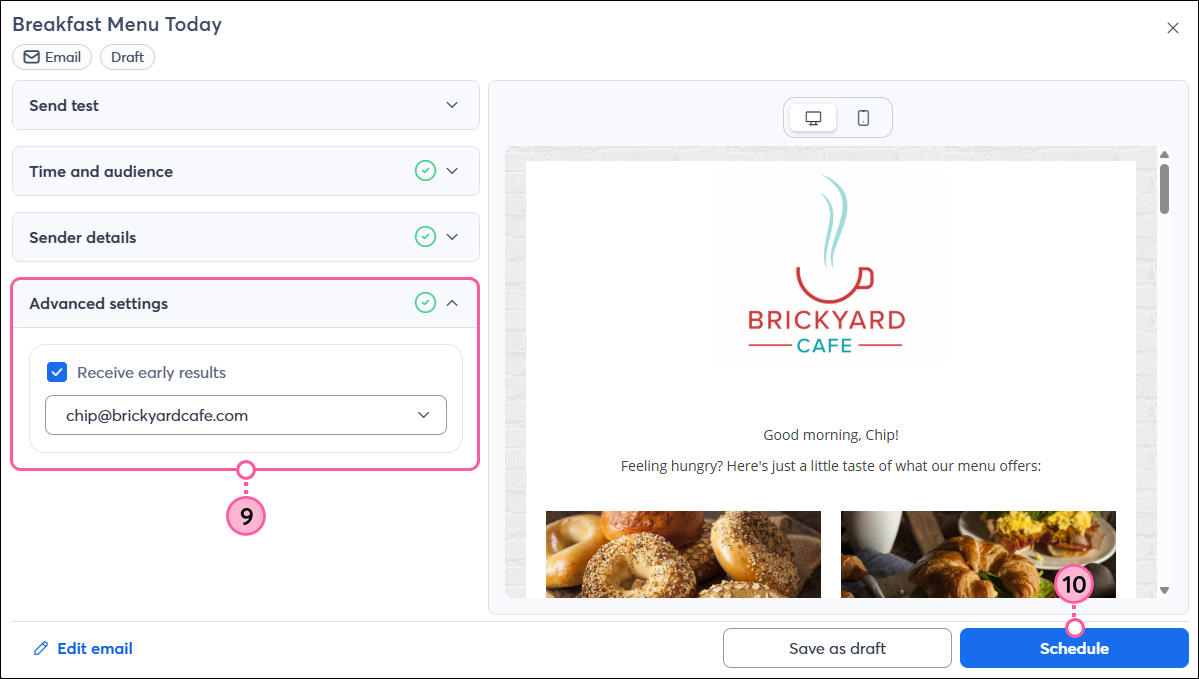
Once you've finished customizing your email and have given it a preview to check for content and design errors, it's time to send it to your contacts. You can choose to send it immediately or schedule it to go out at a future date and time, up to a year in advance. If you add more contacts to your list before the scheduled date, they'll also receive your email!


Light Bulb Icon
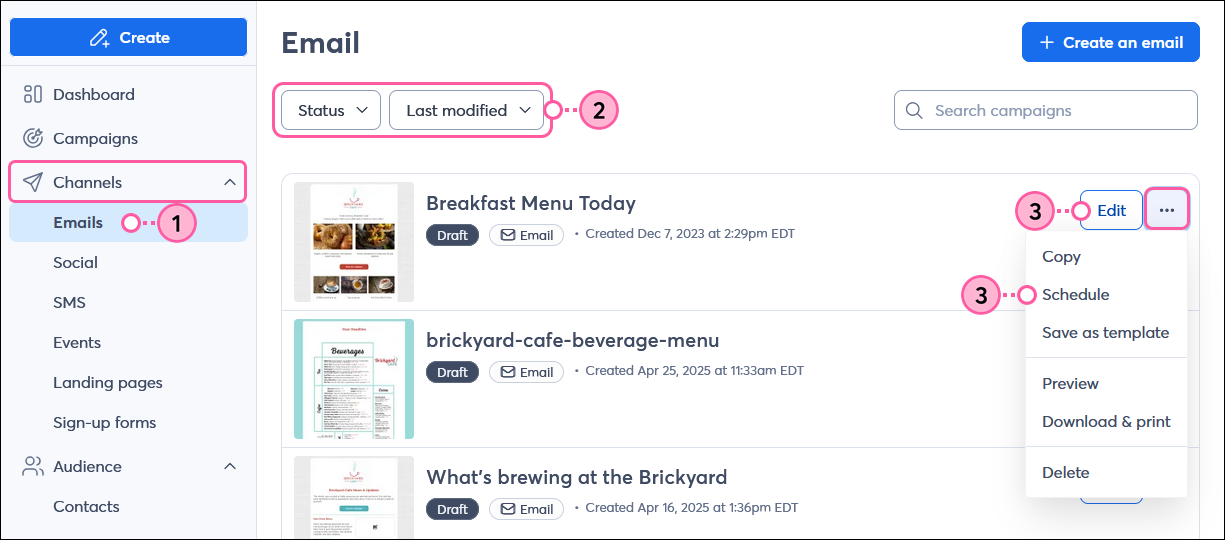
Tip: Don’t forget to check for errors and send a test version of your email for proofreading before sending it to your contacts!


  1. In the left-hand menu, click Channels > Emails. If you’re currently working on your email, skip to step 4.
  2. (Optional) Use the filters to help narrow your search.
  3. If you want to make any edits or review your email one more time before scheduling, click Edit. If you’re ready to schedule to send, click the three dots and select Schedule, then skip to step 5.

    Marketing channels menu expanded and Email option selected, Email dashboard with Status drop-down menu and Draft option selected, and email draft menu expanded and Schedule option selected

  4. When you're ready to schedule your email, click the Continue button.

    Email editor with Continue button

  5. Choose when you want to send:
    • Send now - To immediately begin sending your email. Please note that an email may take up to 30 minutes to send, depending on the size of your list. To prevent any accidental sends, you're prompted to confirm your selection.
    • Schedule for later - To enter a future date and time to send your email, up to a year in advance. 
  6. Select the recipients for your email:
    • Lists - Select a list or multiple lists. Don't worry - if a contact is on more than one list, they only receive the email once. If you need to add contacts to a list or create a new list, click the "Manage contacts" link and return to the schedule page when you're ready.
      Note: Your recipient count changes as you select or deselect different lists.
    • Segment - Select a segment to send your email to contacts with shared interests or behaviors. The segment automatically refreshes at the time your email is sent to ensure you're only sending to the contacts who currently meet your segment criteria. Click “Manage contacts” to create a new segment or make changes to an existing segment, and return to the schedule page when you're ready.
    • Filter by tag - When sending to an email list, you can filter your contacts by tag to prevent your email from being sent to contacts with a specific tag or only to those with the tag. Since tags are added to individual contacts, you can send to contacts across multiple lists that have the same tag. If you haven't created any tags, you won't see the "Filter by tag" link.
  7. (Optional) Check the box to automatically resend your email to those who don't open it.  
    Light bulb iconTip: Looking to have this email resent to new contacts on a regular basis? Consider setting up an automation!
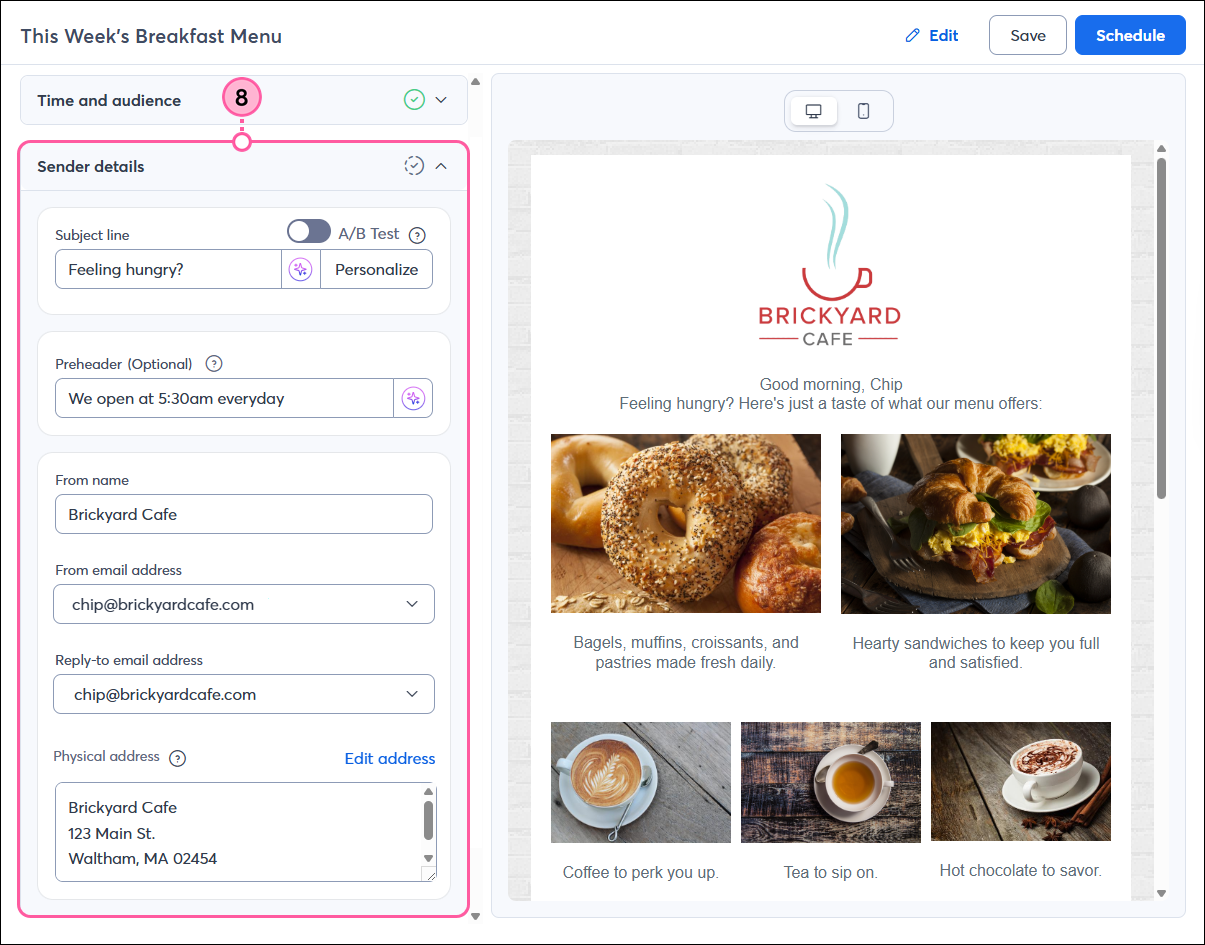
    Email schedule pop-up with Time & Audience sections

  8. Click to expand the Sender details section to review and update your:
    • Subject line - This is the first thing your contacts see and can be what makes them decide to open your email or not, so you want to make it enticing. Consider personalizing your subject line or adding an emoji to give it more impact!
      Light bulb iconTip: Depending on your email plan, you have a couple of options to help you with your subject line! First, if you're not sure what to write, click the sparkle symbol to get some subject line suggestions. Or, if you have too many ideas, you can A/B test two different subject lines with a portion of your contacts to see which performs better. The most effective subject line is then automatically sent to the rest of your contacts.
    • Preheader - Make sure your preheader supports your subject line. Depending on your email plan, you can click the sparkle symbol to get some preheader suggestions.
    • From name - This should be a name that your contacts are most likely to recognize, whether it's the name of your organization, your personal name, or a combination of both.
    • From email address - Your "From" email address, when coupled with your “From” name, is a small but important part of your branding, so we recommend using a custom domain to best represent your organization. It also helps your contacts' email clients determine if your emails are valid or if they should be sent to the spam folder. If you need to add a new email address to use, you can select "Add another email" at the bottom of the drop-down menu to verify it
      Exclamation point iconImportant: Due to industry email authentication requirements, your “From” email address may look different if you don’t have your own domain or haven’t self-authenticated your domain. In these cases, we rewrite your email address with our shared ccsend.com domain to ensure your emails still get delivered to your contacts. 
    • Reply-to email address - The "Reply-to" email address receives replies from your contacts when they want to respond to your email.  Make sure it's an email account that you check regularly.
    • Physical address. This displays in your email footer and is legally required to comply with the CAN-SPAM Act. If you don’t have a physical location, you can use a valid PO box. If you need to change the address listed, you can click Edit address.

      Email schedule page with Sender Details section

  9. (Optional) In the Advanced settings section, check the box and select a verified email address to receive the early results email. This tells you how your email performed within the first 48 hours after it was sent. 
  10. Click the Send now or Schedule button.

    Email schedule page with Advanced Settings section and Schedule button  
     

Once your email has been sent, give your contacts some time to open it and then check the results to see how it's performing.

If a contact tells you they aren't receiving your email and they aren't on your bounce list, ask the contact to check their spam folder. If the email isn't in the spam folder, you can have your contact safelist your "From" email address in their email account or security program. There are also some role email addresses that Constant Contact never sends to.


Megaphone IconBe a better marketer: Help extend the reach of your email by sharing it on your social media pages!


Questions?

Ask the Community

Did this article answer your question?


Constant Contact Logo

Copyright © 2026 · All Rights Reserved · Constant Contact · Privacy Center