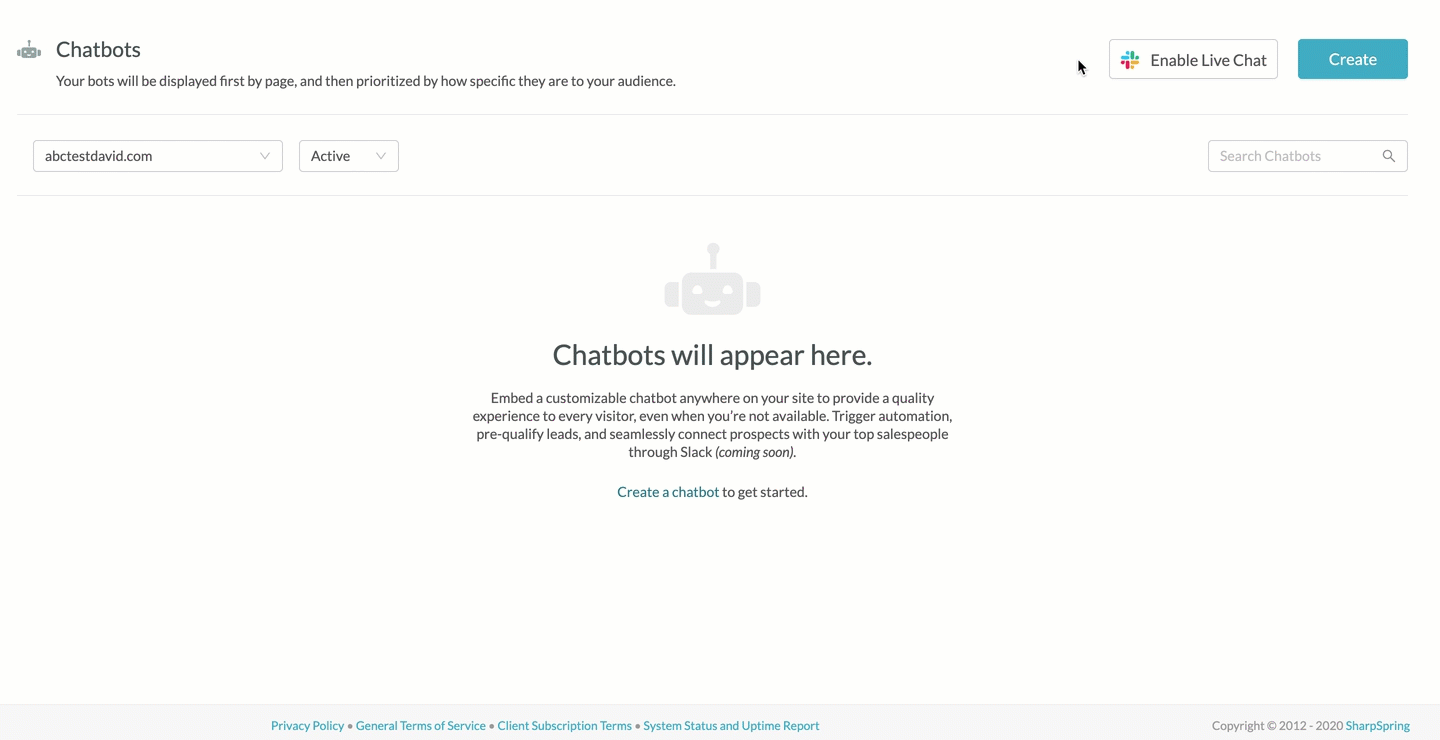
Chatbots are an automated communication service that allow users to search for answers about your content, and they provide a series of answers and means of collecting data. Chatbots can quickly and effectively navigate site visitors to the solutions for their problems.
You can enable Live Chat settings to be able to directly communicate with users who reach specific parts of your chatbot workflows and fulfill the logic requirements for communicating through Live Chat.
This article will detail how to configure and use Live Chat.
| Administrators | ✓ | |
| Company Managers | ✓ | |
| Marketing Managers | ✓ | |
| Sales Managers | ✓ | |
| Salespersons | ||
| Jr. Salespersons |
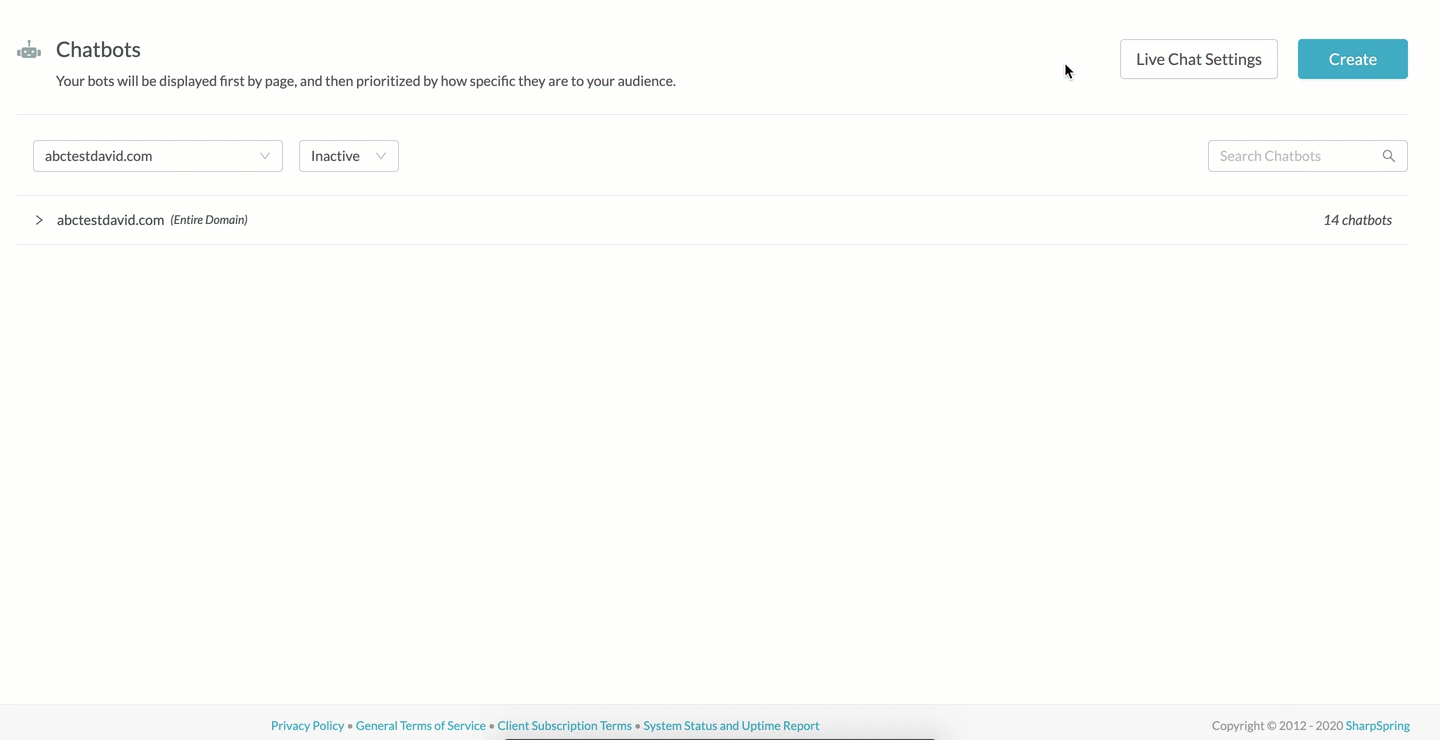
In order to use Live Chat features, you will first need to enable Live Chat in your instance.
To enable Live Chat settings, do the following:
Once you have enabled Live Chat, you can give users the ability to directly communicate with site visitors. The Live Chat users you add to the feature will be able to communicate through Slack.
Be aware that your Live Chat users will need to have Slack installed in order to use this feature effectively. Site visitors do not need to have Slack installed, as they will only ever see the chatbot on the site they are visiting.
To add chat users, do the following:

Added users can be set as available for chat. Users who are set as available will be those users who will directly communicate through Slack with site visitors who have requested communication via Live Chat.
To set chat availability for users, do the following:
Available users will have a ![]() blue dot next to their
blue dot next to their ![]() User Settings avatar in Lead Gen & CRM's top toolbar. This indicates that they are available for Live Chat communication.
User Settings avatar in Lead Gen & CRM's top toolbar. This indicates that they are available for Live Chat communication.
You can remove users from Live Chat at any time.
To remove users from Live Chat, do the following:
You can disable Live Chat features as necessary. To disable Live Chat features, do the following:
Important: Disabling Live Chat will disable the connection between Lead Gen & CRM and Slack. It will also force chatbot workflows using this action to default to the away message. Modify those workflow branches before disabling Live Chat.
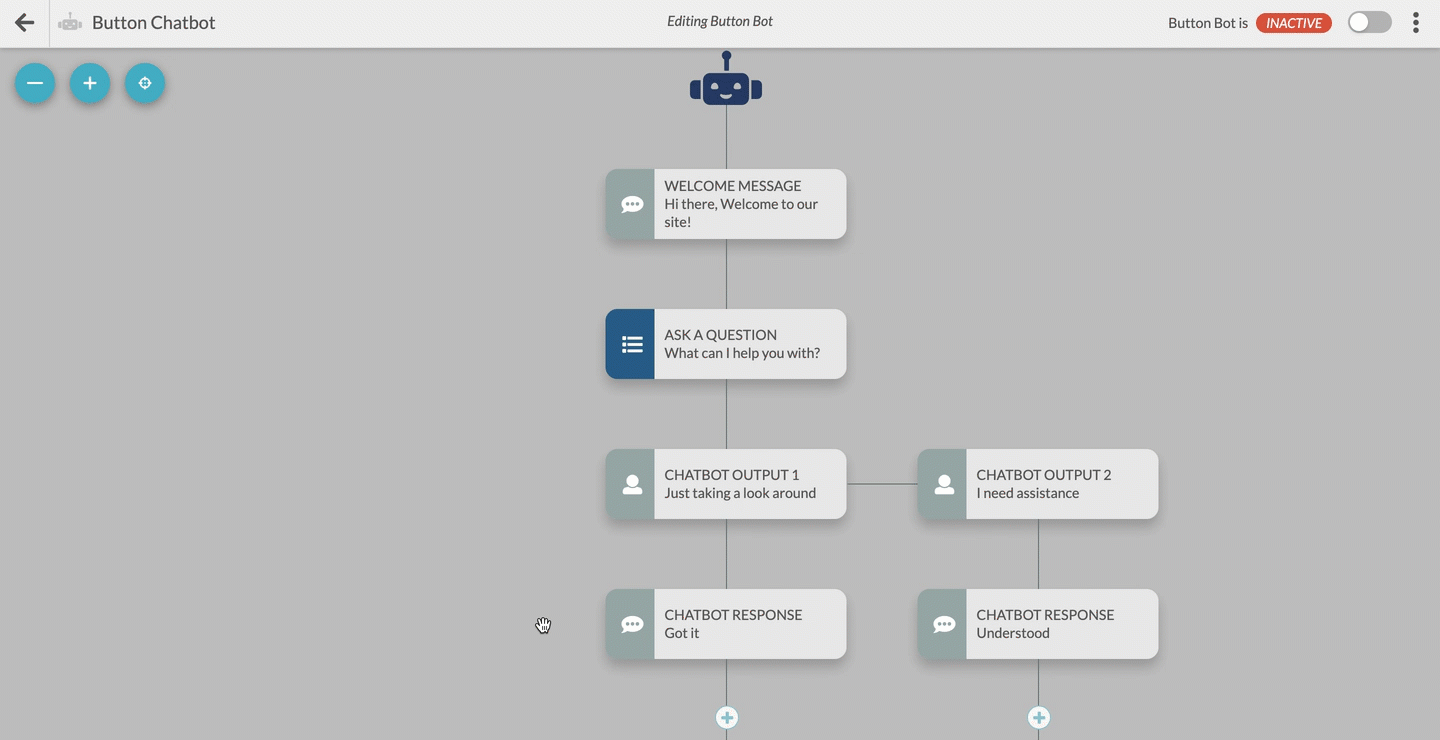
You can configure your chatbot workflows to contain an action to divert site visitors with questions into a Live Chat channel in your Slack instance.
To add an action to send site visitors to your Live Chat Slack channel, do the following:
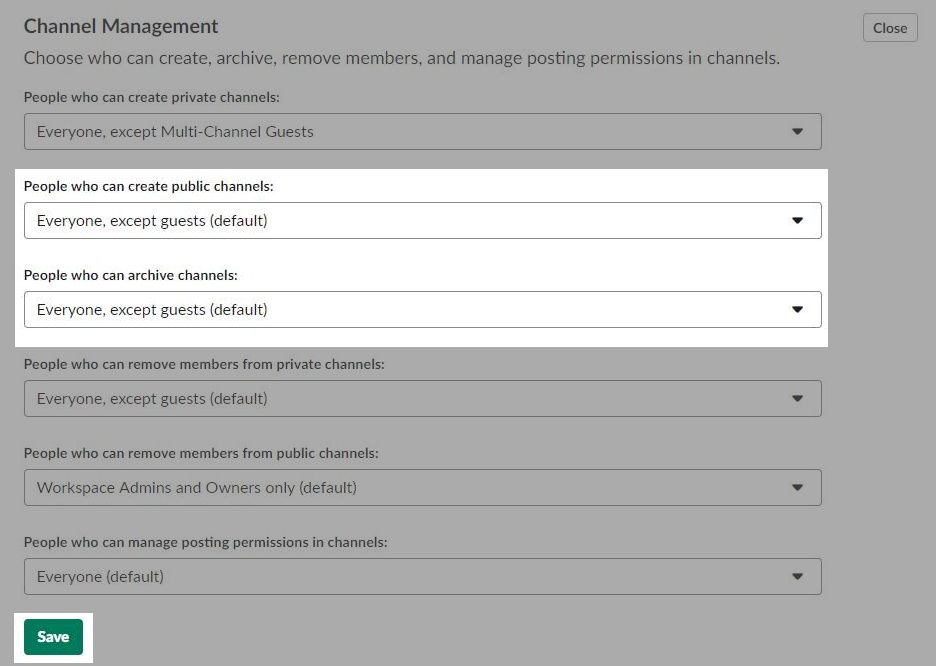
In order to effectively utilize the chatbot with Slack, your Slack administrator will need to configure Slack channel management permissions in a way that suits your workspace's Slack instance.
Specifically, your Slack administrator will need to configure permissions that permit users to create and archive channels.
To configure Slack permissions, do the following:
Refer to Slack's external documentation for more information on installing and using Slack.
Once you have configured Live Chat settings and added the Live Chat action to a chatbot workflow, site visitors who navigate your workflow to that point will then be able to communicate with available Live Chat users.
Available users will communicate through Slack, which will allow for a log of communication between the site visitor and the Live Chat user. The site visitor will only ever see and communicate through the chatbot on the site they are visiting.
To communicate with site visitors who have opened a Live Chat conversation via a chatbot, do the following:
/endlivechat before the site visitor leaves the chat/archive after the site visitor leaves the chat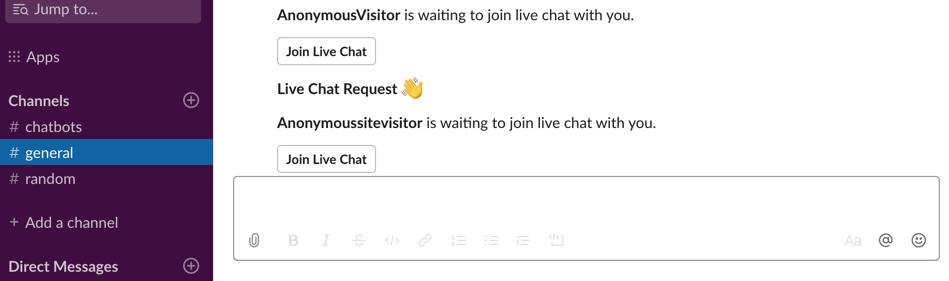
Be aware that /endlivechat is a slash command that is specific to the Lead Gen & CRM integration for Slack. Similarly, /archive is also a slash command—but it is a core slash command in Slack.
Typing either command will end the conversation and also archive the channel. That said, the user who types /endlivechat or /archive must have the appropriate permissions in Slack to be able to archive channels.
Note: Please be aware that /endlivechat is a slash command that is specific to the Lead Gen & CRM integration for Slack, it is not a universal slash command.
When another site visitor opens a Live Chat session, a new channel will be made, and the archived channel will not be opened.
Refer to Slack's external documentation for more information on installing and using Slack.
You can preview your chatbots as necessary, which allows you to view how a chatbot operates and functions. Issues with a chatbot's overall logic path, statements, or other components can be seen and attended to before you activate it.
When you open a chatbot in preview mode, a webpage with the chatbot is opened in a new browser tab. In this preview mode, all interactions you make with the chatbot will be in offline mode. Additionally, interactions in preview mode will not push to Lead Gen & CRM or send Live Chat requests.
Copyright © 2026 · All Rights Reserved · Constant Contact · Privacy Center