After you've created and activated your event, view the list of registered attendees and edit their details, if necessary, directly from within the event dashboard. Additionally, you can export registrants into a CSV file, check in a registrant at the time of your event, and cancel a registration if a registrant is unable to attend your event.
To manually register someone, click the Register someone button at the top of the event dashboard.
| Important: When someone registers for your event, it does not necessarily mean that they want to receive non-event-related email from you. So, refrain from adding registrants to your lists. If you would like to give registrants the option to opt in and join your mailing list, you can include that option on your event registration form. |
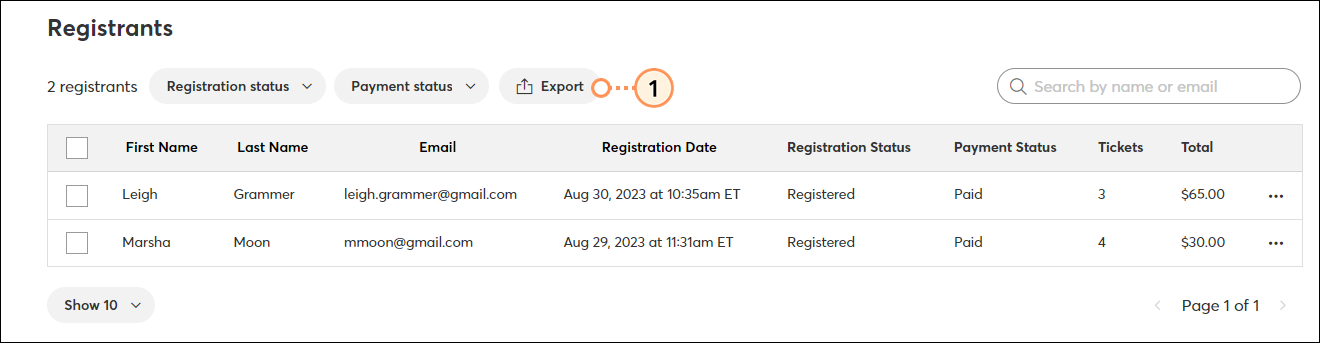
To see a list of your registrants, along with their payment status, ticket total, and payment total:

Registrants can have the following statuses:
| Did you know? An "Abandoned" status is different than a "Canceled" status, and if a registrant has an "Abandoned" status, it doesn't necessarily mean they don't want to attend your event. It simply means that the registration session timed out. So don't be afraid to give them a little nudge! Encourage them to complete their registration, as well as anyone else who hasn't responded yet, by sending an email to event non-responders. |
If you'd like to reach out to your registrants, you can send them an event-related email.
To export your list of registrants into a CSV file:
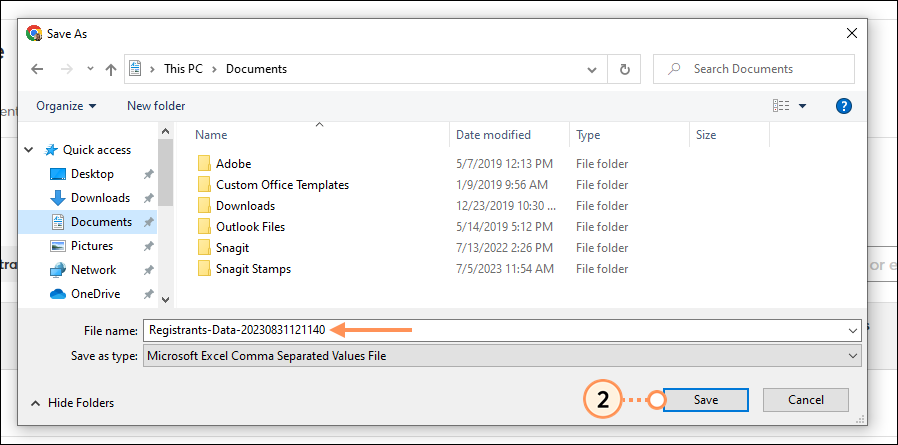
Access the downloaded file and open it.
| Did you know? There are several other event reports you can view and download, including a full registrant report, a custom report, and an attendee report. |
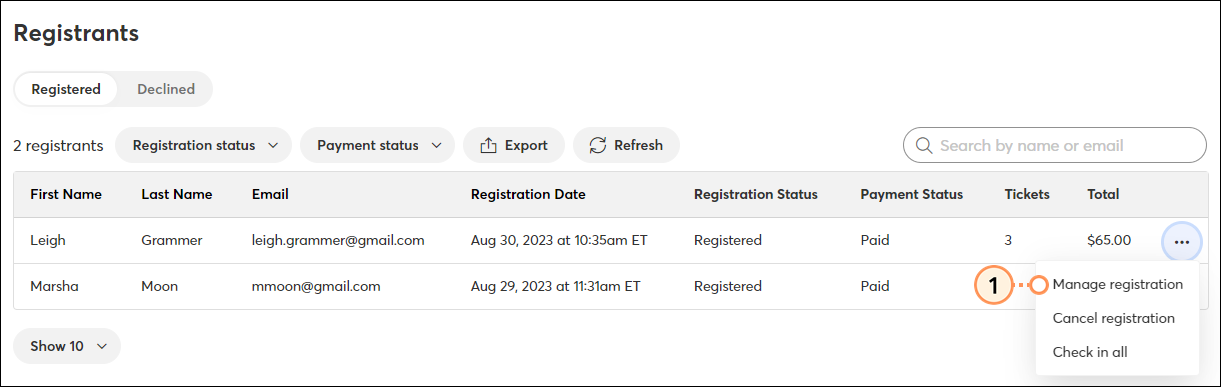
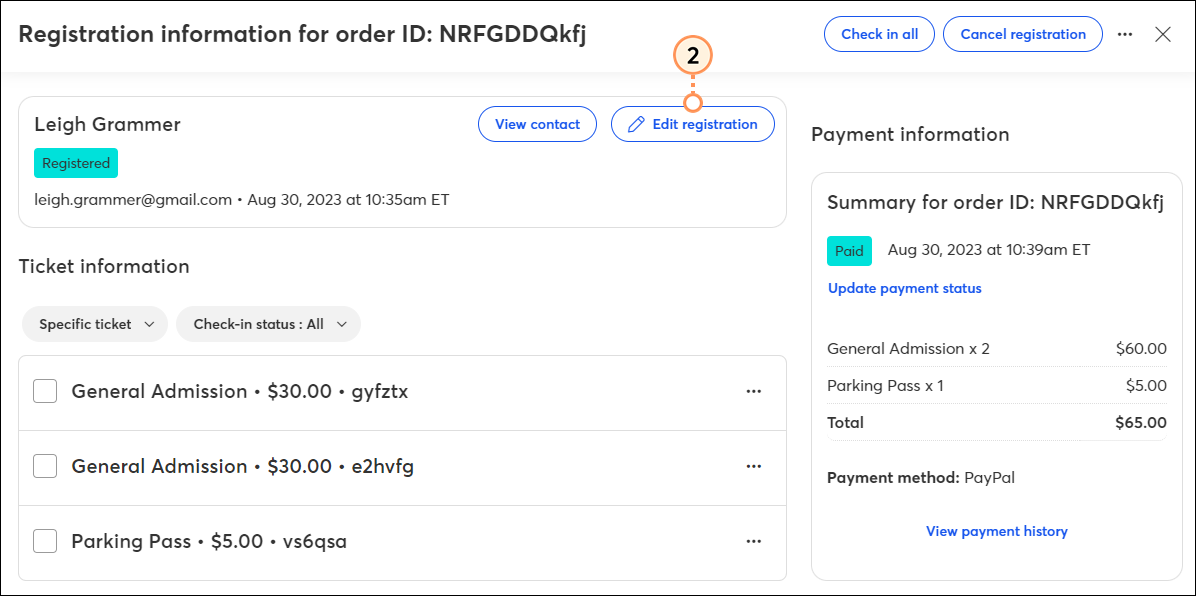
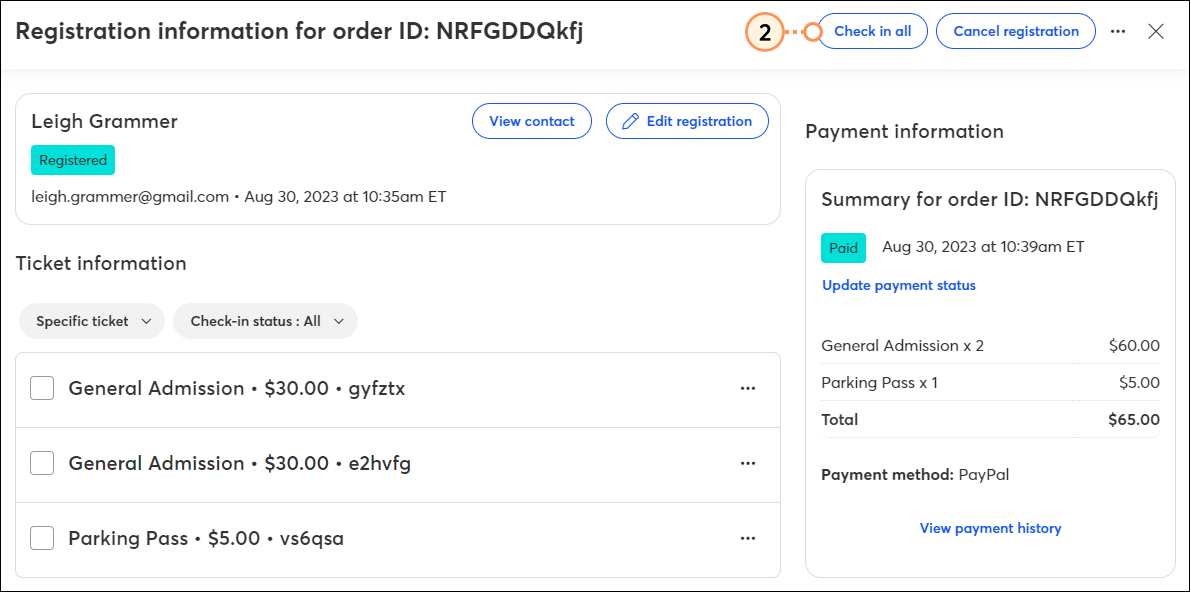
To view registration details for a particular registrant:
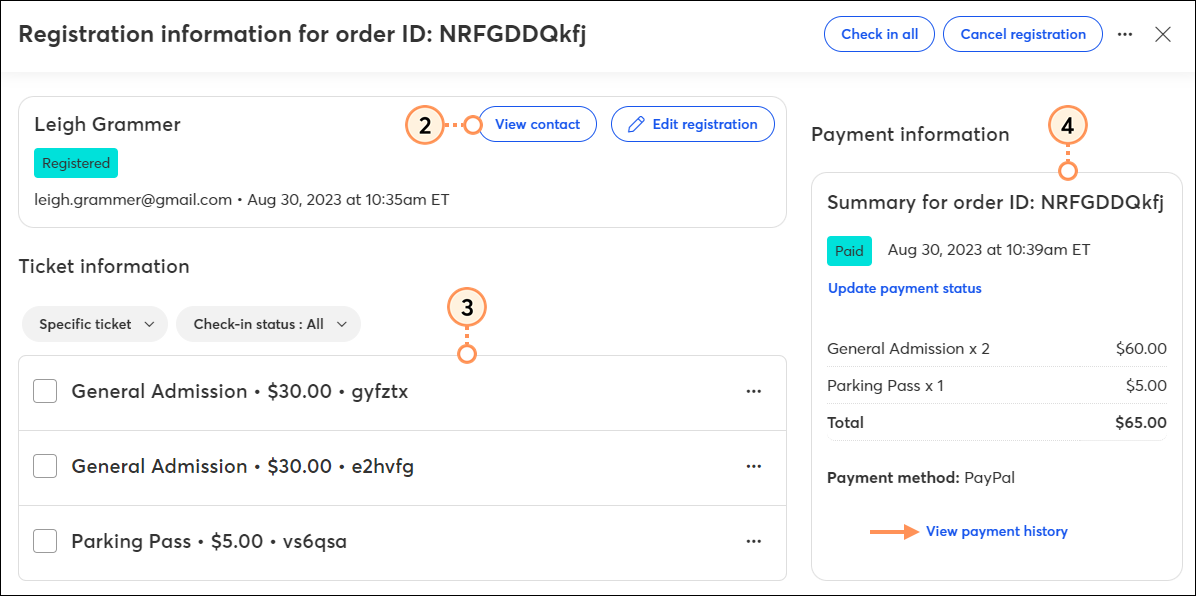
You can edit the contact information for the primary registrant and any information you collected via your registration form for each ticket. For example, if you collected t-shirt sizes for each ticket holder, but a registrant contacts you to request a change to their t-shirt size, you can make that adjustment within the registration. Additionally, you can update the payment status for a registrant.
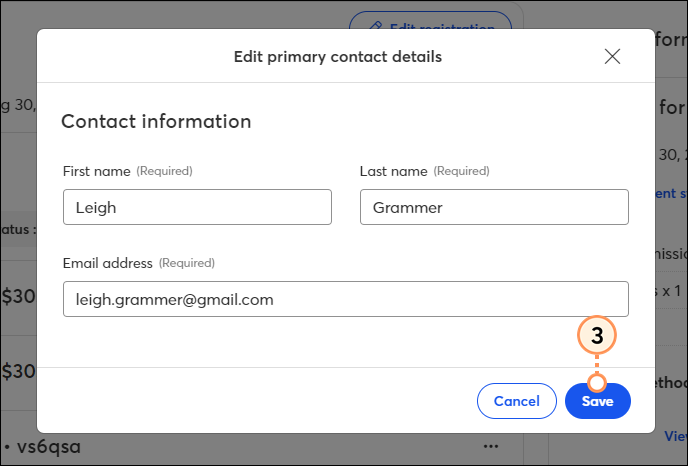
To edit the contact information for the primary contact:
To edit information collected on your form for each ticket:


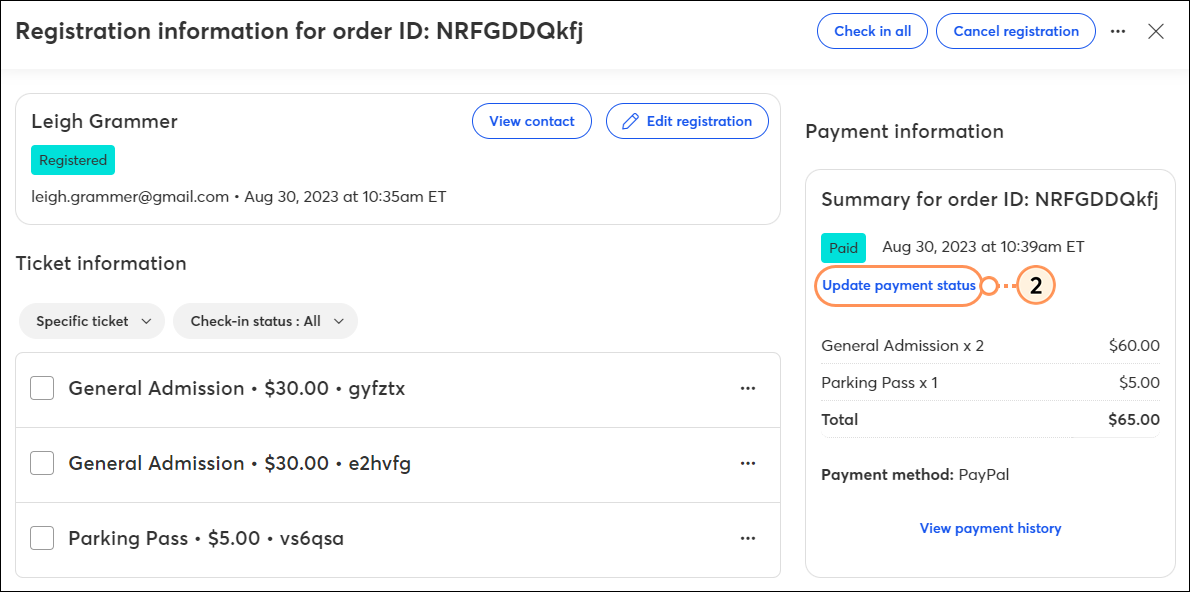
If you need to update a registrant's payment status - for example, if you sent them a refund - you can manually update their payment status:
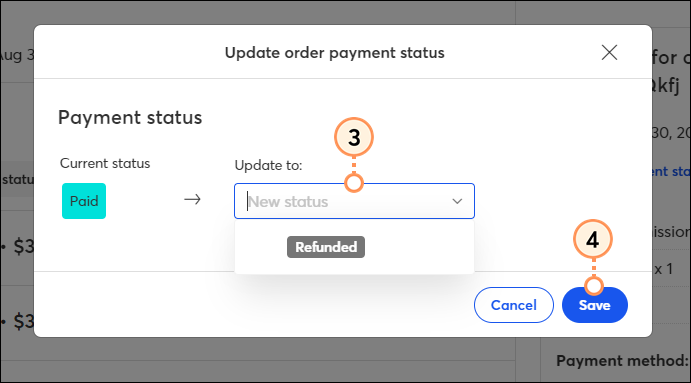
Once saved, the payment status will automatically update in the Registrant List.
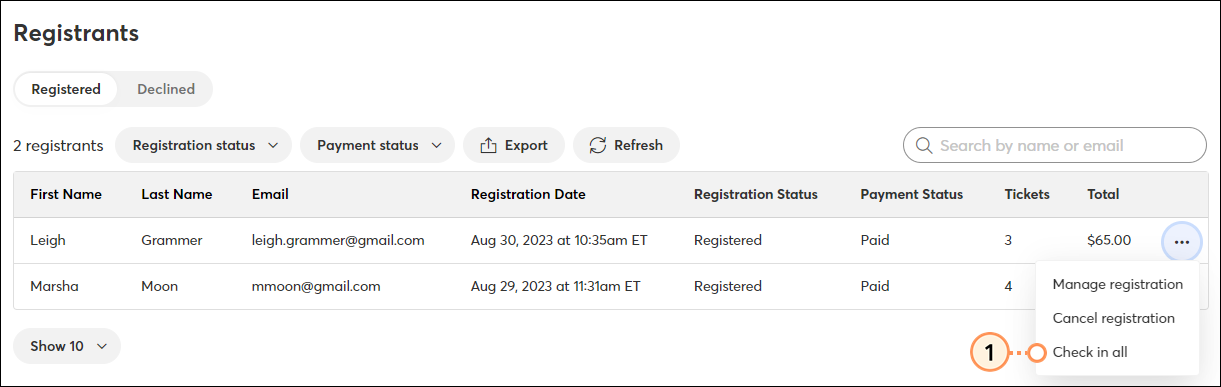
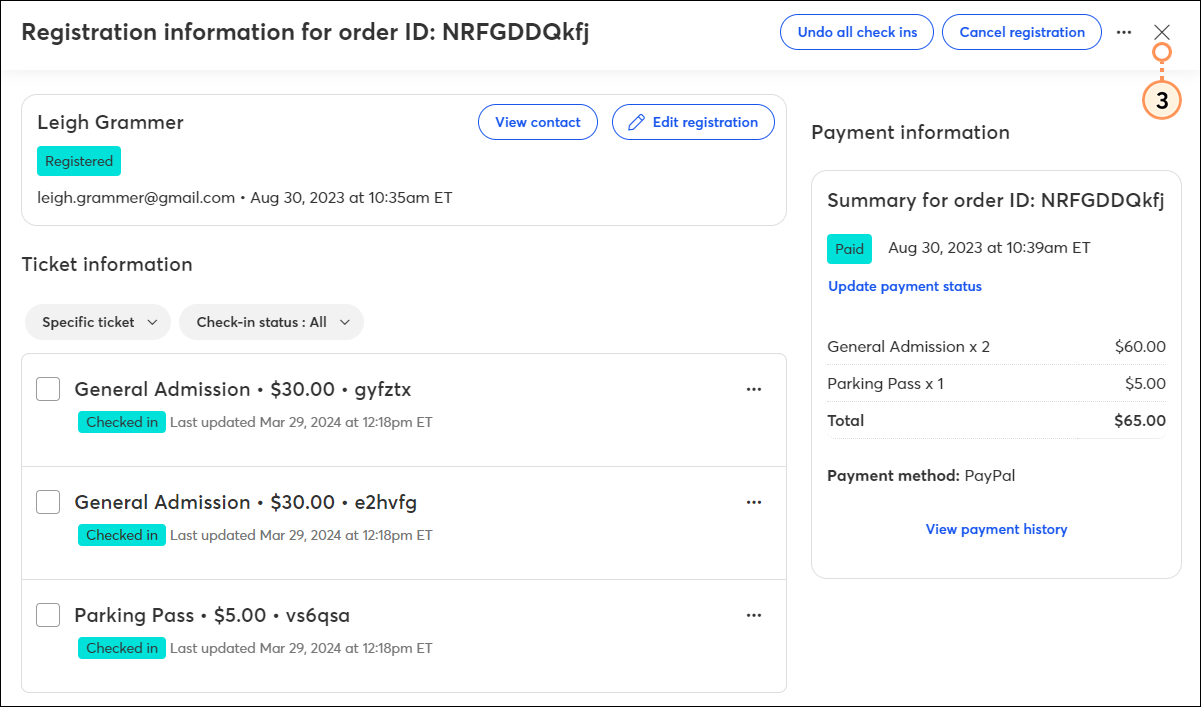
When a registrant arrives at your event, you can mark them as checked in.

To see a report of which registrants/tickets have checked in, export the Tickets report.
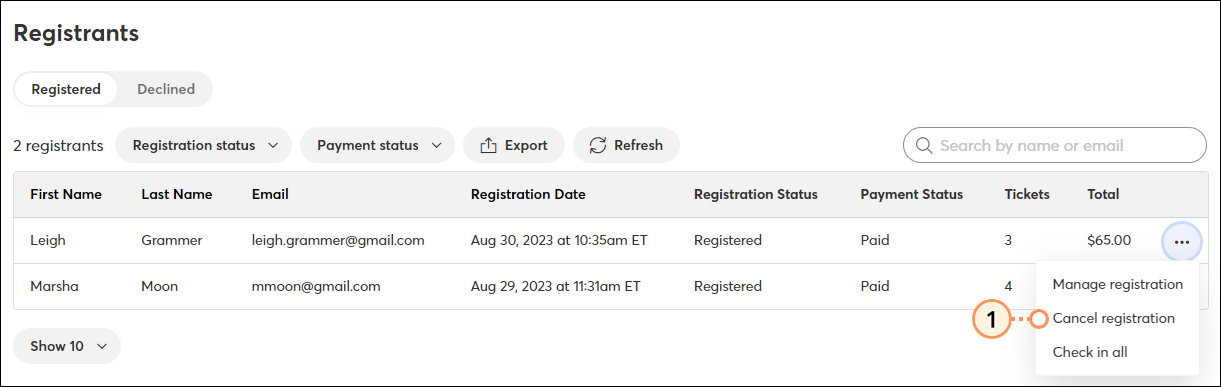
If a registrant is unable to attend your event, you can cancel their registration. When you cancel a registration, it cannot be undone. If you choose to send an email to event registrants, canceled registrants will not receive the email. To cancel a registration:
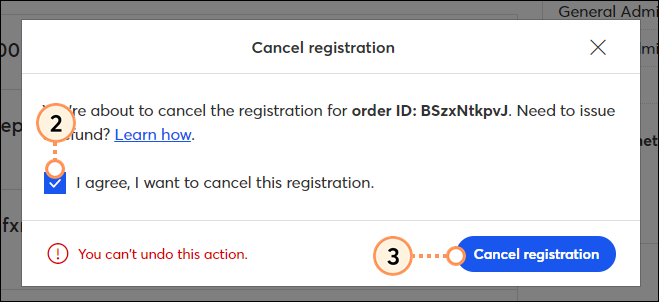
Once you've canceled the registration, you can process a refund to the registrant via the payment processor used for the transaction, if necessary.
If you want to delete the canceled registration from the registrants list, click the three dots on the right and click Delete registration.
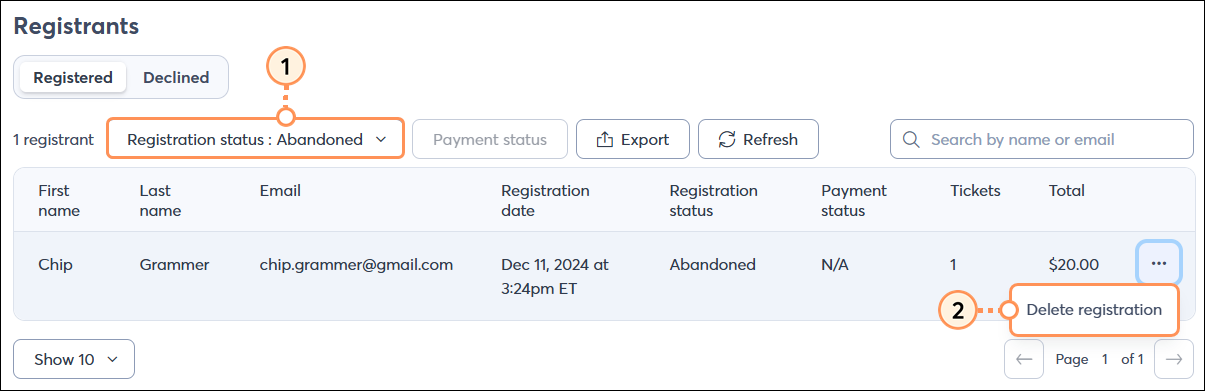
An abandoned registrant status indicates that the registrant initiated the registration process but timed out before completing it. If you would like to delete an abandoned registrant from the registrations list:
Copyright © 2026 · All Rights Reserved · Constant Contact · Privacy Center