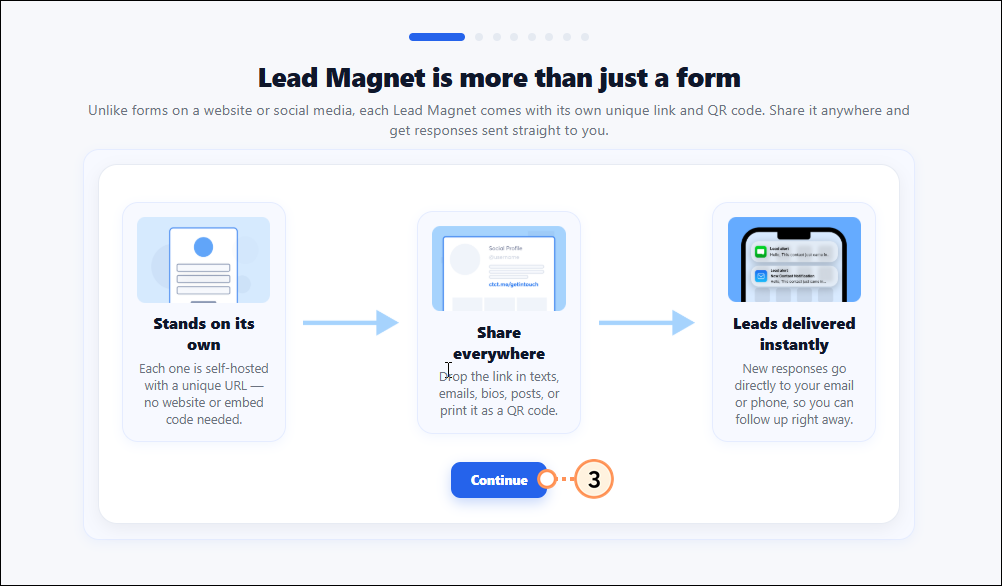
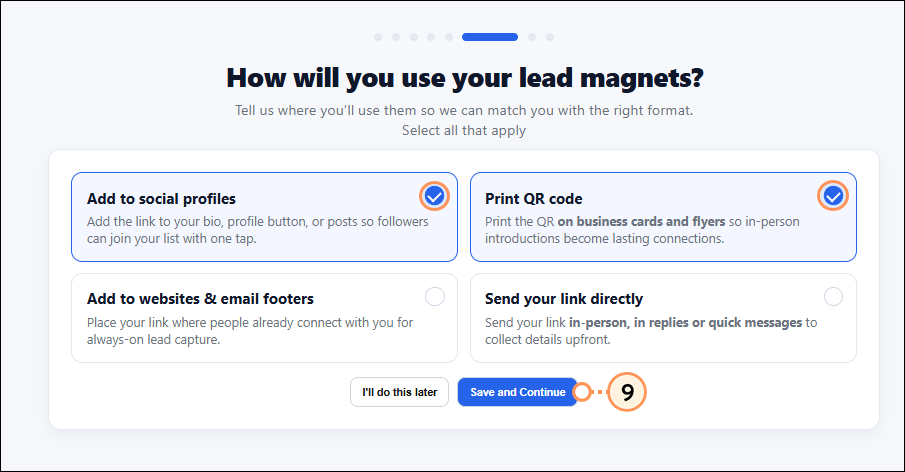
Use Constant Contact's Lead Magnet tool to create mobile-friendly contact forms and surveys that can be shared on your social media pages or in print with a QR code. Use them to capture valuable lead information and then convert followers into marketable contacts.
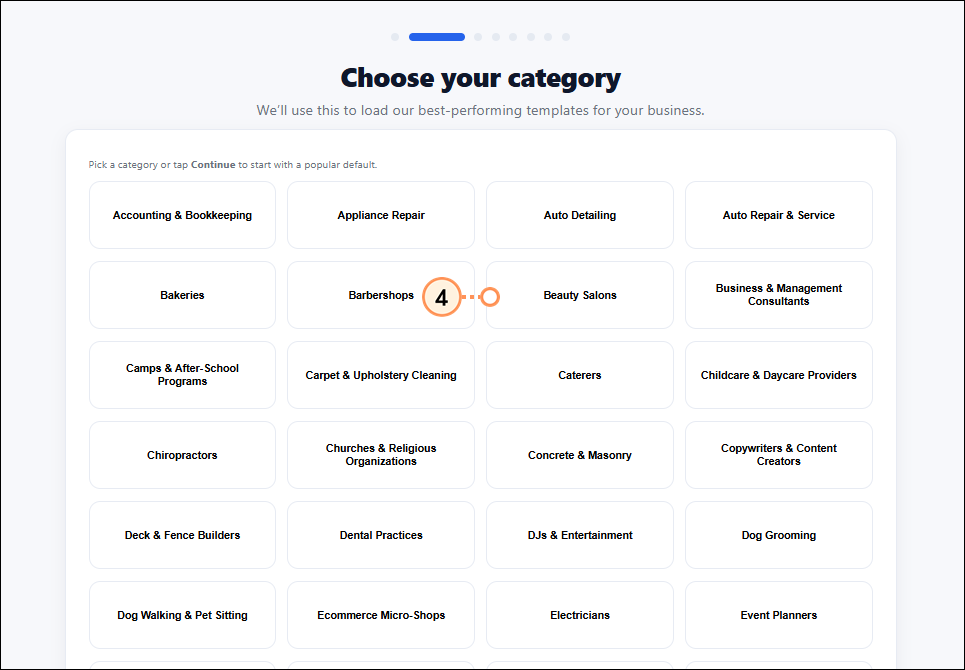
When you get started, we automatically generate Lead Magnet surveys for you, which you can customize and share. At any time, create additional contact forms and/or surveys and customize them as desired. Surveys are generated based on either a template of your choosing or a prompt in which you indicate the information you'd like to collect from your audience.
As you collect leads via your Contact form and surveys, track responses and nurture a relationship through personalized, targeted messaging.
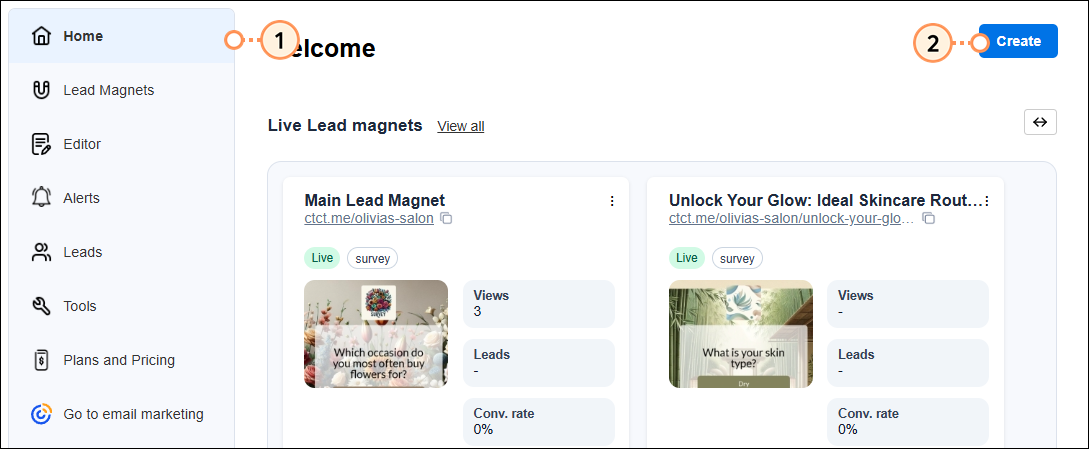
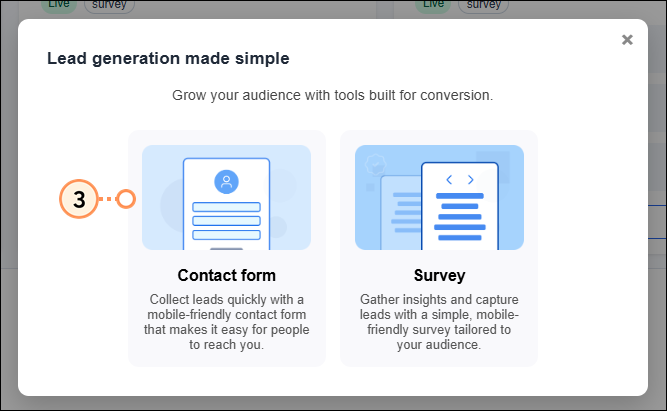
When you first access the Lead Magnet feature, generate a contact form with a unique URL to capture contact information easily.

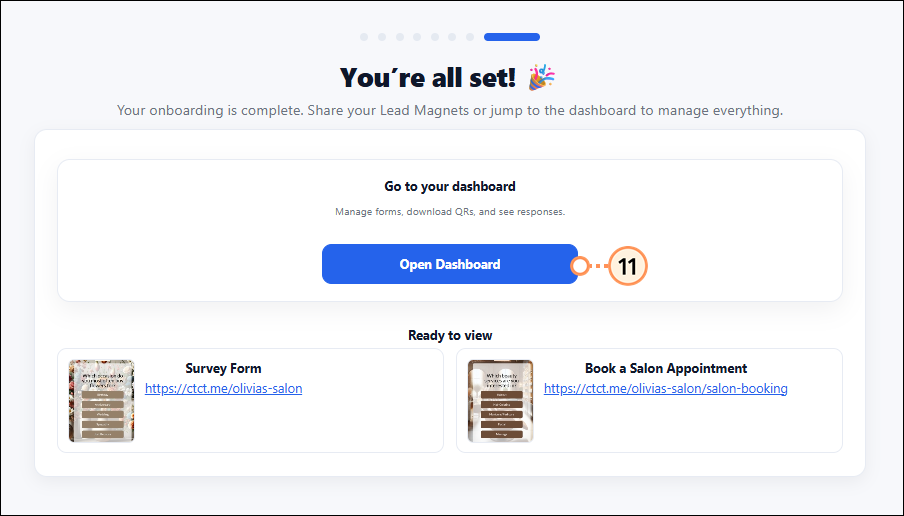
On your home dashboard, see the Lead Magnets that were automatically generated for you. These are live, and if you are happy with them, they can be shared and you can begin tracking your collected leads. Or customize in the following ways before sharing:
You can create multiple contact forms and multiple survey forms. To add a new Contact form at any time, return to the Lead Magnet page and create a new one.
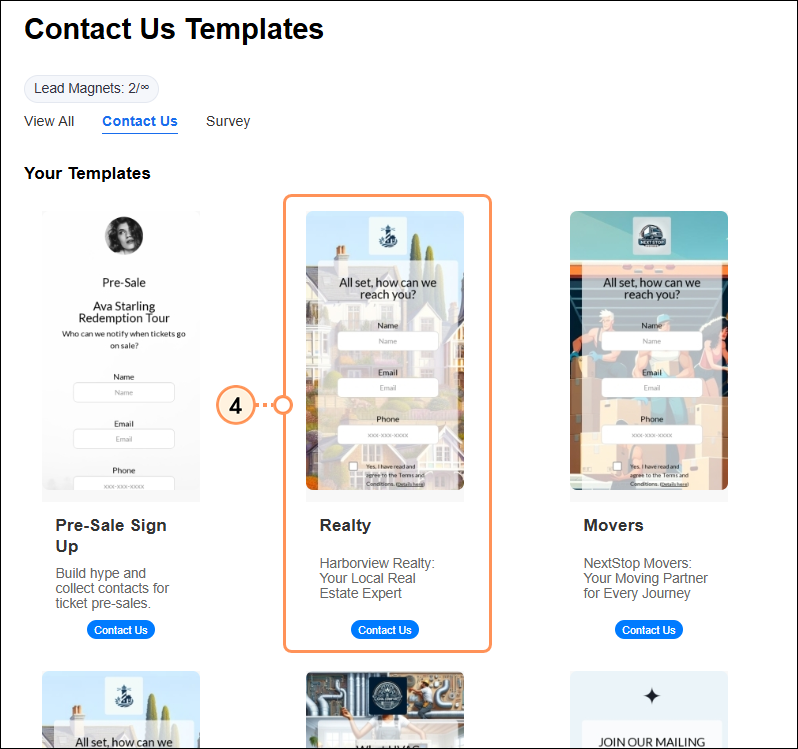
If you are happy with the form, it can be shared as is and you can begin tracking your collected leads. Or, customize the visual style, final page content, and/or the footer of the contact form.
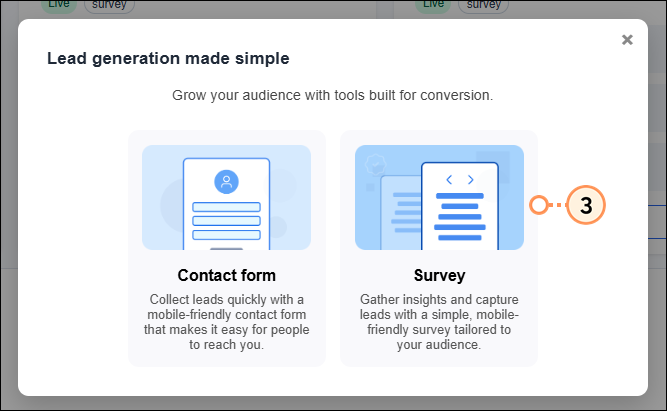
In addition to contact forms, you can also create surveys – this helps you learn more about your contacts and find out what exactly they need from your business. Quickly generate a survey Lead Magnet page relevant to your business and goals by answering the prompt, “What do you want to ask your audience?” This prompt creates the custom content for your form, which can take up to 60 seconds to generate. Alternatively, select from a pre-built template.
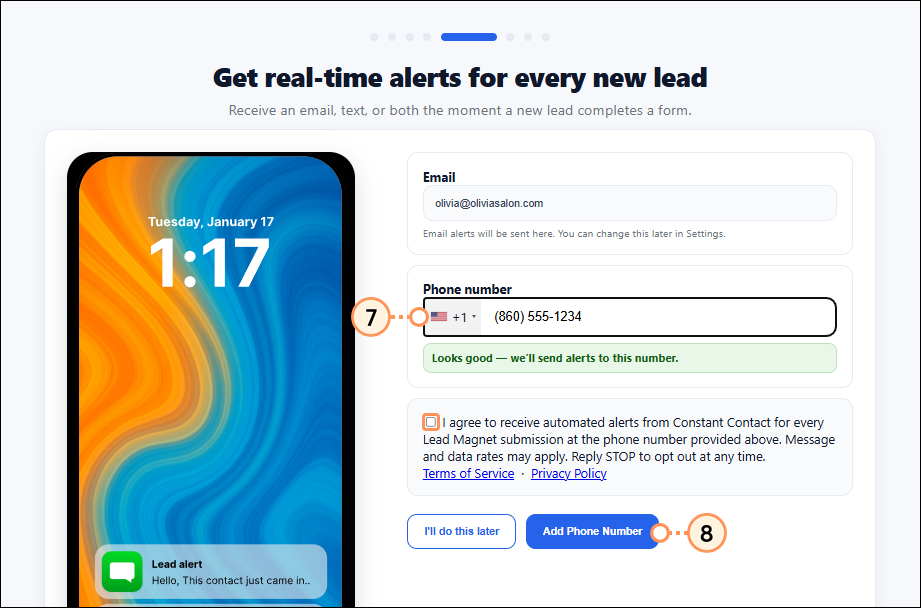
As prospects interact with your Lead Magnet, they will first answer the survey questions. Then, after completing the survey questions, users are brought to two final pages: a contact information submission form, where they can enter their name, email, and phone number, accept the terms and conditions, and opt in to marketing, and a thank you page.
To create a survey:
Fill out the prompt, or enter your website/social media profile URL, and the tool will pull from it to create your form. The more information you provide, the better. Then click Create.
Note: Click Start from a basic survey template to choose a pre-built template instead.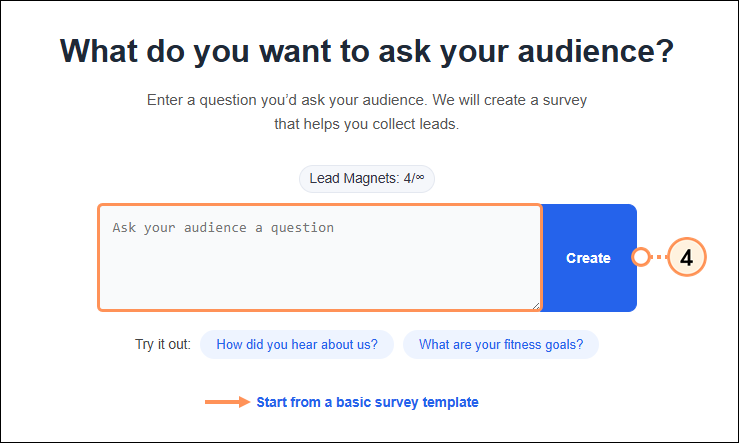
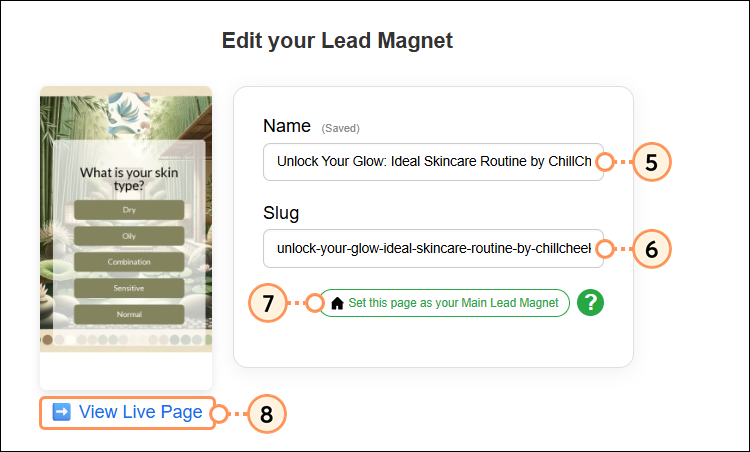
If you are happy with the survey, it can be shared as is and you can begin tracking your collected leads. Or, edit the survey questions/answer options. Additionally, you can customize the visual style, final page content, and/or the footer of the survey form.
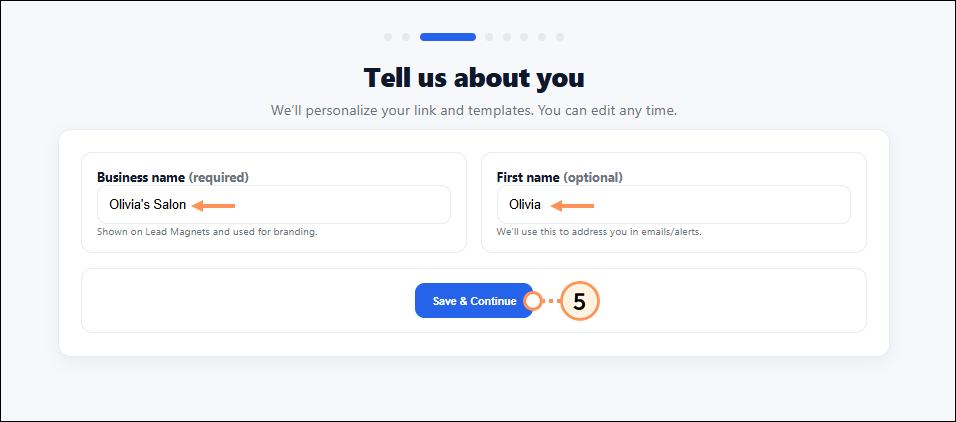
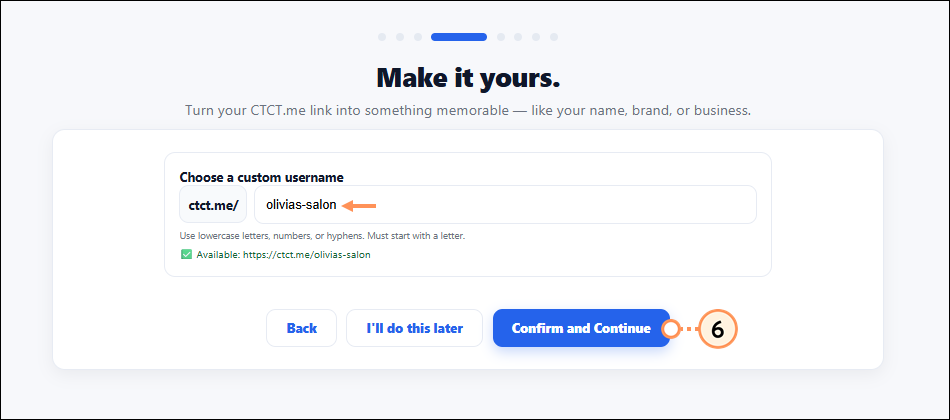
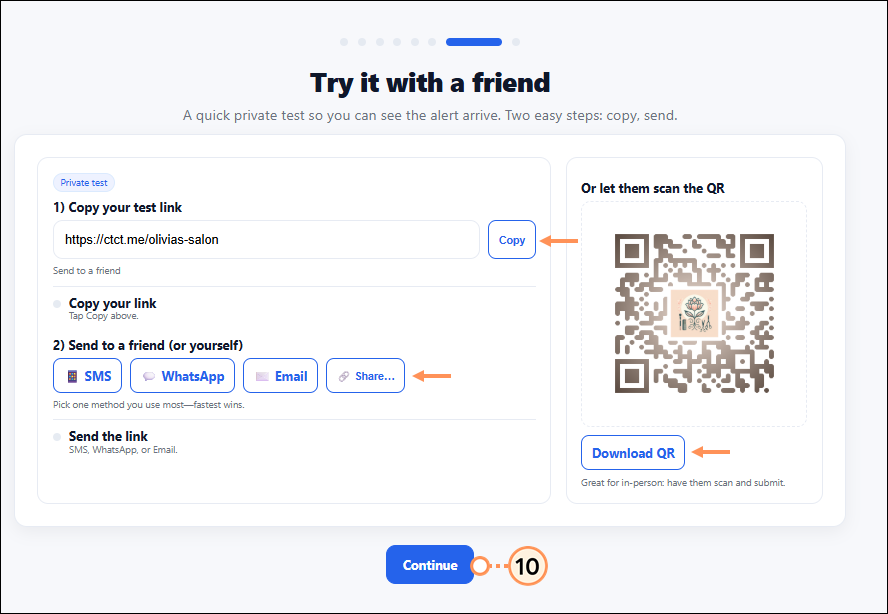
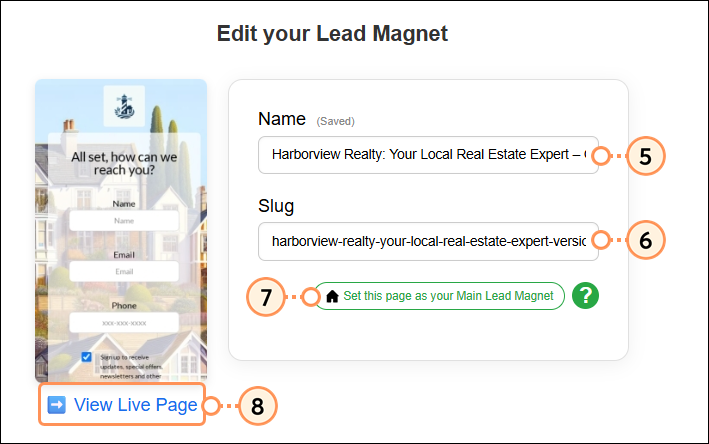
When you set up Lead Magnet, a unique link is generate for you. This link begins with ctct.me and is followed by a random set of numbers and letters (the primary slug), such as ctct.me/abcd1. You can modify the URL by updating the end of it with your own username, for example ctct.me/olivias-salon. One of the pre-generated Lead Magnets will be set as your Main Lead Magnet and will be assigned this URL. You can set any of your Lead Magnets as the Main Lead Magnet. Any additional Lead Magnets will be assigned a URL containing a secondary slug, for example ctct.me/olivias-salon/hair-care-survey. Customize your links to make your brand stand out and the web address easier to remember.
Click the Tools tab from the left-hand menu to see the various Lead Magnet tools available to you:

Copyright © 2026 · All Rights Reserved · Constant Contact · Privacy Center