We're making it easier to get around Constant Contact with a brand new left navigation. Not all accounts have that change yet, so if your navigation looks different from our articles, that's why–but everything from the top can now be found on the left!

Email and Digital Marketing
How can we help you?
Search our help articles, video tutorials, and quickstart guides

You've got this. You've got us. Search our Knowledge Base to quickly find answers to your questions.

Set up your Event basics

Article: 000048277
Updated: July 8, 2024

Fill out the what, when, where, and who information for your event

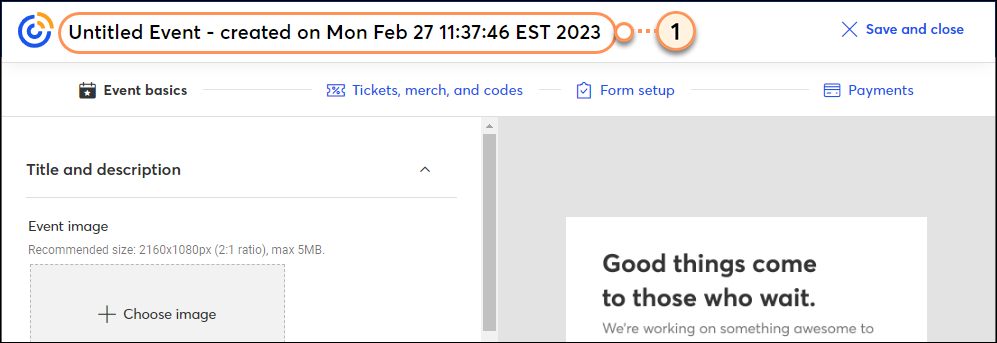
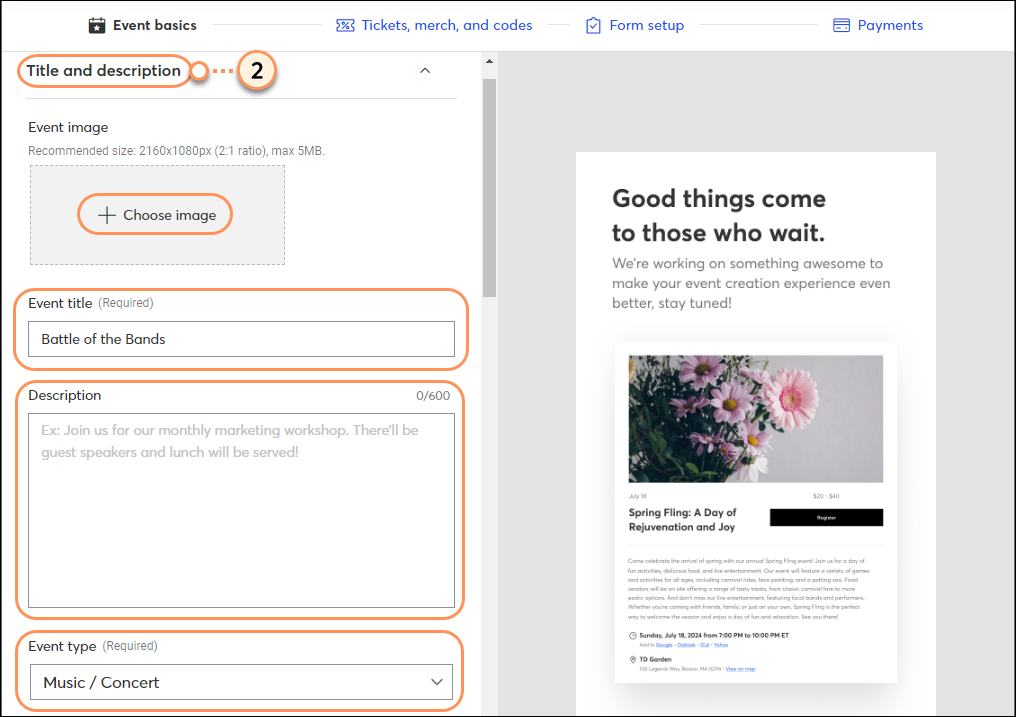
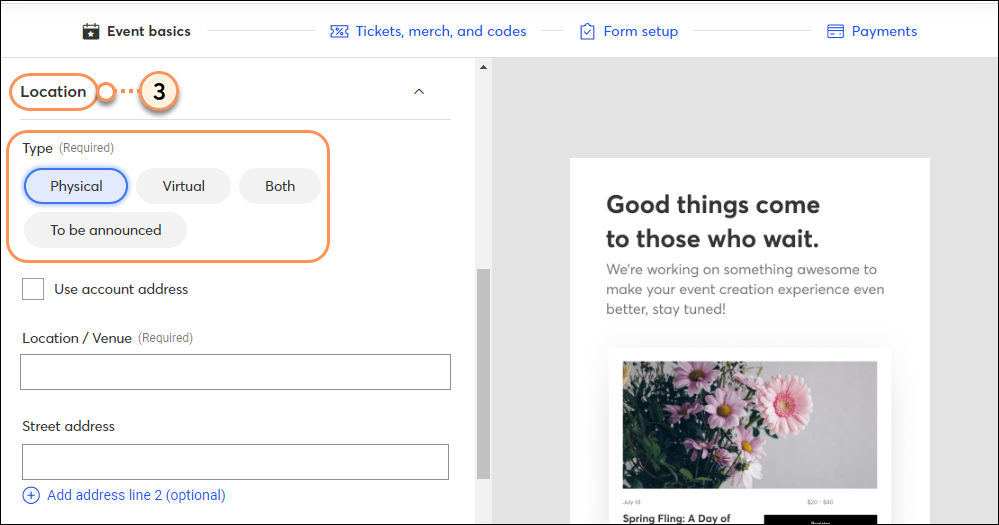
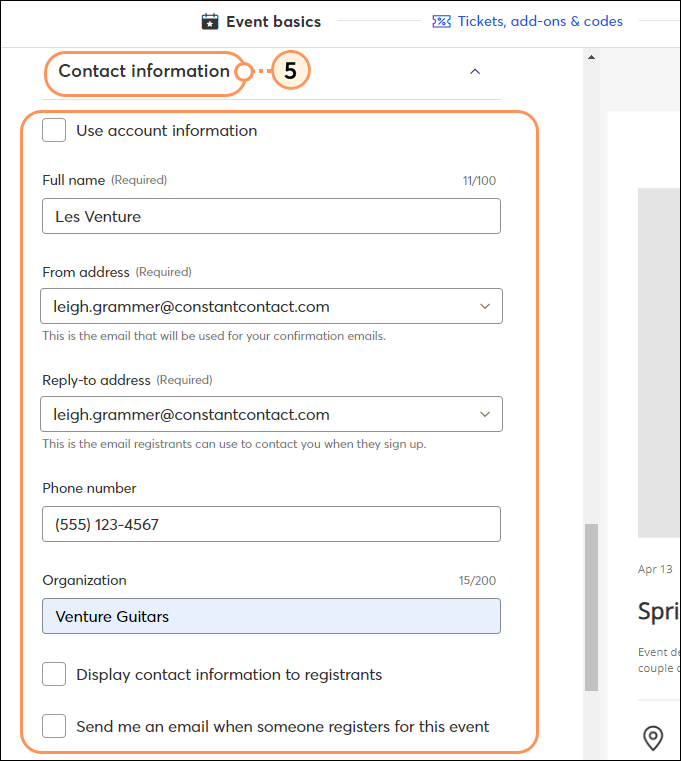
When you create an Event, certain core information is required to share with your registrants, like the date, time, and place. The "Event basics" information is broken into sections and can be edited at any time, even after your event is live.

  1. Click the filename field in the upper left to update it. This is the internal name for your event campaign that is used in the list of campaigns within your account. Your registrants and contacts will never see it.

    Enter event filename
     
  2. In the Title and description section, enter the following:
    • Event image - Click + Choose image to select an image from your Library or to input an image URL. The recommended image size is 2160x1080px. This image will display on your event registration form, event emails, and event landing pages. If you would like a different image to display within your event emails and/or event landing pages, you can edit the image within the email/landing page itself.
    • Event title - This is the external name for your event. It displays on the registration form, landing page, and in event-related emails.
    • Description - This can be just a sentence or two that describes what your event is all about and includes some highlights that your registrants can look forward to. 
    • Event type - Select the closest match from the drop-down menu. If you can't find a match, just select "Other."

      Fill out title and description for event
       
  3. In the Location section, select one of the following:
    • Physical - Enter the name of your venue, and provide the venue's address. Checkmark the "Use account address" box to autofill the fields with address from your My Account page.
    • Virtual -  Enter the URL for your GoToMeeting, Google Hangout, Join.Me, Microsoft Teams, Skype, Zoom, or other video conferencing platform, and provide additional information, such as the passcode or any special instructions. The event URL and any text entered into the "additional information" field will display within the confirmation email only. Therefore, only registrants will have access to it.
    • Both - Enter the name of your venue and venue address, as well as the event URL and additional information. The text entered into the "additional information" field will display within the confirmation email only.
    • To be announced - Choose this option if you will be providing location information to registrants at a later time.

      Enter location type for your event
       
  4. In the Date and time section, enter the following:
    • Start date and End date - Enter the start and end date of our event. The end date must be within 18 months of start date.
    • Start time and End time - Select the time of day your event starts and ends.
    • Display End Date - Check this box to display the event's end date on your registration form.
    • Close Registration Automatically - Check this box to close registration at a specified date and time. This can be edited after the date arrives if you need to reopen registration, as long as the event is still active.
    • Timezone - The timezone for your event is independent of the timezone you selected in your account settings. Selecting a timezone won't change it for the rest of your account. Select whether to display the time zone.

      Fill out event date and time
       
  5. In the Contact information section, enter the following:
    • Use account information - Check this box to autofill the following fields with the information stored in your account settings
    • Full name - Enter the full name of the event's host
    • From address - Enter the email address that will be used for sending confirmation emails to registrants
    • Reply-to address - Enter the email address that registrants will use to contact you when they sign up for your event
    • Phone Number - Enter your event host's or organization's phone number
    • Organization - Enter the name of your organization
    • Display contact information to registrants - Check this box to display your contact information to registrants on the registration form and within the confirmation email so they can get easily get in touch
    • Send me an email when someone registers for this event - Check this box to receive an email notification whenever someone new registers for your event

      Fill out contact information
       
  6. Click Continue to proceed to the next step of setting up your event.

    Event Basics Tab Continue Button

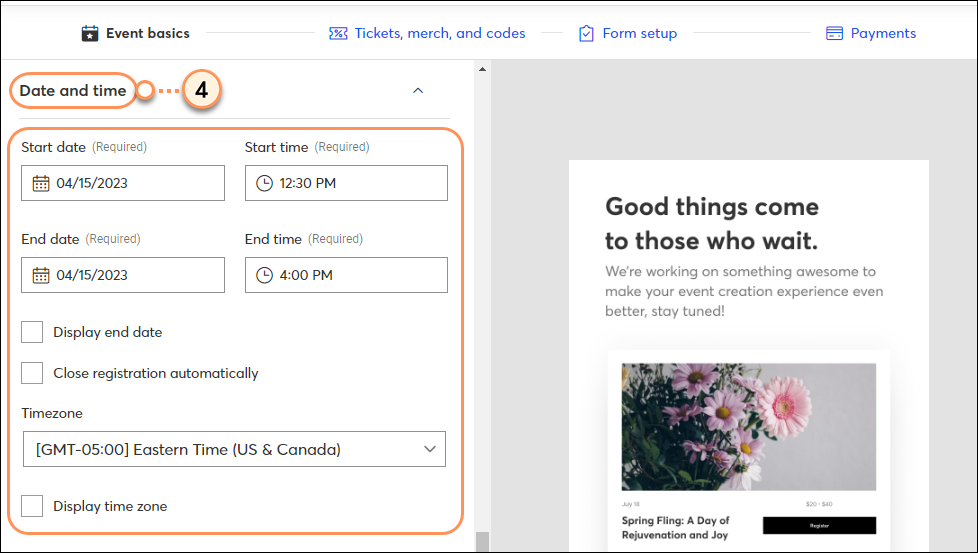
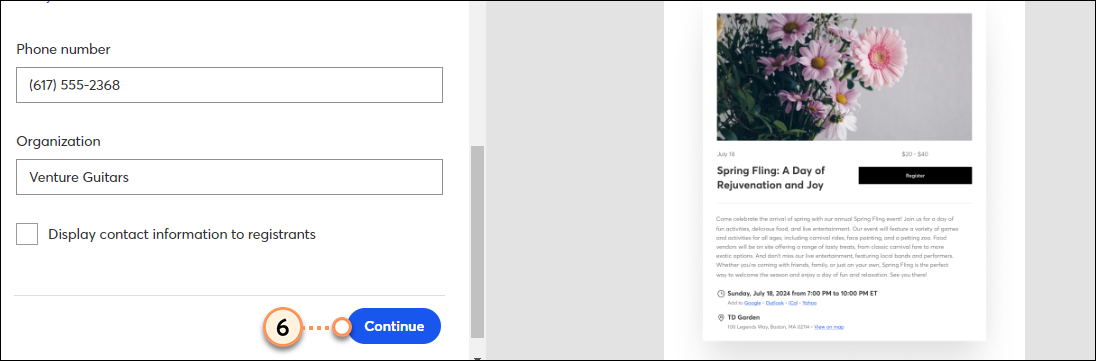
When you're done filling out the event basics, you'll move on to the "Tickets, merch, and codes" step of the Event builder.


Questions?

Ask the Community

Did this article answer your question?


Constant Contact Logo

Copyright © 2025 · All Rights Reserved · Constant Contact · Privacy Center