We're making it easier to get around Constant Contact with a brand new left navigation. Not all accounts have that change yet, so if your navigation looks different from our articles, that's why–but everything from the top can now be found on the left!

Email and Digital Marketing
How can we help you?
Search our help articles, video tutorials, and quickstart guides

You've got this. You've got us. Search our Knowledge Base to quickly find answers to your questions.

Adjust the padding around an image in an email

Article: 000008352
Updated: February 12, 2025

Increase or decrease the amount of space around an image

Image padding gives you finer control over how much distance there is between images and the content that surrounds them.


Add padding around the entire image using the Image toolbar

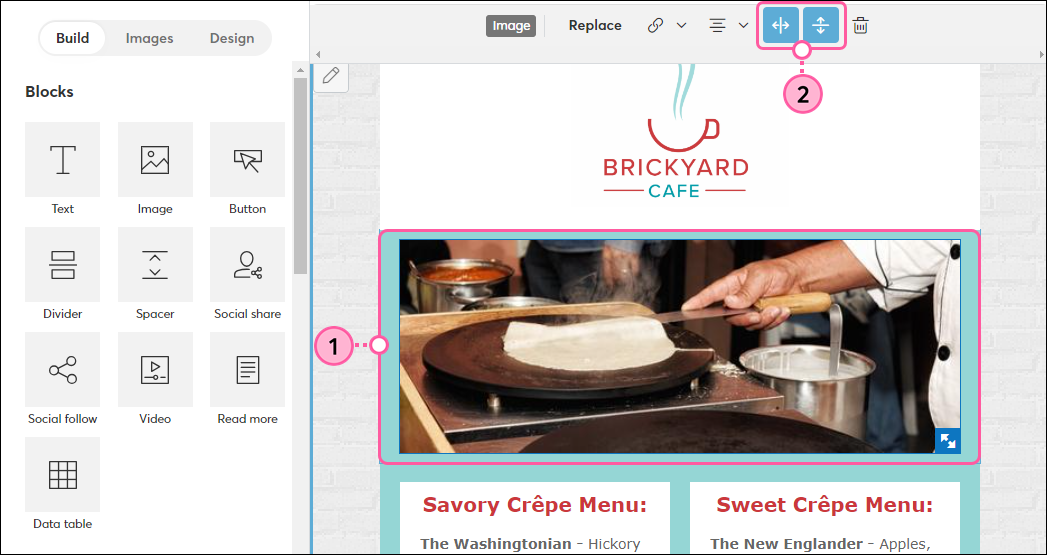
Through the Image toolbar, you can add vertical and horizontal image padding to any image in your email. The horizontal padding is standard and adds 10 px above the image and 10 px below the image for a total of 20 px. The vertical padding can fluctuate a bit depending on the width of the template and if the image is in a multi-column layout. In general, 20 px are added to each side of the image, for a total of 40 px of padding, but the padding can be as high as 40 px per side.

Note: These steps pertain to emails created with the Cross Device Editor. If you're using the third-generation editor, you'll see an "Image Padding" checkbox when you hover over an image. Check the box to add padding and uncheck it to remove padding.


  1. Click anywhere on the image to open the toolbar.
  2.  Click the Horizontal padding or Vertical padding buttons to add or remove the image padding.

    Email editor with image in template and Image toolbar visible with Horizontal padding and Vertical padding buttons
     
Light Bulb IconDesign tip: Adjusting the size of your image also adds or removes vertical padding.


Add padding above or below an image using a Spacer block

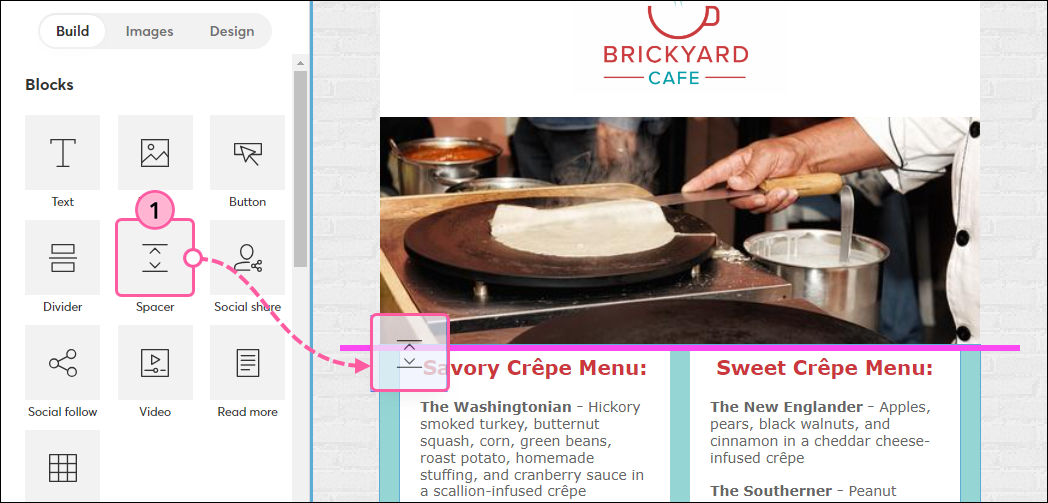
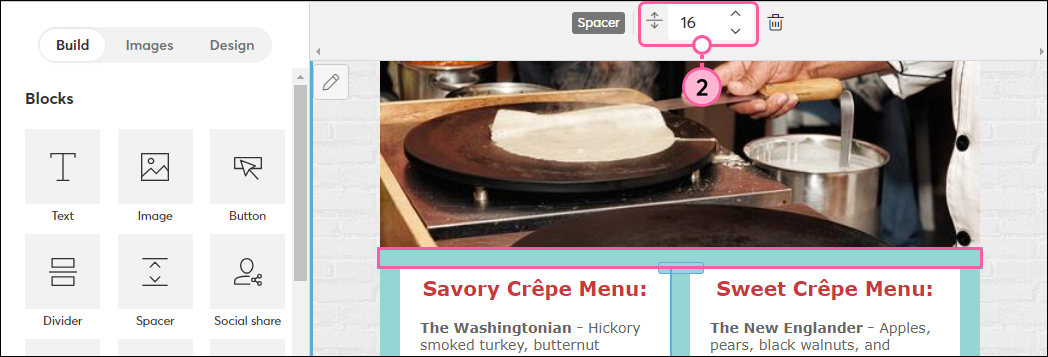
Need a little more padding? For further adjustment, consider adding an adjustable spacer above or below the image to increase the padding even more. The background color of the spacer can also be changed.

  1. From the Build tab, drag a Spacer into your template. Use the pink guideline to help you place it above or below your image.

    Email editor Build tab, with drag-and-drop-spacer below banner image, and guideline visible and stretched across the width of the template
     
  2. Click anywhere on the spacer to open the toolbar and use the controls to increase or decrease the thickness of the spacer.

    Email template with spacer below banner image, and Spacer toolbar with thickness adjustment options
     
  3. Hover your cursor over the spacer and click the Gear icon in the right-hand menu.
  4. Click the Paint Can icon and select a color from the Basic palette, or click Advanced to enter a specific HEX value. 

    Email template with spacer below banner image with side menu expanded and Settings menu expanded, and Color palette expanded with Basic option selected


Questions?

Ask the Community

Did this article answer your question?


Constant Contact Logo

Copyright © 2025 · All Rights Reserved · Constant Contact · Privacy Center